Make a cat puppet for your little one in minutes by using your Cricut machine. I have a cut file for you below that you can use to get started on these finger puppets right away. You have to love a handmade gift for the little ones!
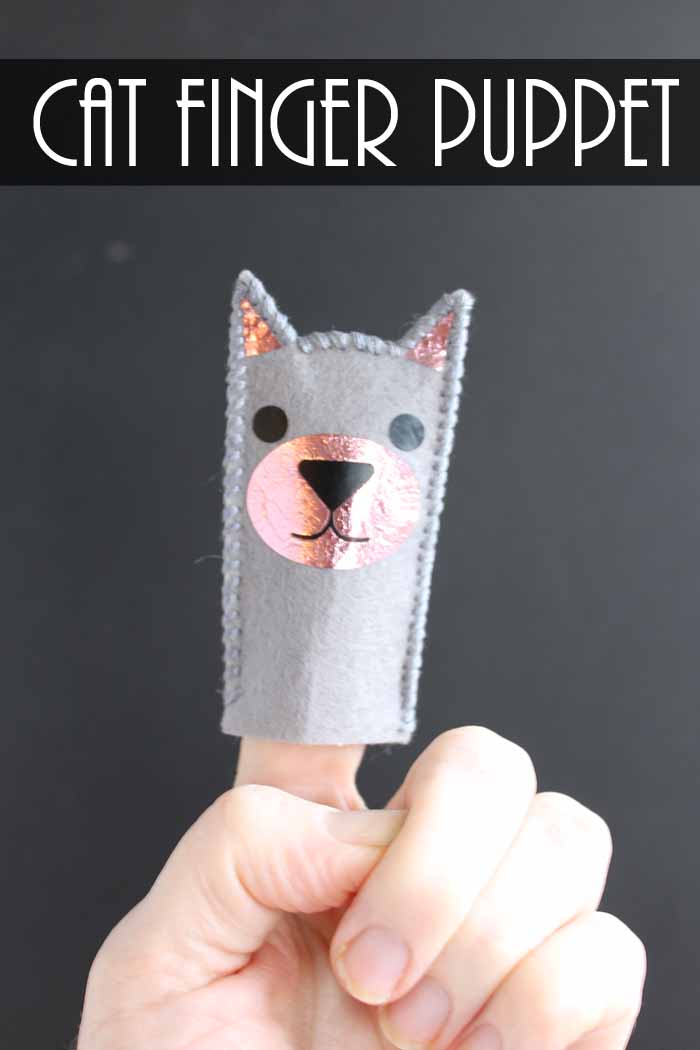
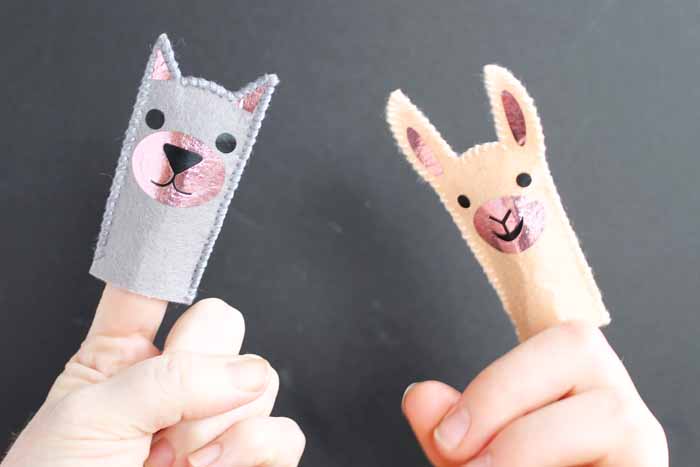
Aren’t these finger puppets the cutest? Be sure to make our llama finger puppet as well as they make a cute pair!
These are the perfect activity for putting on a puppet show with your kids! You could even build a Wild West Puppet Theater and have a complete showdown right in your living room. Don’t forget to try these sheep paper bag puppets, or make a sock puppet kit to give as a gift!
How to Make a Cat Finger Puppet
Supplies needed to make this cat puppet:
Some links below may be affiliate links which means that you do not pay anymore, however, a portion of your purchase will go to support this site. Some items below were given to me free of charge, however, all projects and opinions are my own.
- Felt (I used the Cricut felt sheets)
- Iron On Vinyl (I used the iron on lite in black and the foil iron on in pink)
- Cricut Cutting Machine (Want to see the difference between the machines? I compared the Cricut Maker and Explore here.) I definitely recommend the Cricut Maker for cutting felt for this project.
- Weeding tools (optional)
- Cricut EasyPress (optional but recommended – see below for details)
- Cut file for Cricut
- Embroidery floss
- Needle
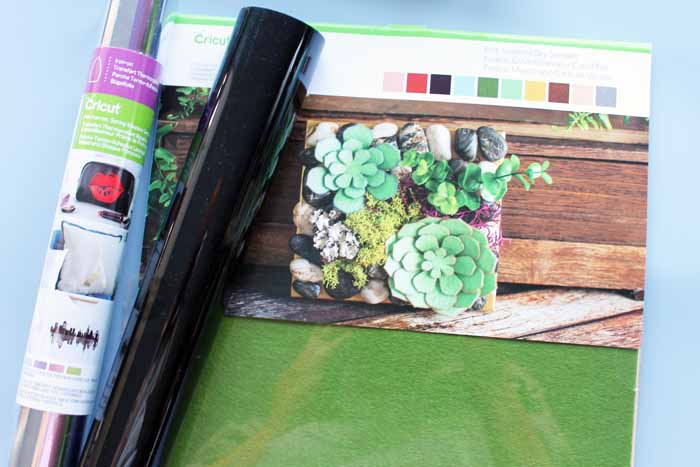
Start by cutting the pieces for your cat puppet from the felt and iron on with your Cricut machine. Be sure to mirror the vinyl pieces before cutting.
New to Cricut? Download our free beginner’s guide here!
Then weed all of the excess vinyl from your pieces. Here is where weeding tools are nice but definitely not required. You should be left with something similar to the image below.
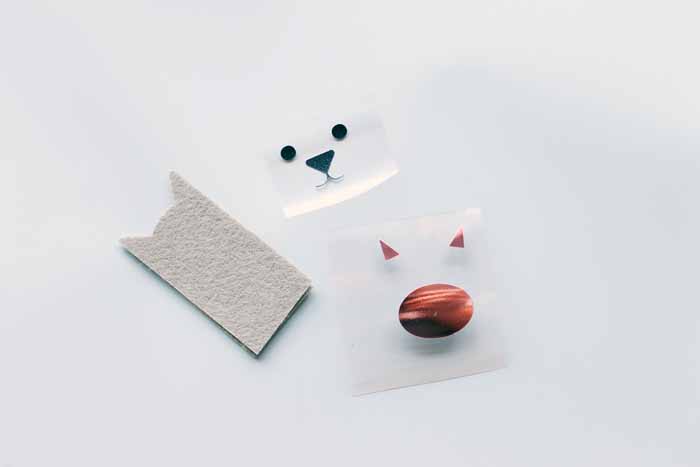
You will then need to press the vinyl pieces to one of the felt pieces. I made a video explaining the EasyPress and how to use it below. This includes instructions for pressing the face on the cat puppet.
If you can’t watch the video, here is how to apply your vinyl:
- Start by setting the EasyPress to the recommended settings. Then use it to heat up the felt slightly for a few seconds with nothing on it.
- Then add the pink foil vinyl with the carrier sheet to your project.
- Press with the EasyPress for the recommended amount of time. Allow to cool then remove carrier sheet.
- Add black vinyl in desired location.
- Make sure that all vinyl pieces are covered with a carrier sheet. Then press again according to instructions.
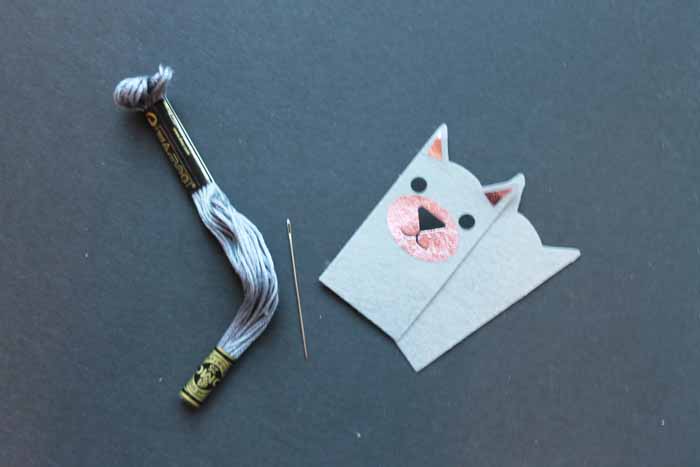
Finally remove the carrier sheet from your project. You are now ready to complete your cat puppet with a needle and some embroidery floss. I just used a whip stitch around the entire thing to secure.
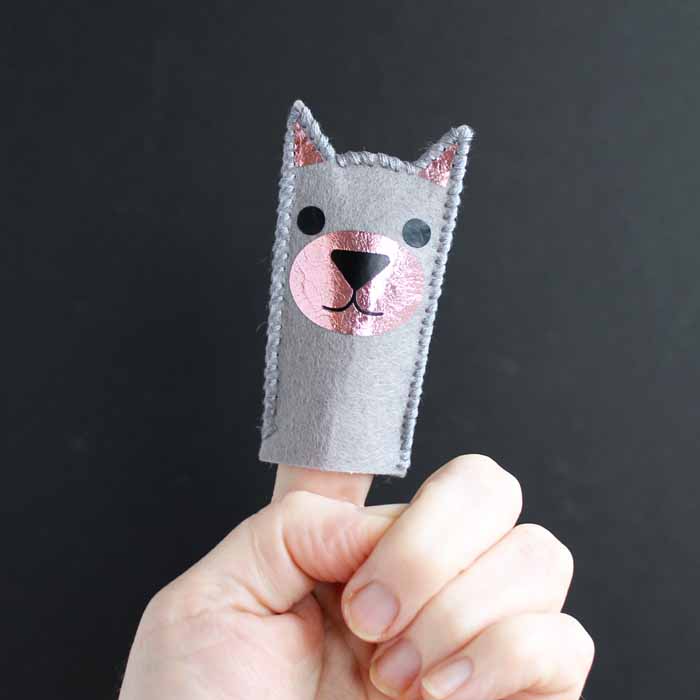
Your cat puppet is ready to play with! Be sure to make the smiling llama puppet here so he has a friend. This quick and easy project is perfect for crafting with older kids as well. Teach them basic sewing stitches and they will be well on their way to making finger puppets for themselves.
Love this cat puppet and want more ideas for kids? Try the links below!
- Paper Bag Puppets
- Wild West Puppet Theater
- Pool Noodle Games for Kids
- Slime for Kids
- No Sew Felt Puppets
Supplies
- Felt I used the Cricut felt sheets
- Iron On Vinyl I used the iron on lite in black and the foil iron on in pink
- Cricut Cutting Machine. I definitely recommend the Cricut Maker for cutting felt for this project.
- Weeding tools optional
- Cricut EasyPress optional but recommended – see post for details
- Cut file for Cricut
- Embroidery floss
- Needle
Instructions
- Start by cutting the pieces for your cat puppet from the felt and iron on with your Cricut machine. Be sure to mirror the vinyl pieces before cutting.
- Then weed all of the excess vinyl from your pieces. Here is where weeding tools are nice but definitely not required.
- You will then need to press the vinyl pieces to one of the felt pieces.
- Next, press the vinyl pieces to one of the felt pieces: Set the EasyPress to the recommended settings and allow it to heat the felt for a few seconds with nothing on it. Then, add the pink foil vinyl with the carrier sheet to your project. Press with the EasyPress for the recommended amount of time. Allow to cool then remove carrier sheet. Add black vinyl in desired location. Make sure that all vinyl pieces are covered with a carrier sheet. Then press again according to instructions.
- Finally remove the carrier sheet from your project. You are now ready to complete your cat puppet with a needle and some embroidery floss. I just used a whip stitch around the entire thing to secure.
New to Cricut?

Sign up for our email list to download the Beginner's Guide to Cricut Design Space for FREE today!
Sign up to get the guide emailed to you!


I don’t have a cricut, can you send me the file so I can make it too?
Sorry Jennifer! I only have the file on Cricut Design Space as that is where I designed this one!