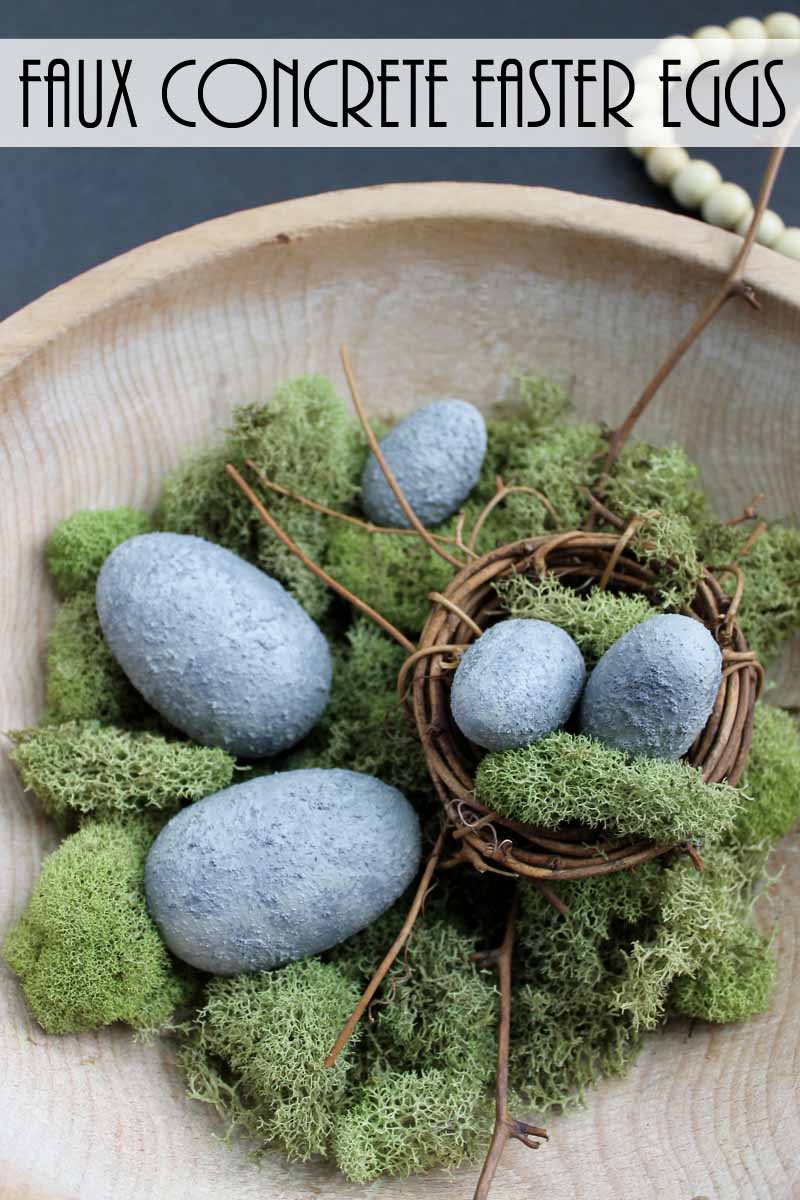
Have you wondered how to make concrete crafts that are actually easy? This tutorial will show you how to make a simple faux concrete Easter egg cement craft with paint!
Cement crafts have never been easier to make! Instead of going through the hassle of working with messy concrete, you can add a faux concrete finish to any surface with an easy-to-use product. I also used this same product to make this Easy Faux Concrete DIY School Supplies Organizer.
Today I am using this product to make some faux concrete eggs for spring, but you can actually do the same process to any surface in your home or any craft.
Although the process is different than what we used to make these Easy Painted Easter Eggs, it’s nearly as easy to do!
Note: If you want to explore and try more concrete crafts, check out my DIY Concrete Planters, Boxwood Topiary in a Faux Concrete Pot, and Concrete Decor Ideas For Your Home.
How To Make An Easy Cement Craft
Don’t worry because we are not actually working with concrete to make these adorable Easter eggs! Instead, we’re adding a faux concrete paint finish with paint.
Here’s everything you need to know for an easy and versatile cement craft.
Supplies Needed
Gather these supplies. I’ve included a few handy links to make certain items easier to find.
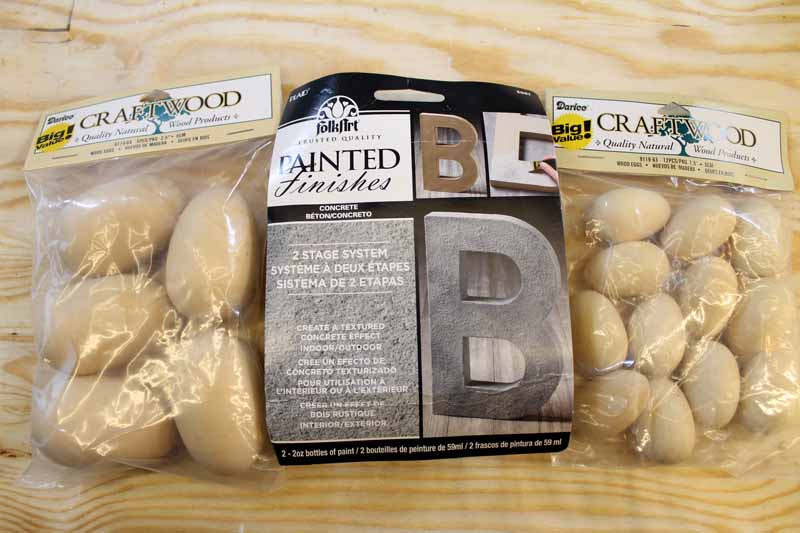
- Wood Eggs (I used two sizes)
- Faux Concrete Paint Finish
- Sponge Pouncer Brush
Cement Crafting Video Tutorial
The product itself is a two-part paint with a light bottle and a dark bottle that come together in a kit. You can actually watch me use the product on a different surface in the video below and learn more about it.
Instructions
If you can’t watch the video or like things written out, here are the step-by-step instructions for cement crafts.
Step 1
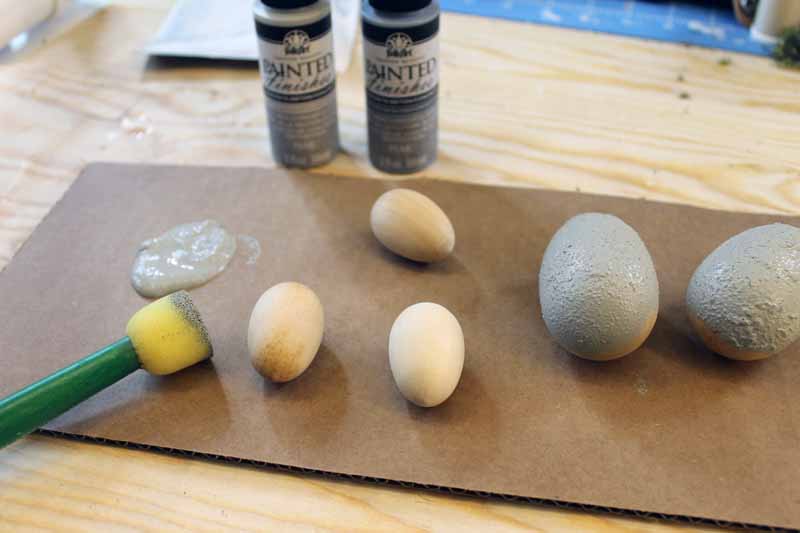
Start with the lighter bottle and apply the material to your eggs with a pouncer brush. Do one side first, allow it to dry, and then do the second side.
Note: This material is very thick, but that’s what delivers that great texture.
Step 2
Once both sides are dry, you are ready to give your eggs that gorgeous cement finish.
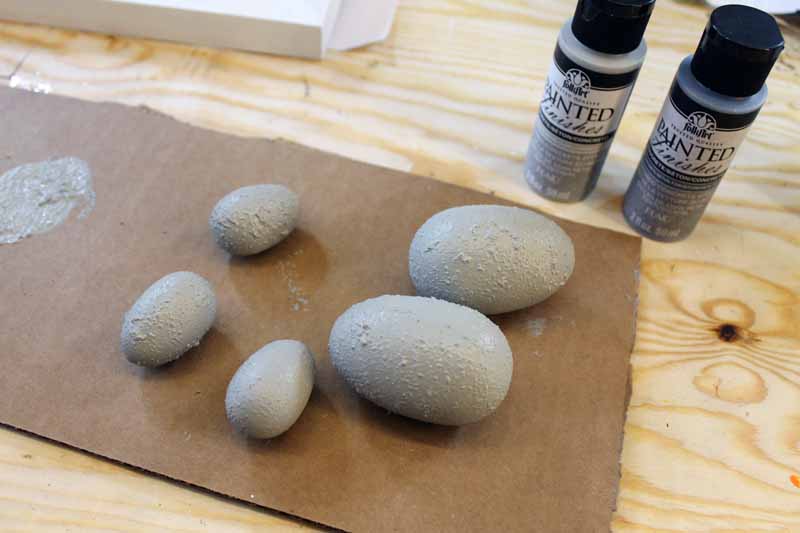
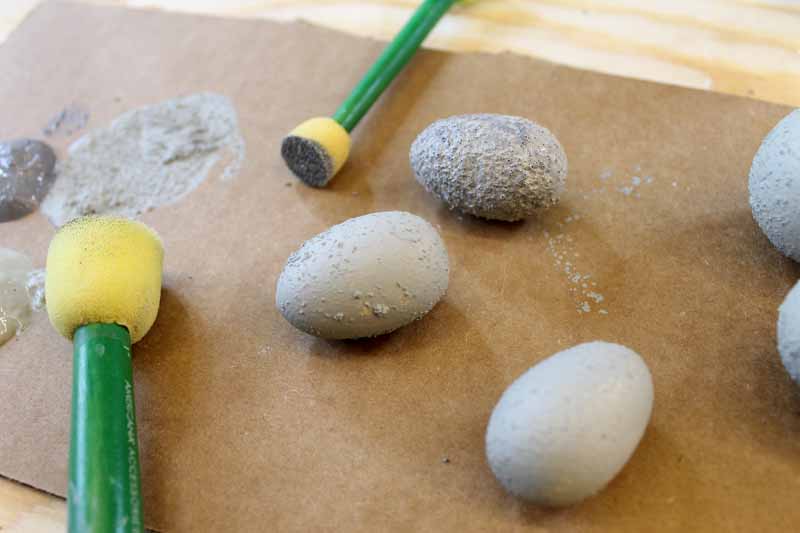
Grab both the light and the dark bottles and go over your surface with the light one more time. However, this time, while the product is still wet, use the sponge pouncer brush to add in some of the dark.
In the image below, the small egg at the top has been completed while the others have not. What a difference!
Step 3
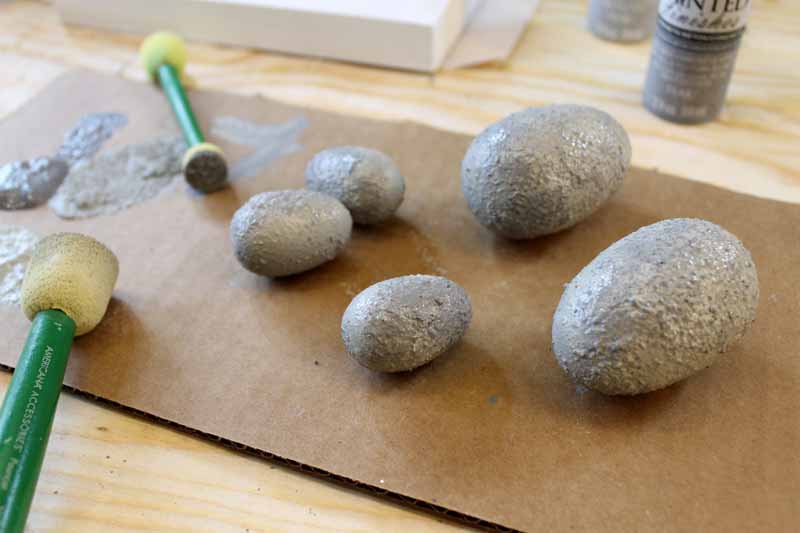
You can add as much or as little of the dark as you like. The dark really makes your project look like concrete.
Again, complete one side, allow it to dry, and then do the other side.
Step 4
Allow your cement crafts to dry completely before displaying them around your home.
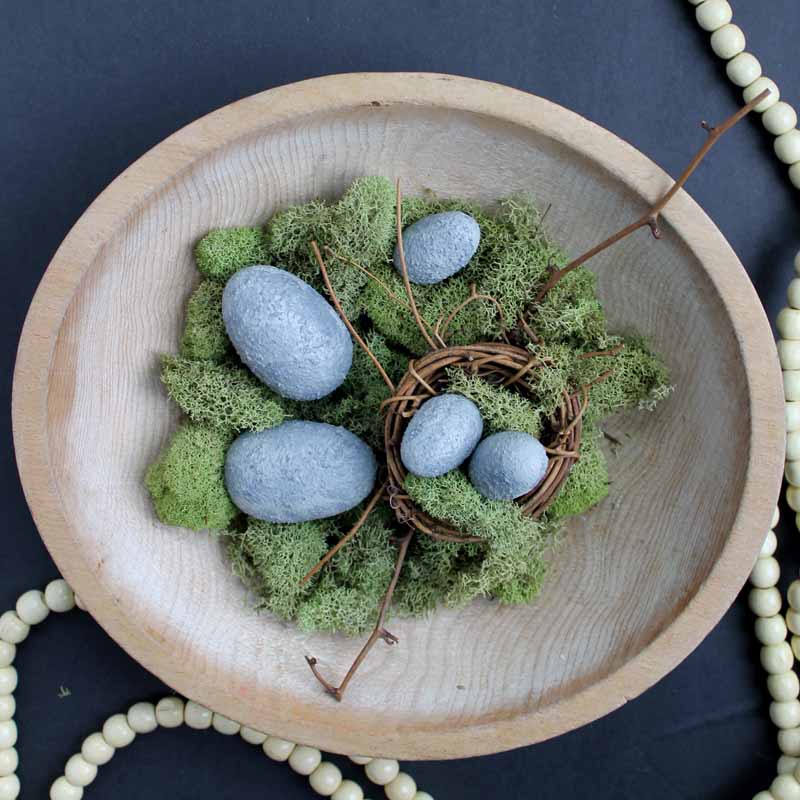
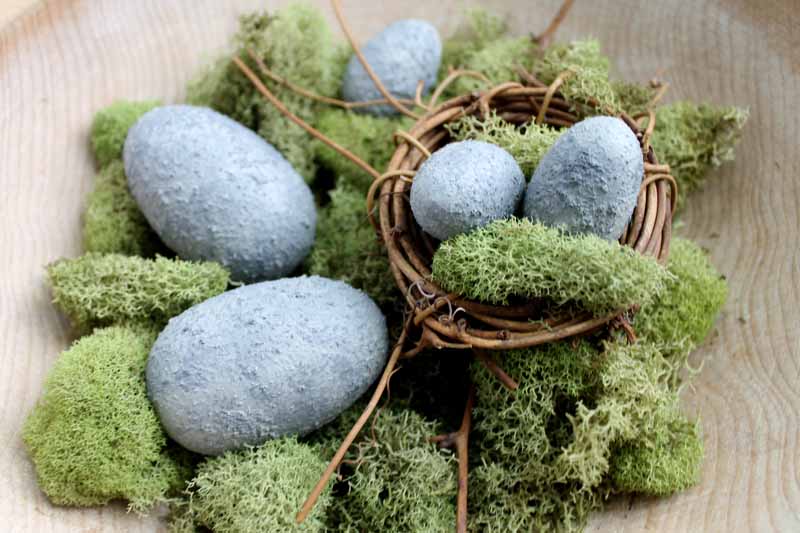
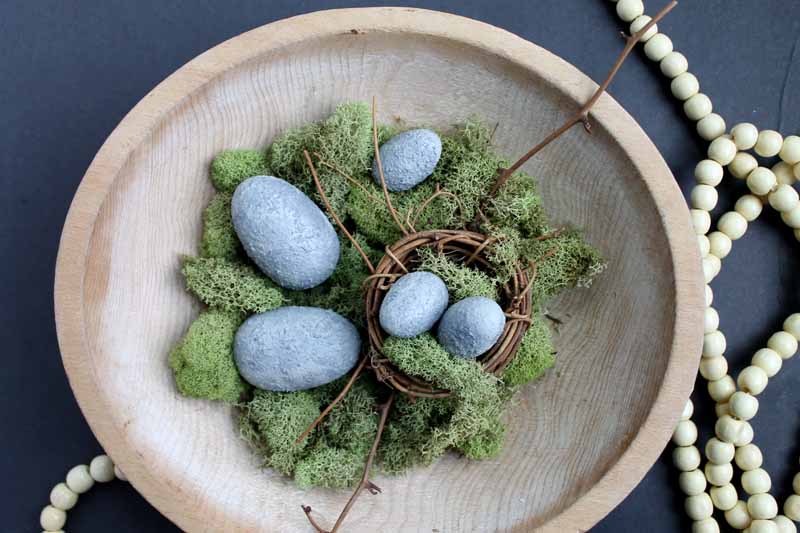
These faux concrete paint eggs are perfect for your farmhouse spring decor.
Just look at them! They look just like concrete, and we just made them in only a few minutes.
DIY Cement Craft FAQs
If you’ve never made faux cement crafts before, I imagine you have a question or two. Please check below to see if I’ve already answered your question, and if you don’t see it, leave it for me in the comments.
Are there other faux concrete paint options for crafts?
Yes, there are other products that can create a faux concrete look and texture for crafts. If you want to skip the paintbrush, try using spray paint. Both Krylon and Rustoleum have options that get great reviews.
I haven’t tried them yet, but if they’re anywhere near as good as other products from those brands, they are definitely worth consideration.
Do I need to paint the first material in a thick coating to get the right texture?
No, you don’t need to paint this product on in a thick layer to achieve that thick concrete texture. The cement craft paint material includes the texture as well as the cement color. This product is an all-in-one for achieving a realistic faux concrete look.
More Crafting Inspiration From The Country Chic Cottage
If you love this cement craft idea and want more creative ideas, try these popular ideas.

Instructions
- Apply the material in the lighter bottle to your eggs with a pouncer brush. Do one side first, allow it to dry, and then do the second side.
- Once both sides are dry, grab both the light and the dark bottles and go over the surface with the light one more time. Then, while the product is still wet, use the sponge pouncer brush to add some of the material in the dark bottle.
- Add as much or as little of the dark to achieve the look you want.Again, complete one side, allow it to dry, and then do the other side.
- Allow your cement crafts to dry completely then display them around your home.


