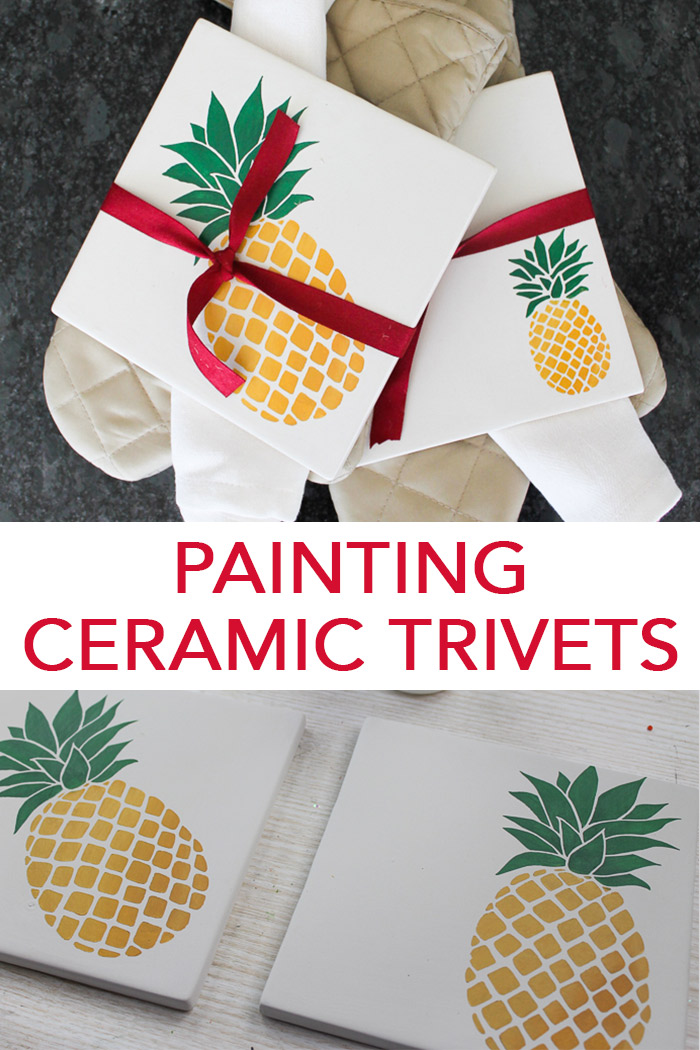
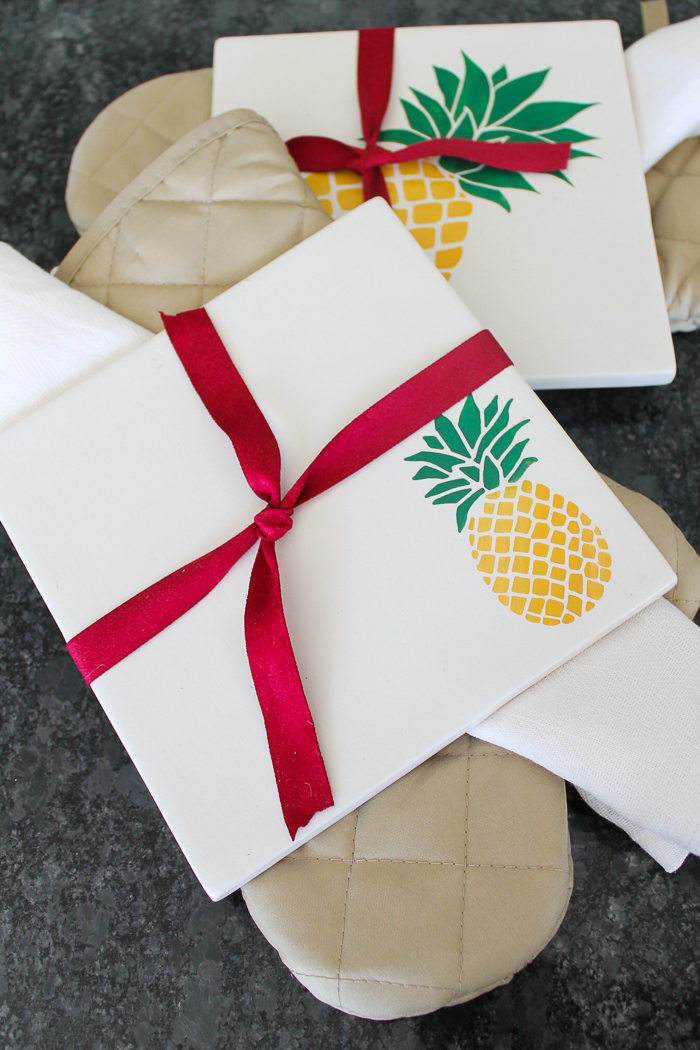
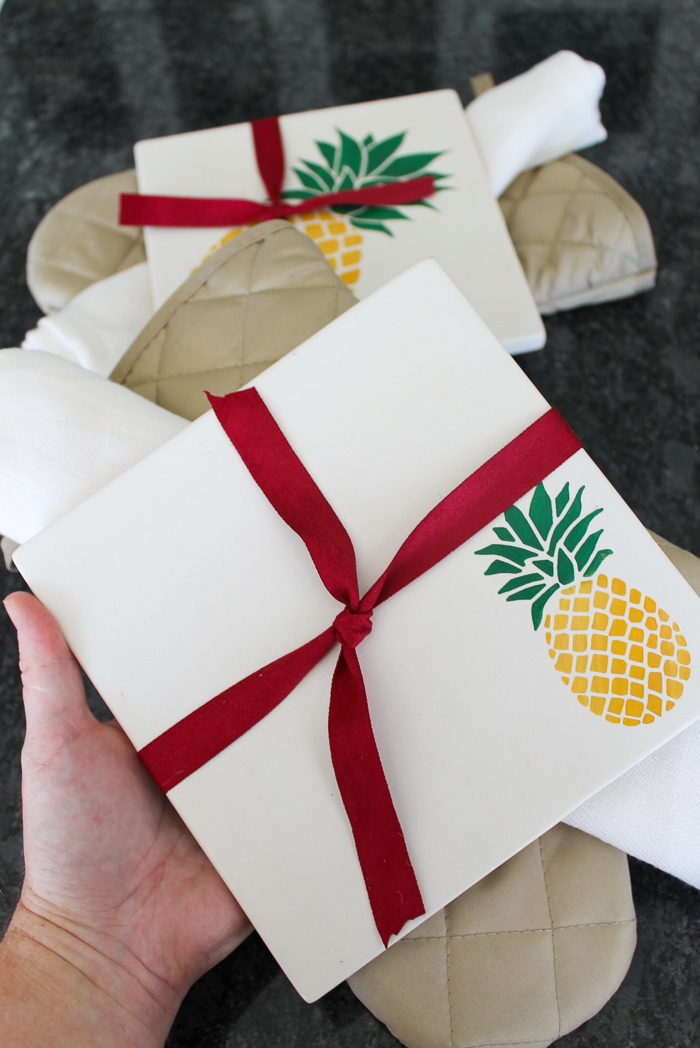
Bring a tropical touch to your kitchen with this beautiful ceramic trivet. Crafted from durable and high-quality stoneware, it features an eye-catching painted pineapple design that will add a cheerful vibe to any mealtime gathering. Perfect for protecting the dining table or countertop, this stylish trivet is sure to become an instant favorite in your home. With its unique look and practical function, this ceramic pineapple trivet is a must-have addition to any kitchen collection!
How to make a ceramic trivet
Did you know that you can make your own ceramic trivet to celebrate pineapple day on June 27th? I know – there’s a pineapple day! That’s wild y’all, but I’m here for it.
You can use white ceramic tiles and a stencil to paint your trivet. With acrylic paints and brushes, it’s really easy to add the pineapple design to your creation. The finished product is sure to be a conversation starter!
Your friends and family will love this unique and creative way to celebrate this special day. So go ahead – get crafty and make your own personalized pineapple trivet!
Happy Pineapple Day, everyone!
Note: If you are excited to make more crafts for Pineapple Day, check out this free SVG file to make a cute pineapple-themed bag using your Cricut.
Supplies needed
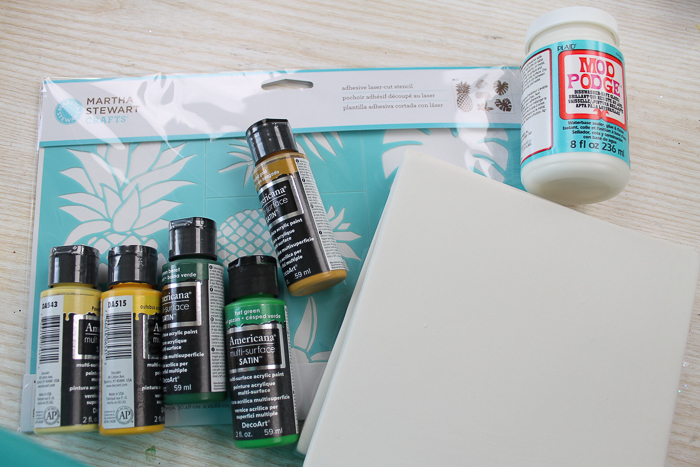
Here’s what you’ll need to gather in order to make this project. I’ve included a few handy links to make finding certain items easier.
- Ceramic Square Tiles (these unfinished ones are perfect for this project)
- Adhesive Stencils (the pineapple stencil can be found here)
- Craft Paint
- Mod Podge Dishwasher-Safe Formula
- Paintbrushes
- Adhesive Felt Pads
Ceramic trivet instructions
Follow along with the instructions below!
Step 1
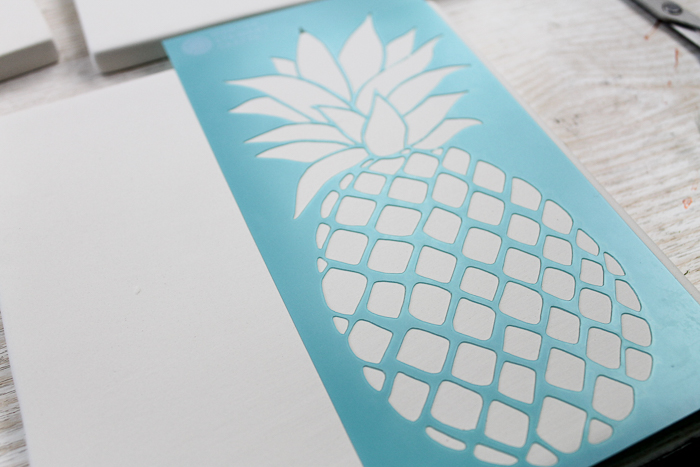
Just peel and stick your self-adhesive stencil onto your tile.
Tip: Using a stencil that is not self-adhesive? Try a stencil spray adhesive on the back for the best results.
Step 2
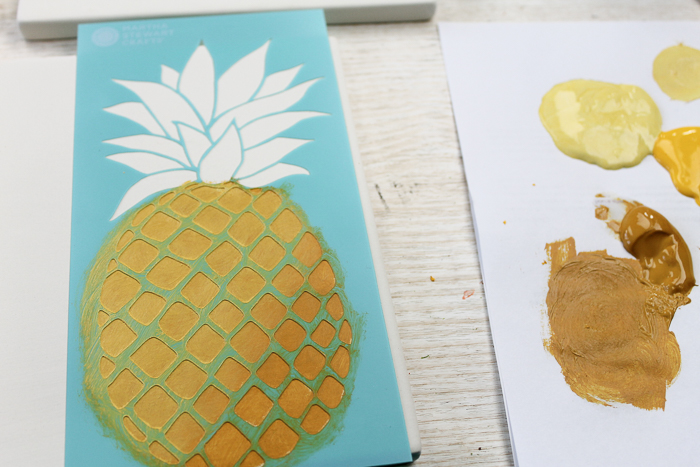
Then, start adding your paint, using a paintbrush. I used a few different shades of each color to add some interest to the piece!
Step 3
Remove the stencil once your painting is complete, and allow it to dry completely. Then, go over the top with a few coats of dishwasher-safe Mod Podge.
Follow all instructions on the bottle as far as how many coats and timing in between coats.
Note: You will also have to cure your DIY trivet for 28 days before actually putting it in the dishwasher.
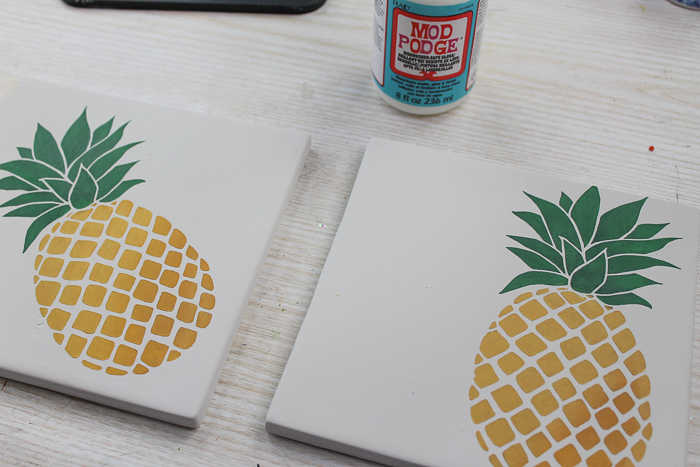
Step 4
Add felt pads to the bottom of each trivet to protect your counters. Then, you can add your ceramic trivet to a gift or use it in your own kitchen.
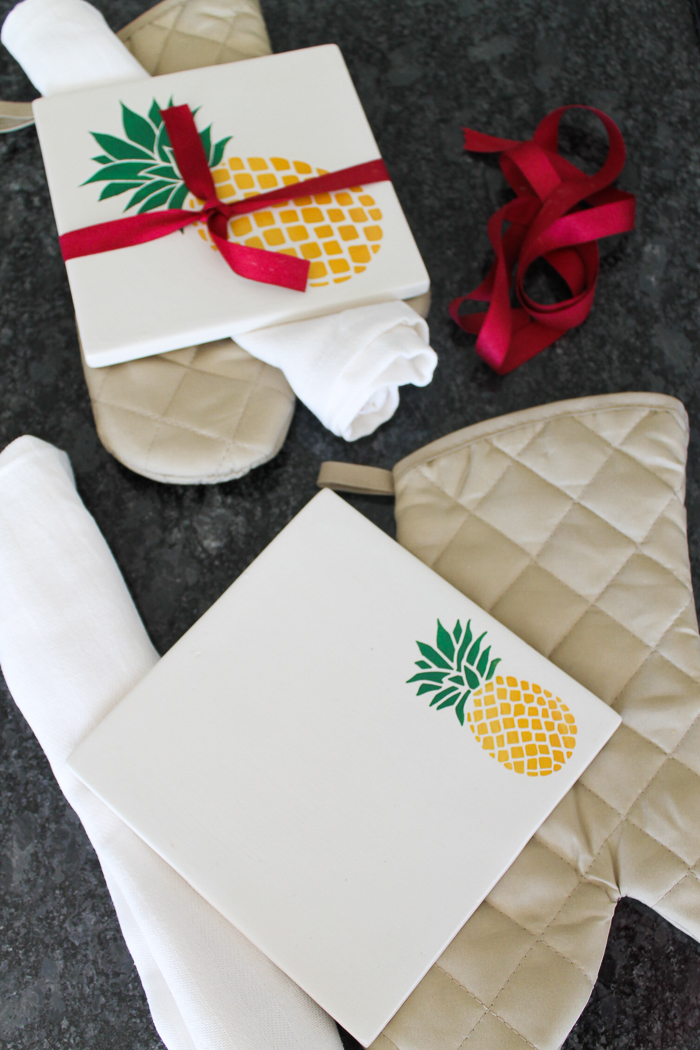
Note: You can hand wash these trivets, or they are top rack dishwasher-safe.
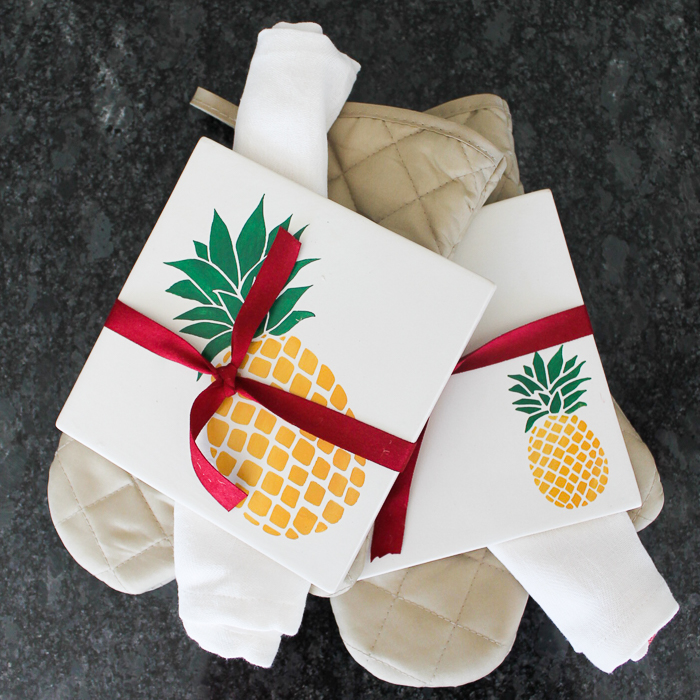
I made this version to celebrate national pineapple day, but you can mix and match stencils for any occasion and use this same technique!
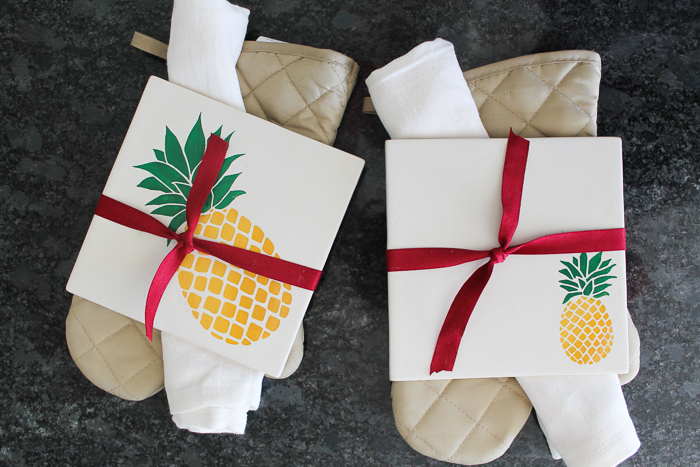
This is a really great project for any bridal shower you may have coming up as well.
Make a ceramic trivet with any design using this technique. You will love how easy these are to make!
FAQs
If you have questions about making this ceramic project, I have answers for you! Please leave your question for me in the comments if you don’t see it already answered below.
What kind of paint is best for painting a ceramic trivet?
Acrylic paints are the most commonly used when it comes to painting ceramics. They have great coverage and superior durability. Plus, they’re easy to clean up with soap and water!
Can I use oil-based paints on my trivet project?
No, oil-based paints will not work well for this project. The heat from hot dishes can cause the paint to melt or flake off your ceramic tiles if you use oil-based paint. Stick with acrylics!
How do I protect my finished piece?
To help keep your ceramic piece looking its best, consider sealing it with a clear sealant or varnish. This will help prevent scratches and other damage that can occur over time. Just make sure to read the instructions on the label before starting your project!
Does my trivet need to be fired in a kiln?
No, since this is not an earthenware ceramic project, you don’t need to fire it in a kiln. The paint should adhere just fine without taking it through that extra step.
Love this ceramic trivet and want more quick and easy craft ideas? Try the links below!
- Celebrate National Donut Day by making a shirt with this free donut SVG file from Practically Functional.
- Did you know that there is a Feed the Birds day? Celebrate it this year by making this adorable bird feeder from Ginger Snap Crafts.
- See, Lindsay is our guest co-hostess for this event. She is helping Seinfeld fans celebrate Festivus with this fun human fund donation printable.
- My long-time co-hostess is 30 Minute Crafts, and she is celebrating Lucky Penny Day. Turn your lucky pennies into a bracelet with this tutorial.
Supplies
Instructions
- Just peel and stick your self-adhesive stencil onto your tile.
- Then start adding your paint onto the stencil, using the paintbrush.
- Remove the stencil once your painting is complete, and allow it to dry completely. Then, go over the top with a few coats of dishwasher-safe Mod Podge. Follow all instructions on the bottle as far as how many coats and timing in between coats.
- Add felt pads to the bottom of each trivet to protect your counters. Then, you can add your ceramic trivet to a gift or use it in your own kitchen.
Notes
- Using a stencil that is not self-adhesive? Try a stencil spray adhesive on the back for the best results.
- You will also have to cure your DIY trivet for 28 days before actually putting it in the dishwasher.
- You can hand wash these trivets, or they are top rack dishwasher-safe.


