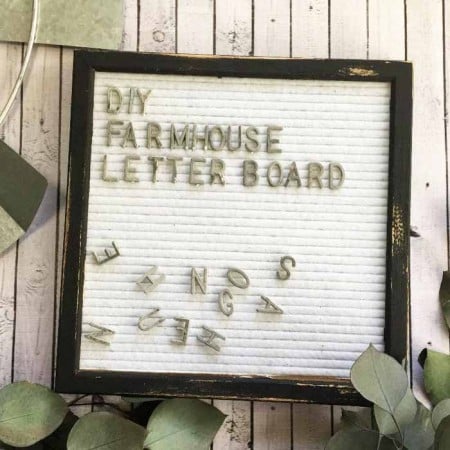
Create your own Farmhouse Style Letter Board! Letter boards are a really fun way to express yourself with music lyrics, quotes, announcements, and so much more. Swap out the letters to create your own messages! See how I made this into a farmhouse style from an original letter board.
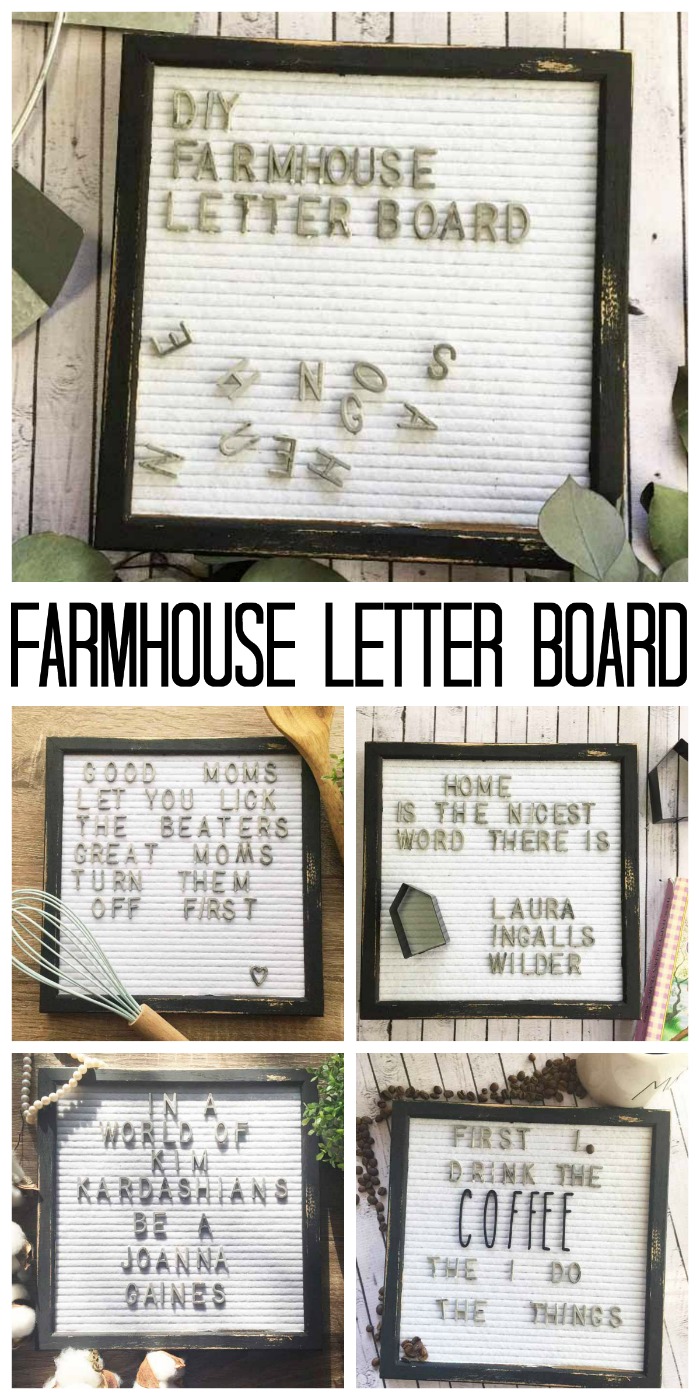
Being as I love a weathered farmhouse style and all that goes with it, I couldn’t quite find a letter board to fit my style, so I decided to create my own and you are going to love the results.
This would look great hanging in your kitchen. Use this to display the menu for the week, big reminders, cute quotes, and messages. This would also do well in an office with quotes for extra motivation. You can even make custom accessories with your Cricut to make this your very own!
How to Make a Custom Letter Board
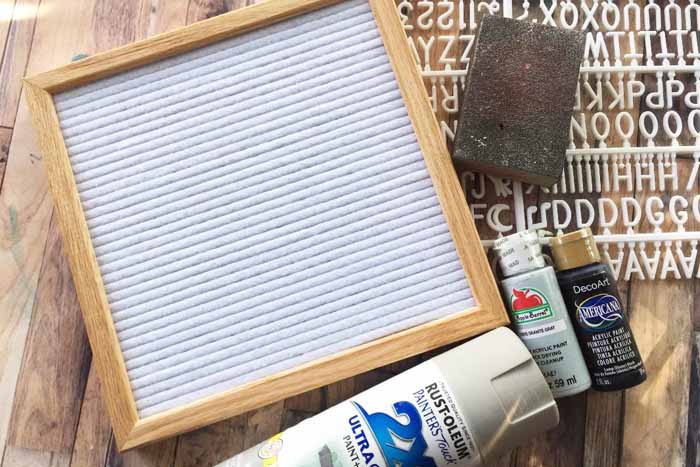
Supplies needed for this changeable letter board:
Some links below may be affiliate links which means that you do not pay anymore, however, a small commission will go to this site.
- Wooden letter board, any size
- Sandpaper or a sanding block
- Flat grey spray paint for plastic
- Clear coat spray paint
- Black acrylic paint
- Silver acrylic paint
- Foam brush
- Small paint brushes
- Damp napkins/paper towels
Instructions:
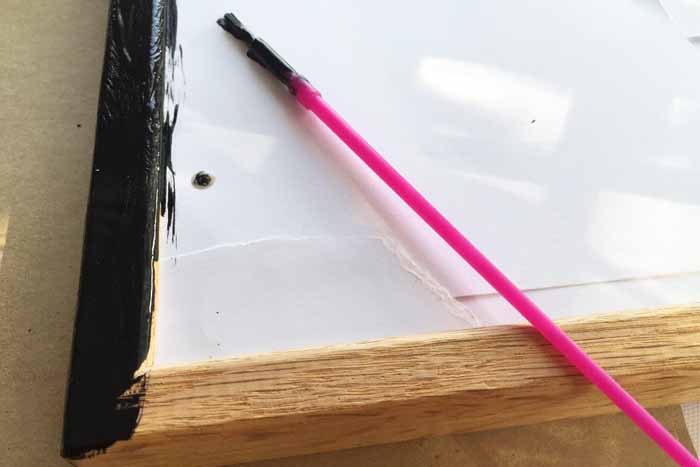
Sand the wood frame lightly and then wipe the dust away with a soft cloth. Since the surface is soft felt, you can’t use painter’s tape to protect the white center of the board. Push card stock up underneath the edge of the frame all the way around, being sure to cover it well.
Then give the frame a good coat of black paint, let it dry, and apply a second coat. At this point, you can carefully remove your cardstock (if you don’t, and the paint dries, it is much harder to remove all the paper cleanly from the frame).
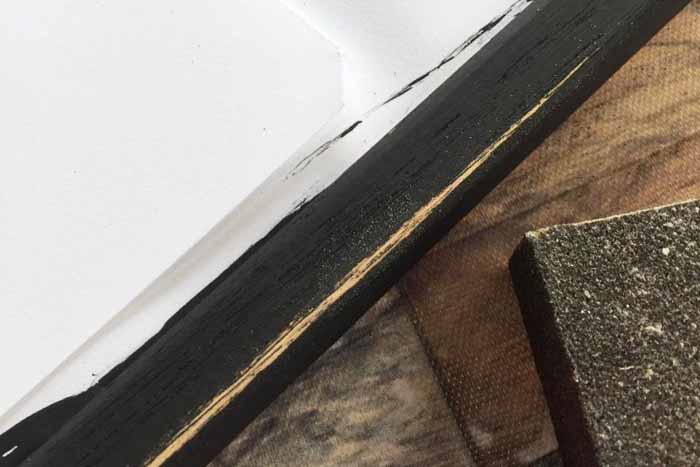
Allow the paint to thoroughly dry then take your sandpaper sanding block and wear away some of your paint. Concentrate on the edges and corners where normal wear and tear would happen. Once you are happy with the distressing of your frame, mask the felt again and give it a coat or two of clear spray to keep it from chipping anymore.
In between drying coats of paint on the frame, work on the letters. I left my letters on the main frame piece that they came on and gave them two coats of flat gray paint and primer in one that’s meant for plastic.
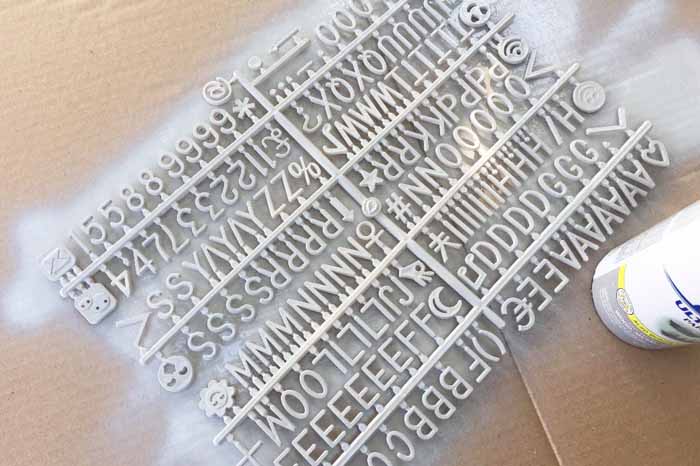
After your base coat is dry, take silver acrylic paint and use a small watercolor paintbrush to apply it in random spots over the letters and dab some off with a dry paper towel.
Once this coat has dried, you want to do the same thing with black paint but more subtly. I watered mine down a bit and wiped away the majority of the black with a damp napkin. Using the three colors gives your faux galvanized finish some dimension and helps it look more realistic.
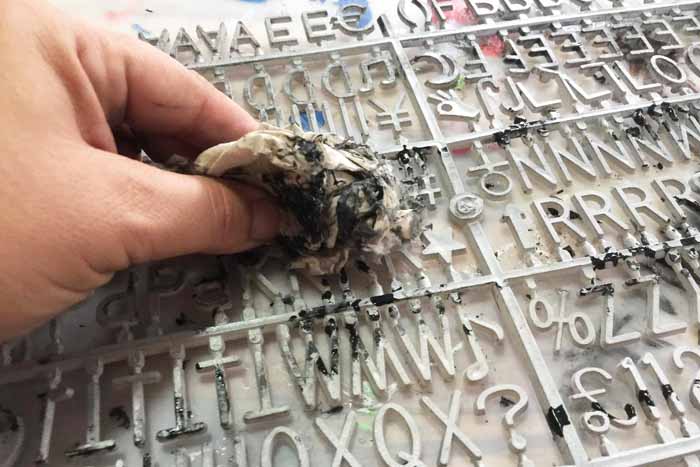
Finally, add a coat or two of clear to your letters to keep them from chipping.
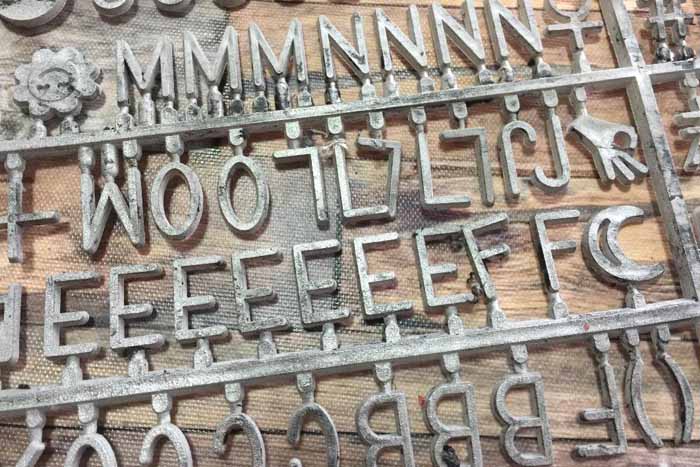
Then all that is left is to enjoy your unique farmhouse-style letterboard!
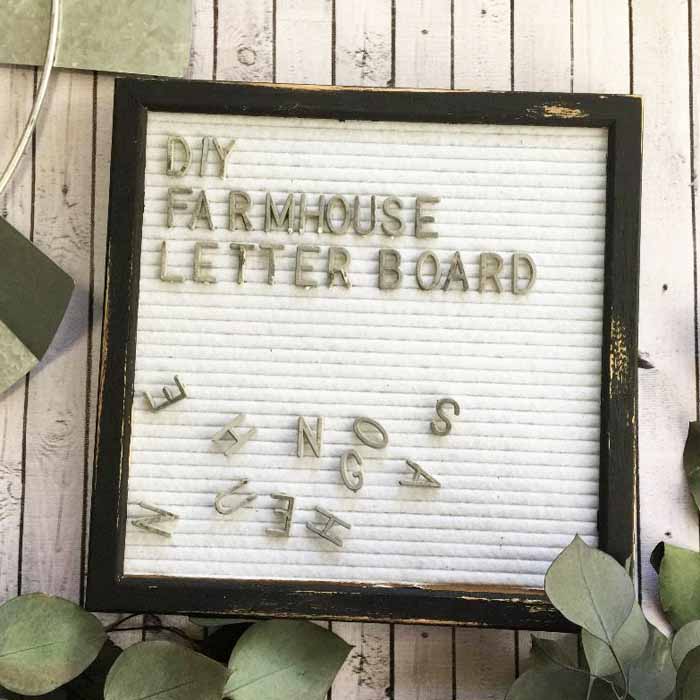
Letter Board Quotes
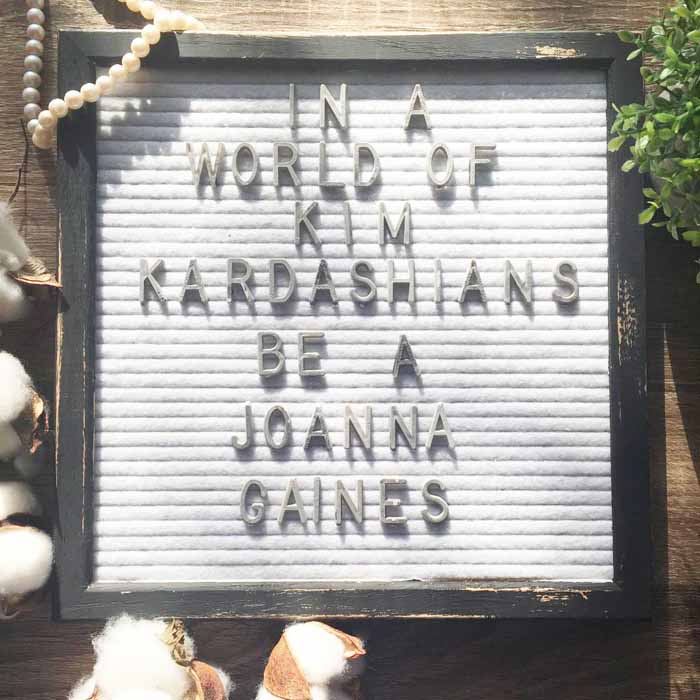
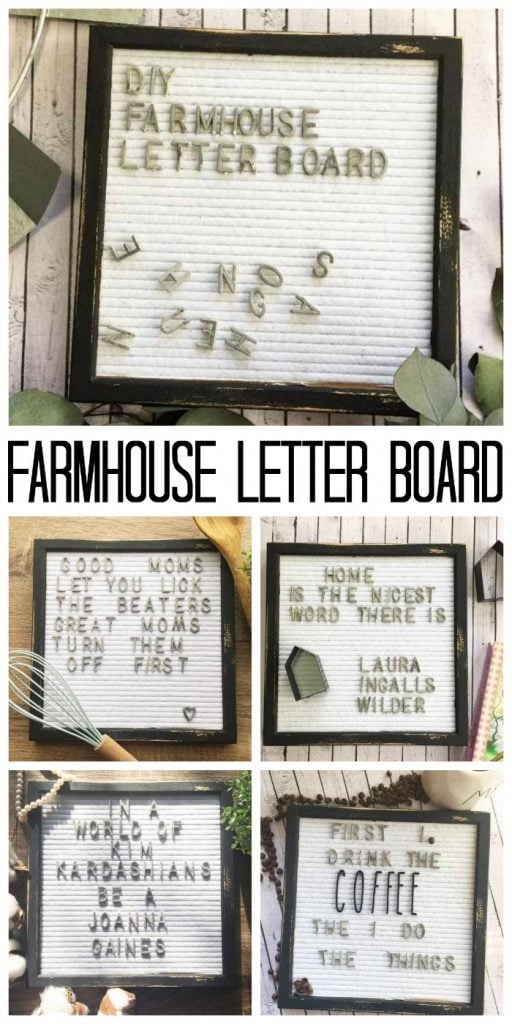
Here are a few quotes for inspiration! You can go with a famous quote or just a funny saying. Then just change it up as often as you like!
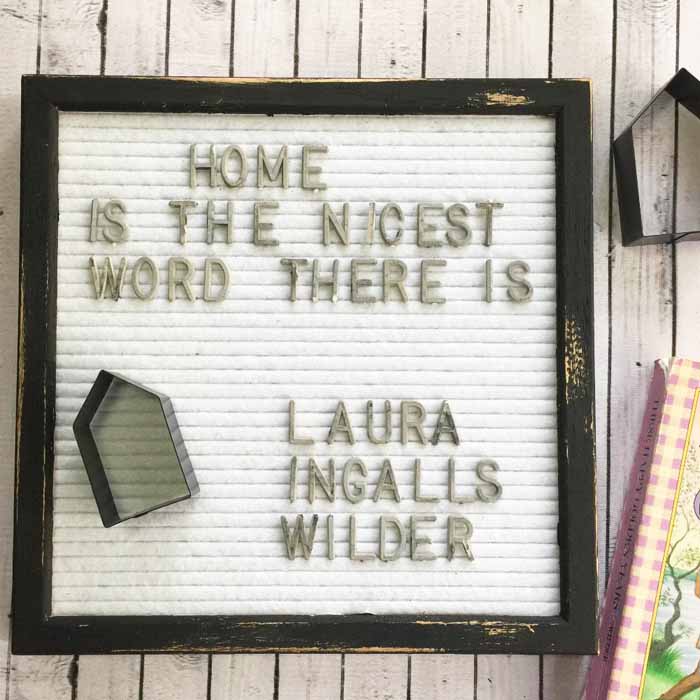
I love black as an accent throughout the house and of course, galvanized really adds some farmhouse charm to your decor. Decorate a changeable letter board to combine these trends with a weathered black frame and faux galvanized letters.
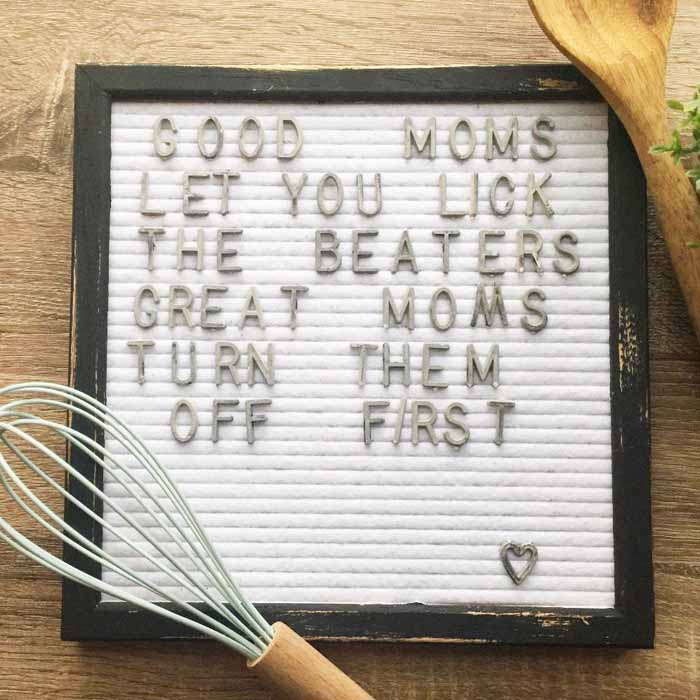
You might just need to buy more than one as you may need one in every room of your home.
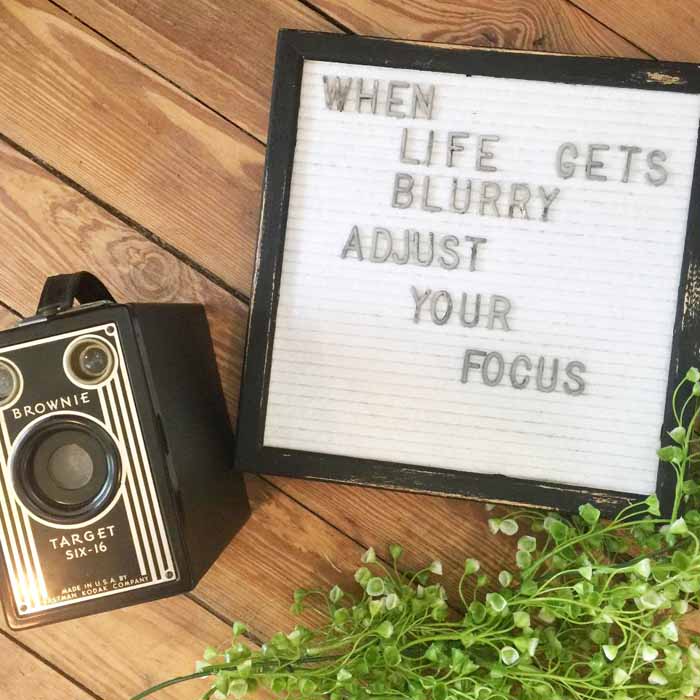
Do you really want to turn on the farmhouse charm? You can get these Rae Dunn-inspired letters for your letter board as well.
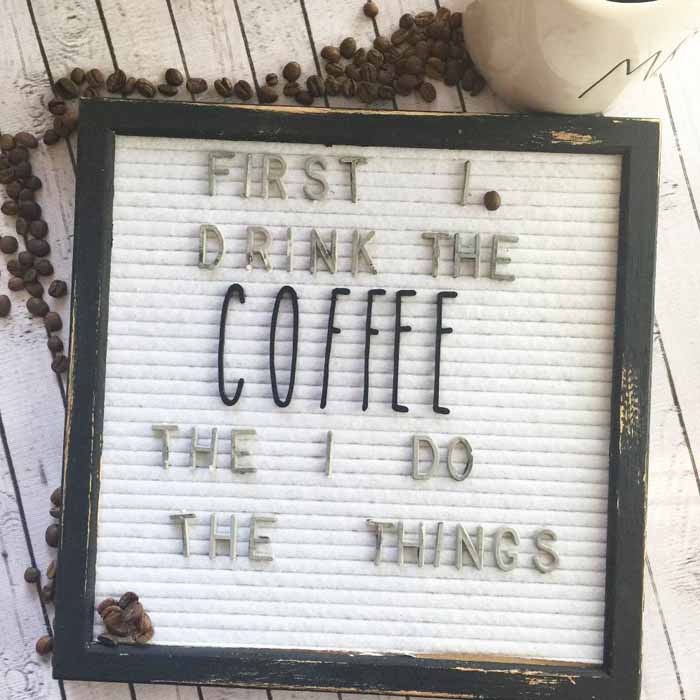
So, give this project a try in your own home. I think you will love the results!
Love this changeable letter board and want more ideas? Try the links below!
- Burlap Wreath Tutorial
- Farmhouse Window with a Wreath
- Wooden Box Centerpiece
- Make a Farmhouse Wreath
- Vintage Letter Board Ideas
Supplies
- Wooden letter board any size
- Sandpaper or a sanding block
- Flat grey spray paint for plastic
- Clear coat spray paint
- Black acrylic paint
- Silver acrylic paint
- Foam brush
- Small paint brushes
- Damp napkins/paper towels
Instructions
- Sand the wood frame lightly and then wipe the dust away with a soft cloth. Push card stock up underneath the edge of the letter board frame all the way around, to protect the white center of the board.
- Then, give the frame a good coat of black paint, let it dry, and apply a second coat. At this point, you can carefully remove your cardstock (if you don’t, and the paint dries, it is much harder to remove all the paper cleanly from the frame).
- Allow the paint to thoroughly dry then take your sandpaper sanding block and wear away some of your paint. Once you are happy with the distressing of your frame, mask the felt again and give it a coat or two of clear spray to keep it from chipping anymore.
- In between drying coats of paint on the frame, apply two coats of flat gray paint.
- After your base coat is dry, take silver acrylic paint and use a small watercolor paintbrush to apply it in random spots over the letters and dab some off with a dry paper towel.
- Once this coat has dried, you want to do the same thing with black paint but more subtly. I watered mine down a bit and wiped away the majority of the black with a damp napkin. Using the three colors gives your faux galvanized finish some dimension and helps it look more realistic.
- Finally, add a coat or two of clear to your letters to keep them from chipping.



Oh I luv what you did with this letterboard! Such a fun idea. I’d luv to invite you to share it with us at Wall to Wall DIY Wednesday, which runs thru Mondays!!