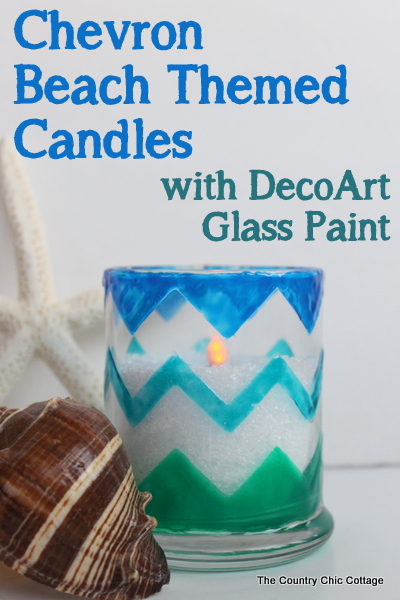
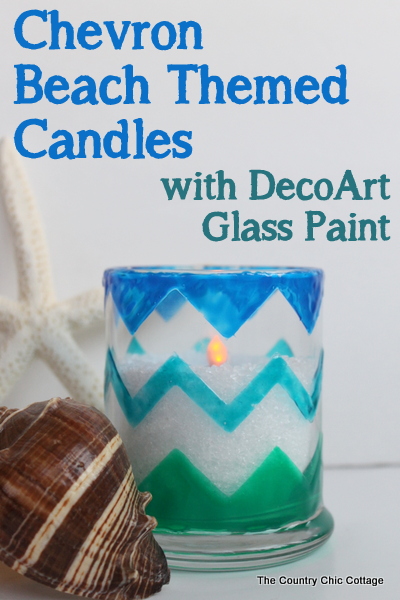
Are you missing sunshine and sand? My chevron beach-themed candle holders will help bring that beachy feel into your home. You’ll love how easy these candle holders are to make; they are the perfect accent to any nautical-themed decor.
If you’re interested in more beach decor, check out my posts here.
This project was originally posted in 2013. This post has been updated to include more information.
How to Make a Beach-Themed Candle Holder
Supplies needed to make a Beach-Themed Candle Holder
To make a chevron beach-themed candle holder, we’re going to need the following supplies:
- Straight-sided Glass Candle Holder
- Paint Markers
- Cricut Machine
- Vinyl
- Transfer Tape (if needed)
- Battery Operated Tea Light
- Epsom Salt or Sand
Instructions
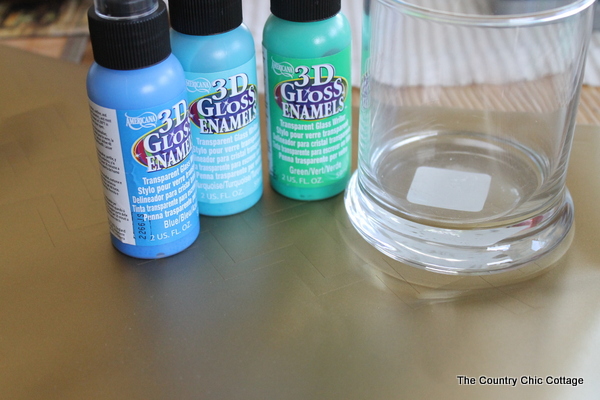
When I first made this project I used 3D Glass Writer paint. That product is no longer available, but you can get the same look with paint markers. I used green, turquoise, and blue for my colors.
My candle holder is from Dollar Tree; you can use any glass candle holder for this project.
How to Prepare Glass Surface
To prepare your candle holder for vinyl and paint, you need to clean it well. I always use rubbing alcohol with a lint-free cloth. You can also use a lint roller or glass cleaner. Just make sure your surface is clean of any lint or dust. Allow it to dry completely.
Creating a Vinyl Stencil
I knew I wanted my candle holder to have a chevron look. The chevron shape reminds me of waves in the ocean, so it felt perfect for this project.
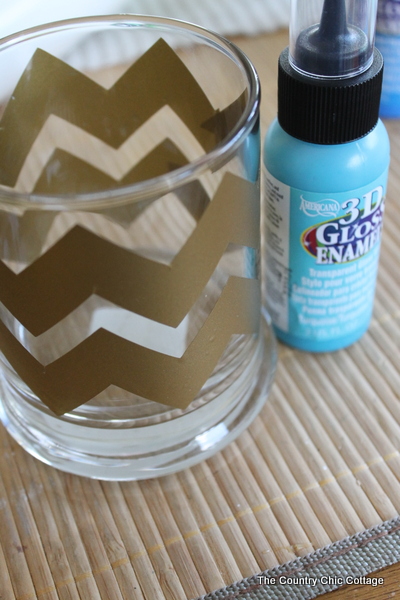
I used my Cricut machine to cut some chevron shapes out of vinyl. The color of the vinyl doesn’t matter; we’re just using it to create a stencil. Depending on the design you use, you may need to use transfer tape to keep it straight as you apply it to the candle holder.
Burnish the vinyl down well, making sure all the edges adhere to the glass so no paint seeps under the vinyl. This will help you have nice, crisp lines for your design.
How to Paint Glass Candle Holders
Now that we have our stencil applied, we’re ready to paint. Paint markers are great for projects like this. I find it’s easier to paint all the way around by inserting my hand into the glass candle holder.
Now, we can use the paint markers (or paint with a paintbrush) to fill in the exposed glass.
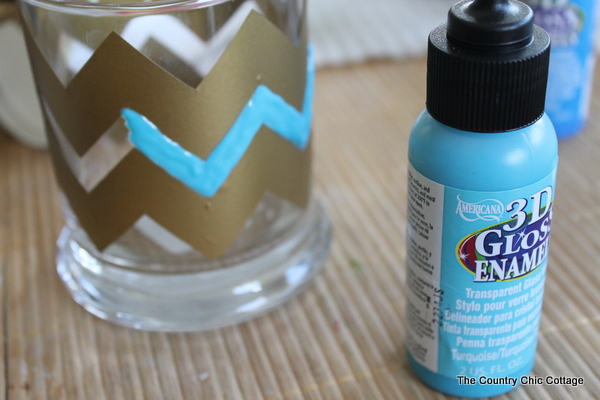
Because I initially used 3D paint, you may need to go over your design more than once to get the same effect. The final look is totally up to your preference.
Removing Vinyl Stencil
I removed my vinyl stencil while the paint was still wet. You don’t want your paint dripping wet, but the vinyl peels away better without peeling the paint if it is still a bit wet. I then peeled away the vinyl while the paint was still wet.
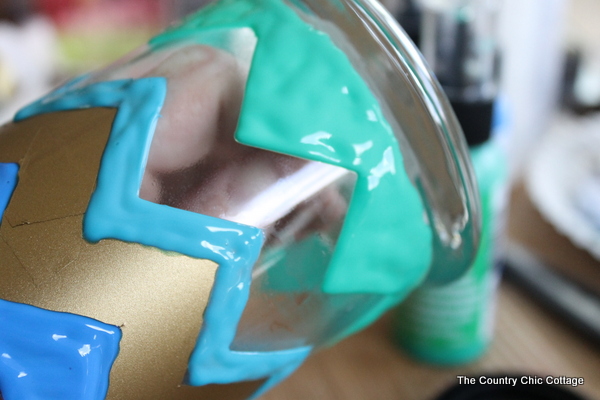
To finish your candle holder, allow the paint to dry completely and follow the directions for the type of paint you’re using to make sure it has time to cure completely before using.
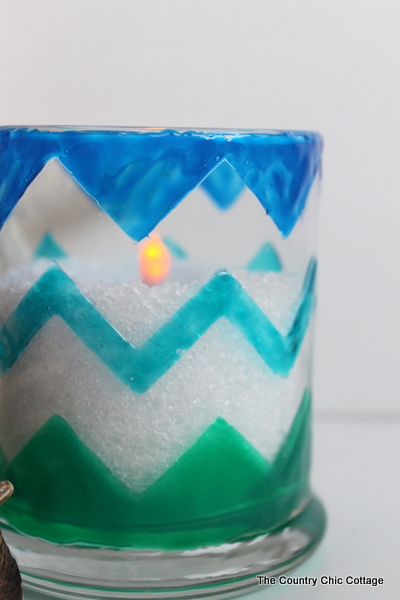
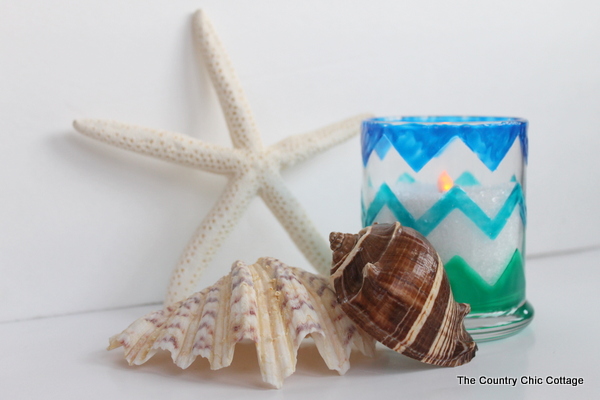
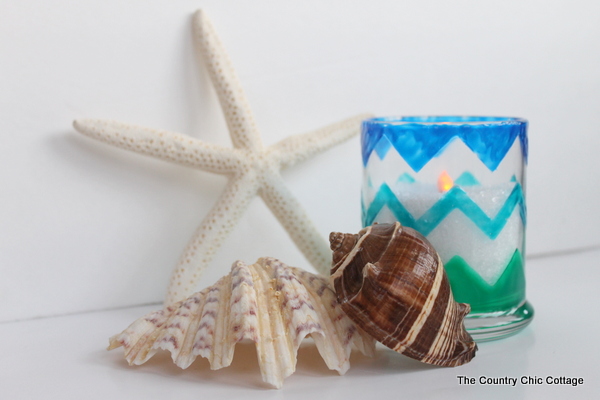
I added some Epsom salts and a battery-operated tea light to complete the look. You could also use sand from the beach instead of Epsom salt.
Final Thoughts on Beach-Themed Candle Holder
I love how this beach-themed candle holder turned out. I think it would be perfect in a nautical-themed bathroom or bedroom. With the Epsom salts and candle, it’s a nice and calming look.
Add some sea shells to complete the nautical look. You can use any color scheme or design you want to create decor that matches your room theme.
Looking for more nautical decor ideas. Watch me make a wreath that looks like a life preserver here.
Equipment
Supplies
To make a chevron beach-themed candle holder we’re going to need the following supplies:
- Straight-sided Glass Candle Holder
- Paint Markers
- Vinyl
- Transfer Tape
- Battery Operated Tea Light
- Epsom Salt or sand
Instructions
- When I first made this project I used 3D Glass Writer paint. That product is no longer available but you can get the same look with paint markers. I used green, turquoise, and blue for my colors.
- My candle holder is from Dollar Tree, you can use any glass candle holder for this project.
How to Prepare Glass Surface
- To prepare your candle holder for vinyl and paint you need to clean it really well. I always use rubbing alcohol with a lint-free cloth. You can also use a lint roller or glass cleaner. Just make sure your surface is clean of any lint or dust. Allow it to dry completely.
Creating a Vinyl Stencil
- I knew I wanted my candle holder to have a chevron look. The chevron shape reminds me of waves in the ocean so it felt perfect for this project.
- I used my Cricut machine to cut some chevron shapes out of vinyl. The color of the vinyl doesn’t matter, we’re just using it to create a stencil. Depending on the design you use you may need to use transfer tape to keep it straight as you apply it to the candle holder.
- Burnish the vinyl down well making sure all the edges adhere to the glass so no paint seeps under the vinyl. This will help you have nice crisp lines for your design.
How to Paint Glass Candle Holders
- Now that we have our stencil applied we’re ready to paint. Paint markers are great for projects like this. I find it’s easier to paint all the way around by inserting my hand into the glass candle holder.
- Now we can use the paint markers (or paint with a paintbrush) to fill in the exposed glass.
- Because the paint I initially used was 3D paint you may need to go over your design more than once to get the same effect. The final look is totally up to your preference.
Removing Vinyl Stencil
- I removed my vinyl stencil while the paint was still wet. You don’t want your paint dripping wet but the vinyl peels away better without peeling the paint if it is still a bit wet.
- I then peeled away my vinyl while the paint was still wet.
Finishing Beach Themed Candle Holder
- To finish your candle holder allow the paint to dry completely and follow the directions for the type of paint you’re using to make sure it has time to cure completely before using.
- To complete the look I added some Epsom salts and a battery-operated tea light. You could also use sand from the beach instead of Epsom salt.
Final Thoughts on Painted Candle Holder
- I love how this project turned out. I think it would be perfect in a nautical-themed bathroom or bedroom. With the Epsom salts and candle, it’s a nice and calming look.
- Add some sea shells to complete the nautical look. You can use any color scheme or design you want to create decor that matches your room theme.



What an awesome giveaway! I think I would make some candleholders for sure, then maybe decorate some wine glasses.
Wine glasses!
I would decorate a candy dish for Christmas.
Name on rafflecopter: Mary Happymommy
Kids glasses
me and my kids would make christmas ornaments for gifts
Thanks for the giveaway! This is awesome.
What a great idea! I am going to do this for sure! Thank you!
Love this idea and I also would LOVE to win the give-away. 🙂 I love the idea about using the epsom salts and battery tea light! 🙂
thanks again
I would make something like in the post.
I have so many glass jars that I could decorate with this paint.
Great giveaway! I would start with wine glasses!
I would use to make hot air ballons from light bulbs. Perfect!
I would use it for my chandelier renovations!
Beautiful idea!
I would buy the Project Life Journalling from SNAP and maybe some stamping stuff. A girl can never have too much stamping stuff!
All things nautical…redoing cause my husband loves to sail.
All things nautical…redoing cause my husband loves to sail.
All things nautical…redoing cause my husband loves to sail.
Can’t imagine all the gifts I could make with these! Would probably start with some wine glasses for friends and a vase for my mom!
I would use I on all my DIY supplies I need things I will be making for my wedding reception