What do you do on rainy days? Have trouble keeping the kids entertained? Try some arts and crafts! These kids canvas art ideas are perfect for a rainy day because they can literally spend as much time as they want on them. Enjoy some rainy day activities with your kids so the next rainy day won’t seem so boring. This project is not hard at all and it can be made in a variety of ways. So, use a few of the techniques below to get crafty with your kids!
Kids Canvas Art Ideas
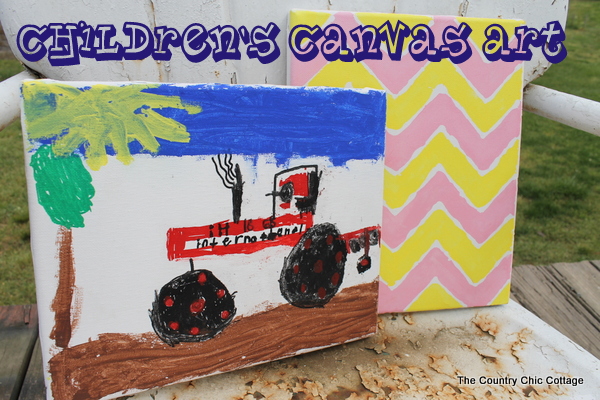
As I mentioned before, these kid’s canvas art ideas are perfect for a rainy day! Below I am sharing a few examples of the artwork you can make, but depending on the age of your children the sky is truly the limit!
Supplies Needed For Kid’s Canvas Art
Idea #1: Glue Resist Art
I read about a batik technique involving Elmer’s School Glue Gel. For this technique, you will need a canvas and glue.
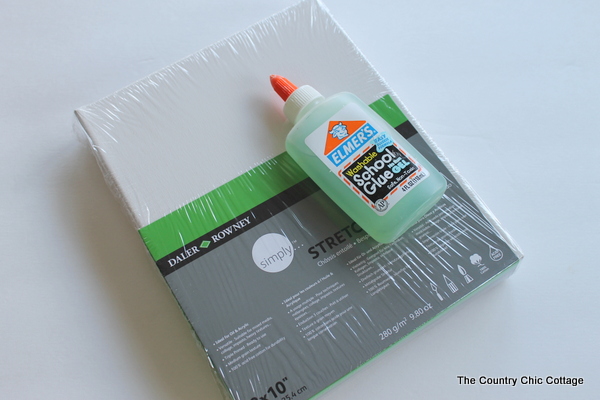
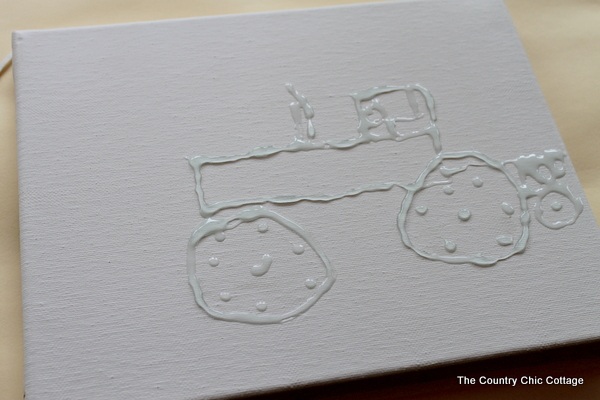
Step 1: Draw On Your Pattern With Glue
Draw on your pattern with glue. Allow the glue to dry or let the kids dry it faster with a hair dryer.
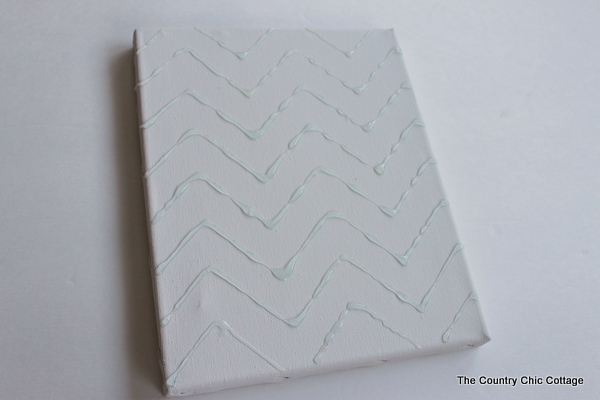
Step 2: Paint Over The Top Of The Glue
Paint right over the top of the glue. The glue acts as a mask, so any area under it will be left white.
Once you are done painting, set your canvas aside to dry.
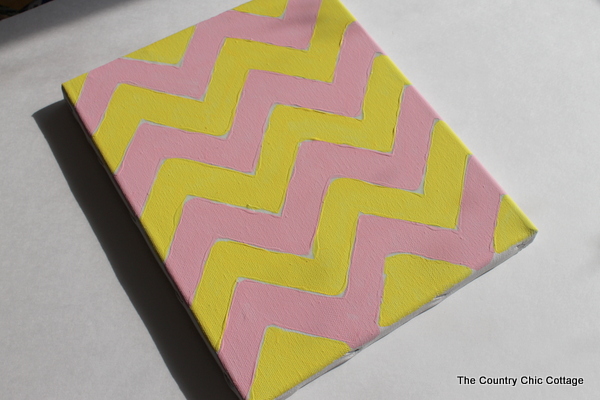
Step 3: Drop Your Painted Canvas Into Water
Then, literally, drop your dried painted canvas into the water for about 5 minutes.
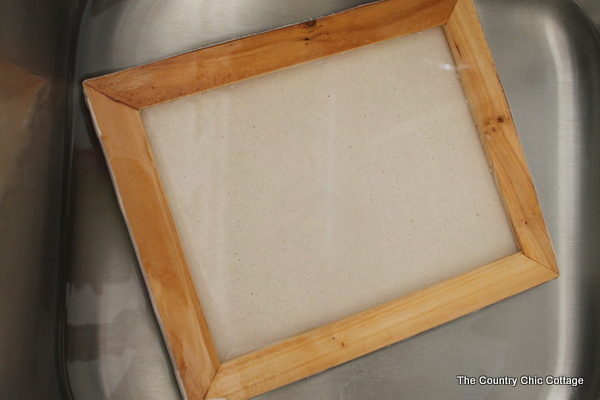
Step 4: Dry Canvas With Paper Towels
Dry the canvas with paper towels. The paint will lift right off of the glue.
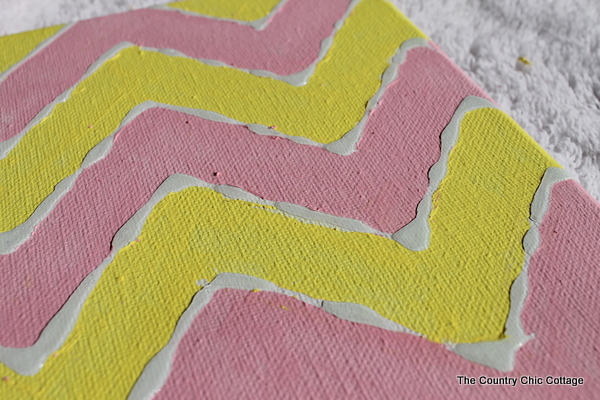
Step 5: Lift The Glue Off Of The Canvas
Continue to work with dry paper towels until the glue lifts from the surface. Work your way around the entire canvas.
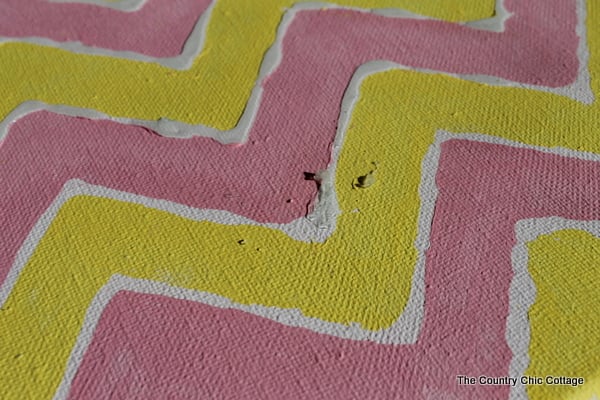
This glue technique is great for little kids who struggle with painting. It keeps them in the “lines,” and then you can remove them.
Idea #2: Use Paint Markers
Another great technique to use for the little ones is Elmer’s Painters Markers!
They make a painting just like drawing a picture. For the little guy who has a hard time handling a paintbrush — these are heaven-sent.
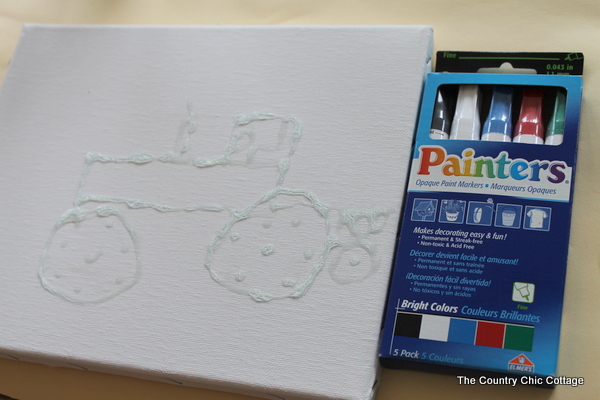
You would repeat the same steps listed above, but add the paint markers during step 2.
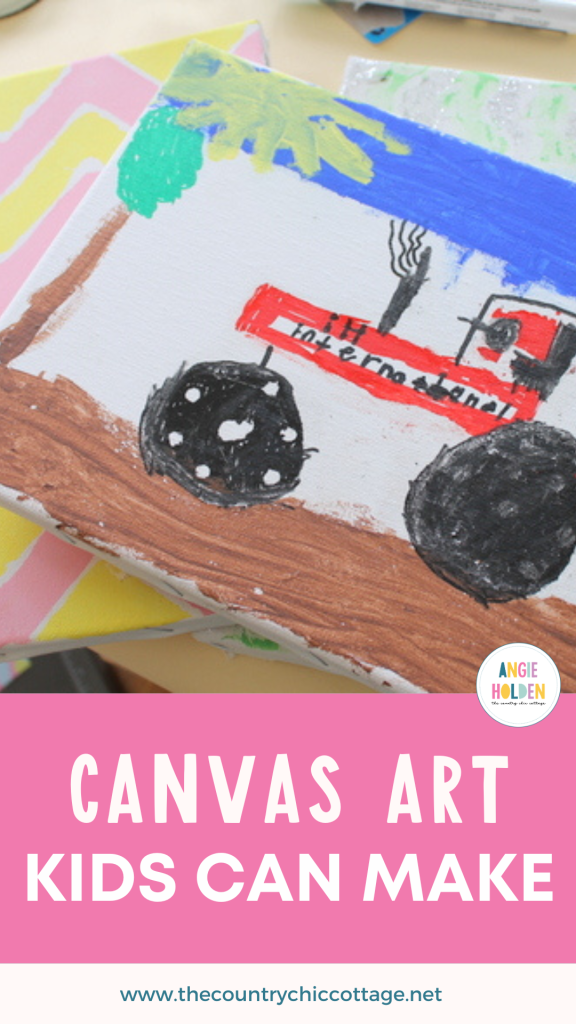
The final product was created using a mixture of paint markers and brushes, but you could also use paint markers.
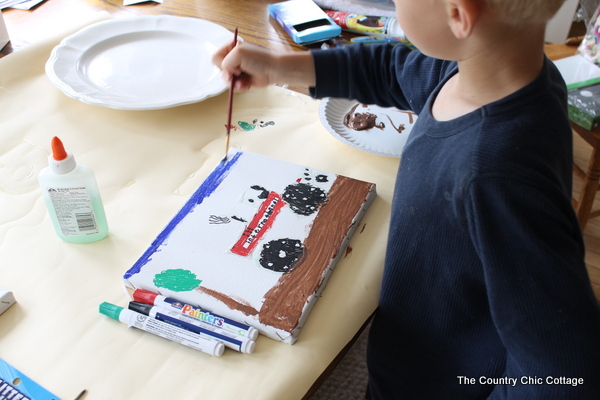
Idea #3: Allow Creativity
The preteen even got her crafting on!
Of course, we did not have to use as many “little hand” techniques. She could go wild with paint and create some art. You could even let your little one make a Halloween canvas to decorate your home.
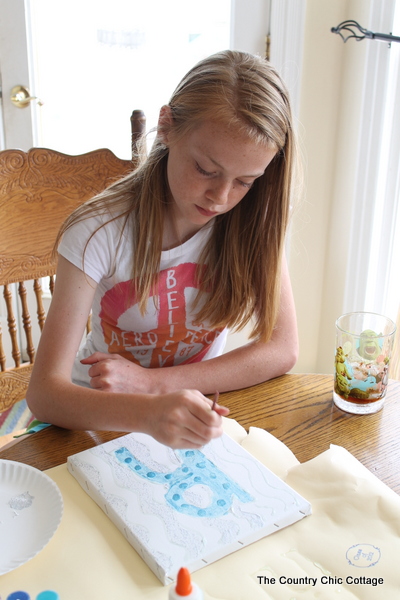
The best thing about these pictures is that they can spend all day tweaking them. And the little man most certainly did.
Depending on the supplies you have on hand, you could also add stickers, pom poms, and more to your canvas!
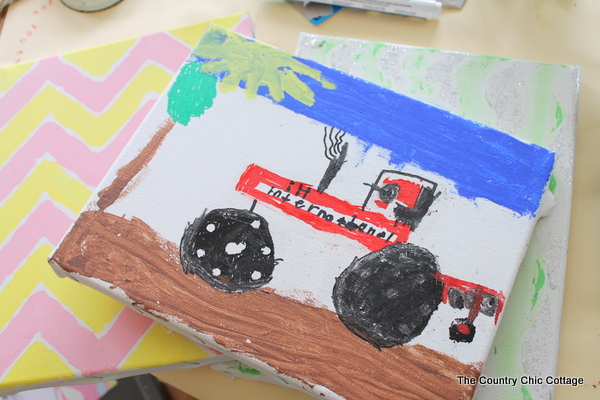
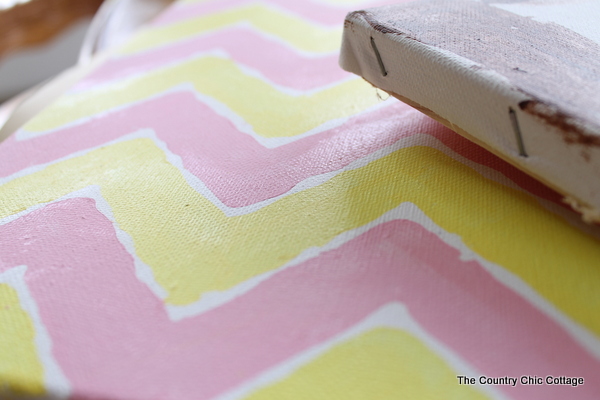
Here is the finished version of the chevron print we made using the batik technique. It turned out great, and the colors are such pretty spring colors!
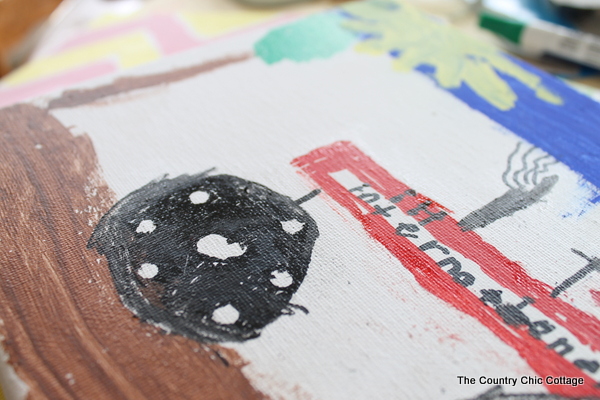
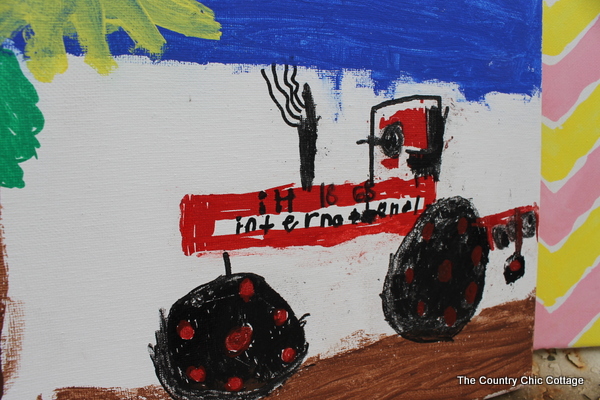
This is the official finished product…I think…he might have even tweaked it again. That is another good thing about using paint markers…as long as he remembers to put the lid back on so they will not dry out and are readily available.
The perfect pieces to hang in their room or any room in your home! Plus, you can easily show off your kid’s canvas art with pride since they are on a stretched canvas.
Have you done any rainy day activities with your children lately? I would love to see them if you would leave me a link in the comments below.
Tips and Tricks for Kids Canvas Art
Now that you’ve seen how to make kid’s canvas art, are you ready to make your own? Here are a few tips and tricks to ensure your project goes smoothly!
- Create a Painting Mat – If you scroll back up to the photos of my kids painting, you will notice that they are painting their canvases on top of a sheet of paper. This is because 1) I didn’t want my table to have paint stains, and 2) it allowed the kids to really get creative! If you are looking for some budget-friendly ideas on how to protect your table and create ”painting mats,” below are a few!
- Tablecloth (you buy a cheap one from Dollar Tree – just make sure it’s heavy-duty enough for the supplies you are using)
- Poster Board
- Foam Board
- Roll of craft paper
- Wrapping paper, you are no longer using
- 12×12 Paper (or that scrapbook paper you bought years ago but now you think it’s ugly)
- Large Trays
- Old shower curtain
- Old cutting mats that you don’t use anymore.
- Skip the Fancy Glue – With all the glues out on the market, it can be tempting to get a ”special type” of glue. However, for this project, regular Elmer’s School Glue Gel is all you need!
- Can’t Draw? Then Trace! – If you want to make this project a bit easier and quicker for the kids, then grab your stencils! You or your kids could trace a stencil design lightly with a pencil, then go over it with the glue. This takes the stress out of drawing and is great if you have a preteen who feels like they are not creative or a little one who just wants to be in on all the fun! If you have a Cricut machine and want to make custom stencils for your kids, check out the links below!
5 More Kids Craft Ideas
Will you try these kids’ canvas art ideas with your children? I know they will love spending time with you and crafting the day away. So, be sure to grab a few supplies and get creative!
Also, if you loved this project and are looking for more kid’s craft ideas, check out the links below!
- Making Straw Rockets with Kids
- Kids String Art Craft Idea
- Painted Pasta Kids Craft
- Cornstarch Playdough
- Smiling Llama Felt Finger Puppet



What a great idea for a rainy day! Now they will have their own artwork for the wall! cute!
I love the glue-resist technique! Looks like a very fun and delicious time for all!
That’s seriously amazing!!! I applaud you at your creativity to think of that ….. seriously 🙂 Your kids are adorable too
Pamela
Awesome technique Angie!!! And um… TCBY Frozen Yogurt break? I’ll take one of those anytime!!! I did not know that you can buy that at Walmart now, I’ll be grabbing some on my shopping trip today!
What a fun craft for the kiddos! Mine would love that and I certainly wouldn’t have to ask them twice to eat the frozen yogurt!! It’d be gone in a flash! ~ KIM @ Sand & Sisal
The artwork is adorable but comes in second to your kids!! They are gorgeous! The yogurt looks yummy too.
Love the resist idea- totally going to try it! : )
What a fun project. That chevron one is so cute. Skip the kids, I am trying this project for me!
Oh wow! What a cool technique!
And TCBY=YUM. Love that stuff!
What a great idea! My boys would love this.
-Erin Spain
DIYOntheCheap.com
Love this idea! I am going to try this during the summer with my three kids!
Our grandkids are with us 4-5 days every month. The next visit we are SOOOO doing this. Many thanks for taking the time for this blog
So cute! I love that fun little tractor. And you are making me very hungry for dessert!
These canvases are great Angie. I love the cute tractor painting your little boy did. How fun. And yum, the TCBY Cookies and Cream is so good.
How fun! My nephews and niece would love to do this, so thanks for the tutorial!
TCBY and crafts?!? That’s my kind of day!! 🙂 How fun!
This is so great!! I love your craft and will need to do this with my kids soon. Painting and TCBY… perfect combo!
Love this idea.. and the TCBY looked yummy.
Minta
I just wanted to let you know; I plan to do this! I haven’t yet, but I will be 😉 I’m so excited about it for the kids that I nanny! I nanny a 2 year old and a 4 year old, and I have a 2 year old. It seems PERFECT, especially for the four year old! I just created my new blog and my first real post was 24-Mothers Day Gifts that don’t Break the Bank! I shared this, and wanted to let you know in case you need any additional kind of credit/linking.
http://freshlymessylife.wordpress.com/2014/05/04/24-mothers-day-crafts/#more-25
But your blog is amazing, and I thank you for sharing this!