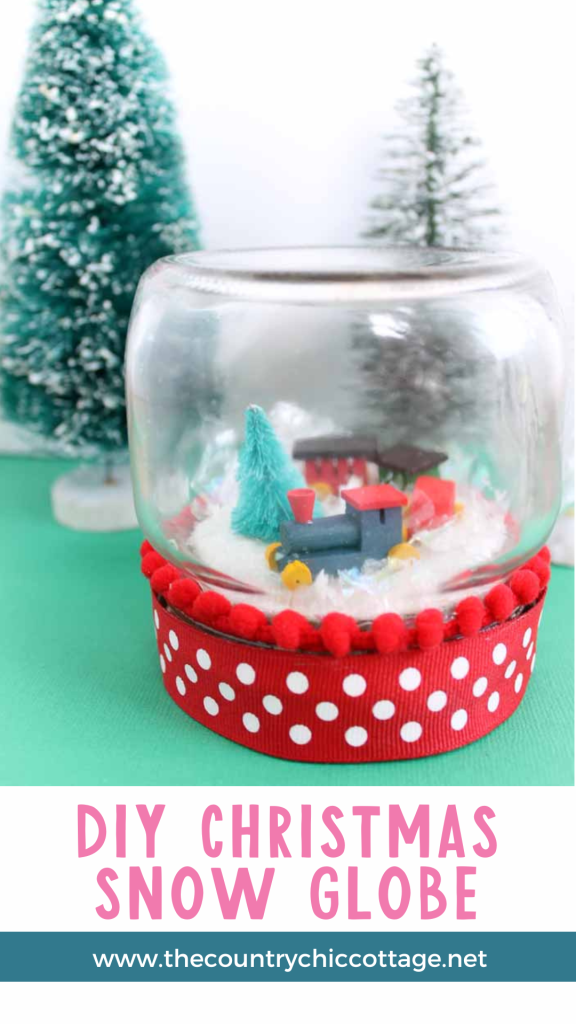
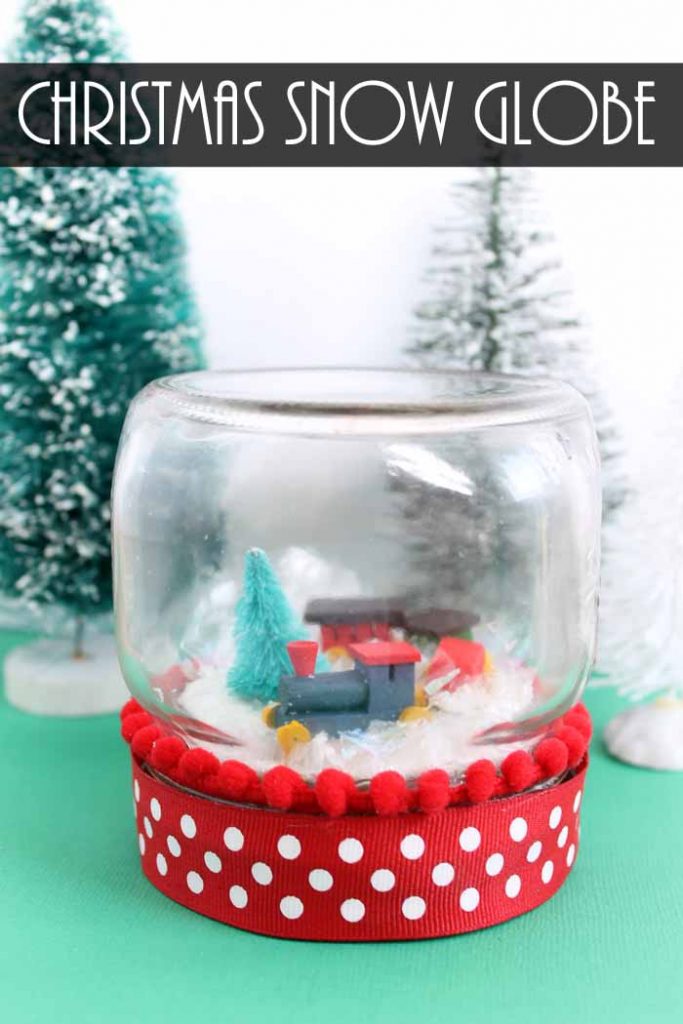
Make a DIY Christmas snow globe in minutes with this super easy technique to add a train to a jar. A holiday train snow globe is a quick and easy way to add some fun to your holiday decor!
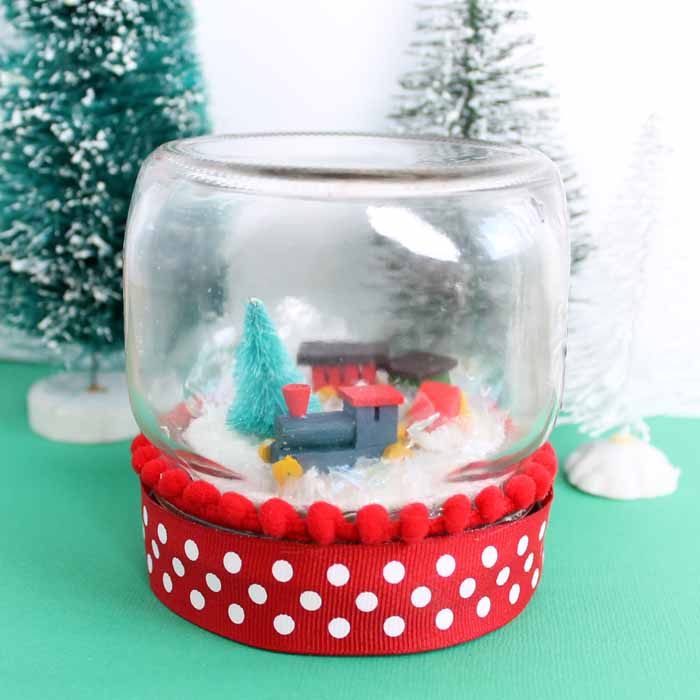
DIY Christmas Snow Globe
I thought a quick video would be a great way to show how to make this DIY Christmas snow globe with a train. You can watch the video below!
Can’t watch the video or missed some of the steps? Follow along with our step-by-step instructions for how to make a Christmas snow globe below!
How To Make DIY Christmas Snow Globe
Many people believe that making snow globes is “too hard” to attempt. But I’ve made several of them myself, and I can vouch for them being much easier than you may expect!
In addition to this fun Christmas train snow globe, I’ve also made a Mason Jar Snowman Snow Globe, Snow Globe Present Toppers, and even Mini Snow Globe Ornaments!
Kids love snow globes because they have an almost magical quality to them. They allow kids’ imaginations to run wild on the images inside.
Today’s tutorial will walk you through adding an item like a miniature train to a snow globe. My way of doing it is quick and easy and yields terrific results!
You can add whatever miniatures you love to this jar snow globe, but this miniature train is my fave. It is just perfect for the holidays.
NOTE: If you want even more Christmas snow globe inspiration, check out my EOS Lip Balm Snow Globe, Easy Snow Globe with Glitter, and Mason Jar Christmas Craft Snow Globe Toppers, perfect for adding to the top of mason jar gifts!
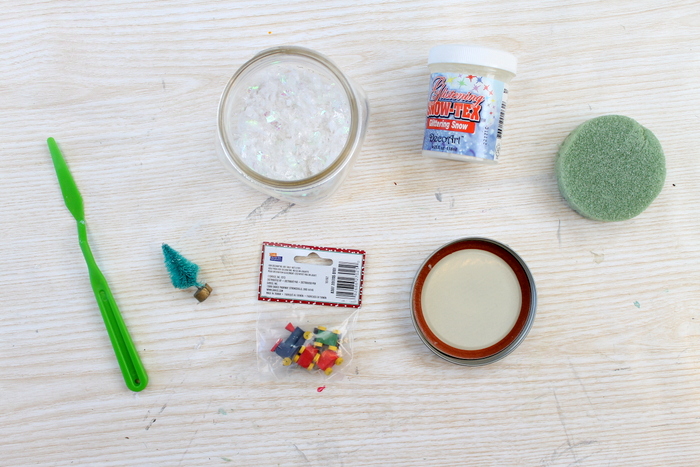
Supplies Needed To Make DIY Christmas Snow Globe
- Ball Elite Collection Wide Mouth Pint Jars
- DecoArt Glistening Snow-Tex
- Foam Disc (should be a tight fit in jar mouth)
- Palette Knife
- Miniature Tree (I used one that was about 2 inches tall)
- Miniature Train
- Hot Glue and Glue Gun
- Artificial Snow
- Scissors
- Ribbon
- Pom Pom Trim
Step 1: Apply Snow-Tex
Apply a thick layer of Snow-Tex to the top of your foam disc with a palette knife. Then, allow the Snow-Tex to dry for at least 24 hours. Check it closely to ensure it is dry before moving on.
Step 2: Cut Base Of Tree
Cut the base of the tree off with a pair of scissors.
Step 3: Hot Glue Tree & Mintuatres To Snow Base
Use hot glue and your hot glue gun to adhere the tree and the wood train to the snow base.
Step 4: Add Artificial Snow To Mason Jar
Insert some artificial snow inside the mason jar.
Step 5: Add Snow Base To Mouth Of Jar
Add the foam disc (with the tree and train attached) to the mouth of the jar.
NOTE: This should be a REALLY tight fit! If it isn’t, you will need to secure it around the rim with a bit of hot glue.
Step 6: Screw On Lid
Next, add the lid to the jar of your Christmas snow globe.
Step 7: Hot Glue Ribbon To Lid
Secure the ribbon around the mason jar lid with some hot glue.
Step 8: Hot Glue Pom Pom Trim To Lid
Finally, using hot glue, add pompom trim above the ribbon. This will help ensure that your foam disc is covered when looking at the snow globe and give it a nice finish.
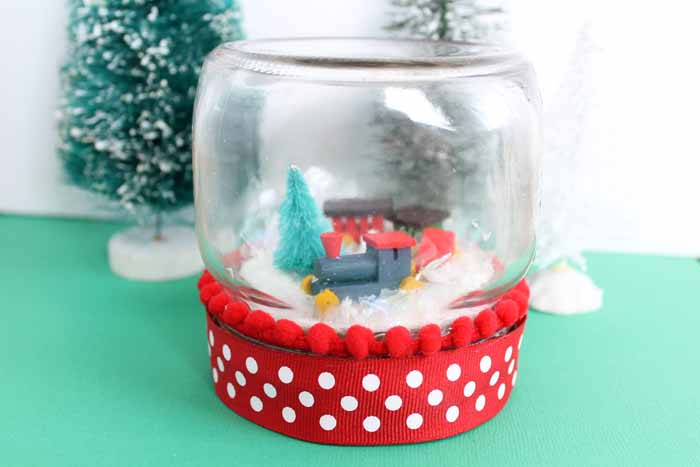
Your train snow globe is complete and ready to add to your holiday decor!

Isn’t it cute? Add a Christmas snow globe to your holiday crafting list. The kids will love to help with this one!
FAQs About DIY Christmas Snow Globe
Here are a few common questions that I often see readers asking about DIY Christmas Snow Globes. If you have a question, please check if I’ve already addressed it below. If you don’t see your question listed, please leave it in the comments!
Can I Use A Different Type Of Glue For This Project?
Hot glue is ideal for crafting projects like this one because it’s affordable, dries quickly, and has a strong hold. However, you could use crafting or super glue if you don’t have a hot glue gun.
When using other types of glue, just be aware that the setting time may be longer, and you’ll need to hold items in place until the glue sets.
Could I Make A Christmas Snow Globe With A Plastic Mason Jar?
I prefer using glass because it’s more eco-friendly, and the final product looks better. However, if you are worried about the safety of young children, you can use a plastic jar to make a train snow globe. The process would remain the same, but the final result may look slightly different.
Here’s a great example of a DIY Mason Jar Christmas Snow Globe that uses a plastic jar! It doesn’t use a train, but it does a great job of showing the process and the possibilities.
Where Can I Find Miniatures For This Project?
You can find miniatures on Amazon or in the miniatures section at your local craft store.
NOTE: If you have never checked out the miniature section at your craft store, it’s usually mixed in with dollhouse items.
What Else Can I Use For Miniatures?
Besides miniatures, you can also use items from the jewelry section (like charms), 3d embellishments designed for paper crafting, or even miniature ornaments.
5 More Christmas Crafts
Do you love this DIY Christmas snow globe and want more Christmas crafts? Try the links below!



OK Angie, where in dickens did you find that tiny train? Sure is cute. You make this looks quick and easy, would love to make a few with maybe different objects in them.
want to make nice quick easy gifts so these would qualify. Don’t have much money at all, gifts will be small token things.
When we get paid in Nov.,day before Thanksgiving, won’t get paid again til 2 days after Christmas, 5 weeks. Hence need for small gifts.Thanks so much Uncle Sam, sigh. Such fun being on SS,lol.
Happy Sunday
I ordered from ConsumerCrafts Jane but saw some on Amazon. I would be willing to bet they would be at a craft store perhaps in the miniatures section! They are really inexpensive and perfect for quick and cheap gifts!
That is as cute as can be Angie! And it looks easy too, which is a big plus!
The tiny train is adorable. Love how simple this project is. Visiting from #HomeMattersParty