You can make this class door decoration for any teacher in just minutes. This is a super fun way to celebrate back to school and you just need a few supplies to make your own version. This is a part of Craft Lightning Back to School where we are posting 15 minute back to school crafts all week. You can catch up with the fun on day 1 if you missed the post from yesterday. Also be sure to scroll to the bottom of this post and see the ideas from our blog partners for today.
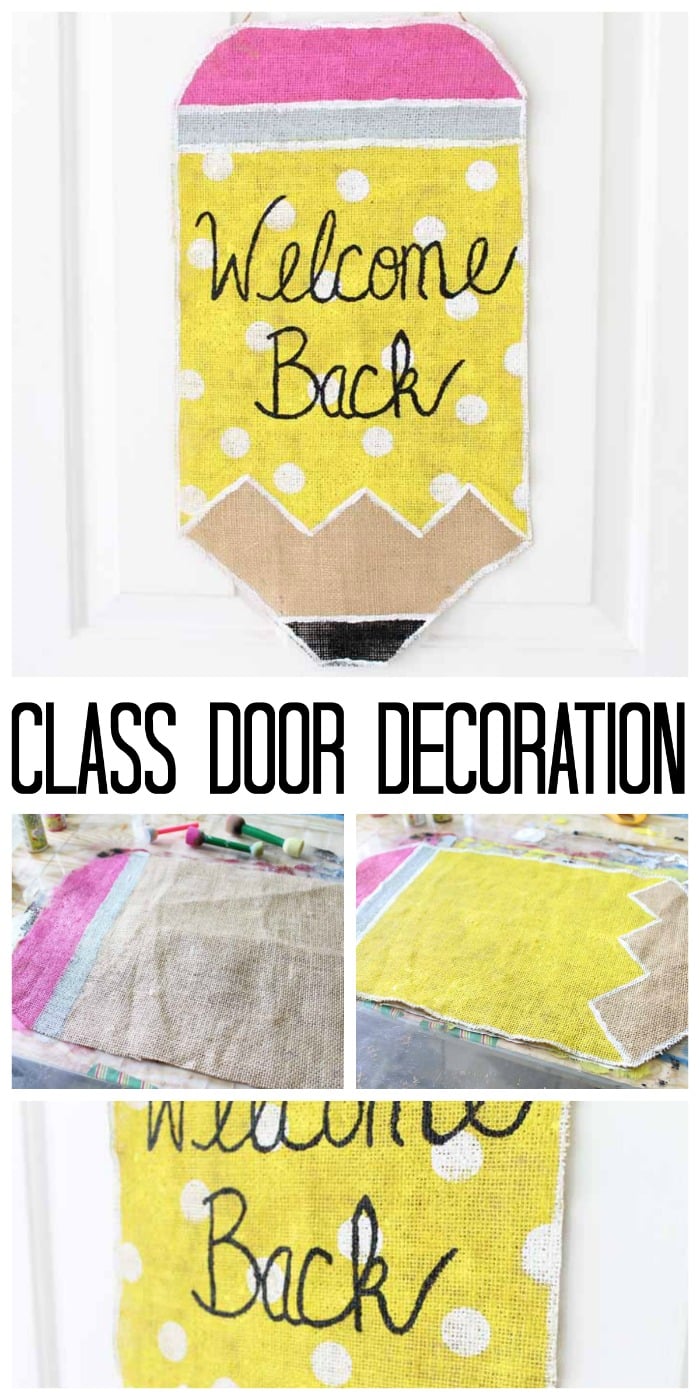
Back to school means pencils, notebooks, crayons, and so many other supplies for the students. But, what about the teacher?!
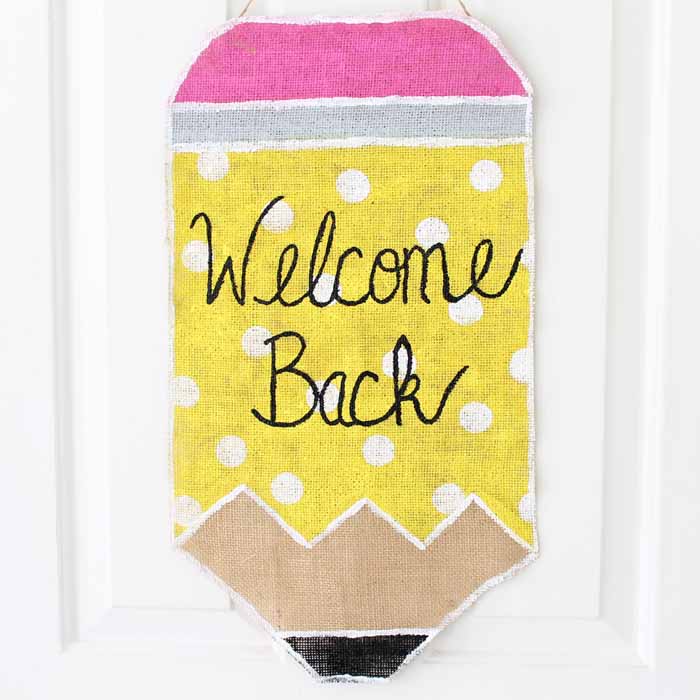
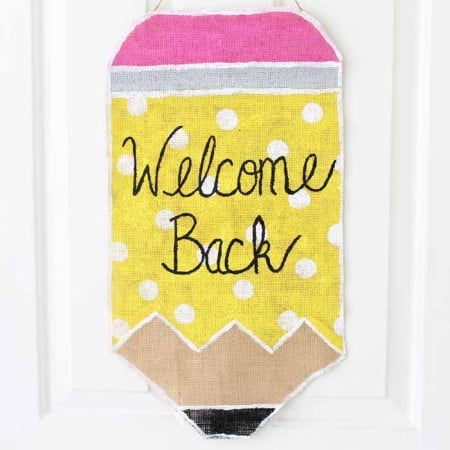
This adorable pencil-shaped burlap door hanger is the perfect addition to a classroom door or filling in that empty space on the wall. It’s easy to make with a few simple steps…no artistic skills necessary!
Classroom Door Hanger Ideas
Teachers spend so much money on their classrooms and students, so this is a great way for parents to show their appreciation in a creative way. Anyone can give a gift card, but this handmade gift will be especially cherished.
Plus, the craft is a great opportunity to get the student involved. The painting and “crafting” part is easy enough for anyone to accomplish! If you are a teacher yourself, there are plenty of other free or budget friendly printables and crafts to complete your classroom:
These adorable door signs are perfect to give as teacher gifts. As your kids get ready to head back into the classroom, take a few minutes to put this together. The teacher will love it!
How to Make a Pencil Door Hanger
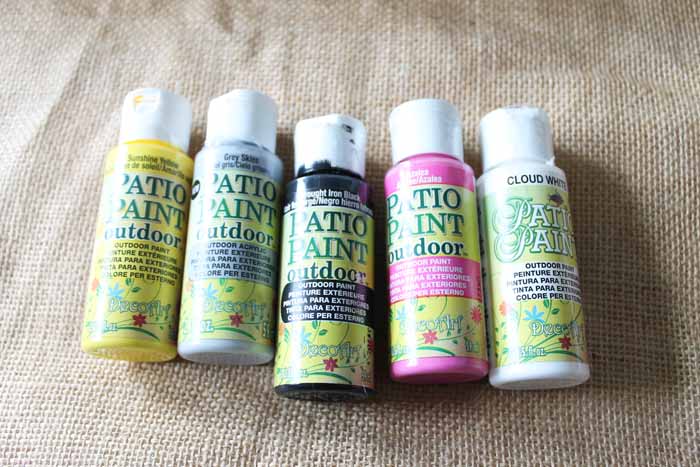
Supplies needed for a class door decoration
Some links below may be affiliate links which means that you do not pay anymore.
- Burlap
- Paint (I used Patio Paint just in case this was used outdoors.)
- Scissors
- Paint brushes (I love these sponge pouncer brushes for use with burlap.)
- Small piece of wood
- Twine
- Tacky glue
Instructions
Start by covering your work surface well. The paint easily bleeds through burlap and will ruin furniture.
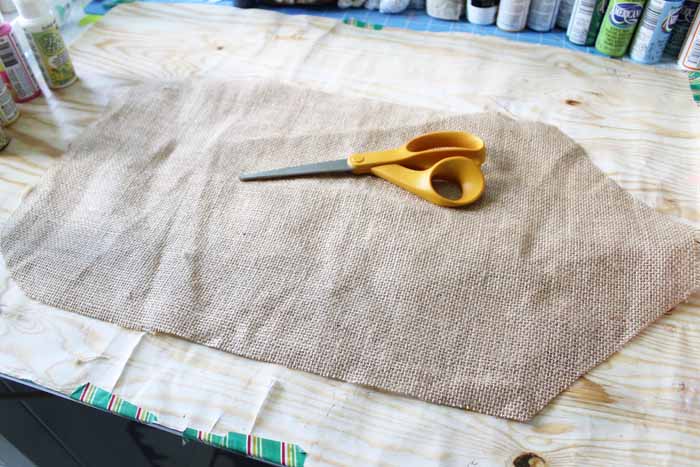
Using your scissors, cut a pencil-like shape from the burlap. You can make this any size that you like. I recommend sketching the shape and details on the burlap before cutting.
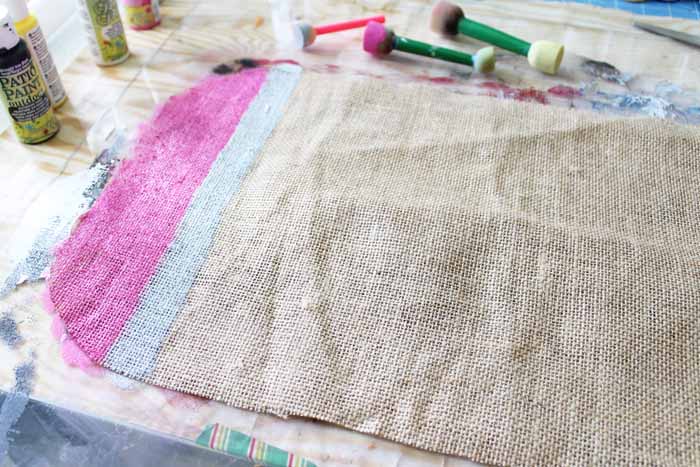
Starting at the top, paint the eraser and silver band. I love a pouncer brush for really getting into the burlap fibers.
Next add the yellow paint for the pencil body, but make a zig zag where the wood portion of the pencil will show. For this wood portion, I left the burlap unpainted. I added a bit of black “lead” at the bottom.
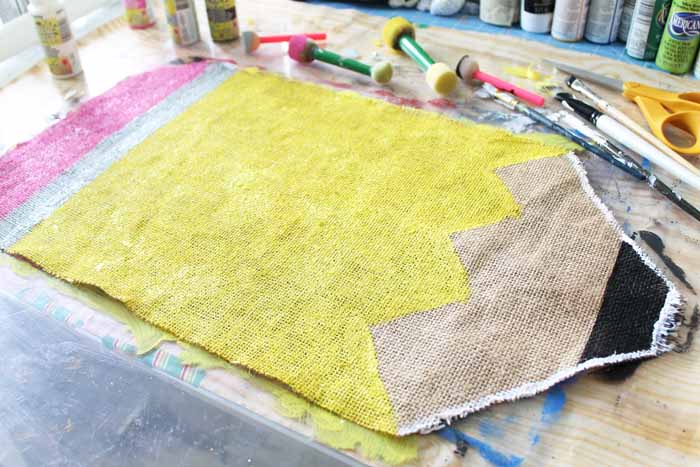
I then used a small paint brush to go around everything with white for a more finished appearance. You may have to let your other paint dry a bit before adding these white lines.
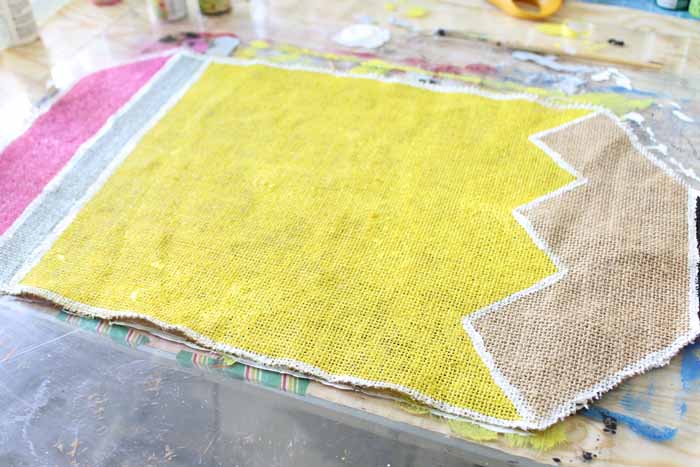
Allow that to dry completely (I let it sit overnight), then add your polka dots. These are as simple as dipping a pouncer brush into white paint and applying it to the class door decoration surface.
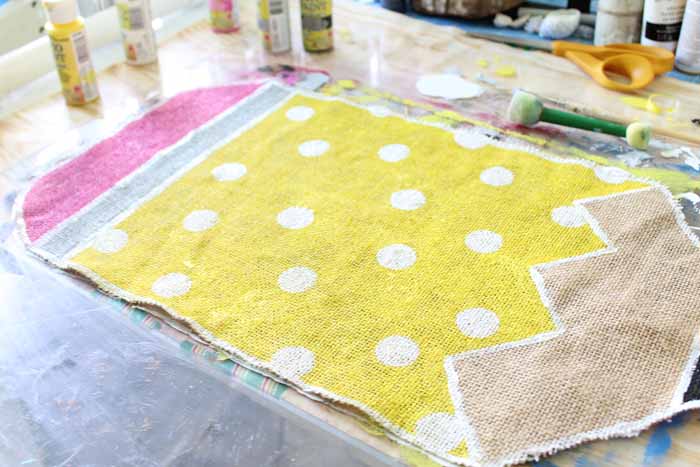
Those will have to dry overnight as well. I also added a small piece of wood to the back at the top. This will be used for hanging later. Add with a bit of tacky glue and allow to dry at the same time as your dots.
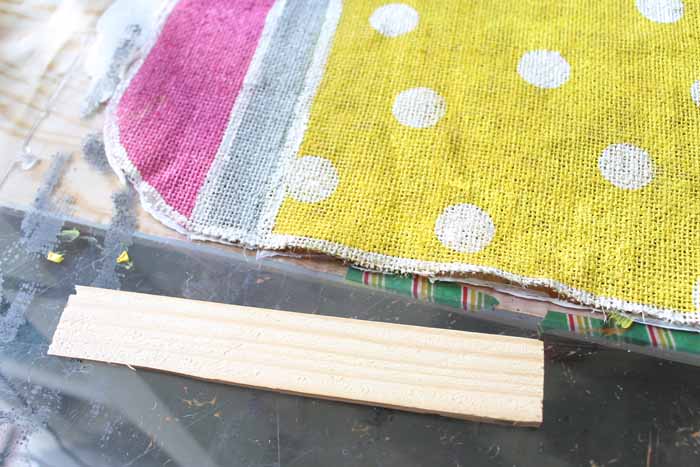
You will then want to add some sort of writing or even a monogram to the front of your burlap pencil. I used a pencil to freehand welcome back across the front. Not a fan of freehanding your lettering? Try printing the words from your computer and using carbon paper to transfer them to the pencil. You can see this technique in use here.
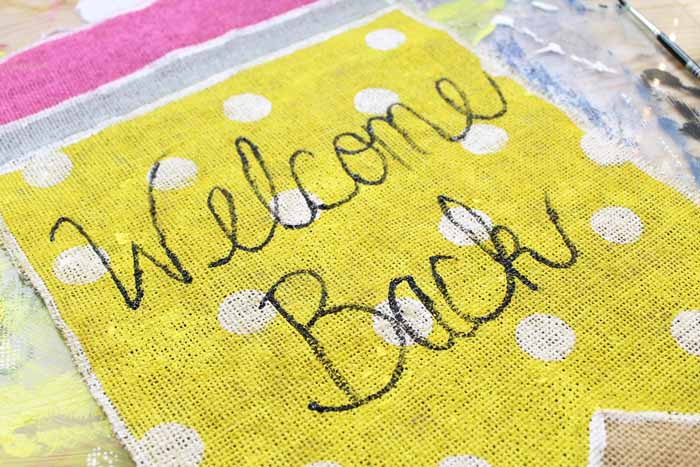
Then go over your lettering with a few coats of black paint and a very small paint brush.
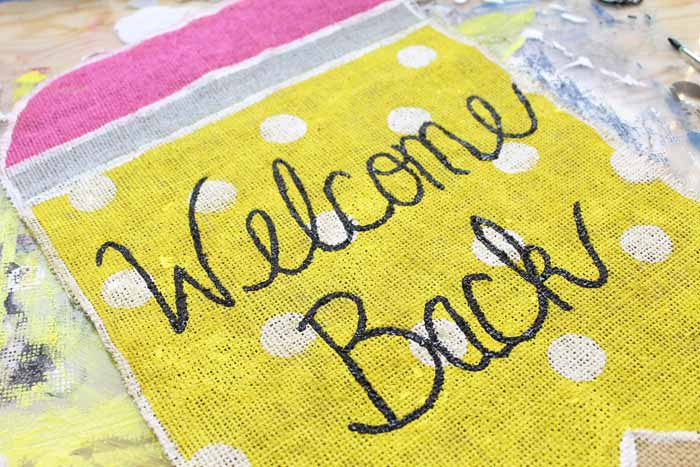
Allow everything to dry well and your class door decoration is ready to hang. Just add a bit of twine to the back with either tacky or hot glue. I secured my twine directly to that wood strip I added earlier.
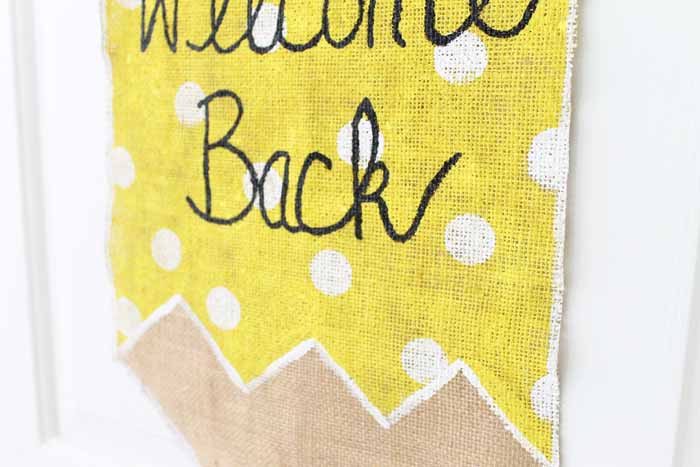
Make one of these to give as a gift for teacher to kick the school year off right.
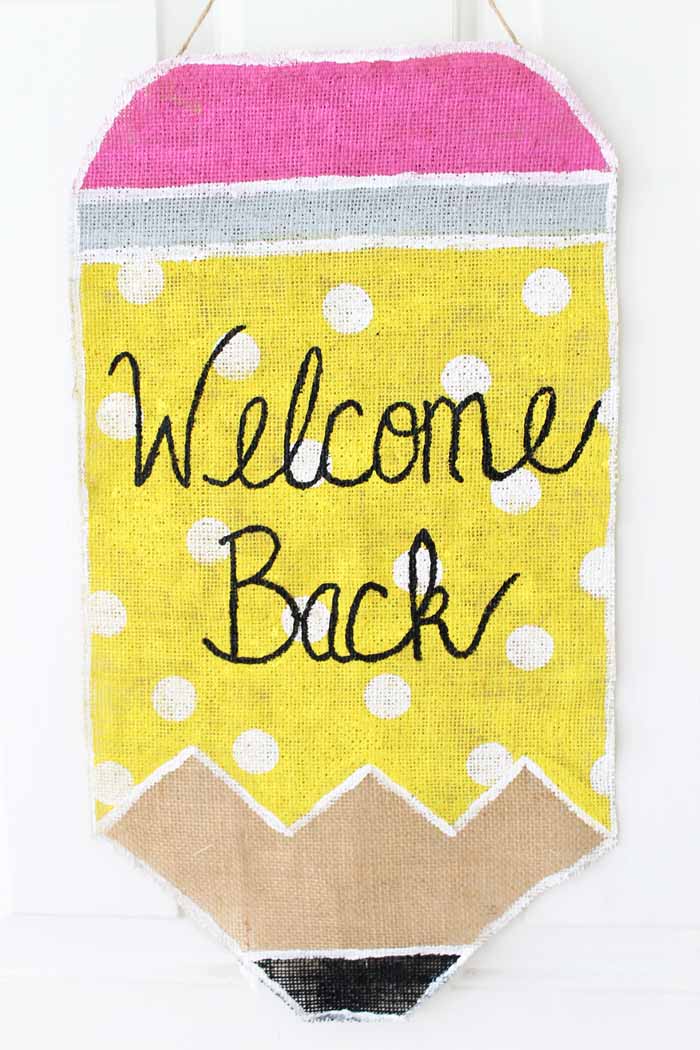
This is one inexpensive project that looks amazing and is perfect for any teacher! Once the paint has dried, it keeps the burlap from fraying so this is a project that will last for a very long time.
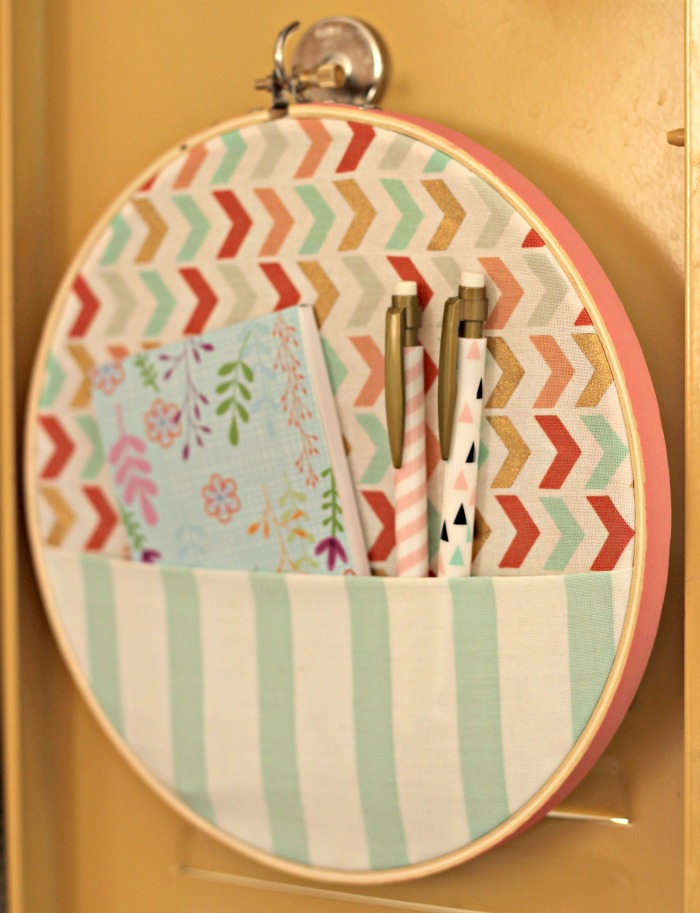
Love this class door decoration and want more ideas? See even more 15 minute craft ideas from our blog partners below! Get them organized for back to school with this fabric locker organizer from Organize and Decorate Everything.
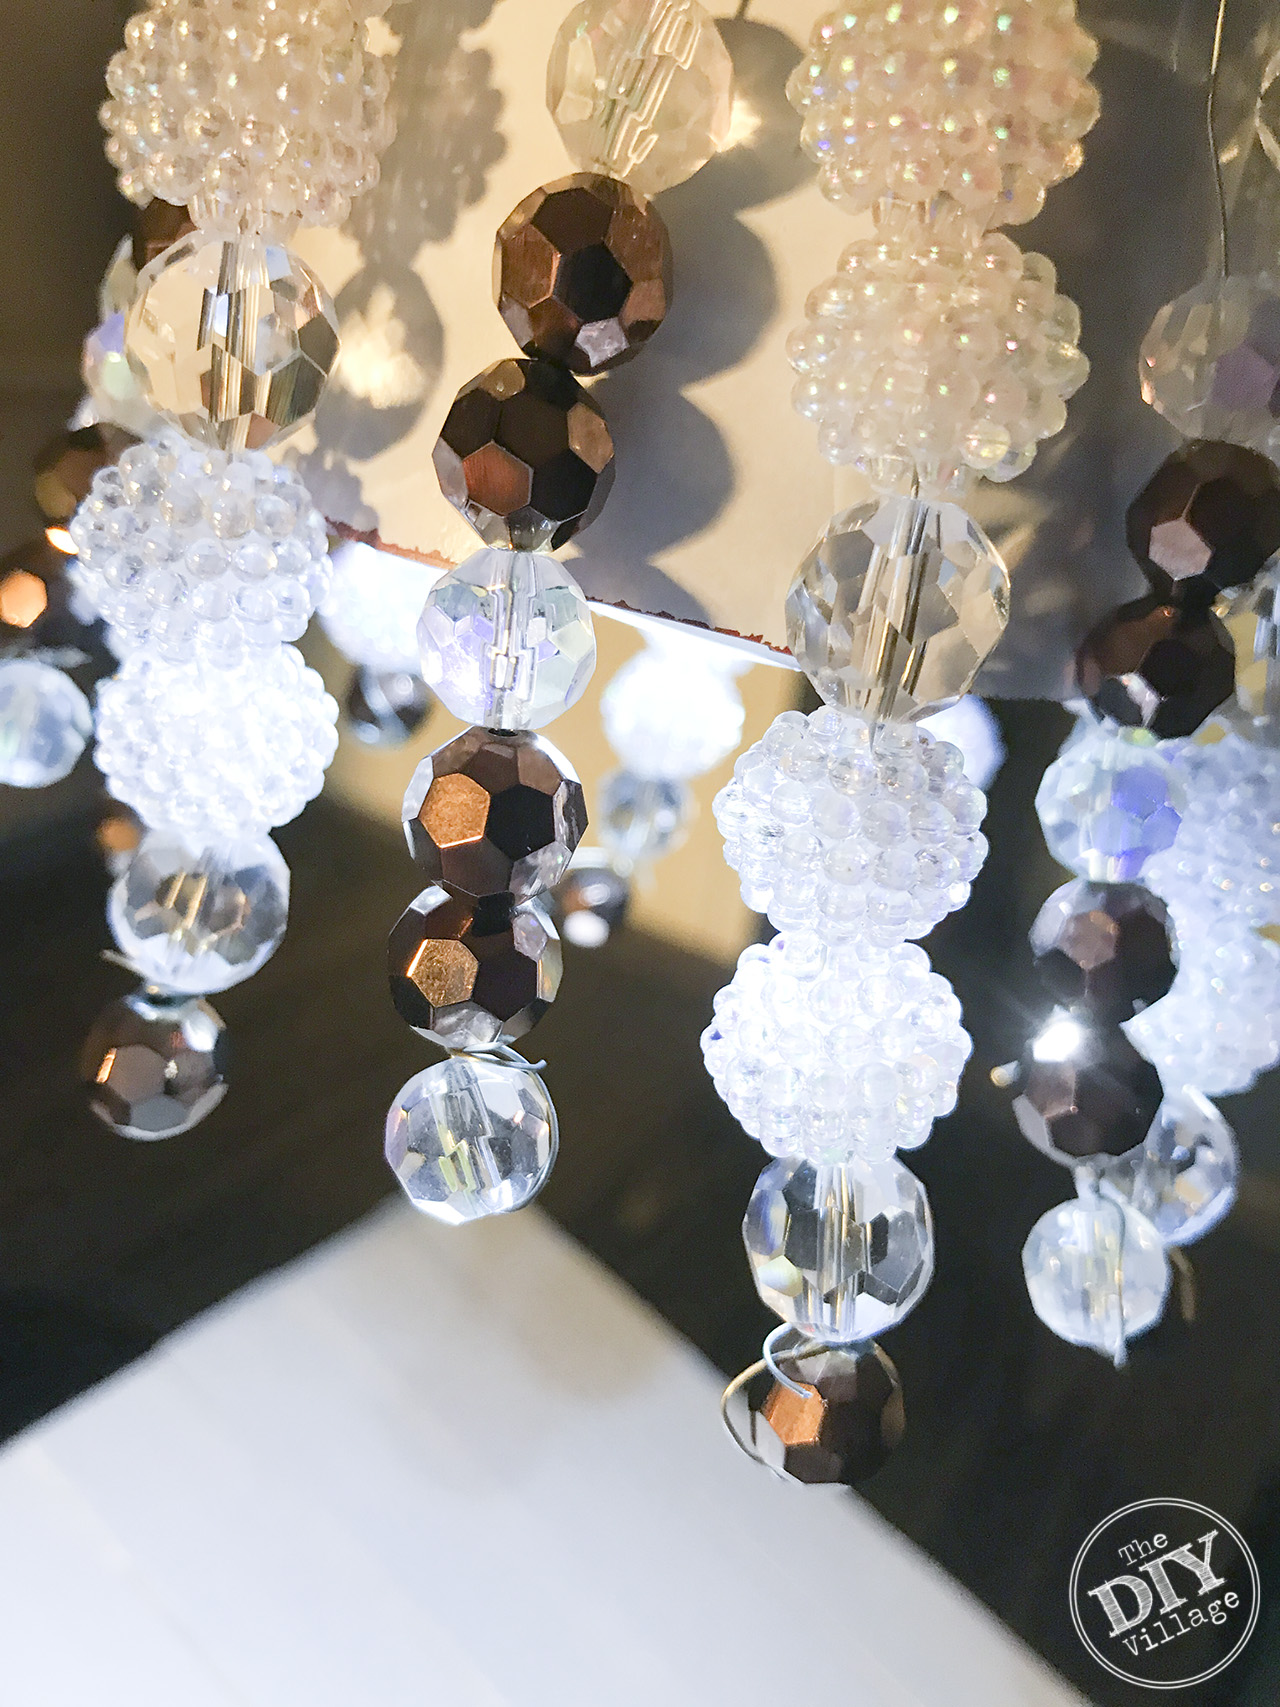
You can add even more bling to their locker with this locker chandelier from The DIY Village.
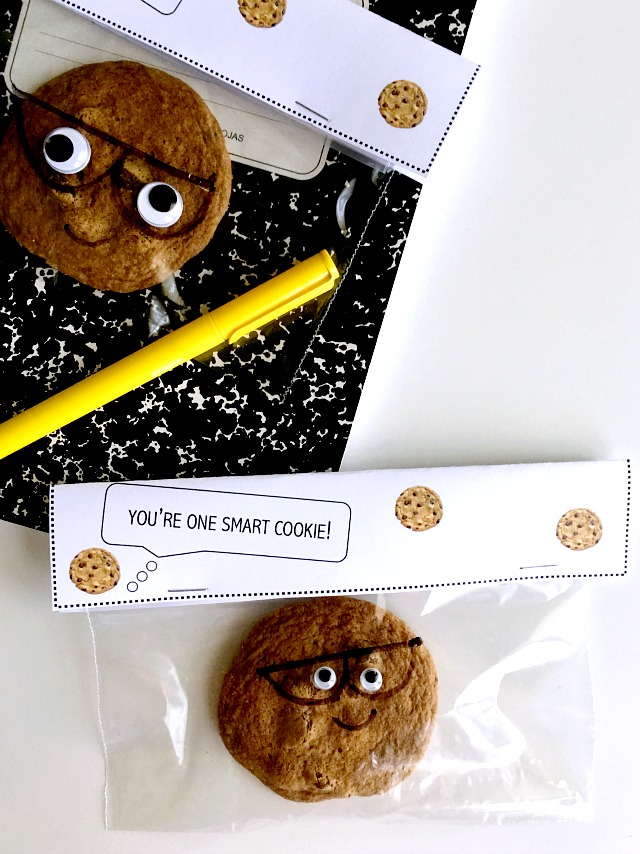
Need a simple and cute idea for their lunchbox? Add this one smart cookie pack from C.R.A.F.T. for a fun first day of school surprise!
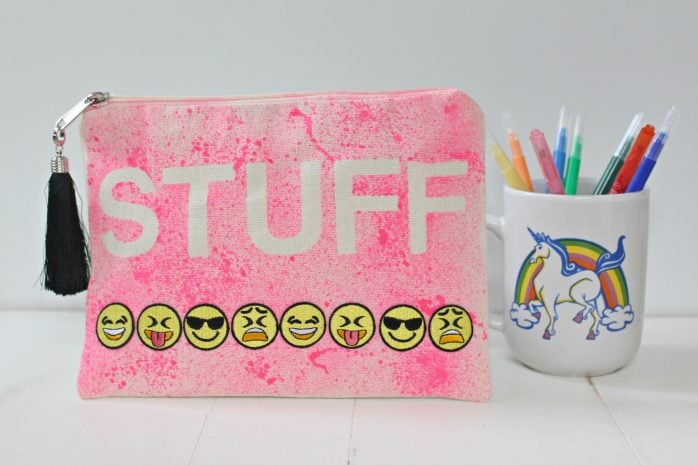
Need a cute idea for a pencil pouch? Try this emoji pouch from Yesterday on Tuesday.
Want to capture that perfect picture moment on the first day of school? Make this great sign for back to school from Ginger Snap Crafts.

Need a gift for your child’s new teacher? Try making this notebook from our guest co-hostess Happy Go Lucky.

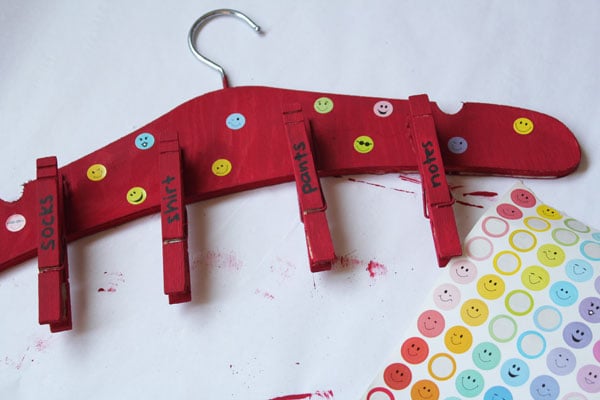
We all need a little help getting everyone up and out the door in the mornings. Try this morning routine hanger from my long time co-hostess 30 Minute Crafts.
Grab your supplies to make this class door decoration or any of our other quick and easy back to school projects. You will love to see what you can accomplish in 15 minutes or less! So which idea are you going to make?
Supplies
- Burlap
- Paint I used Patio Paint just in case this was used outdoors.
- Scissors
- Paint brushes
- Small piece of wood
- Twine
- Tacky glue
Instructions
- Start by covering your work surface well. The paint easily bleeds through burlap and will ruin furniture.
- On the burlap, draw a pencil shape and outline the eraser, lead, and “wood” part of the pencil. The pencil can be any size you choose.
- Cut the shape from the burlap.
- Paint the eraser, silver band, and “lead” parts of the pencil in the respective colors. I love a pouncer brush for really getting into the burlap fibers.
- After the paint has dried, use a small paint brush to outline the different pieces in white. Allow to dry.
- Across the body of the pencil, add white polka dots with a pouncer brush.
- Now, add a monogram or message to the body of the pencil. Freehand the words using a pencil, then trace with a small paint brush dipped in black paint.
- For hanging, add a small piece of wood to the back at the top of the eraser portion with tacky glue. After that has dried, add twine to the wood strip for hanging.


Nice craft!
What a cute wall hanger! Perfect for the first month of school! Sharing on FB Thank you for sharing on Merry Monday! Hope to see ya next week!
Kim
I love this. Great job!