Today, we’re going to talk about sublimation on metal. I have some Duraluxe panels, and they’re super easy to get started with. There are tons of options with Duraluxe from bookends to bowls and so much more. However, these flat panels that form up are a great introduction and beginner sublimation project. Add a photo to these panels then give it as a gift. You will be so glad that you did!
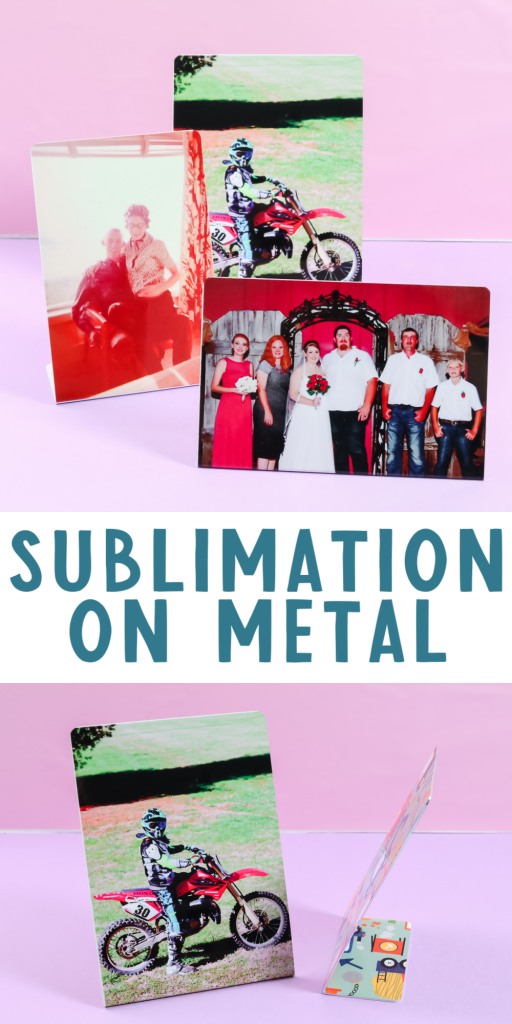
Sublimation on Metal
You can click play on the video below and watch me sublimate right on these metal panels. Then you can see just how easy sublimation on metal can be!
Can’t watch the video or miss some of the steps? You can also follow along below!
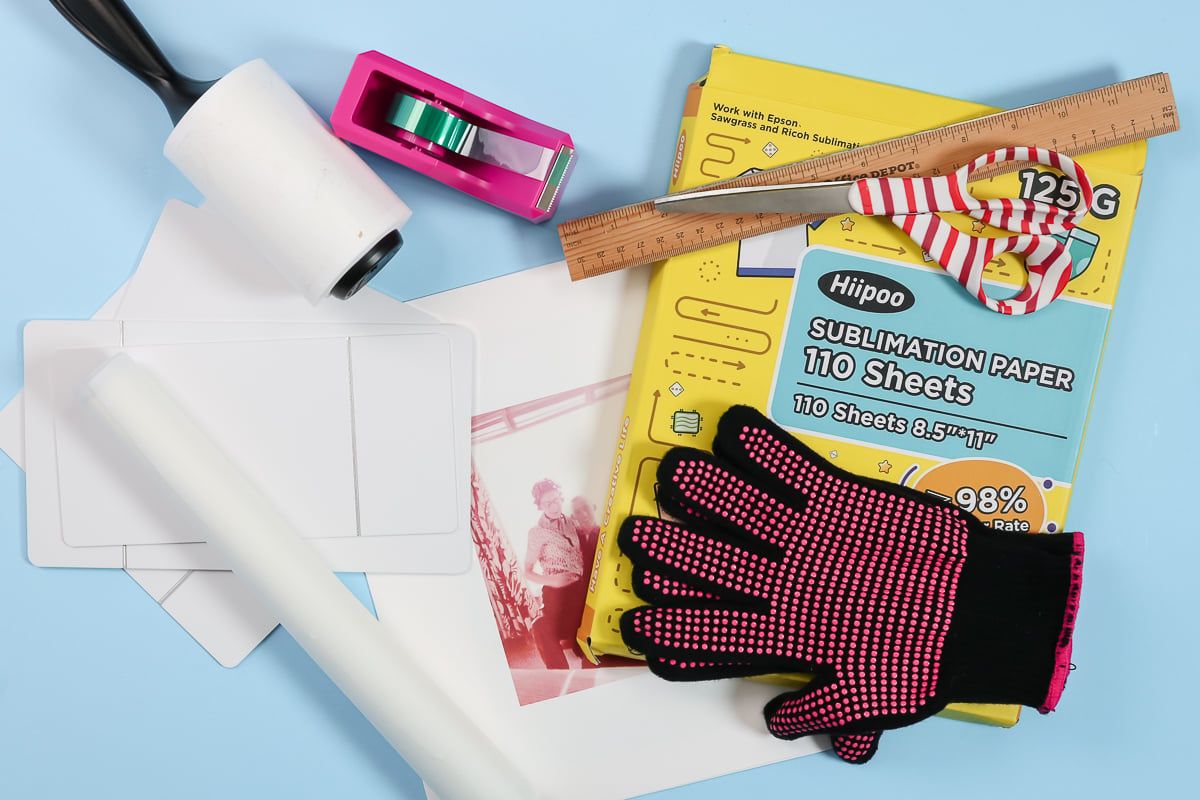
Supplies needed
- Duraluxe two sided easel frame
- Sublimation printer
- Sublimation ink
- Sublimation paper
- Heat Press
- Heat Resistant Gloves
- Lint Roller
- Heat Resistant Tape Use code CCC10 for 10% off
- Artesprix Protective Paper Use code CCC10 for 10% off!
- Nomex Pad
- Heat resistant mat Use code CCC10 for 10% off!
Duraluxe Photo Panels
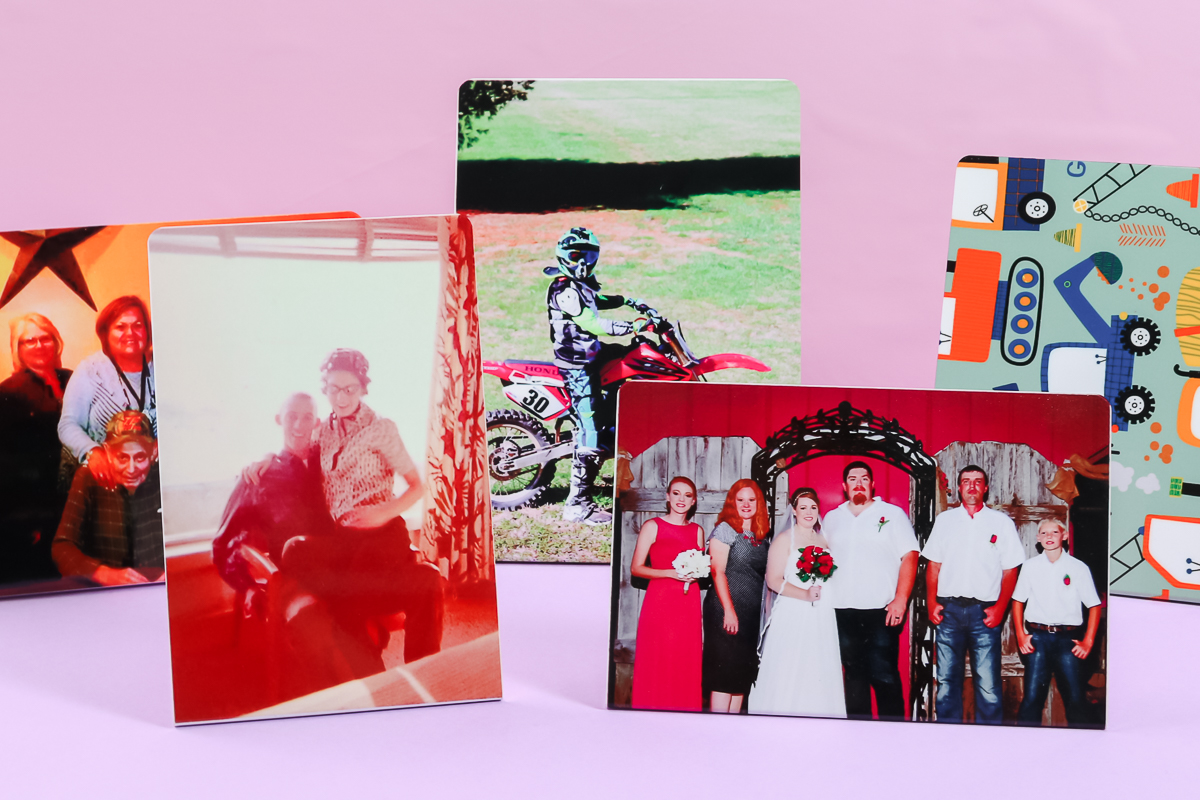
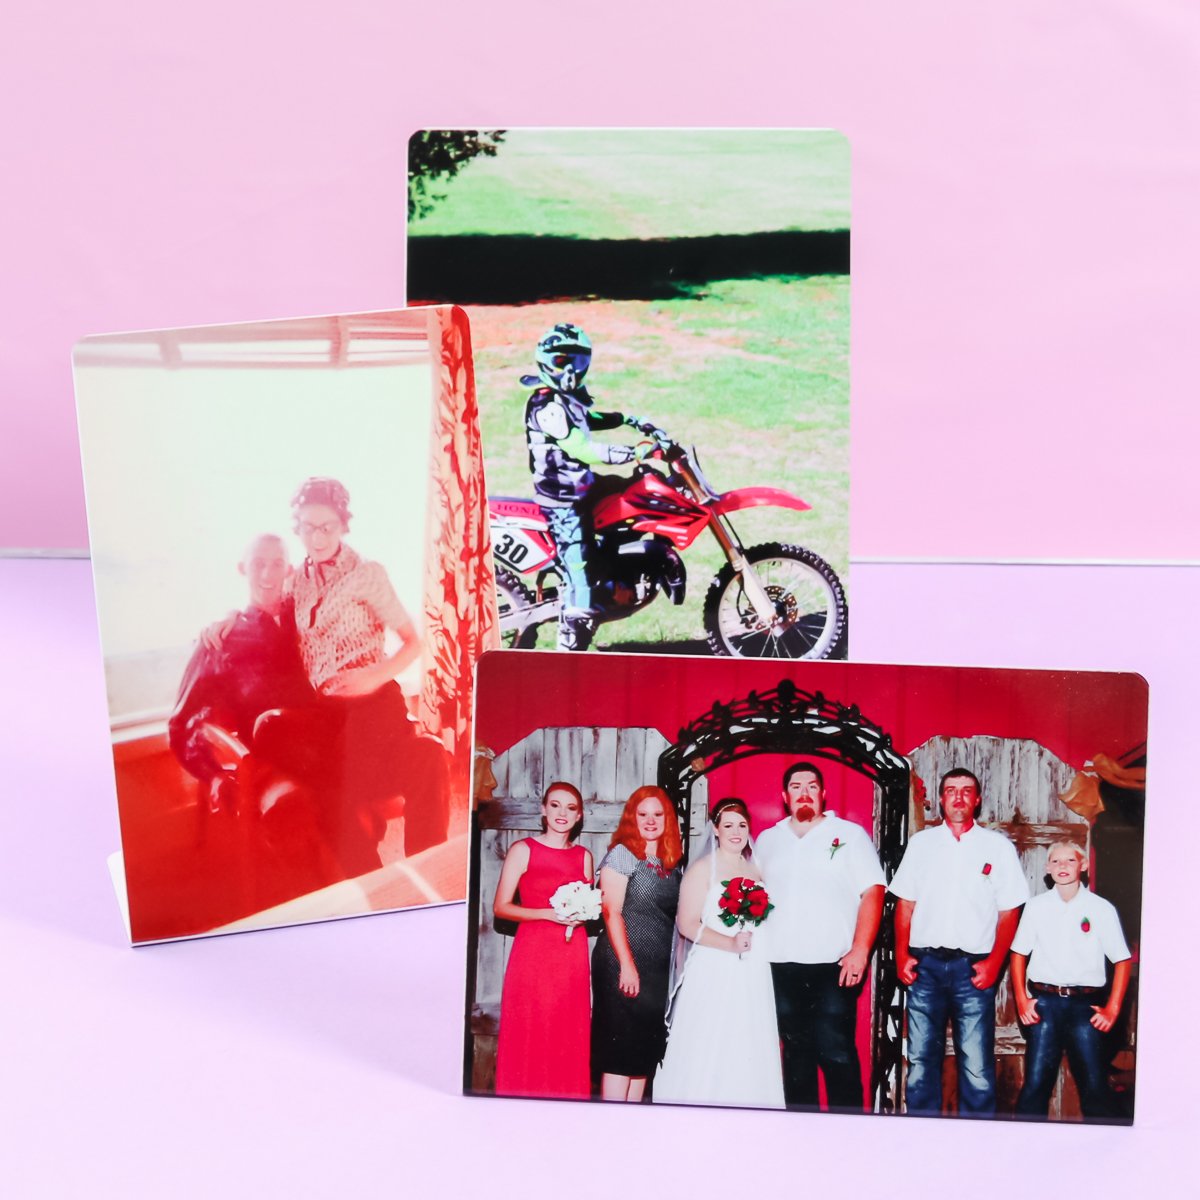
We’re going to use white Duraluxe easel frames in a variety of sizes, and I’m going to show you how to sublimate them. They come flat then you form them yourself. They come with a score line on the back, and they’re super easy to form with your hands. You can form them into an L shape that is slightly leaned back, and then they stand up on your table. They make a really great gift because you’re giving a print or a photo that doesn’t even need a frame, just stands up all by itself. I’m really in love with these panels and I think you will be as well.
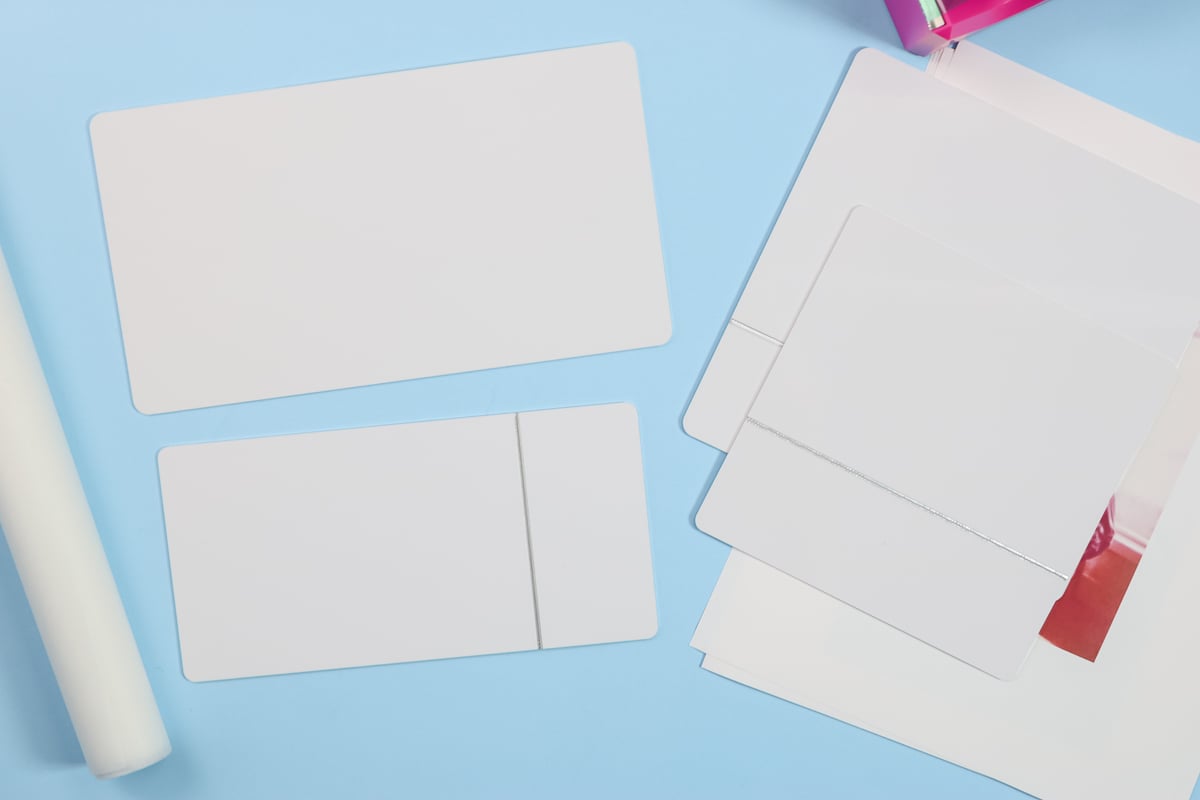
These metal panels are coated with a white sublimation coating. One of the sides is pre-scored for easy folding. These are available in a wide variety of heights and widths, as well as orientations. I am using some landscape and portrait versions. You can sublimate on both sides of the panel.
Prepping the Metal Panels
The side with the score line is actually the back of your panel. The side without the score line is the front of your panel. When you’re sublimating on metal, you do want to make sure there isn’t any kind of protective film over your metal sheet. If you get a plain metal sheet that doesn’t have this white coating, it might have film over the top for protection during shipment and you will need to remove that. This particular panel does not have any film, so I’m good to go with pressing. Next, you want to clean your panel really well. I like using a lint roller over mine. You can use rubbing alcohol, however, make sure the rubbing alcohol is completely dry before you continue.
Locating your Sublimation Print
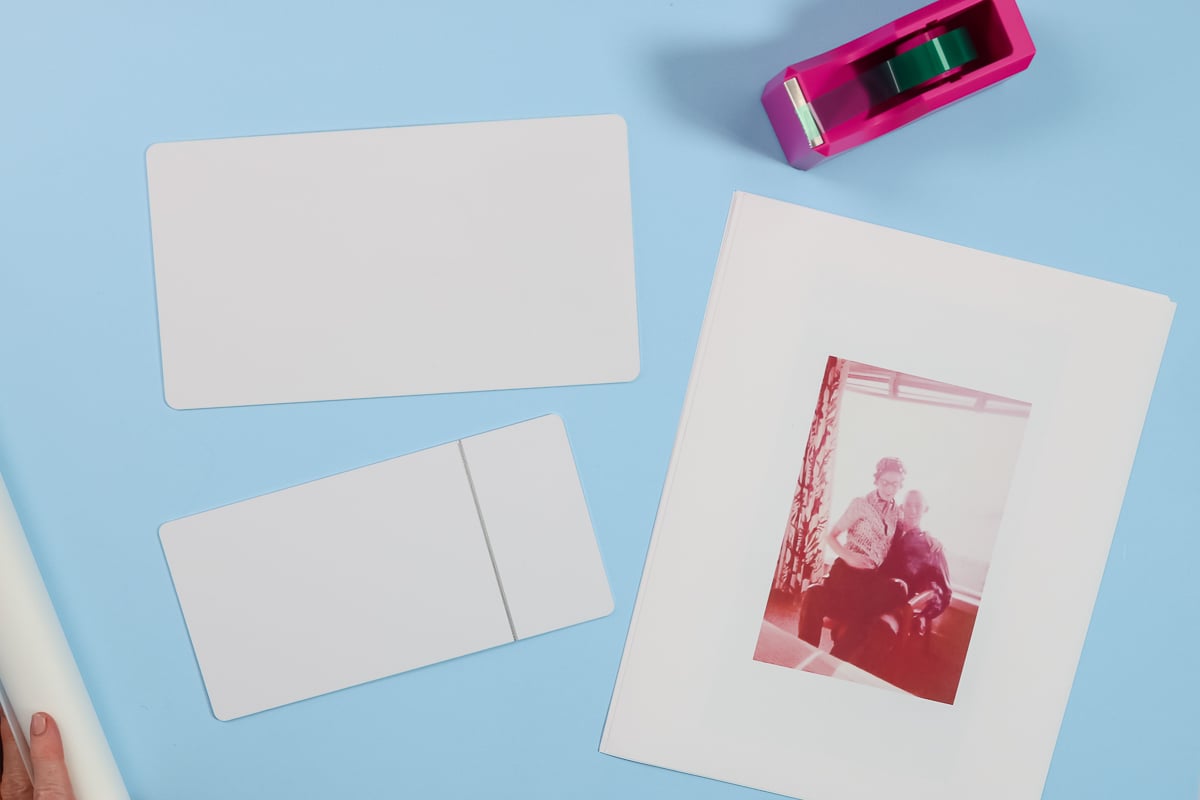
Once your panel is clean, you can add your sublimation print to the surface. To decide the size, determine whether you will sublimation the entire panel or just the part above the score line area. Remember below the score line will be formed so you will not be able to see it when your photo panel is standing up.
I measured the area from the top to the score line, and then from side to side, and I sized my design to print. On other panels, I covered the entire front including that bottom portion. On those I measured the entire panel to get my size. I have another video for sizing your prints here.
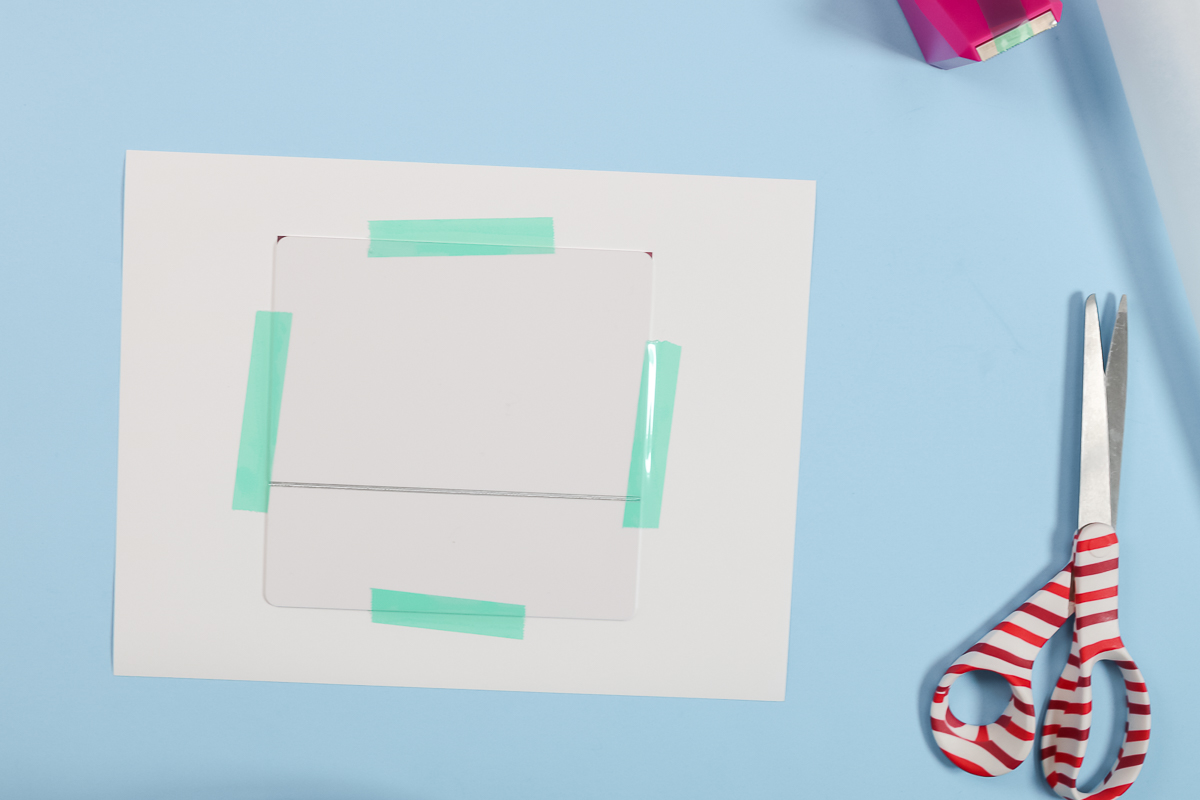
Add the panel on top of the sublimation print and line it up. You do want to carefully line it up and make sure it’s aligned on all sides that you can see. I like to tape my panels into place so they will not move at all when sublimating.
Using a Heat Press on Metal Panels
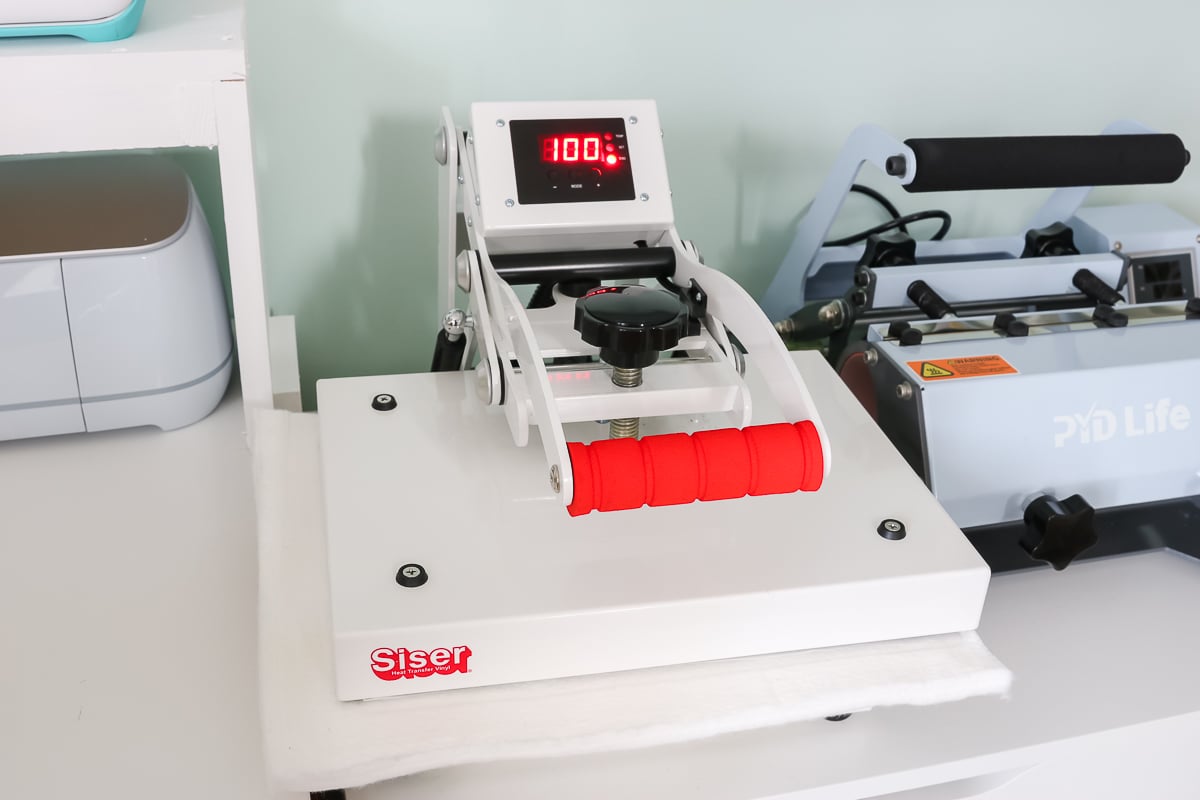
For these panels, I am using 385 degrees F for 120 seconds. The first thing you want to do is close the press a few times with nothing inside of it for about 10 seconds each time. Just lift the handle, wait one or two seconds, then press down again for about 10 seconds. This preheats the pad inside the heat press.
Next, you will need a Nomex pad for pressing these panels. Add the Nomex pad to the heat press, and adjust the pressure to medium pressure. Again, press down about two times to warm up the Nomex pad itself. Once the heat press has gone through two cycles of about 10 seconds each, add a sheet of protective paper on top of the Nomex pad. Then add the metal panel sublimation print side up. Put another sheet of protective paper on top of that. Then close the press and allow it to press for the full 120 seconds.
Revealing the Design
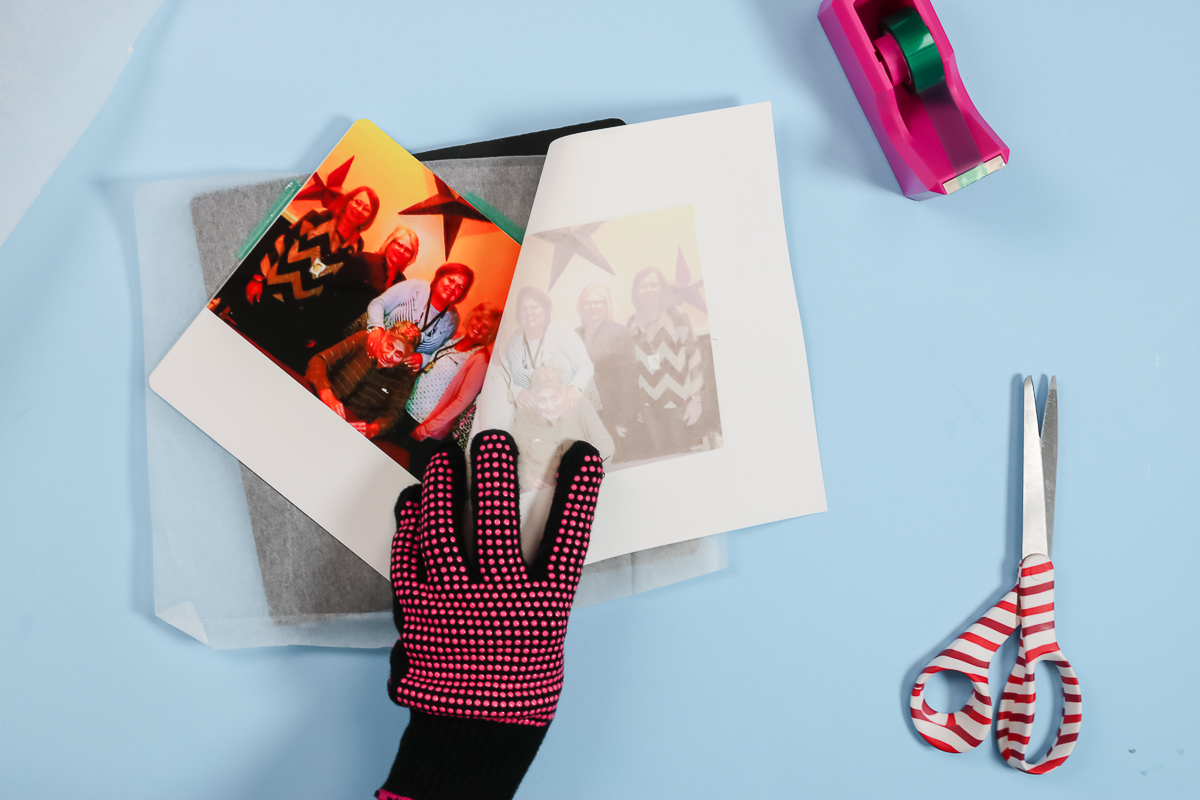
Once the heat press is done, remove the panel with heat-resistant gloves. Put it onto a heat-resistant mat so you do not damage your surface. Then pull back the sublimation paper to reveal your gorgeous metal photo panel.
Forming the Metal Panel
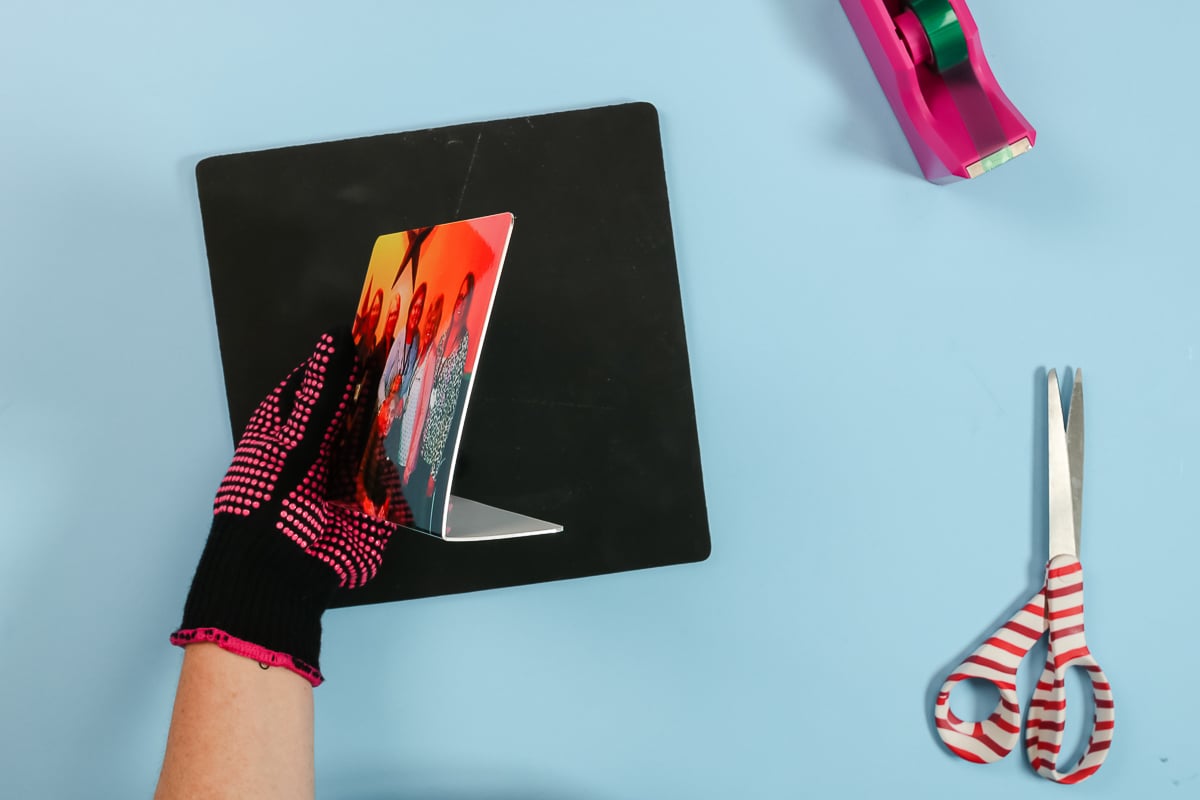
Nex you want to form the panel and make it sit up. How do you do that? Flip it over and hold it with your thumb on one hand close to the scoreline. Use your other hand to hold the other side and bend.
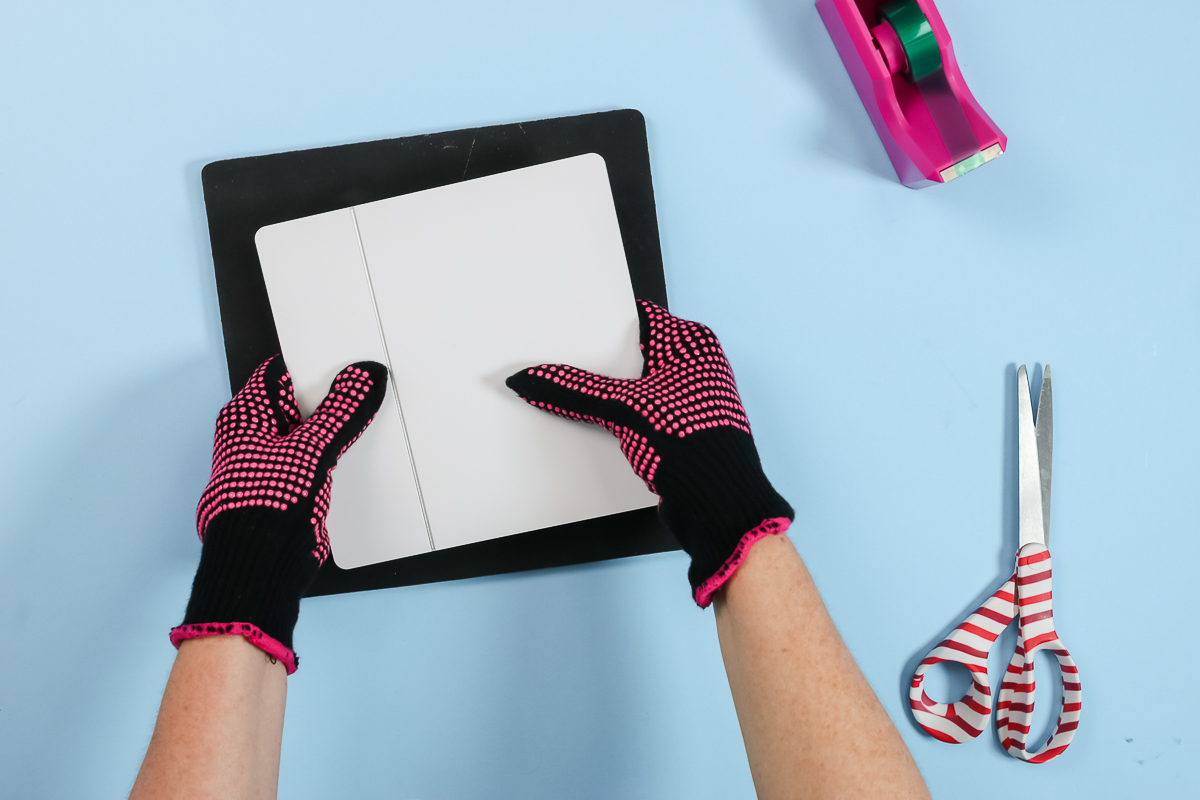
It will bend right along that score line. Continue to bend until you get the look that you want. That white portion that you saw from the print is now the bottom.
Making a Two-sided Panel
You can make these two-sided with whatever you would like on the back. You could add a pattern, inscription, quote, etc. For this version, I trimmed around the outside of the sublimation print to help me guide the panel itself.
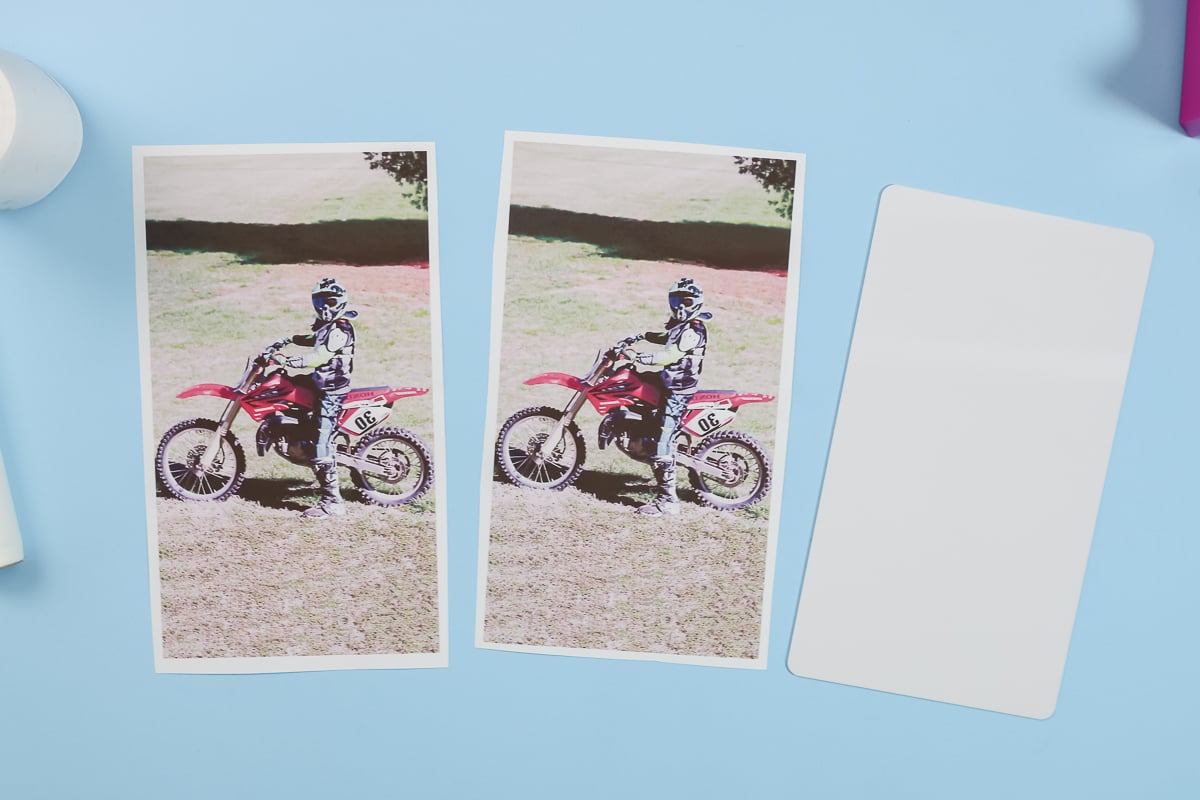
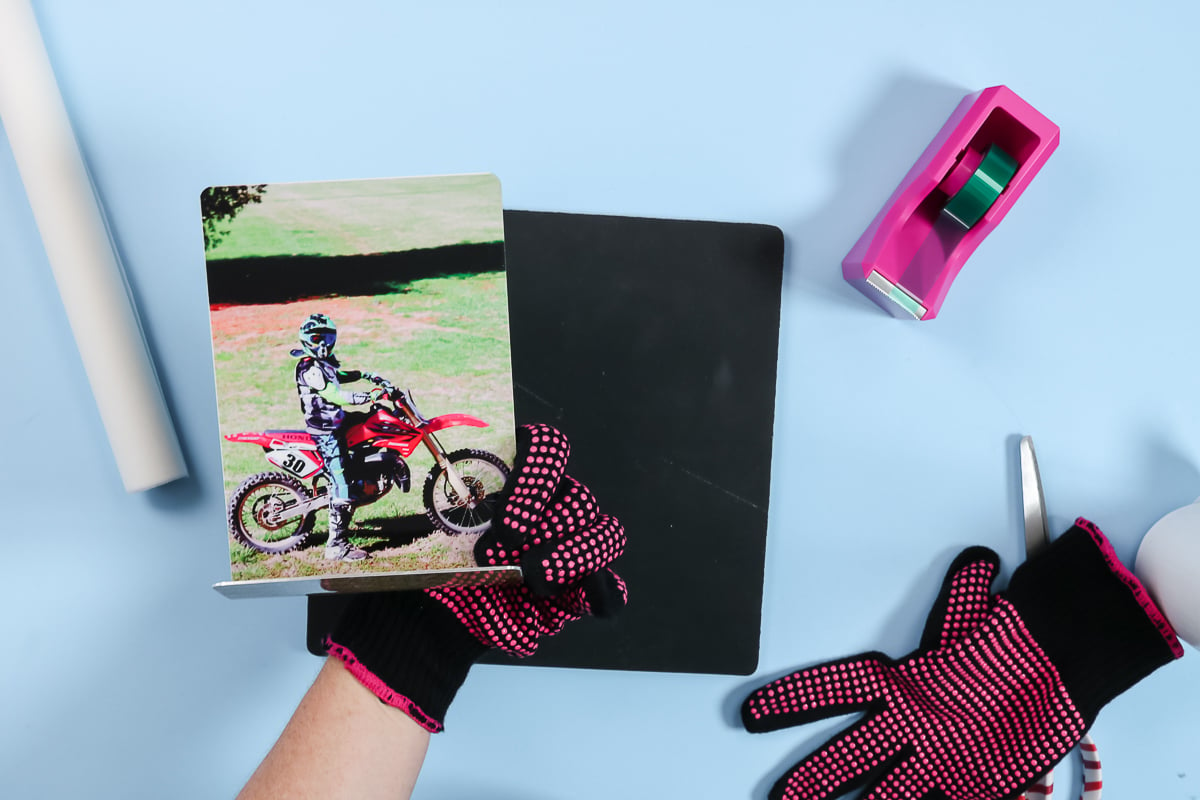
Once again, clean the panel but this time clean both sides. Add the first print but don’t add any tape. Locate the second print then add tape to hold both into place. This way you can sublimate on both sides with one press. For the back print, I trimmed as close as I could to the sublimation print on all sides. Then you can use that to locate the print. Once you get everything located, tape the front to the back, just taping on the sublimation prints on all four sides. Then just repeat the exact same pressing procedure as before.
I did put this good side up in the press, so if there are any mistakes, it would be on the back. But this print looks great on both the front and the back. All that is left to do is to fold as before.
More Ideas with Sublimation on Metal
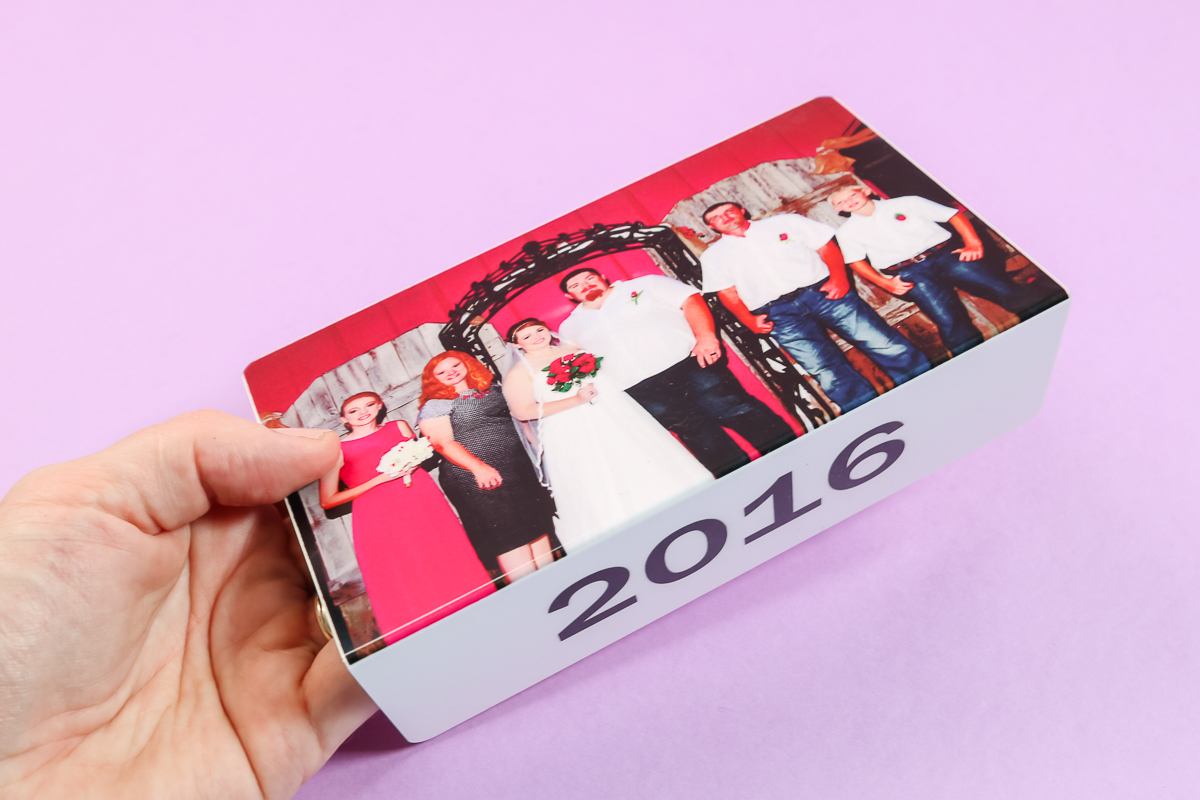
On this version, I added the date on the bottom. This is a super cute way to add something personal to your metal photo print. You can add whatever you would like to the bottom to remember the occasion or make the gift extra special.
Hopefully, you learned everything you need to know about sublimation on metal and forming the Duraluxe easel frames. These would make great gifts. Think baby showers, weddings, Christmas gifts, etc! There are so many options with these panels. I really think you’re going to enjoy them.
I will be sharing more ideas for sublimation on metal so be sure to stay tuned. There are so many more things you can make with this technique and I really think you are going to love some of my ideas!
What would you like to see me sublimate next? Any material suggestions? Be sure to leave them in the comment section below so I can add the tutorial to my calendar.


