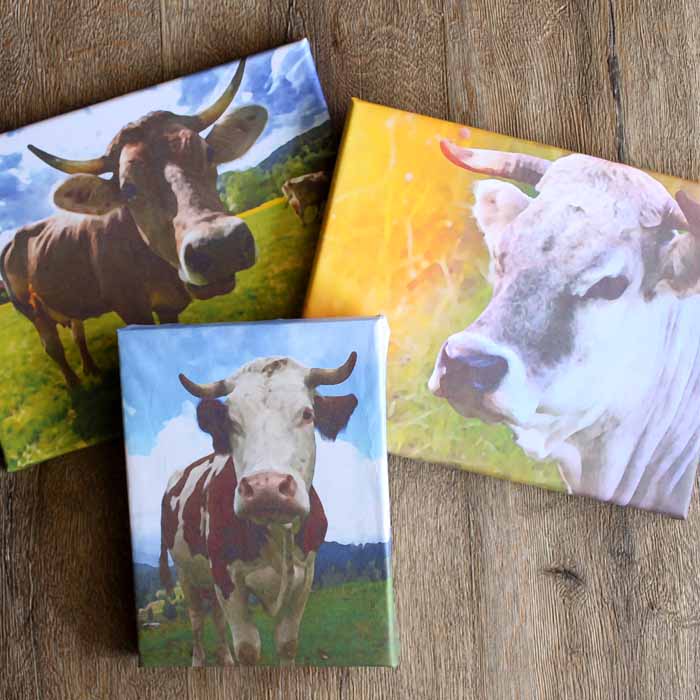
Turn a free printable into a beautiful canvas! Cows are all the rage, so I thought I would make a few free printables and teach you how to add them to a canvas for yourself. Get the same look you would get from a home decor store for less! After all, no farmhouse is complete without some cow art.
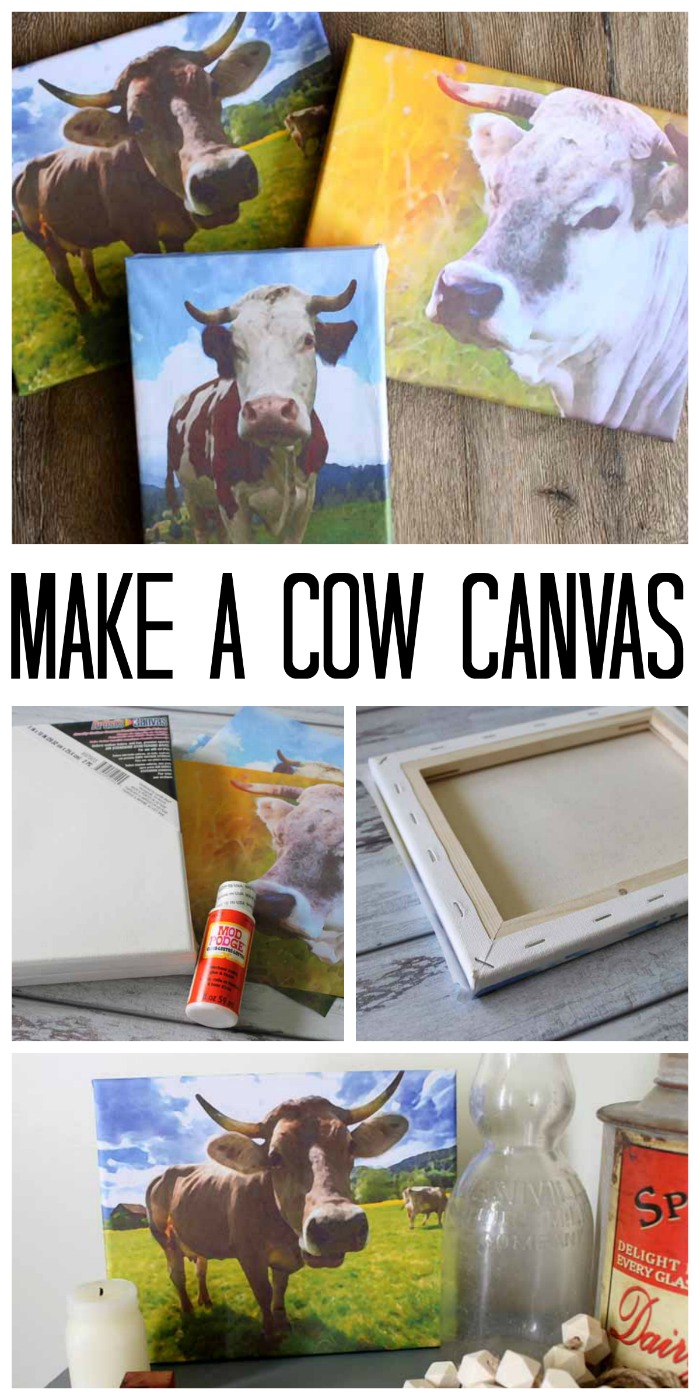
Everywhere I look lately there has been a cow canvas. From home decor catalogs to Instagram feeds, everyone seems to be hanging some cow art on their walls.
After making a trip to a few stores to check out their selection, I decided to make three for my own home but I am also wondering if I need to make more. A cow canvas? Yes, please!
Try this same technique with maps or other prints as well.
How to Mod Podge a Print onto Canvas
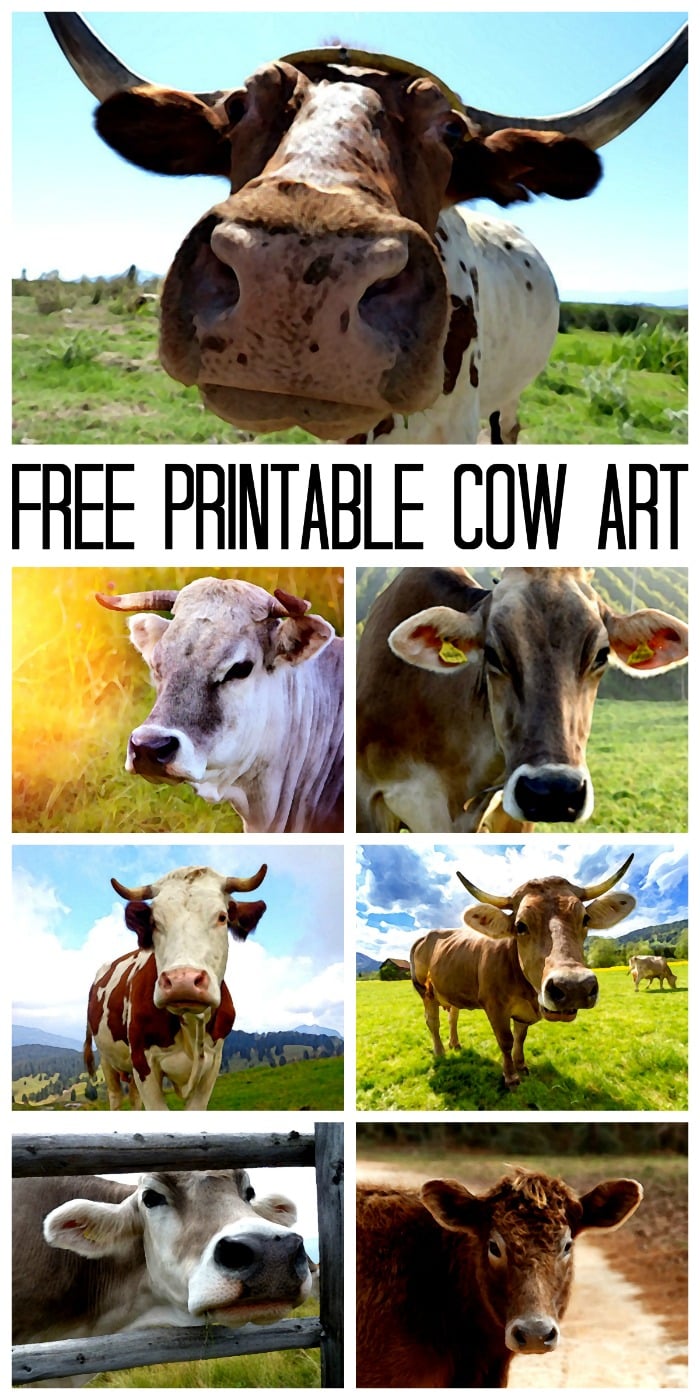
I designed seven different prints for you to use. You can print them in any size and place them on any canvas you choose. That’s what’s great about these designs – you aren’t restricted to what the store has in inventory. It’s yours to customize!
Check out the designs below – from top to the bottom:
- Large Nose Cow 1
- Cow in Sunset 2
- Ear Tag Cow 3
- Cow with Horns 4
- Cow in Field 5
- Fence and Cow 6
- Cow on Road 7
You could use this method with any printed art – just be sure you have permission to print first. This is a super easy craft to do in a few minutes, and you can make as many as you like in various sizes.
Gather your supplies and let’s do it!
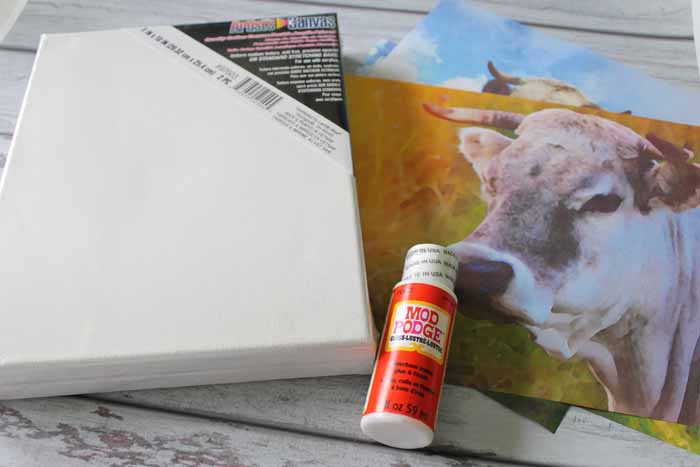
Supplies needed to make a cow canvas:
- Cow printable
- Printer and paper
- Mod Podge
- Canvas in the size of your choice
- Paint brush
- Credit card or plastic squeegee
Steps to Mod Podge a Cow Print
Start by printing the version of your choice onto regular paper from a standard home printer.
Here are some tips for printing:
- Print in “best quality” for the best results.
- Print with no margins so your art goes all the way to the edge of your paper on all sides.
- Measure your canvas and paper before printing to size appropriately.
The process for adding the print to your canvas is really simple. I actually made a really quick video to show you how. Just watch below!
After your print is printed, turn it over face down and center the canvas (upside down) on top of the print. Then, fold up all four edges of the paper around the canvas. This is to be sure the print and the canvas size match up.
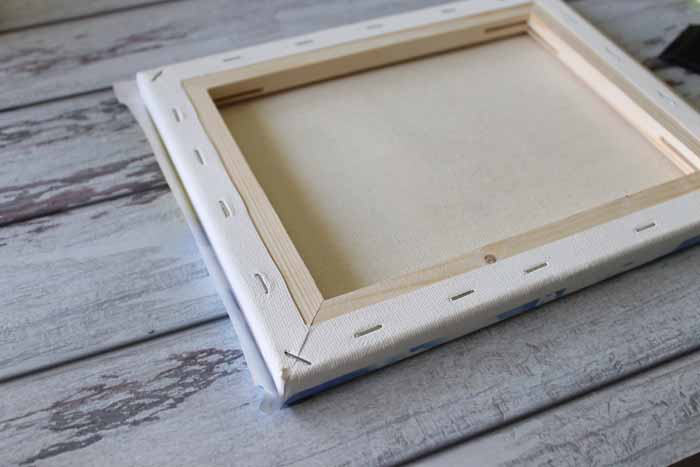
Then, remove the canvas and crease the print paper where those folds are located.
Add Mod Podge to the front of the canvas and place it (carefully) in the center of the paper. Then, flip the canvas over so the print is facing you and gently press down on the front with a credit card or squeegee.
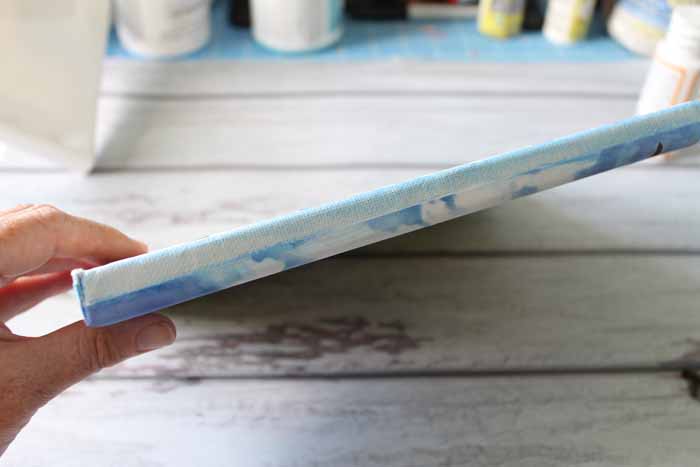
Add additional Mod Podge to adhere the sides to the canvas and fold the corners. Allow everything to dry, then your canvas is ready to hang.
Please note that depending on the size of your paper and the size of your canvas, you may have some area on the sides that remains uncovered or excess paper may have to be trimmed with scissors. If some of your canvas is showing, you can also add some craft paint to make it less obvious if desired.
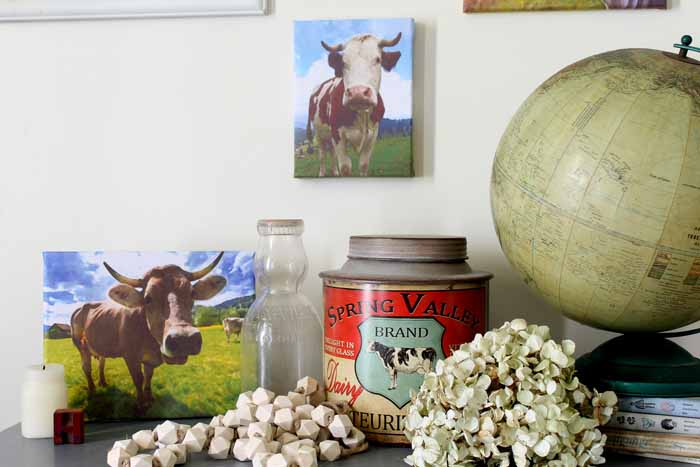
Once everything is dry, just hang up your cow canvas anywhere in your home. These fun prints are perfect for your farmhouse home.
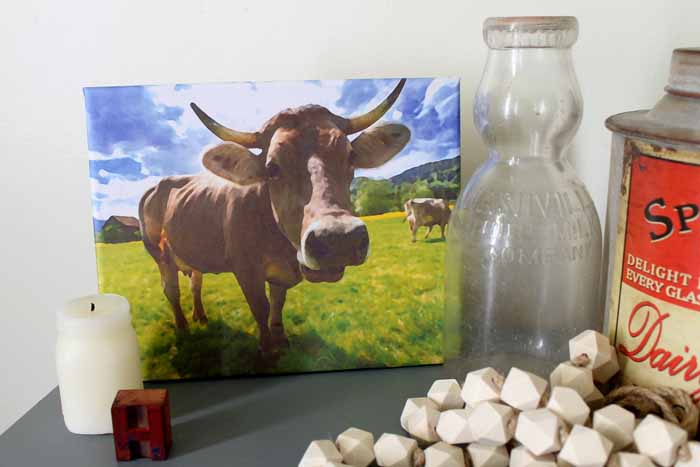
So which of these great prints will you add to your home? Make a cow canvas or just pop one in a frame. Either way you can jump on the home decor bandwagon for a fraction of the cost!
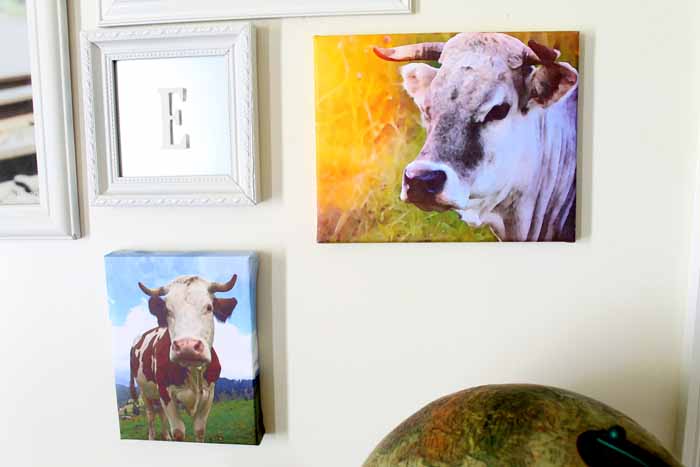
So do you love this and want to see more pictures of cows in farmhouse style homes? Check out the links below!
Supplies
- Cow printable (linked below)
- Printer and paper
- Mod Podge
- Canvas in the size of your choice
- Paint brush
- Credit card or plastic squeegee
Instructions
- Start by printing the version of your choice onto regular paper from a standard home printer.
- After your print is printed, turn it over face down and center the canvas (upside down) on top of the print.
- Then, fold up all four edges of the paper around the canvas. This is to be sure the print and the canvas size match up.
- Remove the canvas and crease the print paper where those folds are located.
- Add Mod Podge to the front of the canvas and place it (carefully) in the center of the paper.
- Then, flip the canvas over so the print is facing you and gently press down on the front with a credit card or squeegee.
- Add additional Mod Podge to adhere the sides to the canvas and fold the corners. Allow everything to dry, then your canvas is ready to hang.
Notes
- Print in “best quality” for the best results.
- Print with no margins so your art goes all the way to the edge of your paper on all sides.
- Measure your canvas and paper before printing to size appropriately.


These are all great cow photos, and I love cow art! I think my favorites are cows 4 & 6. Thanks for sharing your tutorial, I will have to give this a try. Pinning!
There is just something about a cow’s face isn’t there? So curious about us humans!
Blessings an thanks for the cows my niece will love them she collect cows her an her Hubbie got married in a cow shed was awesome we all had a great time
Going to have to try this! Thank you for the tutorial!
What fun Angie. I must admit I have this thing for cows and I’ve always wanted to paint one, but this is so much easier and quicker too
Thank you so very much for offering these prints for free….May God Bless You!!! Where can I go to find more of your free offer prints please?? Because of your great heart offering these to us, I can make pictures for my Sons and their Families for their new homes…..Once again Thank you and may God Bless…….😇
You can find all of my printables here: https://www.thecountrychiccottage.net/category/crafts/paper-crafts/
I pinned this post when I first saw it and finally got back around to it some time later. I messed up on my first try (that’s how I roll sometimes!!), but after that, all was well and they turned out GREAT! I LOVE them! Thank you, thank you, thank you!!
Yay! Love hearing that!