It is time to tour my craft room and see many more craft room tours right here all week! That is right it is another edition of my craft room tours series! It has been almost 2 years since our last series and it was past time to see where your favorite bloggers create! If you are interested, you can click here to see the last craft room tours series. If you don’t want to miss a minute of our series this week, be sure to subscribe to our weekly newsletter and the entire series will be delivered to your inbox! Today I am going to share my craft room then each day this week I will share FIVE other bloggers and their creative spaces. Next Saturday, I will post the entire round up of craft rooms so you can be sure to see them all!
If you are landing here looking for the tour, please scroll to the bottom of this post for the tour links! There you can click to each blogger and see their craft room tour!
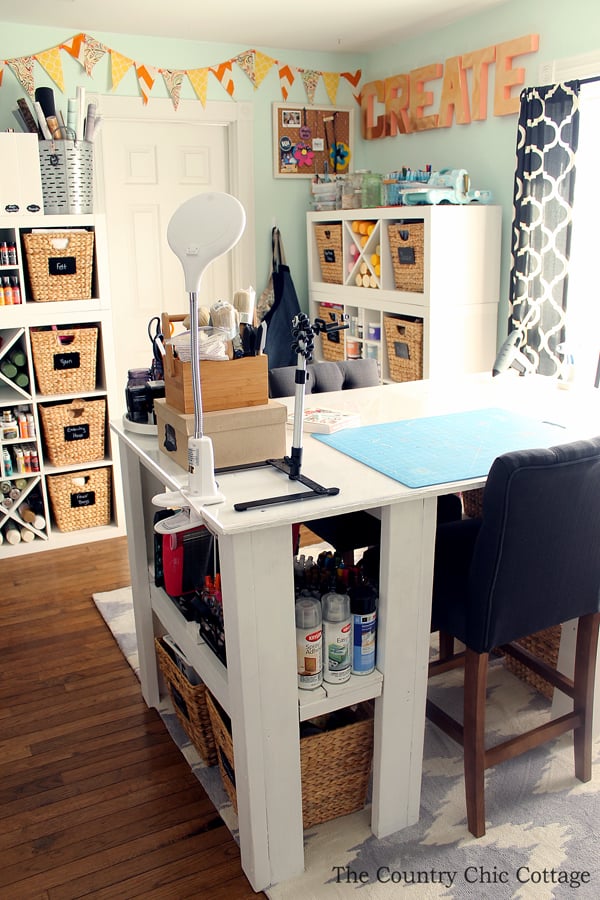
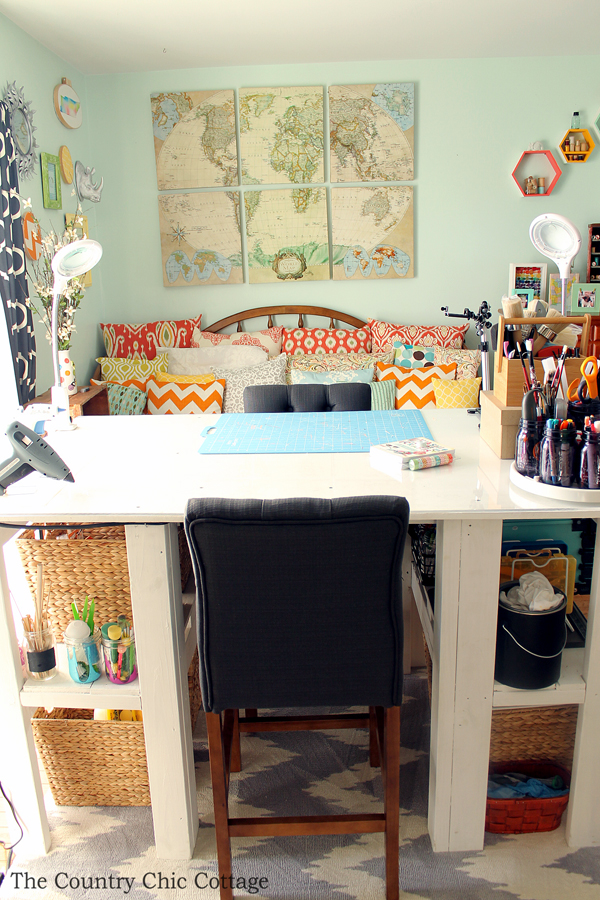
First of all, I am kicking things off with a tour around my craft room which I am been working on for MONTHS! It is finally time to reveal the entire thing to y’all. Just a heads up that this post has affiliate links in it. I am going to start in the center of the room because this table rocks my world! My husband built this table from scraps in our wood pile. It is HUGE and works perfectly for my needs. We did purchase a sheet of Plexiglas for the top which turned out to be pretty expensive. It was well worth it and this table should last me for years to come!
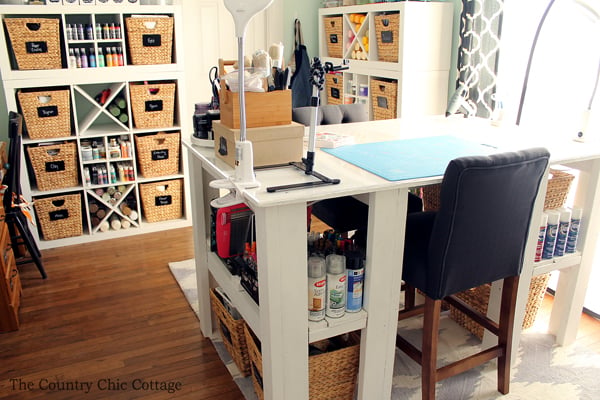
I don’t have build plans for the table but for those looking to make their own, he built the table in three pieces. The two end pieces are basically shelving units and the top was separate when we brought it into the room. We screwed everything together once it was in place. The ends are both great for storage while the middle is open allowing me to have two chairs for working.
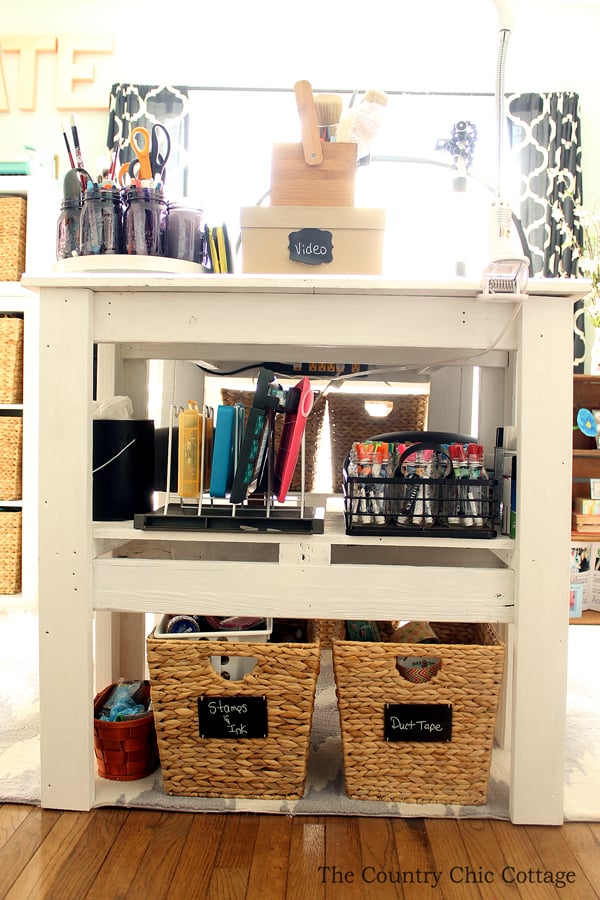
We will talk more about those great baskets that are on the bottom a bit later. That top shelf is what I want to focus on right now!
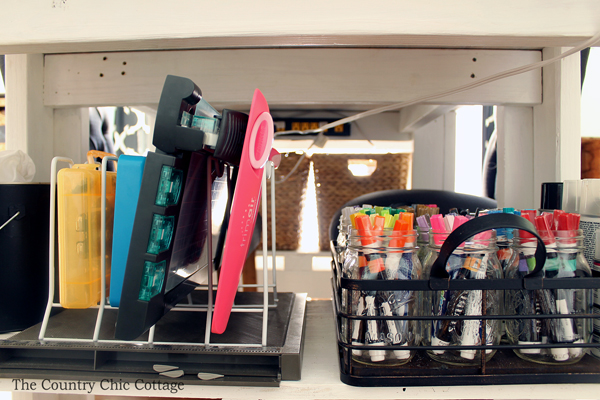
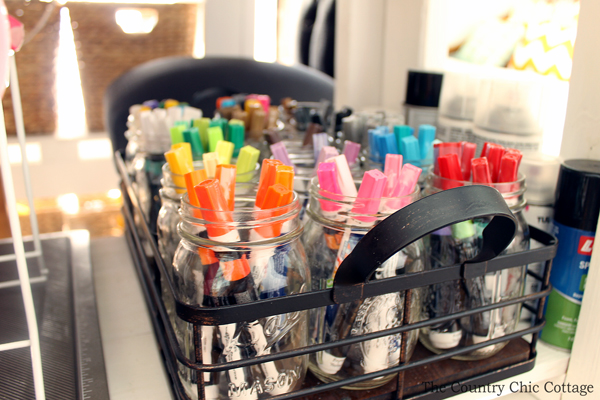
This Rectangular Wire Tray![]() from Walmart fits 15 mason jars perfectly! It allowed me to sort my paint pens by color and type.
from Walmart fits 15 mason jars perfectly! It allowed me to sort my paint pens by color and type.
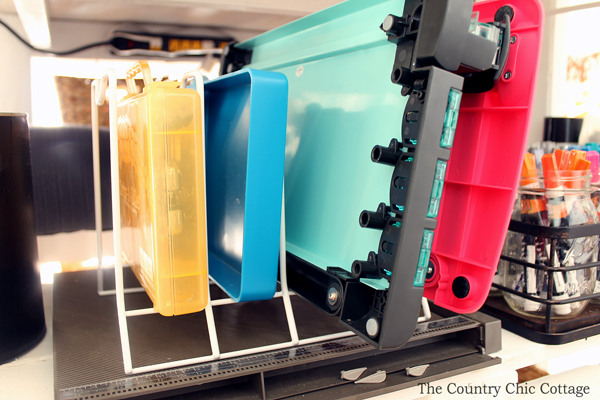
Next to it, I picked up a kitchen organizer like this one to sort all of my large items that I use often. I had these stacked before and hated the hassle of needing that one item on the bottom. This fixes that problem perfectly!
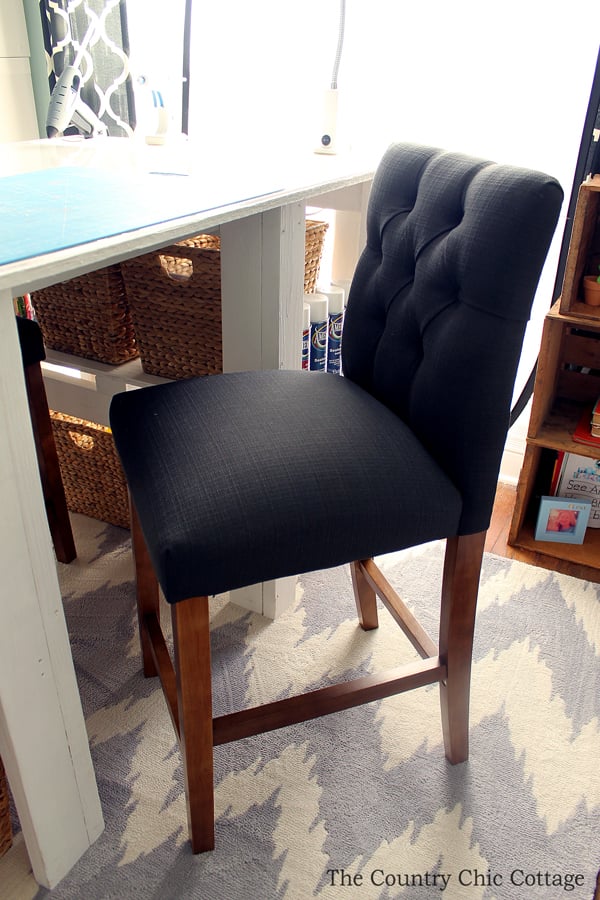
Those gray tufted bar stools are from Target and they are so comfortable! I would highly recommend them! The rug I found on clearance at Rugs USA but it appears they are sold out. I would highly recommend Rugs USA for affordable area rugs however.
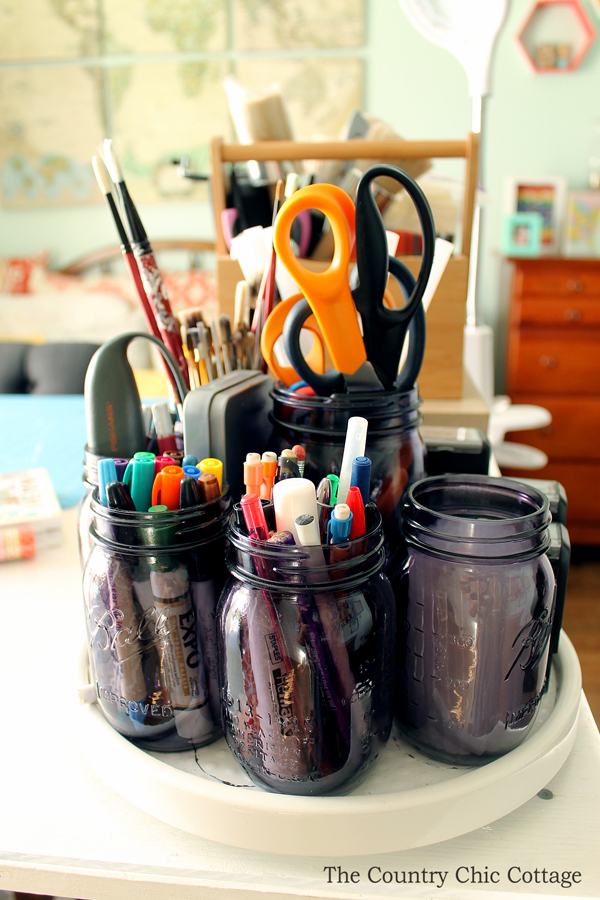
I have a few things on top of my work table including this lazy susan full of mason jars. I love having my tools within easy reach. The work lights I use are these clip on magnifying lamps. I have two of them on either side of the table.
Now we are going to continue the tour starting at the door used to come into the room and heading to the left. The first corner houses my sewing machine, peg board, and more!
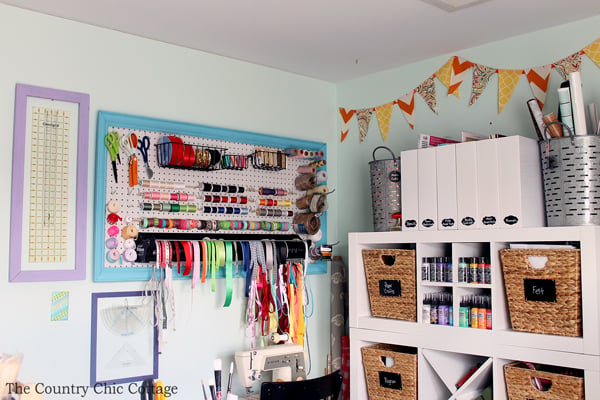
That pegboard is a life saver and I highly recommend one for any craft room. As you can see, mine is well utilized for everything from ribbon to twine to washi tape and more! If you are interested in that great ribbon organizer, you can buy a similar one on Amazon (note it appears to be discontinued and this is one of the only places I could find one).
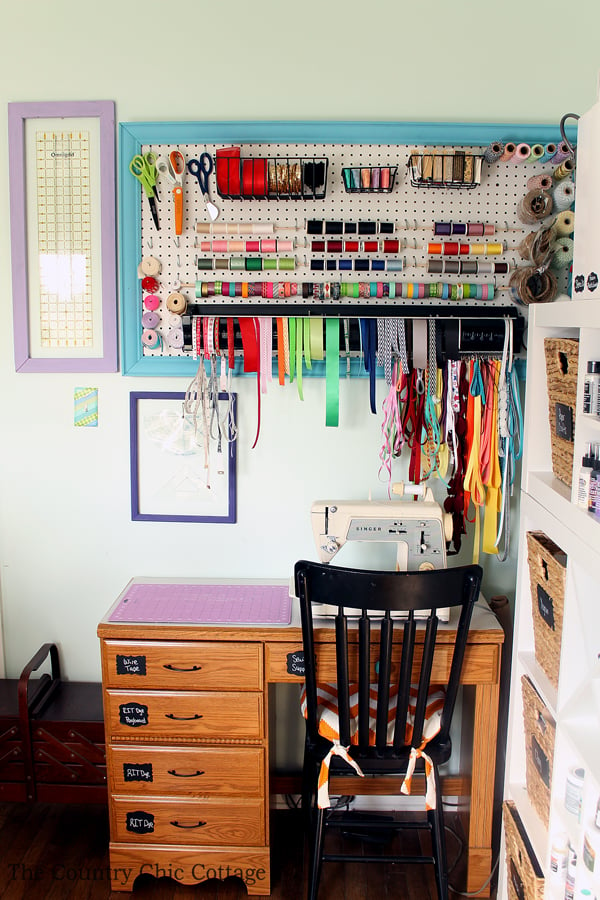
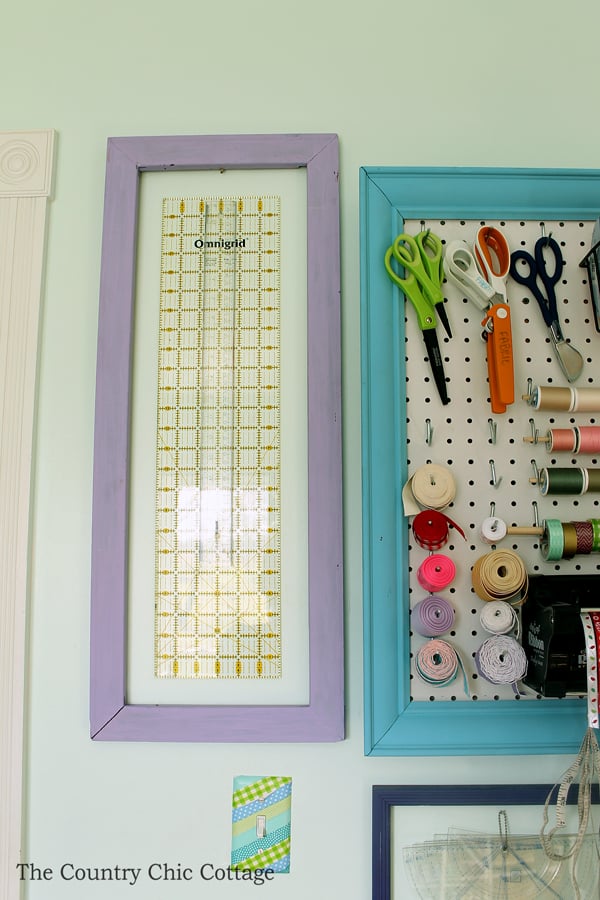
I had a few things that I decided to just hang directly onto the wall. I added empty frames around these items to make it look a little more neat and organized. I love how it turned out!
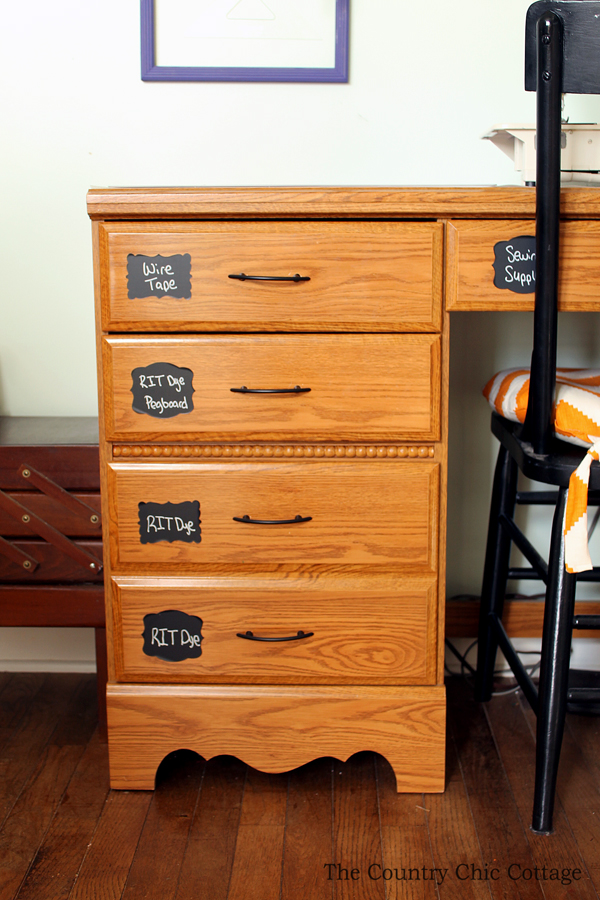
Yes my sewing machine is SUPER old. She is a workhorse and gets the job done however! We have had this desk for sometime but it really works in here for a sewing area. I covered the top of the desk with a product I found near the contact paper at Walmart. It is non-slip and really helps on this surface.
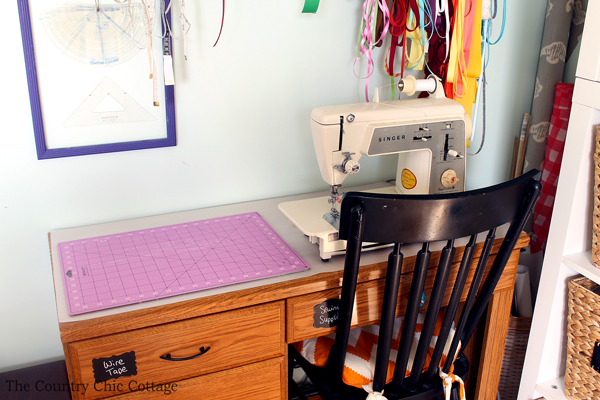
I actually changed out the knobs and pulls on this desk to give it a little makeover. I went with chalkboard labels on EVERYTHING in this entire room. I decided I just change too much for regular labels. You can click here to get the ones that I used.
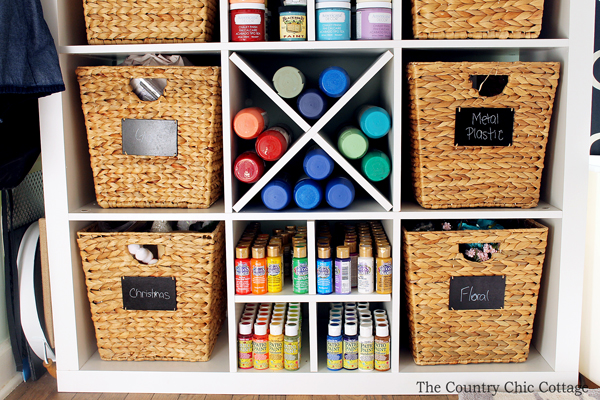
I have two of these shelving units in this craft room to hold all of my craft supplies. This is hands down the best thing I did in this space. I was always using leftover furniture pieces from the rest of the house in my craft room. The problem is none of it WORKED for me. The best decision was ditching all of that and going with functional pieces that work in this room.
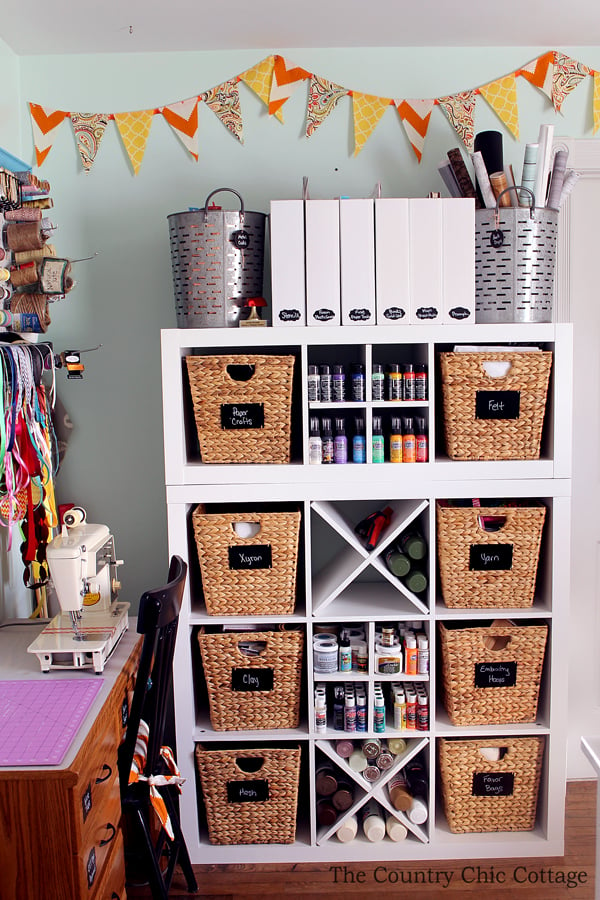
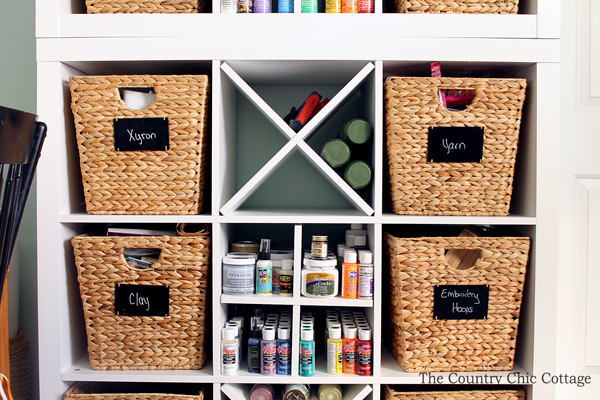
The cubes are all from Walmart. I used this 9-Cube Storage stacked with this 3-Cube Organizer![]() . I used wicker baskets with chalkboard fronts
. I used wicker baskets with chalkboard fronts![]() throughout the entire room. You can also buy those dividers for the cube organizer. I used the quad divider
throughout the entire room. You can also buy those dividers for the cube organizer. I used the quad divider![]() and the X divider
and the X divider![]() and alternated them down the center of each shelf.
and alternated them down the center of each shelf.
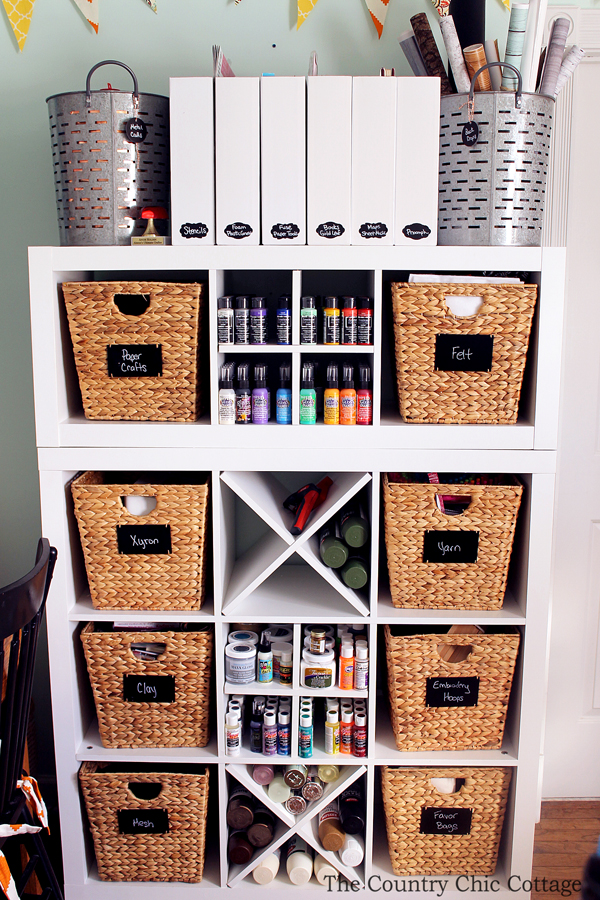
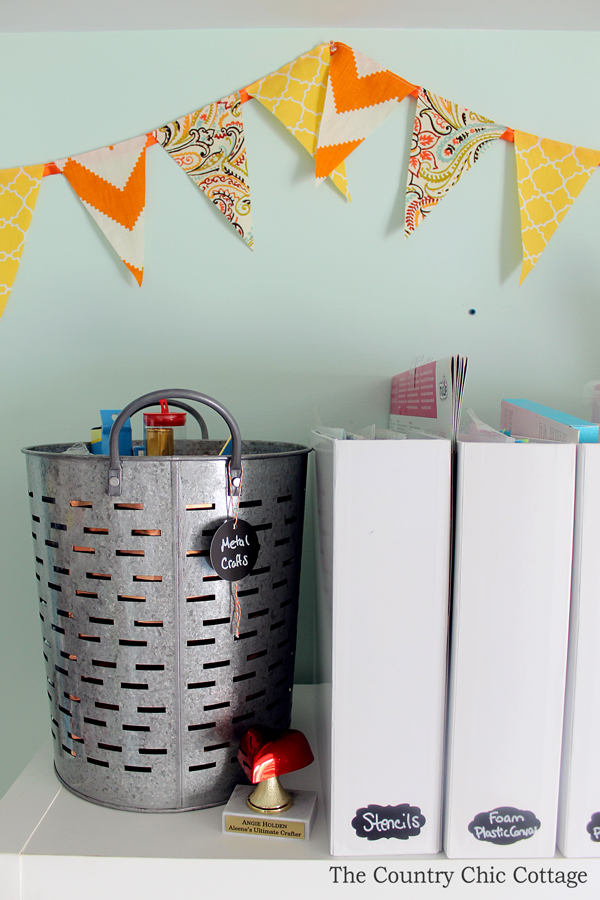
I used the same fabrics throughout the room. From a cover for my chair cushion to that fun banner across the top of this side of the room.
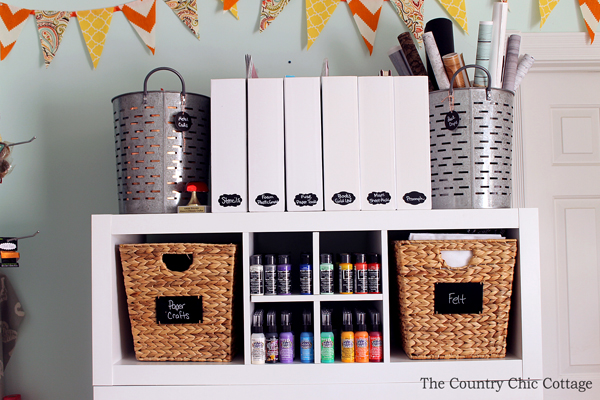
The top of the cube shelves on this side of the room have a variety of these 12 x 12 paper organizers housing various supplies. I am also using two of these Galvanized Round Bins![]() on either side.
on either side.
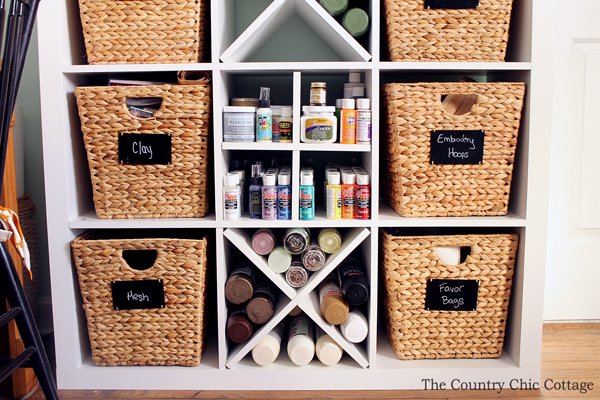
The dividers on the shelves are mostly full but I do have some room to expand.
I love being able to see everything at one glance and have my craft supplies organized and ready to make something!
As we continue around the room, this is the next corner. I have my aprons hanging from a command hook on one side.
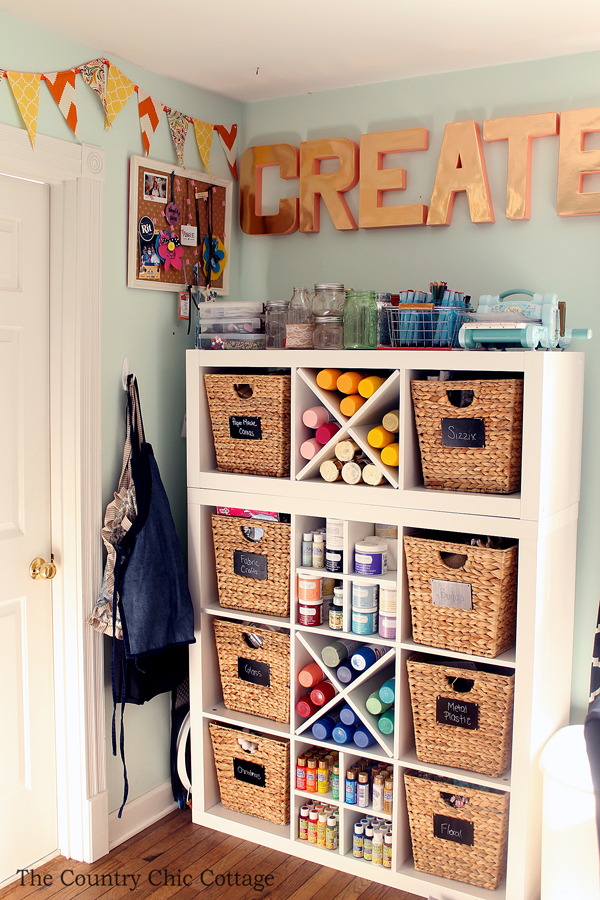
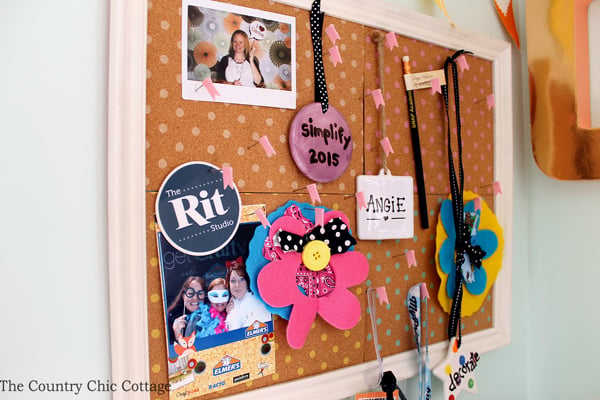
I also took some adhesive cork and re-did a cork board for this side of the room. Everything up here is memory from a fun event I have had the opportunity to attend.
I created these metallic “CREATE” letters for this space and am absolutely in love with the results! Click here to see how to make them for yourself! They hang over another set of cube organizers that are just like the ones above.
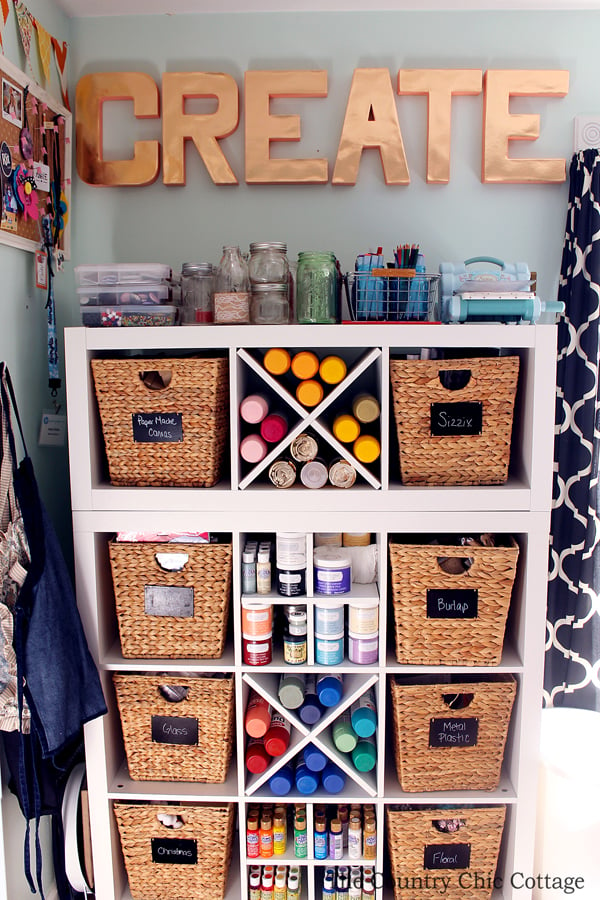
I have a wide variety of mason jars on top of this organizer. Y’all know I love my mason jar crafts! There are also a few organizers that are meant for fish tackle. They work perfectly for small objects like beads and more!
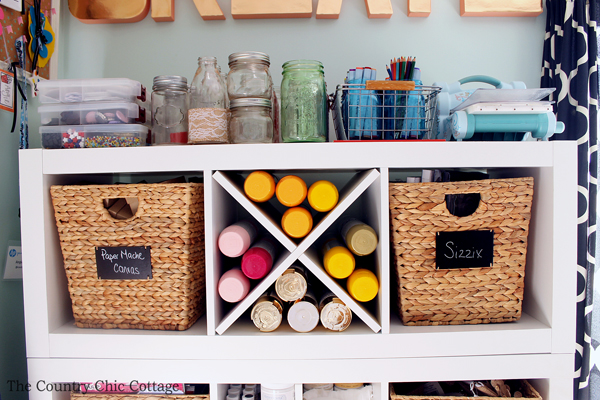
The paint and other supplies are organized in the same way as the other cubes.
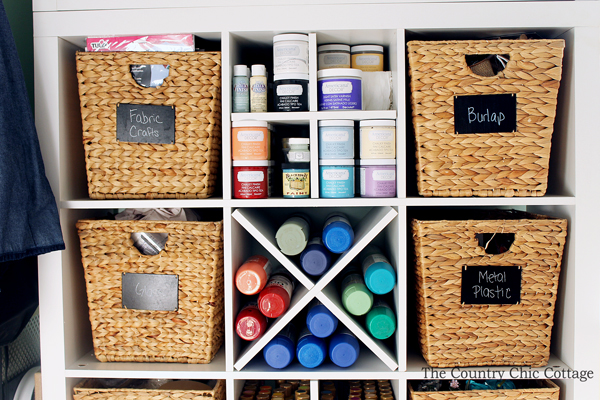
I love that the paint is organized by type so I always know where to go to get the correct type for the project I am working on.
As you turn right from this corner, you can see the other side of my work table as well as the rest of this room. You can find that six piece world map here.
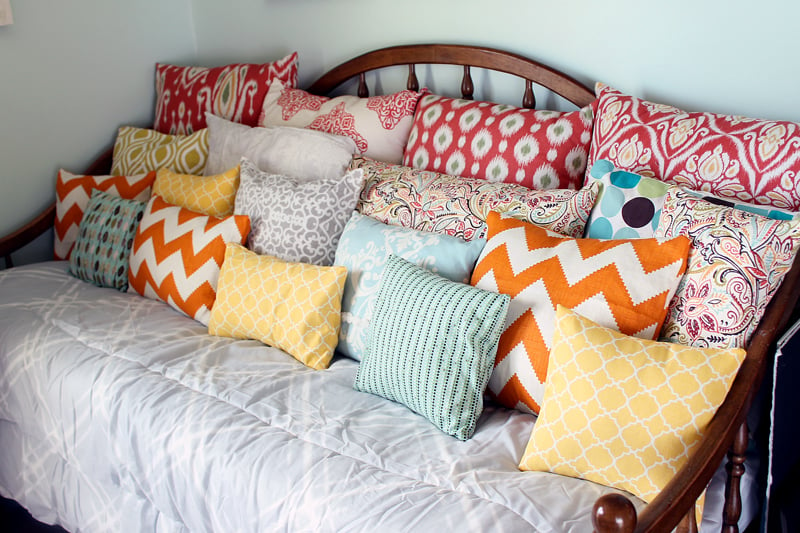
I used a day bed we already had to make a place to sit in this room. This can easily be turned into a guest bed for an over night guest. You can read more about the pillows and bedding here.
The wall above this side of the bed has a gallery full of great things. You can click here to see that watercolor state art or here to see that decoupaged monogram. The mirror was a candle holder from the thrift store that I painted and added in a mirror!
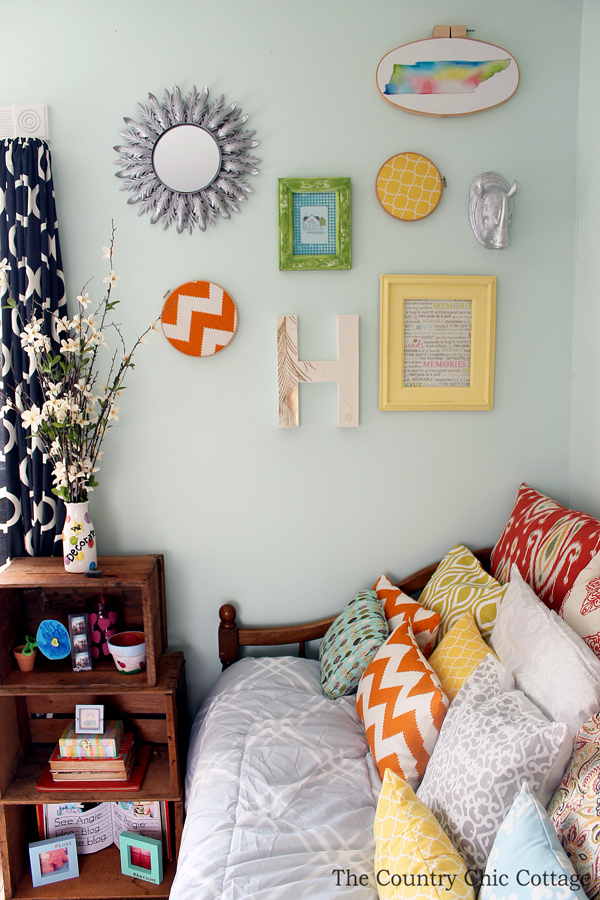
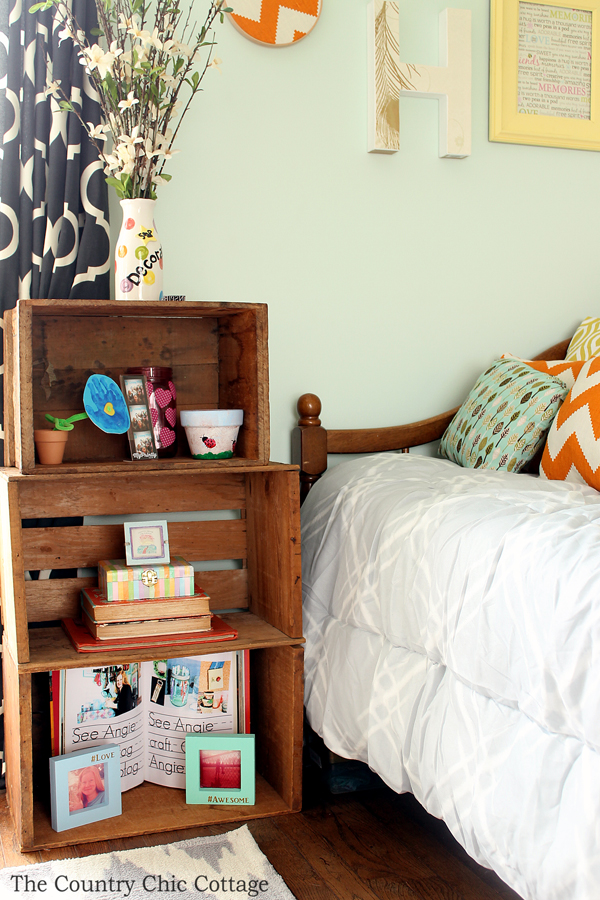
The night stand next to the bed is actually three vintage wood crates that I stacked together. I did not take a picture but under the bed I have additional storage boxes that house projects that need to be completed.
On the opposite side of the bed, I have a chest of drawers that contains various photo props.
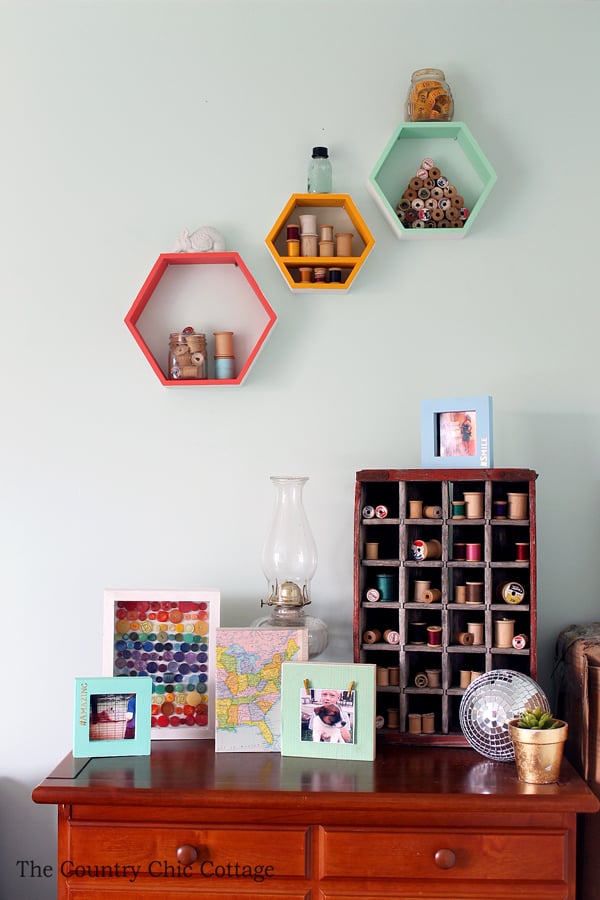
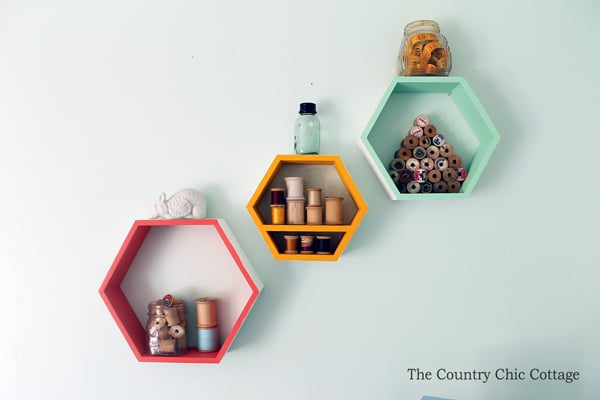
Above that dresser, I painted a set of these hexagon shelves. I filled them with vintage finds and more!
The remainder of my vintage thread spool collection went into this old Coke crate. I love showing off those thread spools and it just seems to fit in a craft room!
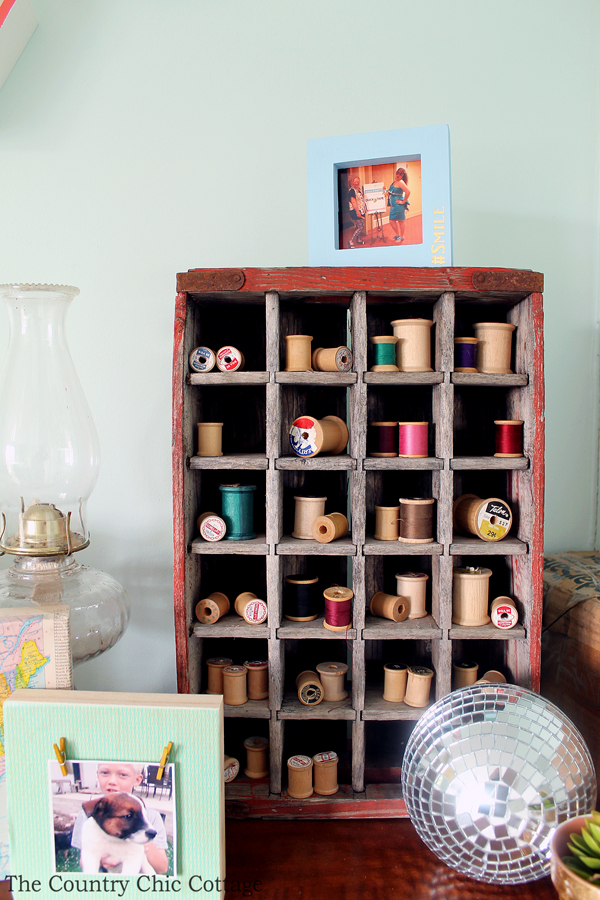
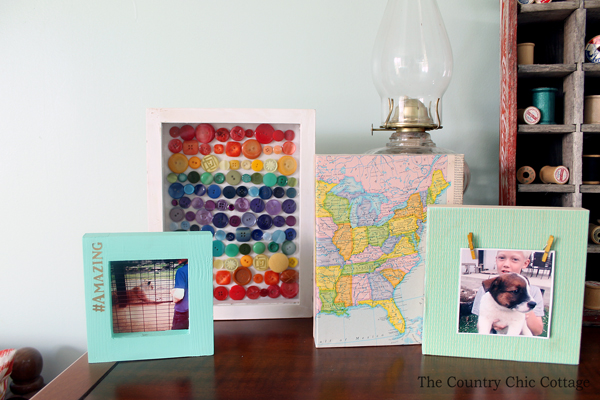
The rest of the items on the dresser I actually made. I love the collection of my rainbow button art, DIY map canvas, hashtag Instagram frames, and washi tape Instagram frames.
I couldn’t stop there! I had to utilize every inch of this space. I used an over the door shoe organizer for the back of the door and added in more craft supplies.
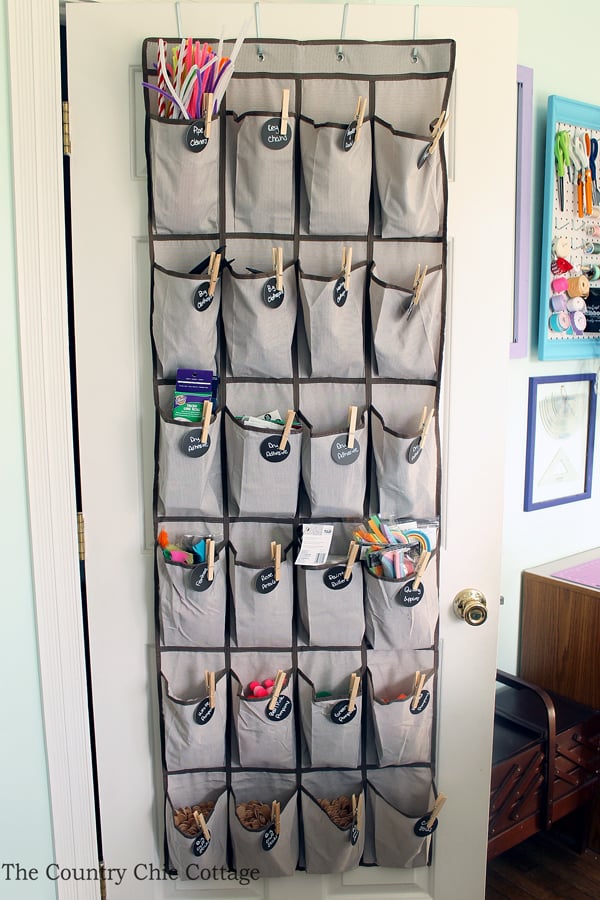
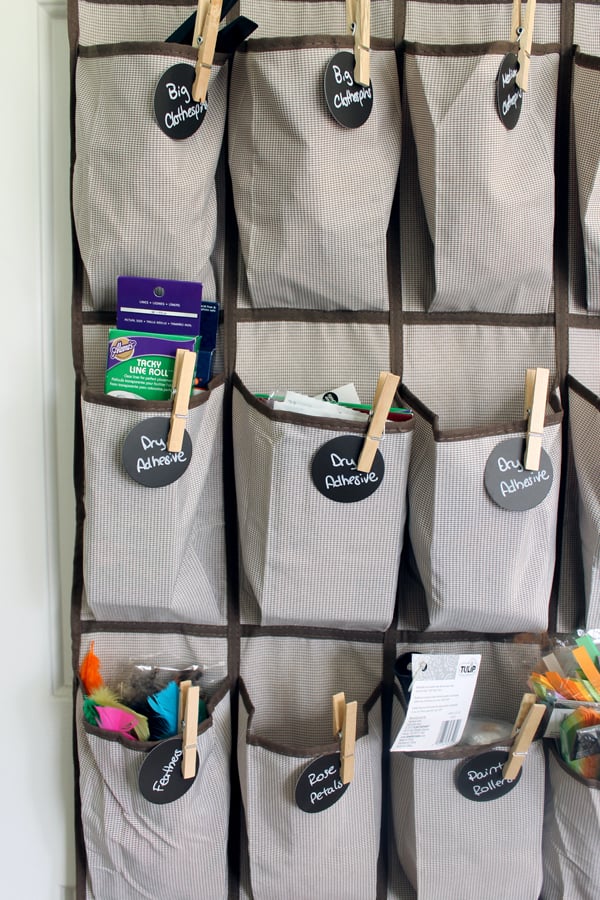
I used chalkboard paper to create round labels and clothes pins to hold them on. Remember I change my mind too often so chalkboard is the main theme of this craft room!
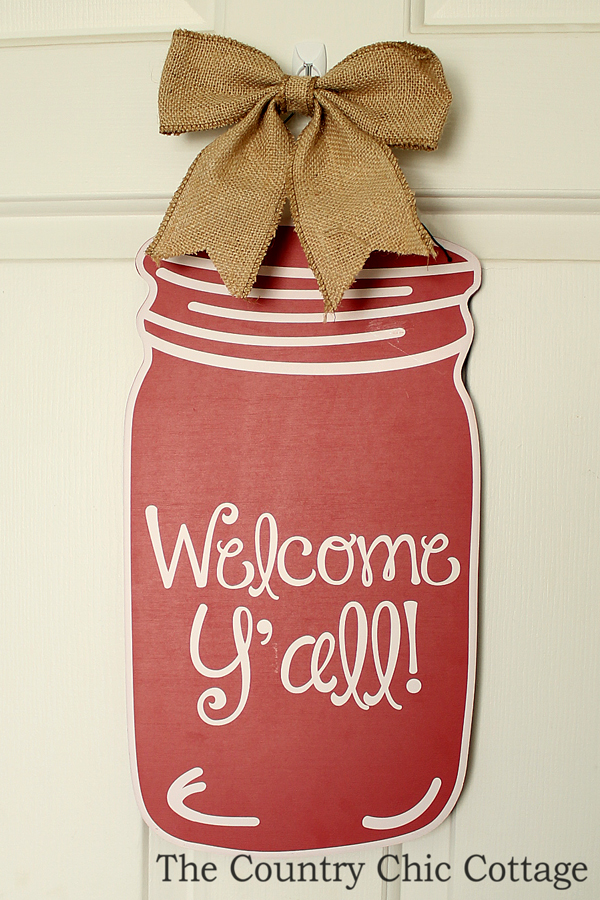
The front of the door needed a little something as well so I made sure everyone felt welcome with this fun mason jar sign that was a Christmas gift.
That is it for my craft room but I wanted to let y’all have a peek into the closet that is in the adjoining room. I use it as well for craft supply organization.
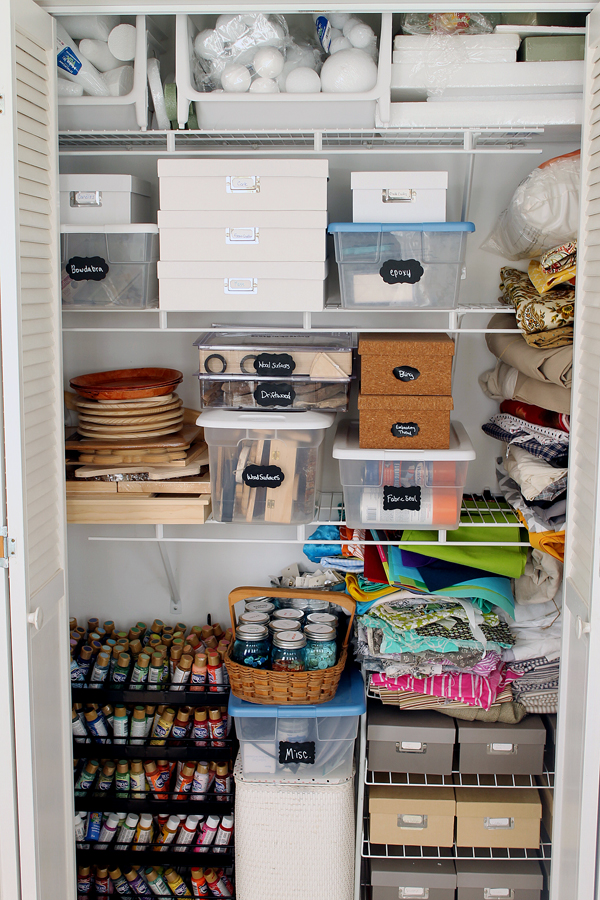
I had a major clean out and over haul in this closet as well during this craft room makeover. Again I tried to do mainly chalkboard labels throughout.
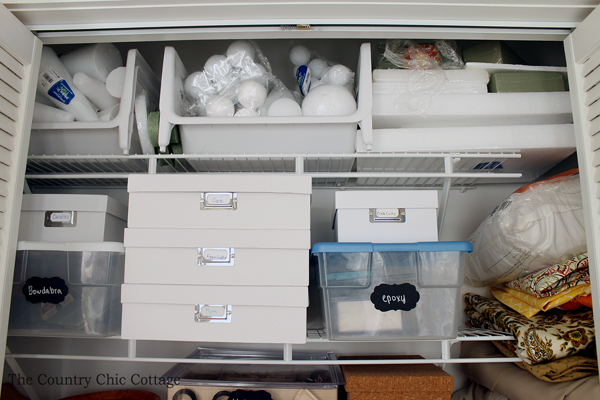
The containers in here don’t match as well as in my craft room but y’all I can close these doors!
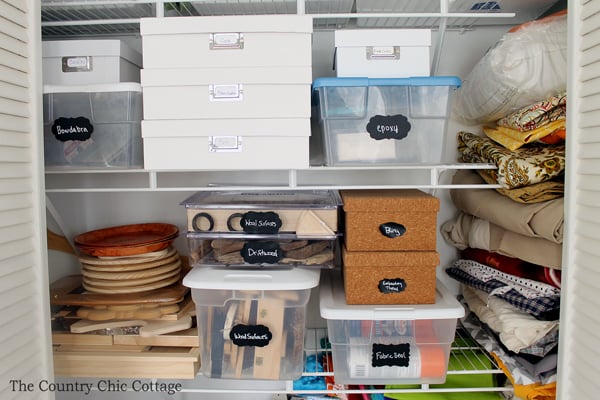
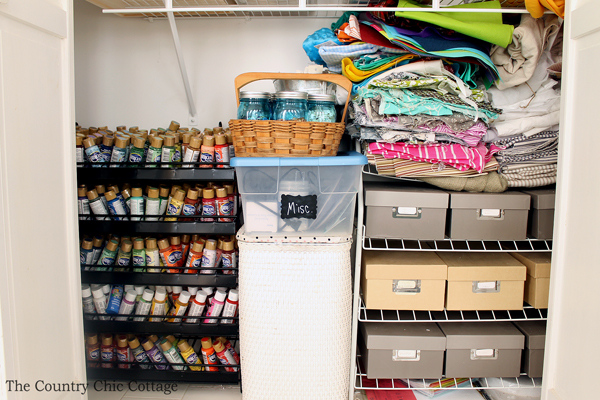
And if you thought I had a bunch of craft paint in my craft room, you have not seen anything yet!! That is one BIG craft room tour! The room is actually the smallest in our home but I was able to fit in BIG function with a plan and by purchasing pieces that work for me. Want to see a video tour? Watch below!
Now it is time for the craft room tour! Each day I will update the list below with links to the blogs we have on our tour. By the end of the week, you will have tons of inspiration! Now click around and get inspired to organize your own craft room!
- The Scrap Shoppe
- Tried and True
- Simply Designing
- Kristen Duke
- Jennifer Gallacher
- The Happy Scraps
- Always Expect Moore
- The Happy Housie
- A Girl and a Glue Gun
- 100 Directions
- Hey Let’s Make Stuff
- Ribbons and Glue
- Dragonflies and Lillypads
- Morena’s Corner
- Holy Craft
- Organize and Decorate Everything
- K’s Craft Shack
- Made with Happy
- Major Hoff Takes a Wife
- 365 Days of Crafts
- Me and My Inklings
- Fleece Fun



Your craft room is gorgeous! I wish that I had enough artistic skill to justify all of those craft supplies. I could be a total craft supply hoarder. LOL!
I am definitely a hoarder! Thanks for commenting!
Love it! Pinned and tweeted! Thank you so much for sharing this with us at our linky party. We hope to see you next Monday @ 7 because we can’t wait to see your new creations! Happy Wednesday! Lou Lou Girls
Swoon…. I wish I could have a craft room… maybe one day!
Wow! Such great ideas! look fantastic! I need to save this for when I finally get my space done!
What an awesome craft room! You have inspired me to organize mine! Thanks for linking up and sharing at Celebrate It!
I love how well organized your craft room is! It looks like a really peaceful place to get your creativity flowing! Thanks for sharing at Submarine Sunday!!
I have craft room envy! This is such an amazing and beautifully organized space. Thanks so much for sharing with us at Best of the Weekend. Can’t wait to see what you link up this week 🙂
What is the name of the color paint you used on the walls?
Hi Kathy! I am actually not sure! SORRY! It is a minty green and I love it but it has been up there a few years now!
Your room is beautiful, Angie! So well thought out and I love that you’ve also made the items that you use frequently into decorative pieces by framing them on the wall. What a neat idea. We recently created a craft space in our guest bedroom and it’s nice to see that a shared space can be fun and functional. Thank you so much for the wonderful ideas!
What is your room size?
It is about a 10 x 16.
Hello Angie,
Thank you so much for sharing your beautiful craft room ideas; fantastically organised and very pleasing to look at. You have given me some great ideas to get started on my own little craft area in my home which is in Cheddar (yes, where the cheese is made) UK. With best wishes and happy crafting! Tara
I love these ideas, I’ll apply it to my own home 🙂
Love your craft room! I’m putting mine together now. Can I ask, what is the wall color in your room?
I seriously have no idea! It hasn’t been painted in years and we lost the color!