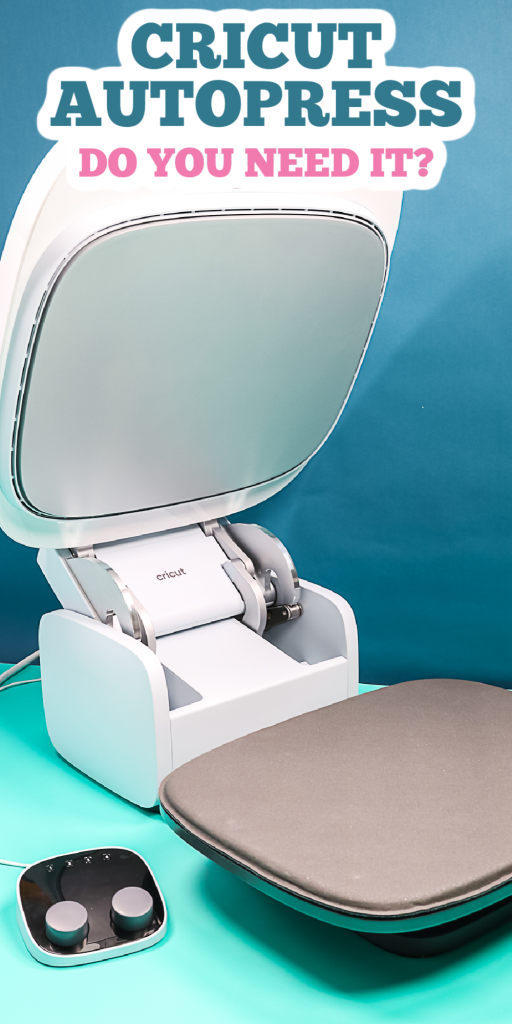
Are you ready to see the Cricut AutoPress and learn what this new release from Cricut can do? Well, I have one here so I can show you how to use the AutoPress and why you might want this new Cricut heat press. In this post, I will be opening it, taking a look at the machine, setting it up, and using it to make an example project. If you want to see more about this machine, stay tuned! I have more posts planned so you can learn even more.
Cricut sent me this machine, however, this post is not sponsored.
This is part of a series of releases today and you can see my posts on the Cricut Hat Press and EasyPress 3 as well!
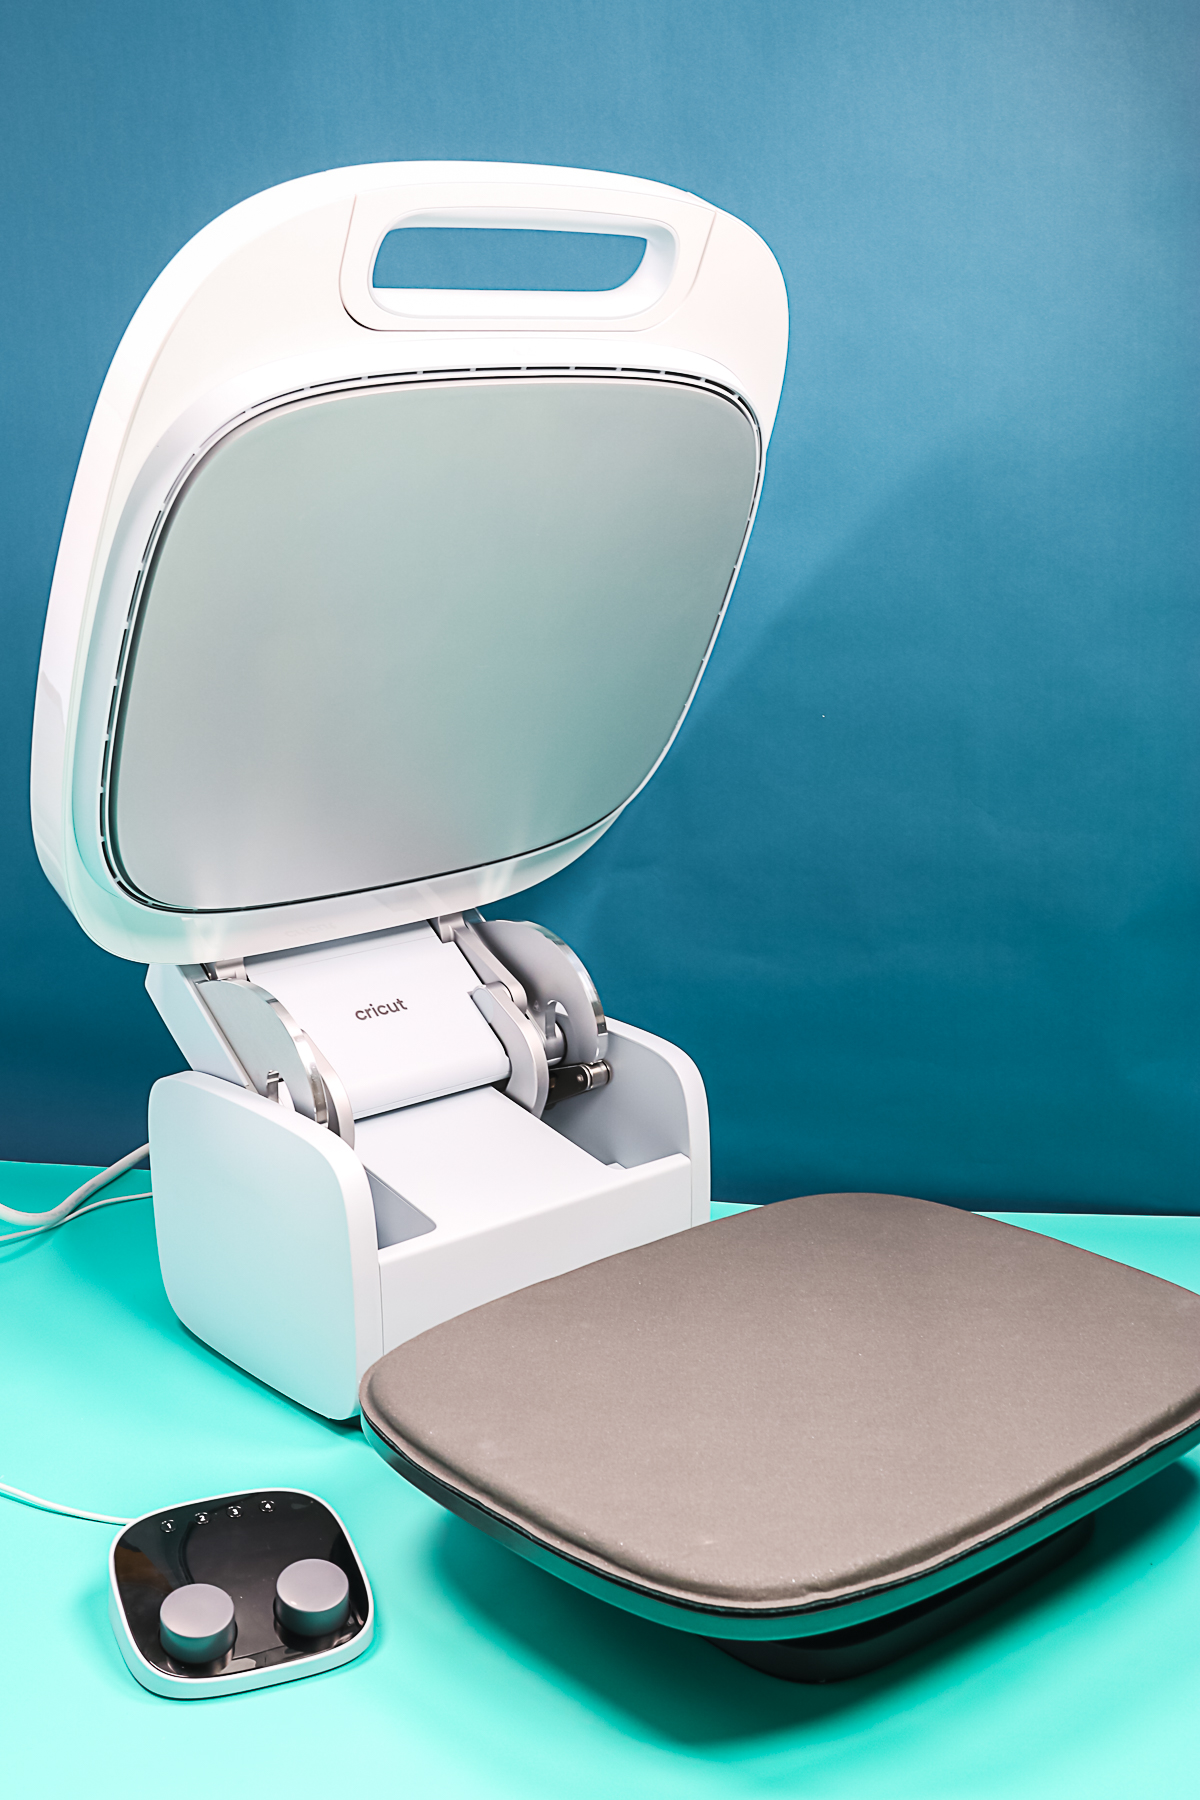
Cricut AutoPress
You can click play on the video below and watch as I open and use the Cricut AutoPress for the first time. I think you will be amazed at the easy operation of this clamshell heat press from Cricut. It is not like any heat press you have ever seen!
Can’t watch the video or miss some of the information? You can follow along below as well!
When can you purchase it?
Cricut AutoPress will not be for sale until May 2022. I was sent this press ahead of time to create content and show you how it works. You can see more about purchasing it on the Cricut website here.

Not sure which heat press is for you? Heat Press Roadmap has your answer! This extensive course is designed to guide you on your journey to deciding on the best heat press for your needs, space, and budget.
Join Angie Holden and Cori George as they explore 17 heat presses in 27 videos. Get the details and sign up for Heat Press Roadmap here!
What is in the box?
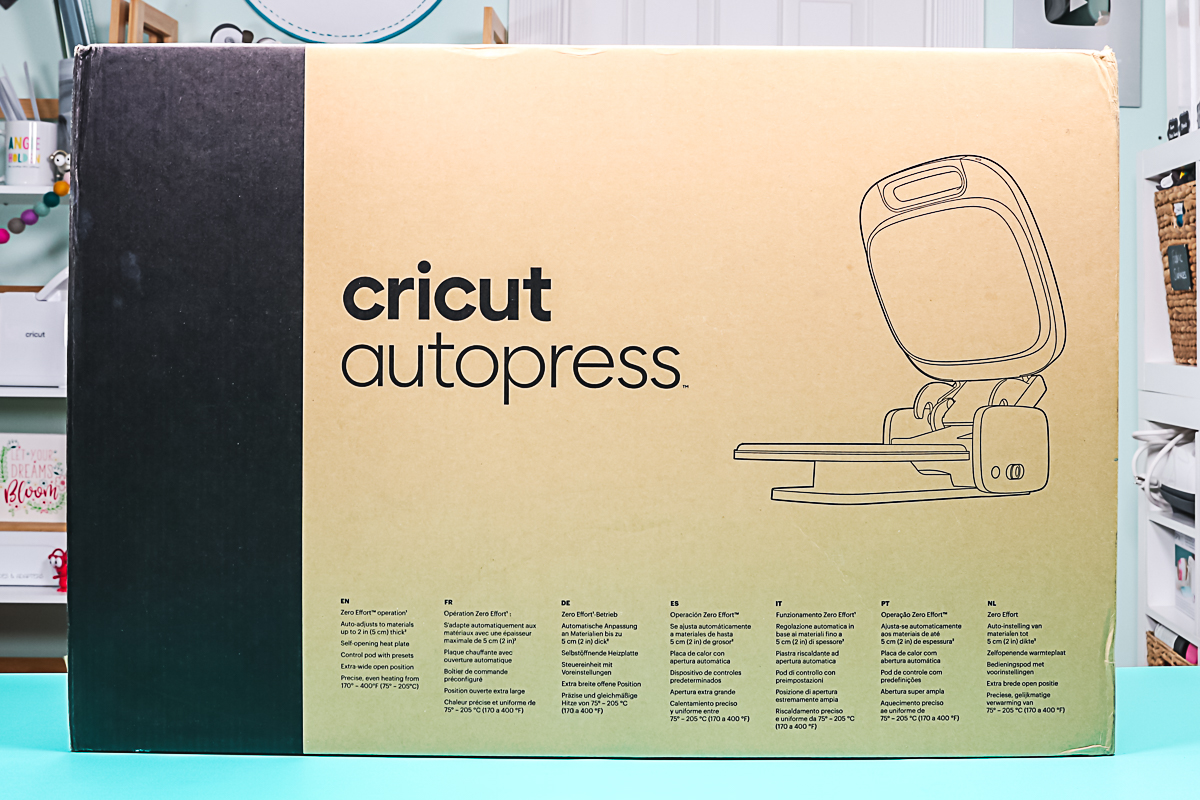
So now let’s open the box and see what’s inside. You can see that the box itself is huge.
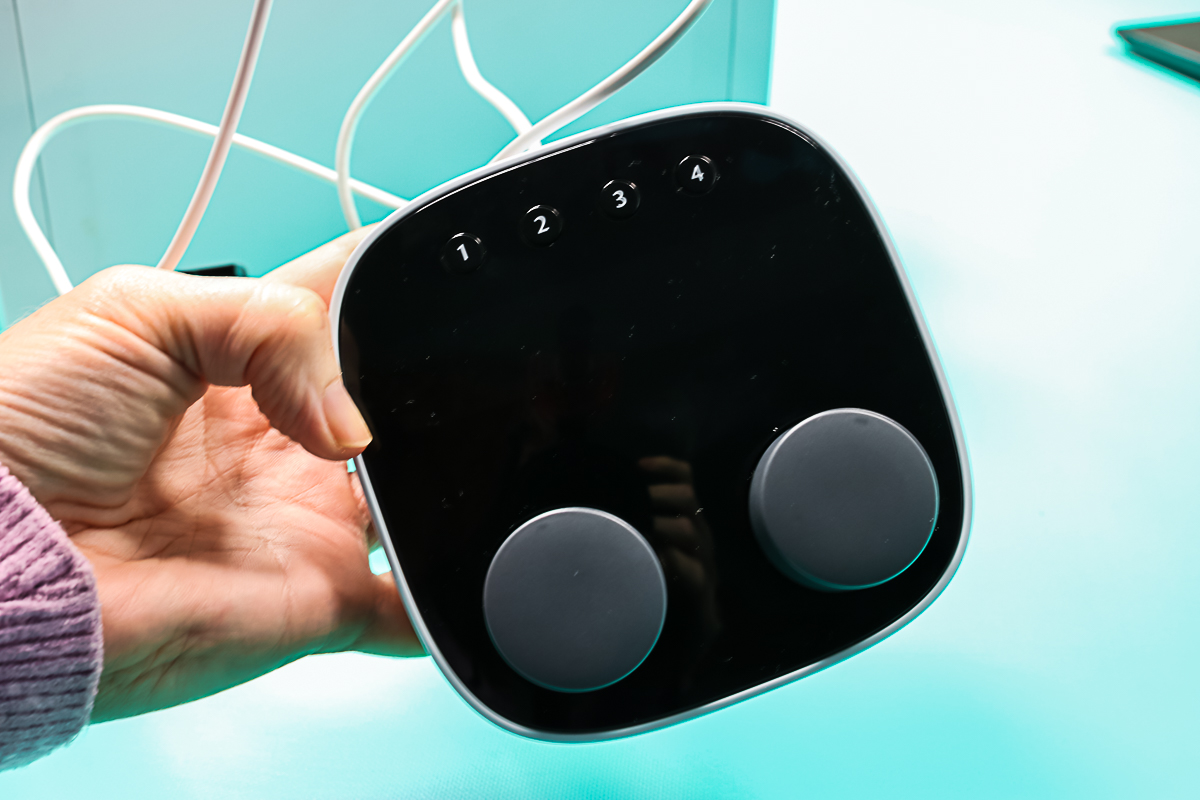
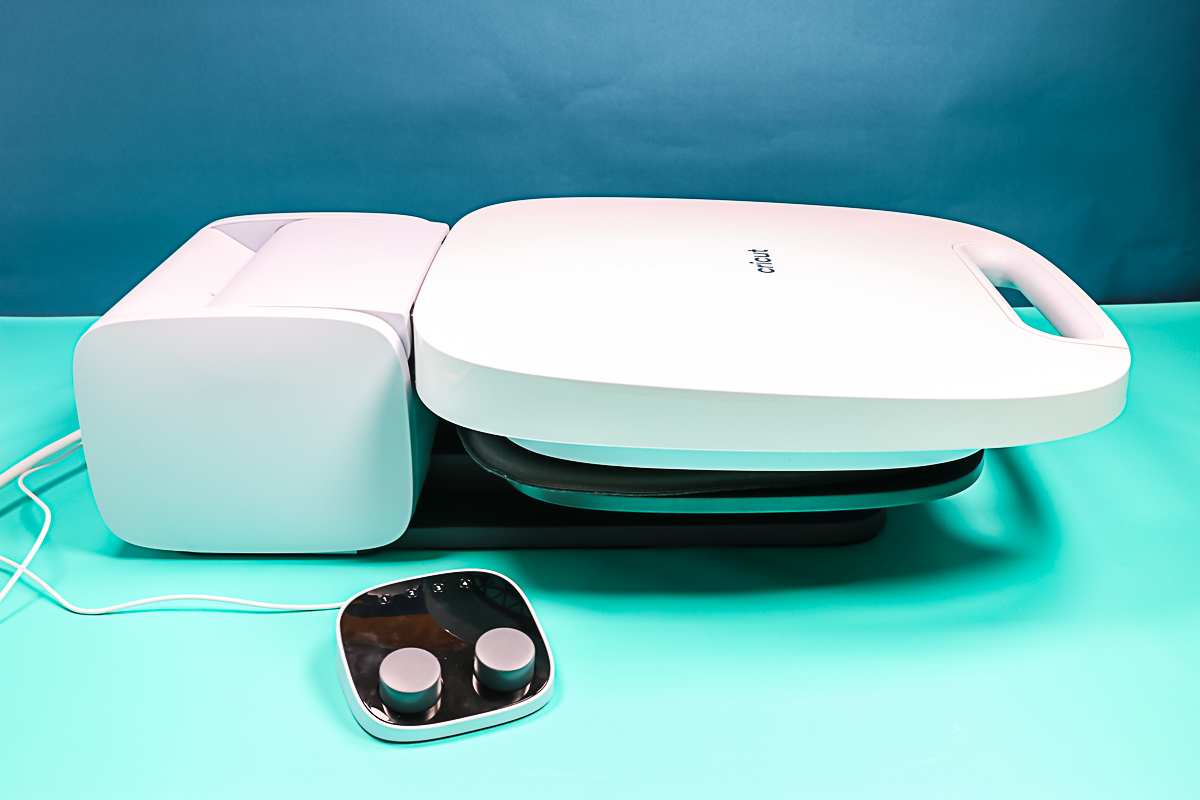
Inside I found two numbered boxes. Box number one had a control panel and cord as well as a get started guide. The control box has two dials, as well as four buttons up top that are each numbered one through four. Box number two had a power cord.
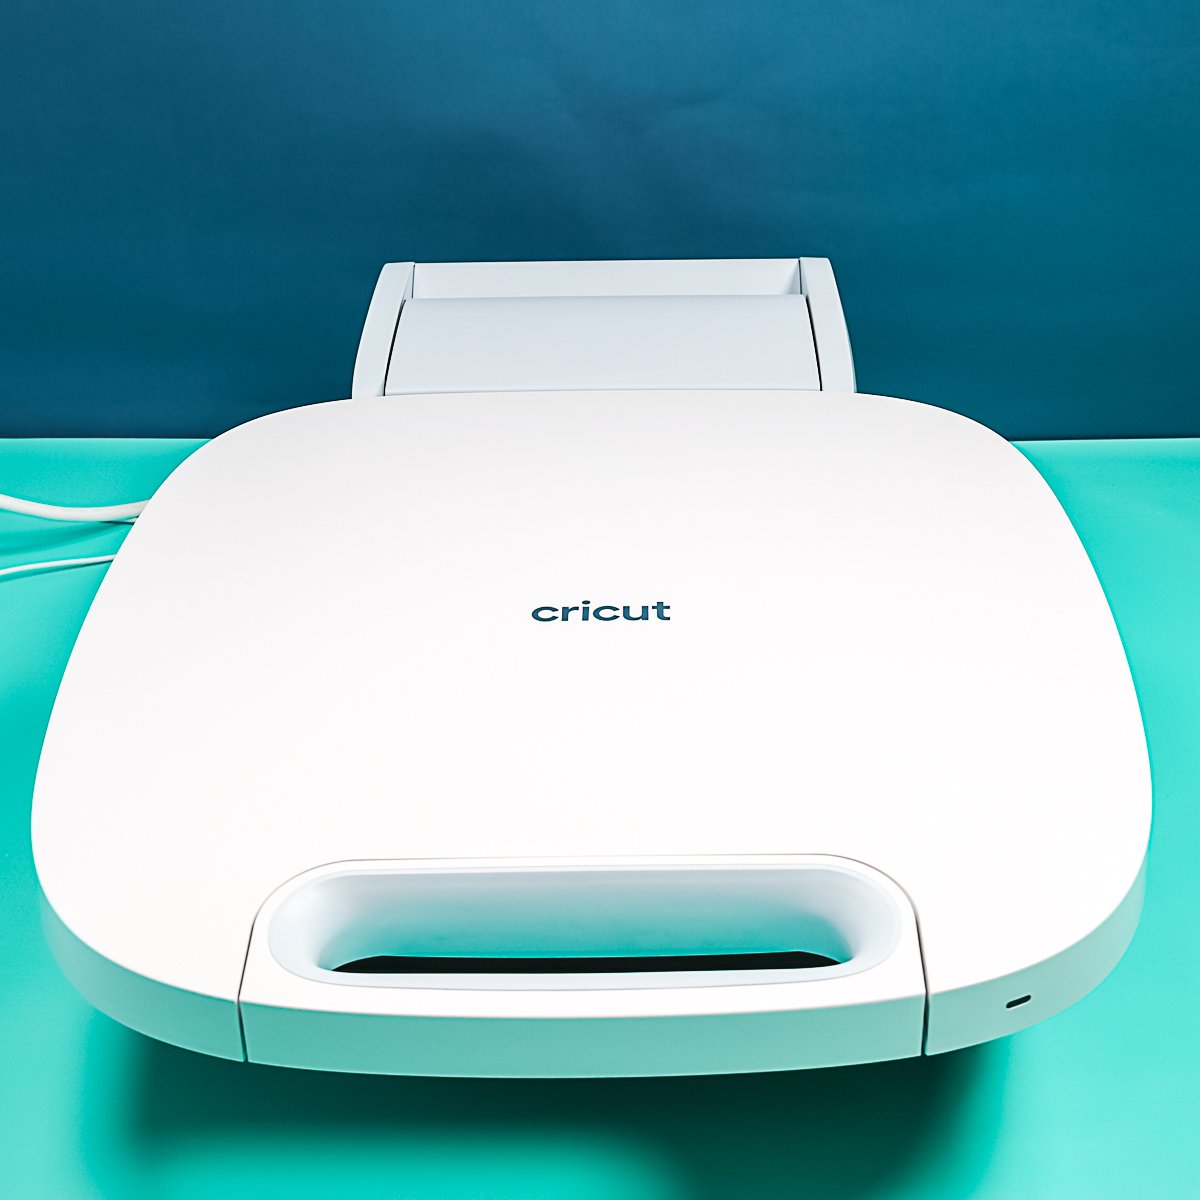
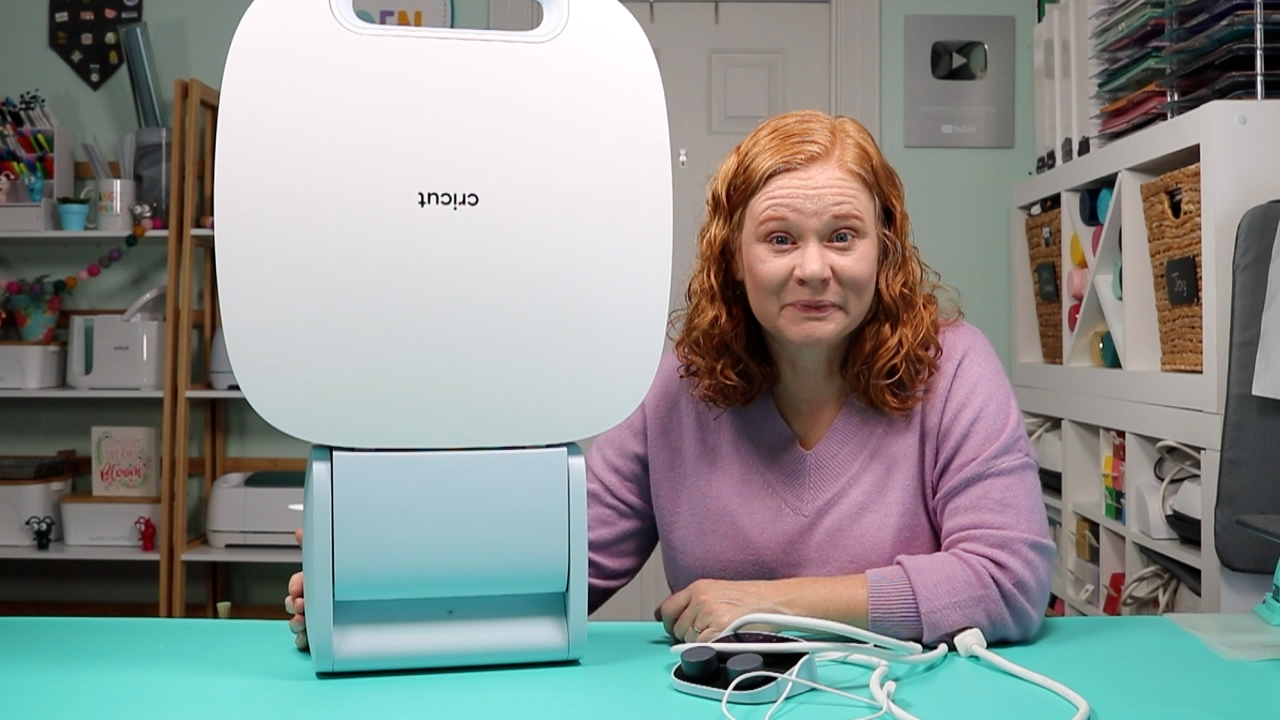
And here is the AutoPress itself out of the packaging. When you get it out of the packaging, it will be locked closed. You can actually lock and store it closed at any time.
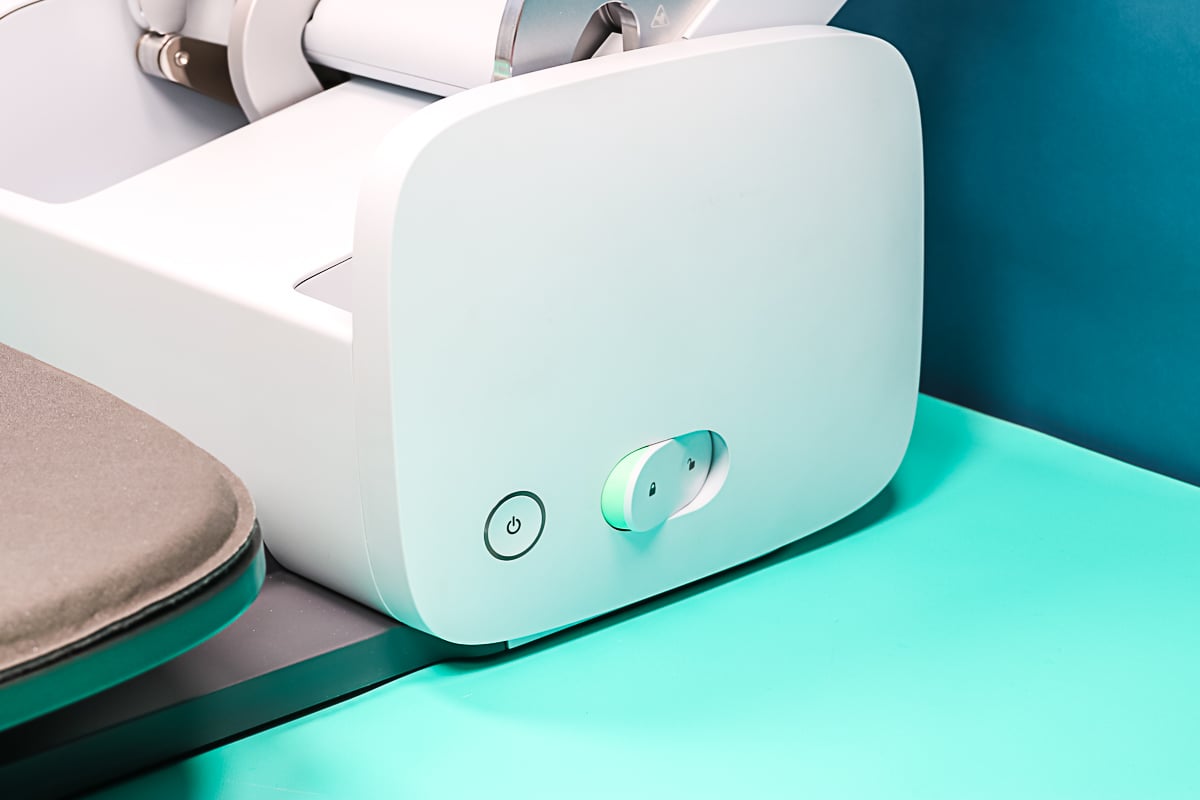
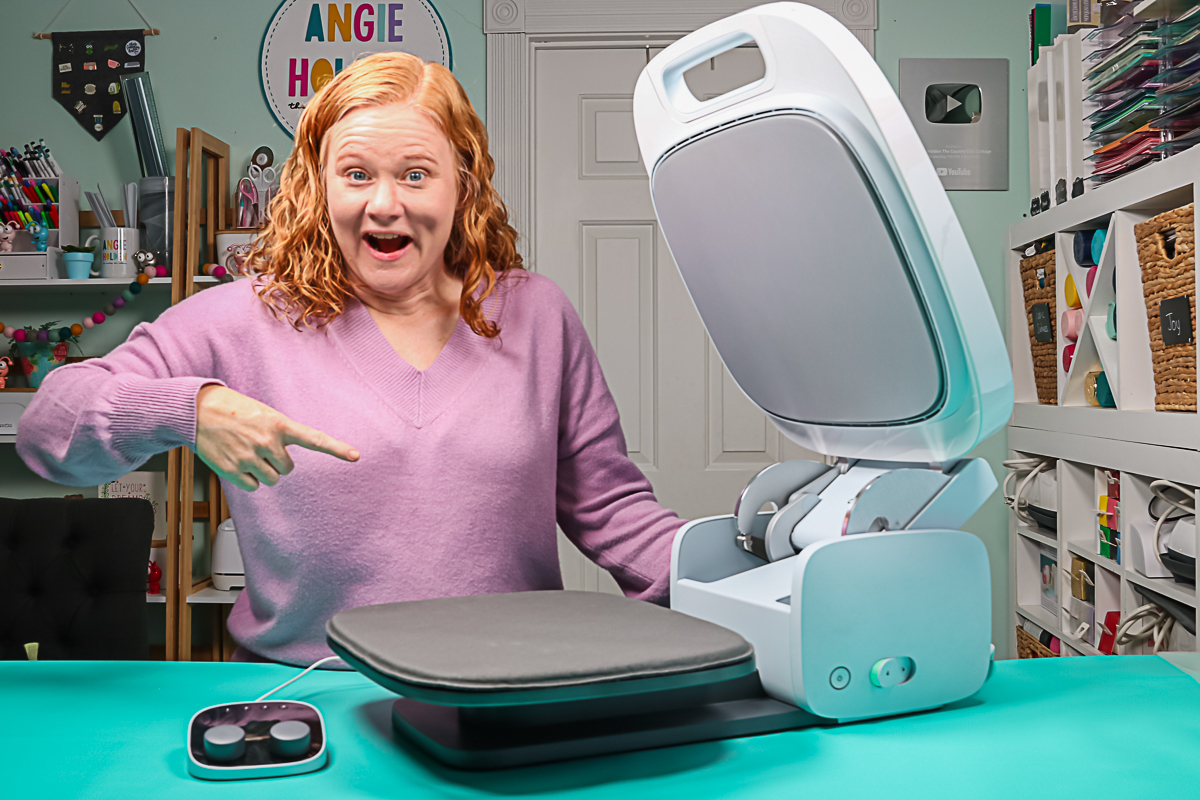
There’s a lock button on the side with the power button so you can just click unlock to open the press. Watch out as it does swing open!
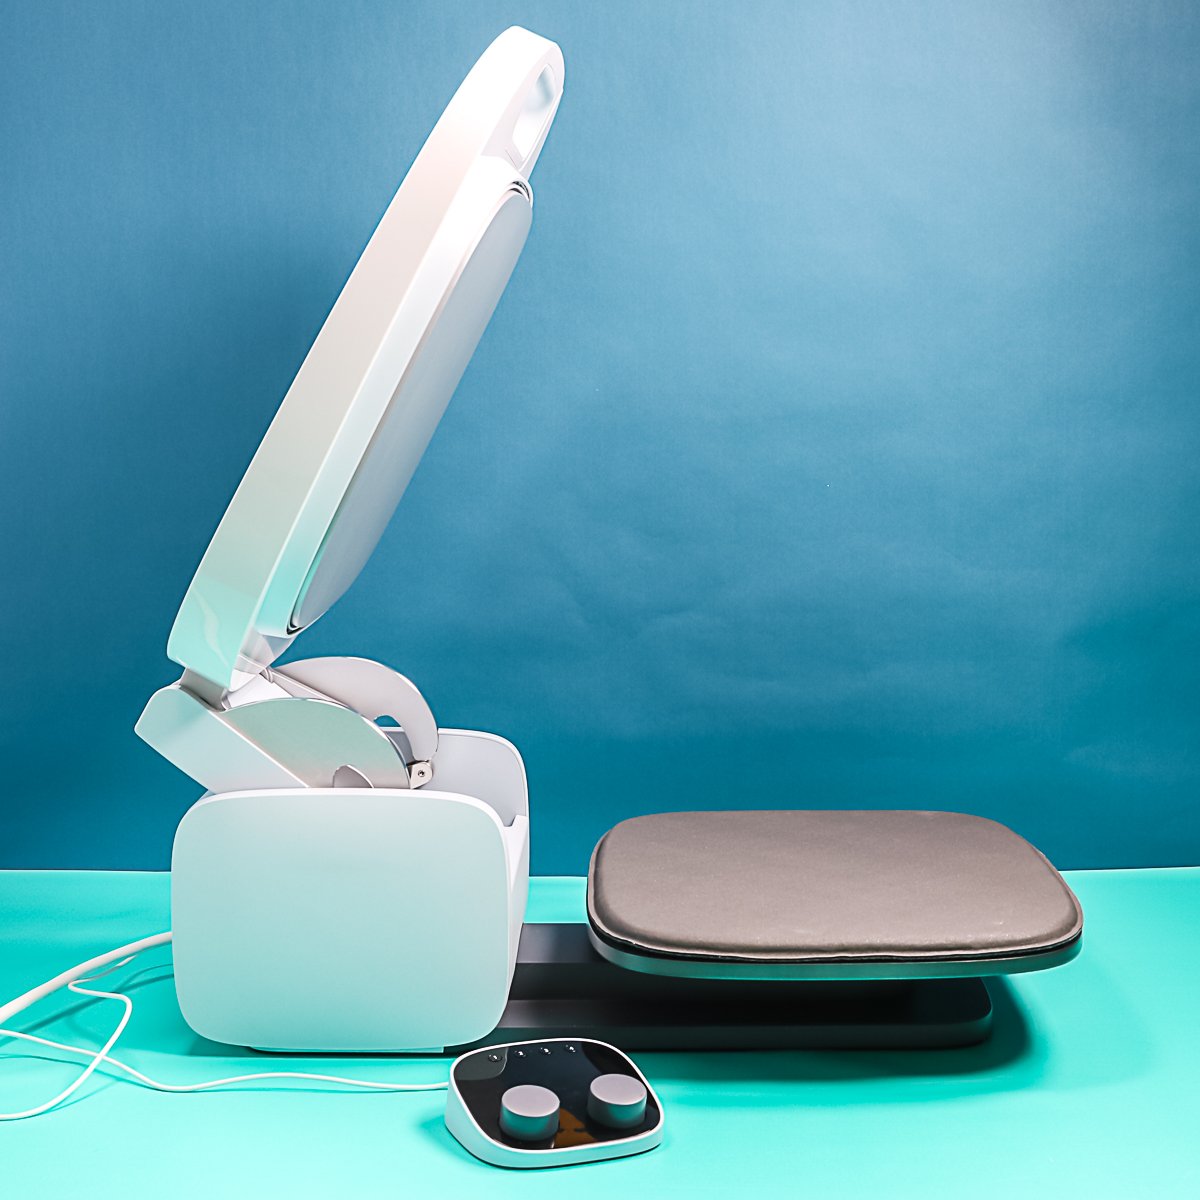
When Cricut AutoPress is open, you can see it opens really wide so you don’t have to worry about the heat plate being close to your hands when you are loading or unloading.
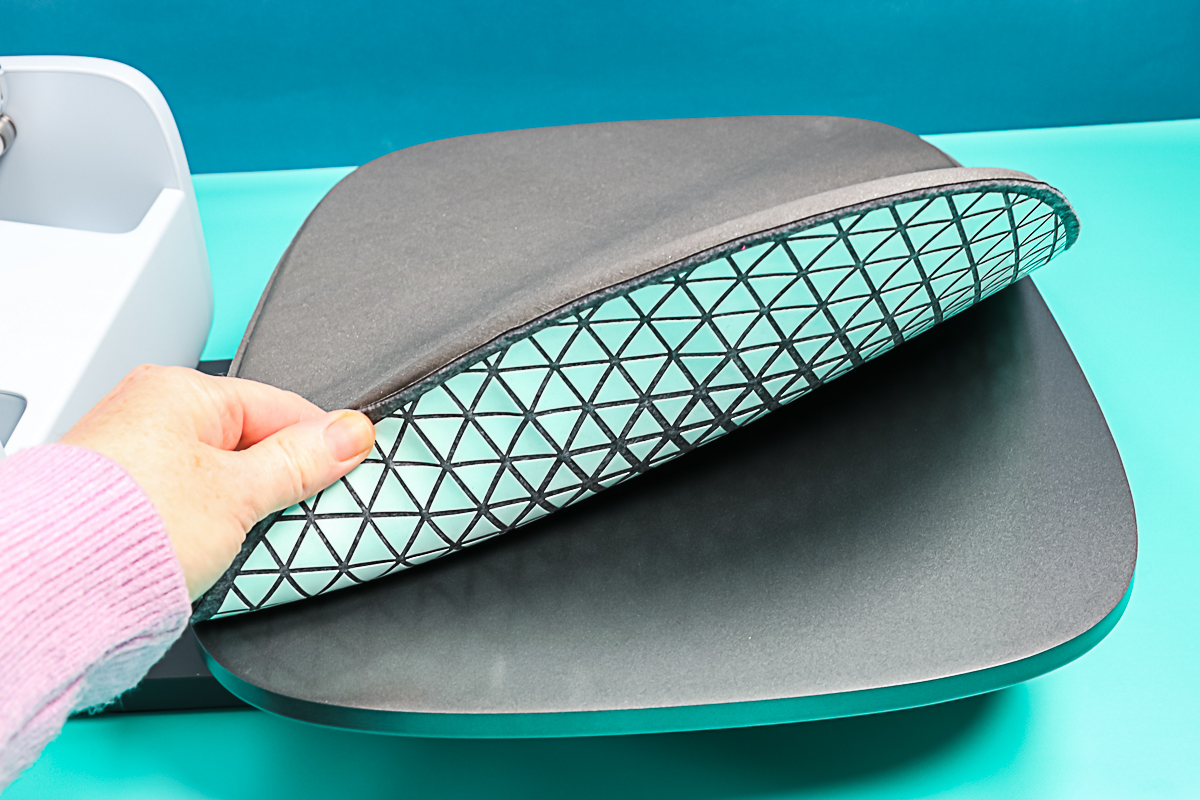
There is also a removable mat that comes inside of the press. You can remove this from the bottom plate just by lifting it up. It does have a non-slip backing on it, so that means it is different from the EasyPress Mat and you’ll find that it won’t slide around on the plate. However, you can remove it, put your blank on it, then add it back easily.
There’s actually a handle on the front of this heat press as well as a little space on the back for your hand so that it’s easy to lift. You can also carry it just by the handle.
Set Up Process
You will get a card with the press that has a website address for the activation and setup of your machine. Please note that you must connect this machine to a computer to activate it and register it before it will work. You do need a computer with a USB port. If you have a newer Mac, you might need an adapter to do so.
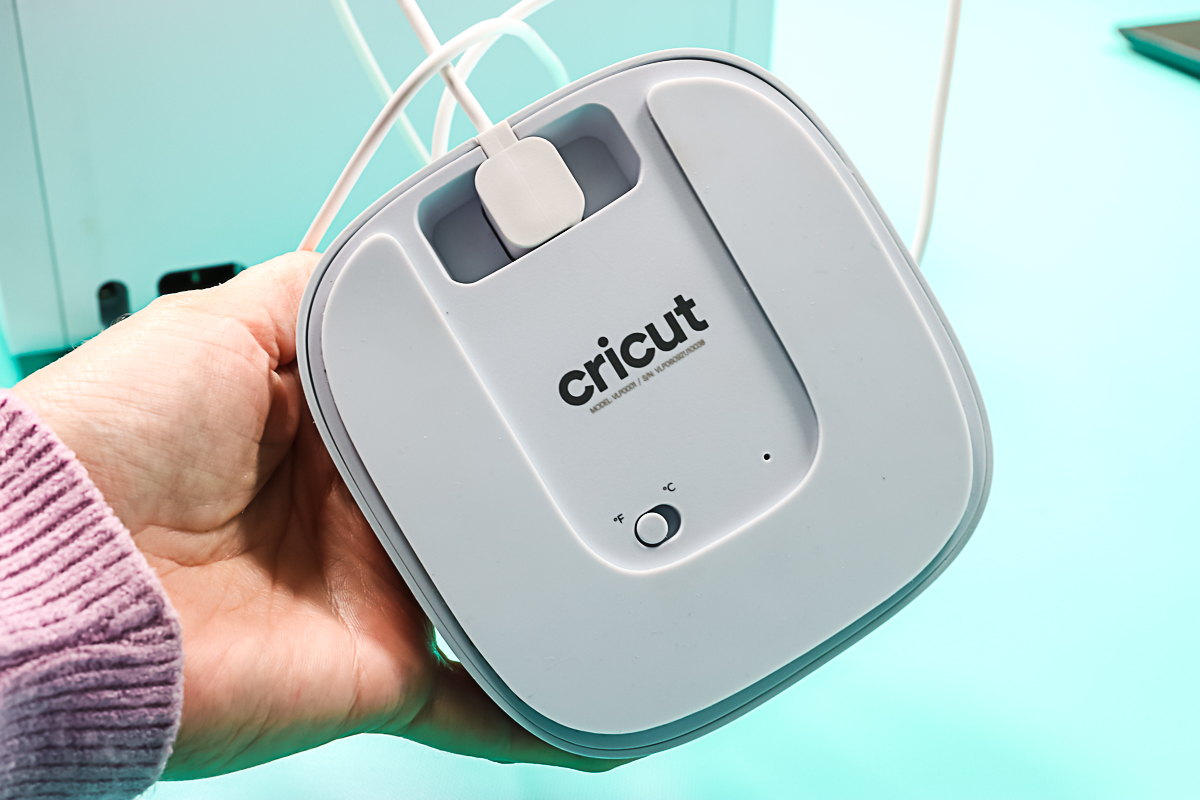
First, add the cord into the back of the control box. Press the cord into place and the box is ready. On the back of this control panel, you can also switch the heat press from Fahrenheit to Celsius. I’m going to put mine on Fahrenheit.
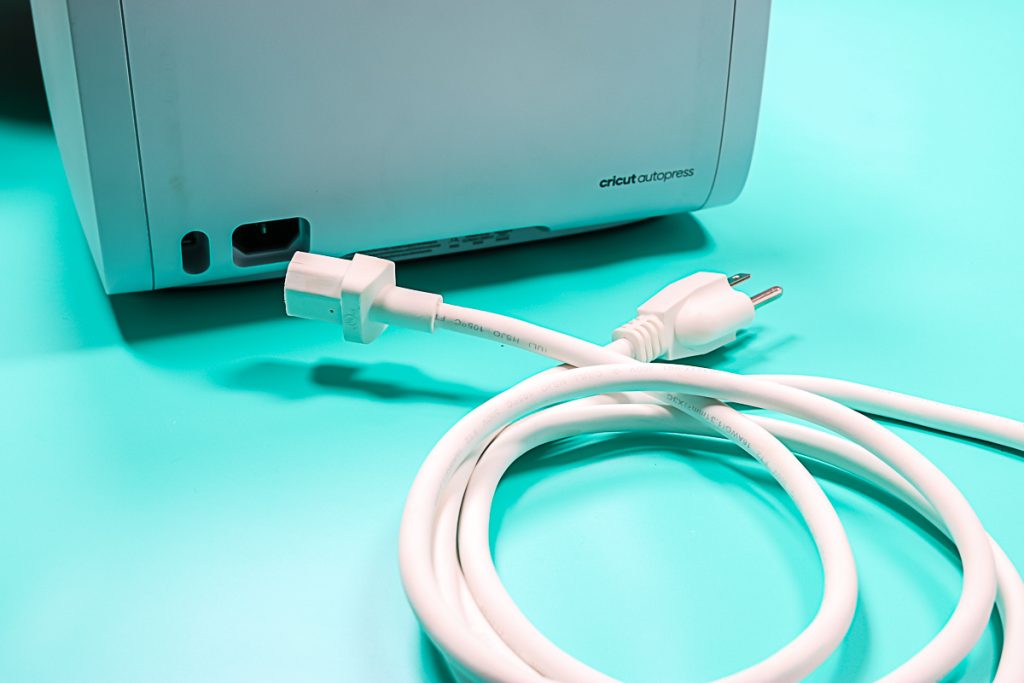
Then you will want to add the power cord to the press itself. Add one end to the back of the AutoPress and plug the other end into the wall. Once that’s plugged in, we can begin setup.
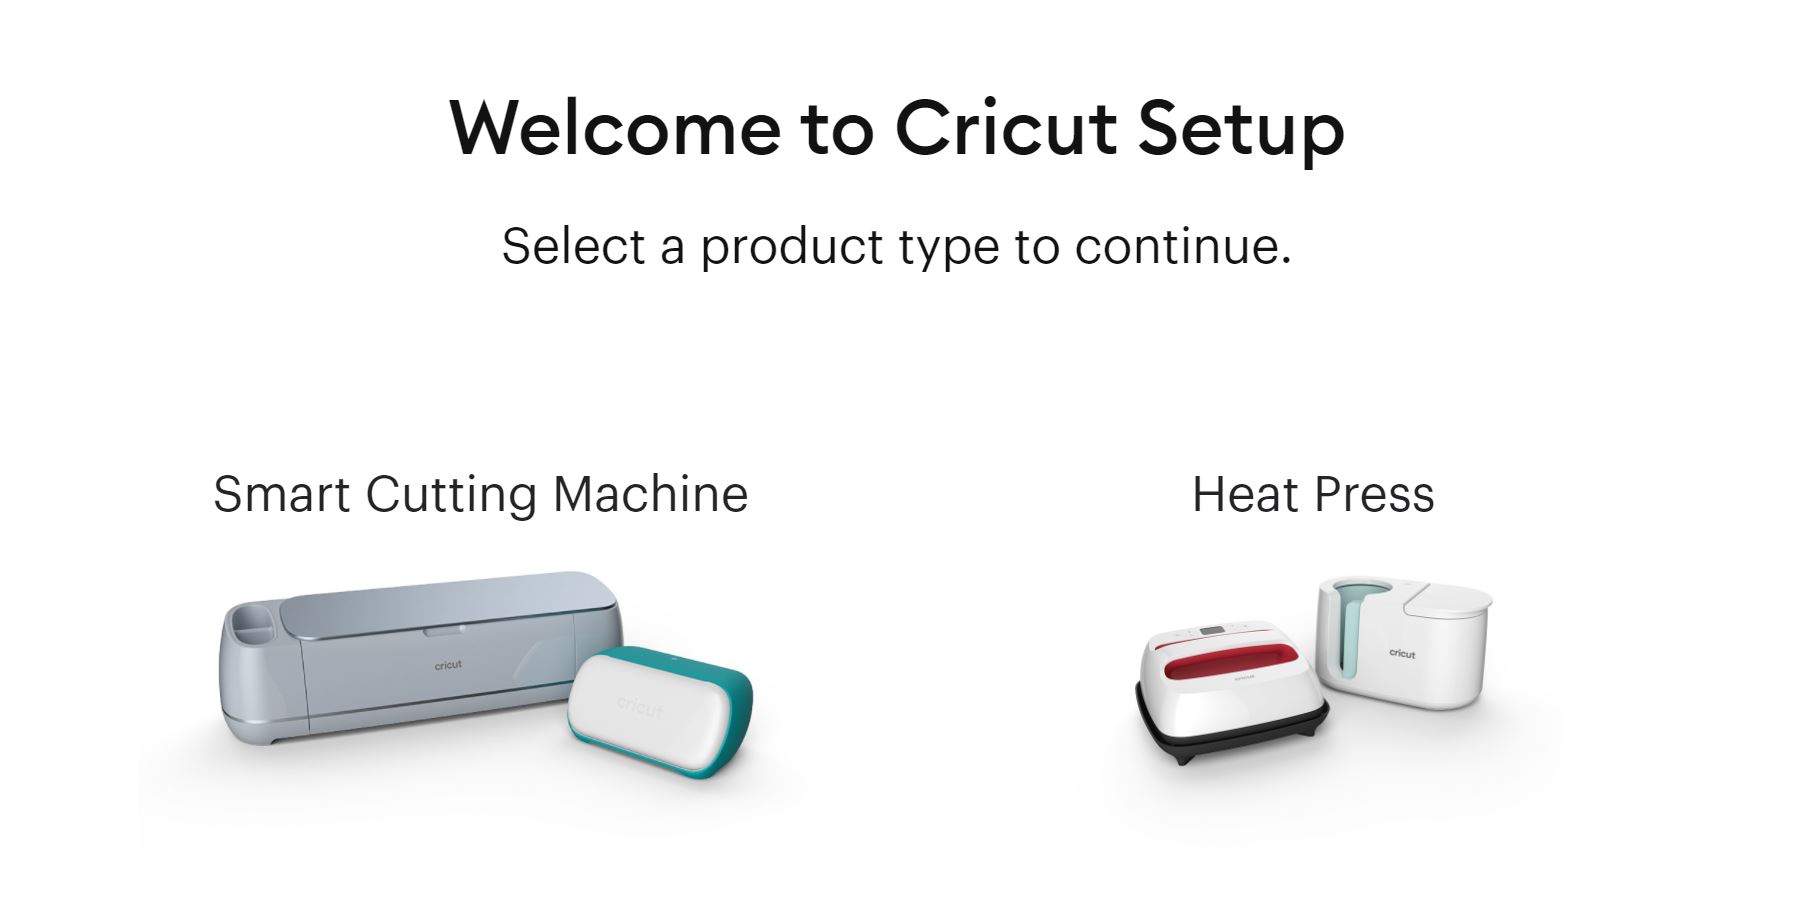
At this point, you want to pull up either the website on the card or Cricut Design Space. I’m going to do this in Cricut Design Space. First, I click the three lines in the upper left-hand corner and then I click new product set up. Then click Heat Press and Design Space will walk you through the process.
Plug the USB end of your controller into your computer just for the setup process. If you plug the controller into the AutoPress at this point, it will give an error and tell you to plug it into a PC.
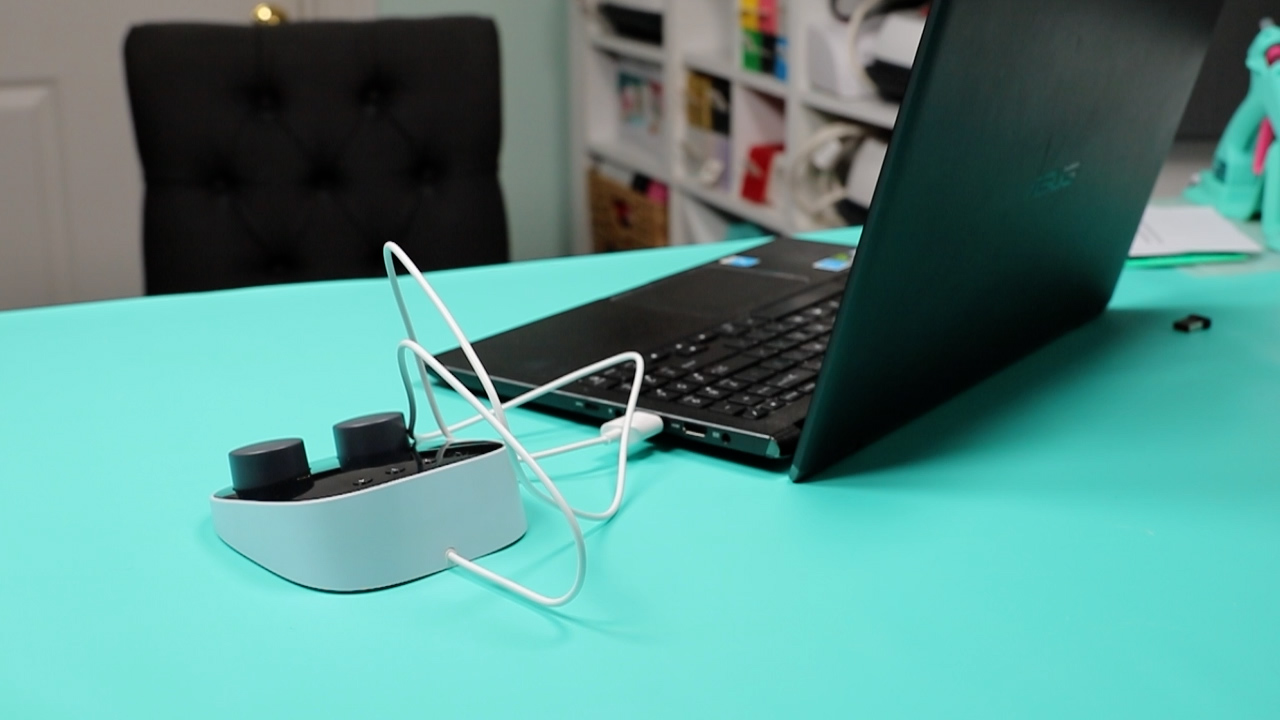
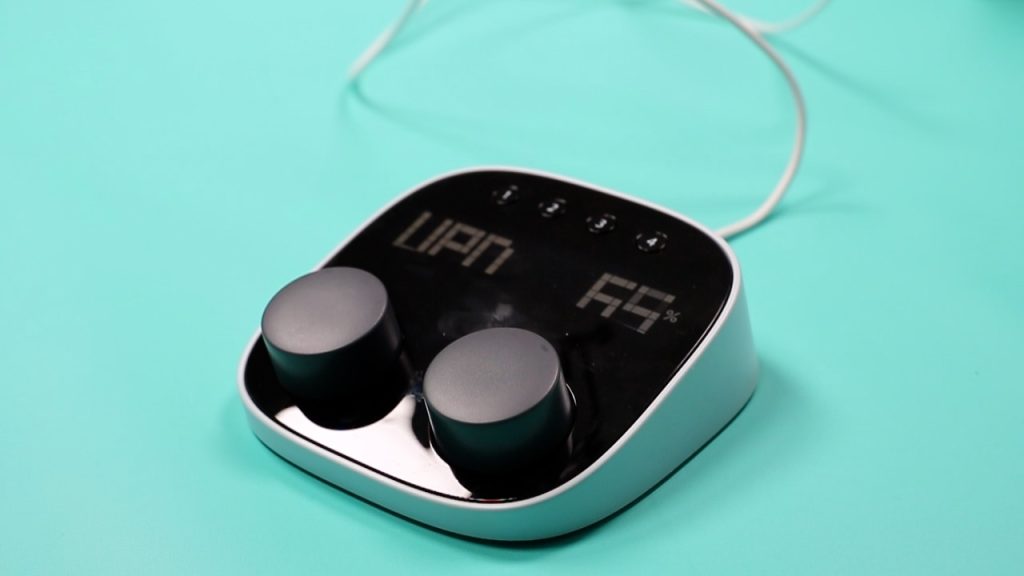
Once Design Space recognizes the control pod, agree to the terms of use and click activate. Then Design Space will start preparing the machine and you will see the controller start counting down. Once your control pod is up to date, you are done in Design Space.
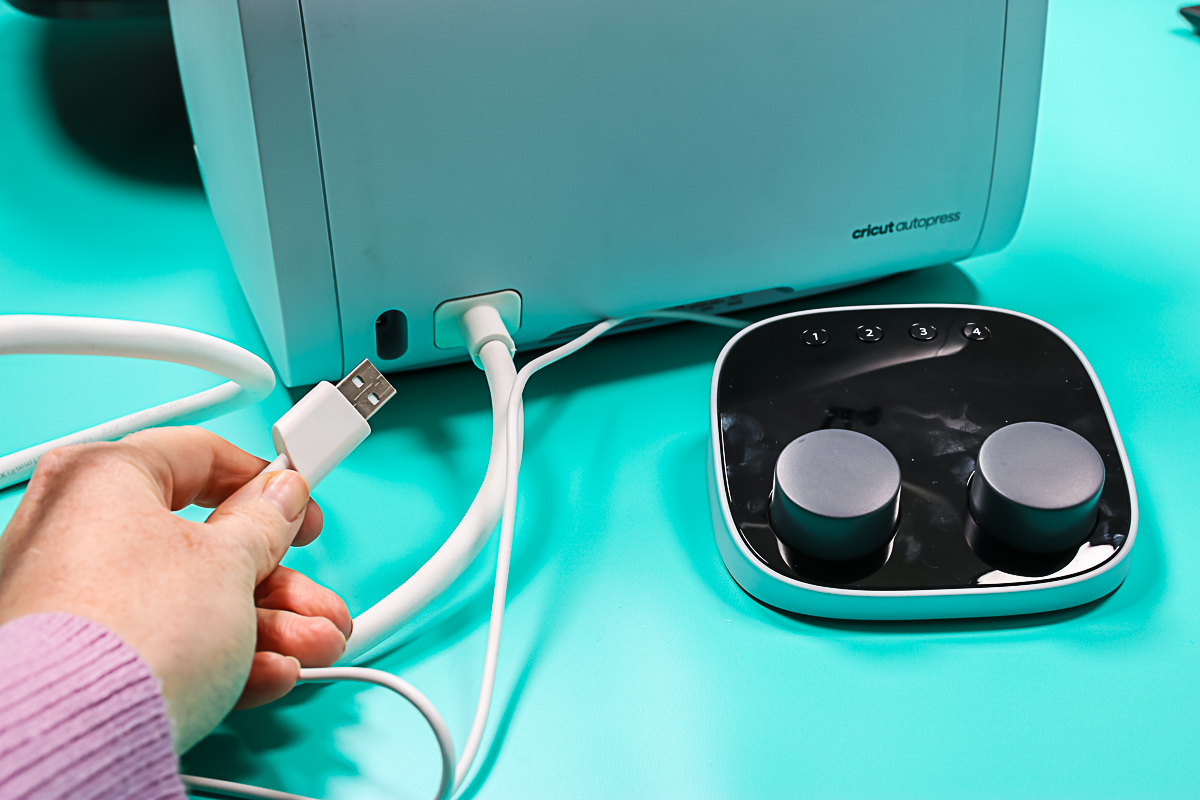
Remove the USB from your computer and plug it into the back of the Cricut AutoPress. The AutoPress is now ready to use!
Cricut AutoPress Buttons
On the side, you have a lock and unlock button as well as a power button. If you turn the power on to the machine while is in the locked or closed position, the display will show a lock icon and it will not heat up.
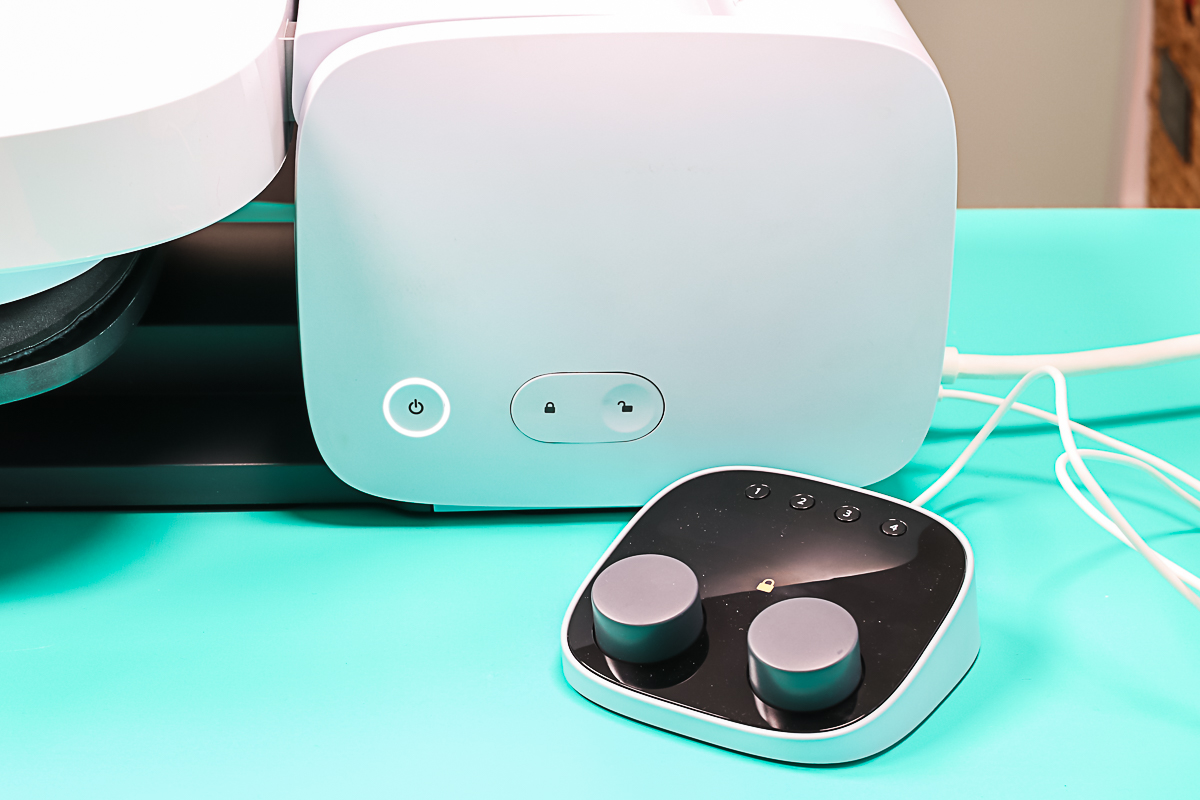
You do need to unlock it and have it open in order for AutoPress to heat up. Once you turn the press on, you will hear a fan motor engage. It does have a blower inside that ensures that your entire heat plate is heating up to the same temperature. It will take about 8 minutes to heat up depending on your temperature setting.
The left dial on the control pod is your temperature and the right is your time. Just turn to adjust it up or down. The maximum temperature is 400 degrees F and the maximum time is 600 seconds or 10 minutes. That means this press is good for HTV, Infusible Ink, and even sublimation.
Where do you get your time and temperature? Cricut AutoPress does not work with the new Cricut Heat app, so you will need to set the time and temperature manually. You can find settings on the Cricut Heat Guide or with the materials that you are using.
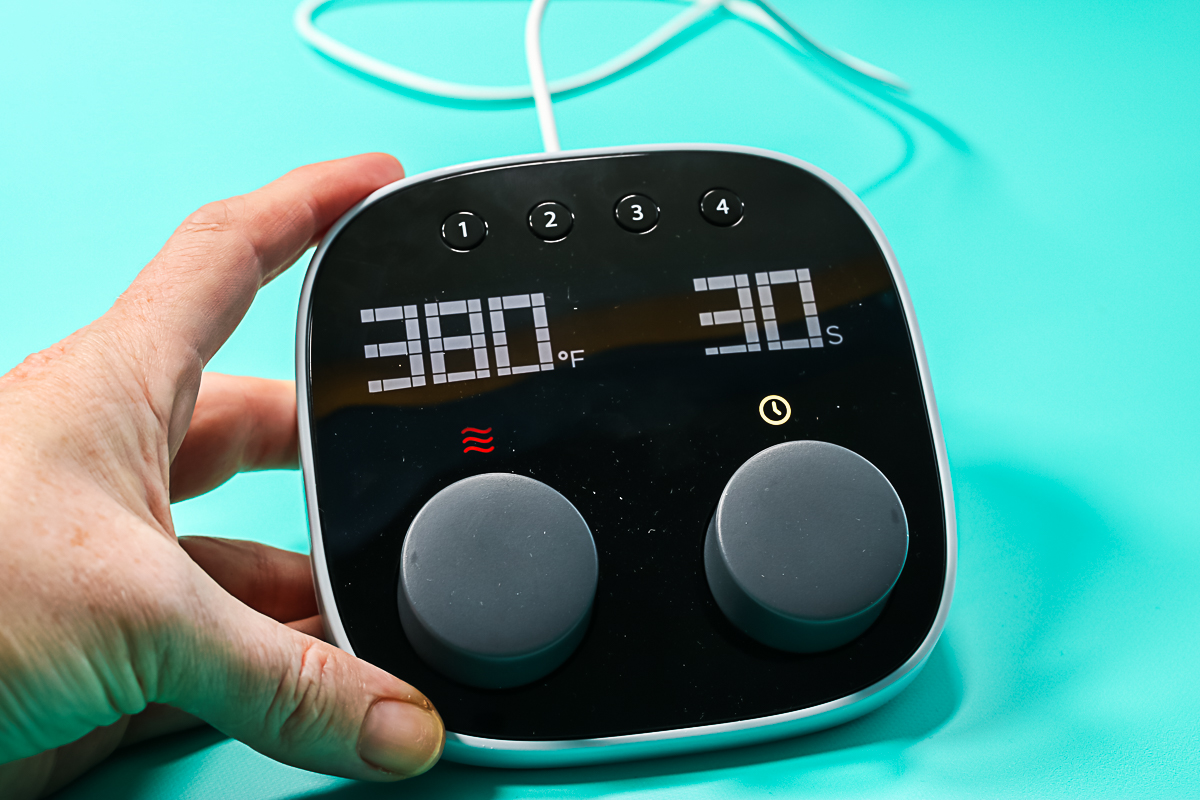
The buttons at the top are presets. They will come with something programmed into each one but you can make them whatever you would like. Just press each button to switch to a preset. Want to change it to something different? They’re just like setting a station on a car radio. Just input the setting you want and hold down the button. It will flash and beep and now that preset has been changed to your preference.
What if you’ve accidentally changed those presets and you want to go back to the factory settings? Put a paperclip in the hole that is in the back of the control pod and it will reset to the factory presets.
Cricut Heat Press Measurements
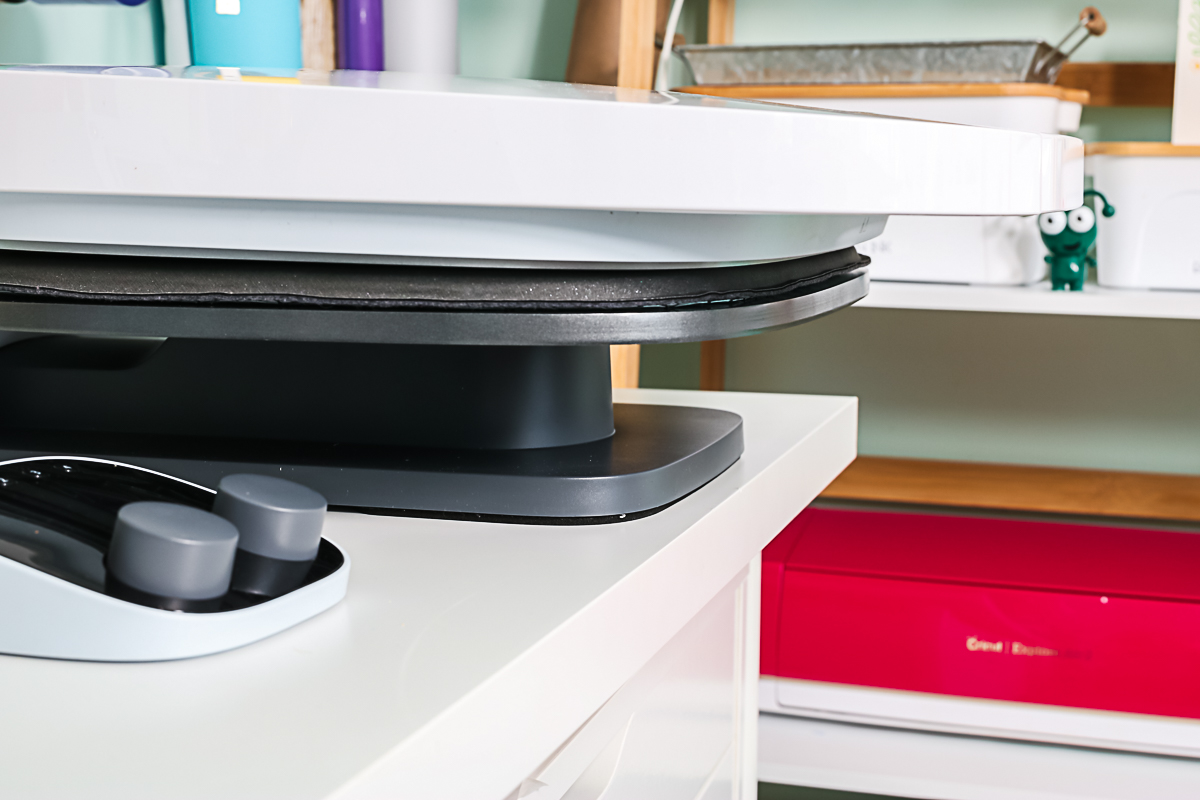
The heat plate itself is 15 inches wide by 12 inches deep and weighs 53 pounds. Overall the press is 16.63 inches wide and 26.07 inches deep. As long as the base is on your table, some of the front can hang off. The base itself is inset from the outside lip. You need approximately 22.5 inches from the back to the front of the base. This is like a typical counter width.
Pressure Adjustments
There are no adjustments for pressure or height with Cricut AutoPress. Your base material can be up to two inches thick. As I bring the top down, you can see that it’s an angle until it gets to about 6 inches above the bottom plate. Then it is horizontal and you can then press it down on a surface. So that means that you can do a variety of surfaces with Cricut Autopress and I’ll be testing some of those soon.
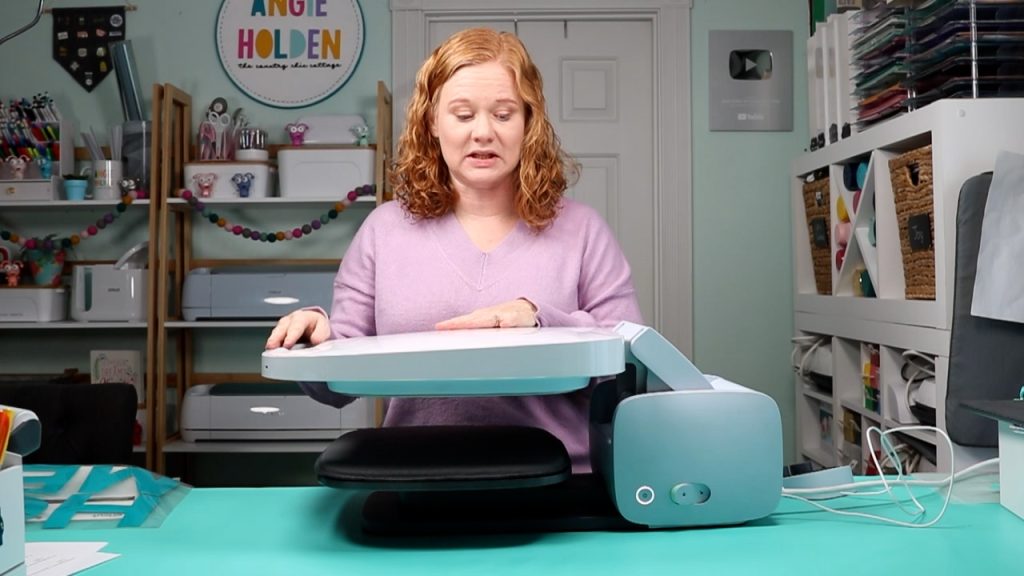
How does AutoPress actually press? When you press it down all the way, you will hear a motor engage. That’s because the pressure is automatic. So it just presses down and presses with the right amount of pressure. I am going to do some more tests with this feature so stay tuned! What does this mean for you? No more pressing down on the EasyPress the entire time! Just set the press and you are done!
Safety Features
The plastic top, as well as the front handle of the Cricut AutoPress, stay fairly cool and you can touch them throughout the pressing process. That motor that is running to keep a consistent heat also keeps the heat away from the handle. There is also an auto-off feature that will turn off the press after 13 minutes.
Easy Close and Auto Open Features
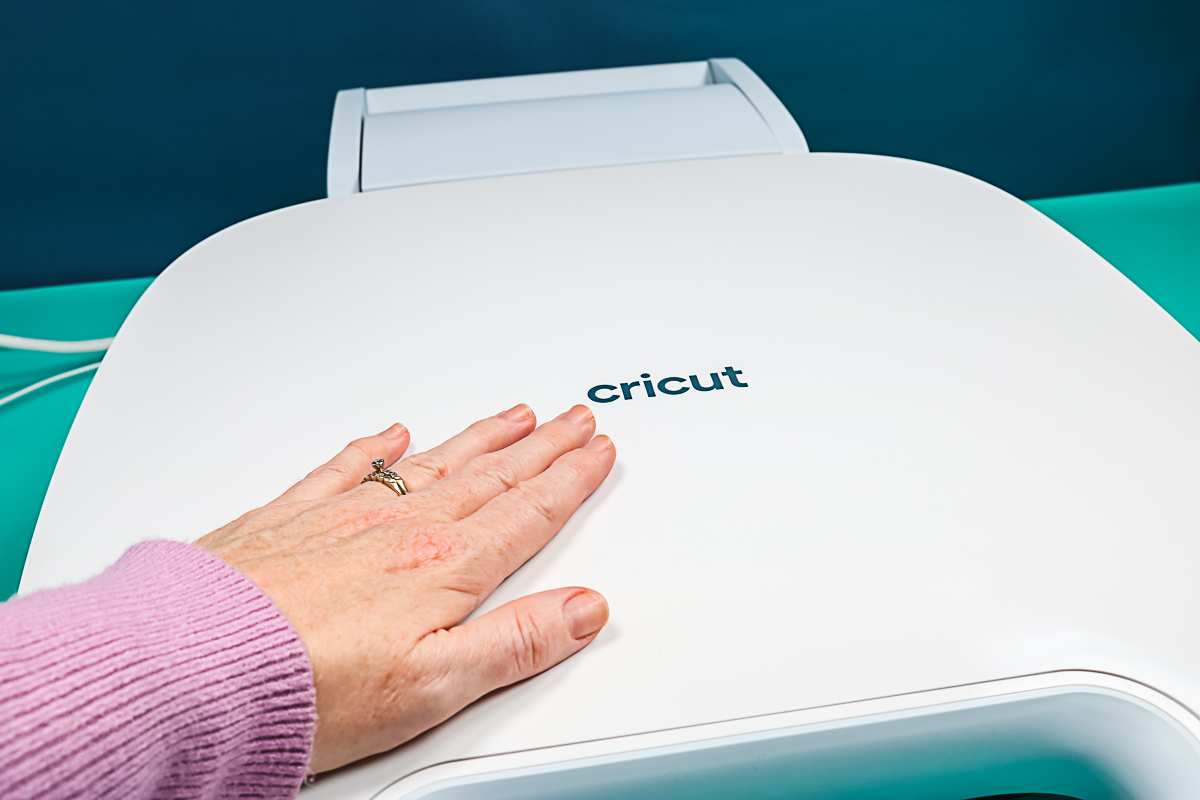
Because of the motor that applies the pressure, you get an easy close with the Cricut AutoPress. In fact, you need just two fingers to close the press and engage the motor.
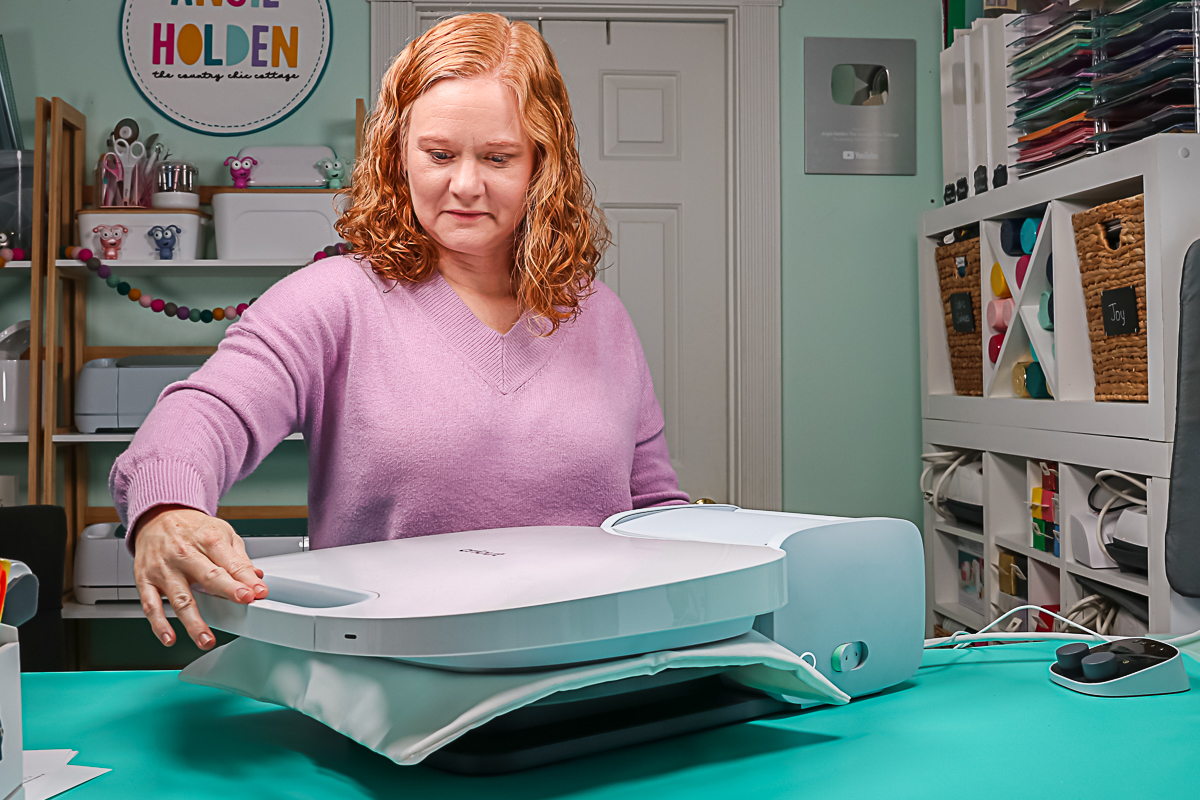
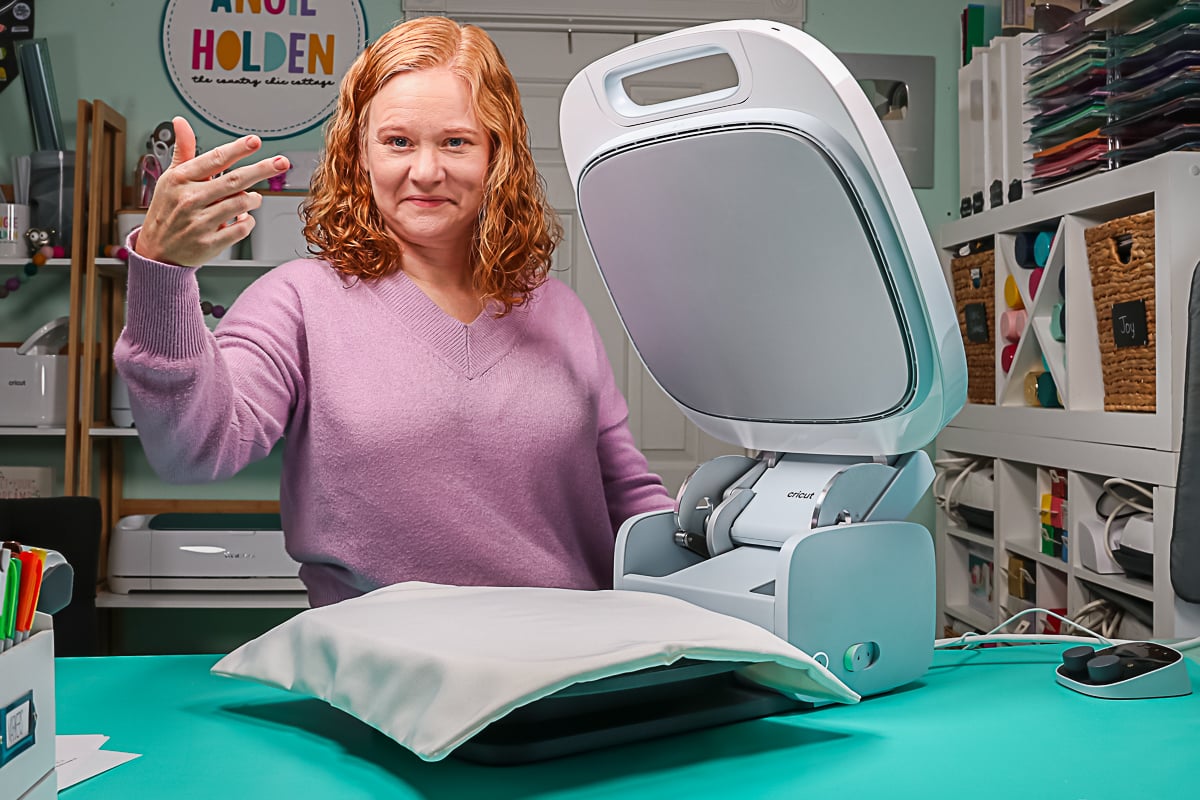
Once the time is complete, it also opens by itself. So feel free to press and then start working on your next blank. It will pop open on its own when that time is done without any assistance from you. No hands and no rushing to open your press once it beeps.
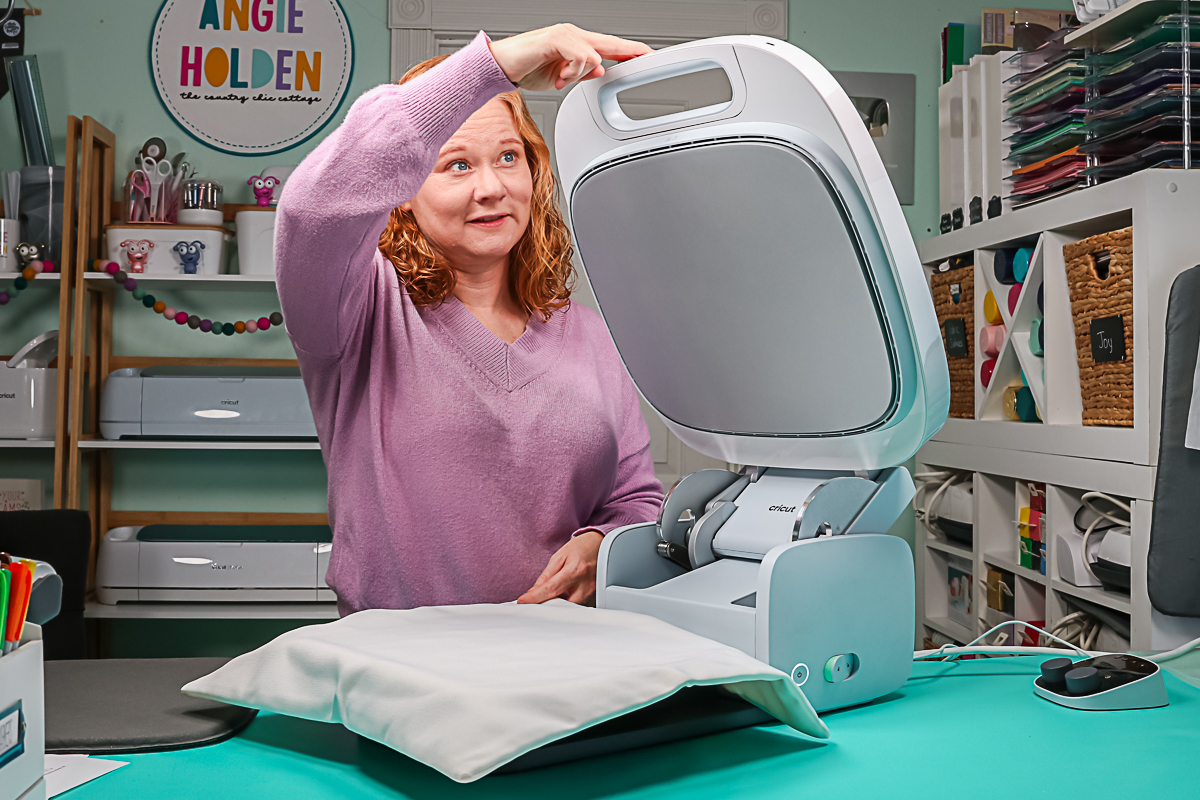
If you did make some sort of mistake or need to open the press, just lift up on the handle with two fingers. The press will pop right open.
Using the Cricut Clamshell Press
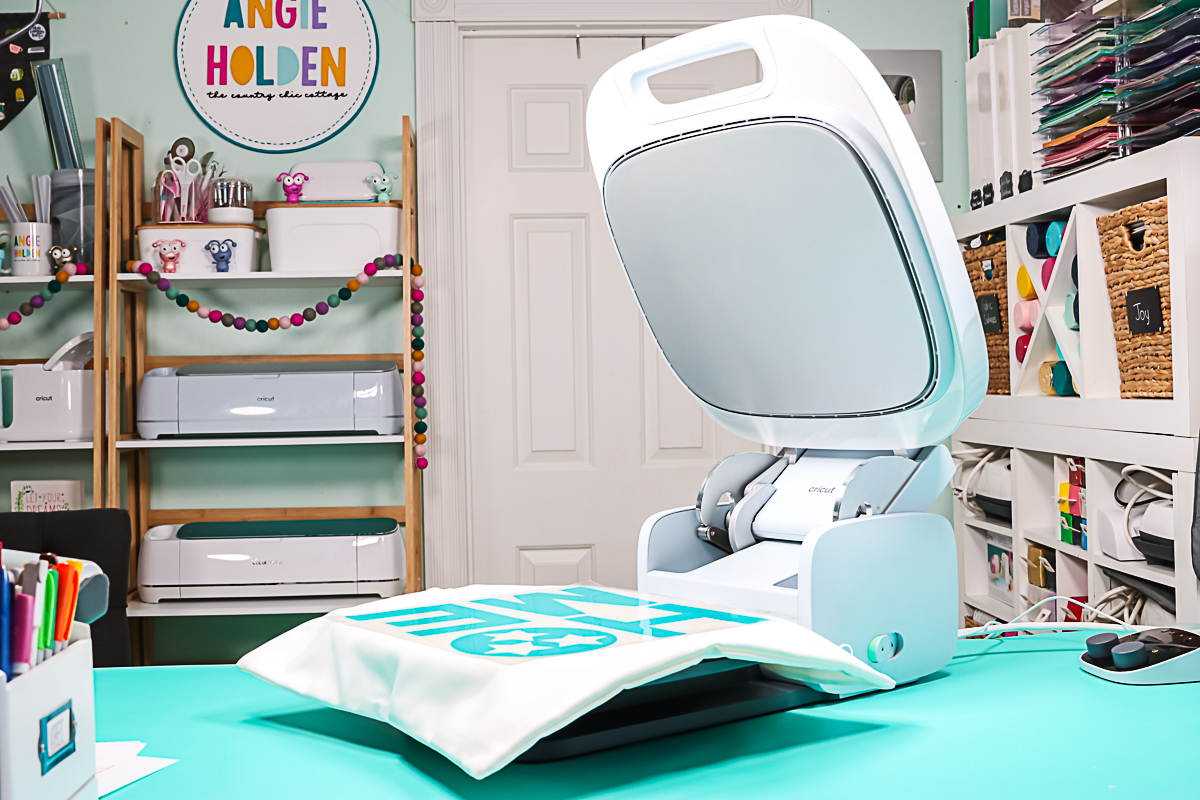
Now let’s do an example project. I have my AutoPress heated up and I am going to make a pillow cover with a larger design. Yes, I can do this entire design in just one press. First, I preheated my blank for a few seconds to remove any moisture from the material. I do not reset my dial for the preheat time. I just lift the handle after a few seconds.
Then add the cut and weeded HTV design to your surface. Press down the handle and let Cricut AutoPress do the rest! I have my control pod set to the right time and temperature for the materials that I am using.
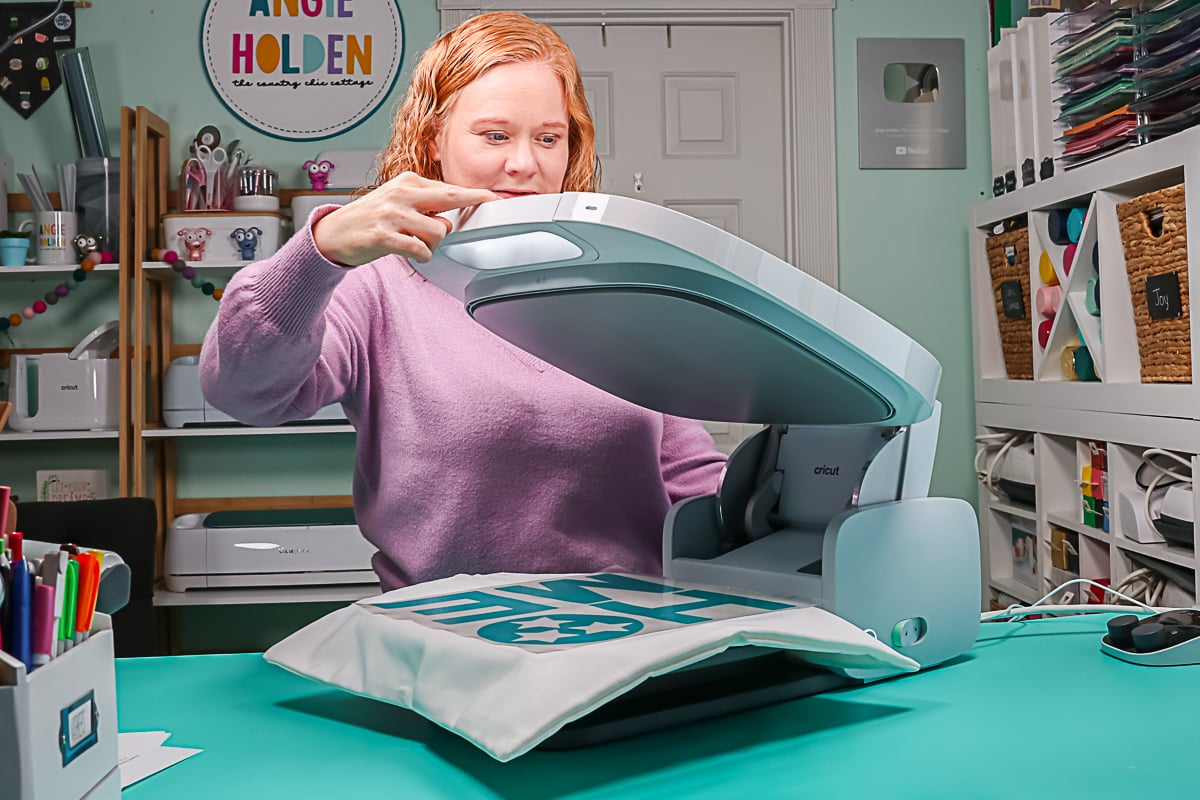
AutoPress engages with the right pressure and all I have to do is wait. This is a great time to prep your next blank. Buying an extra mat for the auto press is a great investment and will allow you to prep one project while another is pressing. This press is perfect for creating multiples of any project.
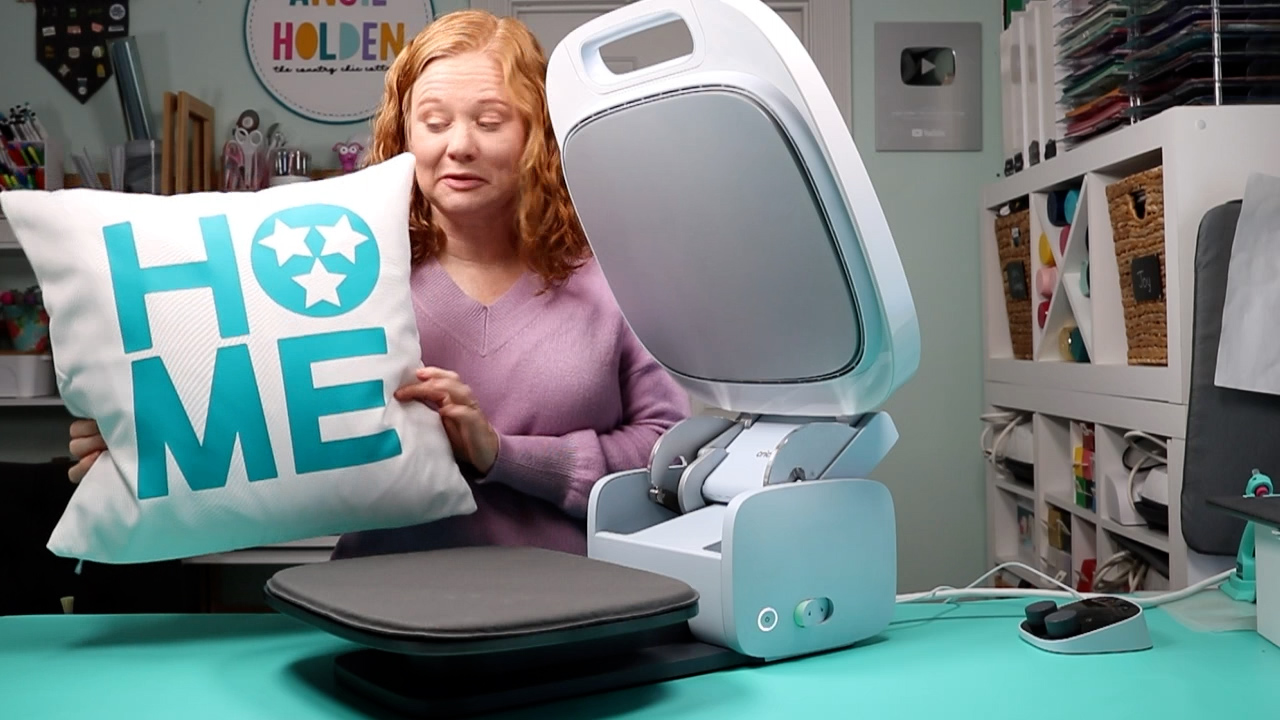
When the press is done, it will pop open and you can remove your project and peel back the carrier sheet. I went ahead and added a pillow to my completed cover as well. It really is that easy to make something with the Cricut AutoPress!
Turning the Heat Press Off
Now let’s talk about how you turn the press off. If it’s on and heated up, you can’t close it and lock it. The press will beep until you hit the power button. You will want to turn the press off using the power button first. Then you can either leave it open or even close it. It can be closed and locked when cooling down and the mat can be left inside. The power button on the side of the machine controls the entire thing so you don’t have to turn anything off on the control pod.
How to Store Cricut AutoPress
I am going to keep my AutoPress on this table in my craft room. Remember you can scoot it out to where just the base rests on the table. This IKEA table has just enough room for the press and I can leave it closed or open it up and use it on this surface.
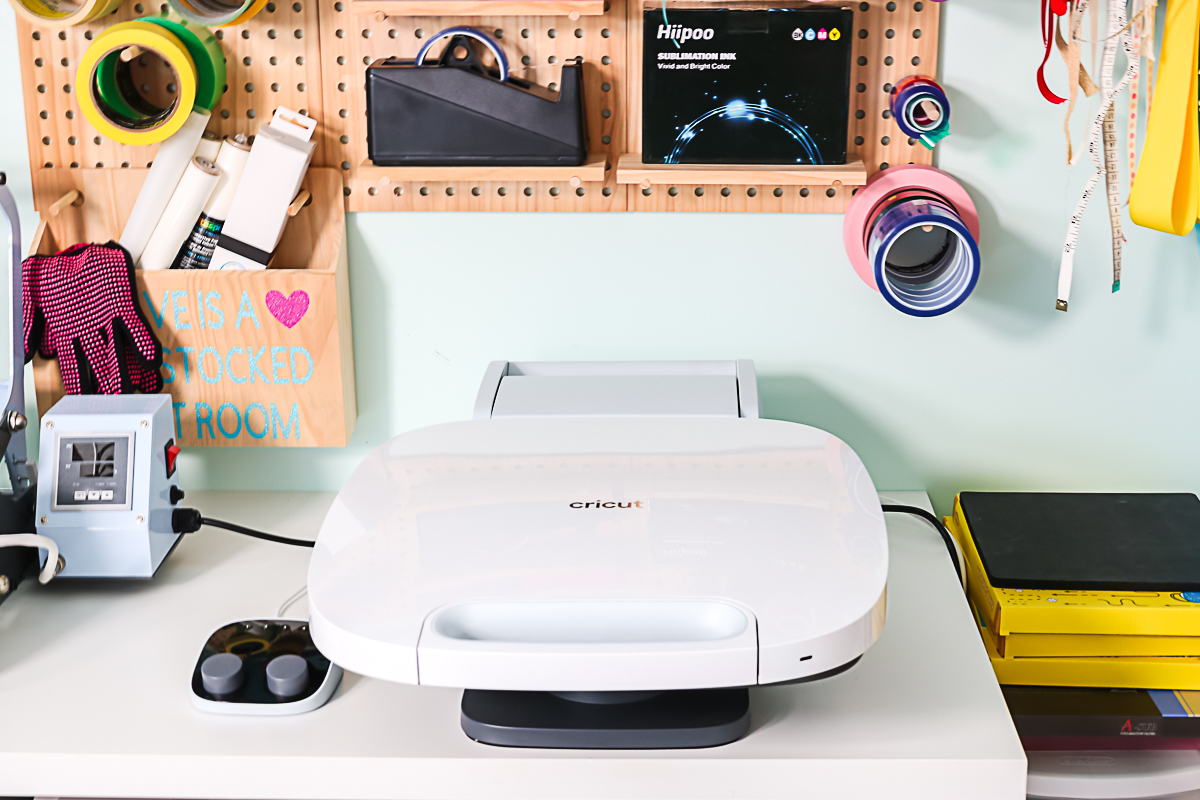
It is ready to be plugged in and I have my dial to the side to set my time and temperature.
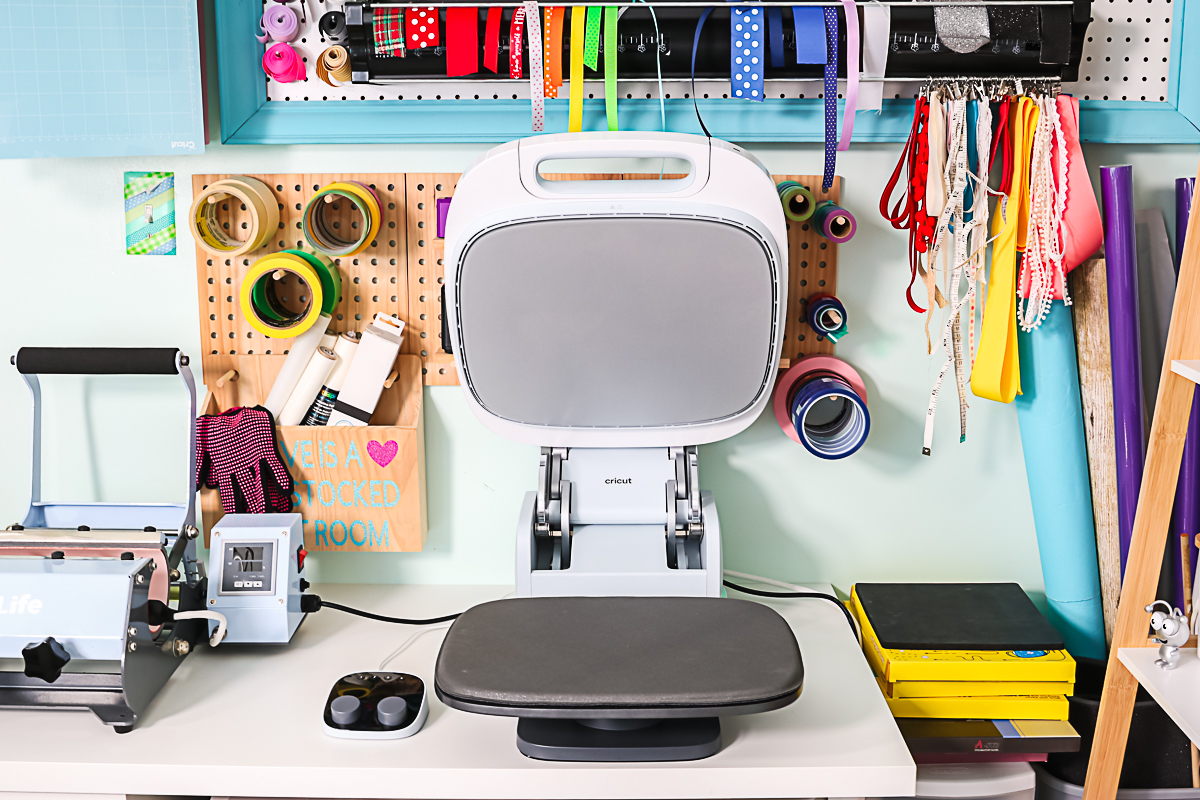
So those of you with a small space or a small crafting area. There’s another feature of AutoPress that you might like. You can unplug both the power cable and the control panel from the back and store AutoPress sitting on its back upright. This could fit in a closet or behind a door. Standing up like this, it could fit a ton of places. Now it’s still heavy (at 53 pounds), however, you can hold it by the handle at the top and carry it.
Design and My Favorite Features
The one thing we haven’t talked about yet is the design. I personally love it! Most commercial heat presses are extremely big, bulky, and frankly ugly. They actually take up more space than the Cricut AutoPress if you were to get a 15 by 12 inch press.
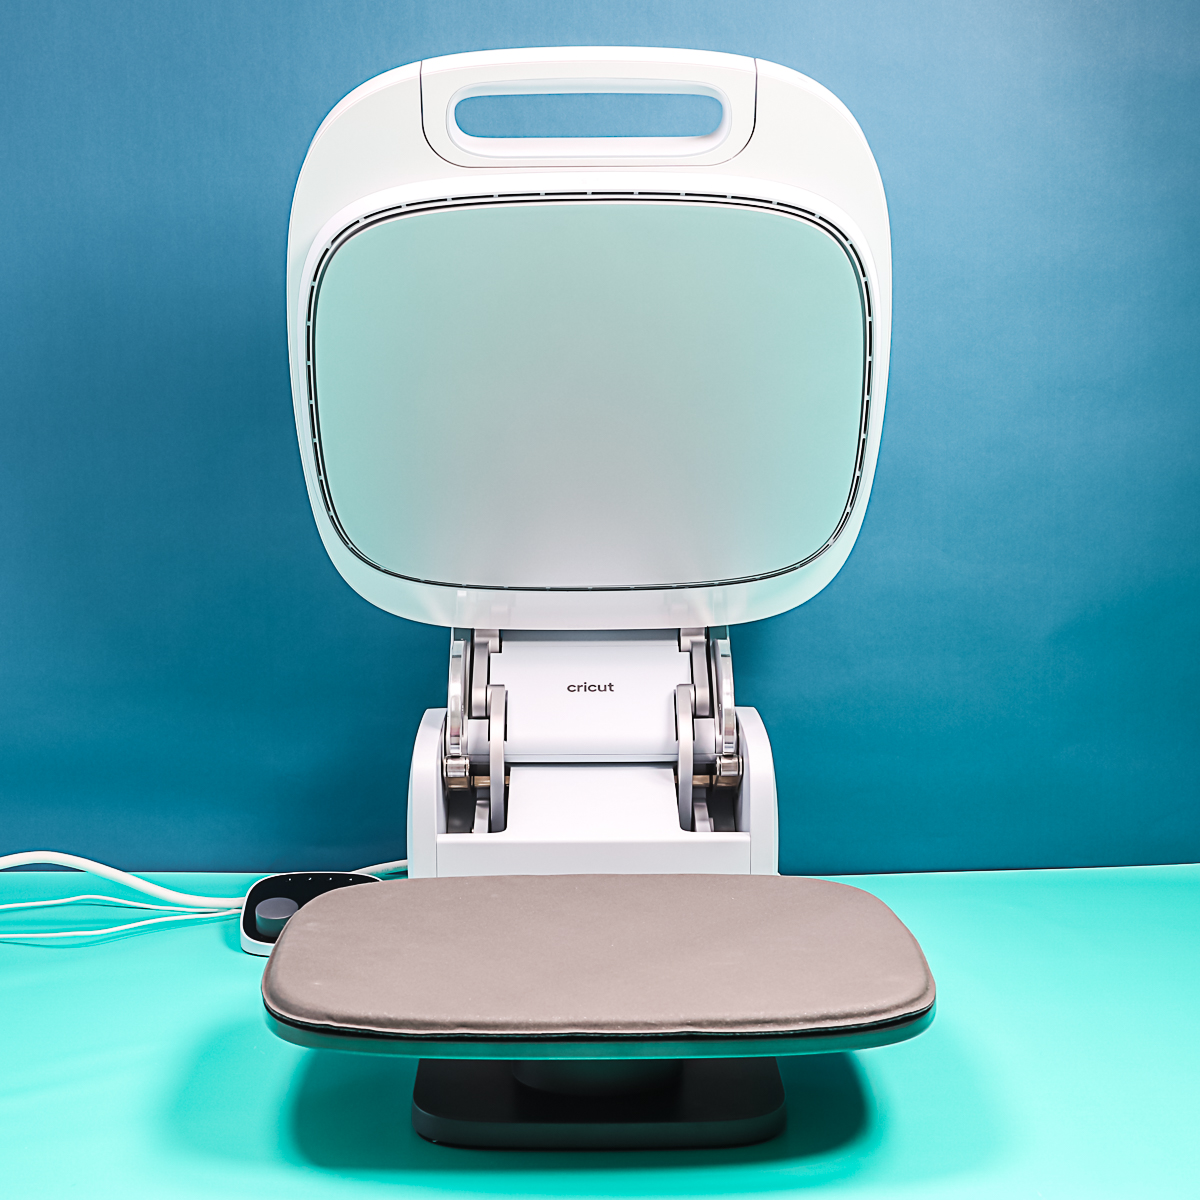
I love the storage options and being able to lock it into the flat position. The fact that you can store it vertically is amazing for people that want to start a small, home based business, but might not have the space to dedicate to the business all the time.
I’ve actually been wanting a heat press with auto open for a while. That feature alone makes me extremely happy because I don’t have to worry about opening it when it is done. I can go ahead and be prepping my next blank without having to worry about opening the press when it chimes. Some of my presses don’t even chime when complete so this one is a dream come true!
Cricut Heat Press FAQ
You can ask any other questions you have in the comment section but I am going to try to answer some common ones here.
Who is Cricut AutoPress for?
This heat press is a professional-level press. It is for people that are pressing multiple objects and want automation and ease of use. That means AutoPress is great for small business owners or those that are making a lot of shirts for something like a volunteer organization or a charity. Any time you are doing mass production would be where I would recommend this heat press.
Can this apply heavy pressure?
We talked above about how it automatically sets the pressure. There is no way to adjust the pressure with this press. I will be doing several tasks for what that means for various crafts as well as various surfaces.
This does mean that no matter what the thickness of your blank is, the pressure will be the same. You don’t have to worry that a thick blank is going to have more pressure because it’s higher up. The AutoPress takes care of that, and that also means that you might have to do some experiments. The time and temperature may need to change because the pressure cannot be adjusted.
What types of blanks can you use?
This press can go up to two inches in thickness. I will be trying several different surfaces within that thickness range to see what works and what doesn’t.
Can you use this for sublimation?
This press does get hot enough for sublimation as well as Infusible Ink. I will be doing another post with several sublimation experiments to put that to the test.
When will it be available for sale?
Cricut AutoPress will not be for sale until May 2022. I was sent this press ahead of time to create content and show you how it works.
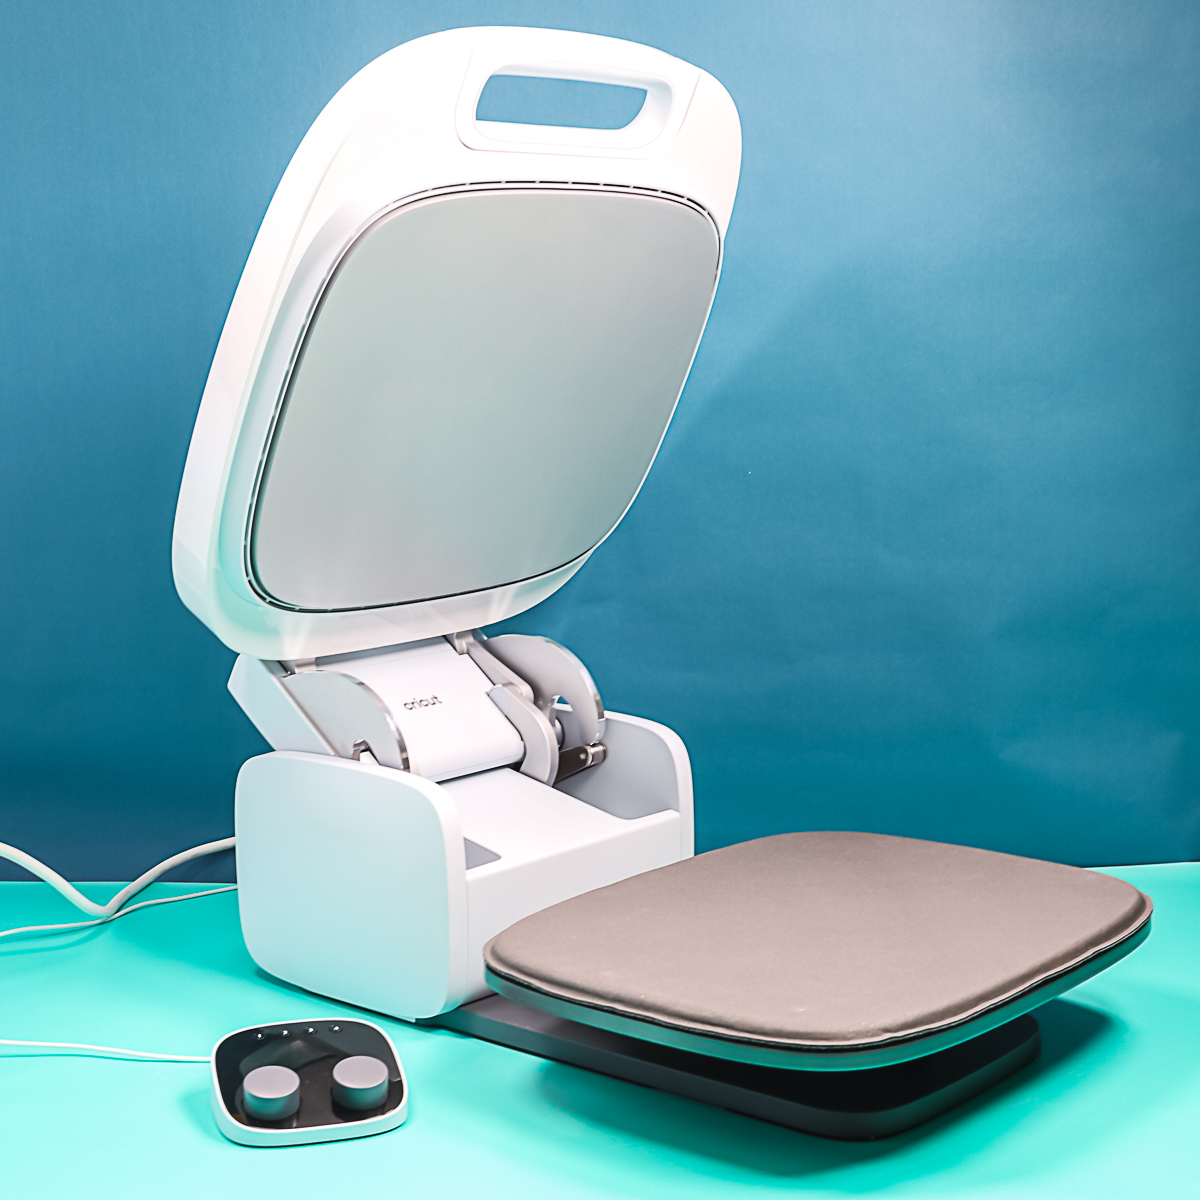
Hopefully, that introduction is enough to get you a little bit excited about this machine and maybe put some questions in your mind. So again, drop down the comment section, ask any questions that you have about Cricut AutoPress and I’d be happy to answer those. All that is left is for you to decide if you will be adding the Cricut AutoPress to your wishlist!
