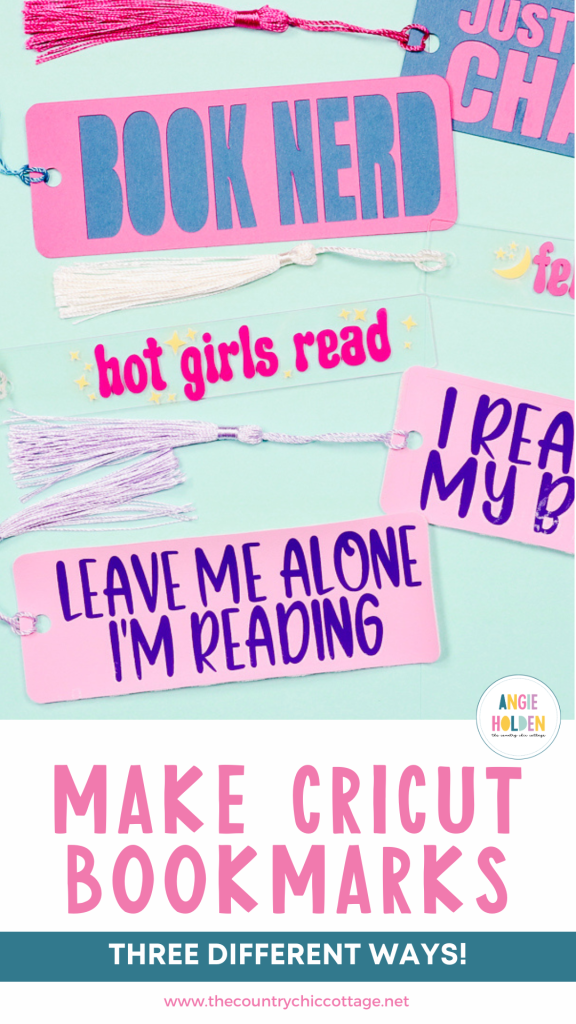
Today I’m going to show you how to make Cricut bookmarks three different ways. Whether you make bookmarks for yourself or to give as gifts you’re going to love these different options.
Are you trying to decide which Cricut machine is right for you? My machine comparison is sure to help you find the perfect one for your craft room.
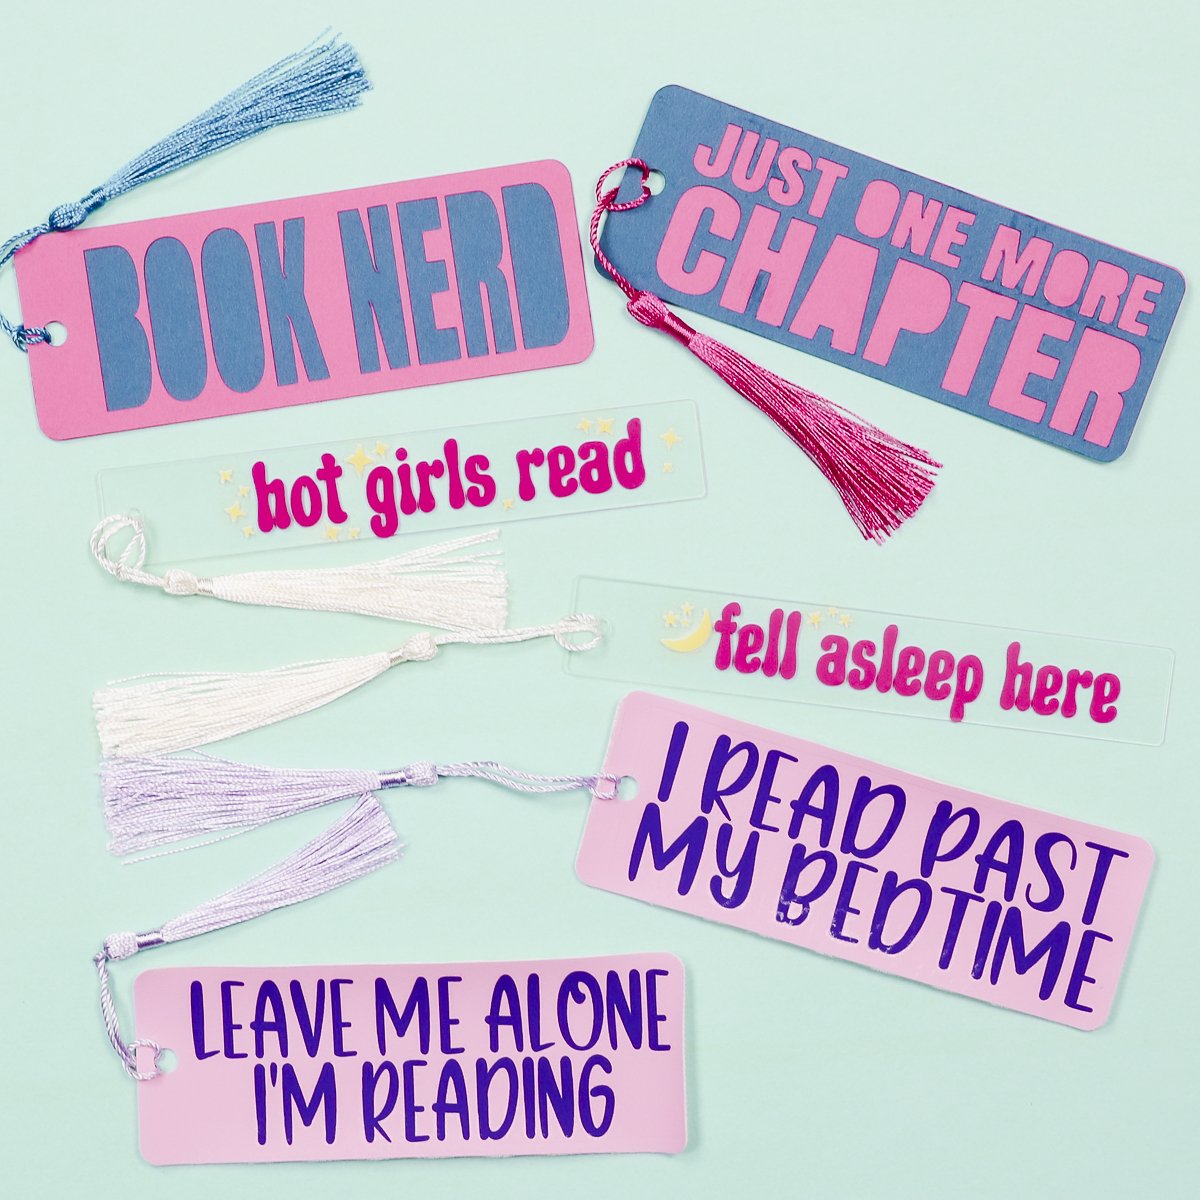
We’re going to make bookmarks from cardstock, bookmarks with vinyl, and bookmarks with faux leather and HTV. No matter what supplies you have on hand there is a bookmark option you can make today.
You can watch me make each different bookmark by pressing play on the video below.
How to Make Bookmarks with a Cricut Machine
For any of the options, you can use any Cricut machine to make these bookmarks, even the Cricut Joy.
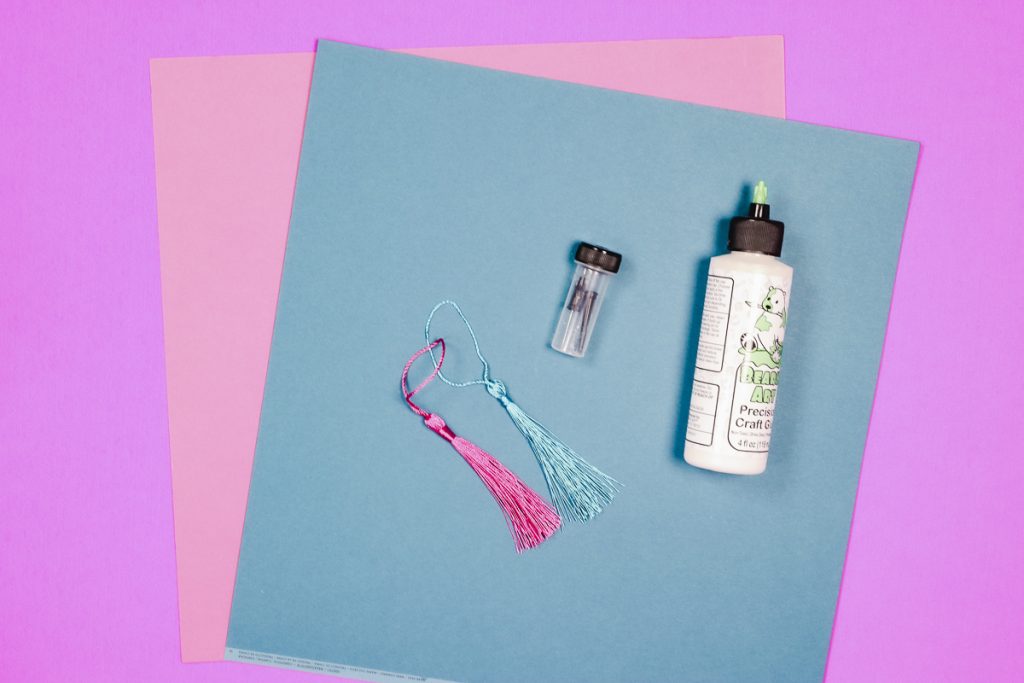
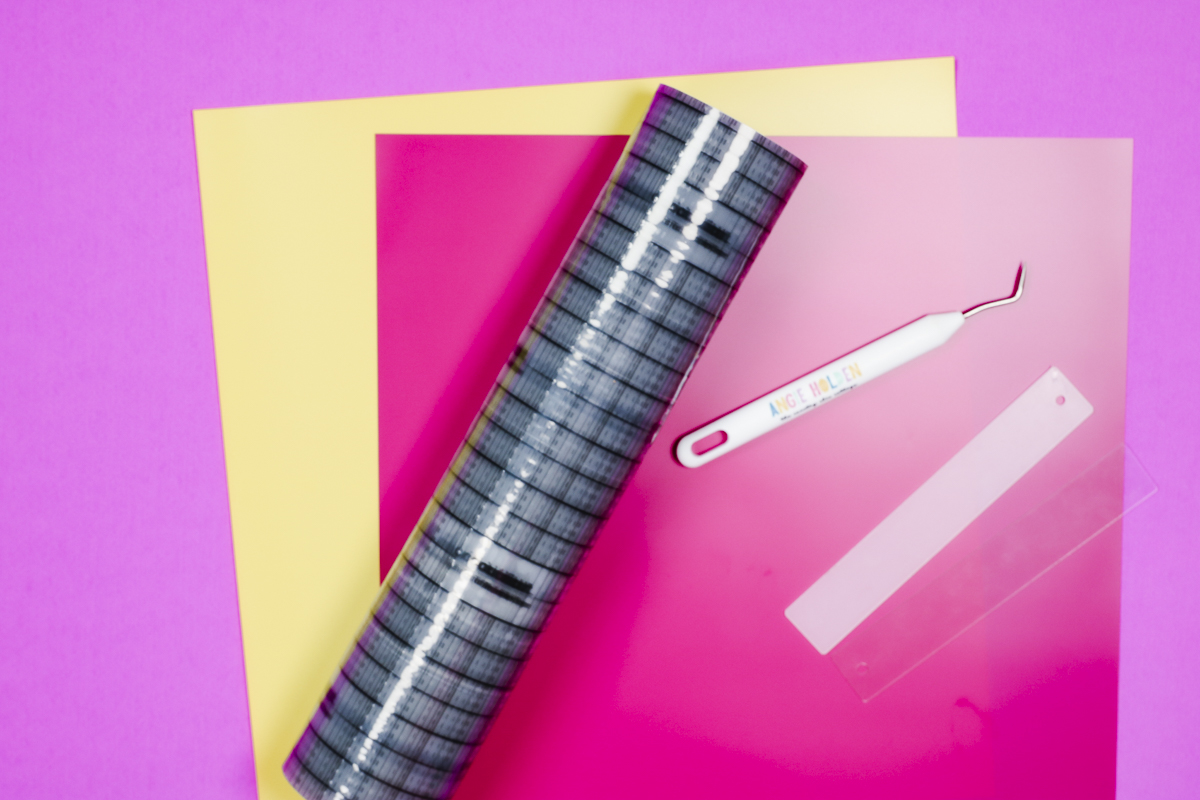
Supplies Used
NOTE: You only need the supplies for the type of bookmark you want to make.
- Free Bookmark Files
- Cricut Machine
- Heat Press
- Acrylic Bookmarks
- HTV
- Weeding Tool
- Teflon Sheet
- EasyPress Mat
- Faux Leather
- DTF Cooling Block
- Transfer Tape
- Vinyl
- Tassels
- Bearly Arts Glue
- Paper
Today I am using the Cricut Joy Xtra as my cutting machine and the EasyPress Mini. You can use any Cricut machine to make these bookmarks. You can also use any Heat Press as long as the temperatures work for the blank and HTV you’re using.
Adding Design to Cricut Design Space
No matter which bookmark option you are making, the steps for getting your design into Cricut Design Space are the same.
Step 1. Upload Bookmark Designs into Cricut Design Space
Uploading the designs into Cricut Design Space will be the same for any type of bookmark you’re making.
Download the file to your device and then open Design Space and click Upload. Next, click Upload image and find the file on your computer. Open the design onto your canvas and you’ll see that you have all the designs on the canvas.
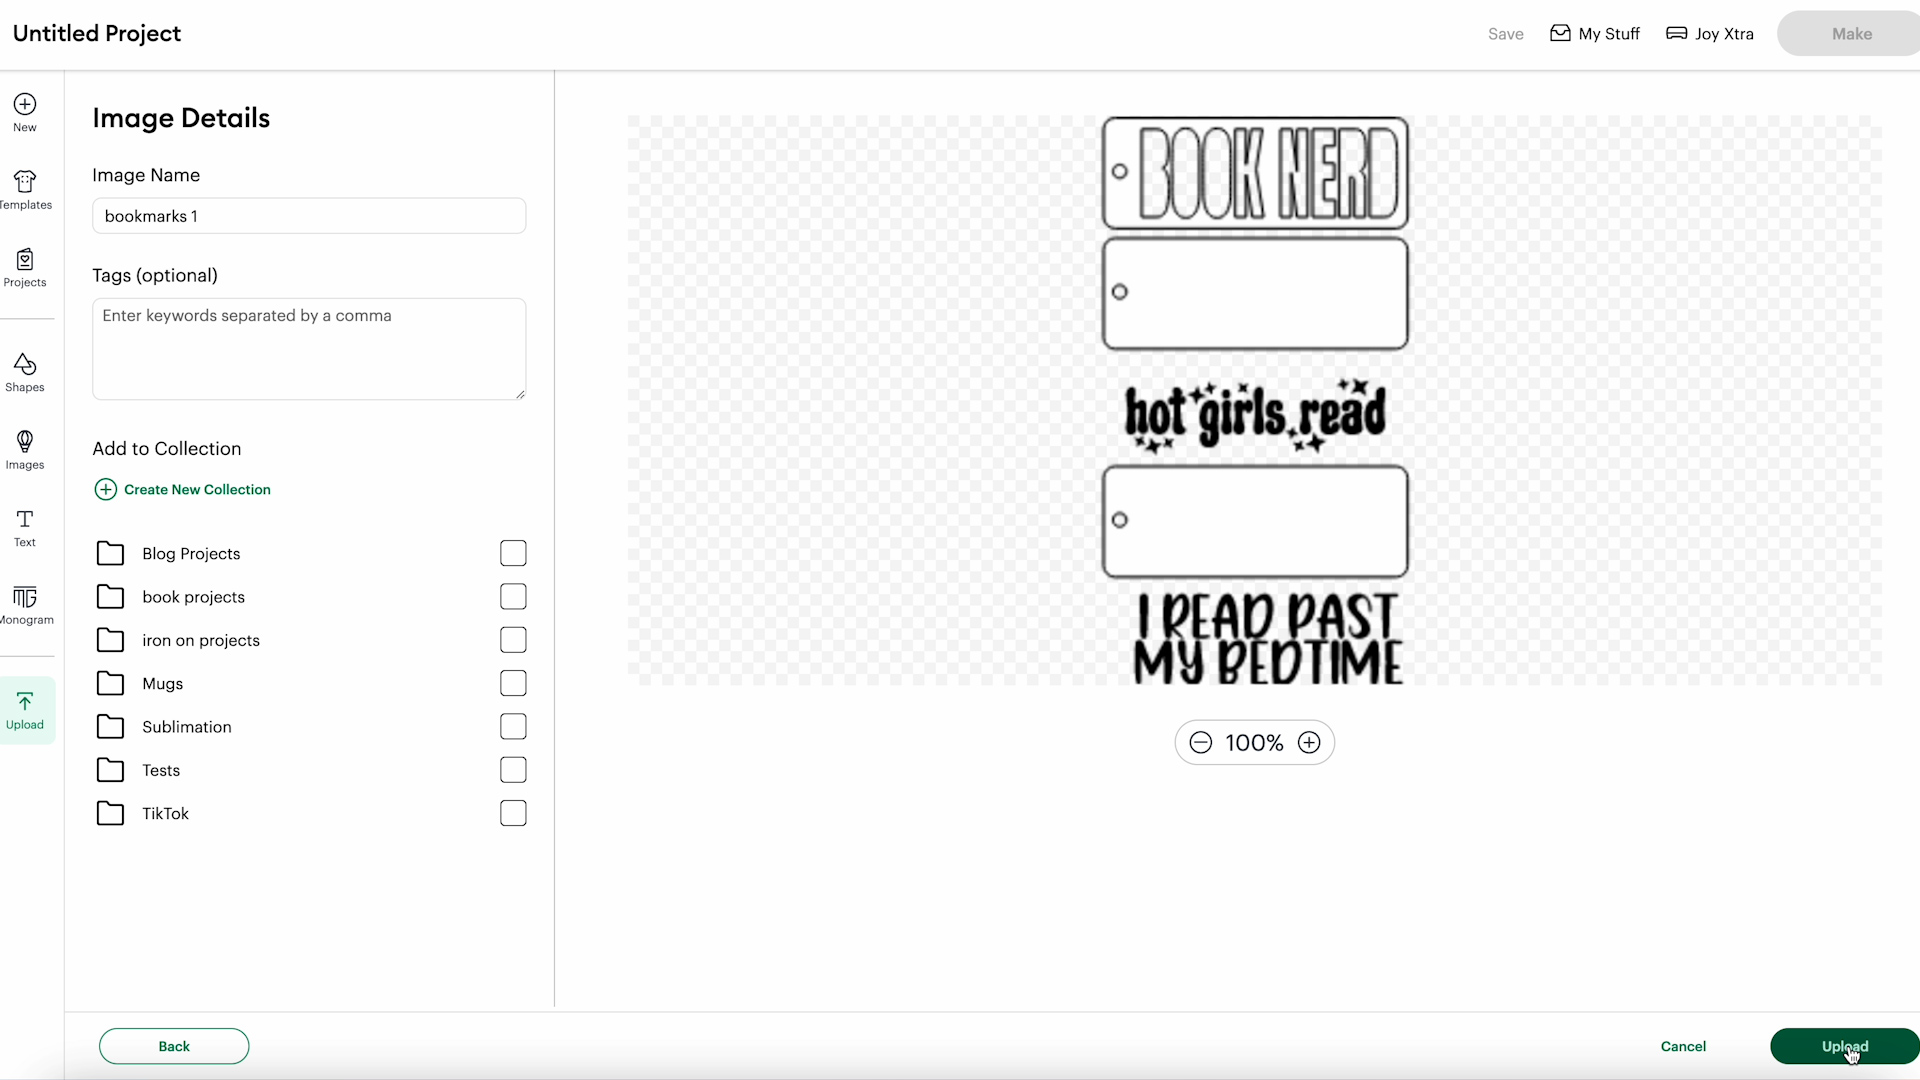
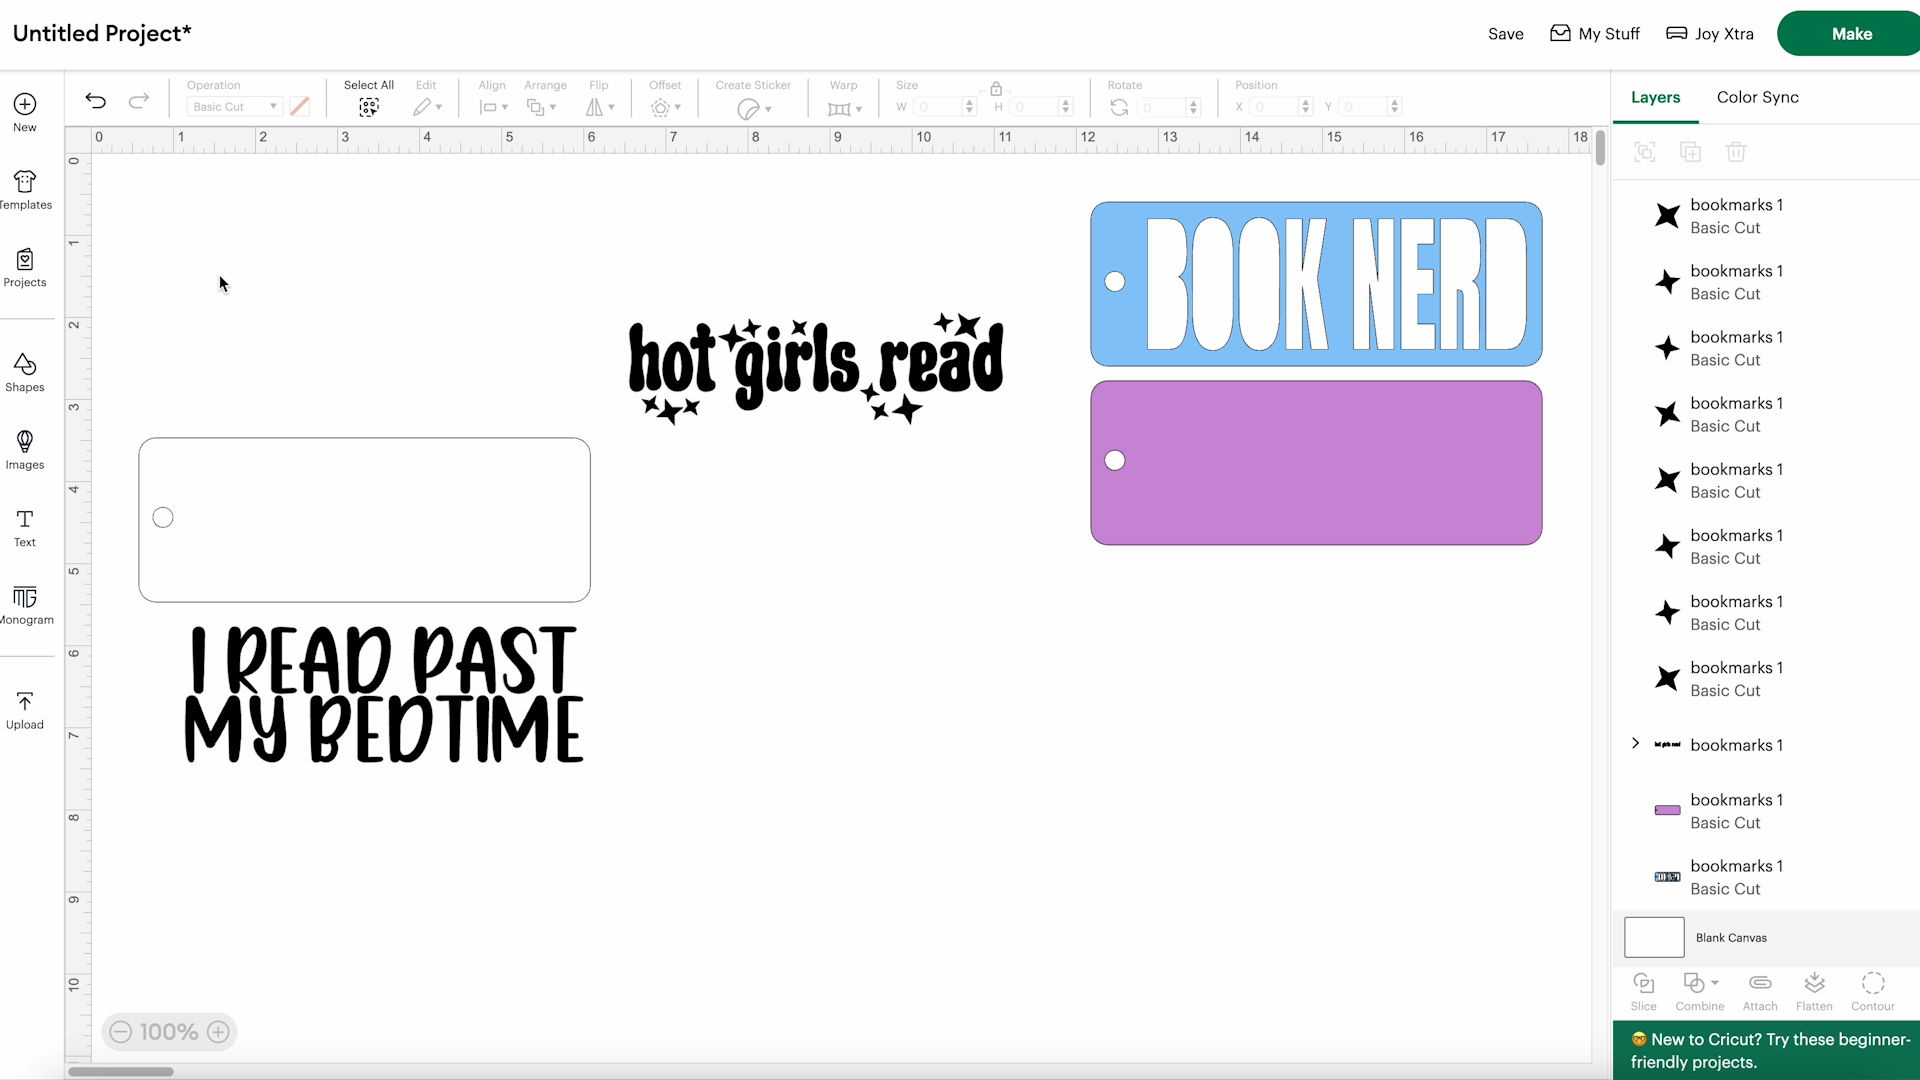
Step 2. Ungroup and Resize Designs in Design Space
With the designs on the canvas, click Ungroup in the layers panel and the designs will be separated so you can resize them as needed.
You can also delete or hide any designs you don’t want to use.
I have all of the designs on my canvas and here I can use them as is or change them to work for the blanks you want to use.
If you’re using an acrylic bookmark, be sure to measure it so you can make sure the design is sized to fit the blank you’re using.
Make a Cardstock Bookmark
With the designs uploaded into Design Space, we’re ready to make a bookmark using cardstock and a Cricut machine.
If you want your bookmark two different colors, you can change the colors on the canvas and Design Space will put them on different mats.
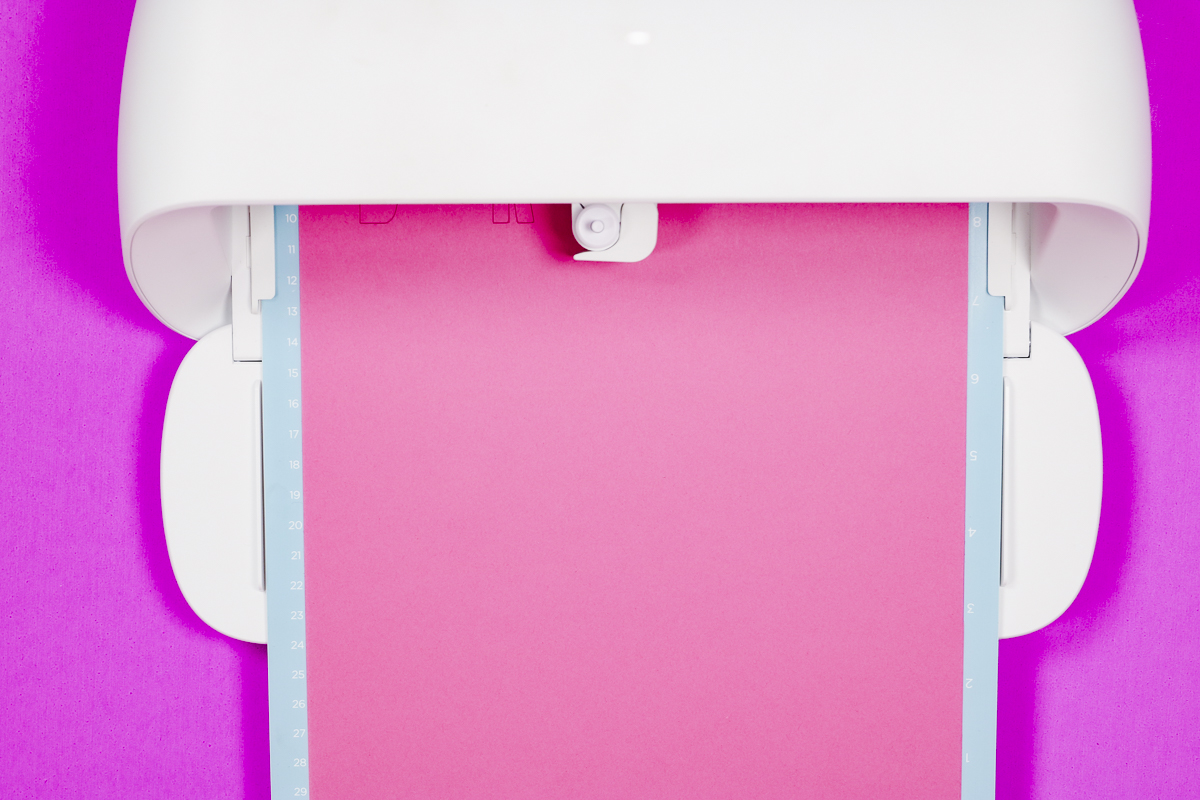
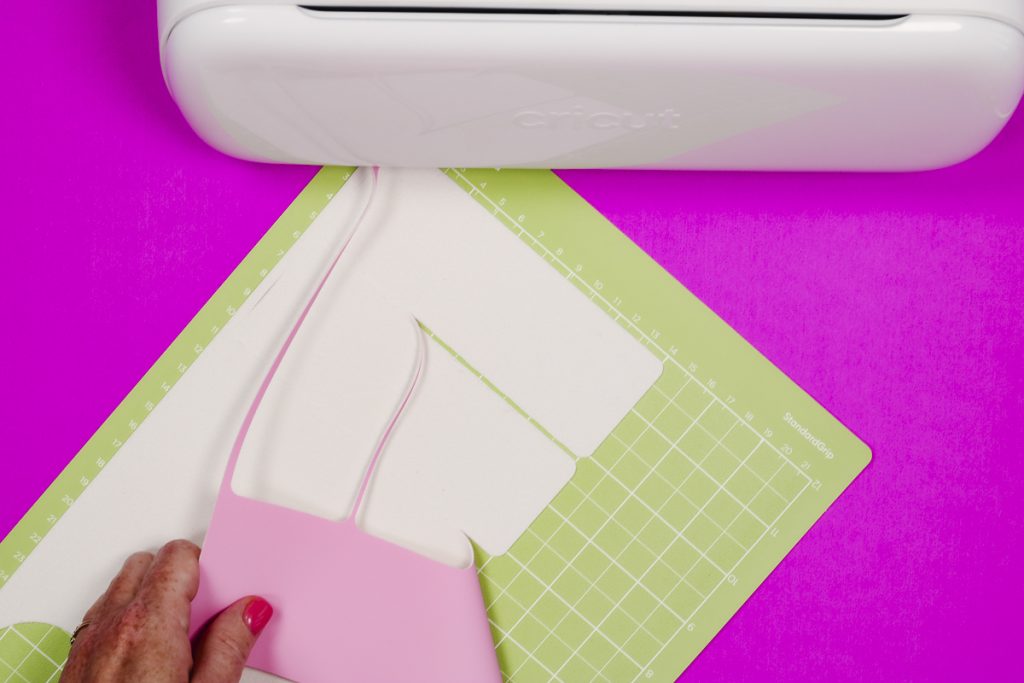
Step 1. Cut Out Design
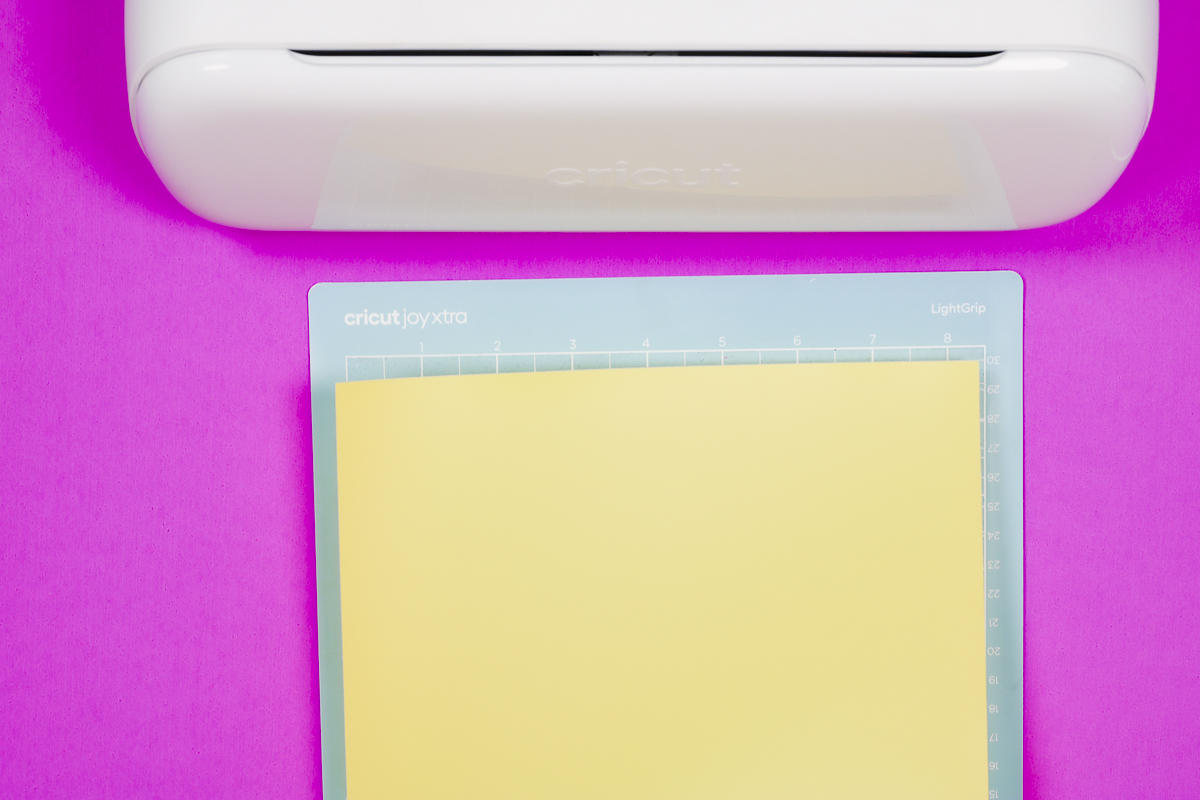
Click Make and then click On Mat. Choose the right setting for the material you’re using.
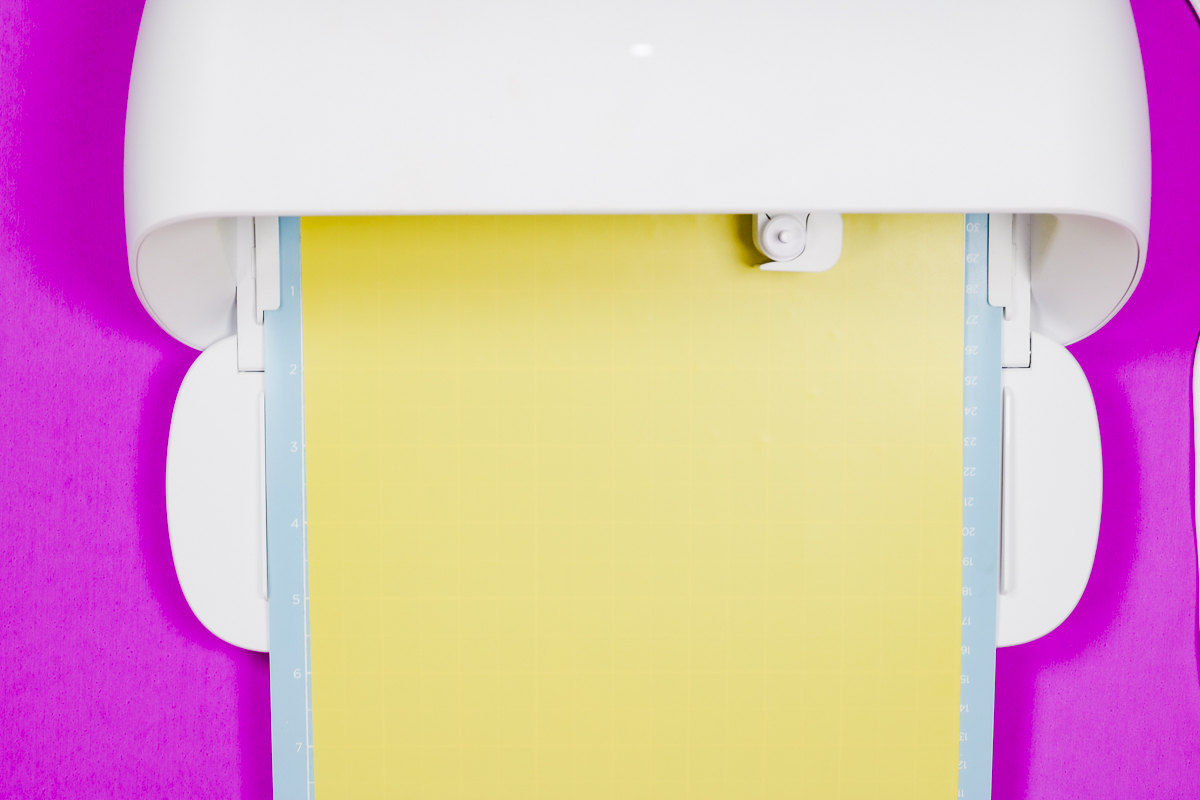
I am using cardstock and the Medium Cardstock setting in Design Space. If you haven’t cut the material before, do a test cut to make sure you have the right setting.
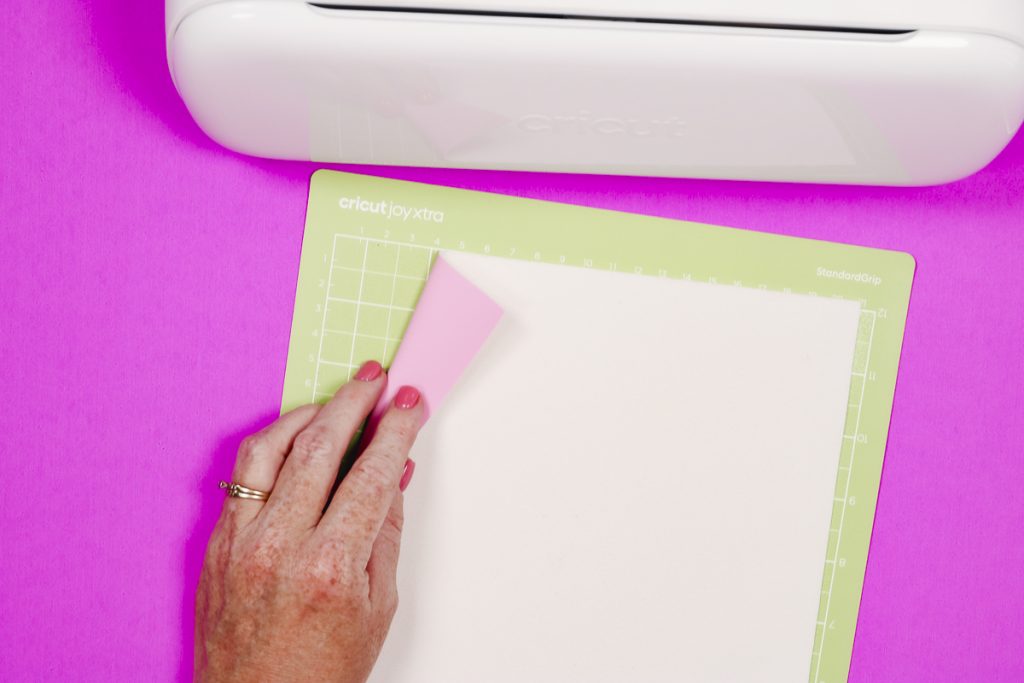
Add the cardstock to the cutting mat. I like to use a brayer to make sure it’s stuck down well.

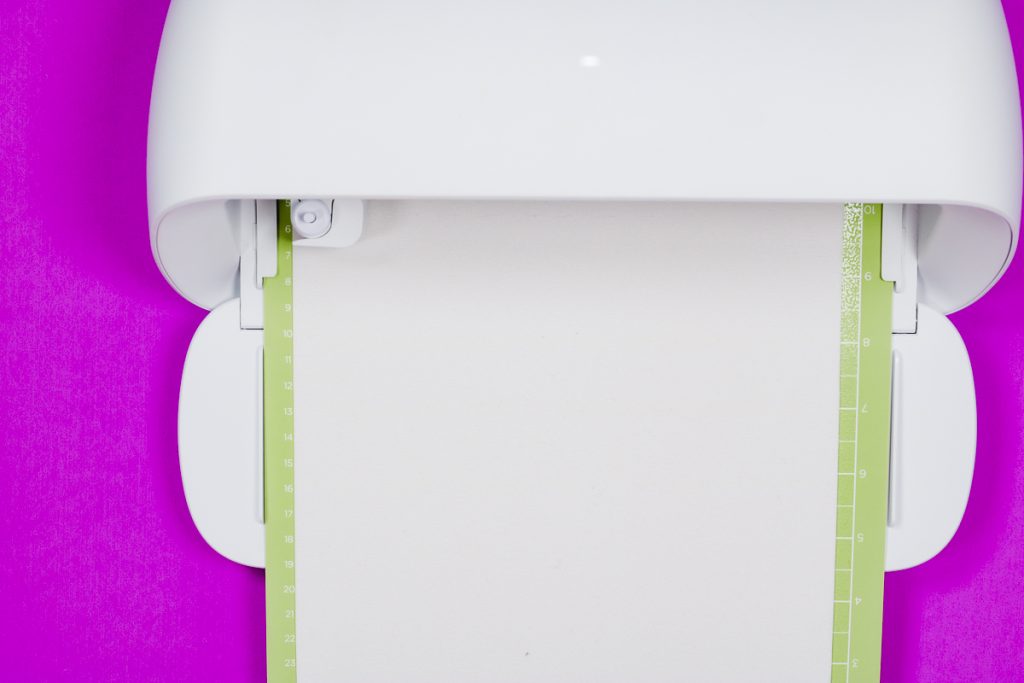
Load the mat into the machine and click Go. When it’s done, click Unload and remove the mat from the machine. Repeat for any additional pieces.
Step 2. Remove the Cardstock from the Mat
To remove the material from the cutting mat, especially with cardstock it’s best to flip the mat over and roll the mat away from the material.
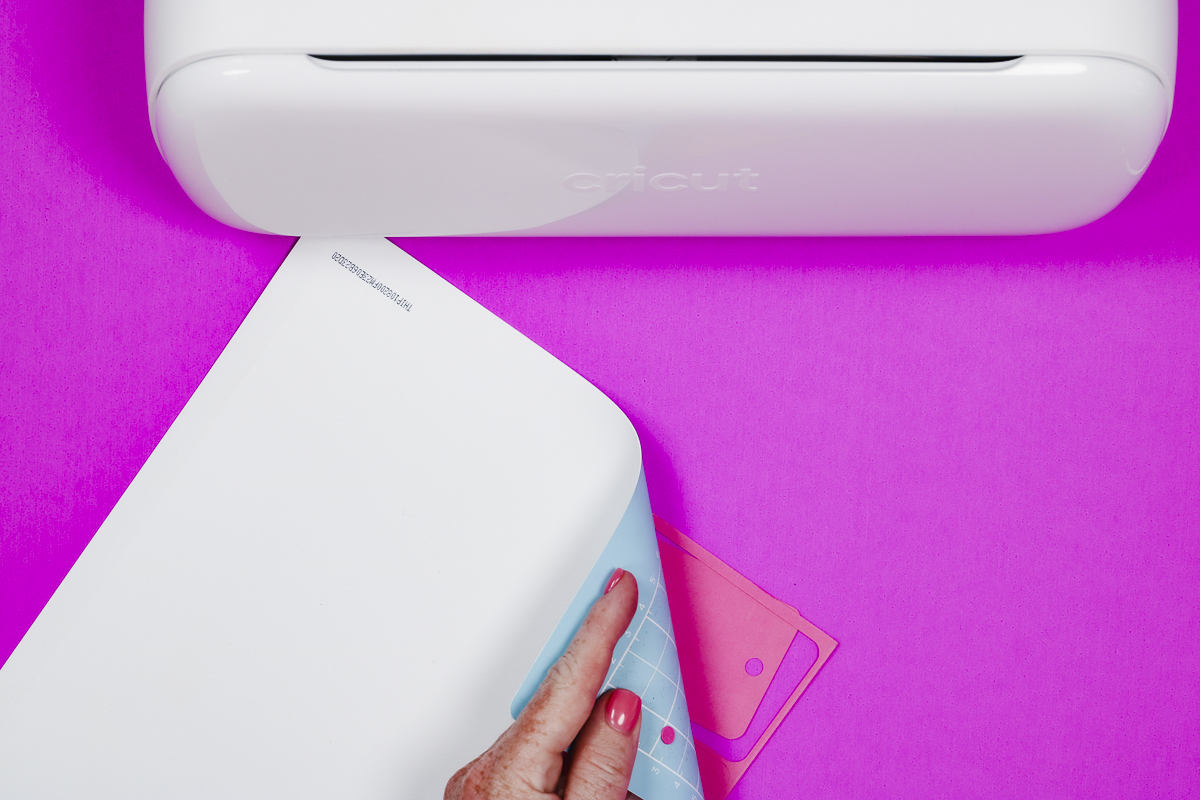
This helps prevent the material from curling. Repeat this process for each additional piece.
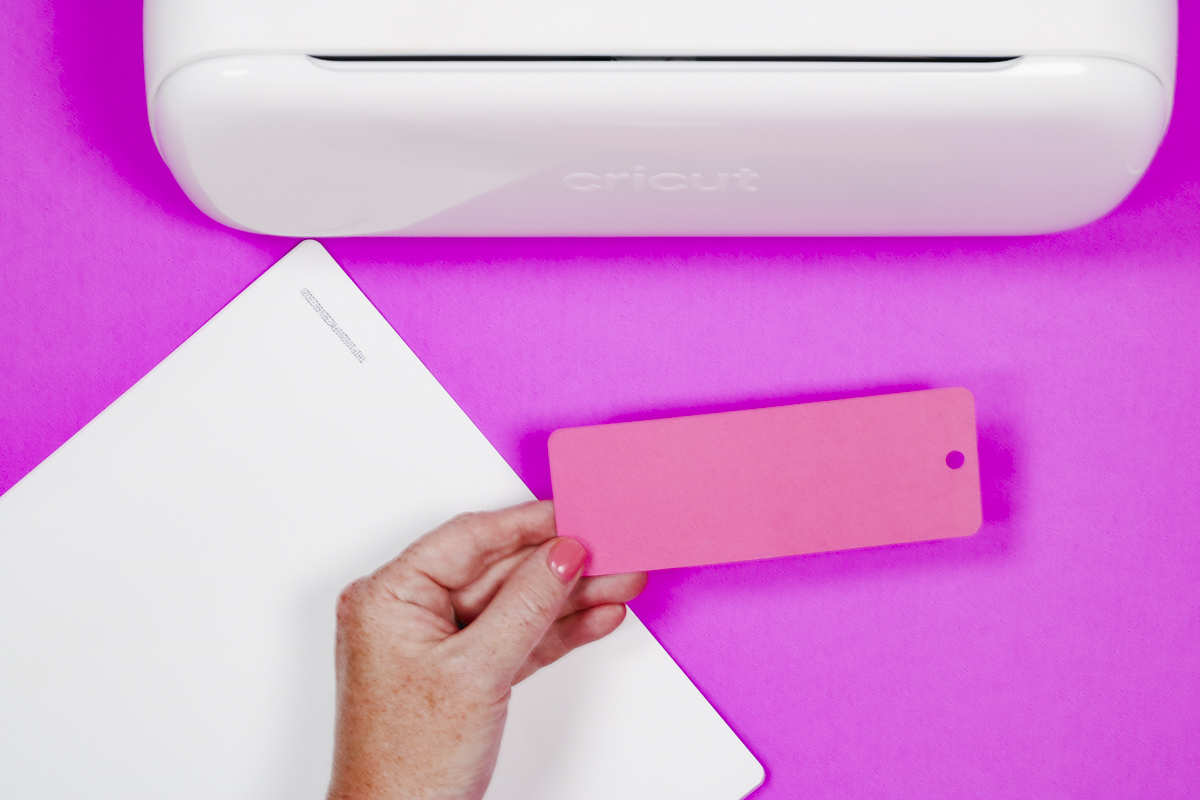
Step 3. Assemble the Cardstock Bookmark
With the pieces cut out, assemble the bookmark. I like to use the Bearly Art adhesive with the fine-point tip.
Add glue to the back of the top layer of the bookmark. Make sure to apply the adhesive lightly in between layers so all the pieces stick down.
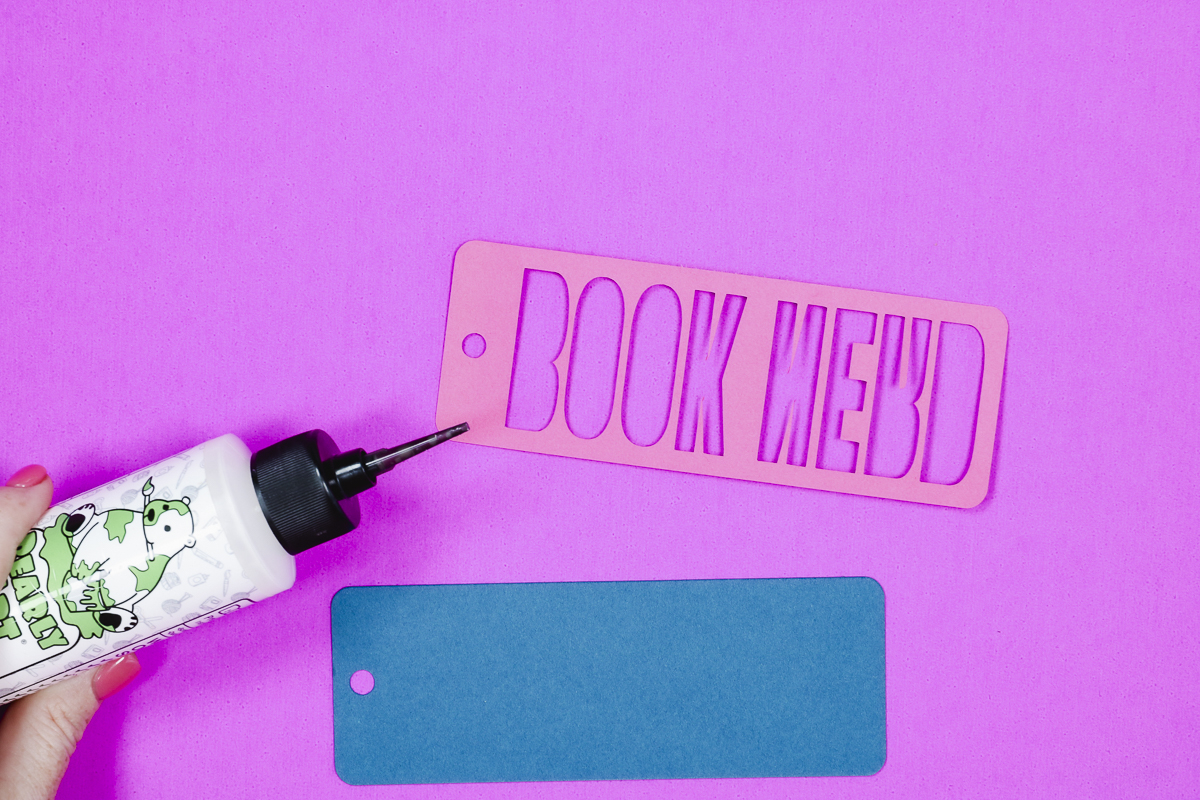
Line the cardstock pieces up and press them together.
If the bookmark isn’t thick enough for you, you can cut out more of the back pieces and glue them to the back to make it thicker.

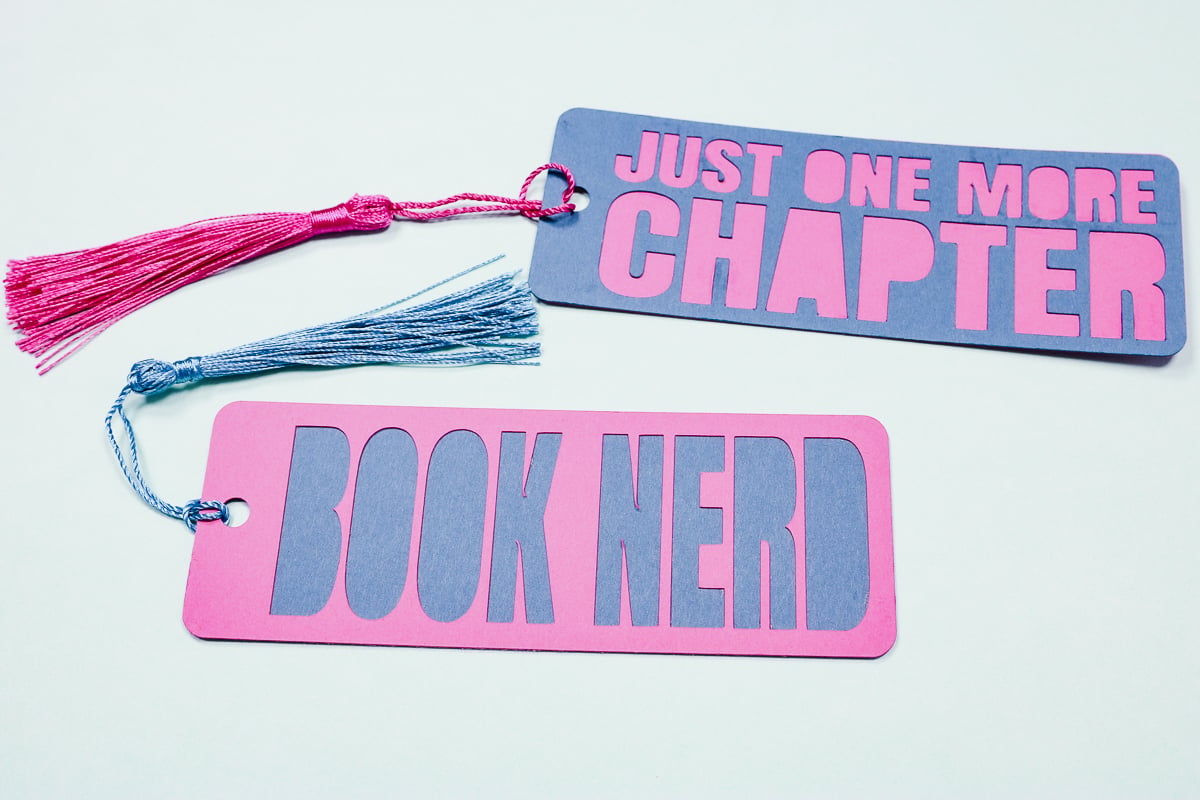
Allow the bookmark to dry completely and then add the tassel and your bookmark is complete.
How to Make an Acrylic Bookmark
The next bookmark we’re going to make using our Cricut machine is a vinyl and acrylic bookmark.
For this project, we need a Cricut machine, vinyl, transfer tape, a weeding tool, a scraper, and an acrylic bookmark blank.
I am using Cricut value vinyl. The type of vinyl doesn’t really matter but a permanent vinyl will last longer than removable.
Step 1. Measure the Acrylic Bookmark and Design
Measure the bookmark blank to ensure the design will fit. I created the design so all of the stars are individual and can be moved around if needed to fit on your bookmark.
Once you have it set up to fit on your bookmark blank, select all the designs in each color and click Attach. This will keep the layout the way you have it on the canvas.
When you click Make, check each mat and make sure it looks right.
Step 2. Cut Out the Vinyl
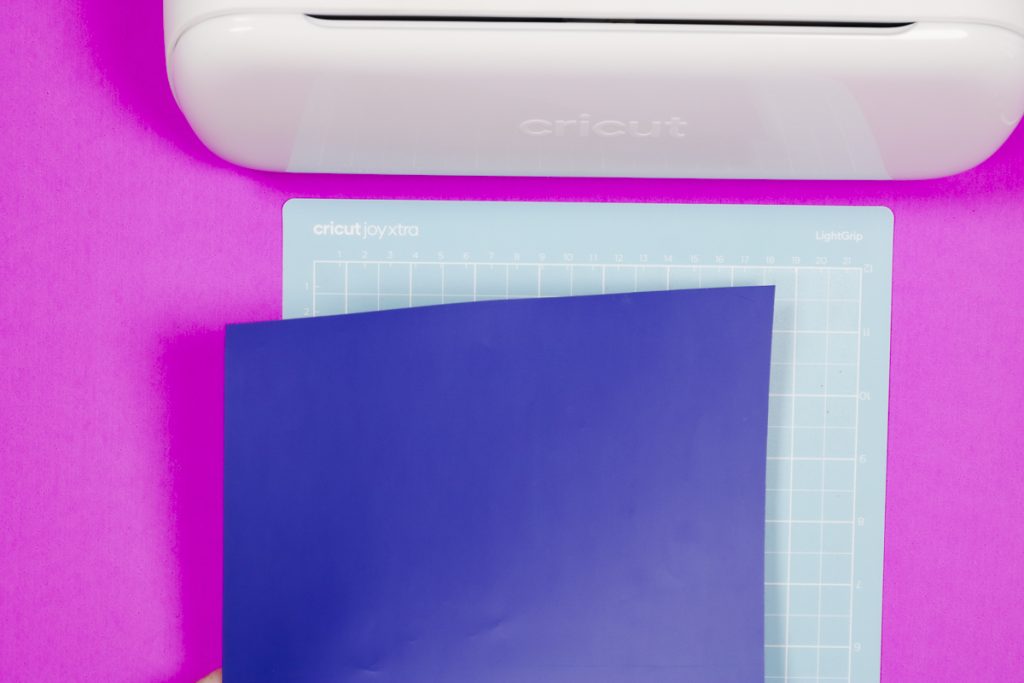
I am cutting my vinyl on a mat. If you’re using a Smart Vinyl select that option.
Add the vinyl to the mat carrier side down.
With adhesive vinyl, you do not need to mirror your design. Select the material you’re using, if you are unsure do a test cut first.
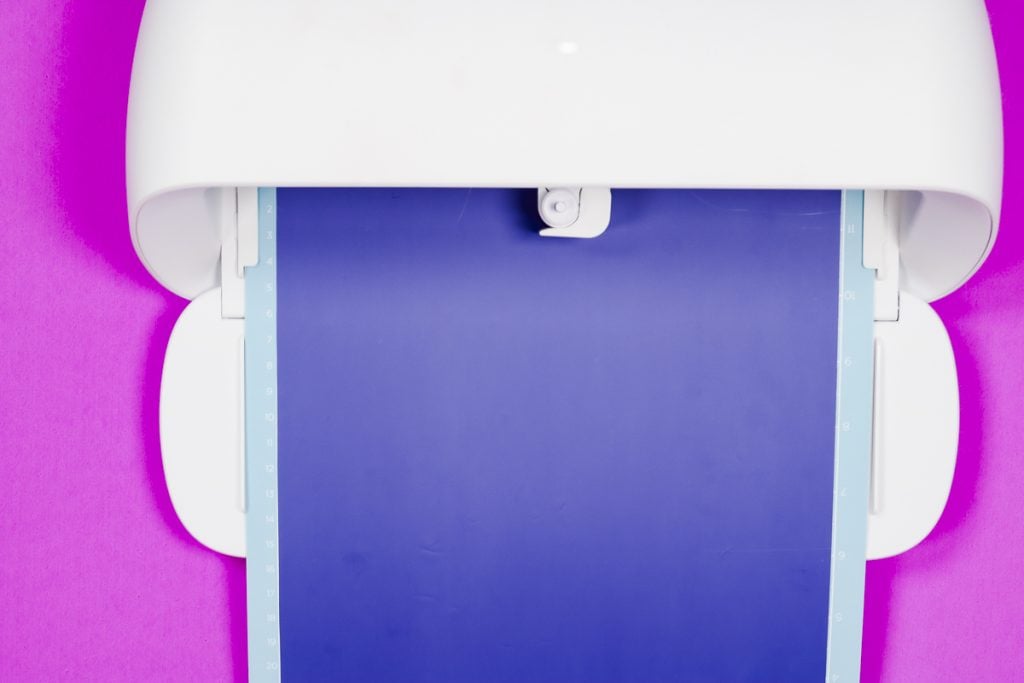
Load the mat into the machine and click Go. Repeat this process for each color of vinyl you’re using.
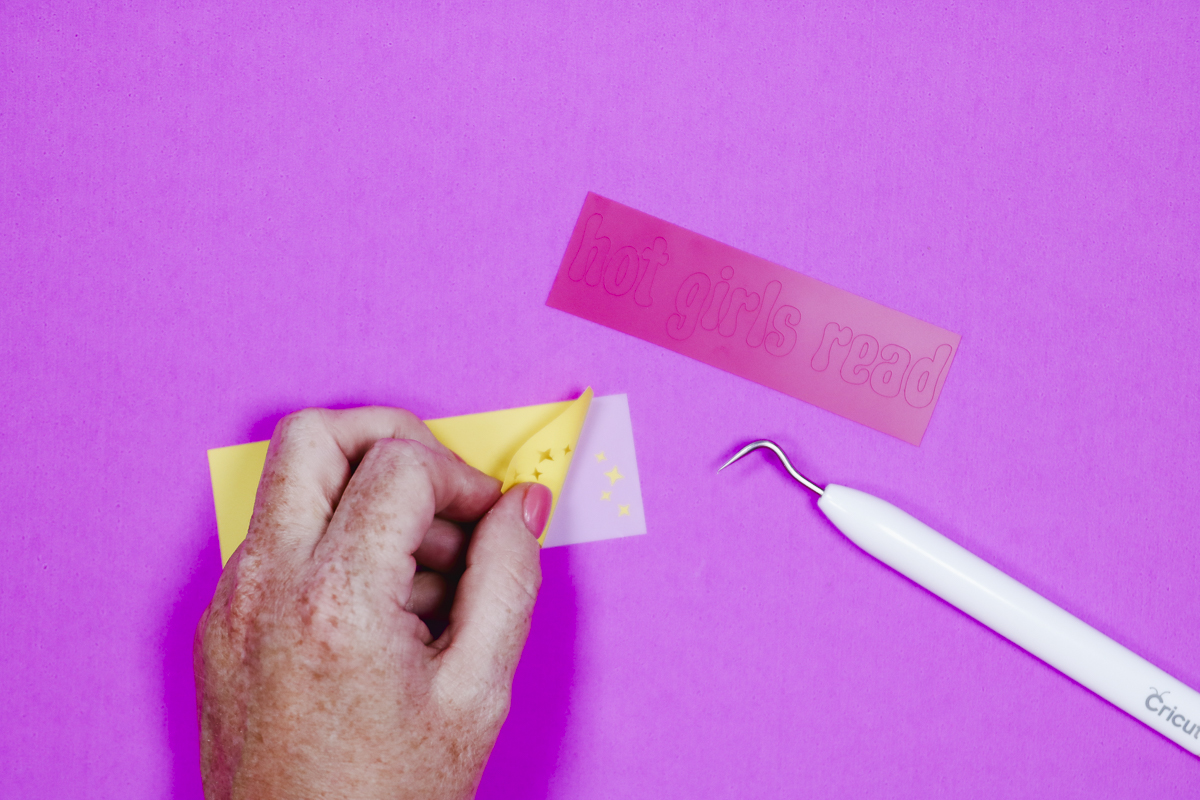
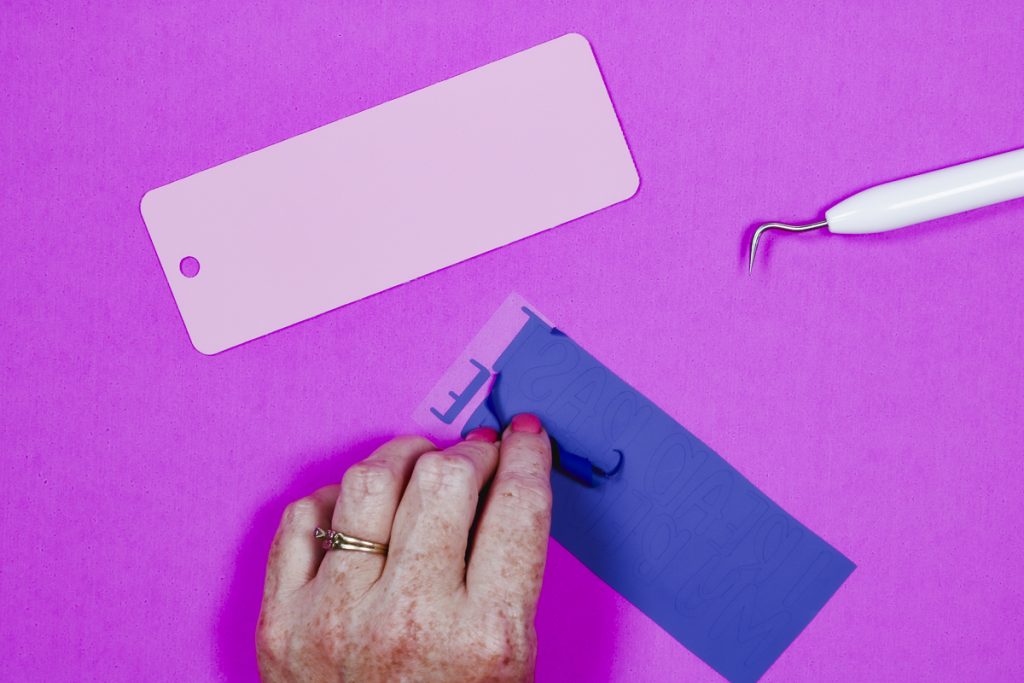
Step 3. Weed Away Excess Vinyl
Next, we need to weed away all the excess vinyl. Take your time, especially around the small pieces. Make sure you weed out all the insides of letters or other elements.
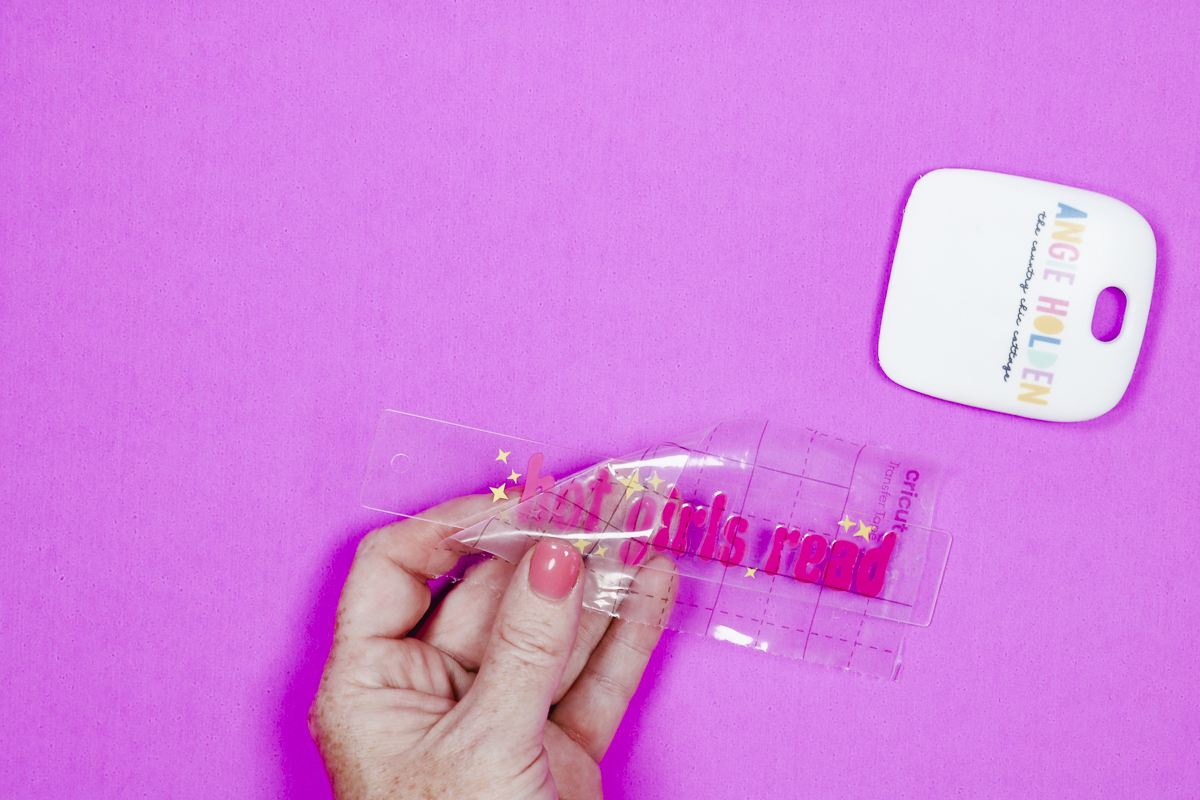
Step 4. Apply Transfer Tape to Vinyl
This design is two different colors of vinyl. Add the transfer tape to one color of vinyl and burnish the vinyl onto the transfer tape.

Peel the lining away from the vinyl ensuring it is all stuck to the transfer tape.
Repeat the process for each color of vinyl. You can add both colors of vinyl to the same piece of transfer tape and apply them to the bookmark at the same time.

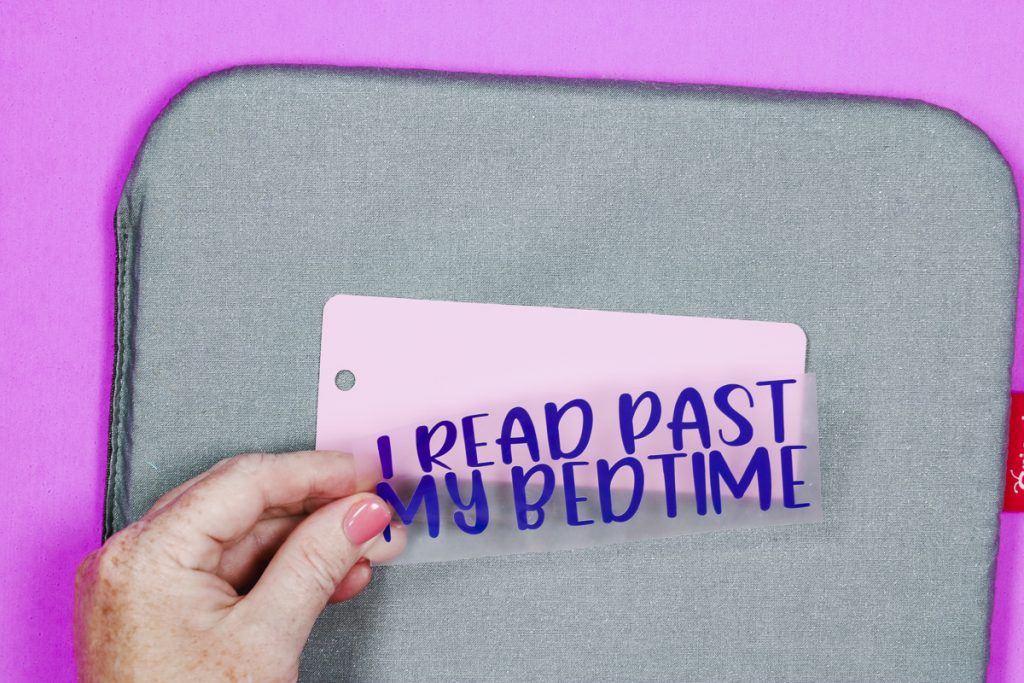
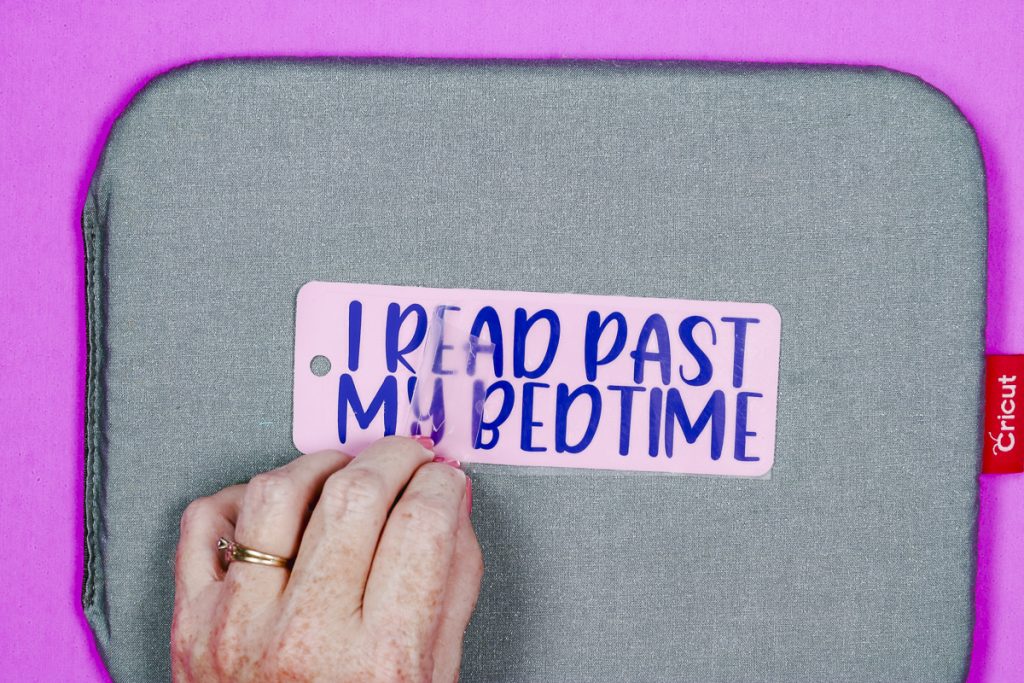
Step 5. Add Vinyl to Acrylic Bookmark
Now we’re ready to add the vinyl to the bookmark.
Check the bookmark for any protective coating. Mine had a clear film on the front and back.
Locate the vinyl onto the bookmark. Using a scraping tool burnish the vinyl onto the bookmark and remove the transfer tape.

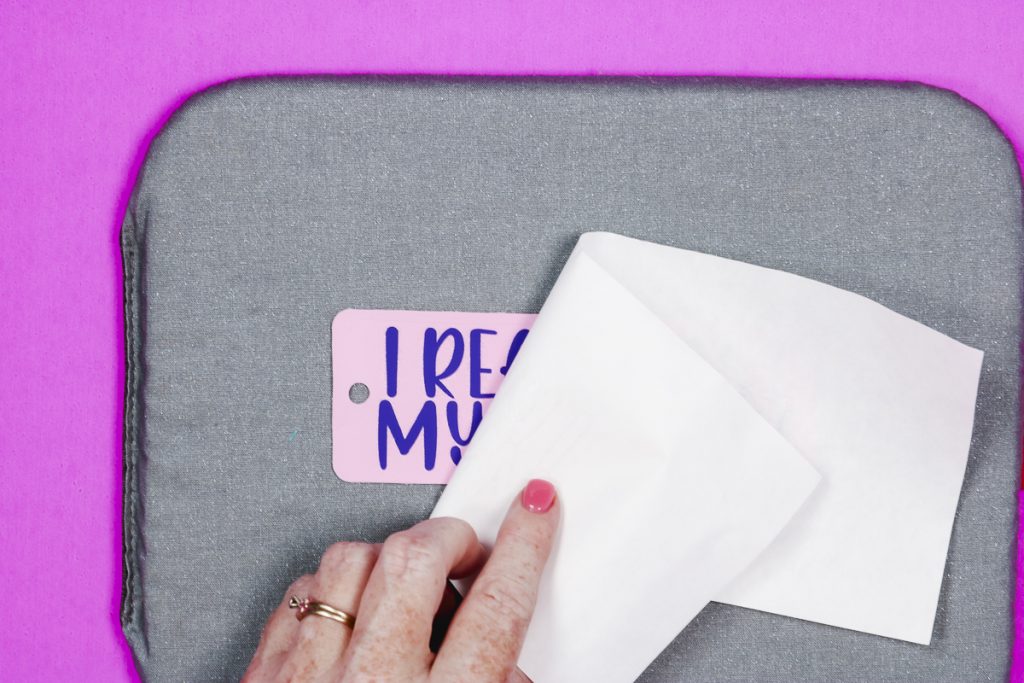
Step 6. Finish the Bookmark
The vinyl part of this bookmark is now finished. You do not need to seal it with anything, the vinyl will stay stuck down.
You should let the vinyl sit 72 hours before using it to make sure the adhesive is really stuck to the acrylic.
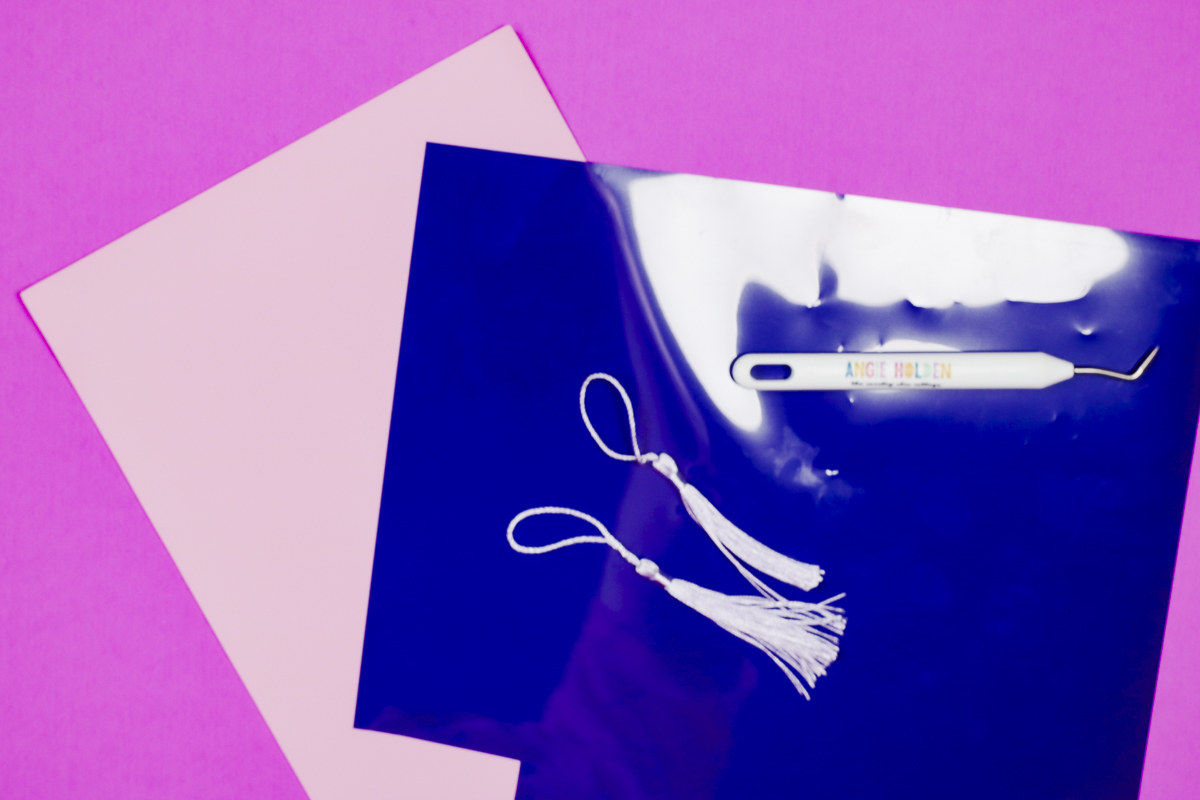
I added pre-made tassels to finish my bookmarks but you can add handmade tassels or ribbons.

How to Make a Faux Leather Bookmark
The process for making the faux leather bookmark is similar to the others. Let’s look at the supplies we need.
To make these bookmarks you’ll need a Cricut machine, faux leather, iron-on, heat source, weeding tool, and any finishing elements you want to use.
I am using the Cricut Joy Xtra and EasyPress Mini today. You can use any Cricut machine and any heat source that works with the materials you’re using.
Step 1. Cut Out the Designs with a Cricut Machine
Because you’re cutting the entire design out you don’t have to worry about resizing the design to fit a blank.
You can resize the design if you’d like just make sure you resize all the layers at the same time.
Click Make and mirror the designs on the mat screen.
The HTV always needs to be mirrored.
When cutting faux leather, I like to put it nice side down on the mat, I feel it cuts more cleanly that way. I use a green mat for the extra adhesion and a brayer to make sure it’s stuck down really well.
I am using the heavy cardstock setting which will do two passes on each cut.
When it’s done, remove the mat from the machine and repeat the process for the HTV.
Make sure the design is mirrored in Design Space. Place the HTV on the cutting mat shiny side down and use a brayer to really press it onto the mat.
Load the mat into the machine and press Go.
When the machine is done cutting, unload the mat and we’re ready to weed the designs.
Step 2. Weed the Material
Weeding the faux leather is very easy. Simply peel the material off the mat and you’ll have the bookmark pieces you cut out and the excess that you can throw away or save for later if they’re a large enough piece.
Weeding HTV is similar to weeding vinyl except the material itself is not sticky. The carrier sheet is tacky to help hold the design in place but it will not stick to the material if it folds onto it.
Use a weeding tool to remove all the excess HTV and now we’re ready to press the HTV onto the faux leather.
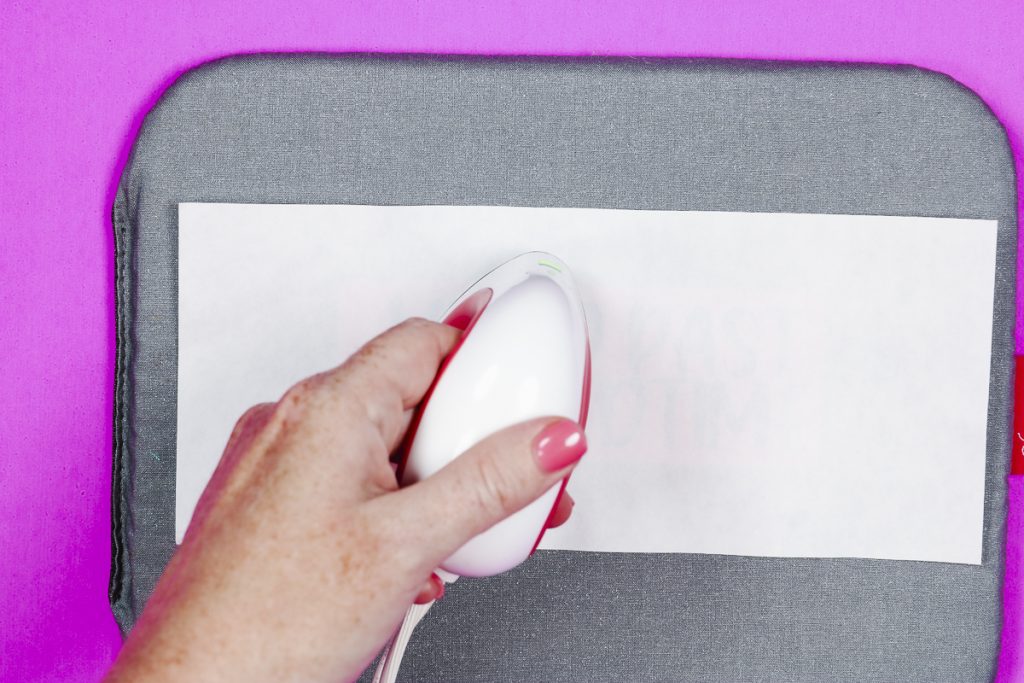
Step 3. Press the HTV onto the Faux Leather
I am using my EasyPress Mini and the EasyPress mat for my project. For HTV, set the temperature to the 2nd level.
Place the faux leather on the EasyPress mat and preheat for a few seconds to remove any moisture.
Locate the HTV on the faux leather where you want it.
To protect the faux leather from the EasyPress I am covering the entire thing with butcher paper. You could also use a Teflon sheet or a thin cloth.
Follow the time recommendations for the HTV you’re using. Because the EasyPress Mini doesn’t press the entire design all at once you may need to press longer than is recommended.
Move the press back and forth over the design for the full time.
Make sure to check if your HTV is a warm peel or cold peel and allow it to cool as recommended.
Gently peel the carrier sheet back from the corner checking to make sure the HTV is stuck down really well.
Step 4. Post Press the HTV
Sometimes the HTV carrier sheet can leave indentations in the faux leather. To help with this and to make sure the HTV is stuck down really well I like to do a post press.
After removing the carrier sheet, place the butcher paper or a Teflon sheet over the design and press it all again for a few seconds. When you’re done with this press you can peel back the butcher paper immediately.
Step 5. Finish the Faux Leather Bookmark
With the HTV applied, we’re ready to finish the faux leather Cricut bookmark.
Again, I am using the premade tassels but you could finish these with any ribbon or trim you wanted.

Allow the bookmark to sit for 24 hours before using it to ensure the adhesive is stuck to the faux leather completely.
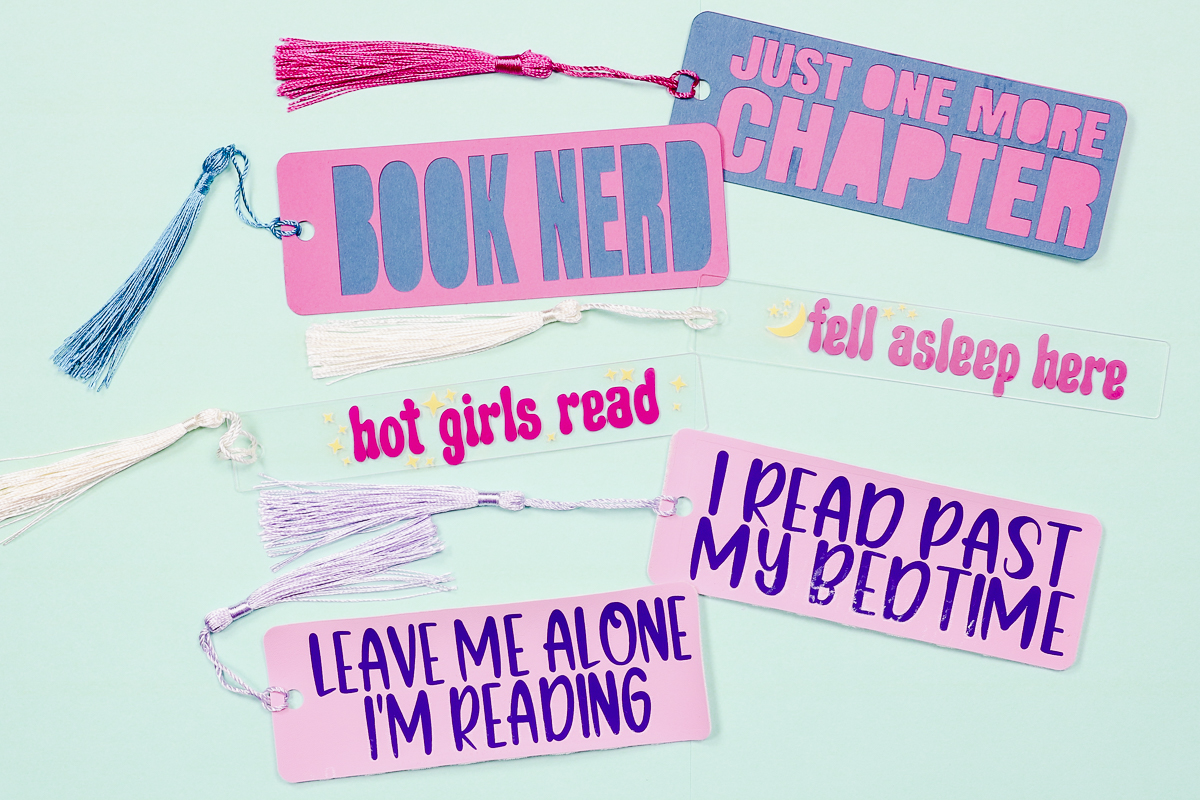
Which of these DIY Cricut Bookmarks should you make?
I had a lot of fun making these different bookmarks with my Cricut machine and I think they all make a perfect gift for the book lovers in your life.
I do think the cardstock version is the least durable of all the options and probably best for adults who aren’t rough on their bookmarks. It is a really inexpensive option so if you know someone who likes a lot of different bookmarks this option may be perfect for them.
The acrylic version is so pretty. I really like how easy it was to make and it is a nice durable option. You will want to be careful because acrylic can break and little hands may try to peel the vinyl off but I found that the vinyl stuck down really well to the acrylic and I haven’t had any lifting problems.
If you’re looking for a really durable bookmark the faux leather and HTV combination is perfect. The faux leather won’t break and that HTV isn’t going anywhere.
I really love how all of these Cricut bookmarks turned out and I can’t wait to make more to give as gifts. You can get the designs I used today at the link in the supply list above.
If you have any additional questions about making bookmarks with your Cricut machine, leave them in the comments and I’ll be happy to answer them for you.