This is a sponsored conversation written by me on behalf of Cricut. The opinions and text are all mine.
Have you heard of the Cricut BrightPad? Want to know if you need one? We are here with all of the information you need on this great machine. If you hate weeding vinyl or can’t see the lines on glitter vinyl, you might just want to keep reading. The BrightPad will definitely make your life so much easier. I also have a great water bottle with time markings craft below that you don’t want to miss. So, read on for more information and a great project as well.
Some links below may be affiliate links which means that you do not pay anymore, however, a portion of your purchase will go to support this site.
What is the Cricut BrightPad?
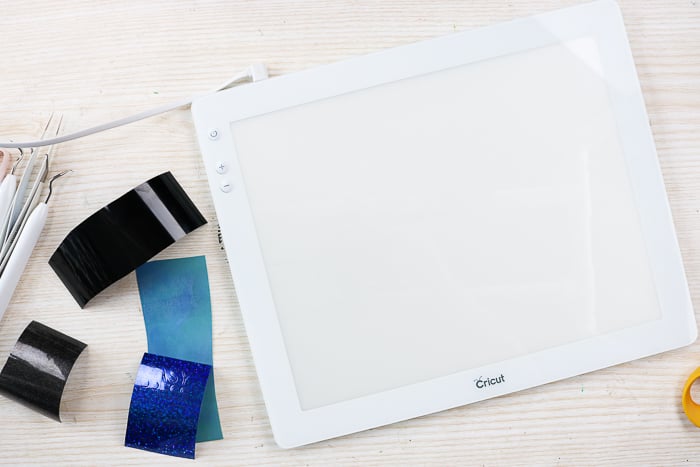
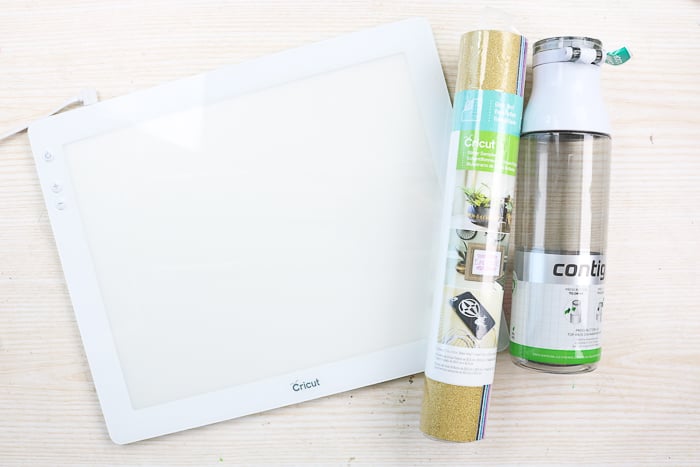
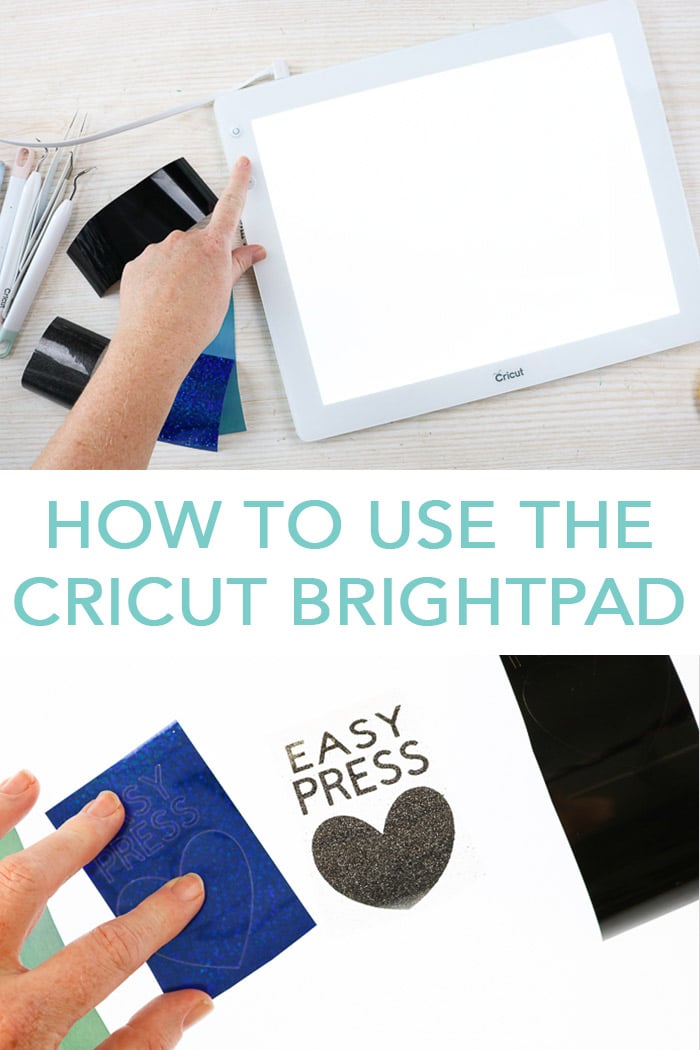
The Cricut BrightPad illuminates projects for easier crafting and reduced eye strain. It is perfect for weeding vinyl and heat transfer vinyl but can also be used for tracing, quilting, and so much more. Plus the design is amazing! It is lightweight, portable, and extremely durable.
Operating the Cricut BrightPad
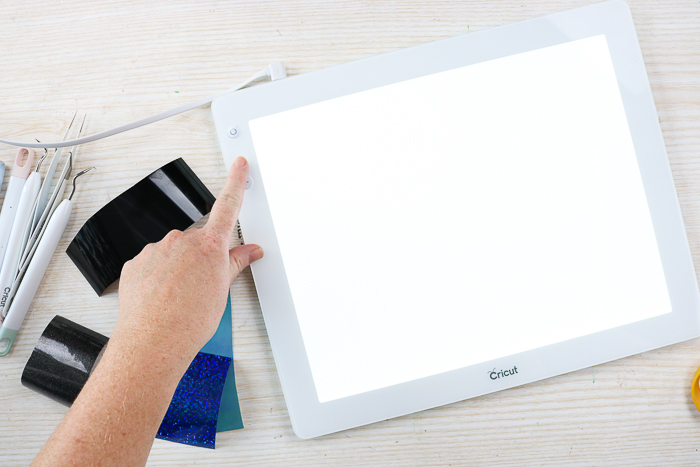
The operation is super simple! Just plug it in then press the power button on the top to turn it on. You can then use the plus and minus buttons to control the amount of light. There are 5 brightness settings and the BrightPad gives off a bright, uniform LED light. The lit area is 9 in. x 11.5 in. I will note that the BrightPad does need to be plugged in and it comes with a 6 foot power cord.
Cricut BrightPad Video
I thought I would make a video with all of the information that is contained in this post. You can watch that below!
How to Weed Using the Cricut BrightPad
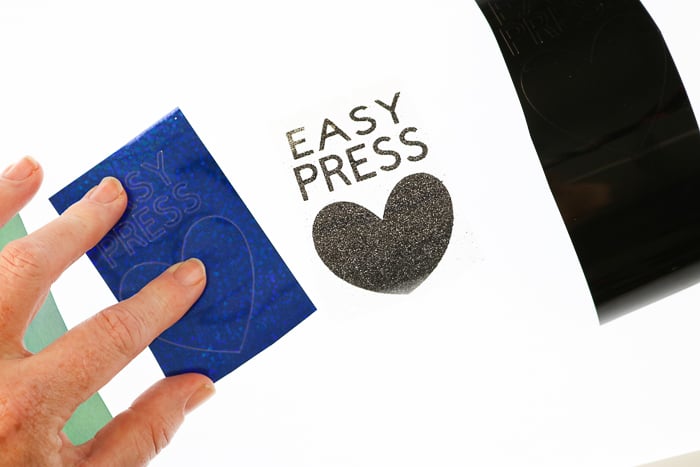
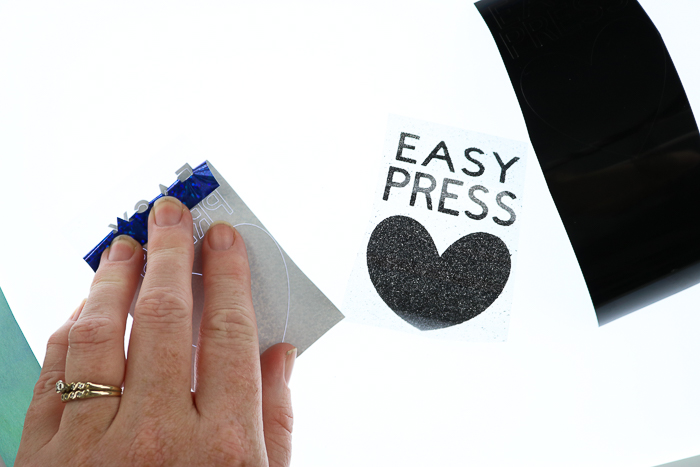
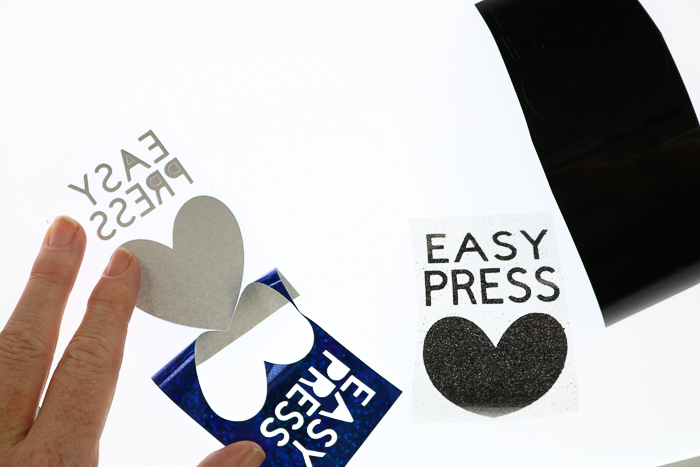
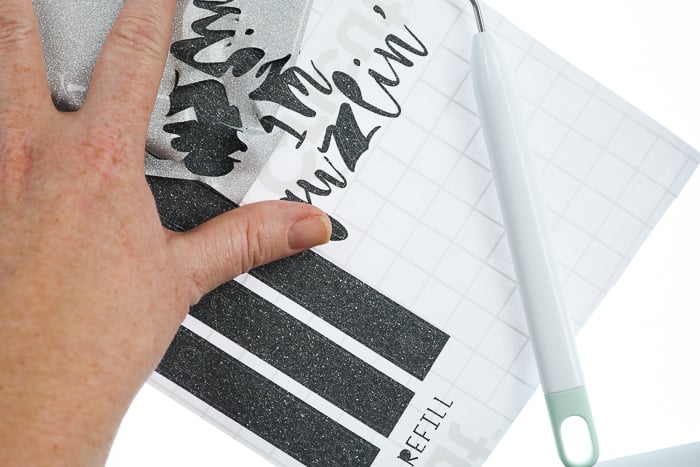
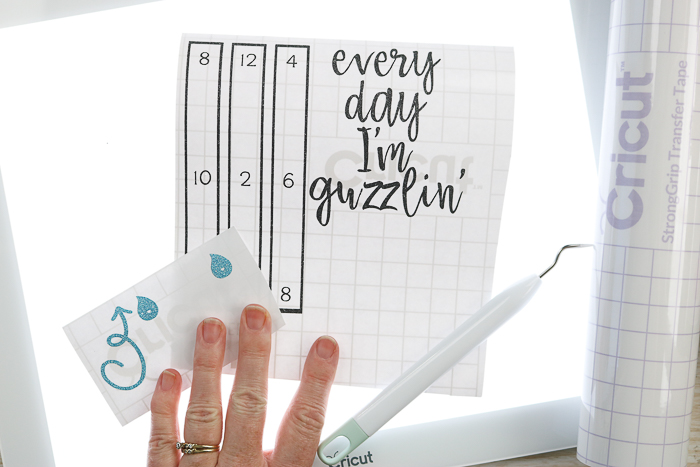
Just lay your vinyl or iron-on right on the surface of the BrightPad for illumination through those cut lines. You can see the lines better when trying to weed with the additional light. I love this machine for weeding glitter especially! I always have trouble seeing the lines in glitter and the BrightPad makes it so much easier. TIP: Still have trouble seeing those lines? Try the Cricut BrightPad in a dimly lit room for even more illumination.
Weeding Tips and Tricks
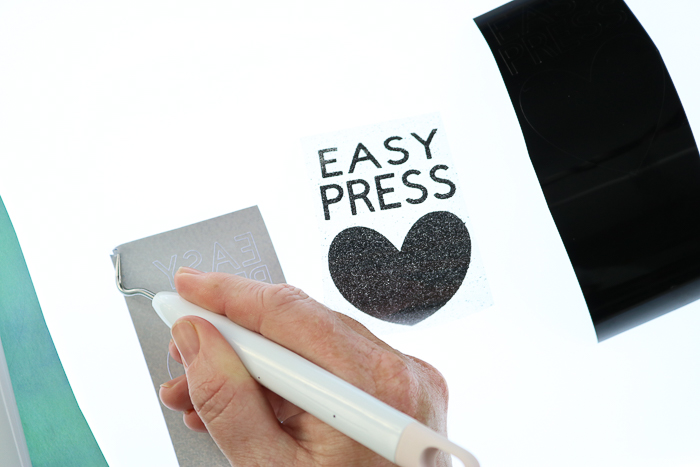
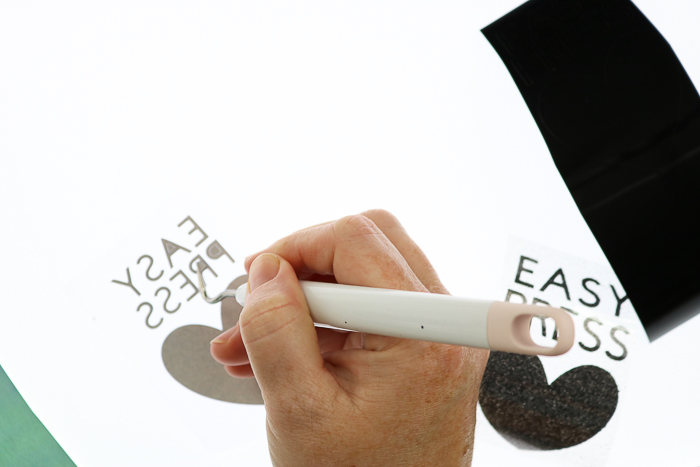
I thought I would share a few tips and tricks in this post as well. First, weeding tools are a lifesaver when weeding vinyl or iron-on. I would highly recommend using those. Second, to get started, pick up the corner with your weeding tool as shown in the image below. This will save your fingernails and make it much easier to pull back that surrounding vinyl or iron-on from the carrier sheet.
Removing all of that excess around the outside first and then going in for the detailed pieces also helps when weeding. However, as you pull back, be sure to watch carefully and make sure none of your cut pieces are pulling up as well. If they are, use your weeding tools to hold them and ensure they stay on the carrier sheet.
The BrightPad makes seeing all of those detailed areas so much easier. You can then get in there and pick those up with your weeding tools.
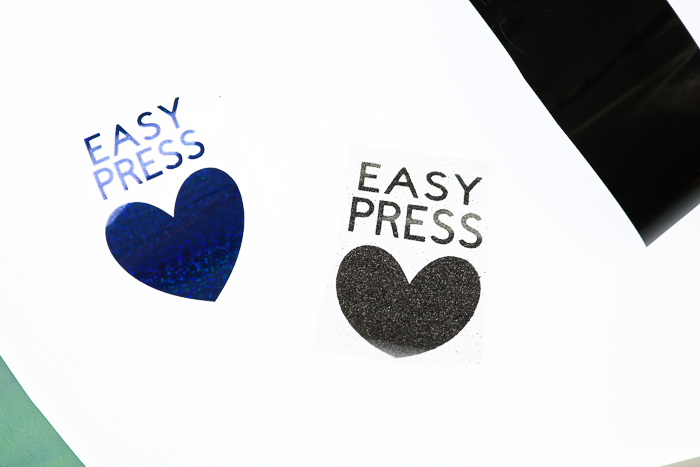
Just remove everything that you don’t want in your final design and discard it. There is nothing worse than leaving a stray piece on your iron-on carrier sheet!
If you want to see where I used these iron-on pieces, be sure to check out my Cricut EasyPress versus iron comparison here!
Water Bottle with Time Markings Project
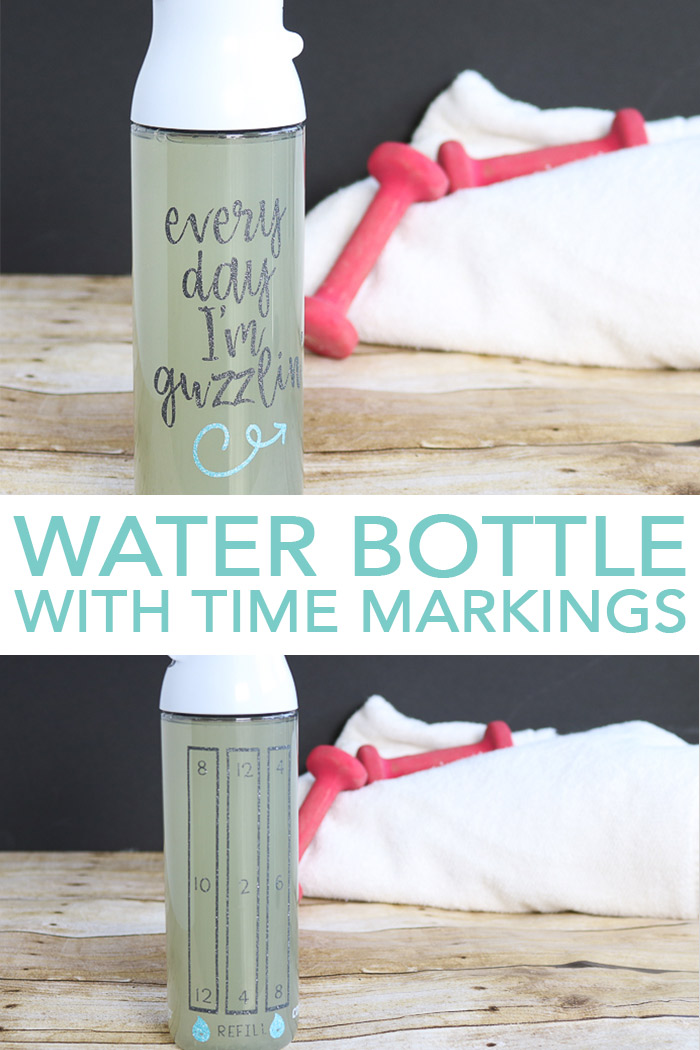
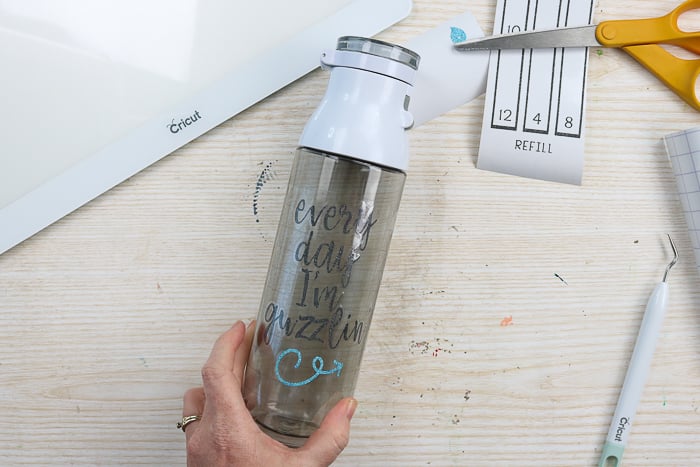
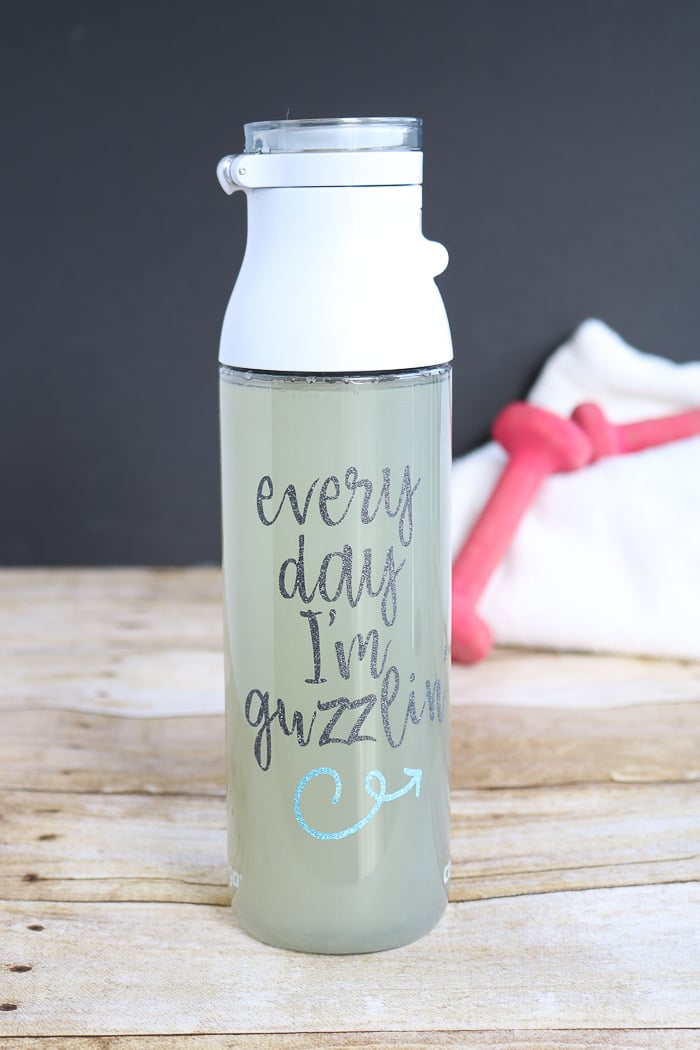
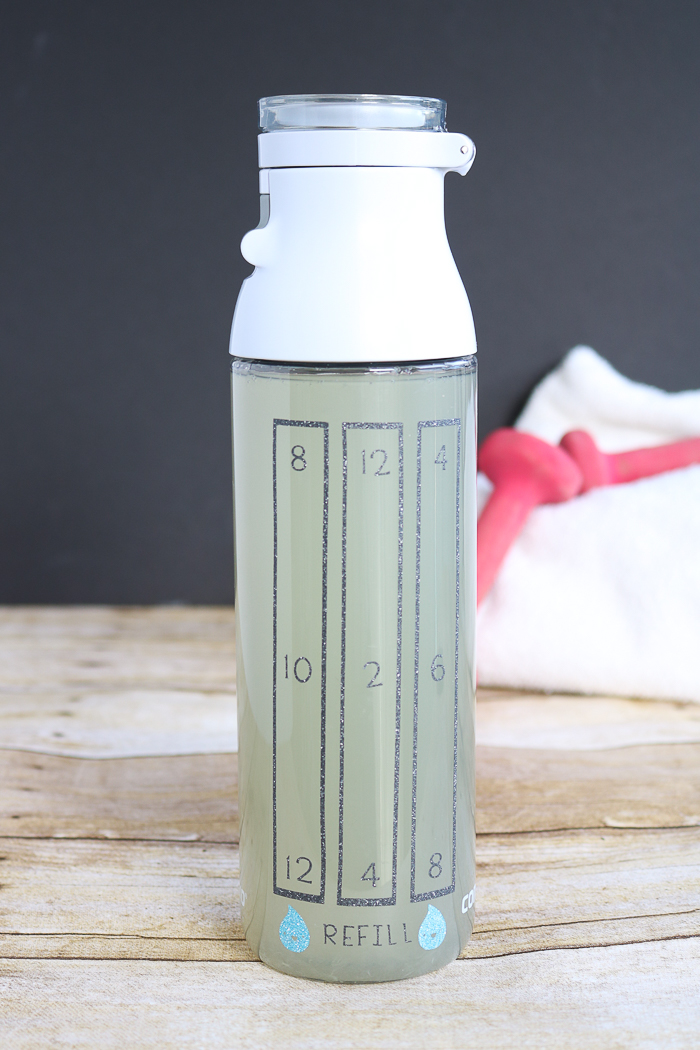
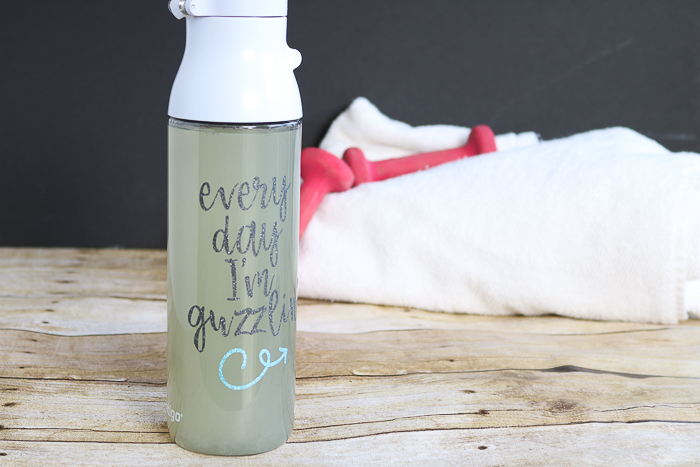
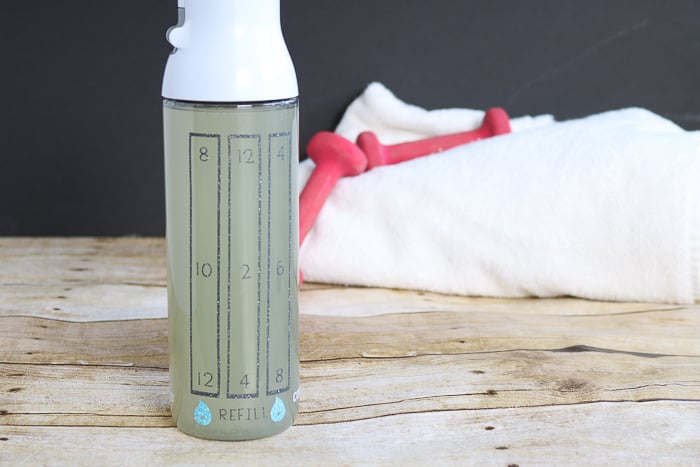
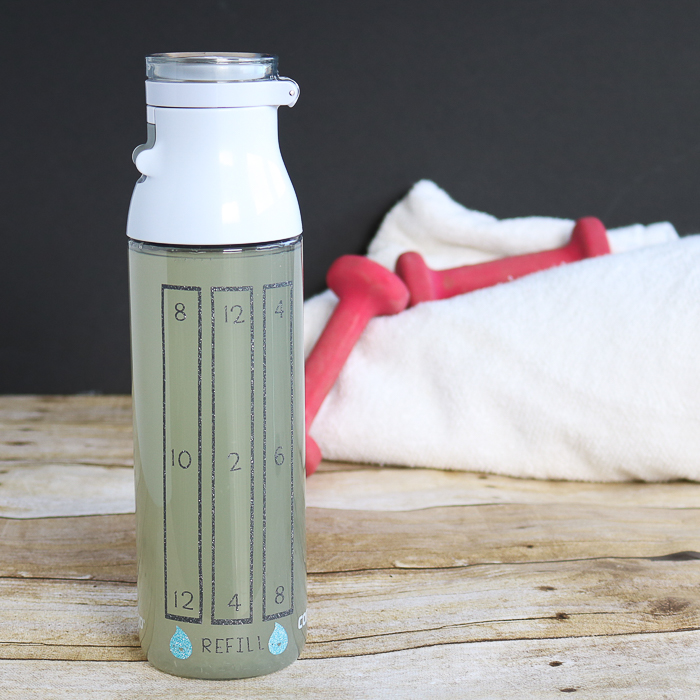
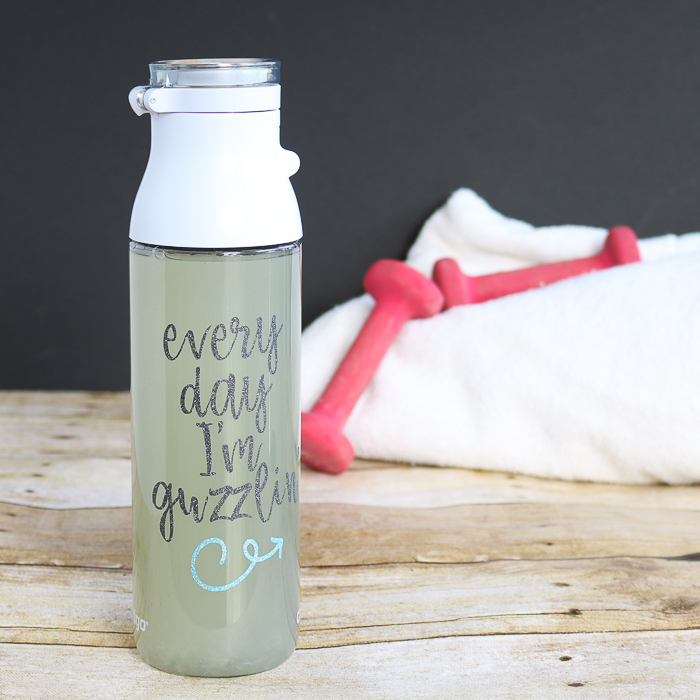
Now let’s use the Cricut BrightPad to make a fun project. If you want to get healthier and drink more water this year, this water bottle might just be for you! Add a fun design on one side and time markings on the other so you are sure to get your daily drinking allowance every day of the week.
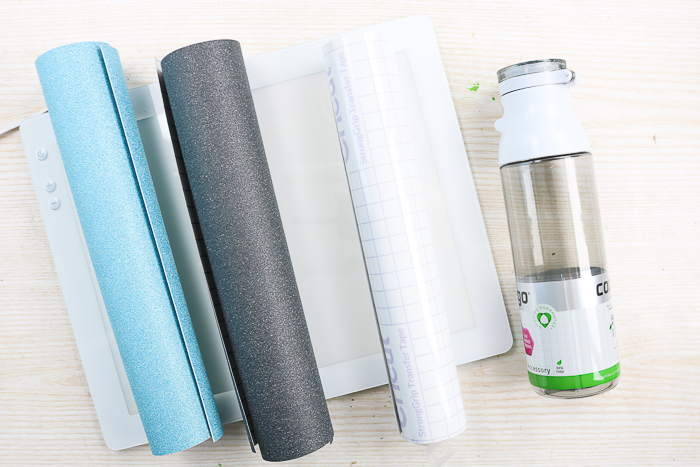
Supplies needed to make this water bottle with time markings:
- Cricut Maker (see why I love the Maker here)
- 24 oz water bottle
- Cricut Glitter Vinyl
- Cricut BrightPad
- Weeding Tools
- Cut file
- Strong Grip Transfer Tape
Instructions:
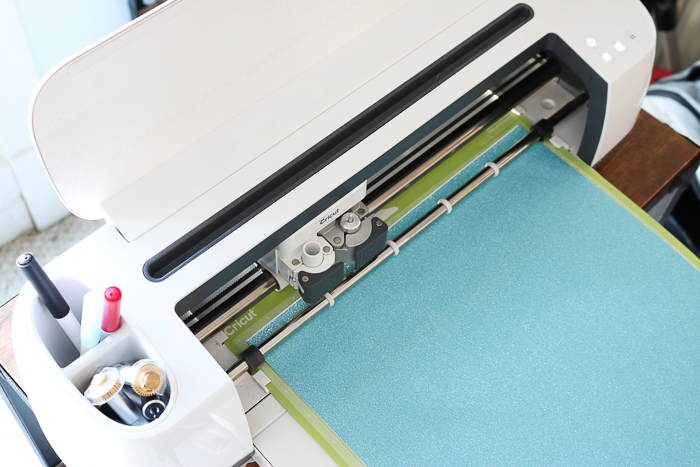
Start by cutting your glitter vinyl on your Cricut Maker. You can click here to access the cut file for the water bottle. I made mine from two different colors of glitter vinyl but those are completely up to you.
Once cut, you are going to want to break out your Cricut BrightPad for weeding. The glitter vinyl cut lines are so hard to see with the naked eye.
The BrightPad, however, makes them so much easier to locate. Follow the weeding tips above and remove all excess from both colors of your design.
Once you have everything weeded, it is time to add your design to the water bottle.
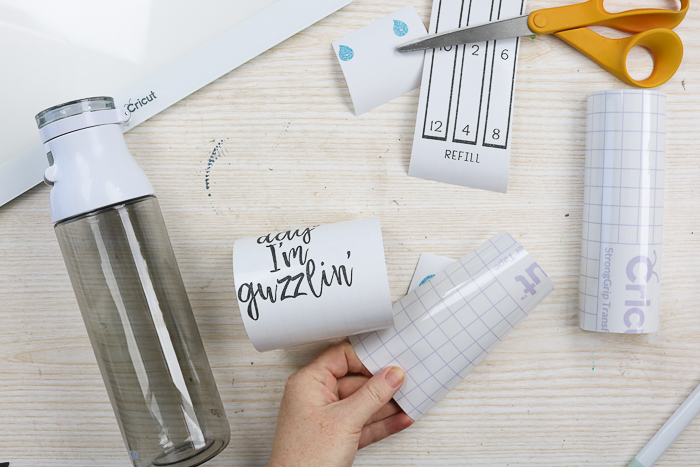
Strong Grip Transfer tape is required for glitter vinyl. There should be some inside your roll of Cricut Glitter Vinyl.
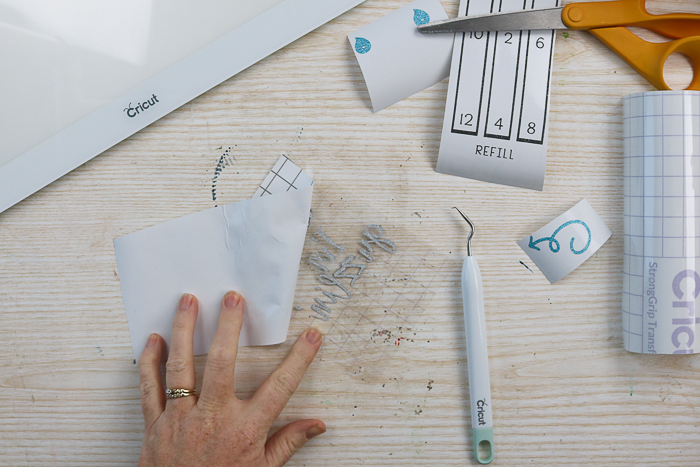
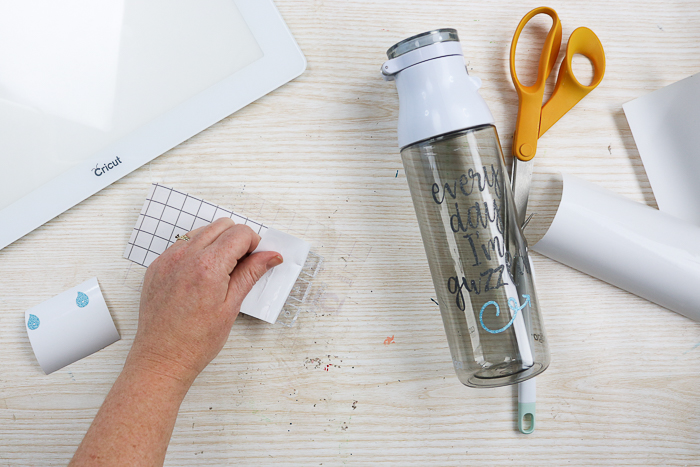
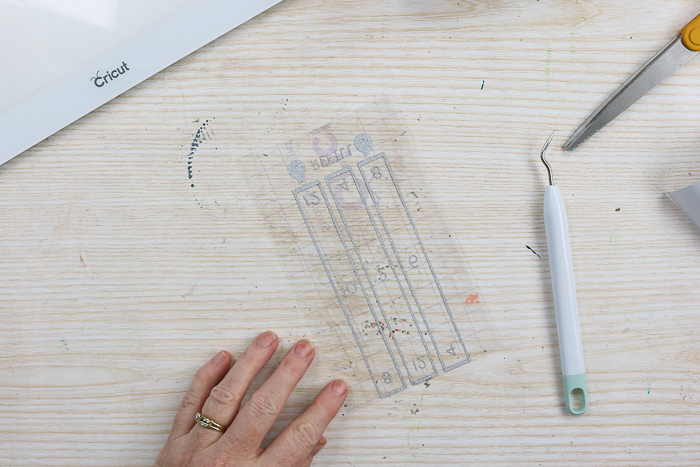
Apply the transfer tape to the design for the front of your water bottle. Press down really well then peel back your carrier sheet leaving the vinyl on the transfer tape. Add both colors to the same sheet of transfer tape so you only have to transfer the entire thing once.
Then add the design to one side of your water bottle by pressing down well and then lifting the transfer tape away from the design.
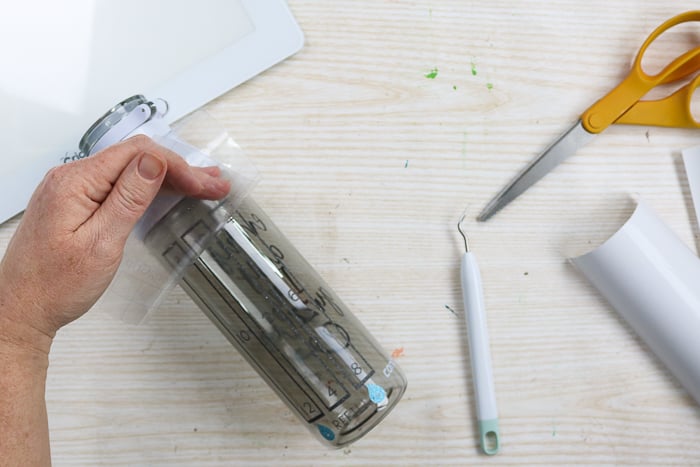
You will then repeat those same steps for the design on the opposite side.
Remember that this side also has some accent pieces in another color that you will want to add to the transfer tape before adding to the water bottle.
Add to your water bottle in the same manner to complete the project.
Then your water bottle with time markings is complete and ready for use!
If you are resolved to drink more water, this is one project that you need to complete right away.
Just refill three times throughout the day and use the time marking to determine if you are drinking enough.
You will stay hydrated and reach your goals of drinking your water allowance daily.
This water bottle with time markings also makes a great gift idea for just about anyone!
Use your Cricut BrightPad to make great projects like this one with less eye strain. Trust me, you will love this addition to your Cricut crafting arsenal.
New to Cricut?

Sign up for our email list to download the Beginner's Guide to Cricut Design Space for FREE today!
Sign up to get the guide emailed to you!

