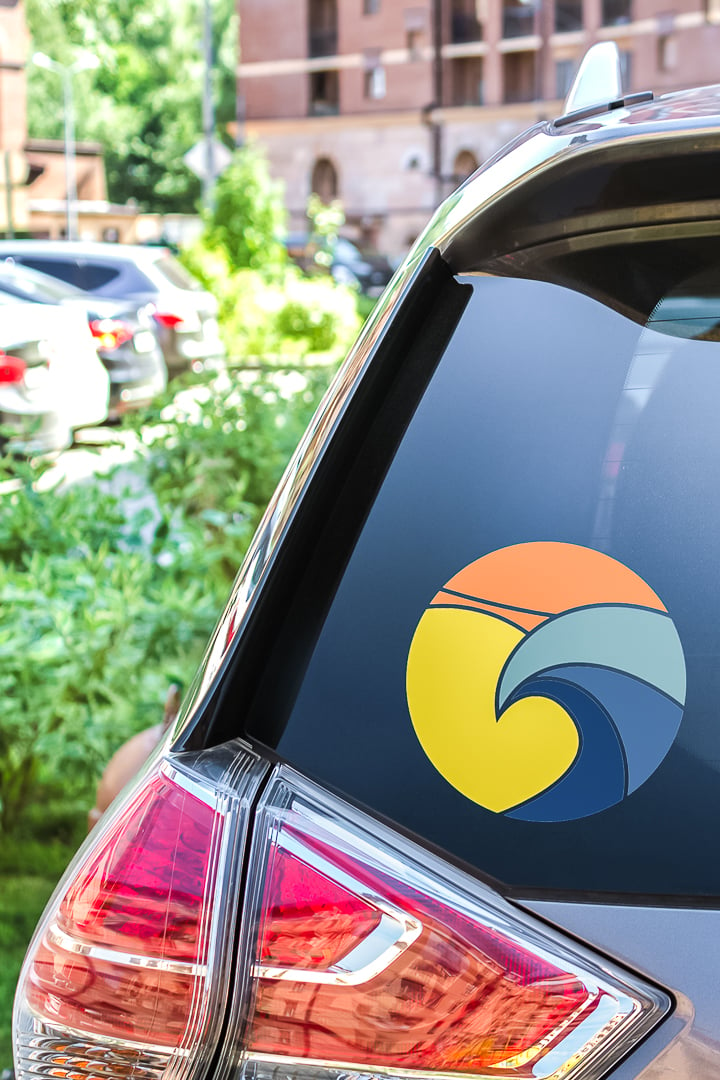
Cricut car decals are easy to make but what material should you use? I am testing four materials today and seeing how well they hold up outdoors. Which is best for making car decals with a Cricut? You can use printable vinyl inside but does it work outdoors as well? Read on to find out and then make some cute stickers for your car.
Materials to Make Car Decals
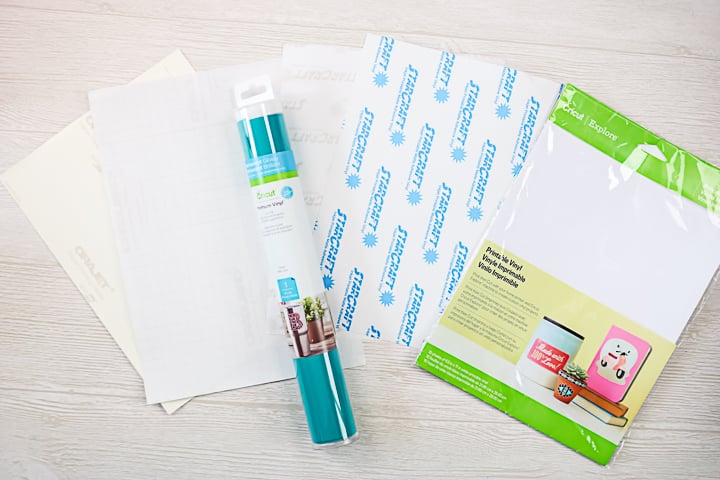
These are the materials I will be testing when making the car decals in this post:
- Cricut Permanent Vinyl (Oracal Permanent Vinyl would also work)
- Cricut Printable Vinyl
- Orajet Printable Vinyl with Oraguard Laminate
- Starcraft Printable Vinyl with Starcraft UV Laminate (Starcraft is no longer available)
The goal is to see which of these holds up best outdoors. I thought I would use the permanent vinyl as a baseline and test some printable products next to it. I find that I have more options with printable material especially when it comes to projects like these.
What type of printer do you need?
Since we are going to use several printable materials, what printer is best? This is the printer that I use but any high-quality inkjet printer will work in this case. You will want to set the printer to print at the highest quality when doing projects like these.
Other materials
You will also need the following:
- Cricut machine (any of the machines will work the vinyl but you won't be able to use the Joy with the printable materials)
- Transfer tape
- Weeding tools
- Scraper
- Cut file for decal
Cricut Car Decals
Now that you have all of your materials, it is time to get started making these car decals and putting them to the test. Want to watch the entire process on video instead of reading about it? You can watch that by pressing play below!
Can't watch the video or missed some of the steps? I am also sharing my tips and tricks below.
Note: If you want to make the design featured in this post, go to my Cricut Design Space profile and scroll down to “Cricut Car Decals”.
Permanent Vinyl
First, you will need to prepare each of the materials. Here is a brief overview of making car decals with permanent vinyl. Cut each of your colors on your Cricut machine. You can actually see a trick for layering vinyl here. Then weed away all of the excess from your design. Please note that I am making two of every decal in order to have one to test and one to keep inside for a baseline.
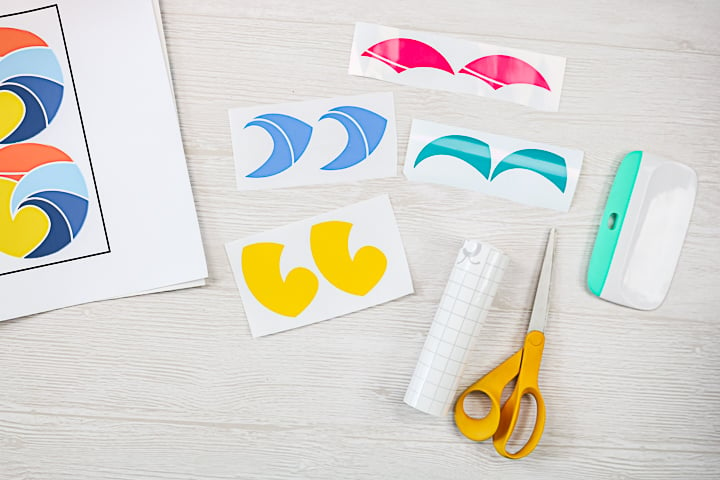
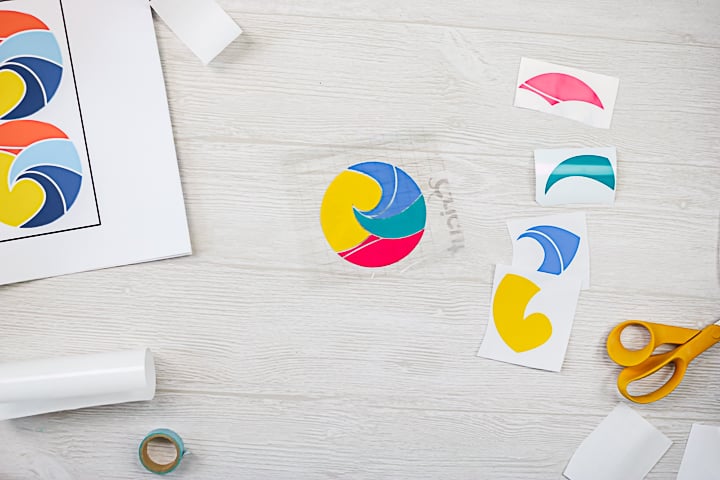
Then use transfer tape and assemble the car decal right on the tape for application on the car or surface. Add the backing paper from the transfer tape to your decal if you are not ready to apply it immediately.
Printable Vinyl
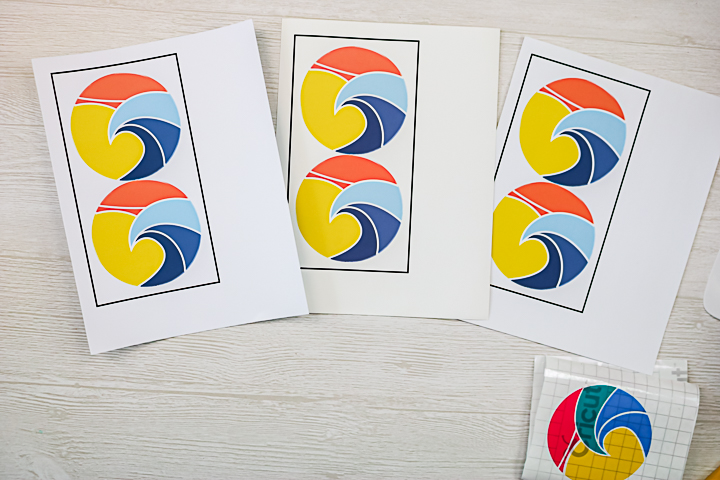
I am using three different types of printable vinyl. Printing of all of the types is completed in the same manner. Just be sure to use the print dialogue box when prompted by Cricut Design Space. This will allow you to print using photo settings and get a higher quality car decal. I printed on each of the three materials using the exact same settings.
Applying a Sealer
For each of these, you can apply a sealer. For the Cricut printable vinyl, I actually only applied a sealer to half so we can do a comparison with or without the sealer. There is not a seal officially recommended by Cricut so I used Mod Podge Ultra.
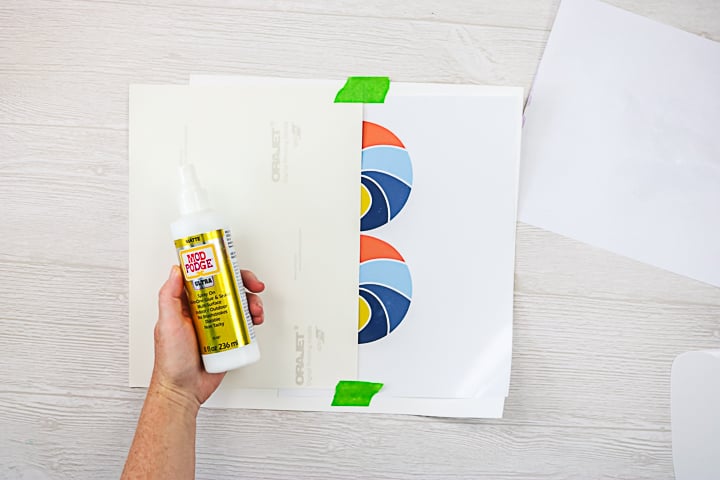
I just sprayed it on and allowed it to dry. There are many sealers that I have seen used with this product and there is not way that I can test them all. You may find one that makes this product comparable to the others I am testing.
Applying a Laminating Film
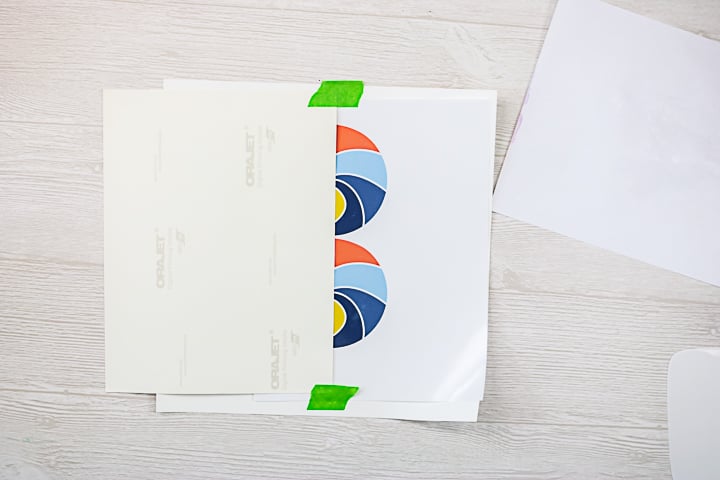
The Orajet and Starcraft both have a laminating film that will need to be added. The procedure is actually the same for both products. You will want to cut the laminate where it fits inside of the box that is used by the Cricut for print then cut. If the laminate is applied over the box, the cutting may not work properly.
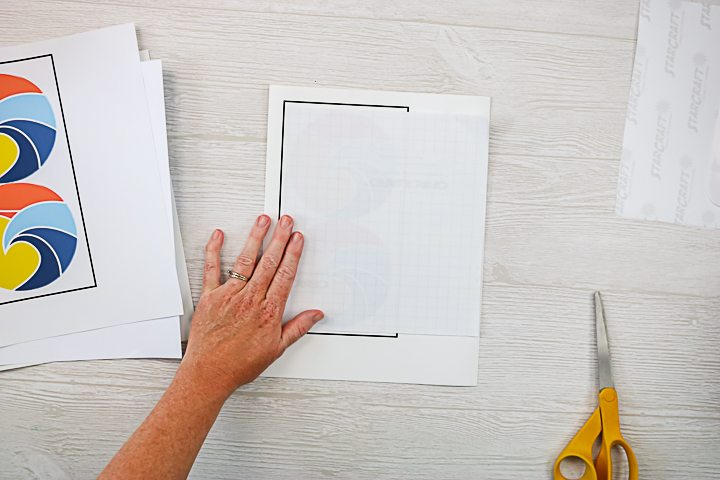
Once cut to size, start one end by peeling back the backing paper. You just want a small strip exposed.
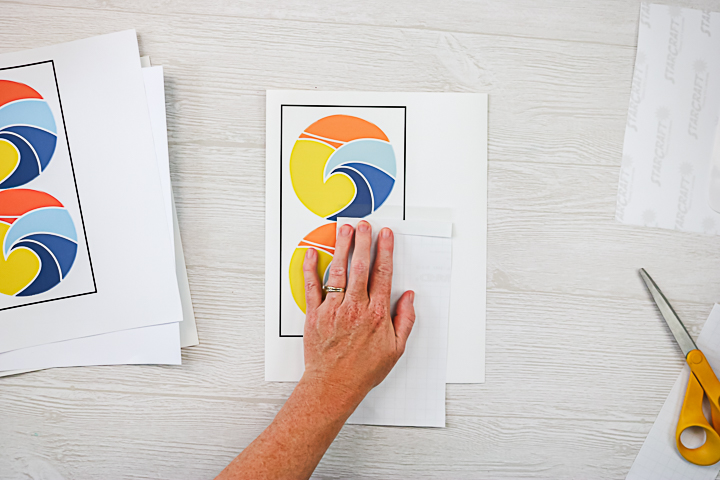
Add this to the top of your design and press down well.
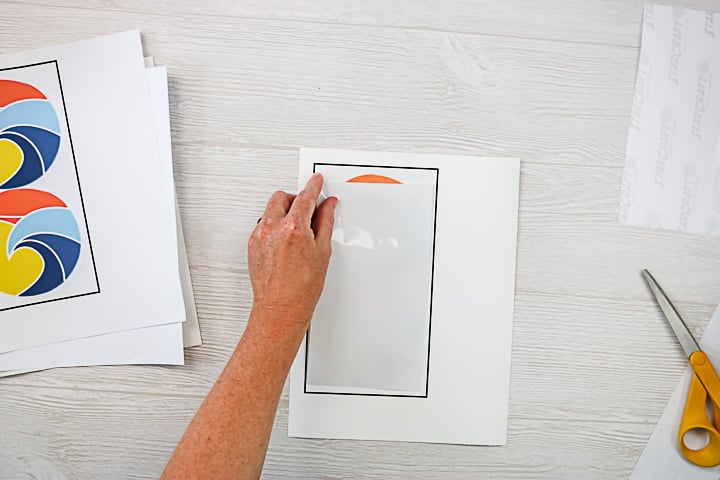
Then slowly peel back the backing paper and press the laminate down well as you go with a scraper. You want to make sure there are not any bubbles.
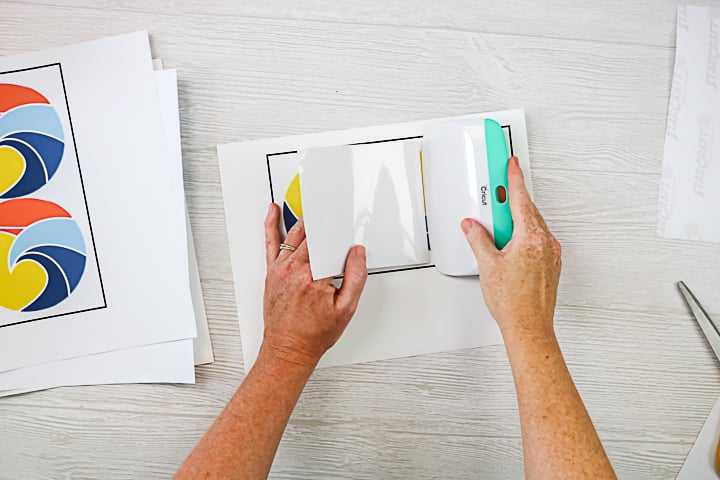
Burnish down really well before cutting.
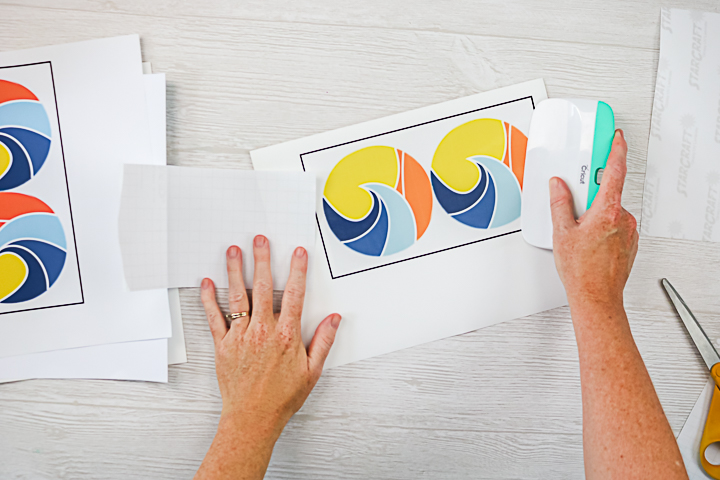
Cutting Printable Vinyl
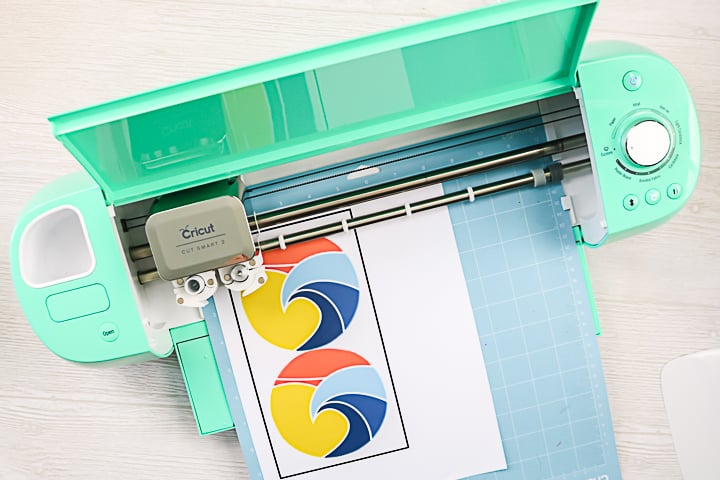
You can then place each of these products on the blue light grip mat from Cricut for cutting.
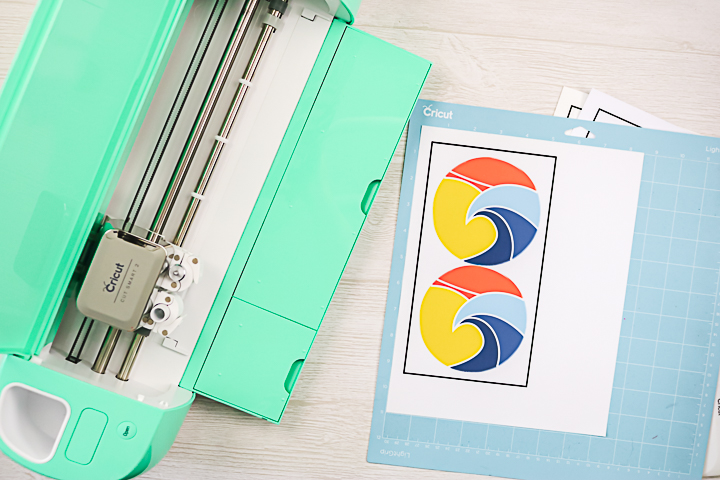
I cut the Cricut printable vinyl on the printable vinyl setting. The Orajet required two passed on the printable vinyl setting. Just click the “C” again before unloading to cut another pass. This ensures that the vinyl and the laminate are cut through. The Starcraft product is super thick so it required 3 passes in this same manner.
Application Method
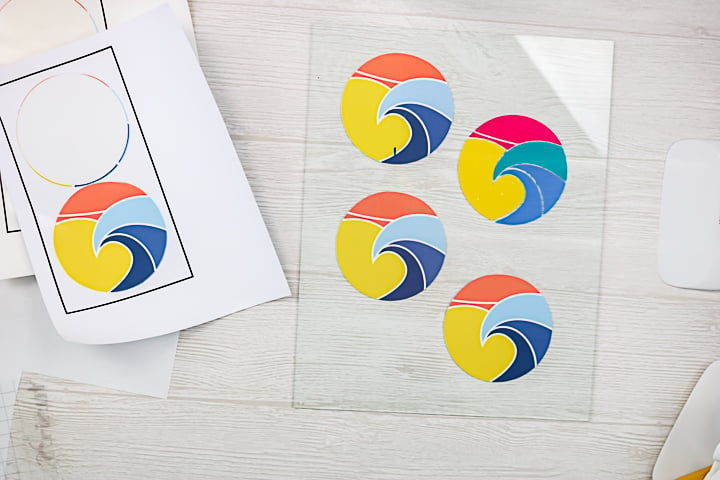
I am applying all of my samples to a plain piece of glass that I will put outside. However, the application methods are the same for your car.
- Clean the glass well with rubbing alcohol and allow to dry completely.
- Add the sticker to the glass and press down well with a scraper. It is best to start on one side and work your way to the other side to remove any bubbles as you go.
- Burnish down well with the scraper.
- It is good to have a second set of eyes when apply Cricut car decals to ensure you get them on straight. You do not want to try to remove them and reapply as you will lose some of the adhesive.
- Also you want to touch the adhesive portion of your decal as little as possible. The oils from your fingers can have a negative impact and make your decal fail faster.
Car Sticker Test Results
I put my sample piece of glass outside for 3 1/2 weeks. It was laying flat on a table in the sun. The test is a bit extreme but I thought that would tell me more in a quicker period of time. Here are the results for each of the products used in the test.
Cricut Permanent Vinyl
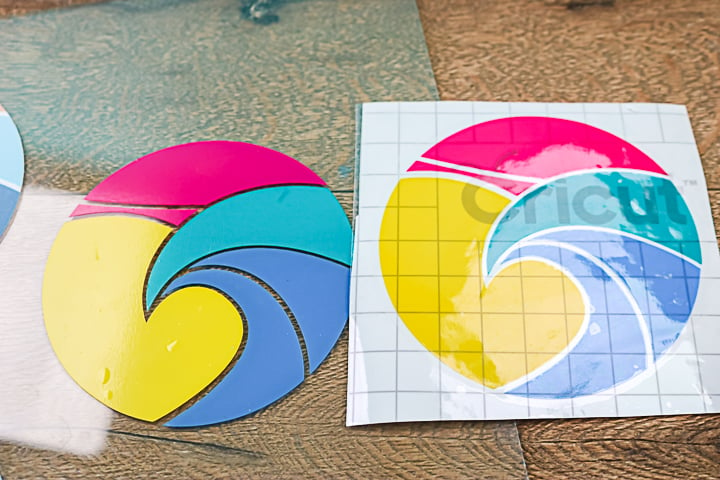
I added this to my tests as more of a baseline. I think most people think of using permanent vinyl when making Cricut car decals. The vinyl did great. The one on the left was outdoors and the one on the right was left indoors. There may be a slight color change but otherwise, the material held up great and would be an amazing option for cars.
Cricut Printable Vinyl
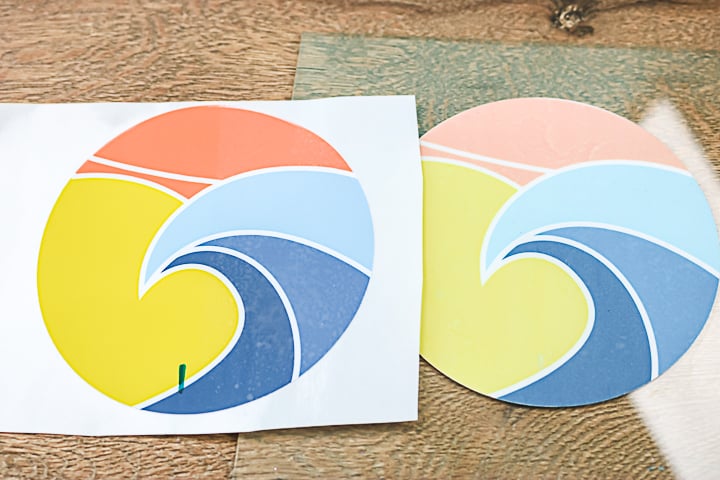
Sometimes you just need to print your decal and can't really make it from vinyl. What material should you use then? Well, I am testing three to help you decide. First up is Cricut printable vinyl. The one on the right was left outdoors and the one on the left was kept indoors. Remember I used that sealer on the right side of both of these. You can see a MAJOR color change and fade from the sun. The sealer didn't really appear to help this at all. Overall, I would not recommend this product for use outdoors.
Starcraft Printable Vinyl with UV Laminate
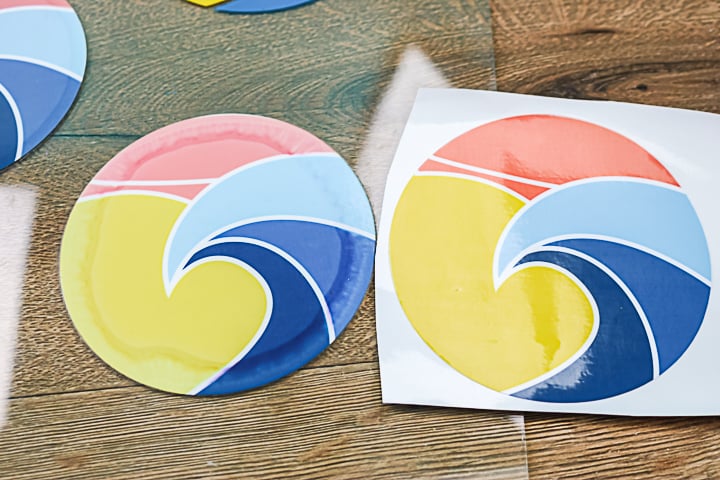
Next up is the Starcraft product which is a super thick printable vinyl and I added the UV laminate over the entire decal before putting outdoors. The decal on the left was outdoors while the one on the right was left indoors. You can see that water actually seeped under the laminate and left a major line around the outside edge. The colors are faded slightly but not bad. However, I don't like the bleeding around the edges on this product.
Orajet Printable Vinyl with Oraguard Laminate
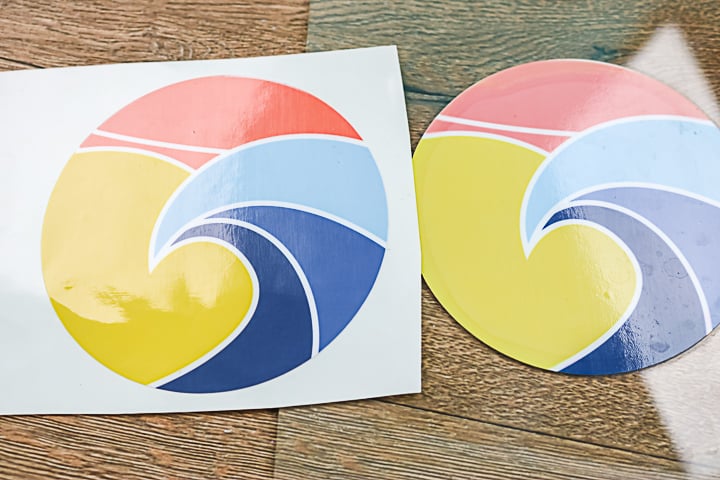
This is my favorite product for printable Cricut car decals. You can see the one left outdoors on the right and the one left indoors on the left. The colors look really good even after being in the sun. There was some slight water damage that got under the edge but it really isn't very noticeable. Overall, I think this product will work best when making car stickers with your Cricut.
SVG Files Perfect for Decals for Cars
Now that you know how to make car decals, the only thing you need to do is to pick some files to add to your windows. Here are a few of my favorite free files:
- Let's Go Camping
- Food Family Football
- Sweet Tea and Porch Swings
- There's Like Hella Kids Up in Here
- Grill Skillz
- Hot Mess Just Doin' My Best
- Super Mom Super Wife Super Tired
- Life is Better at the River
- Faith (with cross)
- Sunflower SVG
- Pineapple SVG
- Monster Truck
- Elephant SVG
- Adjust Your Altitude
- I'm Probably Late for Something
- or make a monogram!
I hope this post helped you decide which material is best for you to use for those decals on your car. If you have ever wanted to make some stickers for your car, these tests should help you decide which will work best for you.
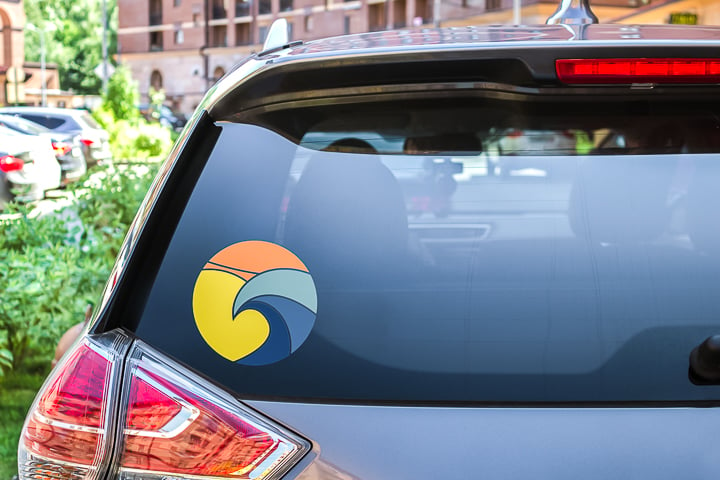
Note that I only recommend using products like these on the glass on your car. I never recommend adding these types of stickers to the painted portions of your car. I am unsure of what they will do when put on paint.
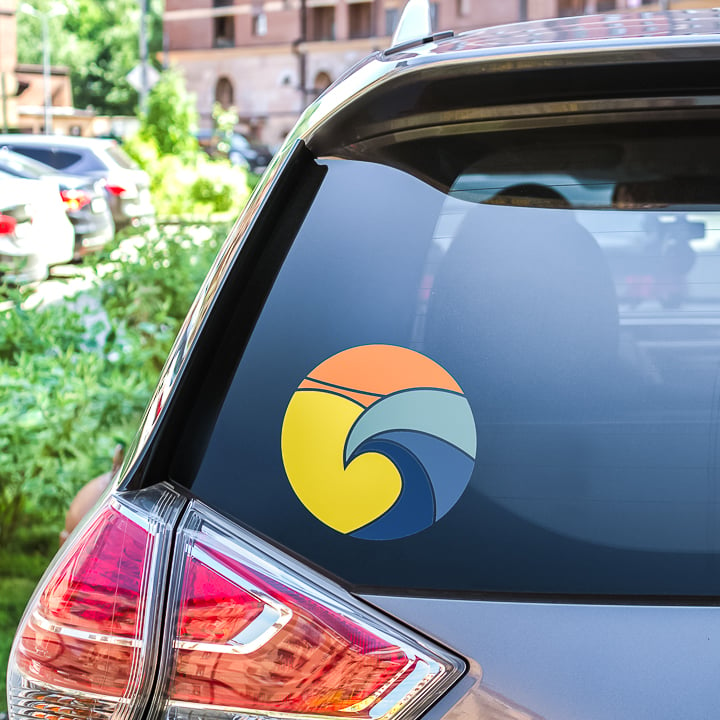
So, now that you know how to make Cricut car decals, will you be making some for your car? Be sure to consider the material options above it you need to print a decal as well. I want to make sure you are happy with your decal for a long, long time!
Love this and want more ideas for your Cricut? Try the links below!




Very interesting experiment! So helpful. Thank you for doing this.
I was wondering if you could use the printable decals on the body of a vehicle rather than the window.
I never recommend putting anything on a vehicle body and I would do that at your own risk.
Wonder how the Starcraft permanent vinyl would be with the Oraguard Laminate?
I wonder if doing a slight offset on the laminate would help with the bleeding on the printable ones?!