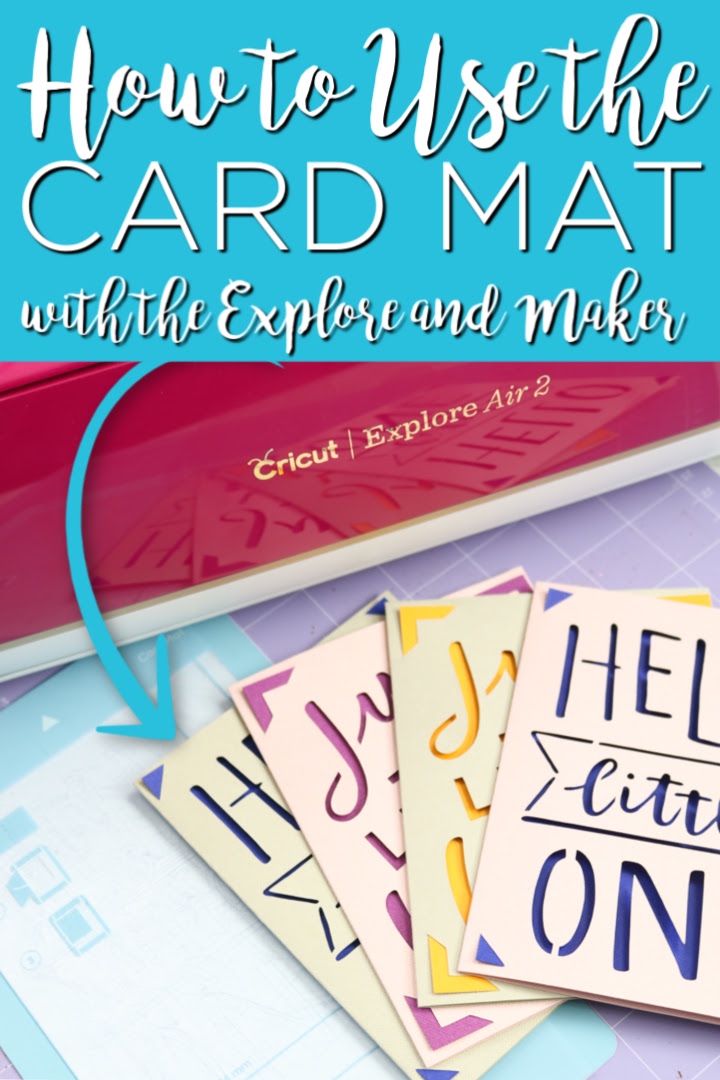
Have you seen the new Cricut card mat? Maybe you’ve seen it work on the Cricut Joy? Well, I am here with a Cricut hack that will let you use the card mat on the Cricut Explore and Maker. Plus it is so easy to do! Now you can cut folded cards on any of the Cricut machines. Once you know how to use the Cricut card mat on the Cricut Explore and Maker, you will be making cards in minutes.
Looking for how to use the card mat on the Cricut Joy? You can see that here!
Supplies needed to use the Cricut card mat:
- Cricut card mat
- Cricut machine
- Insert card kits
- Strong grip mat
- Cricut Design Space
DEAL ALERT: Right now there is a card mat and card set bundle that is a great deal on HSN! You can buy it here. Hurry as supplies are limited on the deal.
How to use the Cricut Card Mat on the Cricut Explore and Maker:
Gather your supplies and start making cards in minutes with your Cricut Explore or Cricut Maker and the card mat.
Cricut Card Mat Video
Want to watch me use the card mat on the Cricut Explore? Then just watch the video below.
Can’t watch the video or missed some of the steps? You can also follow our step-by-step instructions below.
Using the card mat on the Cricket Explore or Cricut Maker:
Start by attaching the card mat itself to the strong grip mat. I found it is best to align the card mat with the 1-inch line on the mat from left to right and put it all the way to the top line of the mat. This allowed me to approximate the location of my card in design space.
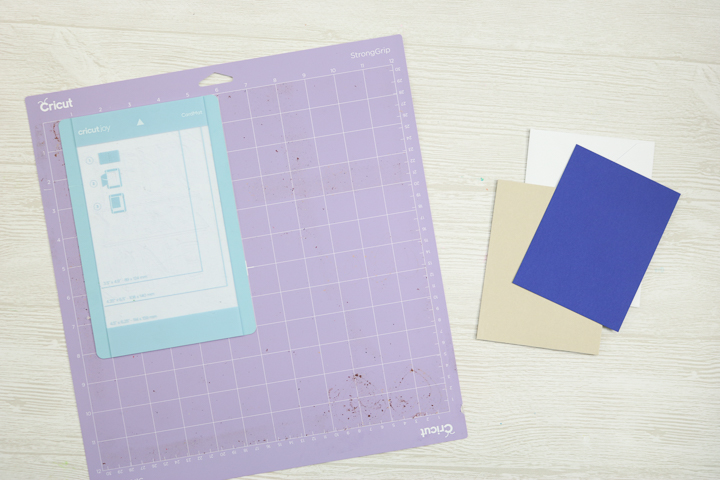
The insert card kits come with 12 folded cards, 12 envelopes, and 12 insert pieces for those cards. You will cut the card itself on the card mat. This mat works because there is a pocket behind the sticky portion of the mat. Just put the back of the card into the pocket.
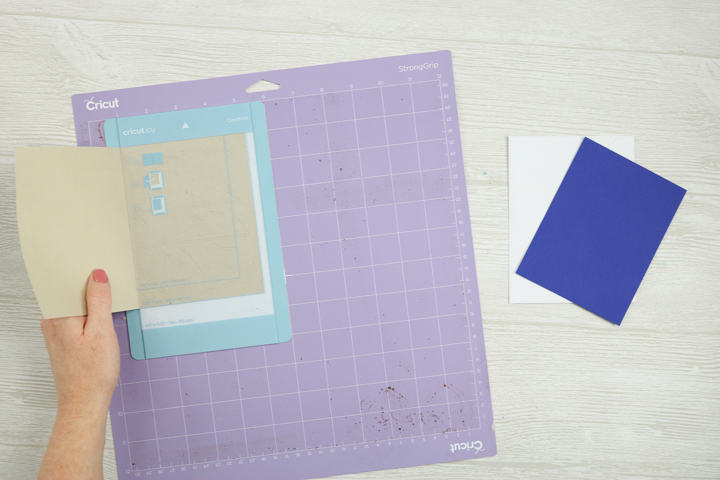
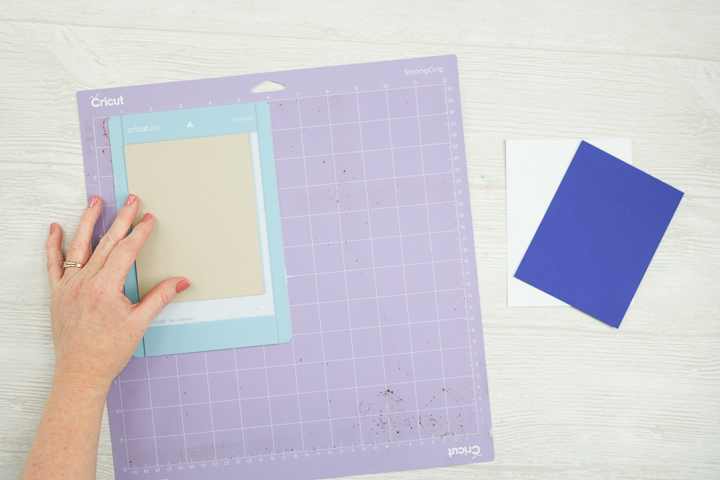
Then wrap the front of the cart around to the sticky portion of the mat. Press down just like any other Cricut mat. Now the back of your card is protected by the mat and you can cut the front of the card.
Finding Card Designs in Cricut Design Space:
You will need to find the special card designs for these insert card kits in design space. The first thing I want to mention is that the cards that are for the Cricut Joy cannot be altered to work on the Explore and Maker. I couldn’t find a way to make them work. So when you see the cards that look like the screen below that say for the Cricut Joy, you will need to skip these and look for the same version that are for the other Cricut machines.
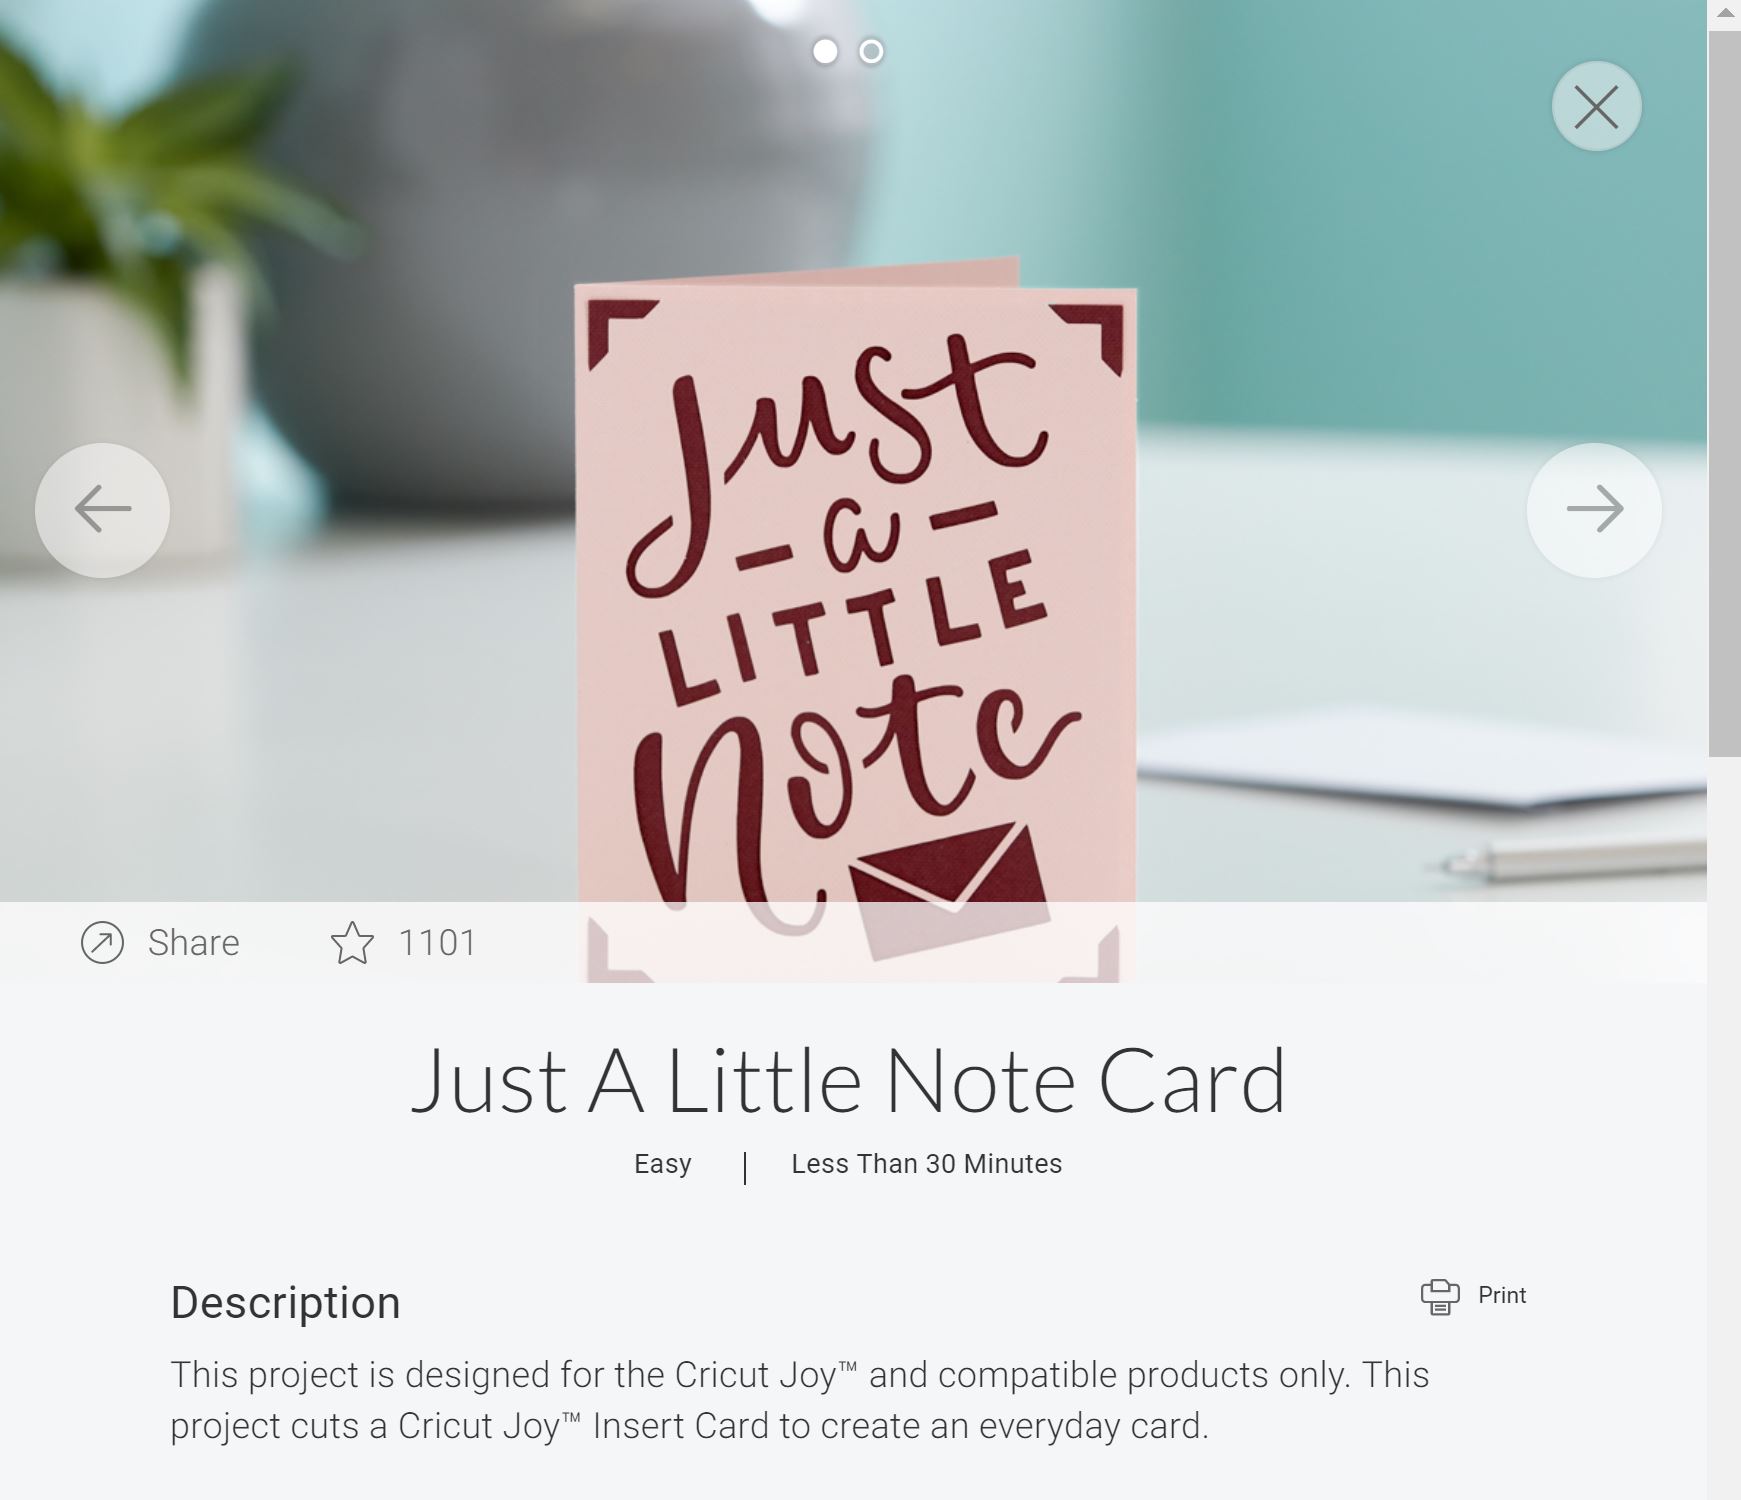
To do that, open up a new project then click images. Then click cartridges and look for quick cut cards.
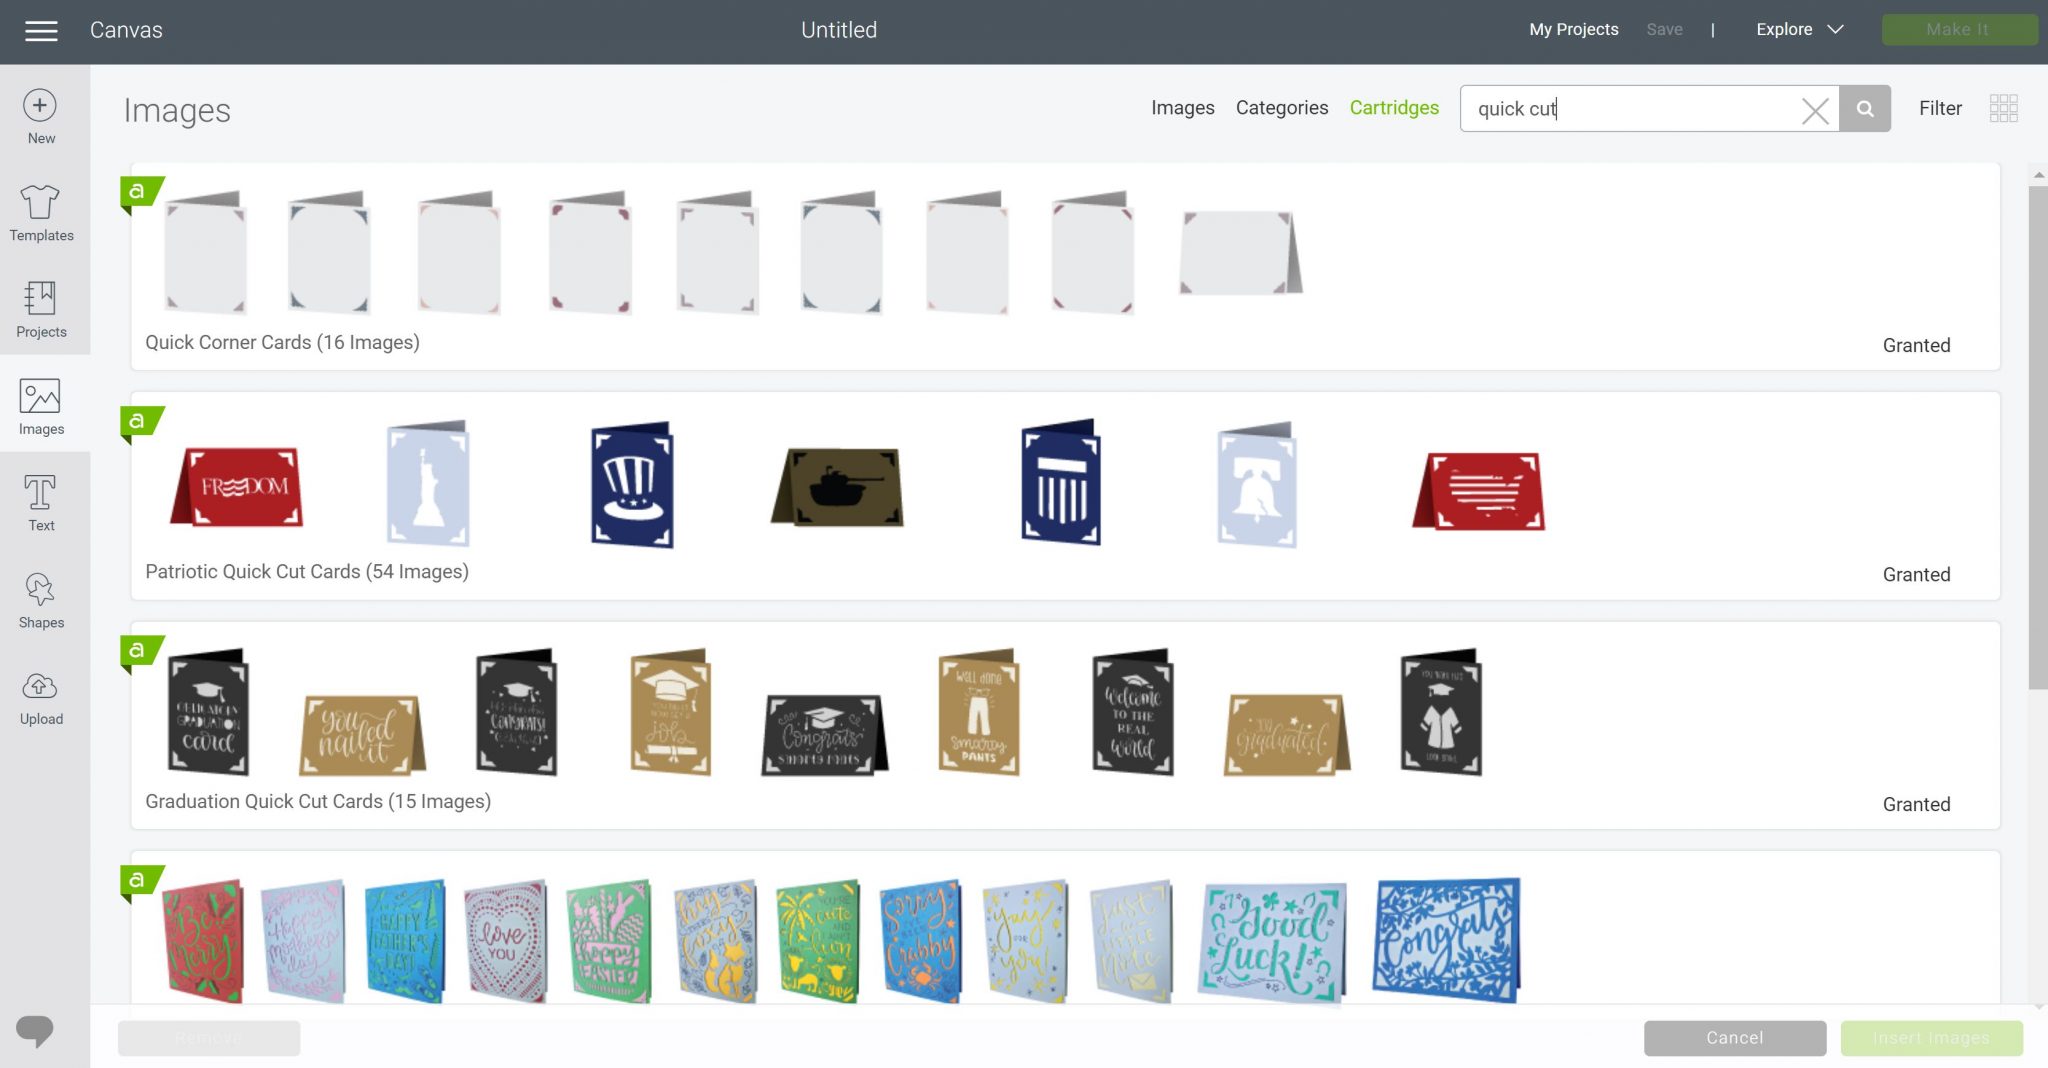
Here you will find the same designs that are for the Cricut Joy but these projects are for the Explore and Maker series. Pick the design of your choice and add it to the mat.
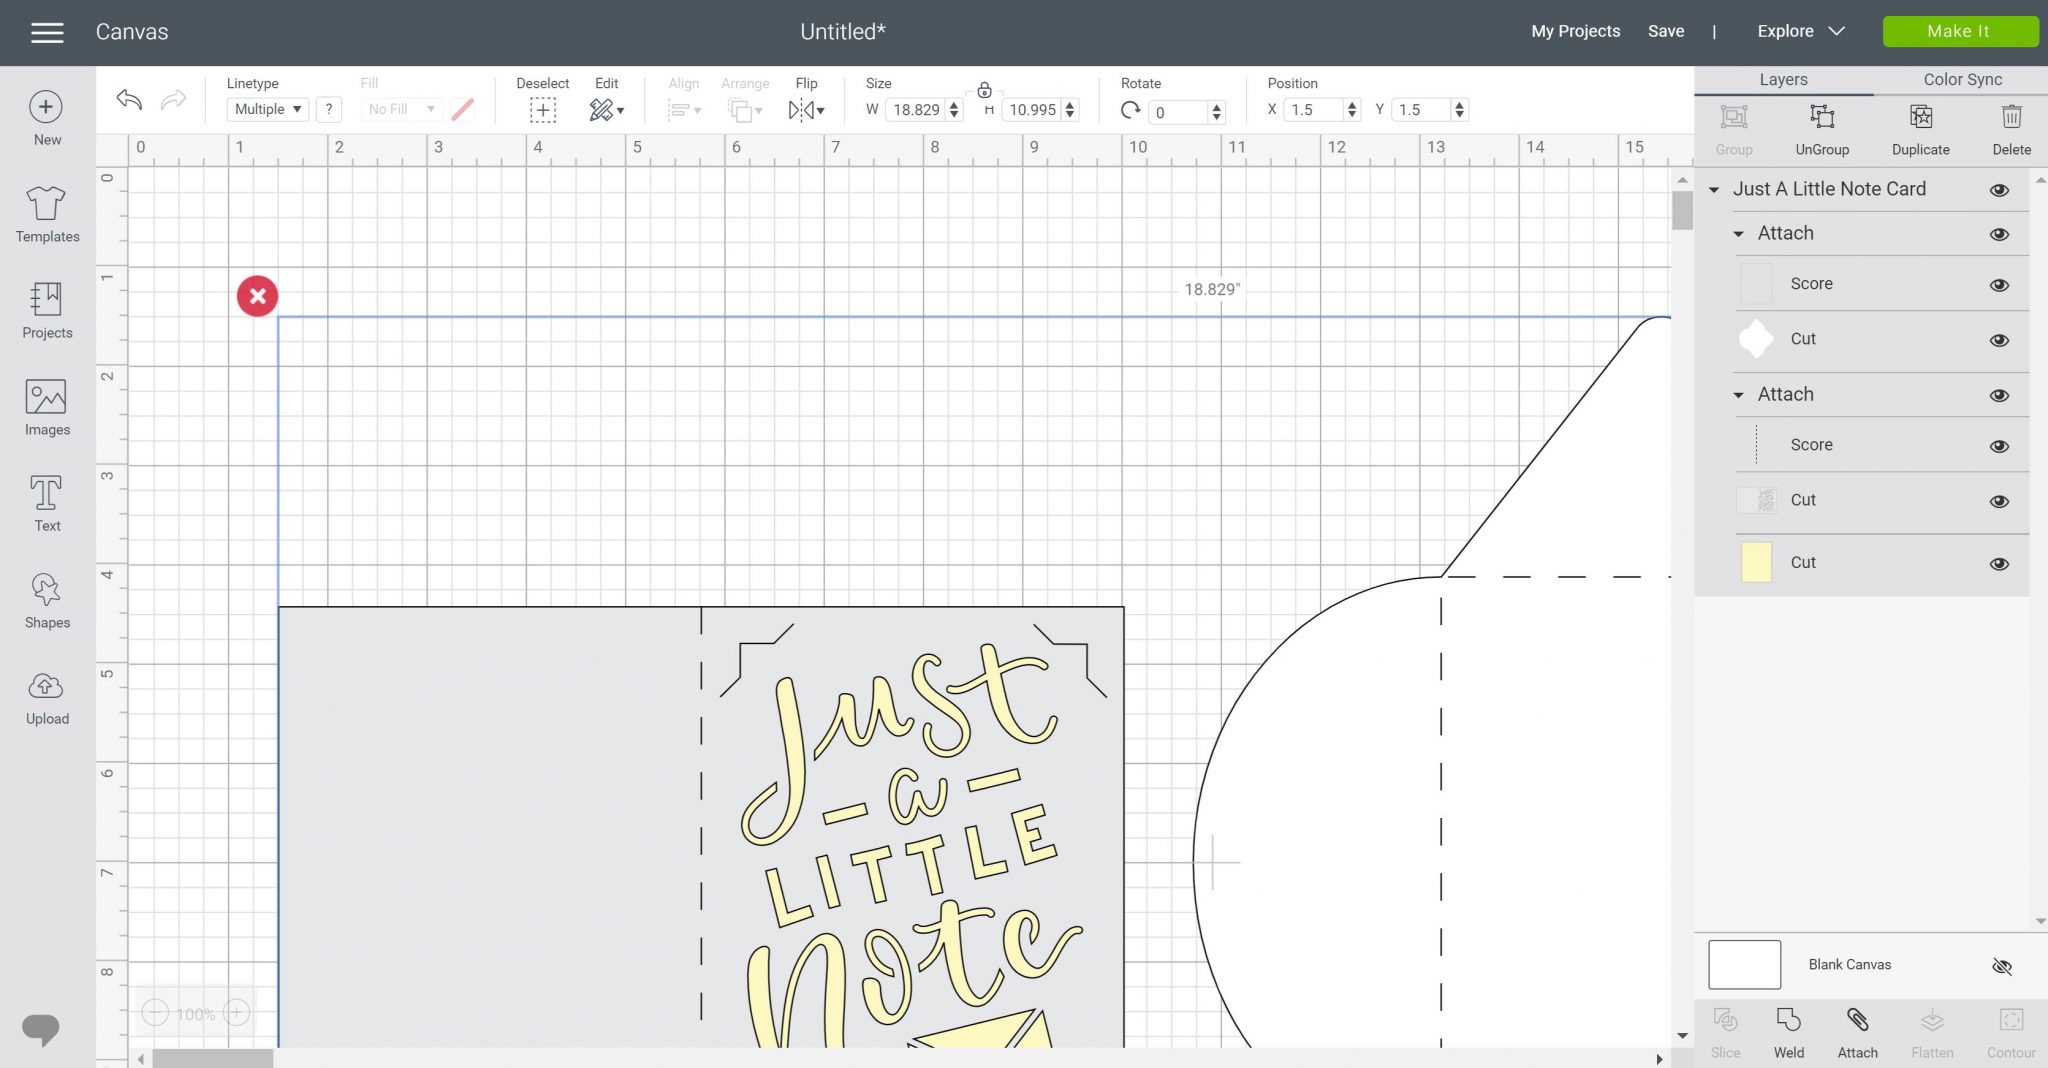
You will see that this is actually a card, an insert, and an envelope. You do not need all these pieces. Here are the steps to get the front cut by itself:
- Ungroup the entire thing so you’re dealing with individual pieces.
- Then delete both the envelope as well as the insert piece.
- Then detach the score line from the card and delete it.
- Then click the card itself and click contour. You will want to remove the edge all the way around the outside.
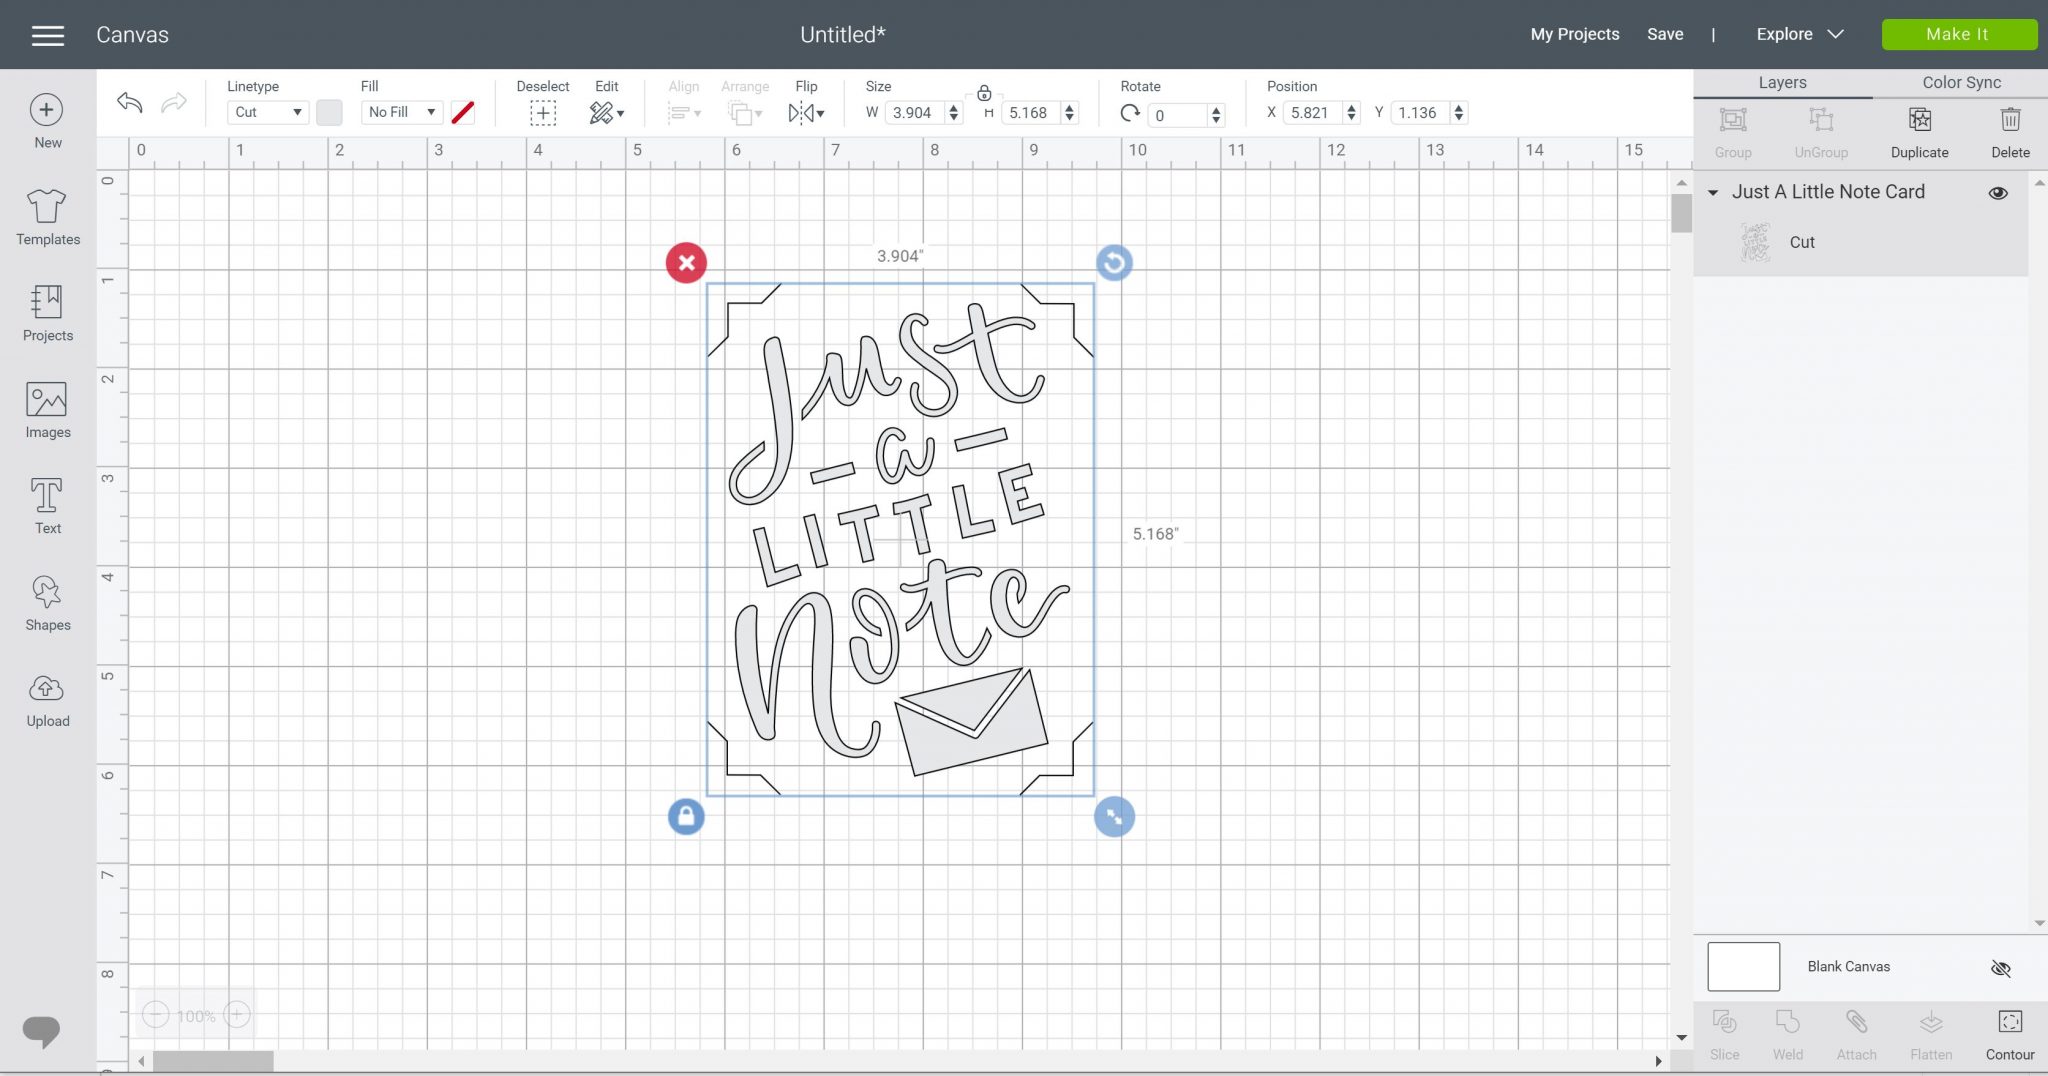
You should be left with something that looks like the image below. This is just the cut that needs to be made in the front of your card. If you have issues with the steps above, feel free to watch the video where I walk through the steps.
How to Locate the Card Design on the Cricut Card Mat:
To use the Cricut card mat on the Cricut Explore and Maker, you will need to locate your design. Once your design is complete, click make it. Then you have your design on your Cricut mat. You need to locate this so that it cuts on the card correctly. NOTE: I experimented with SnapMat a little bit to see if it would work well in the situation. I found that it was not accurate enough to make the cuts on these cards.
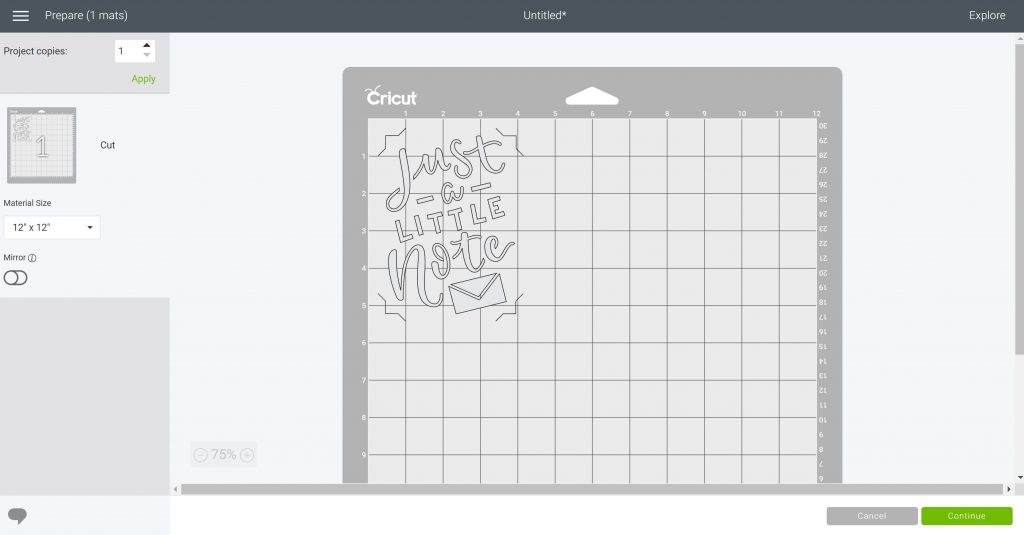
I found a better method of moving the cut manually until it was located approximately where my card is on my mat. Then do a few test cuts to see if the placement is correct. Once correct, write down the location for the machine so you can use it over and over.
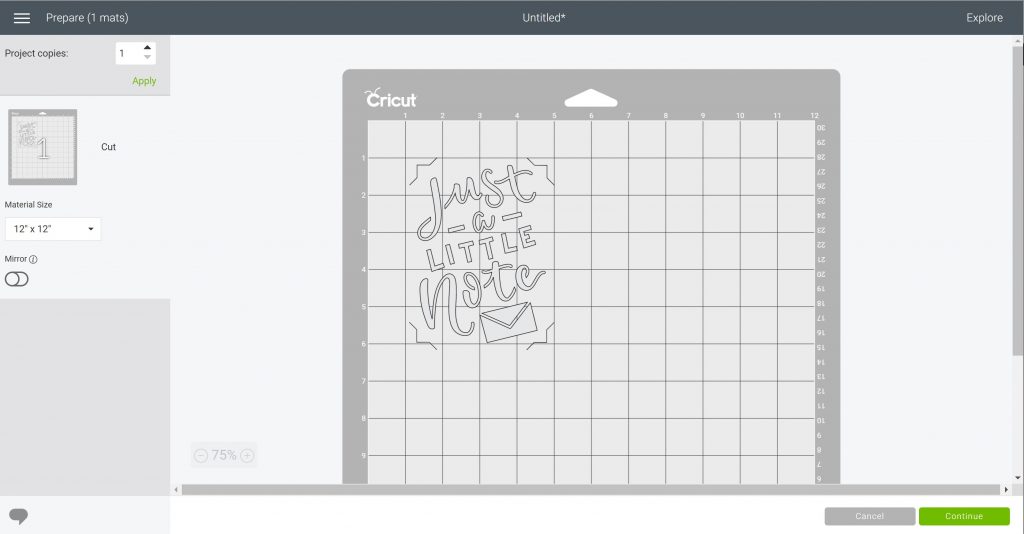
I will say that I tried this on both a Cricut Explore and a Cricut Maker. Both machines had a different location for the cut. I think every machine will be a little bit different as far as location. So I would find your own location and then make as many cards as you want with the card mat still on the strong grip mat.
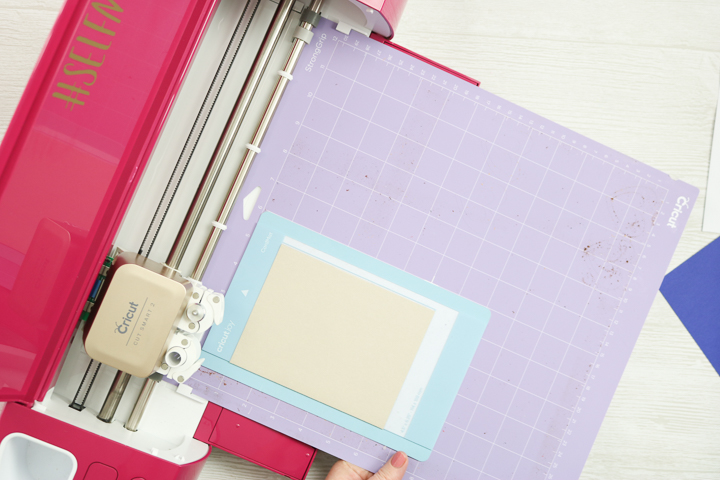
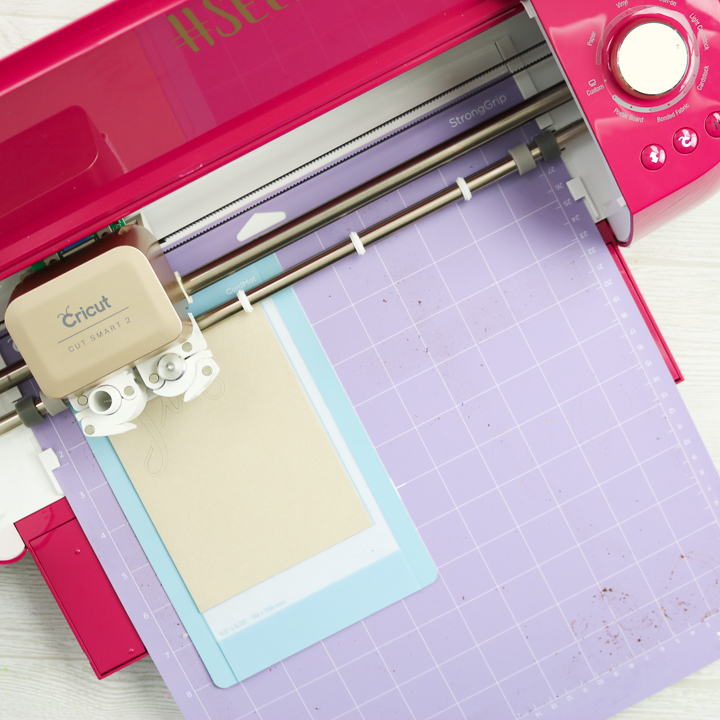
Just put the mat into your machine as usual and cut your design. I used light cardstock or light cardstock with more pressure for my cuts.
Removing the Card from the Card Mat:
Once your cut is complete, then you can remove the card itself from the card mat by pulling up and removing it from the pocket. Clean the debris from the mat with a scraper.
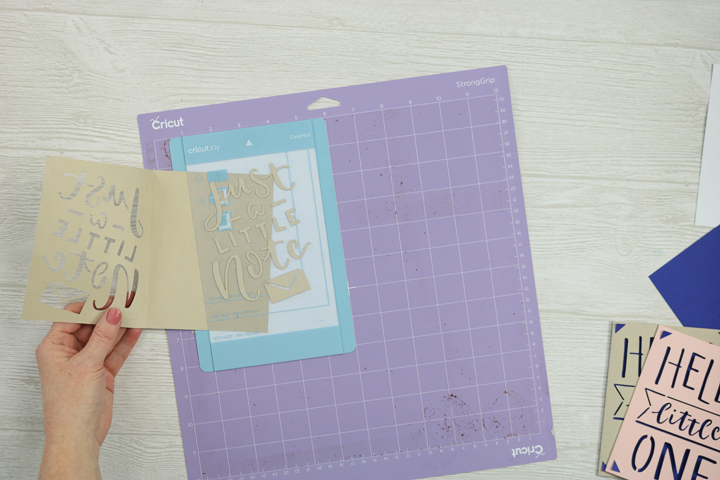
Completing the Insert Cards
To complete your cards, you just add the insert behind the cut piece. This is literally a two minute card! These are so easy to make and now you can make them with your Cricut Explore and Cricut Maker.
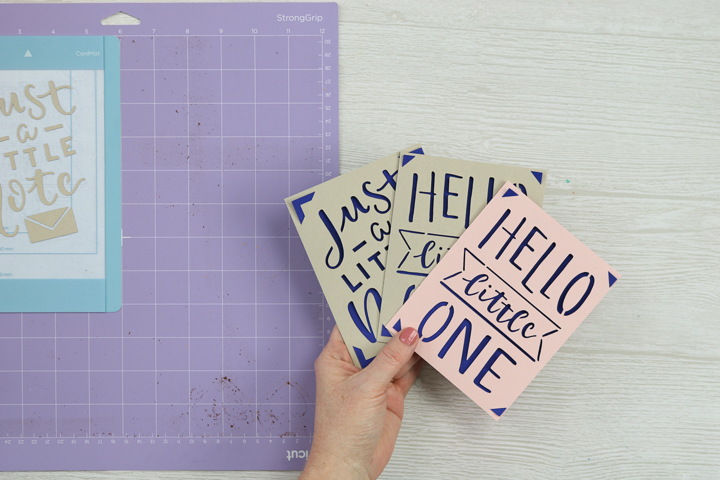
I hope you enjoy this quick Cricut hack and using the card mat on all of your cards.
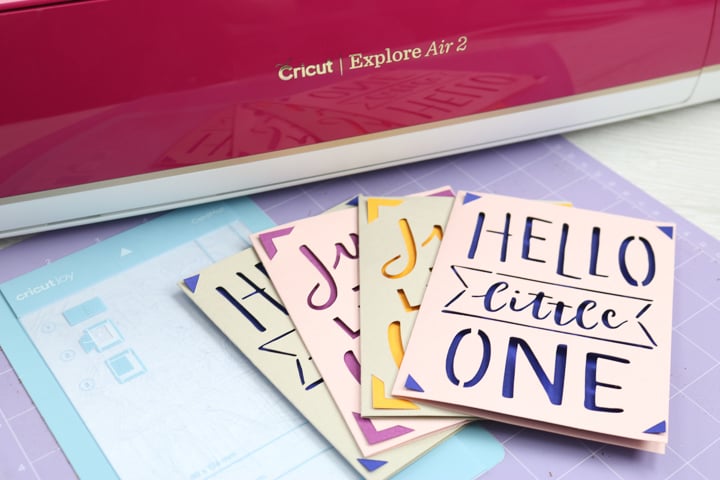
Now that you know how to use the Cricut card mat on the Cricut Explore and Maker, you can make greeting cards for every occasion.
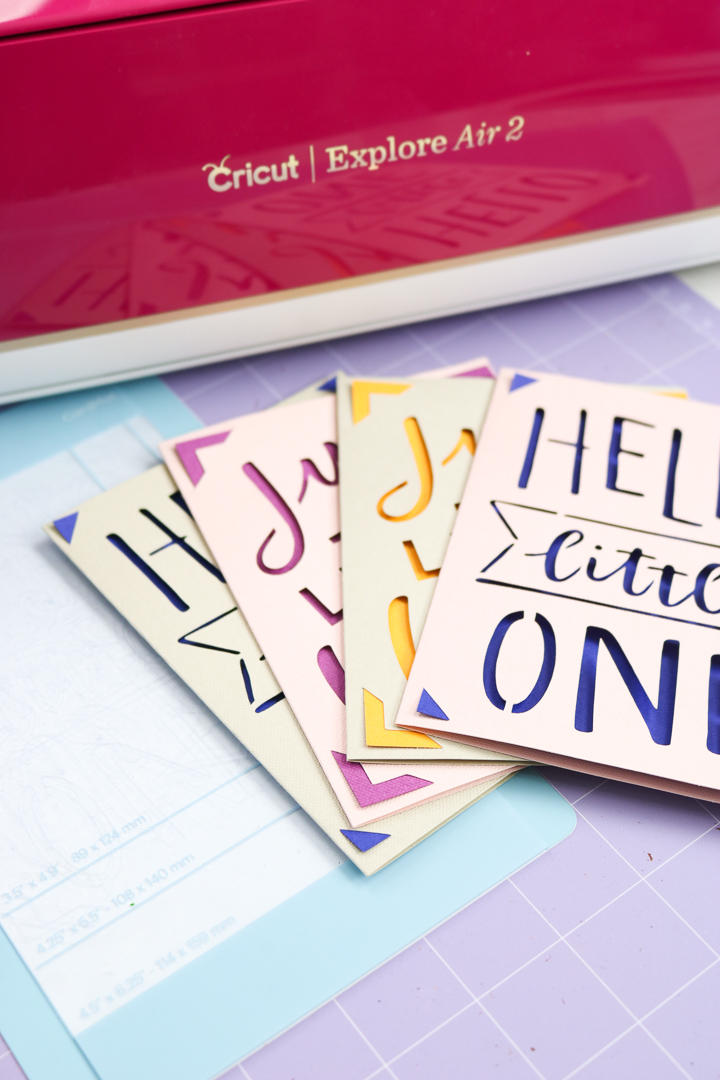
This answers one of the top questions that I had when the Cricut Joy and card mat was released. I hope to answer more of your questions over the coming weeks as I play with my machines.
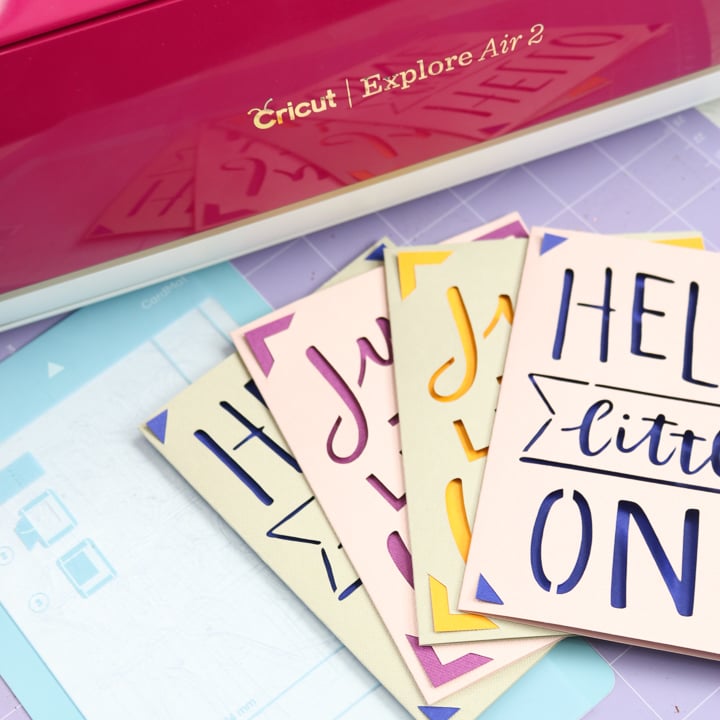
So, do you love this Cricut hack? Try the links below as well!
- How to Use Cricut Adhesive Backed Paper
- How to Use Cricut Design Space for Desktop
- Printable Spice Labels for a Cricut Machine
- How to Use Transfer Tape with Cricut Vinyl
- How to Use Templates in Cricut Design Space
New to Cricut?

Sign up for our email list to download the Beginner's Guide to Cricut Design Space for FREE today!
Sign up to get the guide emailed to you!



Is there a reason why you cannot open the card and move the cut to the right half of the card? That way it does not cut through the back of the card and you do not have to buy the Joy card mat.
Nope there is no reason you can’t do that!
Great video! Are these regular A2 cards, measuring 4.25 x 5.5 inches?
Yes they are A2.
I have an Explore Air 2 and none of the directions you have in your video, or above, work. I have no “cartridges and when I went to make it, it goes sideways and I cannot fix it. Any suggestions??
Yea the cartridges are now collections or something like that! They changed Design Space after I did this. If it is sideways on your mat you can use your mouse, click on it, and then rotate it.
OK, it’s now July and I can’t see cartridges or collections. HELP!
They have changed so much! Try looking at image sets.
How do I find that?
Great tutorial! Thank you! But one issue…I’m getting a small, dotted line down the front of my cards from the roller on the bar. Is there a way to avoid this?? I am using a cricut explore air 2.
Just push the rollers over. If you have never moved them they may be tight but they literally just push to the side.
Just an FYI for all trying to make cards on the Cricut Joy with card mat. When I use design space it messes up the cut size and sometime shifts the design to the right of the card. If I use the phone app they cut out correctly. I have both the Maker and the Joy but prefer to use my laptop to my Joy to cut my cards. Then I mess up my cards and remember I should have used the app. Very irritating design flaw but want to help you all save time and money.
I’m sorry you’re having that issue. It’s not something I’ve experienced exactly – have you reached out to Cricut about this?
Can you use the cricut joy mat and cards on the Joy extra?
Cards yes. You’ll need mats specific for the Joy Xtra 🙂