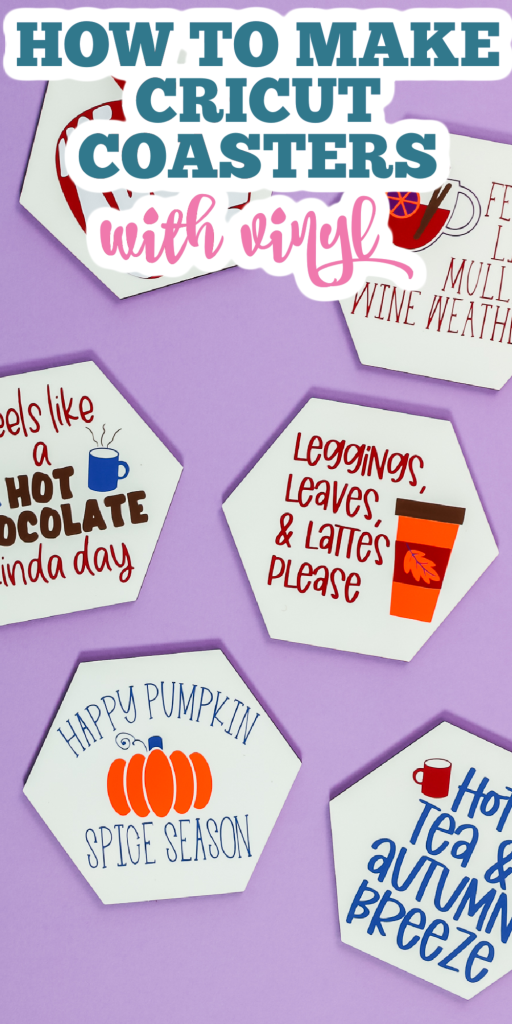
Today we’re going to make some Cricut coasters with vinyl. I do have a bundle linked below where you can get four of the hexagon coasters I’m going to use along with sheets of vinyl to make the designs that I’m going to make. We are going to start from the beginning and walk through the steps of actually making the coasters themselves. In the end, we’ll talk about sealing options, so your coasters last a really long time.
Want to use sublimation or Infusible Ink on coasters instead? Try this post!
Can’t watch the video or miss some of the steps? I have all of the information below that you need as well.
Supplies Needed
- Heat Transfer Warehouse bundle
- SVG file bundle (Use code COASTERS4U for 25% off!)
- Cricut machine
- Weeding tool
- Scraper
- Sealer of your choice (optional)
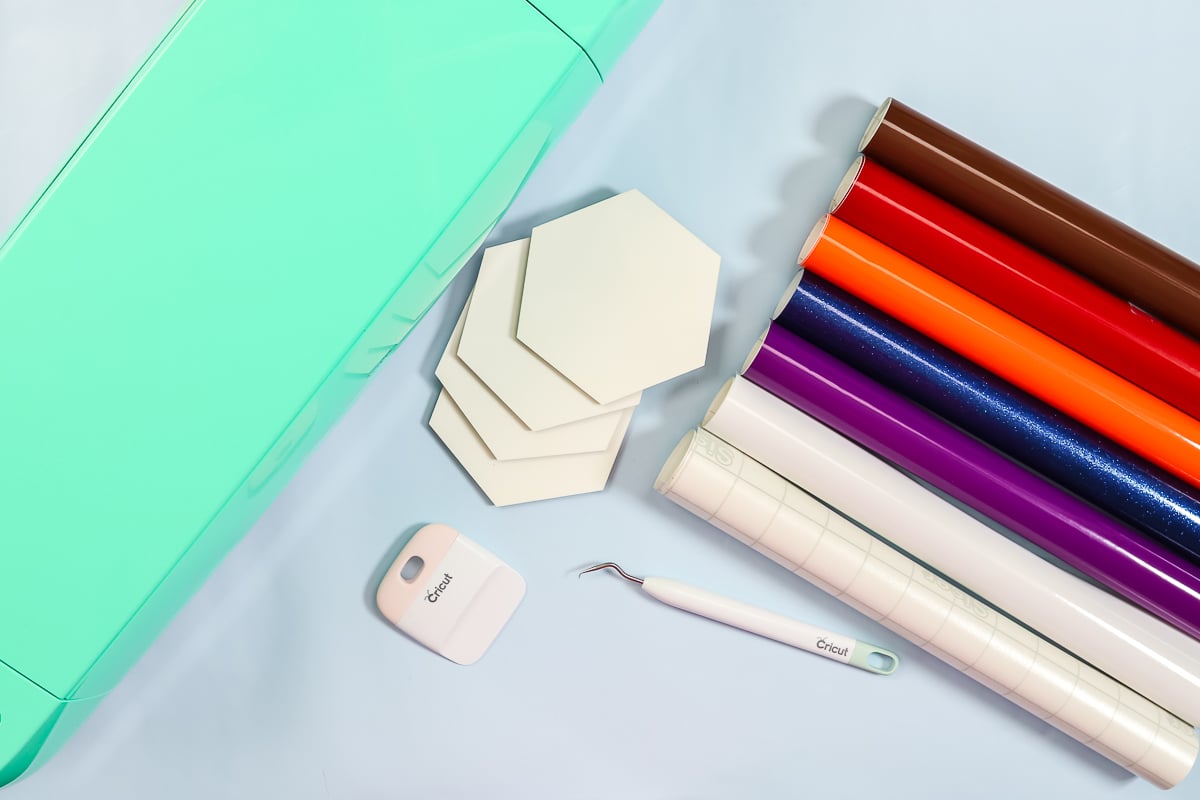
In the Heat Transfer Warehouse Bundle, you get six colors of adhesive vinyl – white, purple, blue, orange, red, and brown. You get the transfer tape to go along with those as well. You also get a set of four of these really cute hexagon coasters. The SVG files come with the bundle as well. If you don’t want to purchase the bundle, you can get the files at the link above.
Adding Designs to Cricut Design Space
Upload the SVG files of your choice. You can see more about how to do that here. Add a shape to Design Space in the shape and size of your coaster. Use that as a guide to resize the design to fit your blank. Repeat for as many designs and coasters as you are making. Make sure all like colors are attached together and click make it. Then delete the shape you added from your canvas and click make it to continue with your cut.
Cutting Vinyl on a Cricut Machine
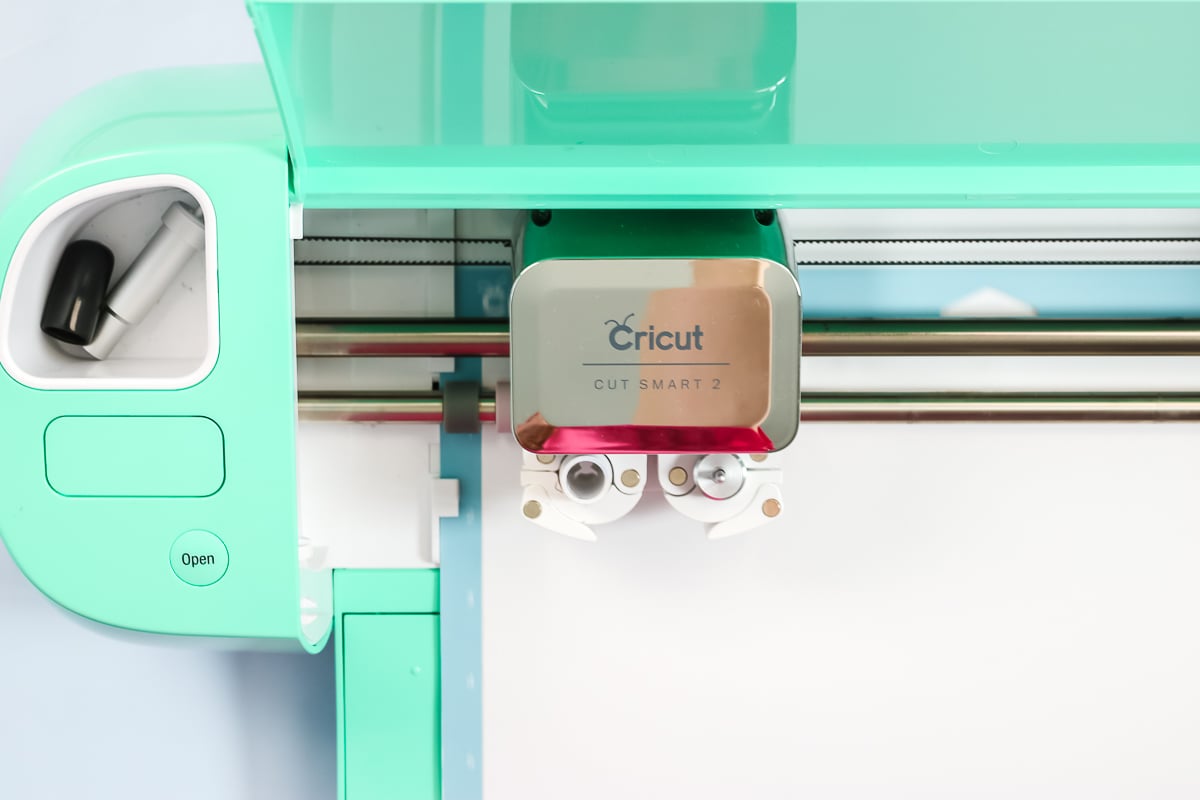
You can use any Cricut machine for this project. Break out the Cricut machine you have, your fine point blade, and use the vinyl setting to cut the sheets of vinyl. Add your vinyl with the backing paper down onto a light grip mat. Adhesive vinyl is cut face up and you don’t have to mirror it.
Cut each color you are using for your coasters then move on to weeding your vinyl.
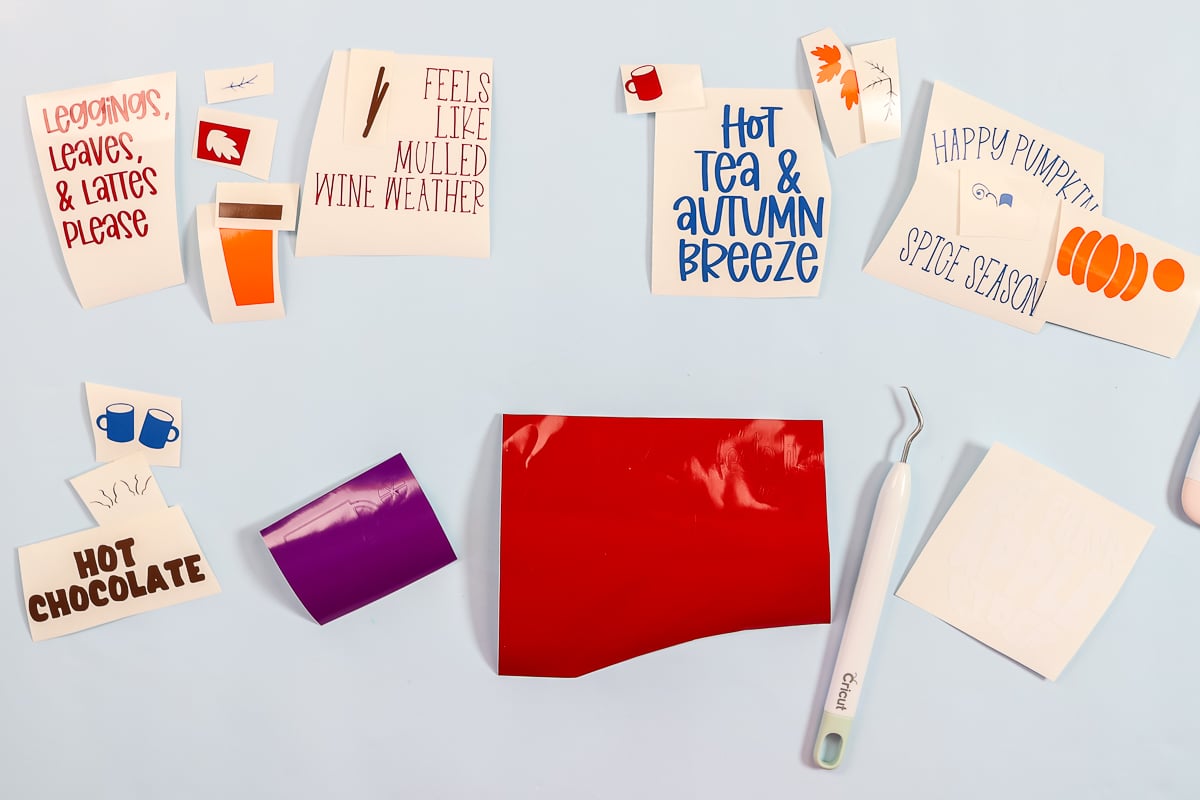
Weeding Adhesive Vinyl
Start in the corner and pull down with a weeding tool. Pull away all of the excess vinyl from around the outside.
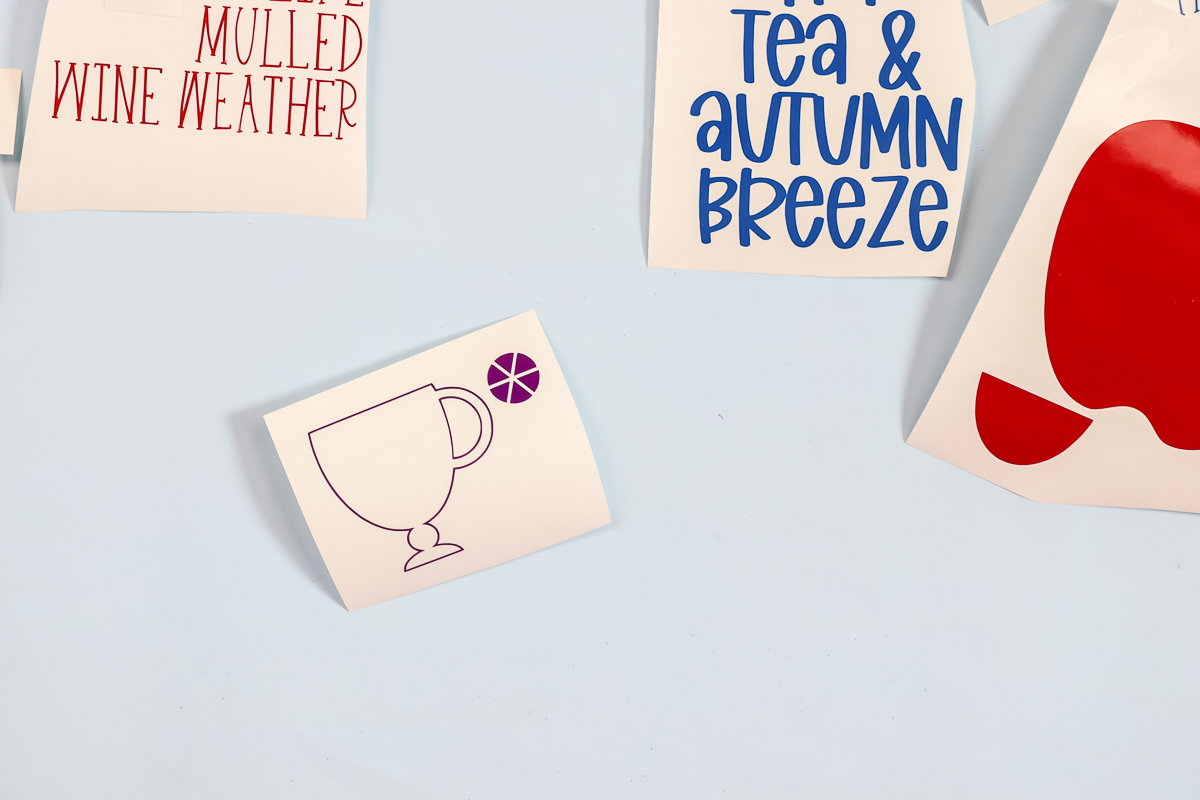
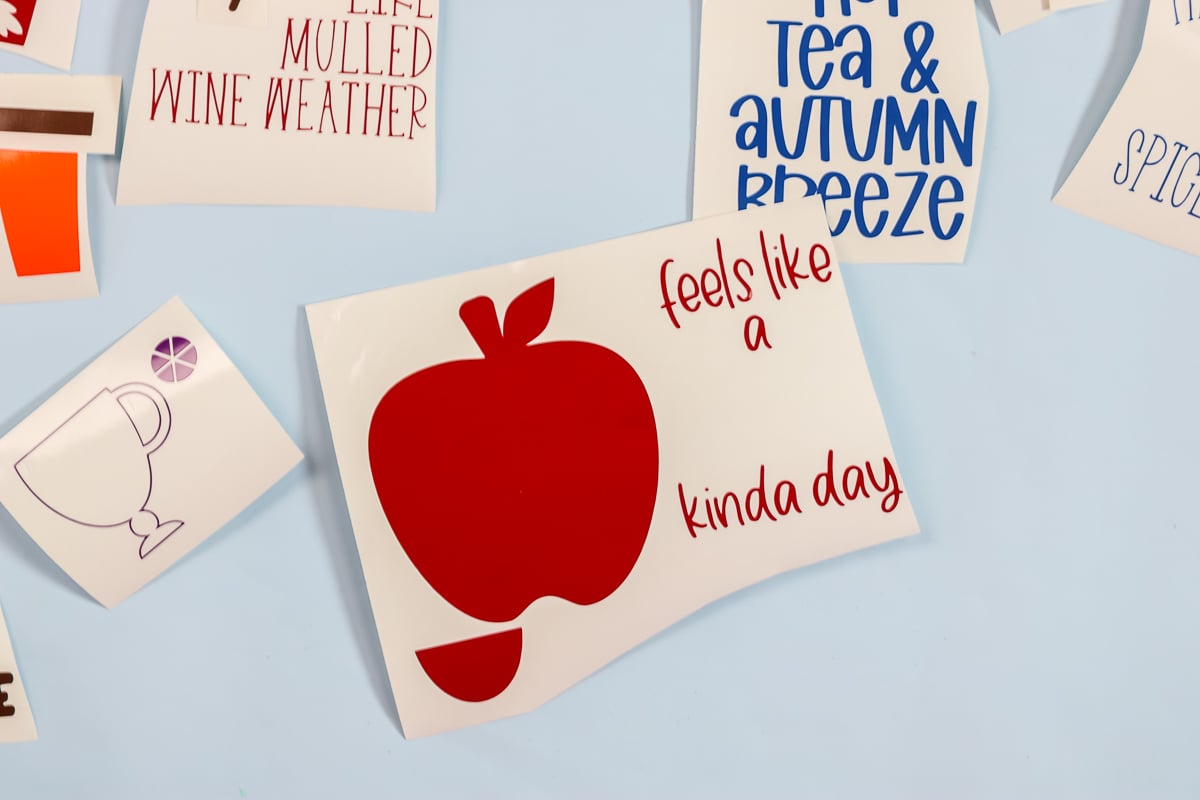
Then weed things like the centers of letters or any other parts of the design you don’t want to be transferred to your coaster. Go slow when you’re weeding and make sure it’s all cut correctly. Continue weeding all of your pieces.
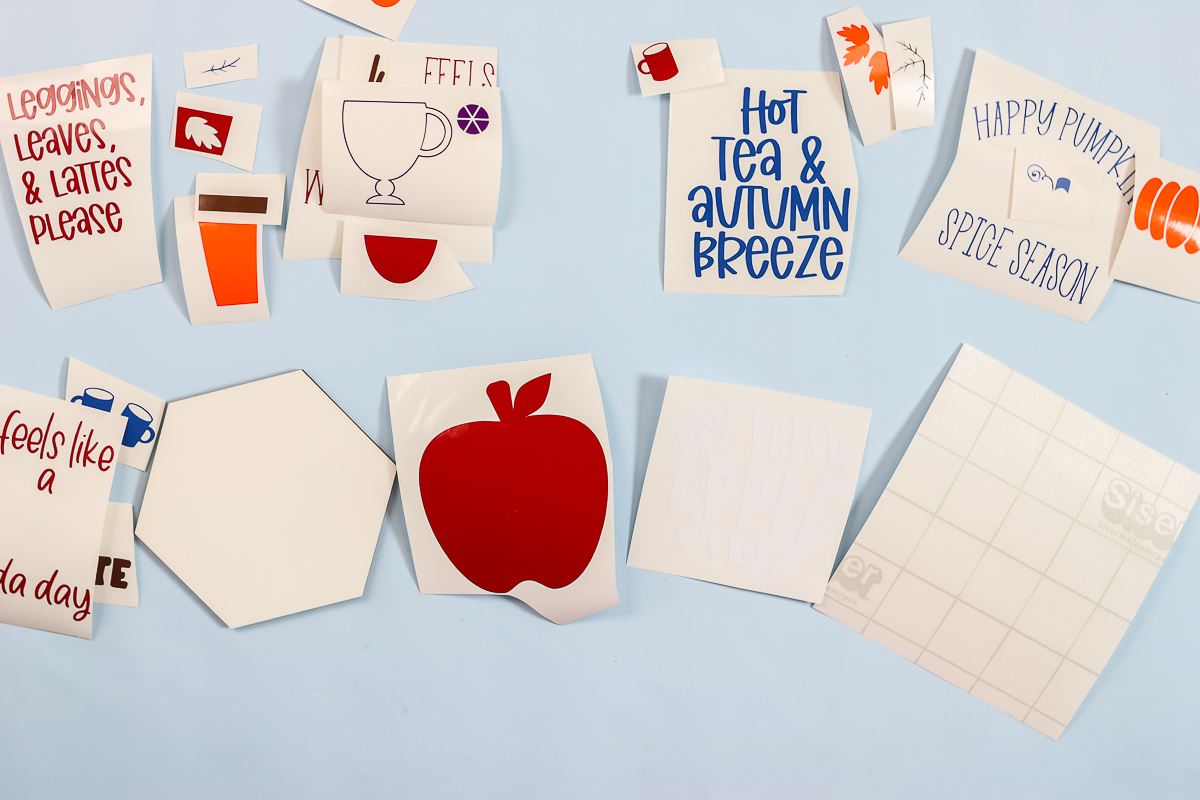
How to Apply Vinyl to Cricut Coasters
Be sure to clean your coaster before you start. You can use rubbing alcohol or run a lint roller over it. Then, place a piece of transfer tape over the vinyl. I like to trim my transfer tape to the approximate size of my project.
If you have a two-layer design, add the top layer to the transfer tape first. Burnish it down well, then peel back the carrier sheet, leaving that first layer on your transfer tape.
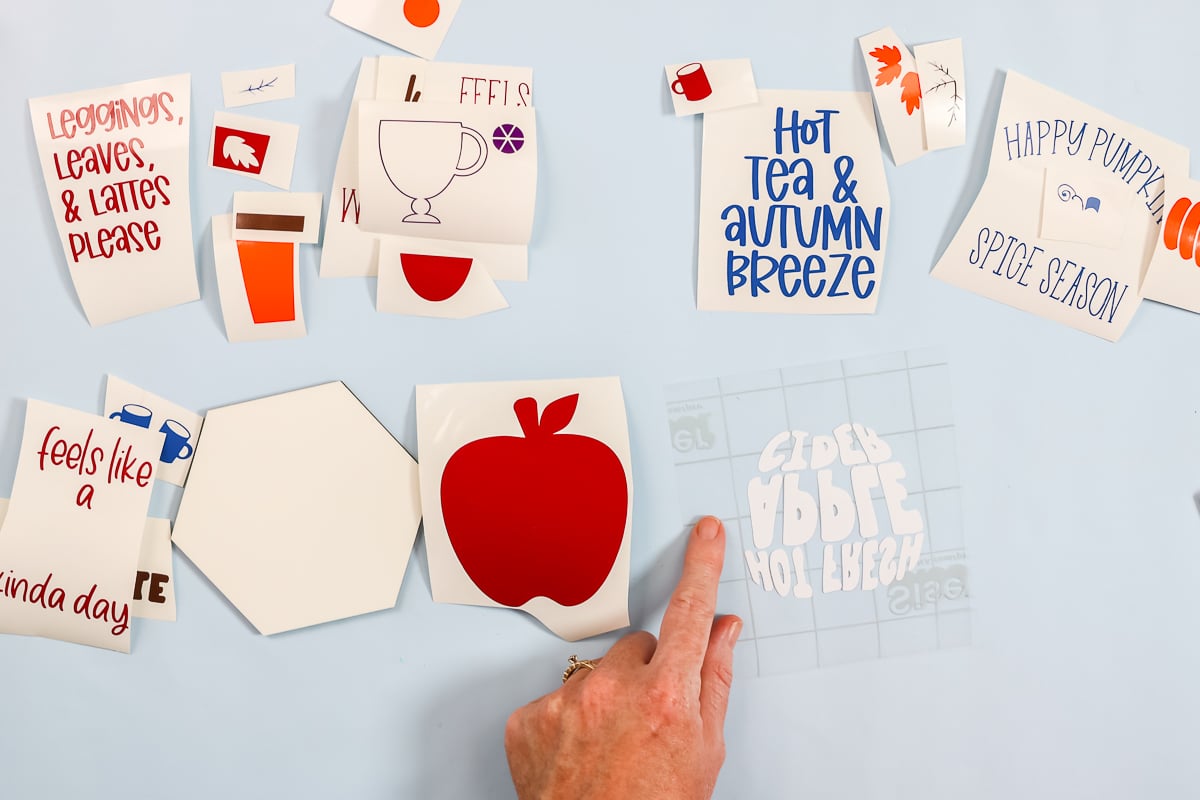
Once the first layer is on the tape, place that over the second layer in the right location. If you have trouble lining it up, try the parchment paper hack here. Once it’s on your second layer, you’ll just burnish that down well. Burnish from the back and peel back the carrier sheet, this time leaving both layers on your transfer tape. Then, just add both of those layers to the coaster. Burnish the vinyl down well and peel back the transfer tape. Then your coaster is complete. You can find more information about sealing options below.
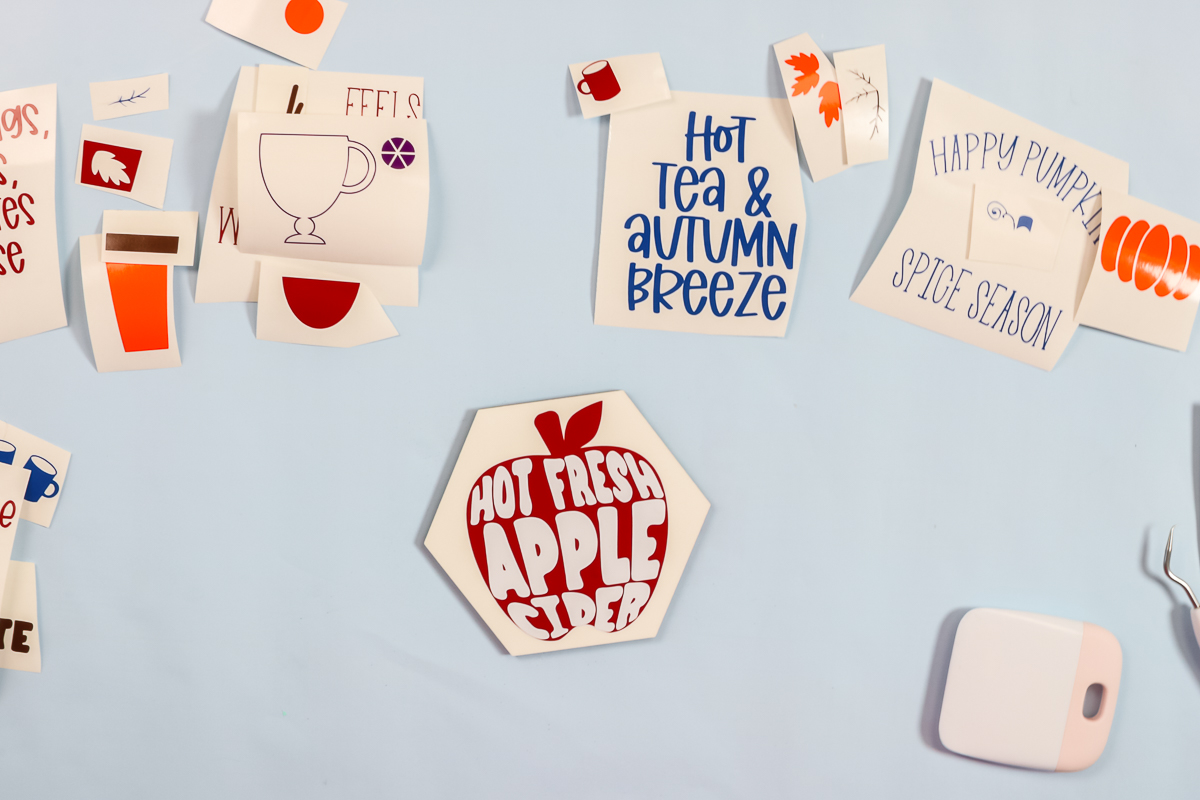
You can use the same piece of transfer tape for the next design. This one has several colors and none of them overlap. Start with the largest layer and add to the transfer tape in the same manner as above. Then add the next layer that has the most vinyl. Burnish from the back and peel back the carrier sheet.
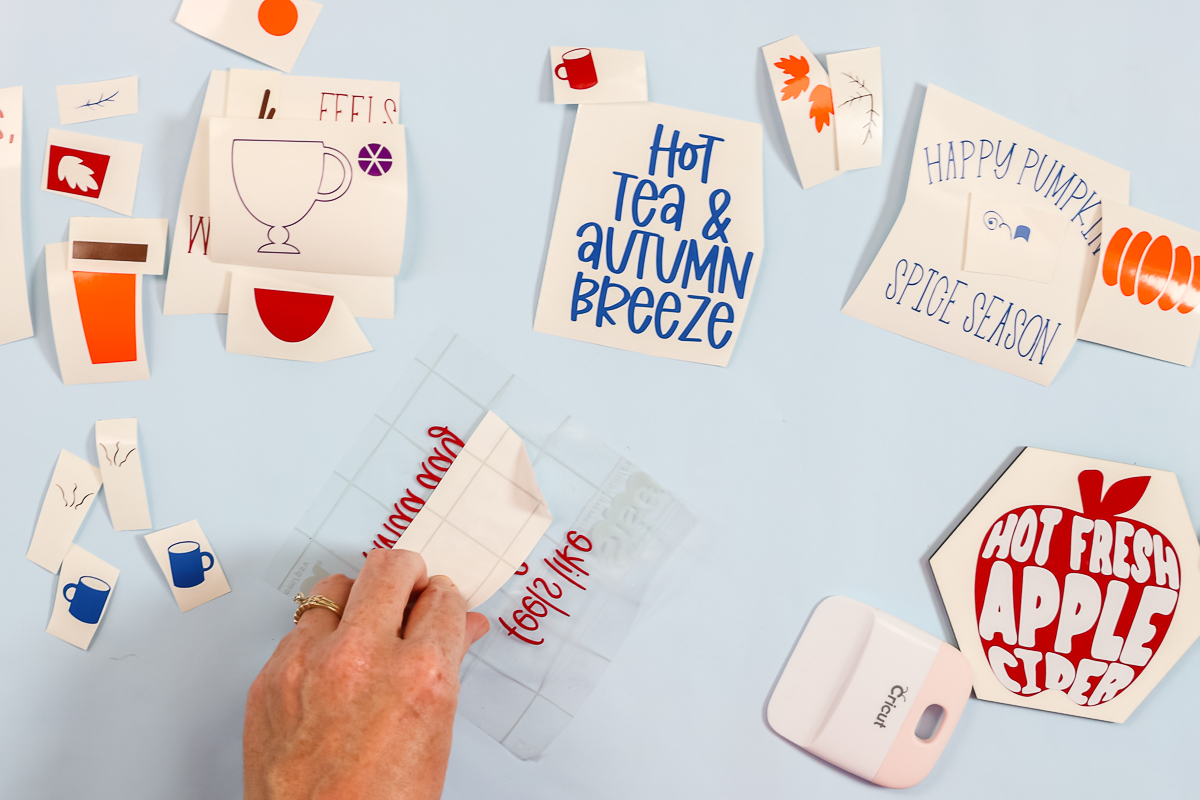
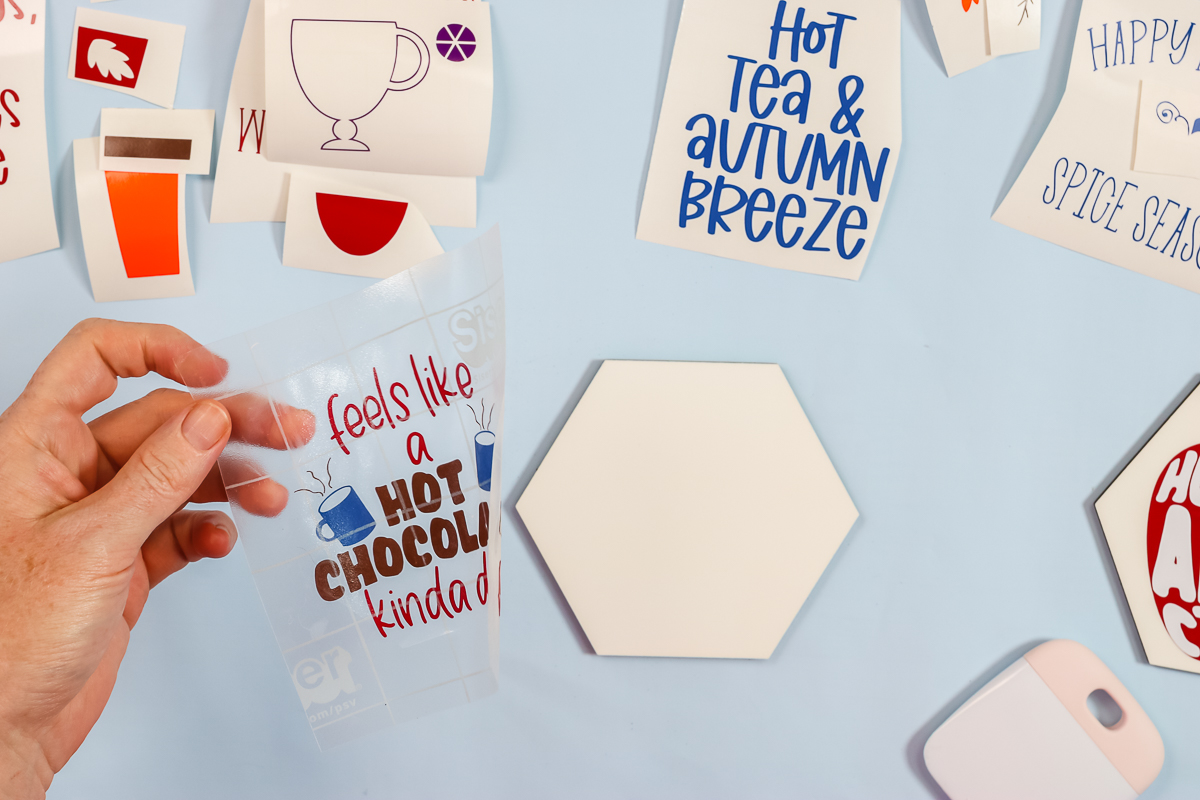
Repeat for the remaining colors then apply to your coaster. Burnish it down well and peel back the transfer tape to complete your second coaster. Then just repeat the same procedure for all of the coaster designs you want to make.
How to Seal Vinyl Coasters
Now we have all of these awesome vinyl coasters! What are we going to do with them? Permanent vinyl is (like the name) – permanent. However, you do need to wait 72 hours after you have applied your vinyl to your surface before using the Cricut coasters.
If you want some extra protection, let’s talk about some options. You can use a couple of layers of Mod Podge over the top. I would suggest outdoor Mod Podge just because these are going to get wet with a drink sitting on top. I would do an outdoor Mod Podge, two to three coats allowing to dry between coats. Be sure to follow all the directions. I myself am not a huge fan of dishwasher safe Mod Podge, so I wouldn’t use that. You have to let it cure for 28 days and I just don’t think it’s worth it. I like the outdoor-safe as it works better in my opinion.
If you want the ultimate in protection, what do you do? I would suggest an epoxy topcoat. It is more complicated to apply. However, those coasters are going to last a really long time. I would do a two part epoxy top coat. You mix those together, pour over the top, and allow to cure. There are a few things you need to keep in mind when you’re doing an epoxy topcoat and you can see a tutorial for using it here.
Coaster Designs
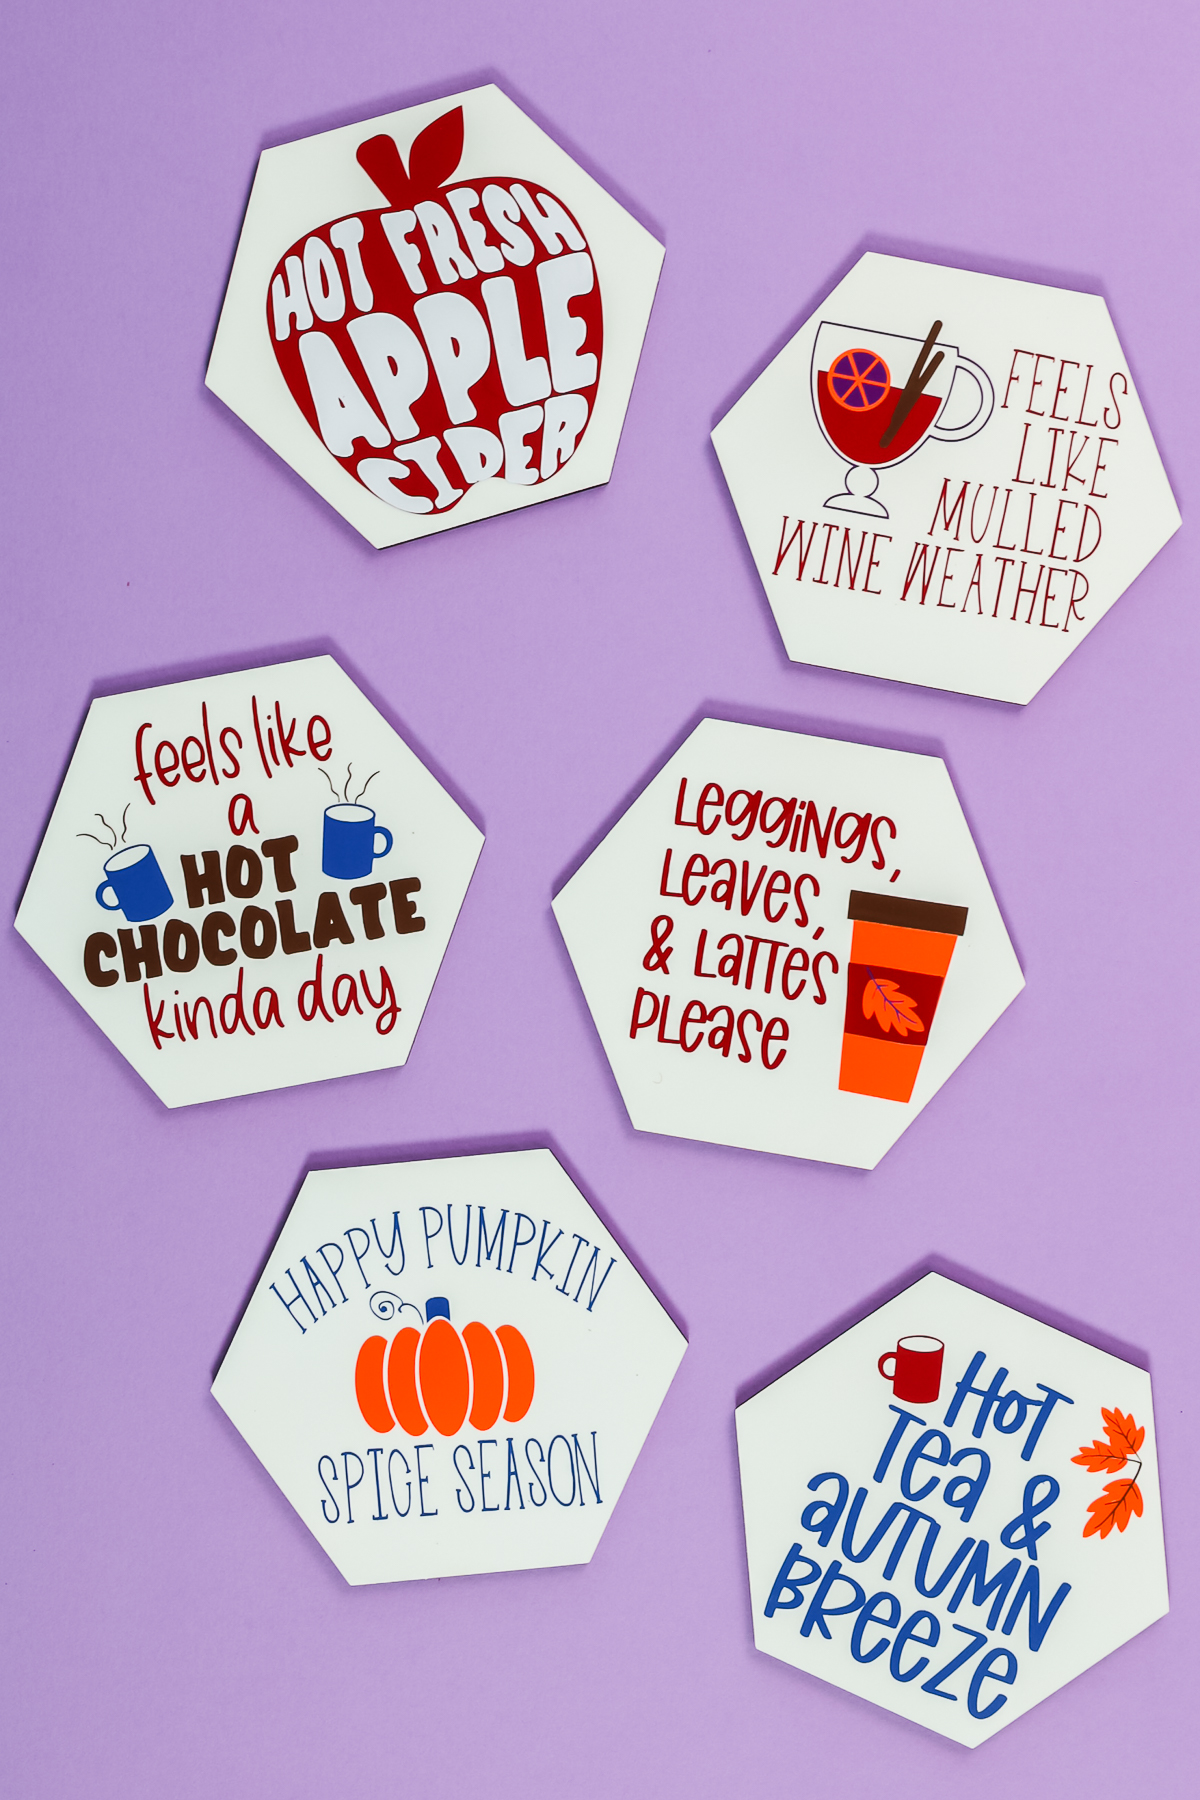
Now all that is left is to tell me which of these designs for Cricut coasters that you like! I have made several versions for fall and winter drinks.
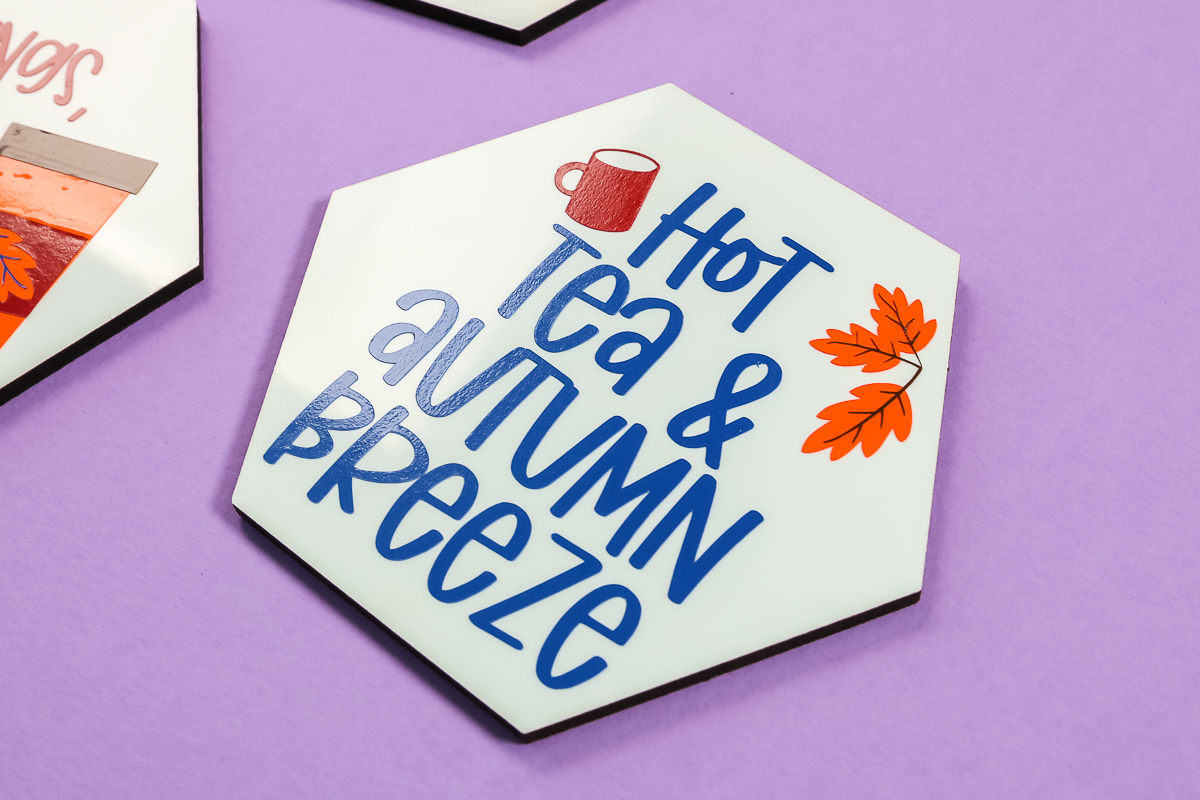
I have tea and lattes and so much more. If there is a warm drink you love, chances are there is a Cricut SVG design for it in this post.
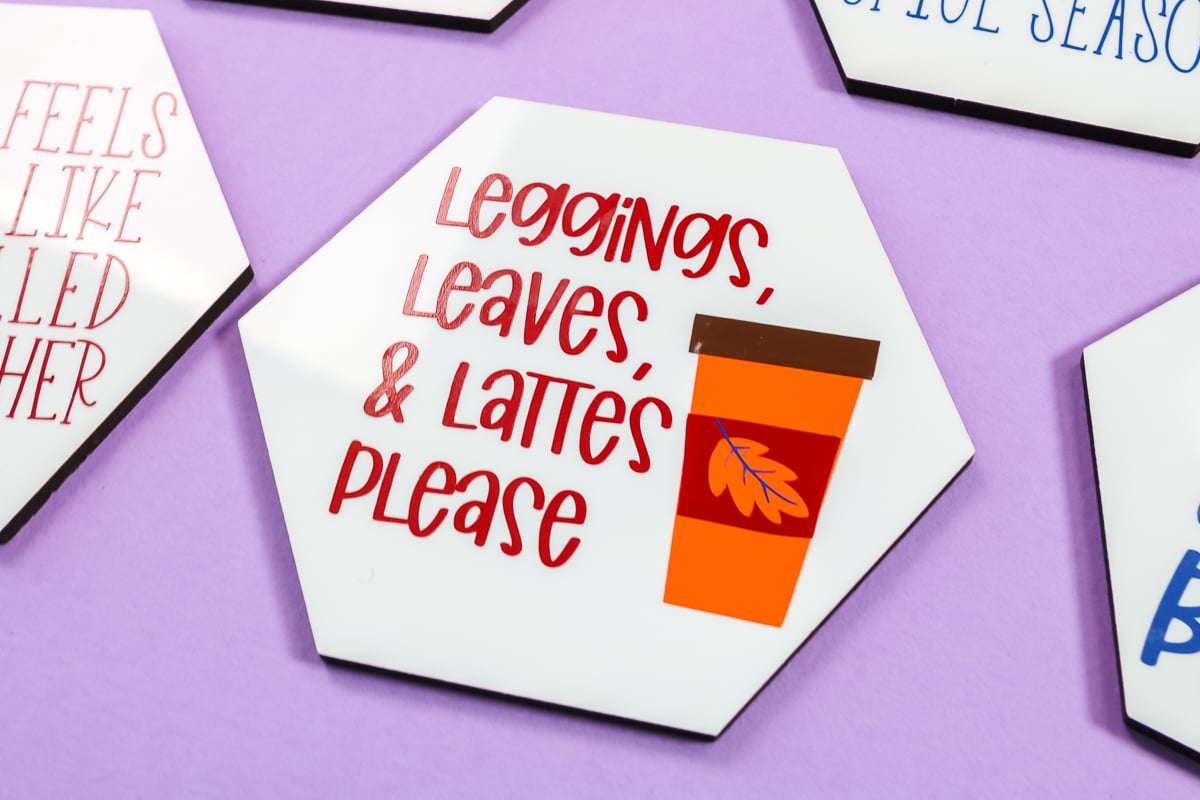
I am using these files to make coasters but they will work for other projects as well. Use them on tumblers, shirts, and so much more.
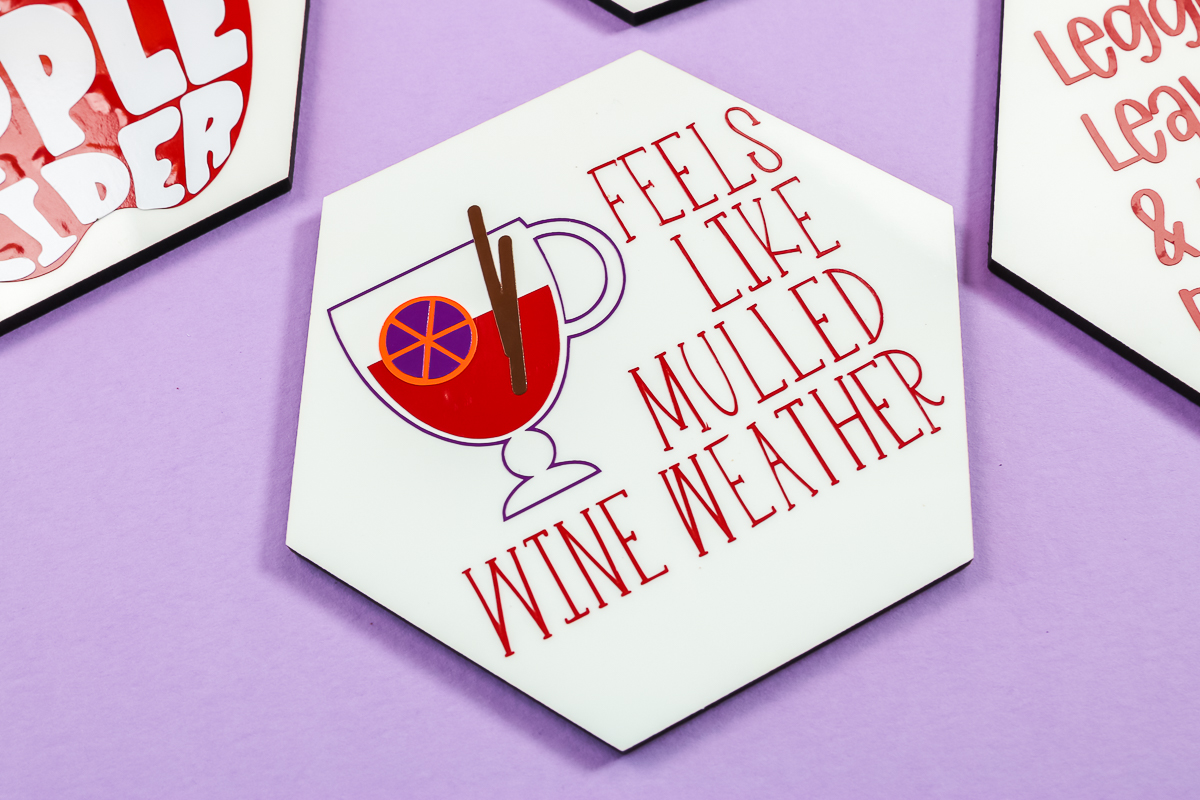
All that is left is to decide whether you like mulled wine or apple cider better. Then you can make an entire set of coasters with your favorite design.
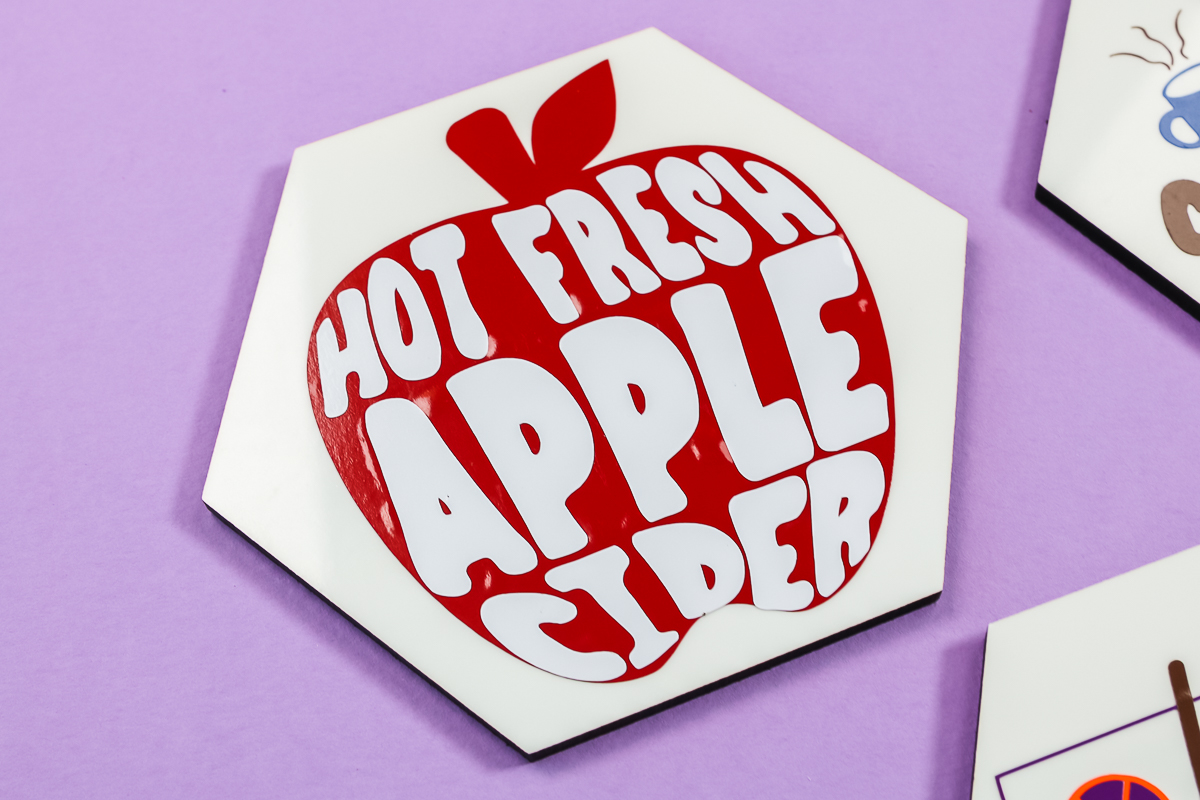
Or you can do like I did and make a wide variety of coasters representing all that is amazing about fall and winter!
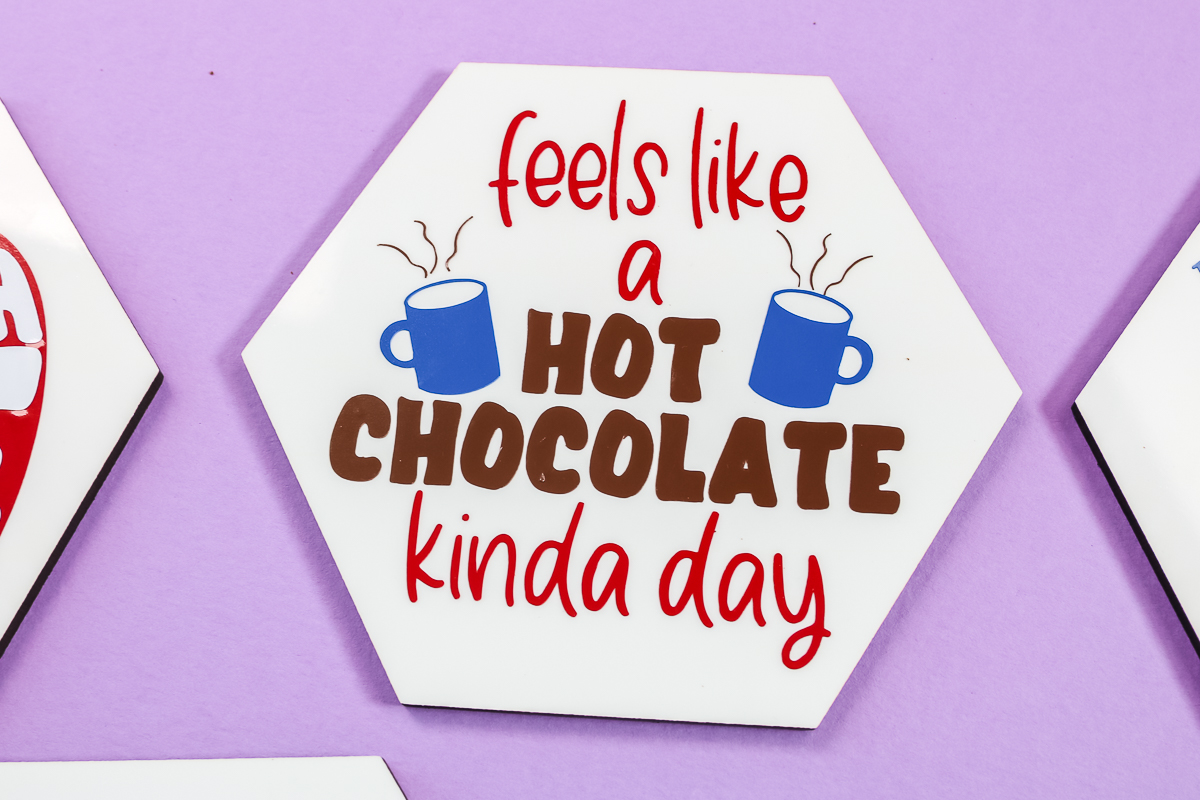
Be sure to tell me which of these you love in the comment section! Is hot chocolate your thing or does pumpkin spice make your smile?
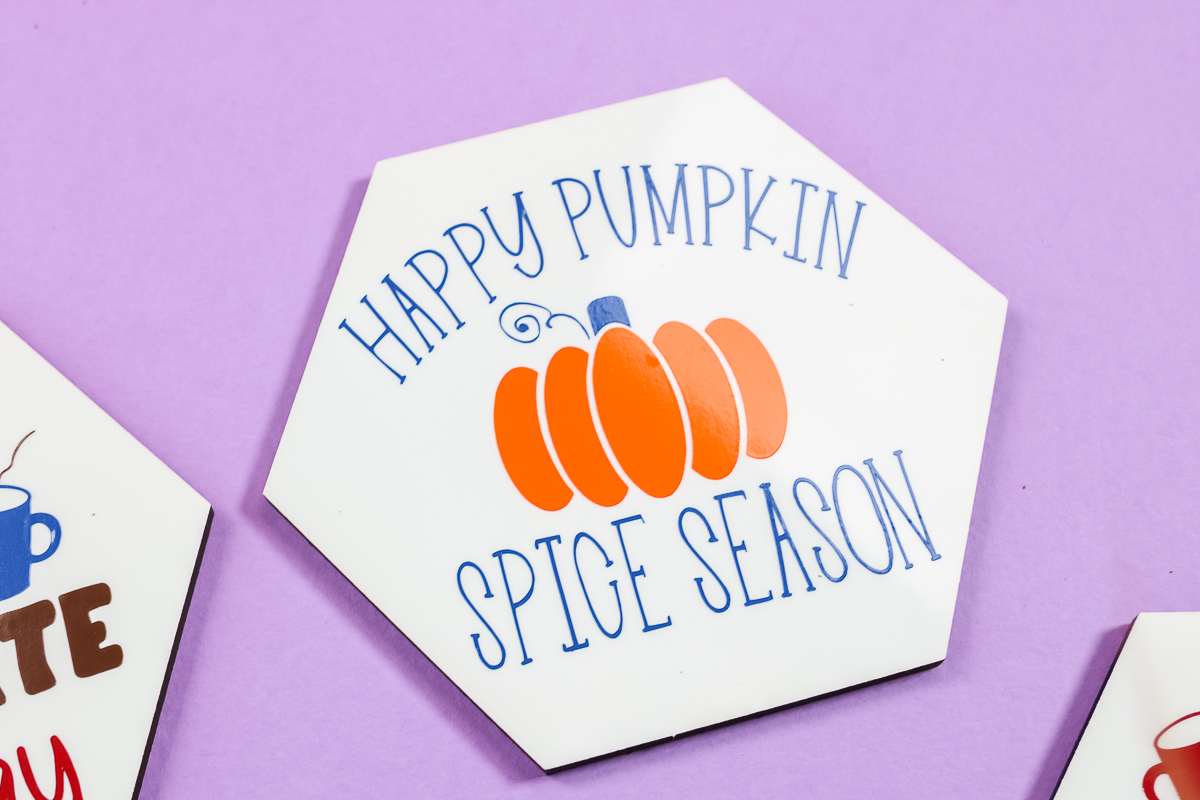
Grab your supplies from the bundle deal above to make your coasters or just pick up the SVG files. You can even use my instructions with your own SVG files and these amazing hexagon coasters.
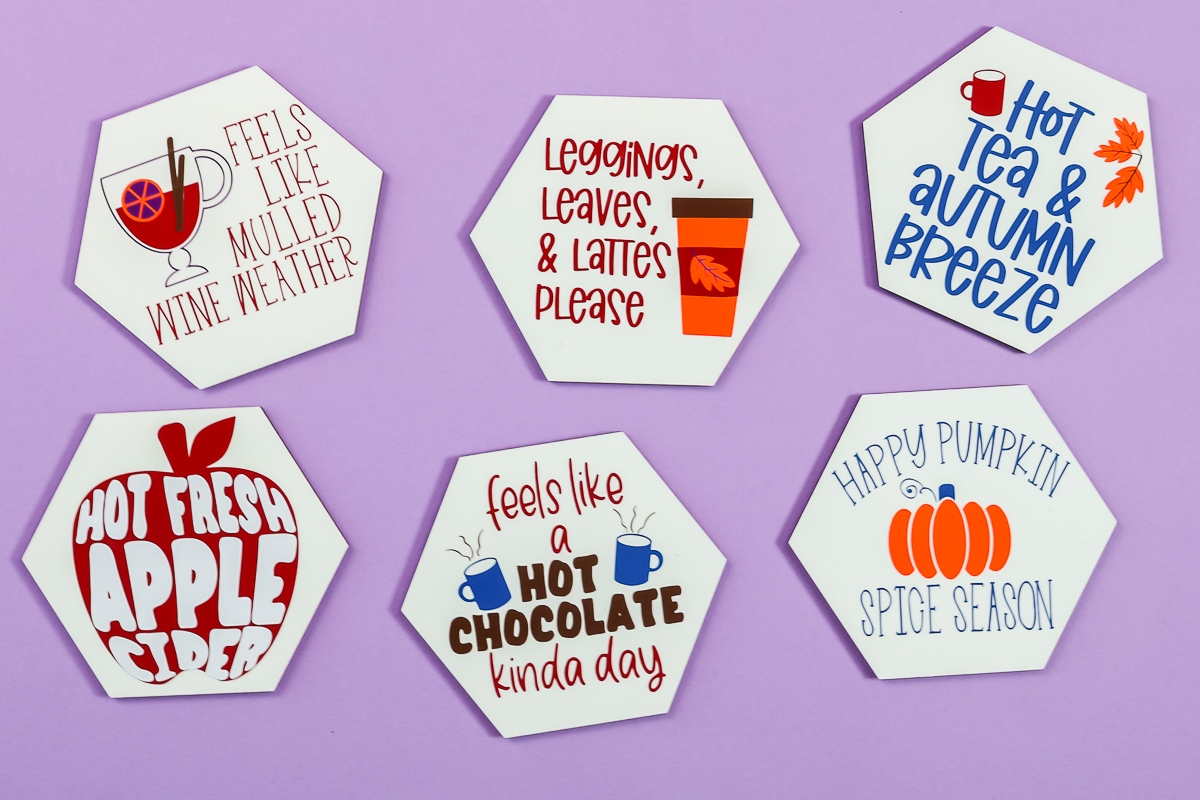
Adding vinyl to Cricut coasters also makes a great gift idea so you may want to pick up some extra coasters as well. After all, who can’t use coasters around their home?
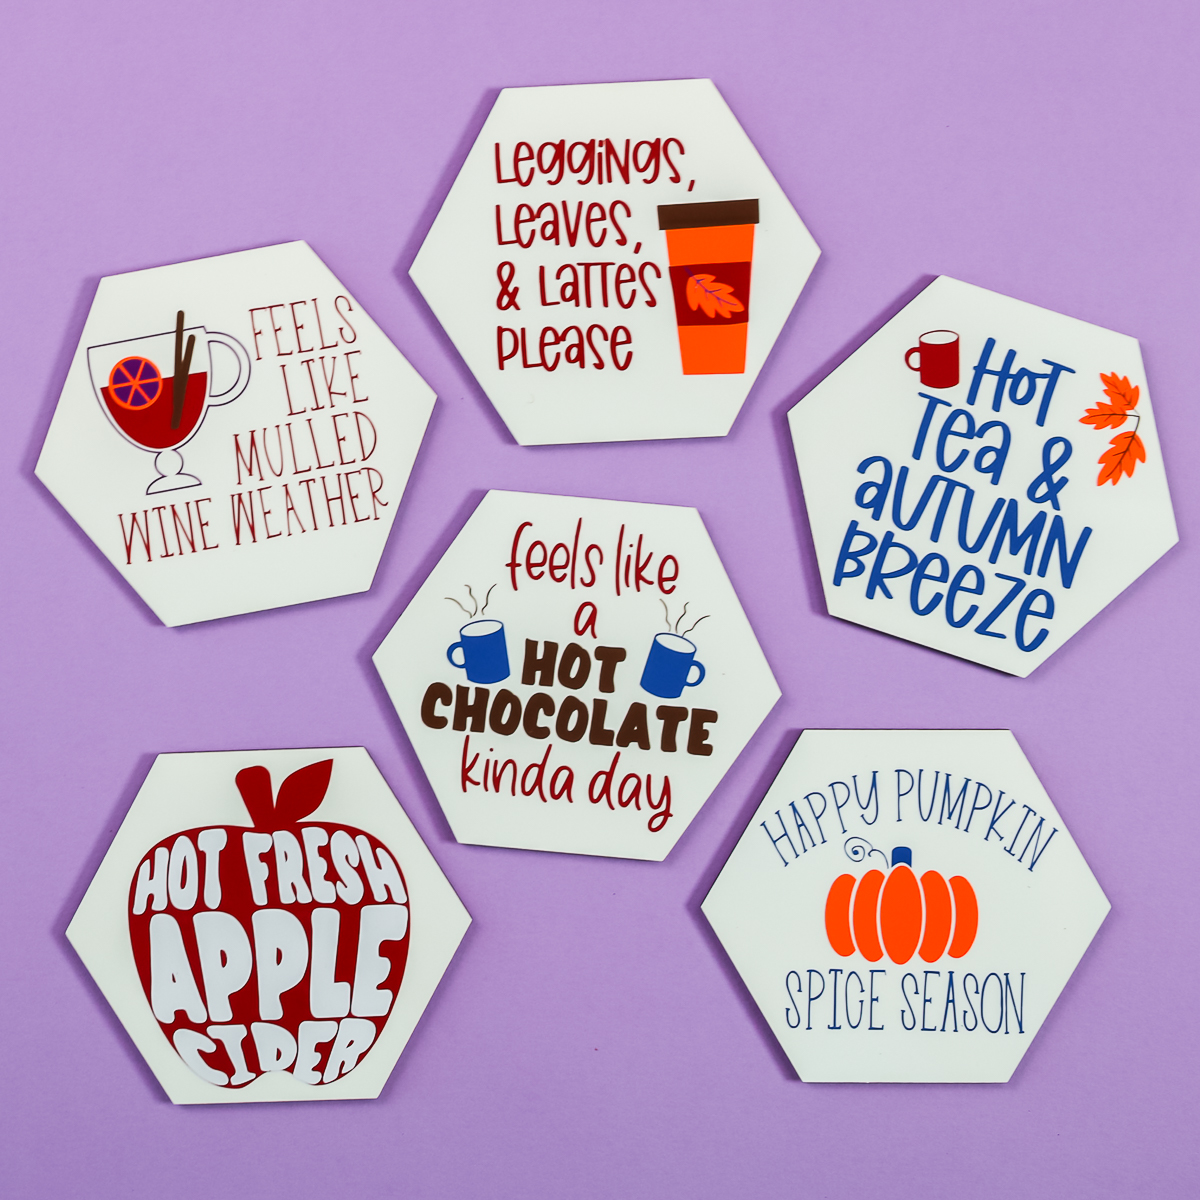
If you need me, I will be thinking of more designs for Cricut coasters. And just to let you know, these blanks from Heat Transfer Warehouse also work with sublimation. So, you can even make some photo coasters with these!
