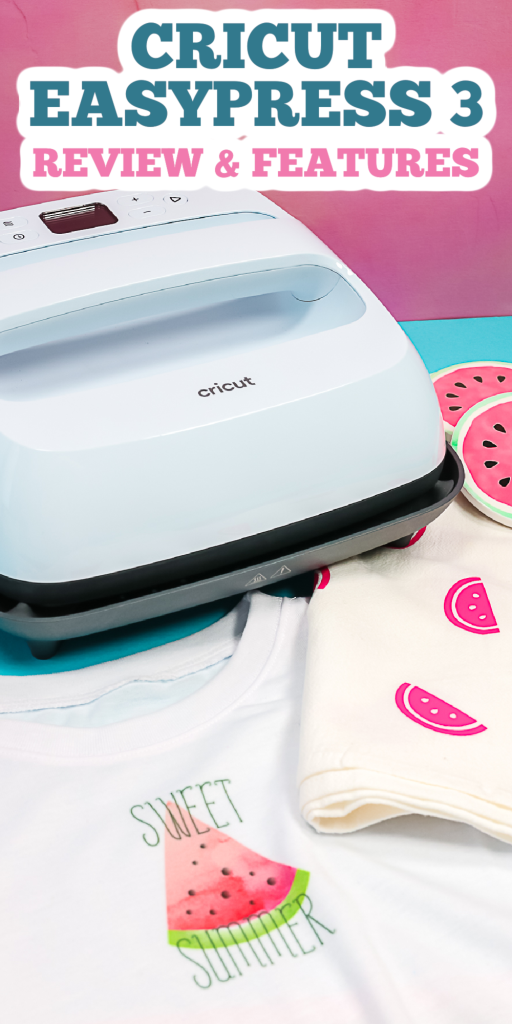
Today I’m here with the EasyPress 3 review. What are the differences between it and previous versions? Should you upgrade? Is it worth it? I’m going to make 3 projects today – one with HTV, one with Infusible Ink, and one with sublimation. Plus with each of these, I am using the new Cricut Heat app along with the EasyPress 3. Then at the end, I’m going to tell you what I think about EasyPress 3, and whether you need it. So, let’s get started!
Need to set up the EasyPress 3 and get started with Cricut Heat? Try our unboxing and overview post here.
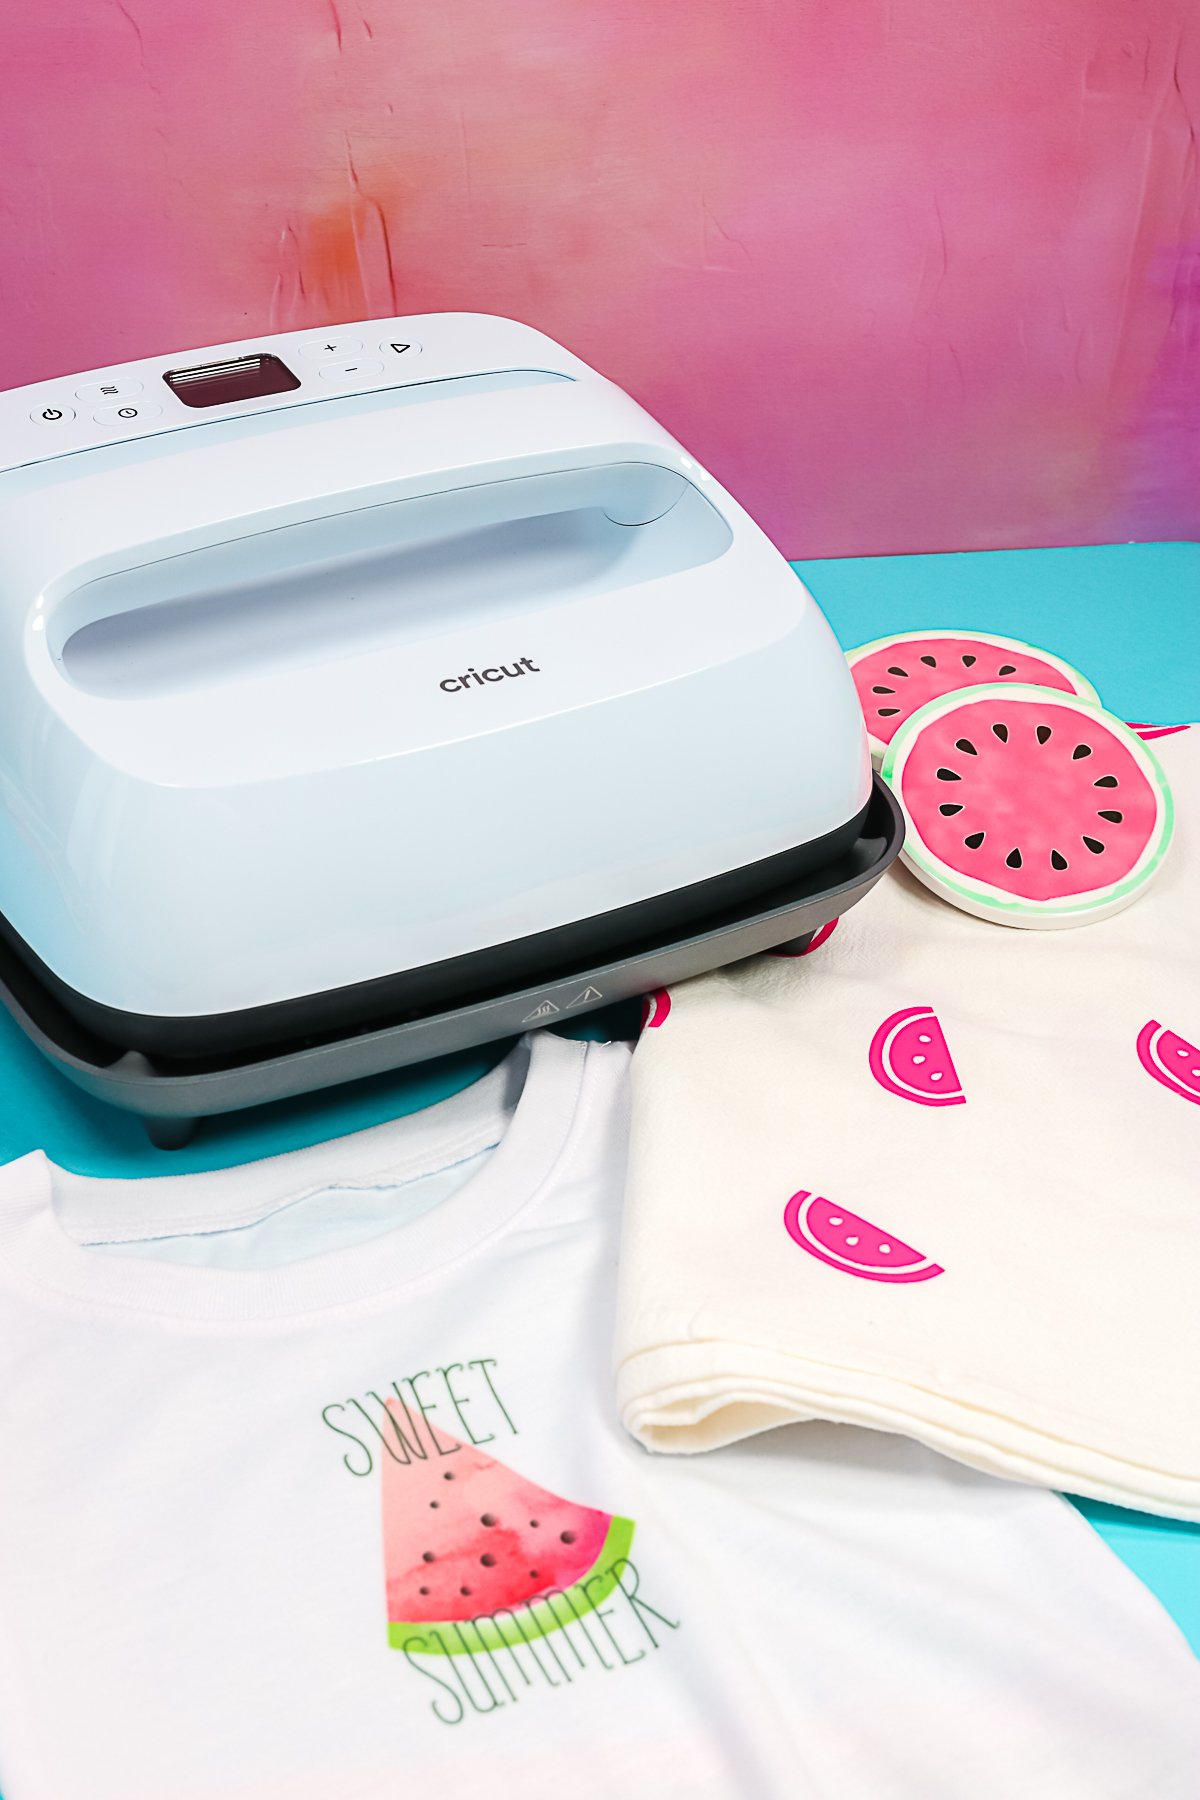
Cricut EasyPress 3 Review
You can click play on the video below and watch me use the Cricut EasyPress 3 to make the three projects. I also show the Cricut Heat App in action so you don’t want to miss that!
Can’t watch the video or miss some of the information? You can also follow along below.
Supplies Used
- EasyPress 3 (You can get this press currently at Cricut and Michaels)
- Tea towel (these are my favorite)
- Sublimation onesie
- Iron-on
- Ceramic Coasters
- Infusible Ink
- Sublimation printer
- Sublimation ink
- Lint Roller
- Sublimation paper
- EasyPress Mat
- Butcher Paper
- Heat Resistant Tape
- This project is made with Design Space files. Click here for my profile. Once on my profile, find the image of the project you want to create, click it to open it up, and then you can make it yourself.
EasyPress 2 versus EasyPress 3
The EasyPress 2 and the EasyPress 3 are exactly the same, except the EasyPress 3 has Bluetooth capability. That Bluetooth capability links to an app called Cricut Heat. Cricut Heat is able to communicate with the EasyPress 3, send temperatures, send times, and walk you through the process of different projects. I didn’t think that a review of just the EasyPress 3 was appropriate. I thought a review of how the EasyPress 3 interacts with Cricut Heat, whether or not I like it, and whether or not it’s beneficial, would be the best thing. That way, you know if EasyPress 3 or EasyPress 2 is right for you.
Both the EasyPress 2 and EasyPress 3 are now only made in the 9×9 and 12×10 inch size. The 4×6 EasyPress is no longer made.

Not sure which heat press is for you? Heat Press Roadmap has your answer! This extensive course is designed to guide you on your journey to deciding on the best heat press for your needs, space, and budget.
Join Angie Holden and Cori George as they explore 17 heat presses in 27 videos. Get the details and sign up for Heat Press Roadmap here!
HTV Project
The first project we’re going to do applying iron-on to a tea towel. Select “iron-on” in Cricut Heat and select “cotton” as the material. Send these settings to Cricut EasyPress 3 by pressing the button in Cricut Heat. Once I do that, the settings are in the EasyPress, and you can see a Bluetooth symbol on the EasyPress screen. I can see that on the EasyPress itself as it’s heating up, as well as on my app.
Need the basics of using HTV? Try our basics guide here.
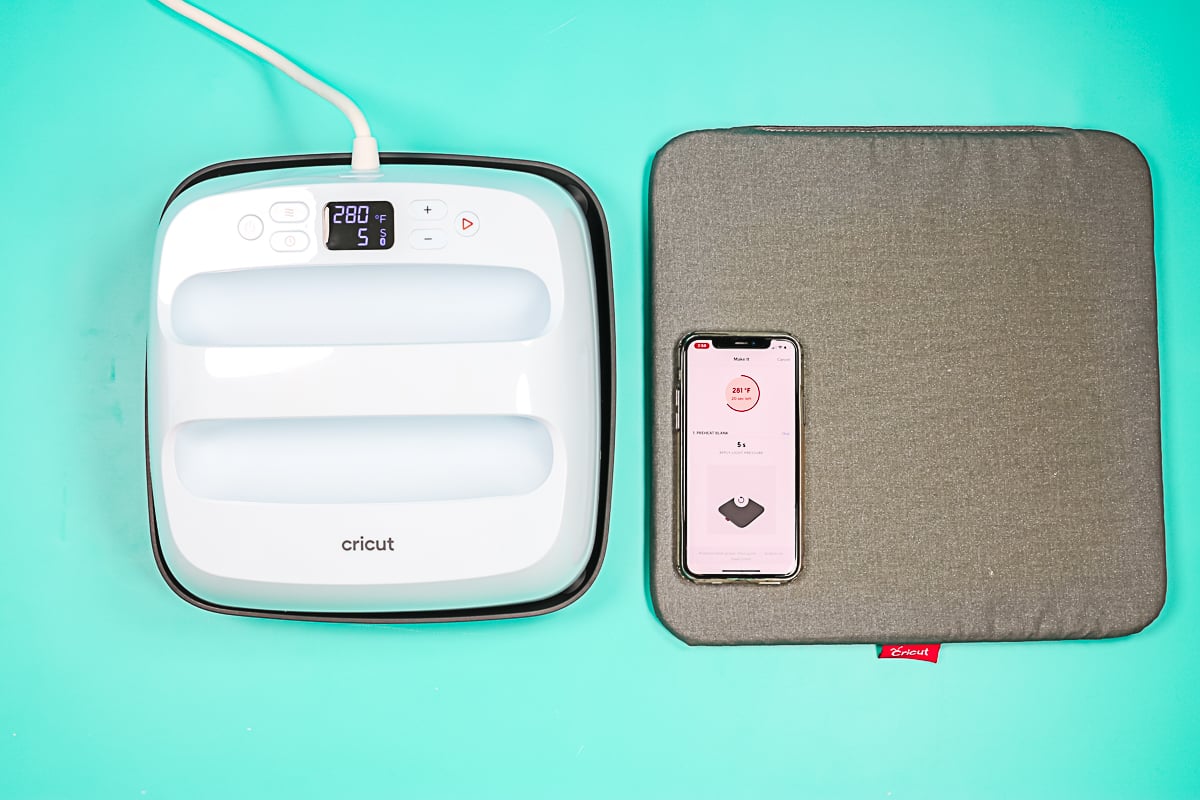
Within Cricut Heat, it tells me to preheat my blank. I’m going to do this large tea towel and I’m going to do an all-over design. I will need to preheat in several areas. Once I’m done with the preheat in one area, the EasyPress 3 changes 315 degrees for 30 seconds in the app, as well as on the machine itself.
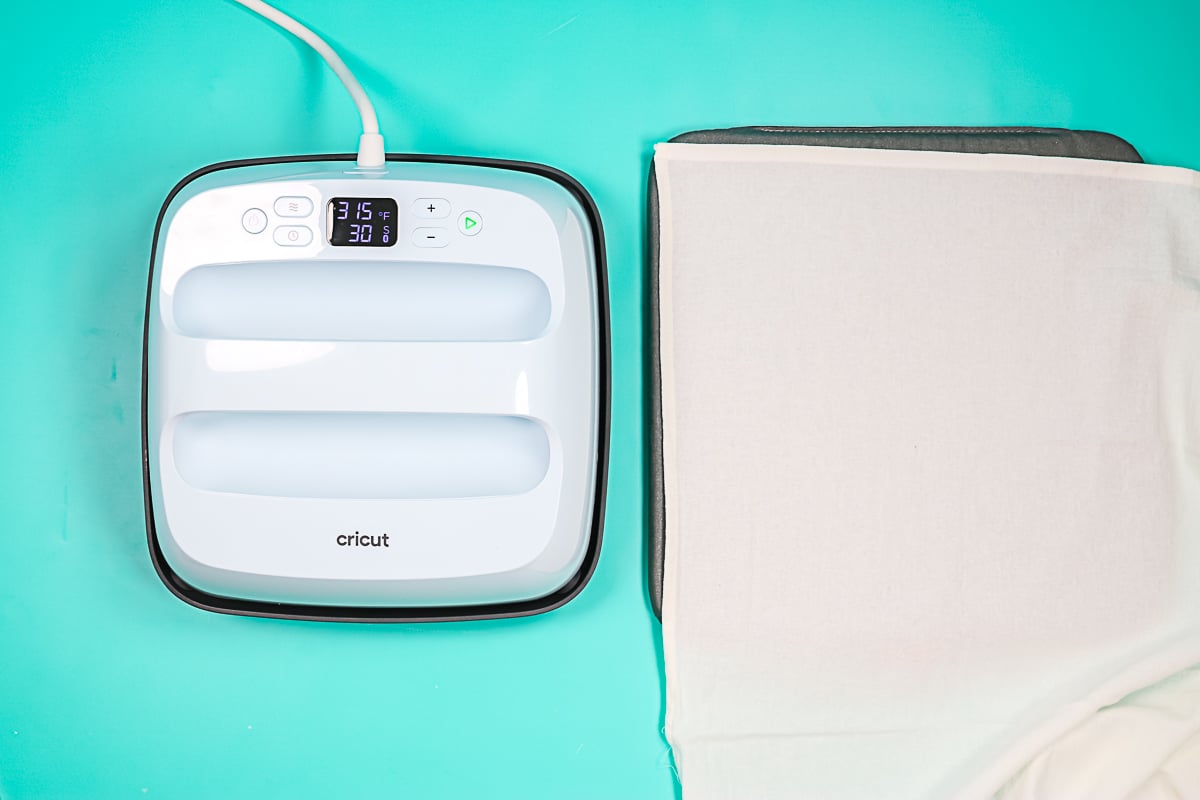
Add your cut and weeded HTV to the area you just preheated.
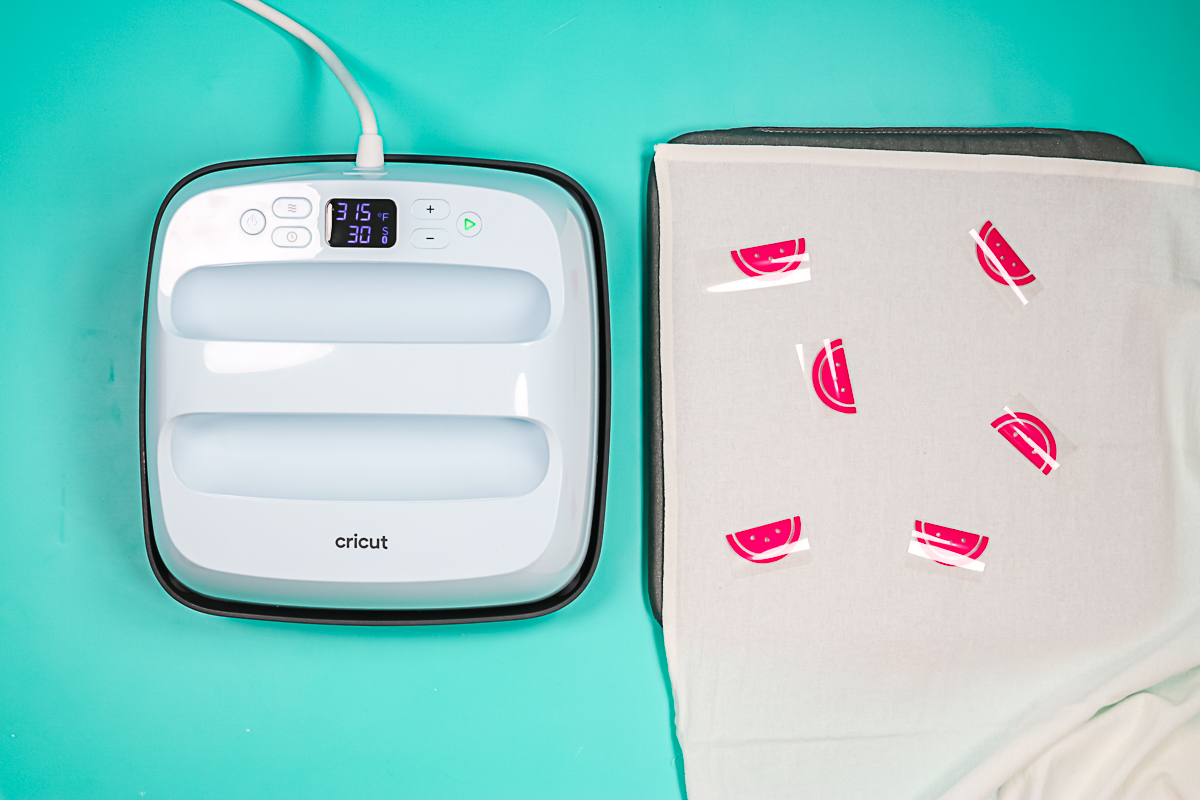
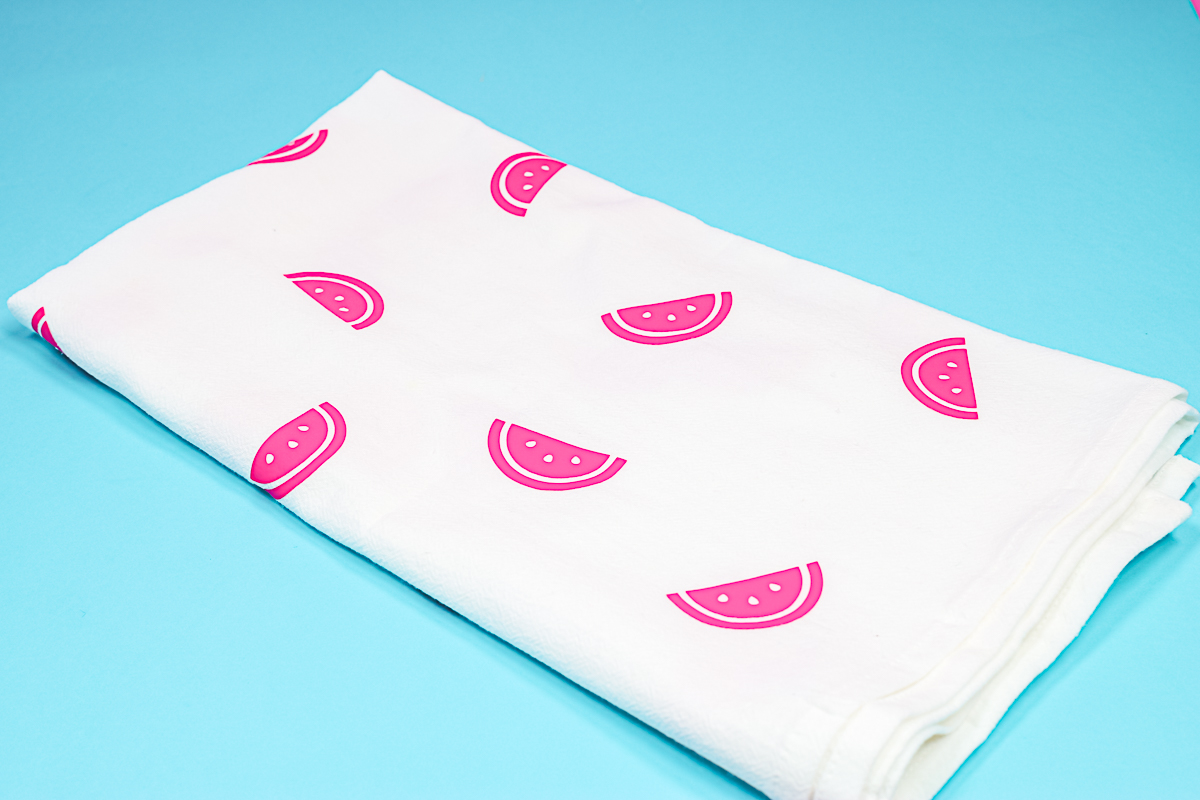
Then add the EasyPress 3, cover all the watermelons, and press the Go button on the EasyPress 3. It will count down the time on the EasyPress 3, as well as in the app. It also tells me to apply light pressure to the handle within the app.
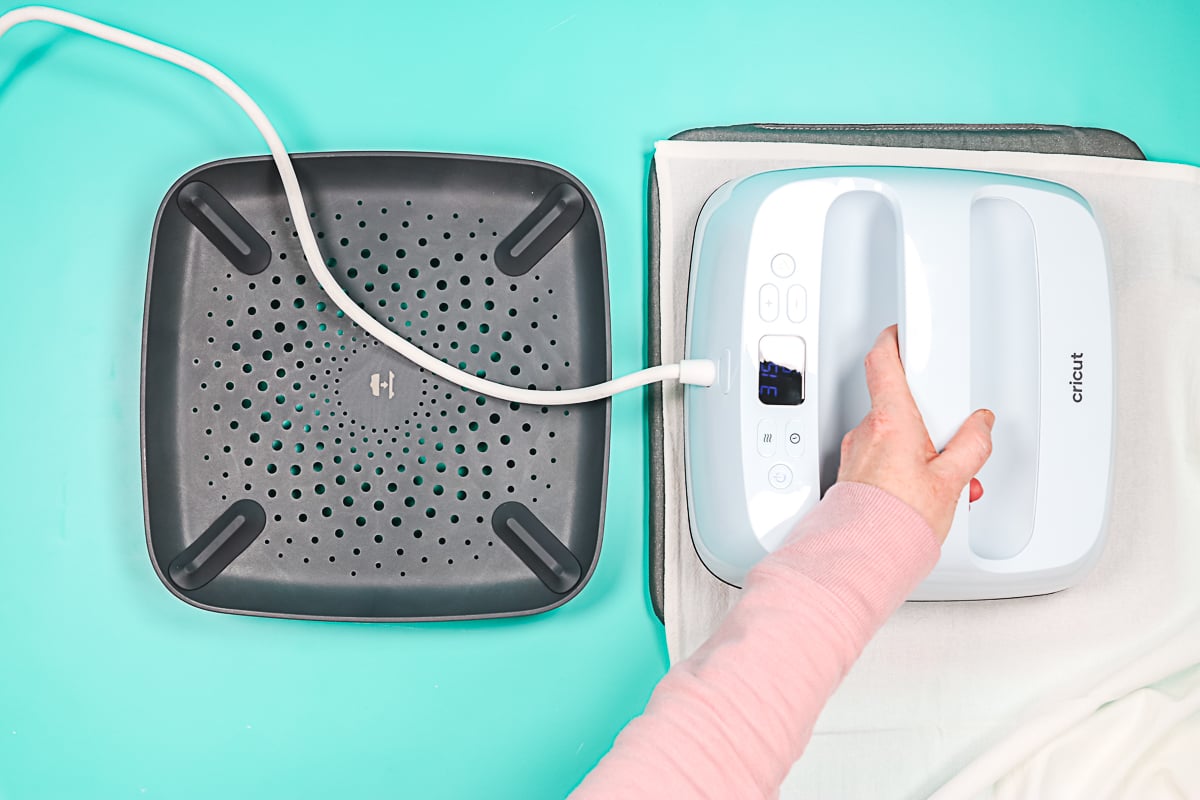
When it’s done pressing, the press will beep. Now that the EasyPress 3 is off my project, Cricut Heat tells me to flip and press. It sends a new time to the EasyPress 3. Just flip the tea towel over, and press for 15 seconds.
Once that press is done, remove the press and allow it to cool before you remove the carrier sheets. I want to add a design all over, so I’m going to repeat the same process all over the tea towel using the same instructions in Cricut Heat. Leaving the carrier sheets in place until the entire towel is complete is easier in this case. To adjust your settings for the next press, just click “make again” in the upper-left hand corner on Cricut Heat. The press will go back to 315 degrees for five seconds.
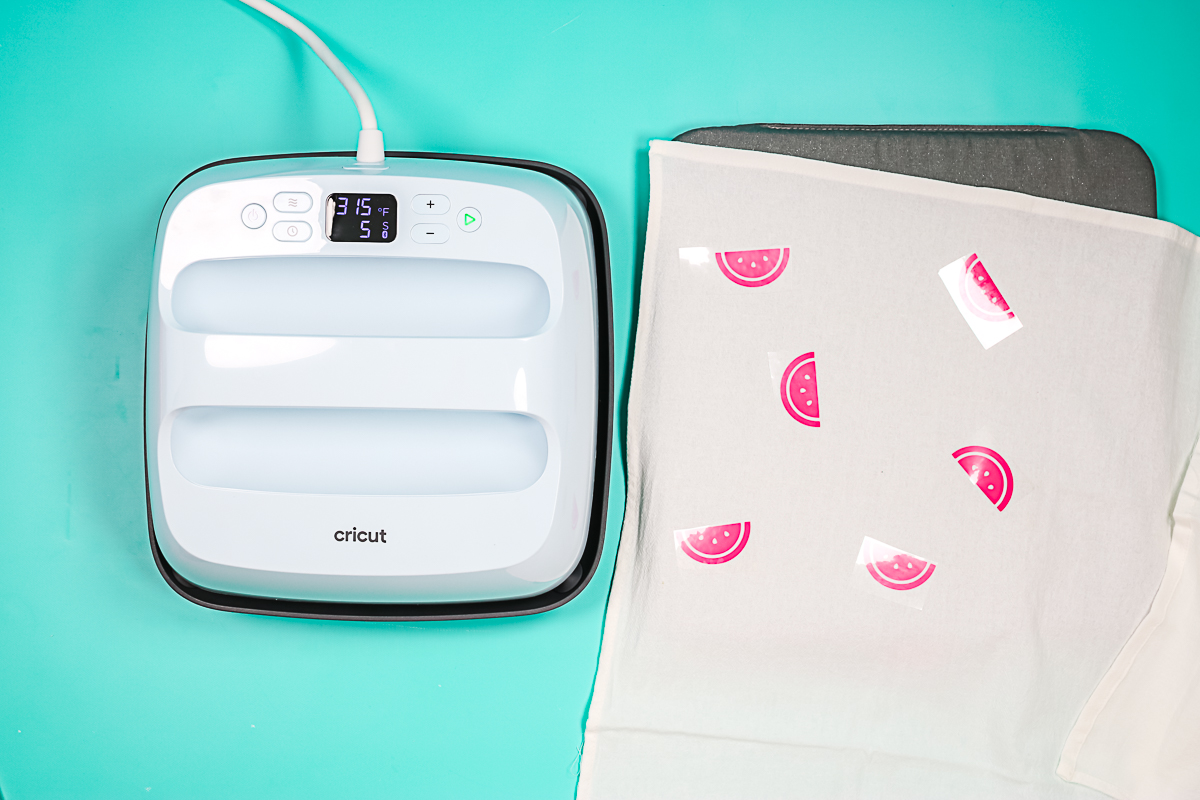
Continue this process for your entire tea towel. I did find that if I’m using the Cricut Heat app and I open up another app while I’m pressing, Cricut Heat is still communicating with EasyPress in the background. The only time I needed to go back to the app was to hit the “make again” button.
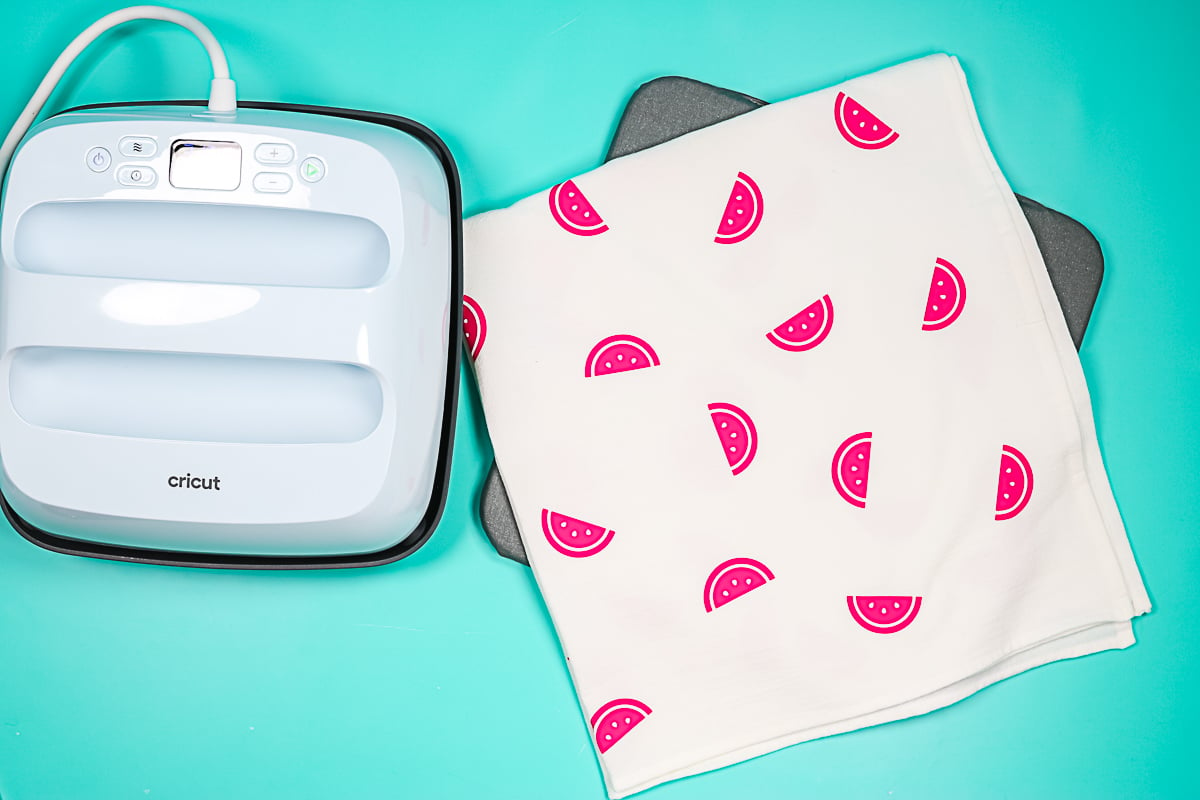
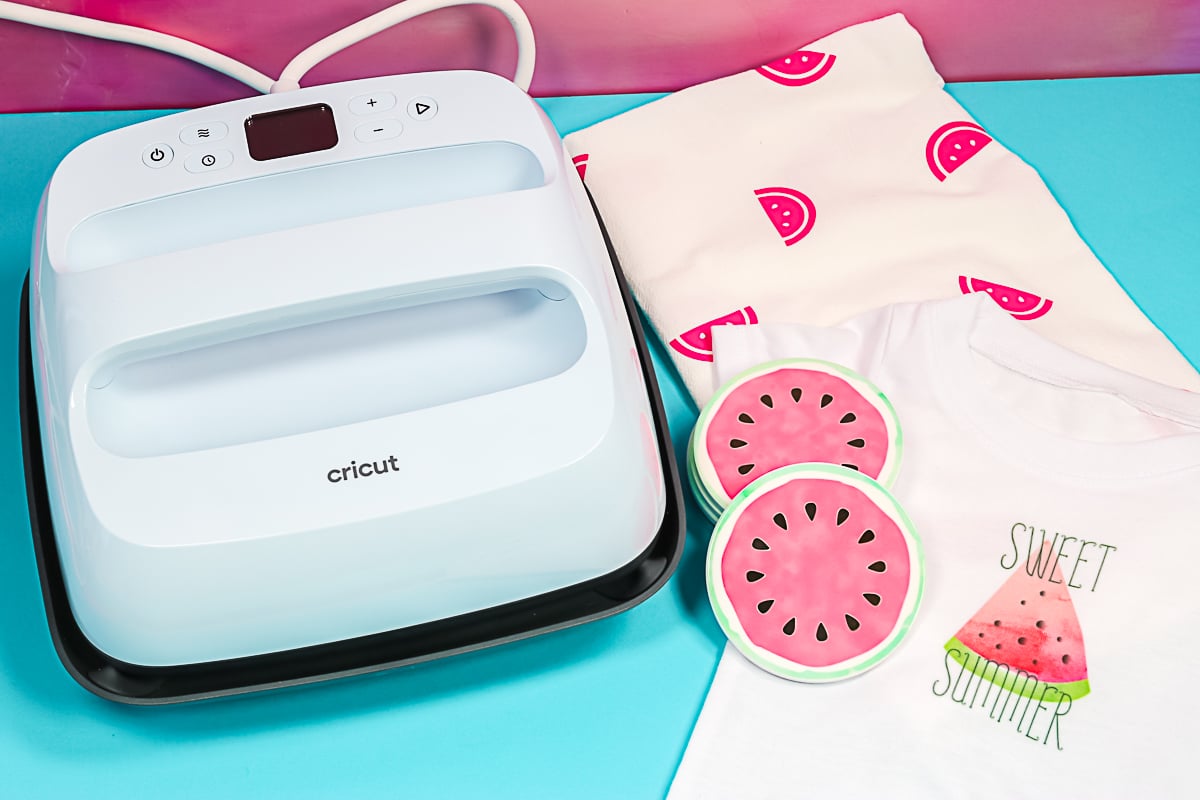
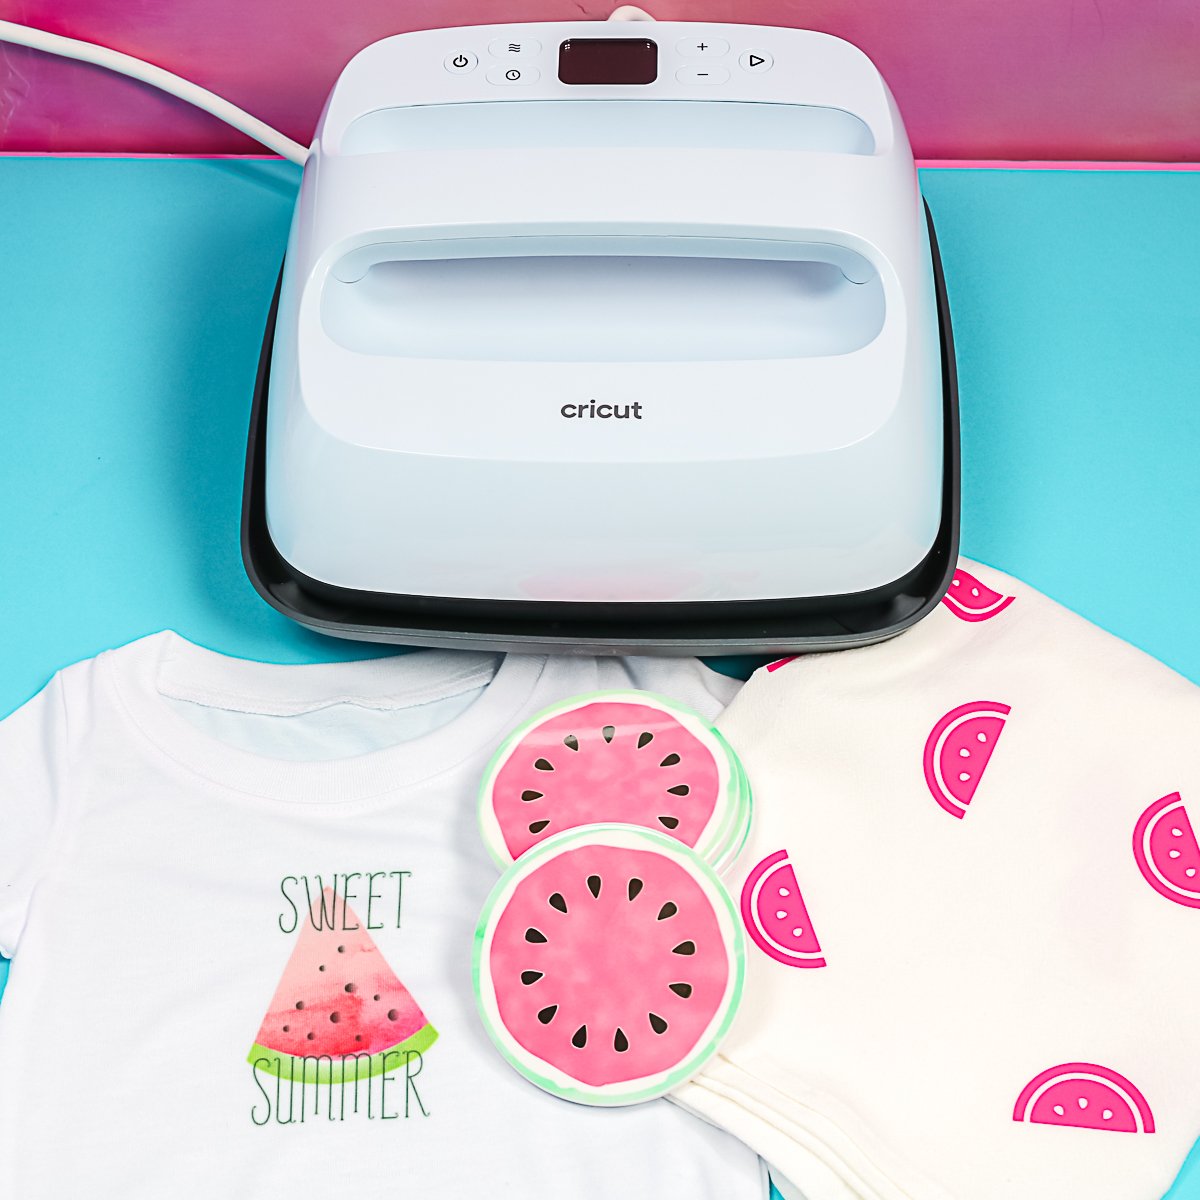
Once you are done, remove all of the carrier sheets and enjoy your adorable watermelon tea towel that is perfect for summer! Now let’s continue on with this Cricut EasyPress 3 review and another project.
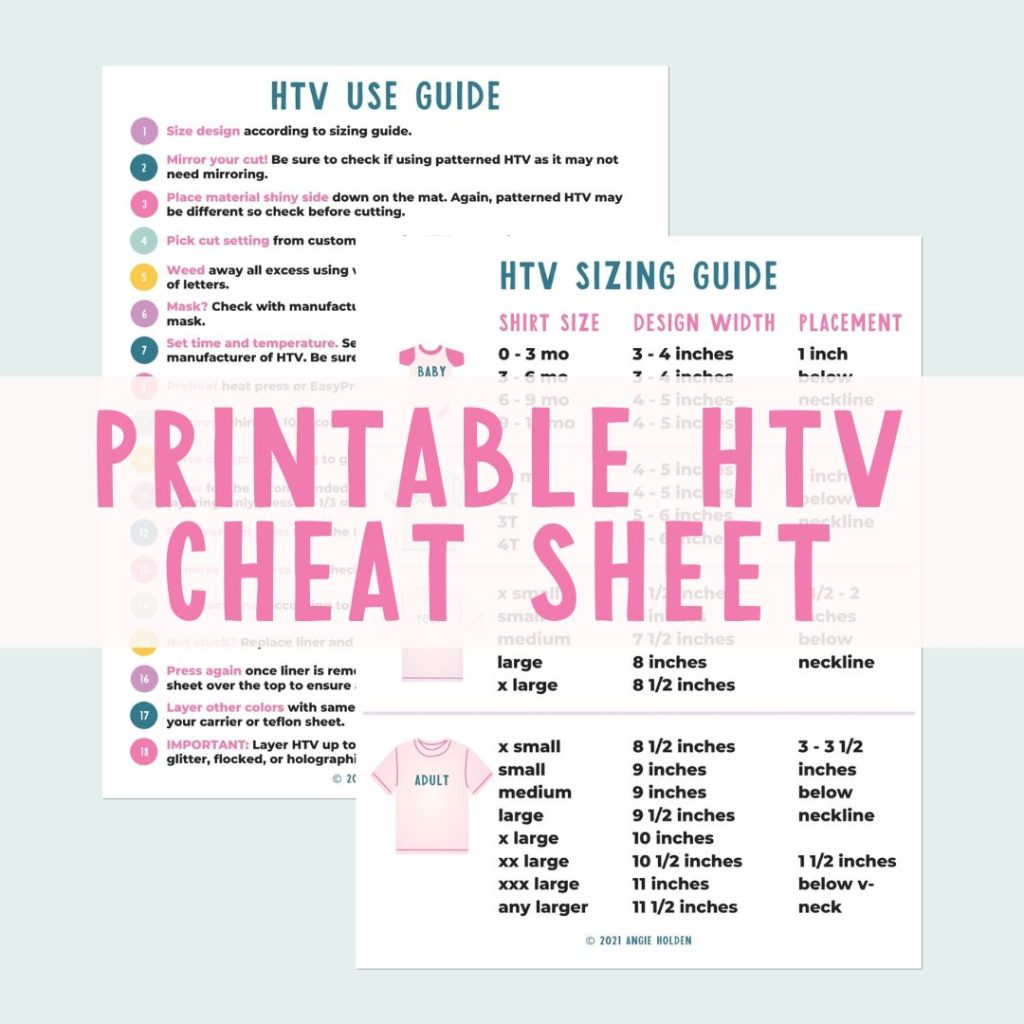
Free HTV Cheat Sheet
Get your FREE Printable HTV Cheat Sheet now! This guide has sizing and position recommendations for infant through adult shirts as well as a handy HTV use guide. Print this double sided guide and put it by any heat press you own!
Infusible Ink Project
Next, I’m going to do some Infusible Ink coasters. To prepare the blanks, lint roll the coaster and then add the cut and weeded Infusible Ink sheet to the surface and tape it down well. For these coasters, I cut several colors and put them all together on one carrier sheet.
Need more instructions for using Infusible Ink? Try our guide here!
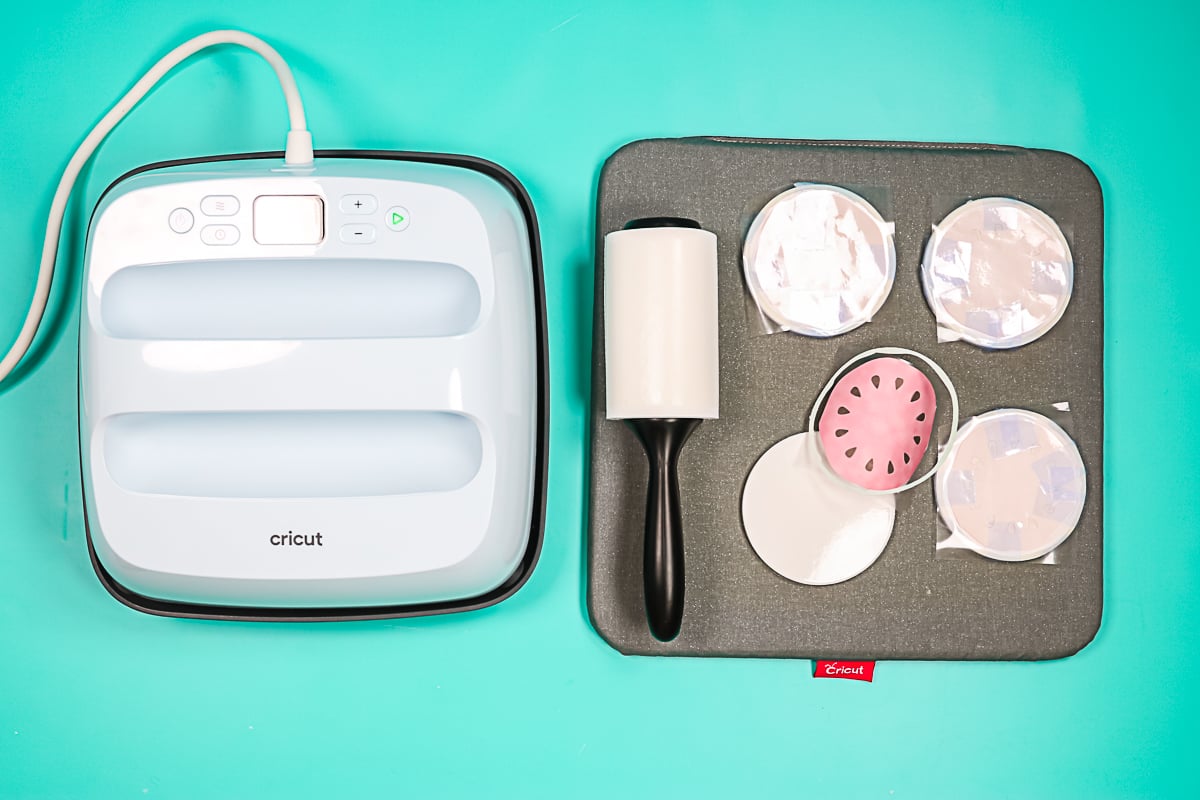
Click “Start New Project” in Cricut Heat. Select “Infusible Ink Transfer Sheet” and that you are applying it to ceramic coasters. Click “Next” then the button to send the settings to to the EasyPress 3. I really think this is where Cricut Heat is going to be super useful. You can get a list of everything you need along with details instructions for the application. This will really help you to be successful with this product as following directions is critical.
Cover the EasyPress mat with white card stock. Place the coasters with the ink-side down, which is different from most other Infusible Ink blanks. Cover that with clean butcher paper. Press with no pressure at 400 degrees for 240 seconds.
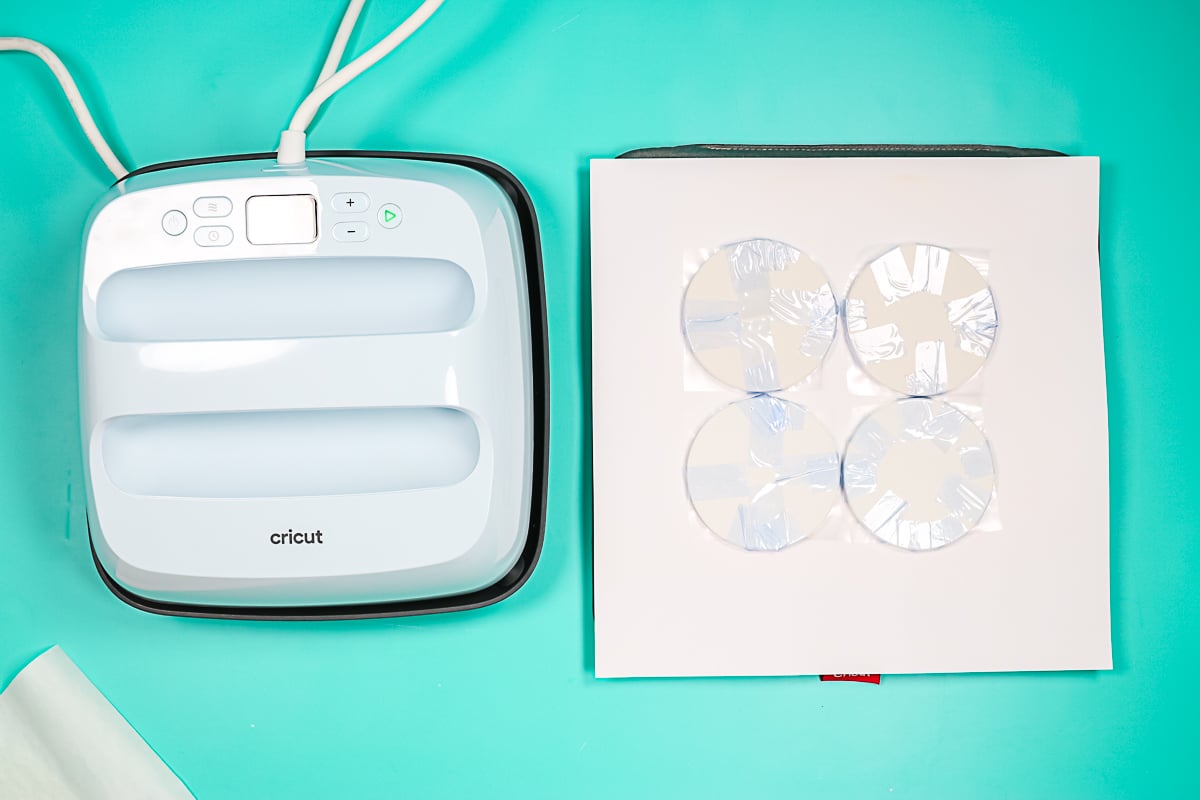
When you press the “Go” button on the EasyPress 3, there is a countdown on the EasyPress 3 as well as in Cricut Heat. The app also indicates that you don’t need to apply any pressure.
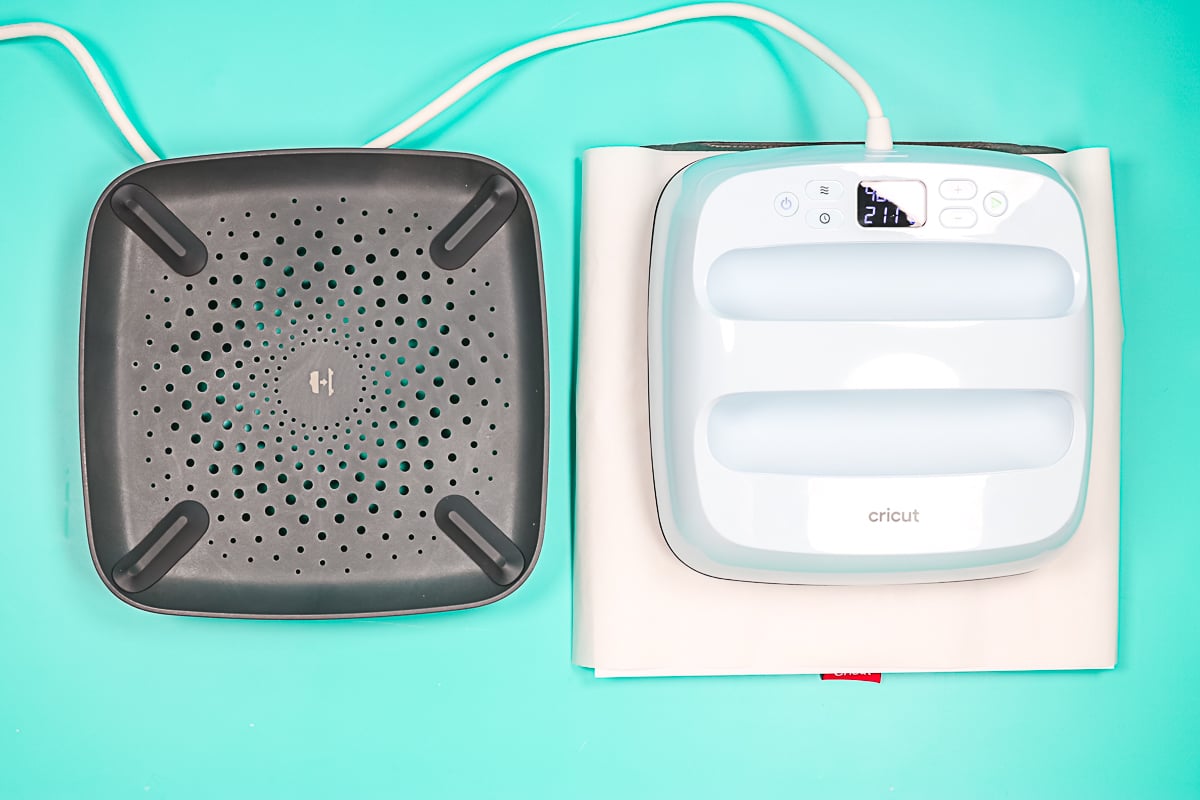
Once the press is complete, allow the coasters cool as they are extremely hot. Then remove the Infusible Ink sheets to reveal your gorgeous coasters!
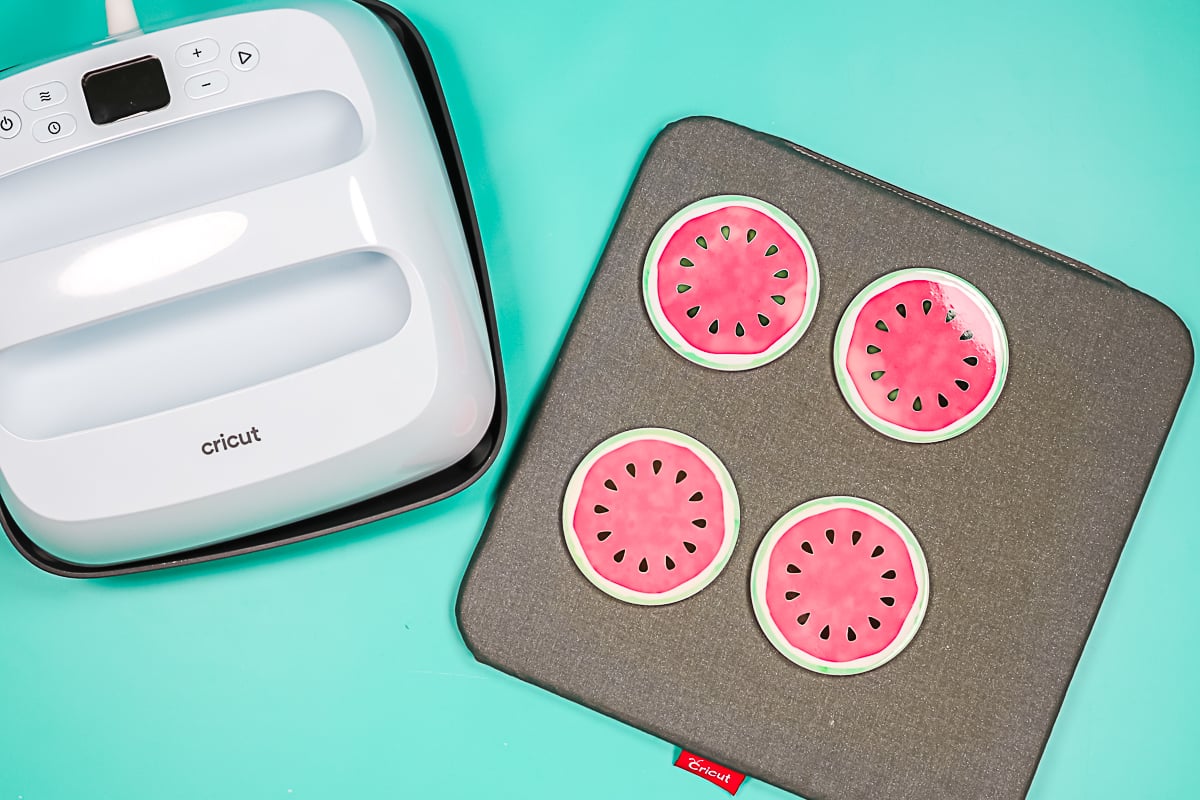
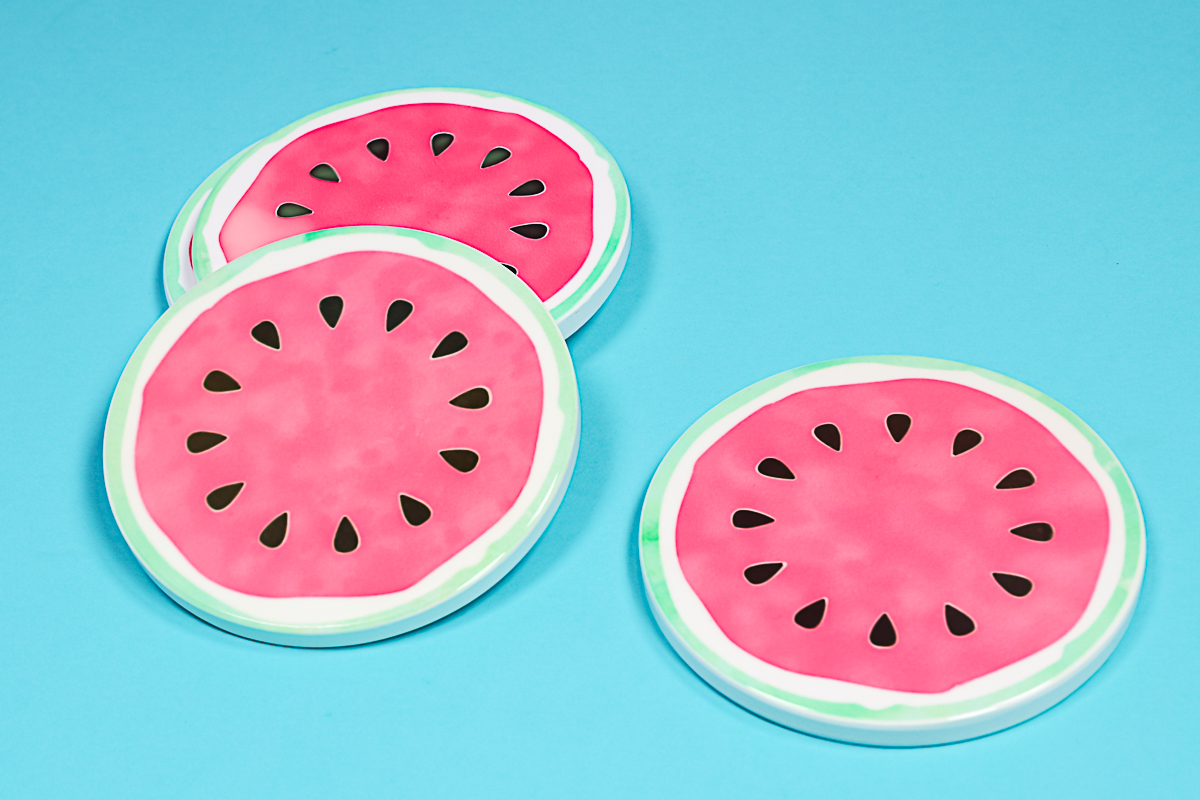
The green and red were a watercolor Infusible Ink print. You can see some variation, but that was totally the look I was going for. I absolutely love these coasters and how this material is made easier with the use of the Cricut Heat App. So far, I am giving this Cricut EasyPress 3 review two thumbs up but let’s make one more project.
Sublimation Project
Next, we’re going to press this sublimation print to a polyester onesie. Let’s take a look at Cricut Heat and how we will do that in the app. Instead of clicking “Start a New Project”, I’m going to scroll down to pick “Set custom time and temperature.” Now I can add whatever settings I would like. This means you can use other materials that are not from Cricut. I set mine to 400 degrees for 50 seconds. Here you can also choose a preheat and if you want to flip and press.
To prep the onesie, lint roll and prepress for five seconds. Allow to cool off before adding the sublimation print. Add a small EasyPress mat to the inside to lift the center up and ensure the EasyPress does not rest on the seams. Cover the mat with butcher paper.
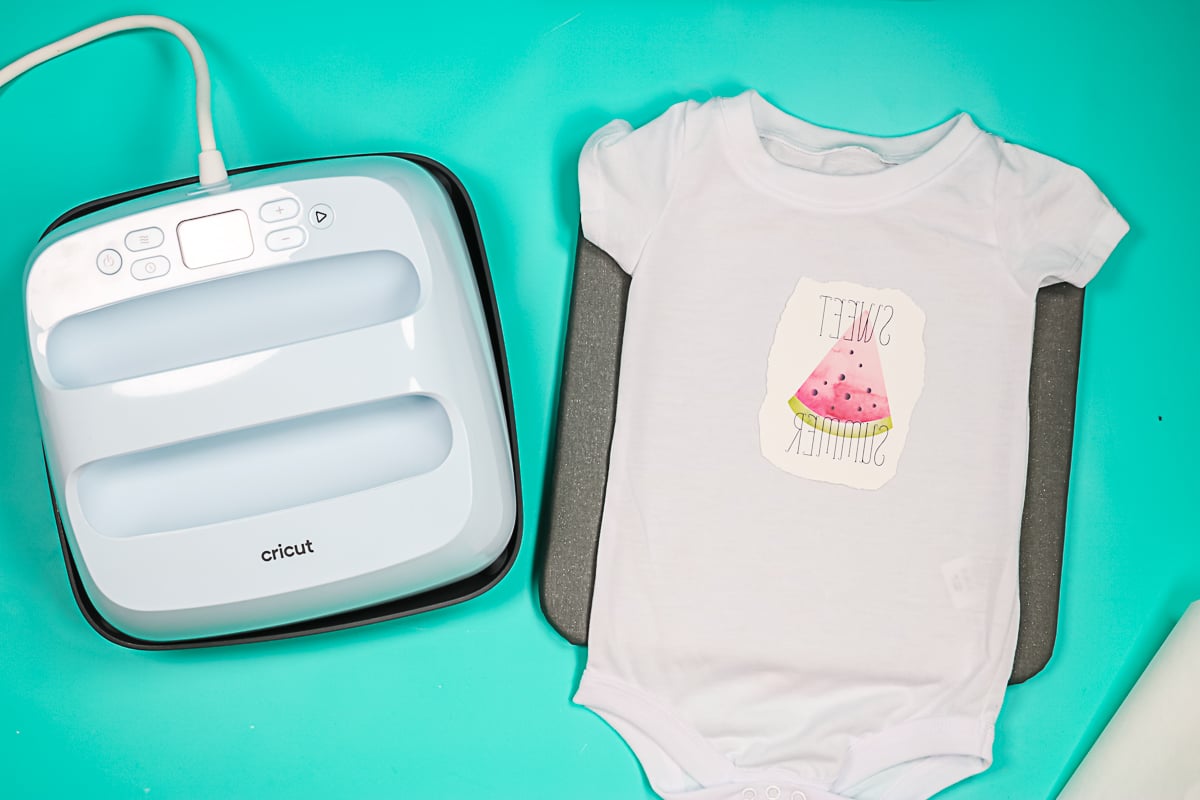
Add the sublimation print to the front and tape down well. I do recommend adding more tape for sublimation using the EasyPress than maybe you normally would add. Once you have it taped down well, cover with butcher paper.
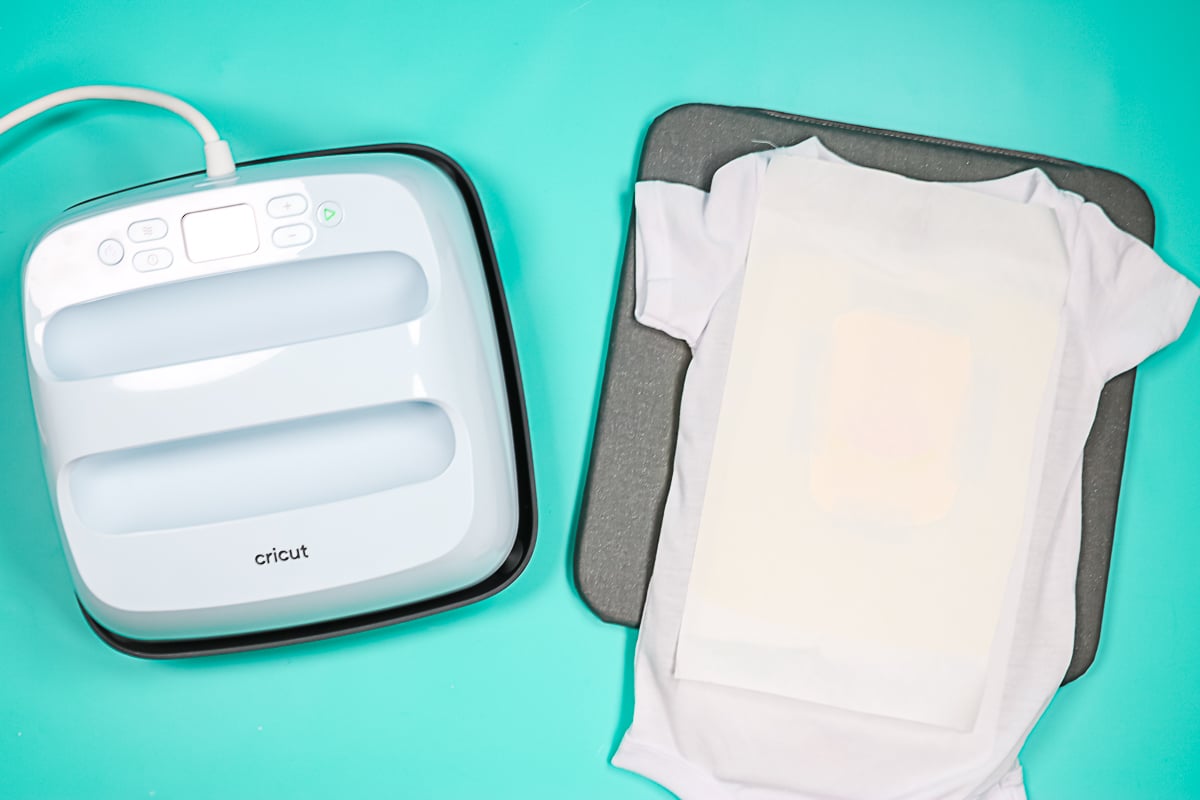
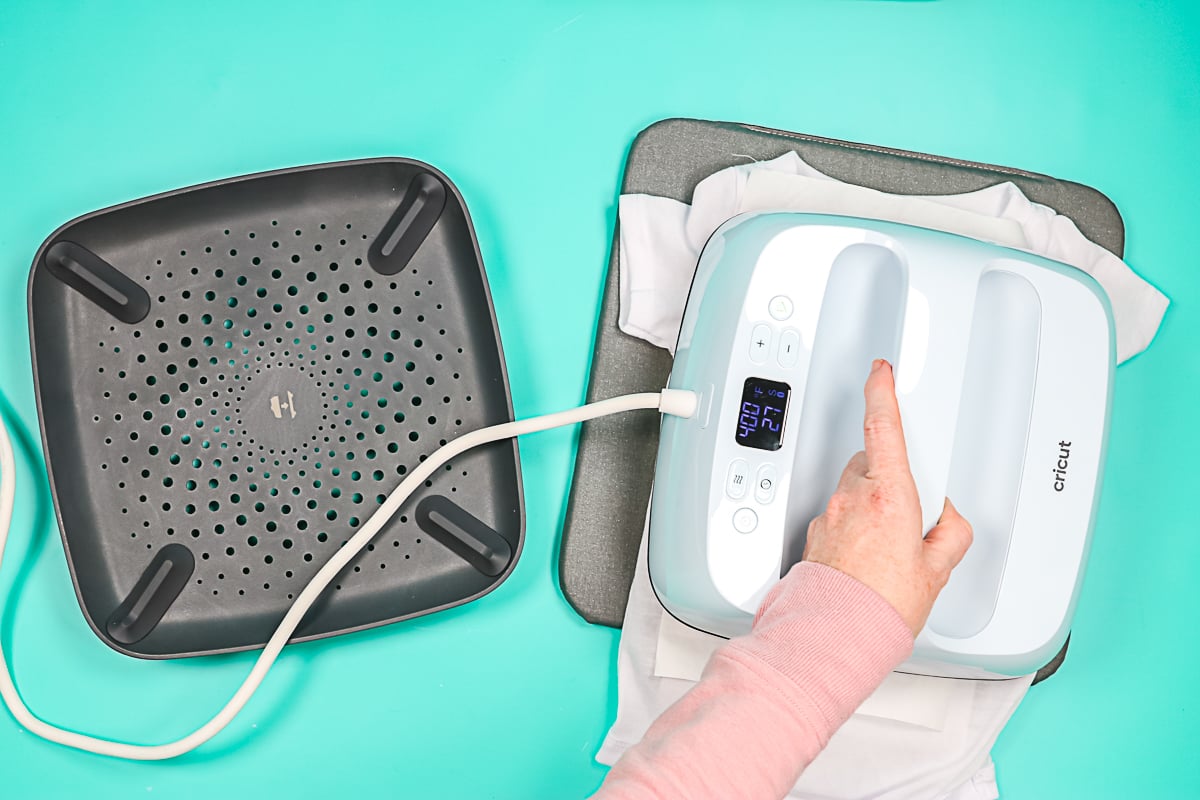
Then press at 400 degrees for 50 seconds. We’ll just press that “Go” button, and it will count down in the app as well as on the EasyPress 3. You only need light pressure for sublimation, so just press down on the handle. When it’s done, you can remove the EasyPress. Allow to cool slightly before removing the print.
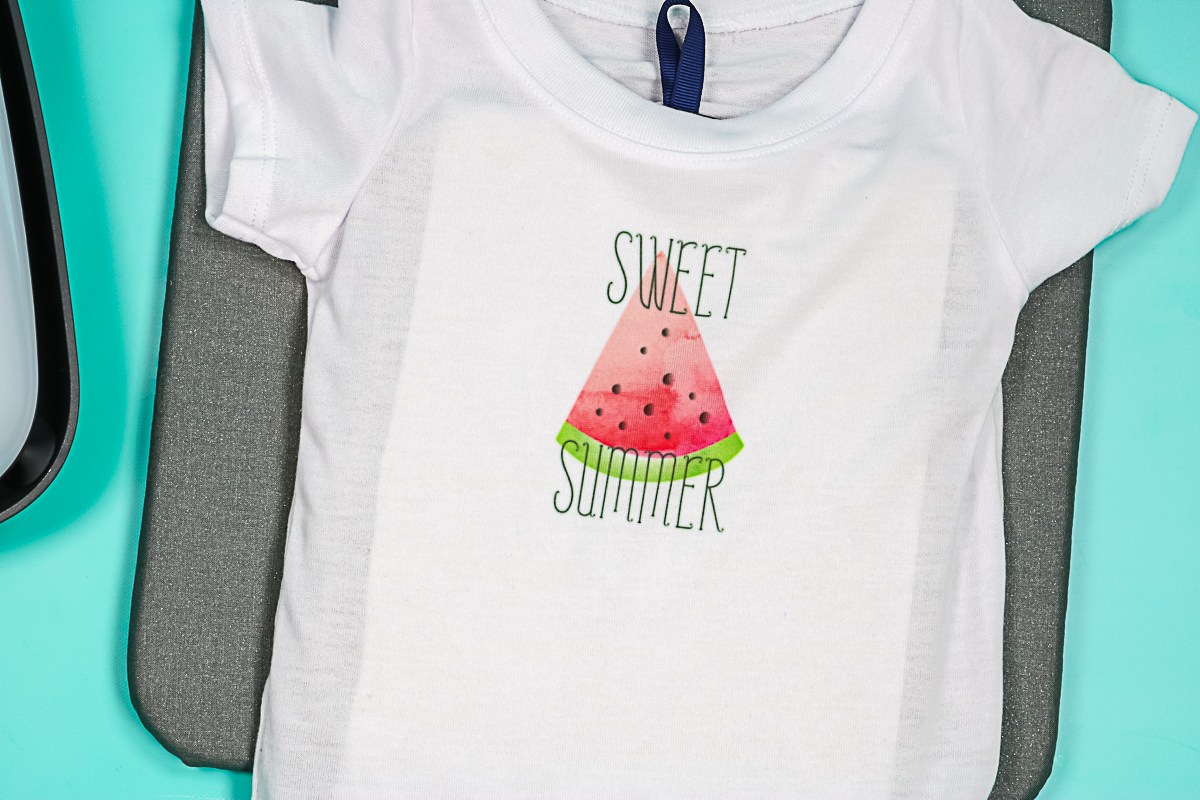
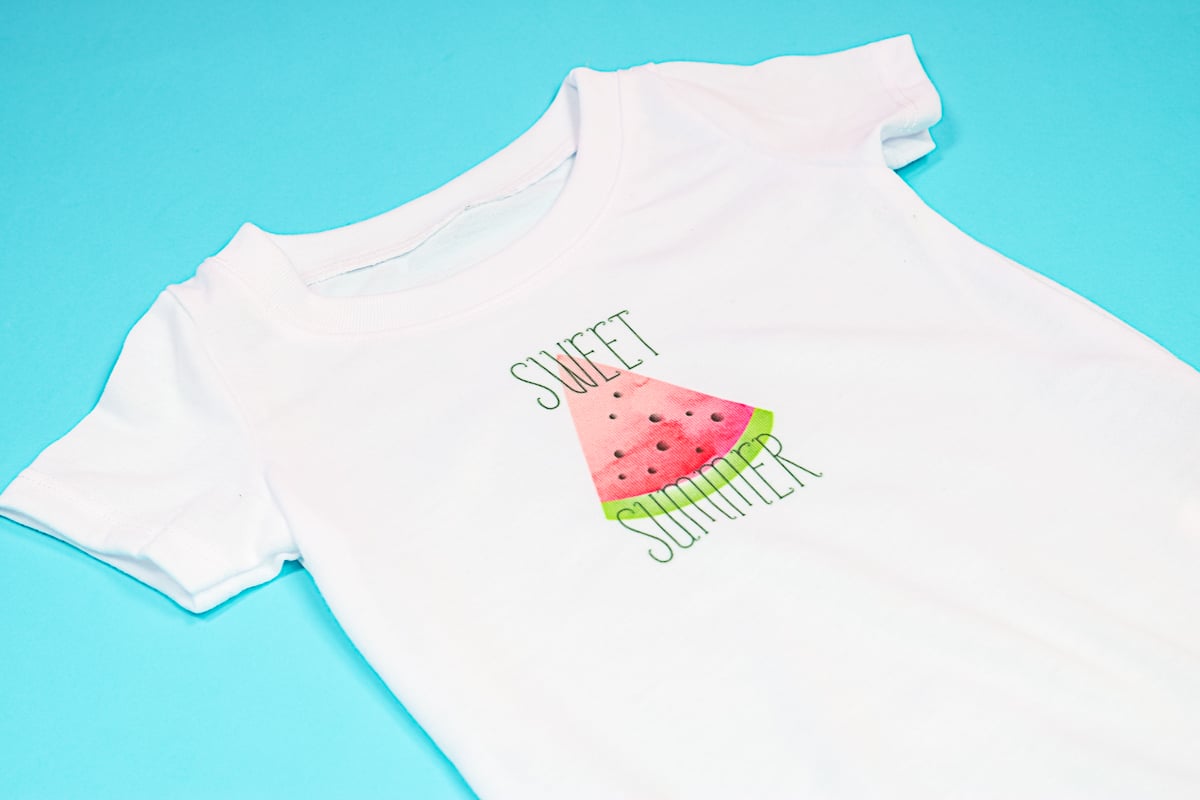
Just peel back the print to reveal the design on the onesie. I love this cute watermelon design and how great it looks on this onesie.
I can now say that you can do sublimation with the EasyPress 3 and the Cricut Heat app. Now that I have all of my projects complete in this Cricut EasyPress 3 review, it is time to decide which press is right for you!
Cricut EasyPress 3 Thoughts
You’ve seen me make three projects with the EasyPress 3. My thoughts are that the Cricut Heat app is really, really great. It walks you through the process. I think it’s going to be a game-changer, especially for beginners. Even if you are super experienced, it’s easy to forget steps. You could forget that holographic iron-on requires a different temperature than everyday iron-on. You might forget that the Infusible Ink coasters need to be upside down versus right side up. Forgetting those small steps can mean that your projects don’t turn out as well as you expect them to.
I do think Cricut Heat has a place. It’s great for beginners and it’s great for more experienced crafters. It helps you to remember all those heat settings without having to scroll through tons of websites and blog pages. It’s right there in the app. You pick what you’re using, what you’re putting it on, and the settings pop up. They automatically go to the Cricut EasyPress 3. Plus the settings change as the app moves through the preheat, press, and heating from the back process. I really do like the Cricut Heat app and I love my EasyPress 3.
Should You Upgrade?
If you already have the EasyPress 2, is the EasyPress 3 worth it? I would say the only reason to upgrade is if you just really love this color (because you can’t get it with the EasyPress 2), or if you just are in love with the Cricut Heat app and you don’t think you can live without it. Those are the only two real reasons to upgrade.
Otherwise, I would just keep using your EasyPress 2 just as you always have. There’s nothing really that’s different. Just keep looking up those heat settings just as you always have and keep using your EasyPress 2 if you love it. However, if you don’t love the EasyPress 2, and you’re thinking the Cricut Heat app looks amazing, then the EasyPress 3 might be something you want to add to your wishlist.
I do love the EasyPress 3 and I’m probably going to change all of my EasyPresses over to the EasyPress 3. I feel that the Cricut Heat app makes my life a bit easier and the colors just match better in my videos. That is what works in my craft space and for my YouTube channel.
Now that you’ve seen this Cricut EasyPress 3 review, hopefully, you can make the decision on your own about whether this machine is right for you.
