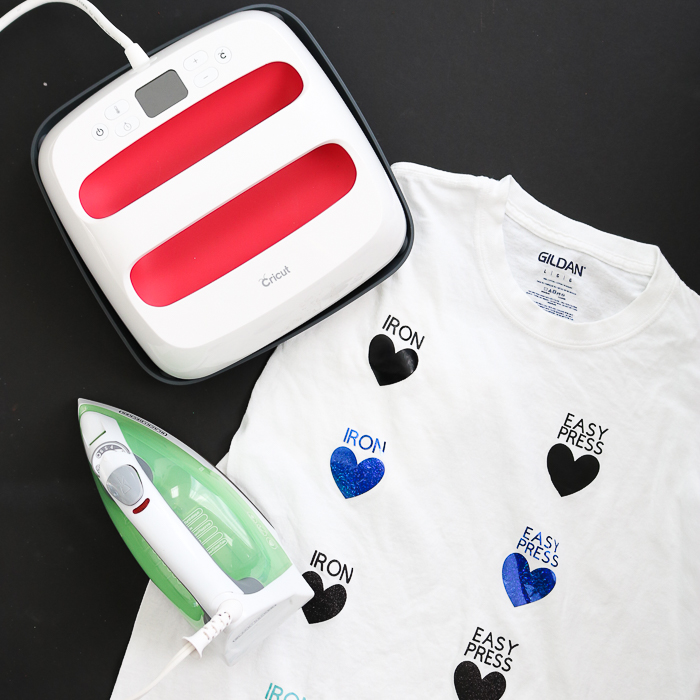
Are you ready to tackle the Cricut EasyPress versus iron debate? If you've been using a household iron for your HTV/Iron-on projects and want to know if the EasyPress is right for you you've come to the right place.
Keep reading to learn all about the Cricut EasyPress and why you need one in your craft room.
Want to know how the EasyPress compares with a heat press? Click here for that comparison as well!
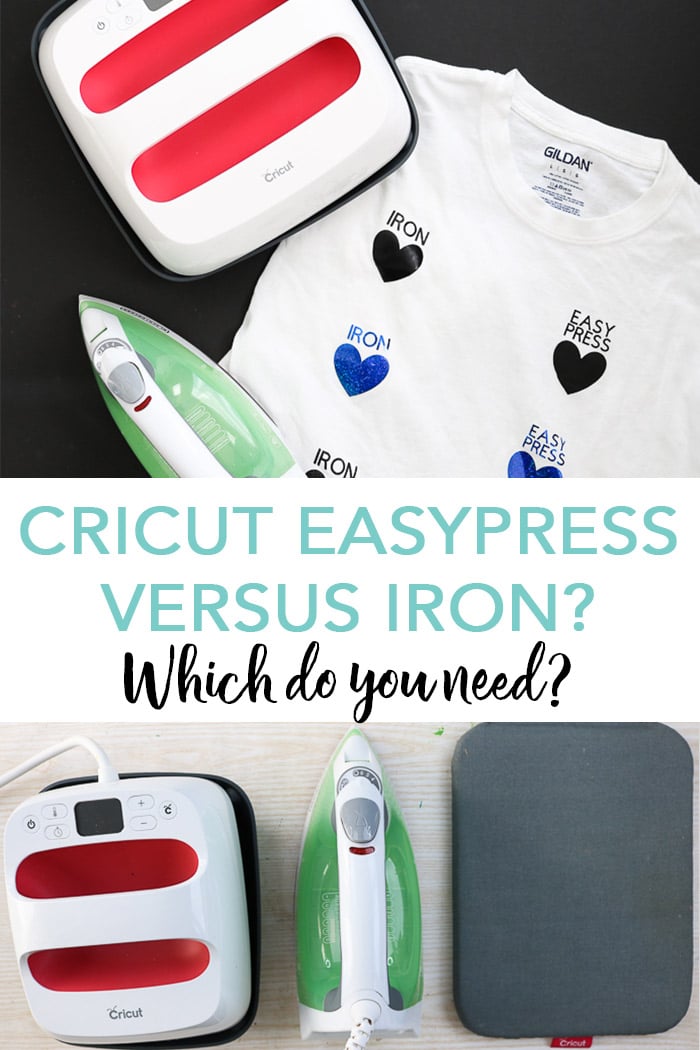
Cricut EasyPress vs Iron
The Cricut EasyPress is more than a glorified iron. With a heat plate that maintains consistent heat from side to side and top to bottom, you need to keep reading to learn all about it.
Supplies used:
The supplies we are going to use for this comparison are a cotton t-shirt and some Cricut Iron-on. I used Iron-on in Everyday, Holographic, Glitter, and Patterned. You can find the entire selection of Cricut iron-on products here.
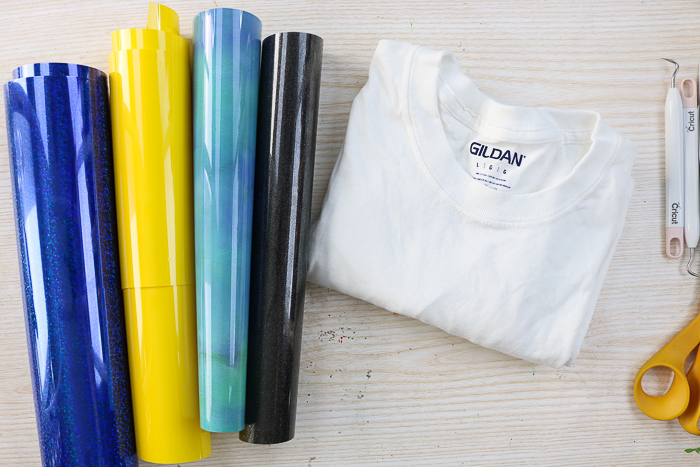
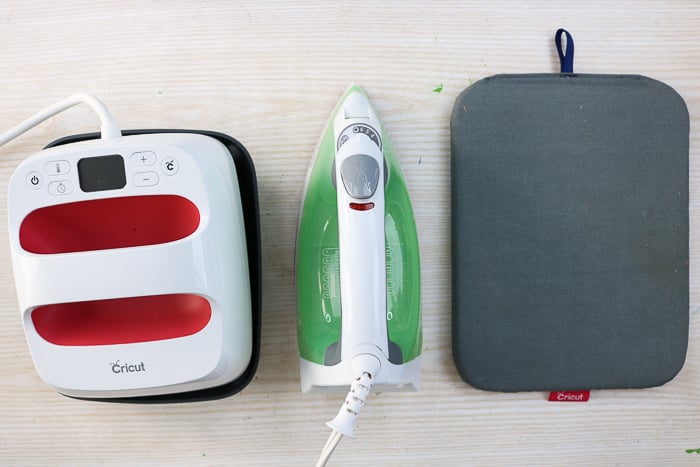
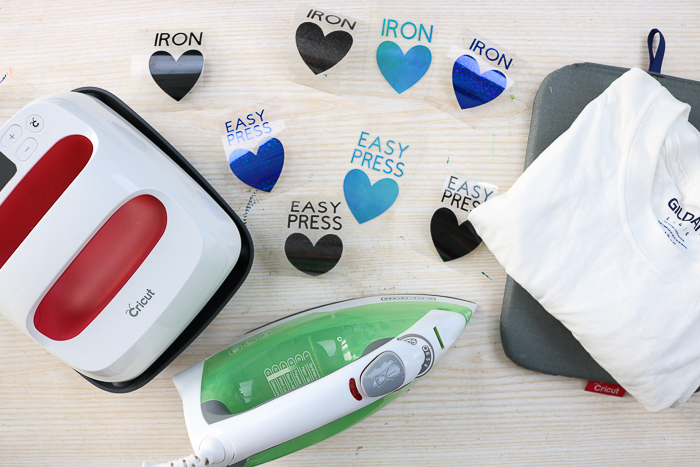
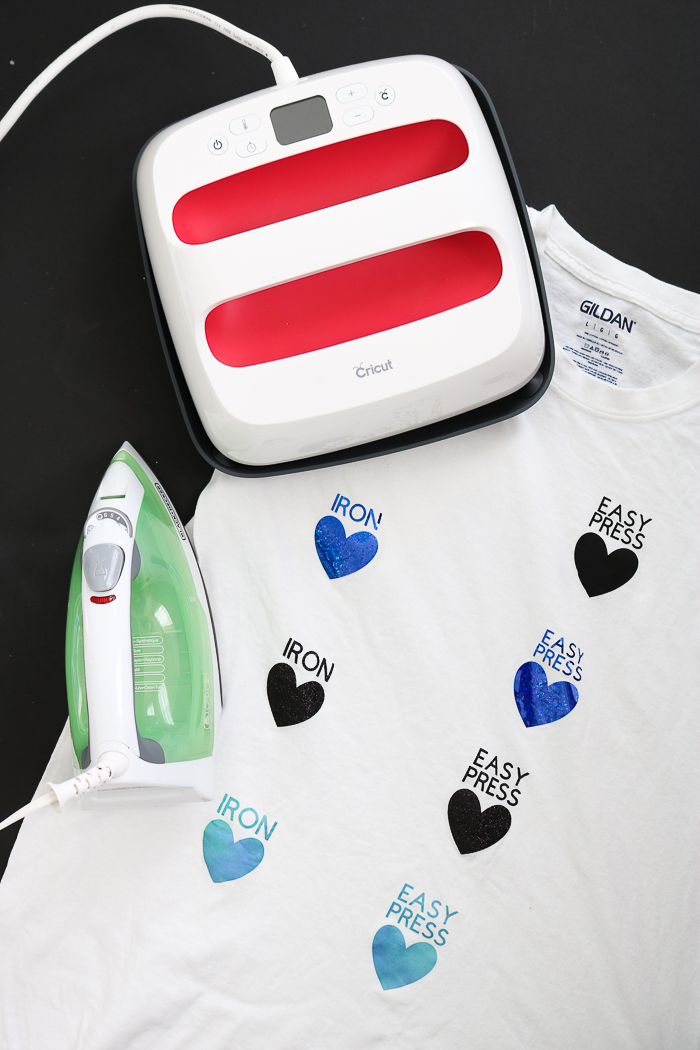
We are also using the Cricut EasyPress 2, a new iron, and the EasyPress Mat.
About the Cricut EasyPress 2:
The EasyPress combines the speed of a heat press with the convenience of an iron. It actually comes in multiple sizes and you can learn more about those by clicking here. You just set your time and temperature and allow the machine to do the countdown while you apply light pressure. The evenly heated plate means that you get professional results every single time!
Looking for information on the EasyPress 3? Click here to learn all about it.
About the iron:
I purchased a new iron for this comparison. I find over time that the iron gets even worse with heating evenly over the surface. I thought a new iron would make the comparison a bit more accurate.
About the EasyPress mat:
This mat protects your surface as well as helps to distribute the heat more evenly across your project. It eliminates moisture and directs heat to your iron-on design. You can use a folded-up towel with the EasyPress instead but for me, the mat is a must! I really love the mat and how it protects my surfaces.
Cutting Iron-On with Your Cricut
You can cut iron-on materials with any Cricut machine. Just make sure to mirror your design and cut with the shiny (or good) side down on the mat.
Make sure to check the Cricut Heat Guide for the current time and temperatures for your project.
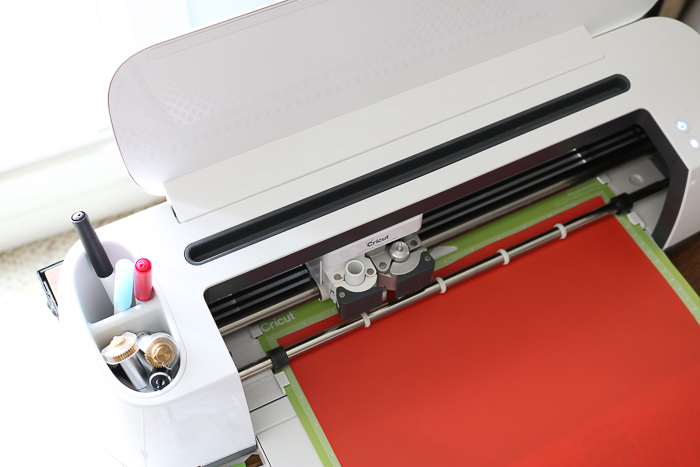
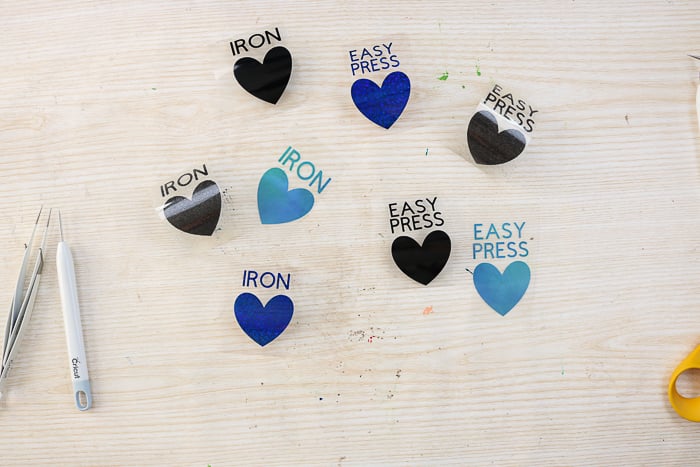
I cut hearts as well as the words “iron” and “EasyPress” from my iron-on. Then I just weeded all of the elements that I cut. This is simple with the Cricut BrightPad and you can read all about it here.
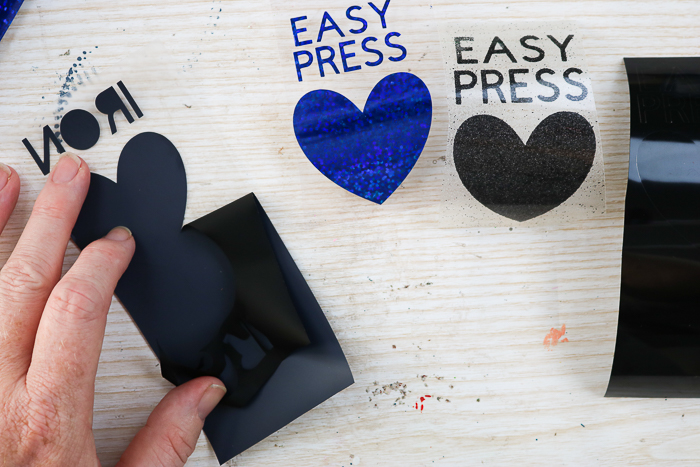
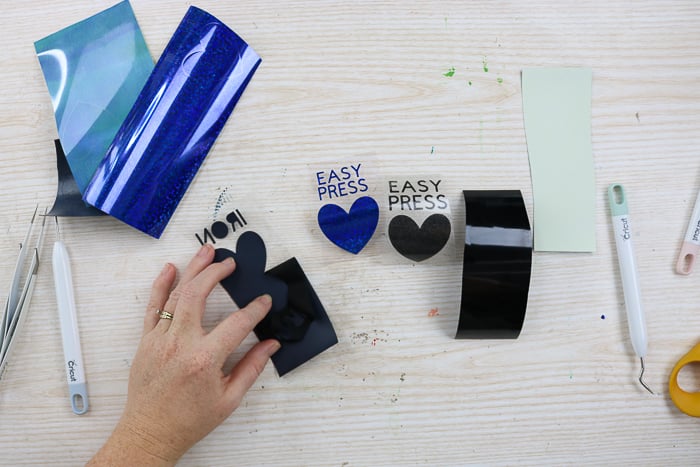
I cut the same design from all four types of iron-on to keep the comparison fair.
Cricut EasyPress Versus Iron Video
Now, if you want all of this information in a video format, I have created a video with everything you need to know about the comparison between these two machines.
Can't watch the video or missed any of the details? Keep reading below as we have the information you need!
Cricut EasyPress Versus Iron Comparison
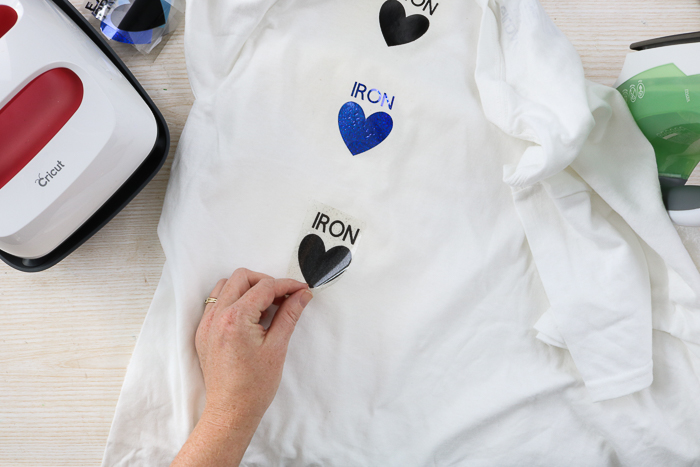
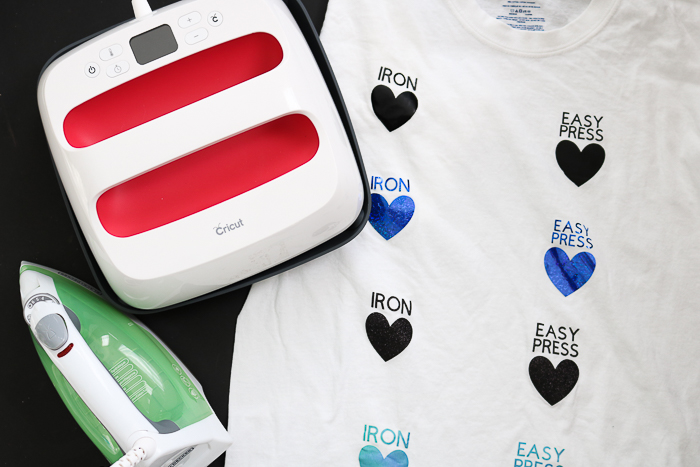
You can see the iron-on I cut and weeded in the image below. These are ready to be added to a shirt. I added every one of these to the same shirt for an equal comparison.
I used a new iron and my small Cricut EasyPress for the entire comparison.
Using the Iron for Iron-On
To use your iron, be sure to look at the instructions that are on the package or on the Cricut website. I used a cotton setting without steam.
Of course, there is no way to make sure your iron is at any set temperature. The other issue with an iron is that the heat is not even across the surface. Actually, the holes in the bottom of the iron are not heated at all.
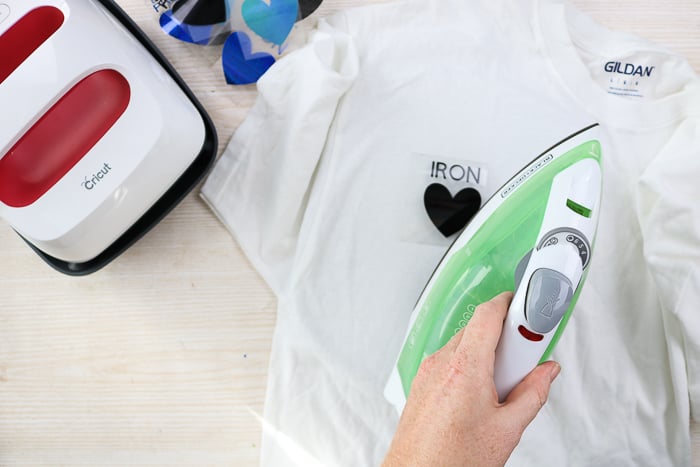
When you press with an iron, make sure to press down well and move the iron so you can get the heat as even as possible. You can do this on top of a folded-up towel or even the EasyPress mat.
You will need to either set a separate timer or countdown yourself as you press. Be sure to follow all instructions with your iron-on including pre-heating your material, pressing from the front, and pressing from the back.
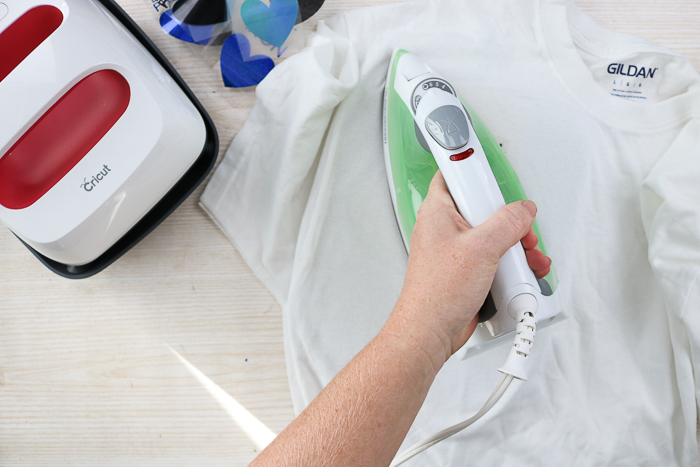
I repeated this same ironing process for all of the hearts all the way down the “iron” side of my shirt.
I had quite a few issues with the holographic iron-on. It needed to be pressed a few times in order to stick then the iron-on itself was distorted.
Frankly, I find that an iron over time gets even worse at pressing on iron-on and I always have some issues when I go to make a project. Plus, I find that the material itself does not last as long when I press using my iron.
Using the Cricut EasyPress for Iron-On
When using EasyPress, I always use my EasyPress mat. You can also use a folded-up towel.
When you look up your time and temperature settings for your EasyPress on the interactive guide here, be sure to pick either towel or mat. I will say that I like the mat because it protects surfaces so much better.
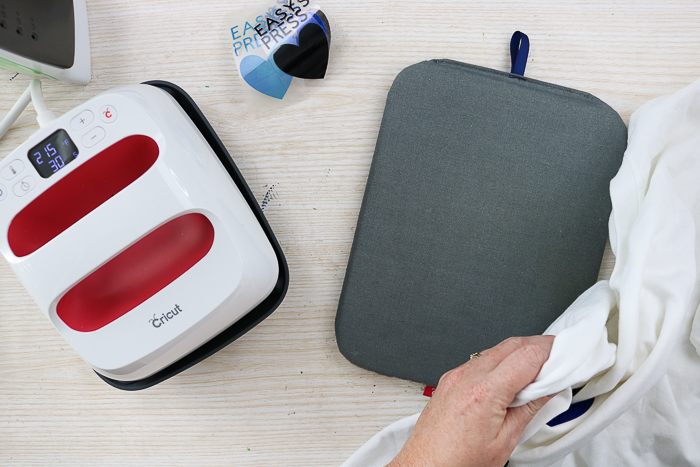
The EasyPress 2 can go up to 400 degrees F and heats up super fast. It will beep when it comes up to temperature and then it is ready to press.
Start by preheating your fabric then just place the EasyPress over your design and hit the Cricut “C” button to start your countdown timer.
Give gentle pressure while the EasyPress does all the work of evenly heating your design and counting down the correct amount of time.
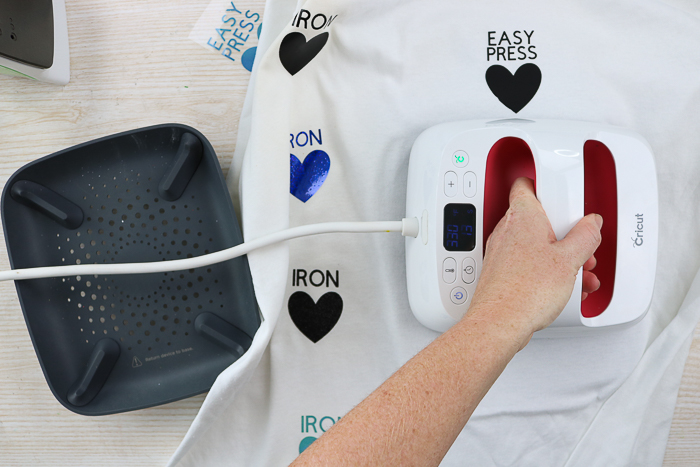
Press from the back as well before removing your carrier sheet from your design. Note that some iron-on materials are cool peel while others are warm peel.
Be sure to check which yours is on the instructions before pressing. I used the same pressing method all the way down this shirt for experimenting with different types of iron-on.
Cricut EasyPress Versus Iron
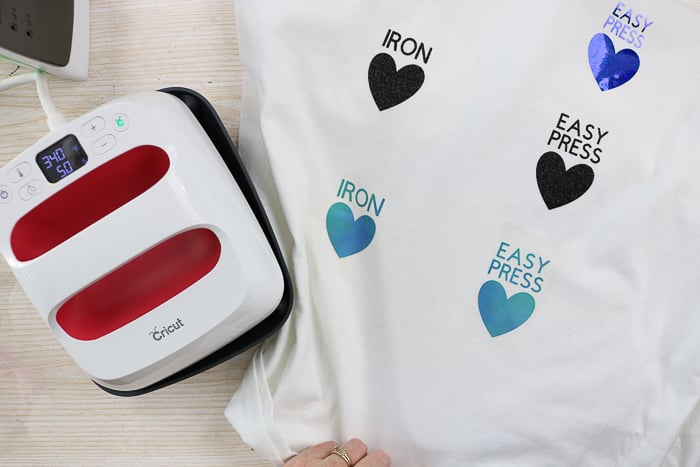
Now it is time for the results! Which wins in the Cricut EasyPress versus iron debate? I thought I would give you the pros and cons for both methods so you can make an informed decision.
Iron Pros – inexpensive, easy to store
Iron Cons – uneven heat, holes for steam where there is little to no heat, no set temperature, no countdown timer, difficult to get iron-on to stick at times, may not have an auto shutoff, takes longer to heat up
Cricut EasyPress Pros – even heat, set temperature, countdown timer, easy to use, auto shutoff, heats up quickly
Cricut EasyPress Cons – cost, size
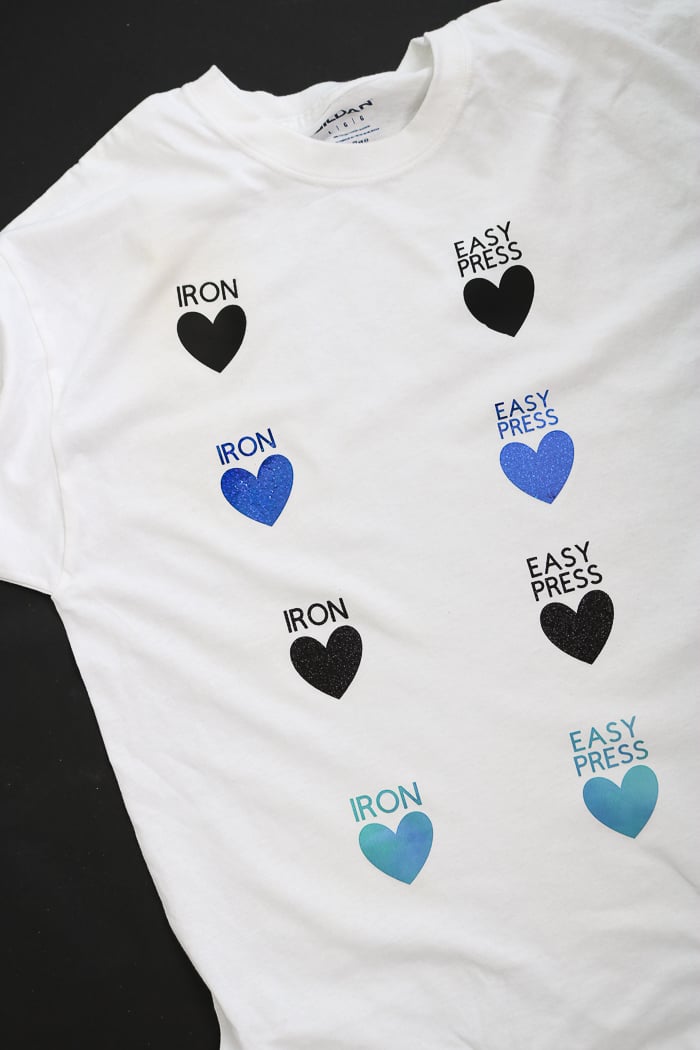
So, as you may be able to tell, the Cricut EasyPress wins for me each and every time. I can easily make iron-on projects without any of the distortions that I saw in these experiments with my iron.
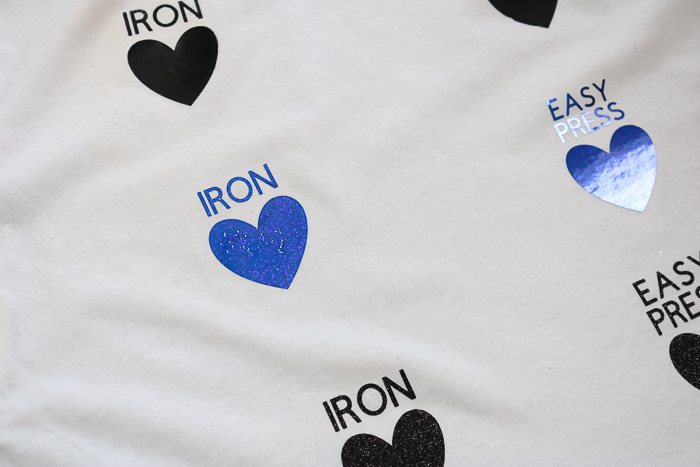
Overall, I think that the EasyPress gives better results as far as longevity as well. You can expect your projects to really stick and last longer when you use the Cricut EasyPress vs an iron.
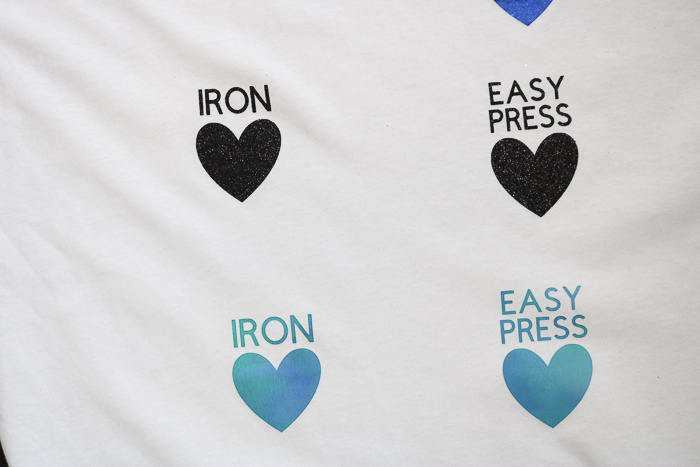
How long does iron-on last?
That is the bottom line question, right? Well, with the StrongBond™ Guarantee from Cricut you know that when iron-on material is used as directed, you’ll be completely satisfied with the results. If not, Cricut will replace it for free. Plus they say it will outlast 50+ washes! Now that is longevity you can count on for all of your gift-giving needs.
Where to buy the Cricut EasyPress 2?
You can find the EasyPress 2 at a variety of stores and also on the Cricut website. There you can find all the sizes.
Which size is right for you? Well, if you do lots of smaller projects like onesies and toddler shirts, go with the smallest size. Do medium-sized projects like adult shirts? The medium is the way to go. Want to do XXL shirts and wood signs? Splurge on the largest size.
The bottom line is you can't go wrong with any of them as you can press multiple times even with the smaller unit to make larger projects. My favorite? I love the medium size unit and use it more than any of them!
I hope this Cricut EasyPress versus iron comparison has helped with your purchasing decisions. Y'all enjoy and ask any questions you may have in the comment section below!
