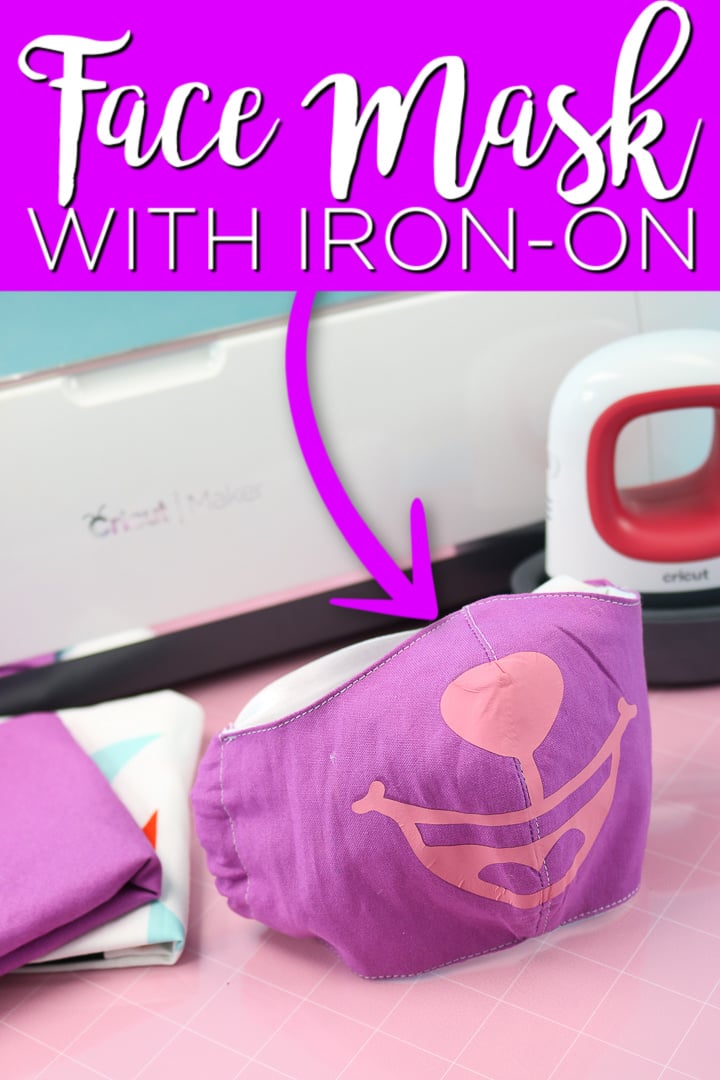
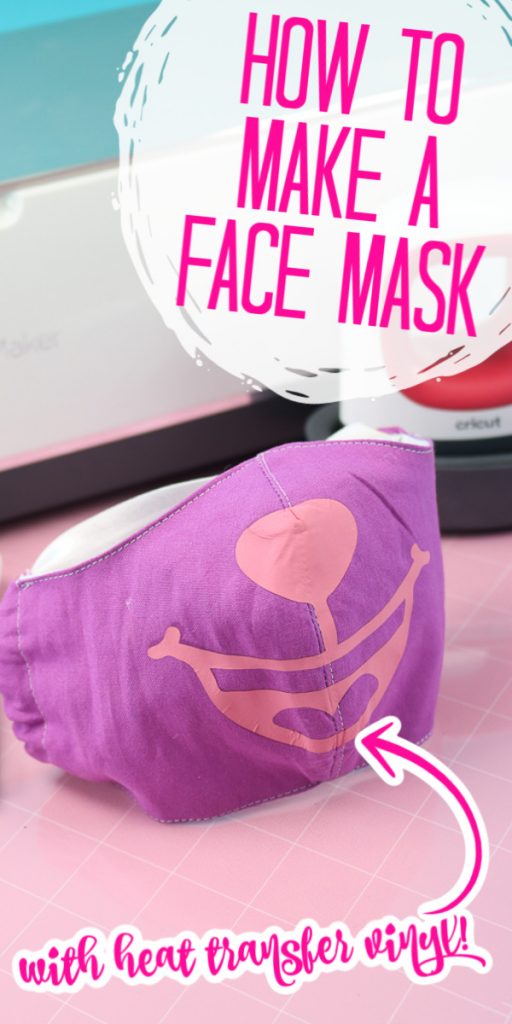
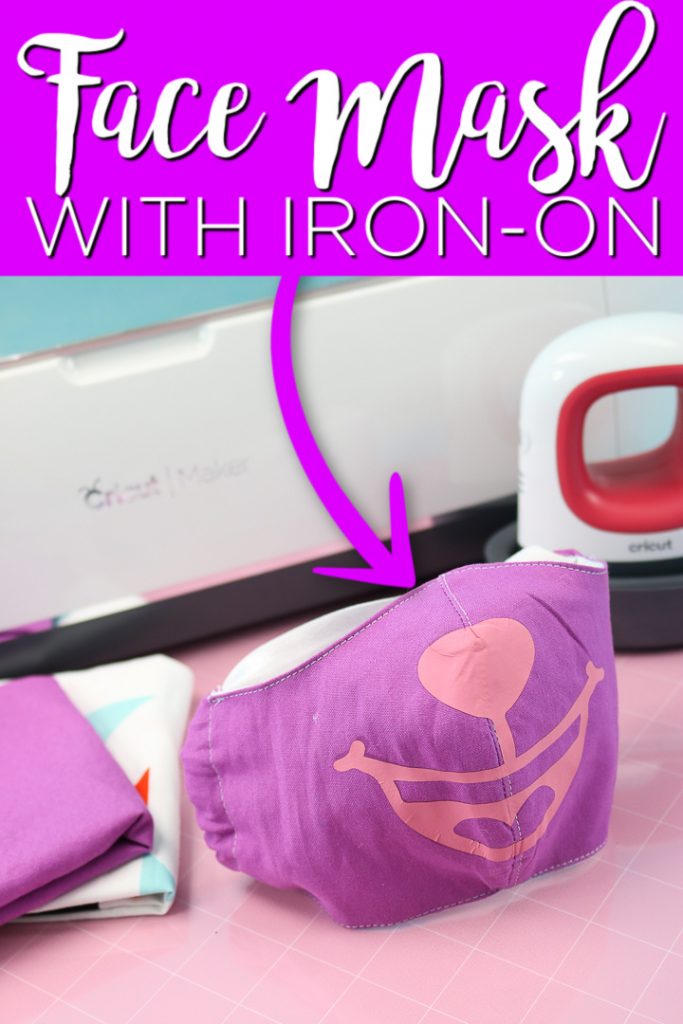
I know that many of you have been looking for a tutorial on Cricut face masks. Well, I have one for you today with an additional twist. I added a cute bear face on the front of this face mask for a touch of whimsy. This is perfect if you want to make a face mask for your little one or to add to your own face mask and really make someone smile. If you can’t sew, I also have a collection of no-sew face masks here that will work with iron-on as well!
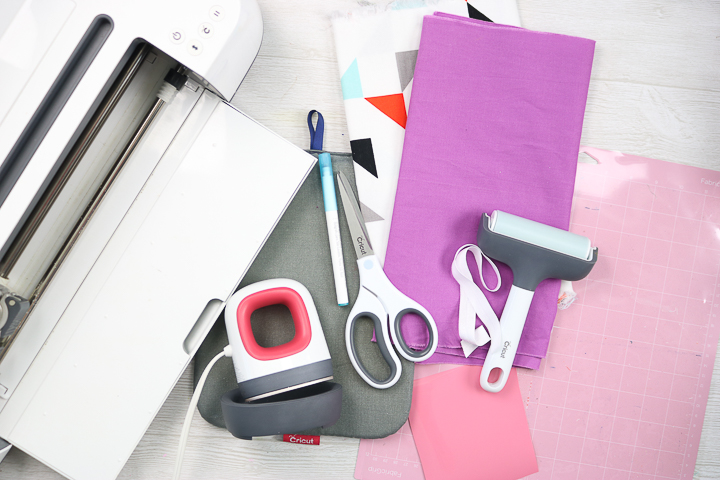
Supplies needed to make face masks with heat transfer vinyl:
- Cricut machine (cut fabric with Cricut Maker or a template with a Cricut Explore)
- Fabric (pre-wash all fabric when sewing face masks) 8″ x 16″ (20.3 cm x 40.6 cm) (for outside fabric) and 7″ x 16″ (17.8 cm x 40.6 cm) (for inside fabric)
- Fabric grip mat (12″ x 24″ is needed for the larger masks)
- Brayer
- Scissors
- Fabric pen (optional)
- Heat transfer vinyl
- EasyPress Mini
- EasyPress Mat
- Elastic (or any other alternate mentioned below) (For adult large: 20″, for adult small/medium: 18″, for youth large: 16″, for youth small/medium: 15″)
- Tweezers (optional)
- Sewing machine
- Thread
- Safety pin
- Straight pins
- Cut File (Go to my Design Space Profile and scroll to “Bear Face Mask”)
How to Make Cricut Face Masks
First, you can watch the video below and see just how to make these masks from start to finish. I am also going to share written instructions below so keep reading if you would rather see those.
Note: These are NOT rated for disease control and not considered PPE. For a direct link on this, visit the CDC website.
You can choose to add the iron-on face to the front or leave it off. I think it would be great for kids, those that work with kids, or even those that want to show they are smiling even though they are wearing a mask!
How to Cut Fabric for Masks
First, let’s talk about cutting the fabric with your Cricut machine. You will need to pull up one of the cut files to actually cut your mask. Note that all of these files are completely free! You can find them at the links below:
- Adult large
- Adult small/medium
- Youth large
- Youth small size
With the Cricut Maker, you can cut the fabric as explained below. With the Cricut Explore, you will want to cut a template from paper and use that to cut your fabric by hand. You can also print the pattern if you don’t have a Cricut machine at all at the links below.
Now, in order to cut your material with your Cricut Maker, you will want to follow the instructions below.
Supplies
- Cricut Maker
- fabric
- fabric grip mat
- brayer
- tweezers optional
Instructions
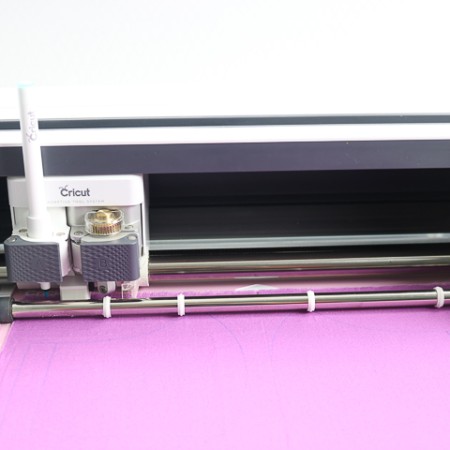
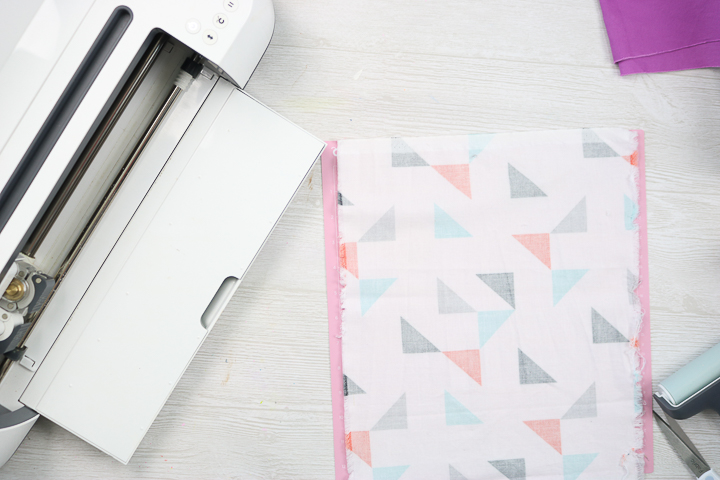
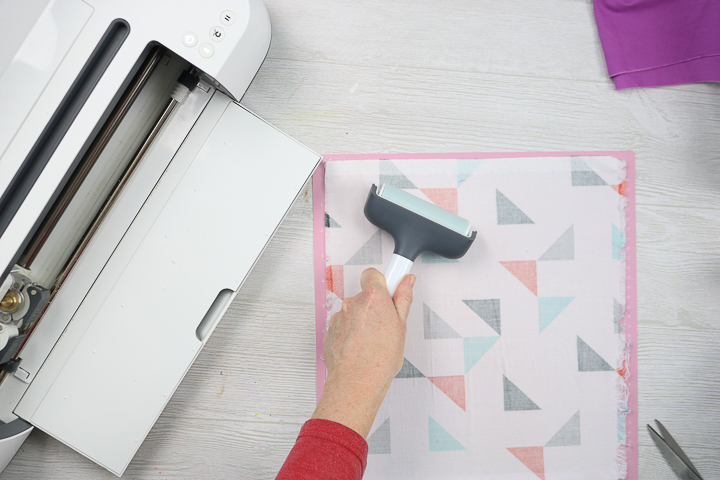
- Start by adding the fabric to a fabric grip mat. You will want to put this face down if you are using the fabric pen for marking your pattern. You should cut your fabric to fit on the mat.
- Press the fabric down really well. I like to use a brayer for this.
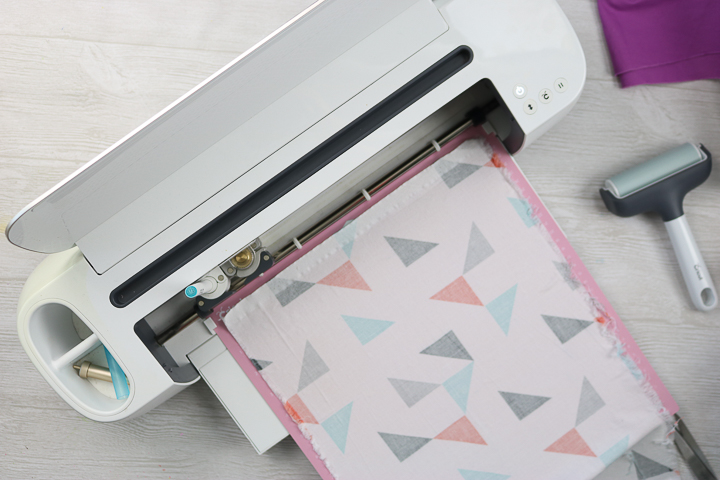
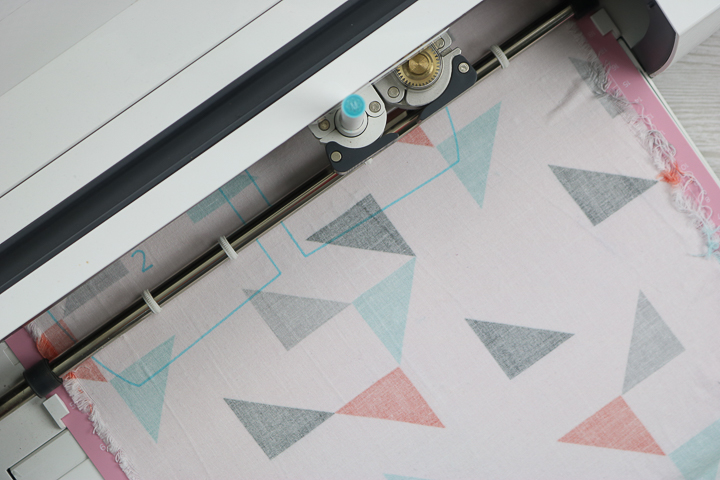
- Then cut your fabric with your Cricut Maker using the links given for the cut file of your choice.
- I chose to mark my pieces with the washable fabric pen but you can turn this option off before you cut.
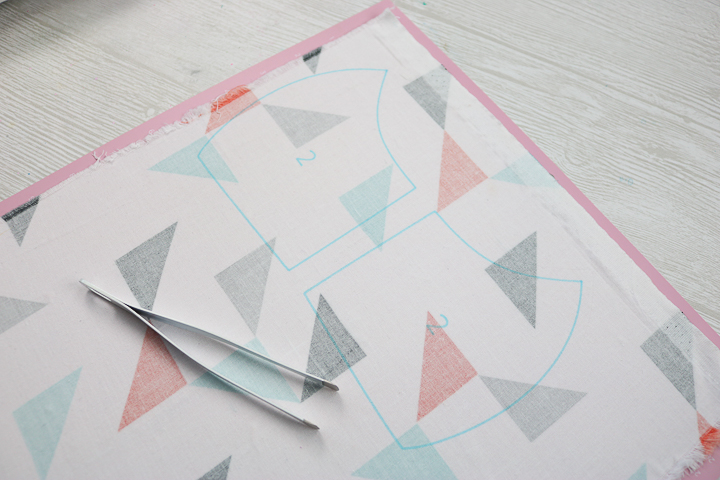
- Once the cut is done, remove the mat from your Cricut machine. With the fabric grip mat, you want to make sure not to touch the adhesive with your hands.
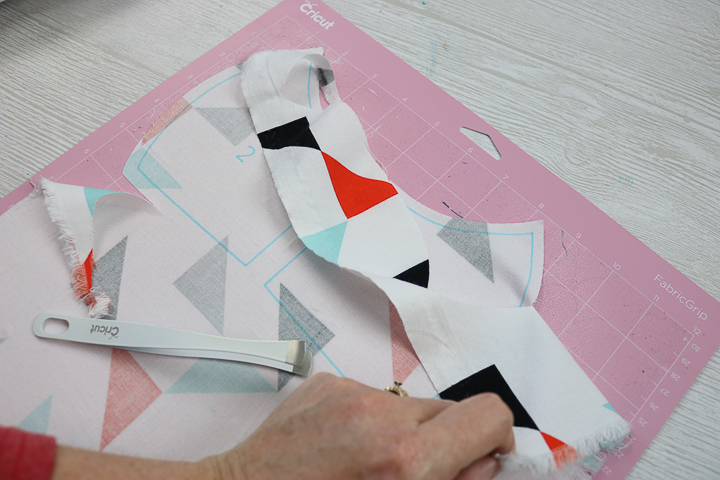
- First, pull away the excess fabric.
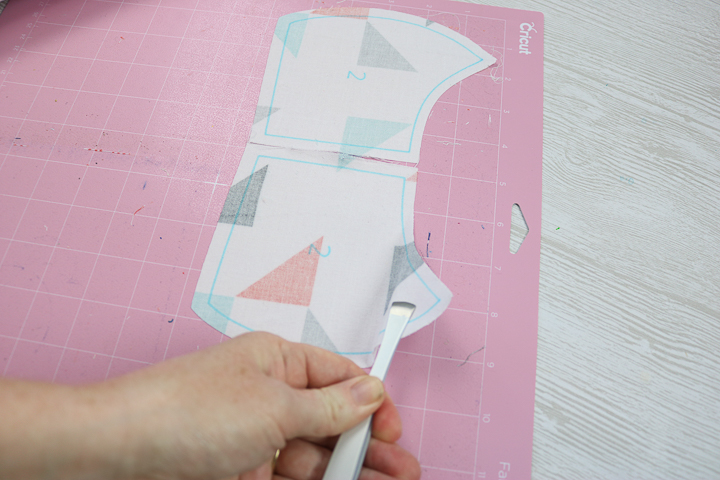
- Then remove your pattern pieces. I like to use tweezers for this portion so I do not touch the mat but this is optional. Now that your pattern pieces are cut, it is time to sew your Cricut face masks.
How to Sew Cricut Face Masks
Once all of your fabric pieces are cut, you can sew your face masks and add that iron-on design. These face masks are fairly easy to sew and are fitted so perfect for those that want to wear face masks in public for their own protection.
Equipment
- EasyPress Mini
Supplies
- Pattern pieces cut on Cricut
- Elastic or any alternate listed
- Thread
- Iron-on of your choice
- Safety pin
- Straight pins
Instructions
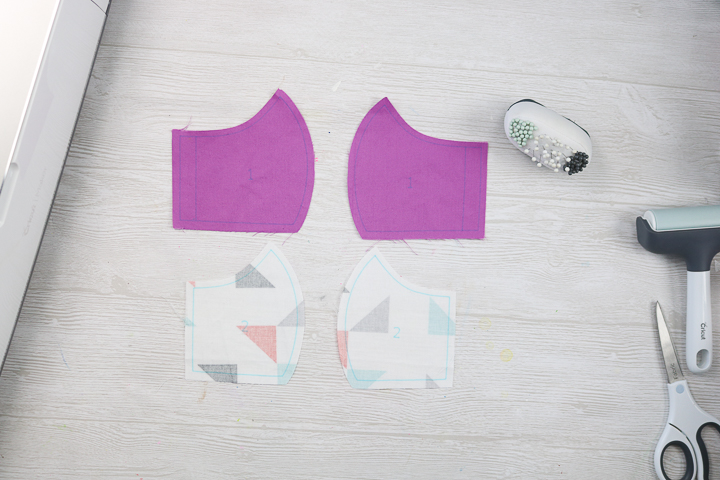
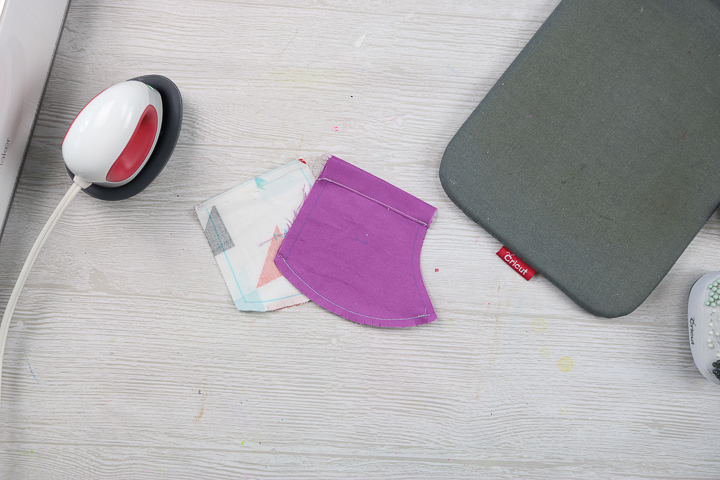
- Start with your cut pieces. You should have two larger pieces that are the outside and two smaller pieces that are the liner.
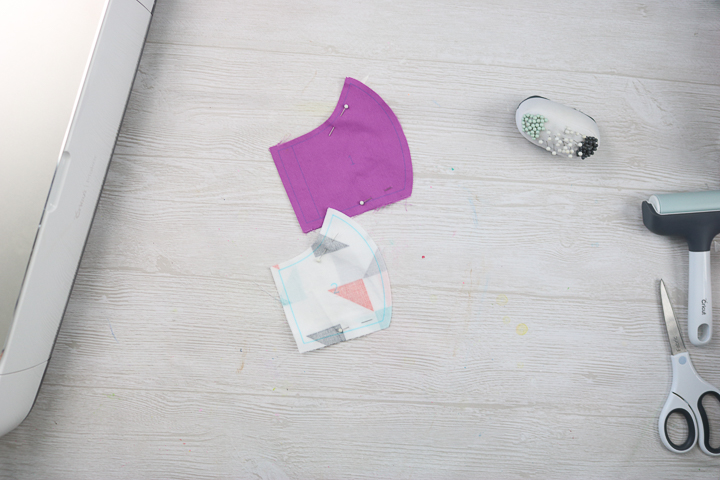
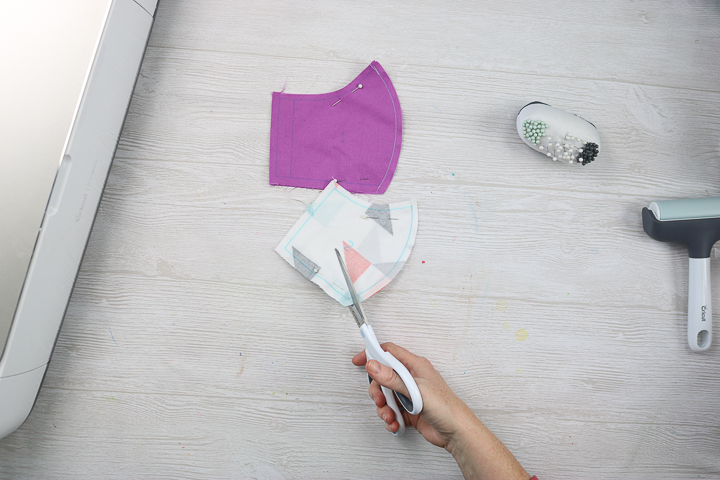
- First, put the right sides together of both pieces and sew along the curve. You can sew along the marked line or use a 1/4 inch seam allowance.
- Clip all along the curve on both pieces with a pair of scissors but be sure NOT to cut into the stitches.
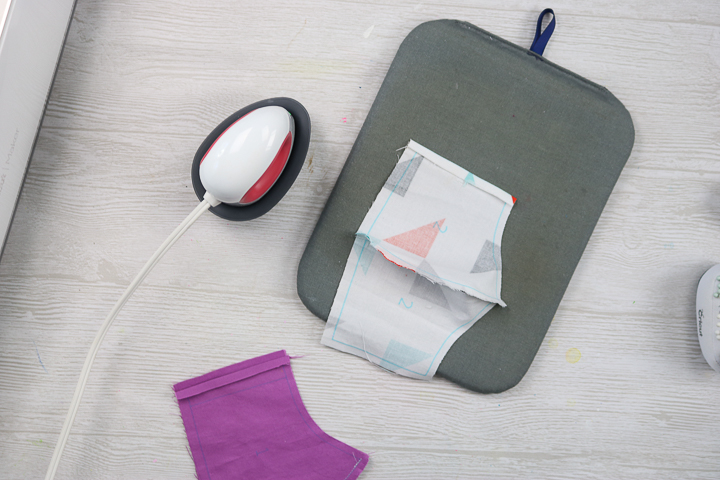
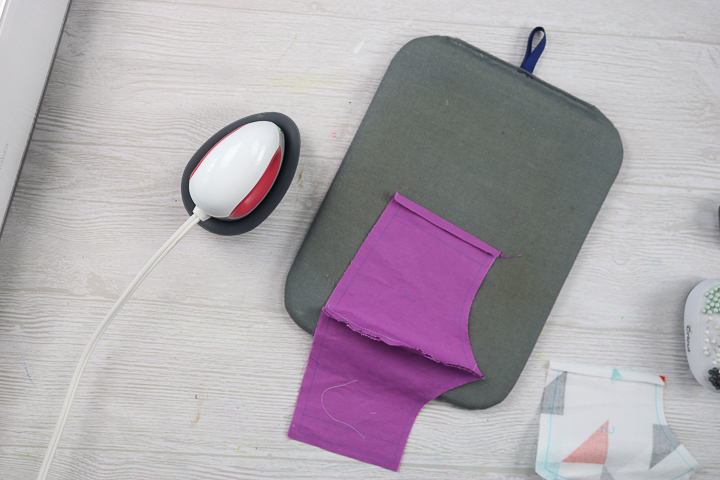
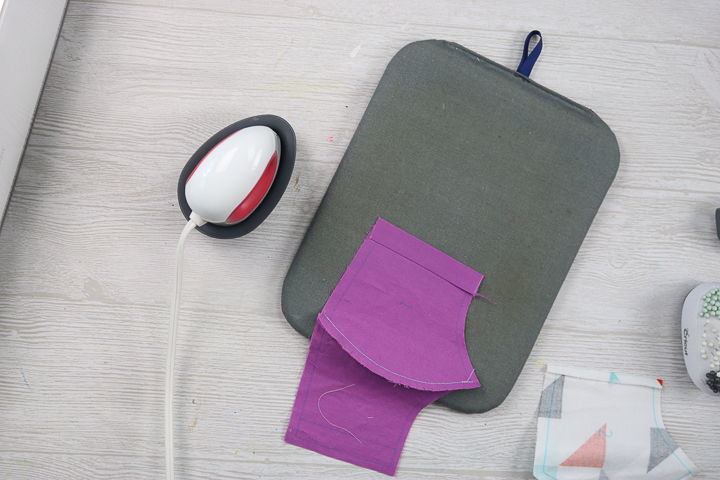
- Iron down the sides on both the front and the liner. For the liner, turn over 1/4 inch and iron.
- For the outer piece, turn over 1/4 inch and iron.
- Then turn over 1/2 an inch and iron. This will make your casing later for the ties or elastic.
- Then sew the liner as close to the edge as possible. Sew the outer piece as far from the edge as possible along that 1/2 inch fold. This makes the casing as large as possible.
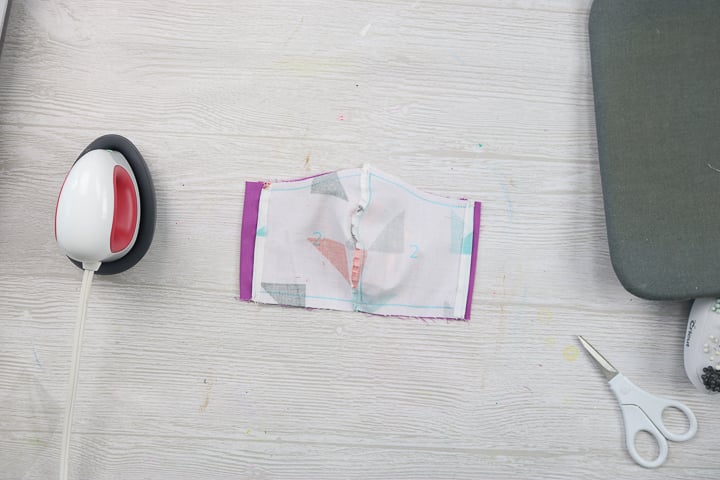
- Then press the seam down the middle to one side on both pieces. Top stitch this on that side as close to the seam in the middle as possible.
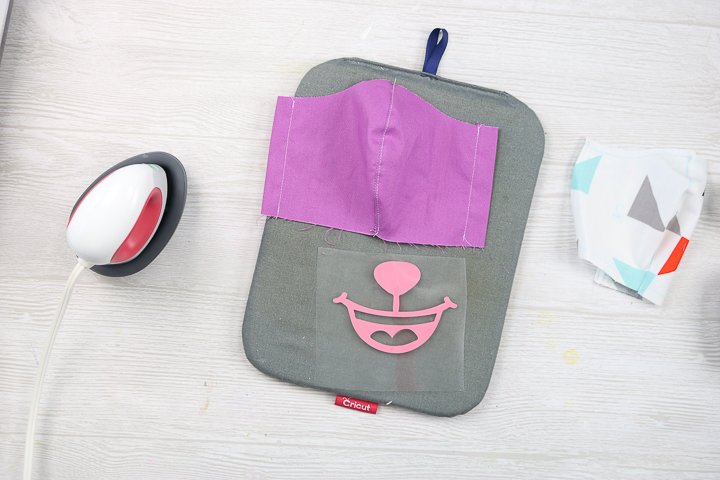
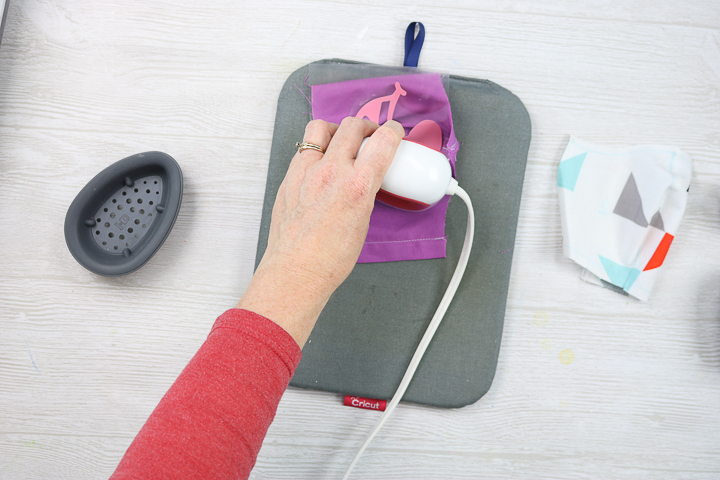
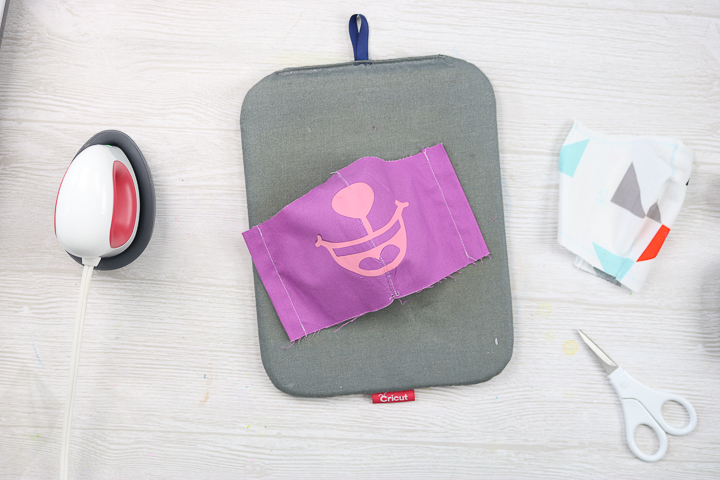
- If you want to add a cute face or mouth to your face mask, cut the design from iron-on then weed away all of the excess.
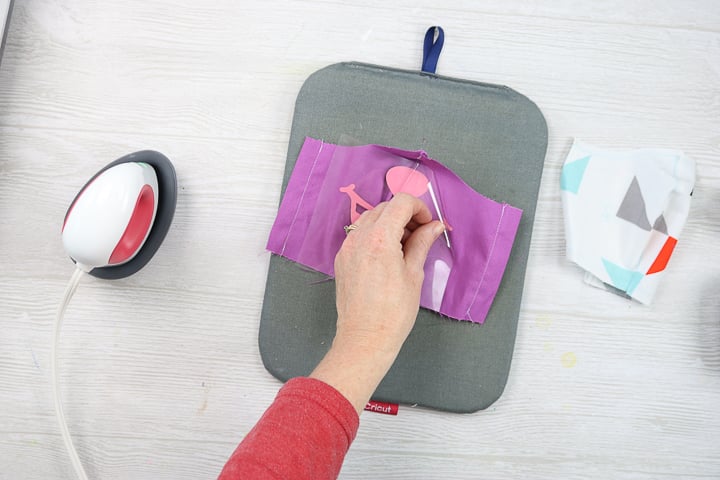
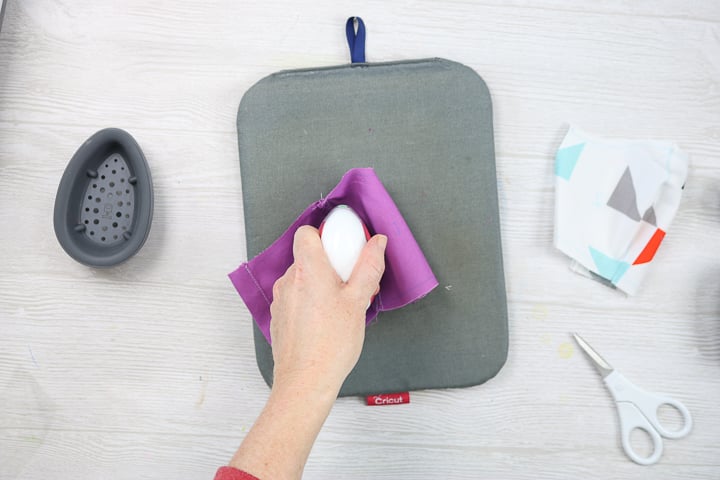
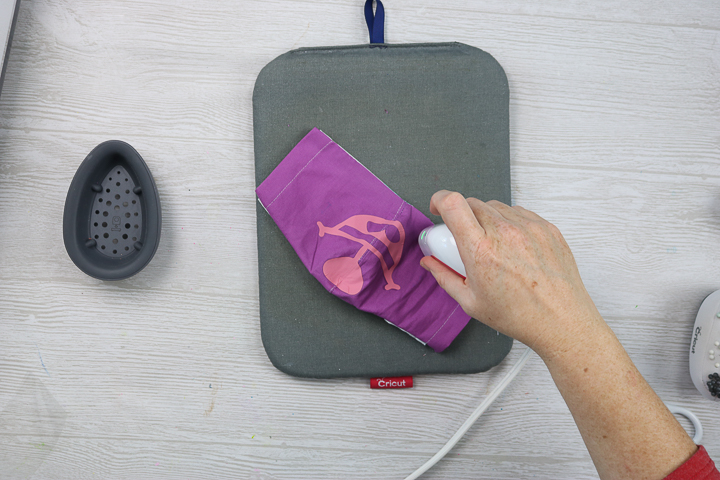
- Because the face mask is curved, I did one side at a time. So iron the first side to your mask.
- Once it has adhered, peel back the liner and cut it off with scissors.
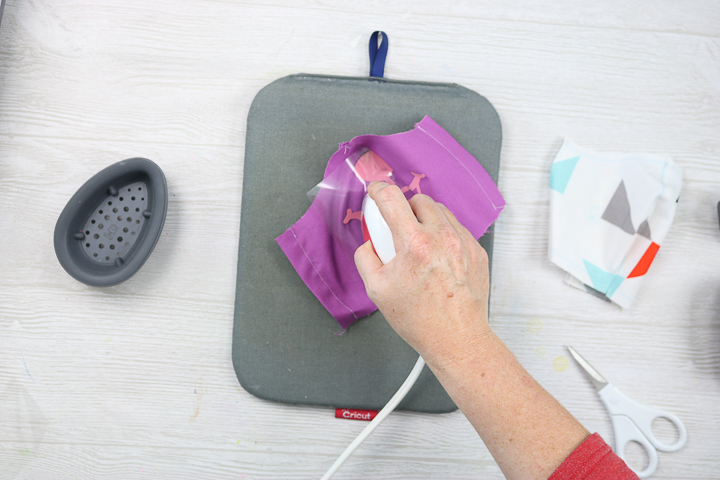
- Then position the opposite side and iron.
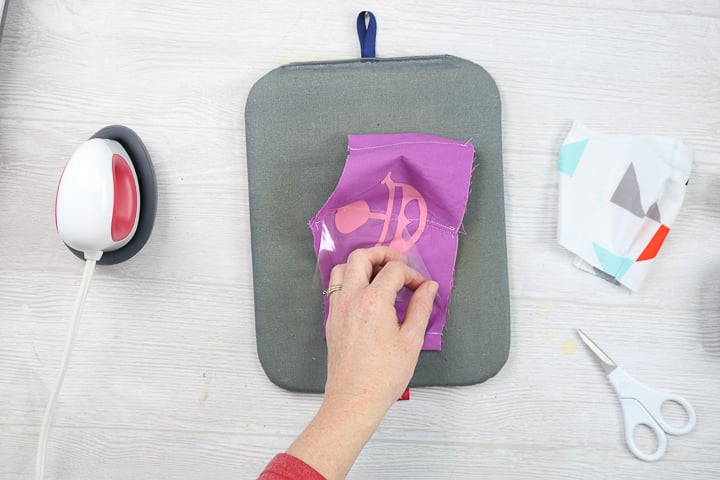
- Remove the liner once it has adhered.
- Then turn over to the back and iron once more paying attention to the middle seam especially.
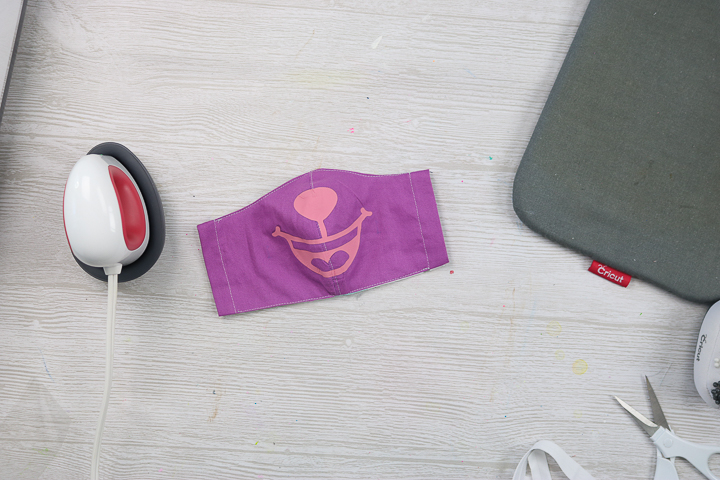
- Then your iron-on should be on your mask and you can continue with the sewing tutorial.
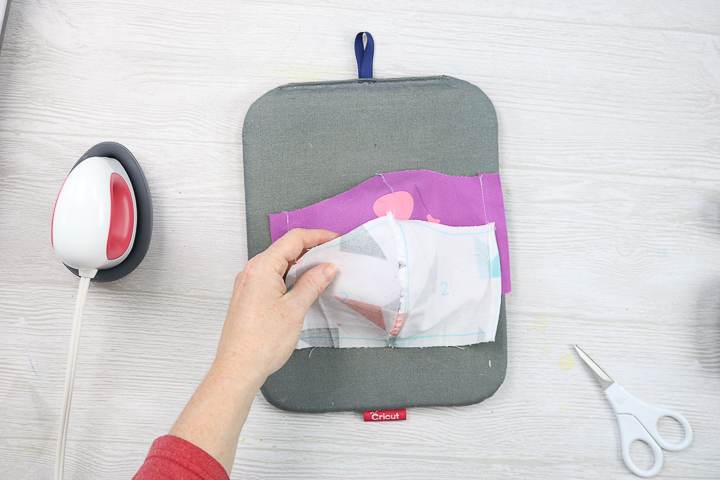
- Put the liner on the outer piece with the right sides together.
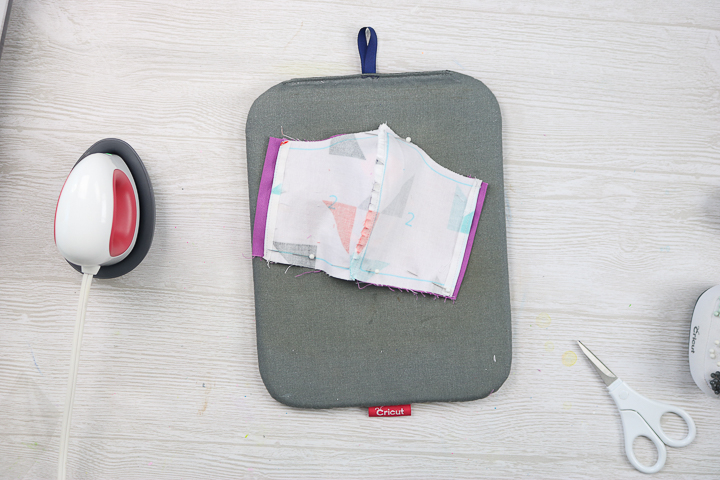
- Align the seams and pin them into place.
- Then sew along the top edge and bottom edge at a 1/4 inch seam allowance. DO NOT go over the casing on both sides.
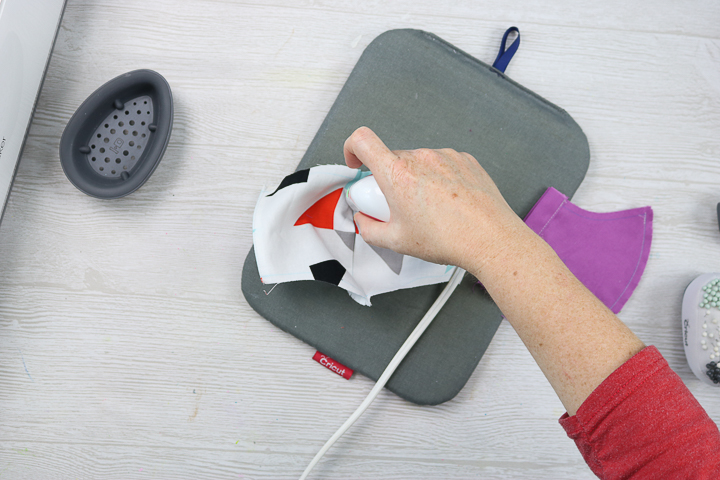
- Turn right side out through one of the sides (both of these should be open). Then press the seams.
- Top stitch along the top and the bottom as close to the edge as you can. Once again you DO NOT want to sew closed your casings on the side.
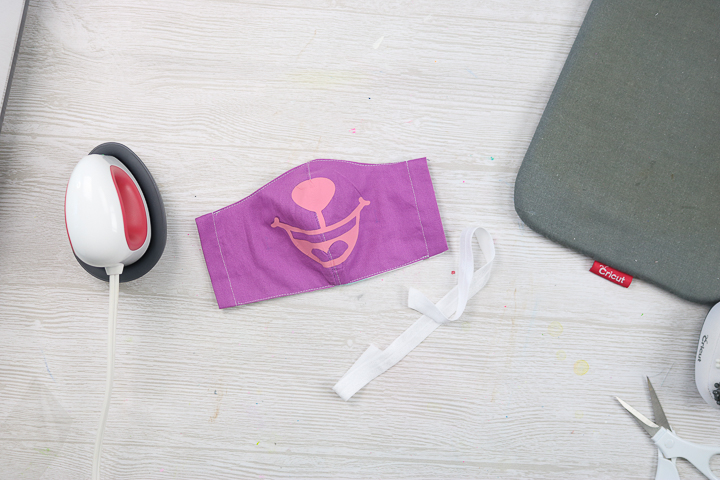
- Then add a safety pin to one side of your elastic. You can substitute ribbon, string, t-shirt strips, ribbon, shoestrings, and more here
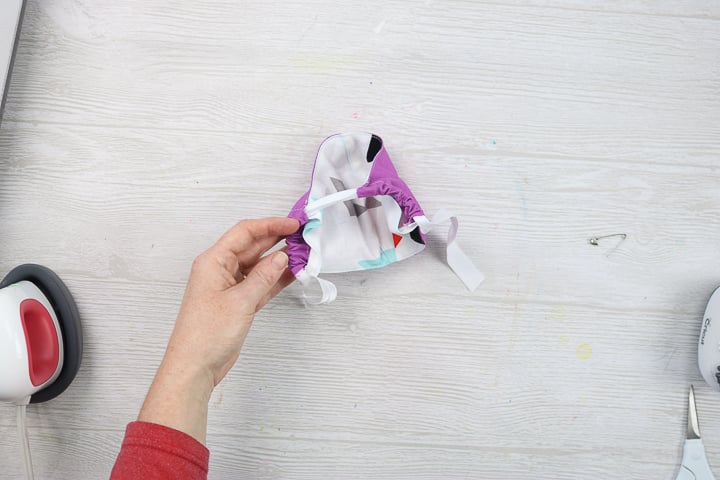
- Use the safety pin to feed the elastic through both casings. Then you can use a zig-zag stitch to secure the pieces together to complete your mask. If using an alternate, cut it longer and leave the ends handing to tie it around your neck.
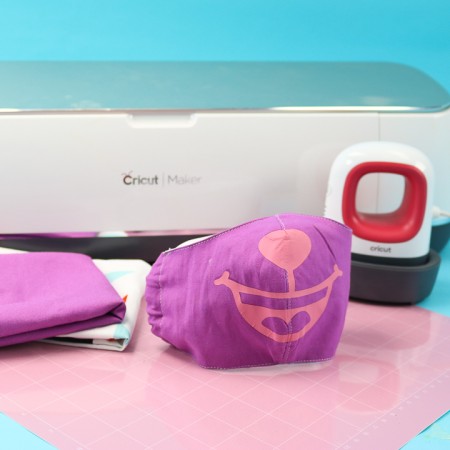
So, now your cute Cricut face masks are complete and ready to wear!
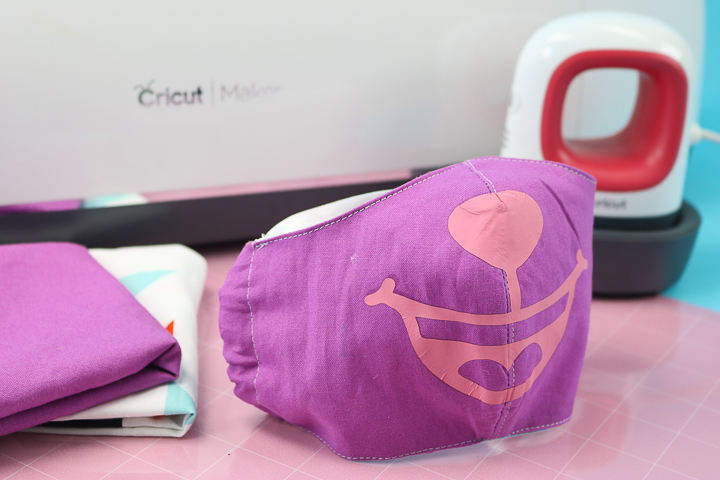
Fire up your Cricut machine and sew face masks for your family and friends. Cutting the pieces has never been easier!
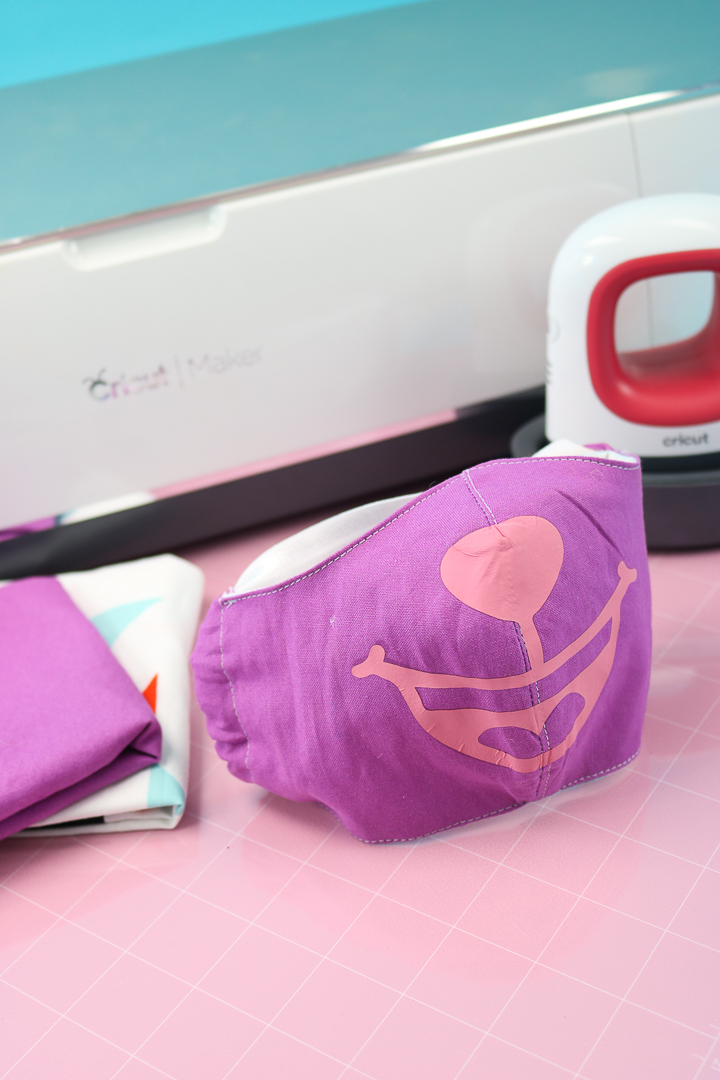
Change up the face to be whatever animal you like or just add a smile. Everyone will love seeing this special touch added to the front of any face mask you make.
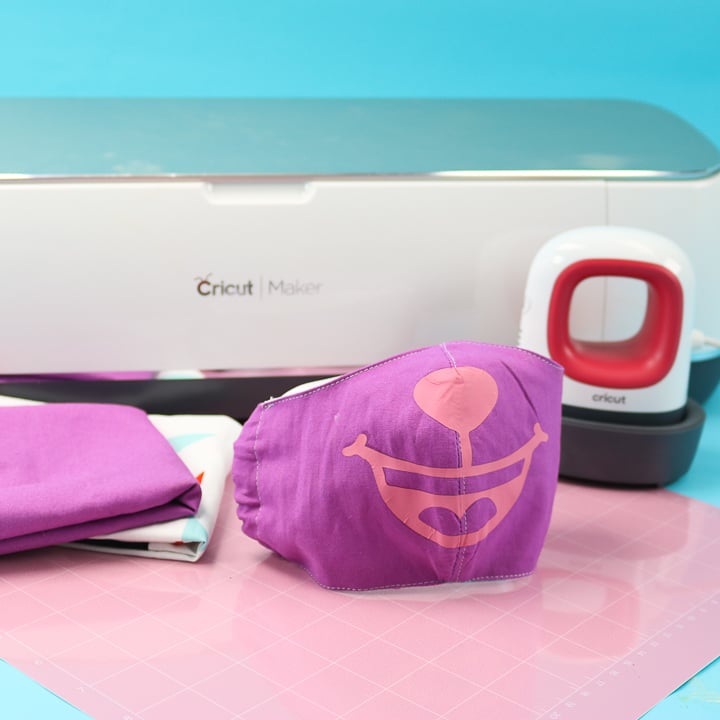
What are you waiting for? Starting making cute masks for your family. They you can be more protected when you do have to go out. Stay safe and stay healthy!
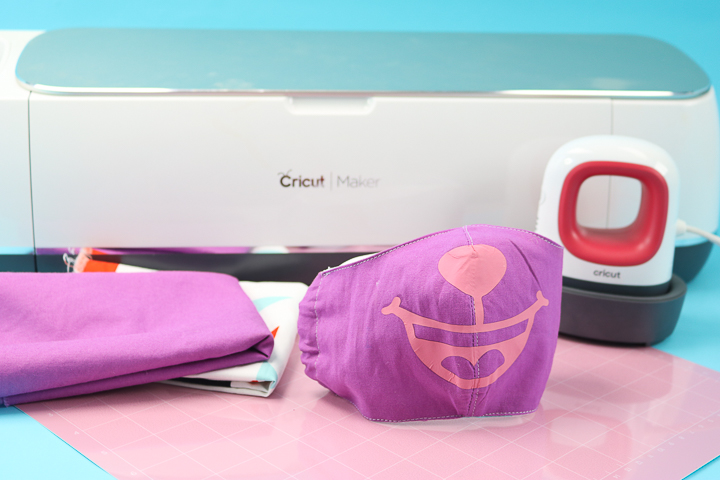
Love this tutorial for making face masks with a Cricut and want more? Try the links below as well!




Can you add the cut files in SVG form so we can cut it with other cutters please? This takes me to Cricut to get the files and I have a Brother Scanncut. Thank you! 🙂
Try this link: https://heyletsmakestuff.com/fitted-mask-cricut/
Vinyl contains PVC , which is harmful and should not be breathed in.
Wouldn’t it be easier to splice the iron on design and iron it before sewing it together (using the marker guide)?
You definitely could! My sewing skills are NOT amazing so I am almost positive it would not line up.