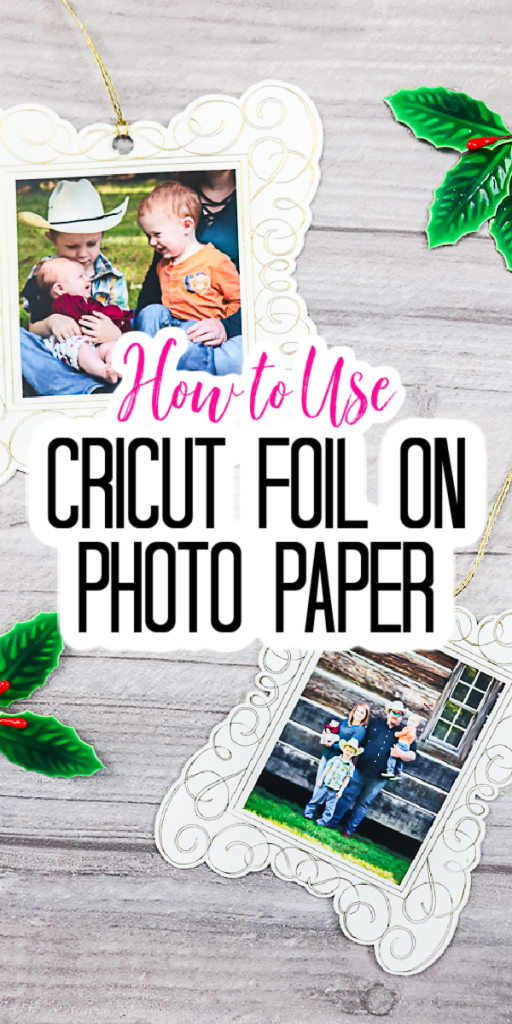
I have been asked a few times about adding Cricut foil on photo paper so I thought today I would tackle that with a project and instructions just for you. If you want to add foil accents to your photos, this is definitely the tutorial you need. I am going to use this method for making some gold foil photo ornaments for my Christmas tree. You can use this same idea for a ton of different craft projects. Just pick up your Cricut foil tool to get started.
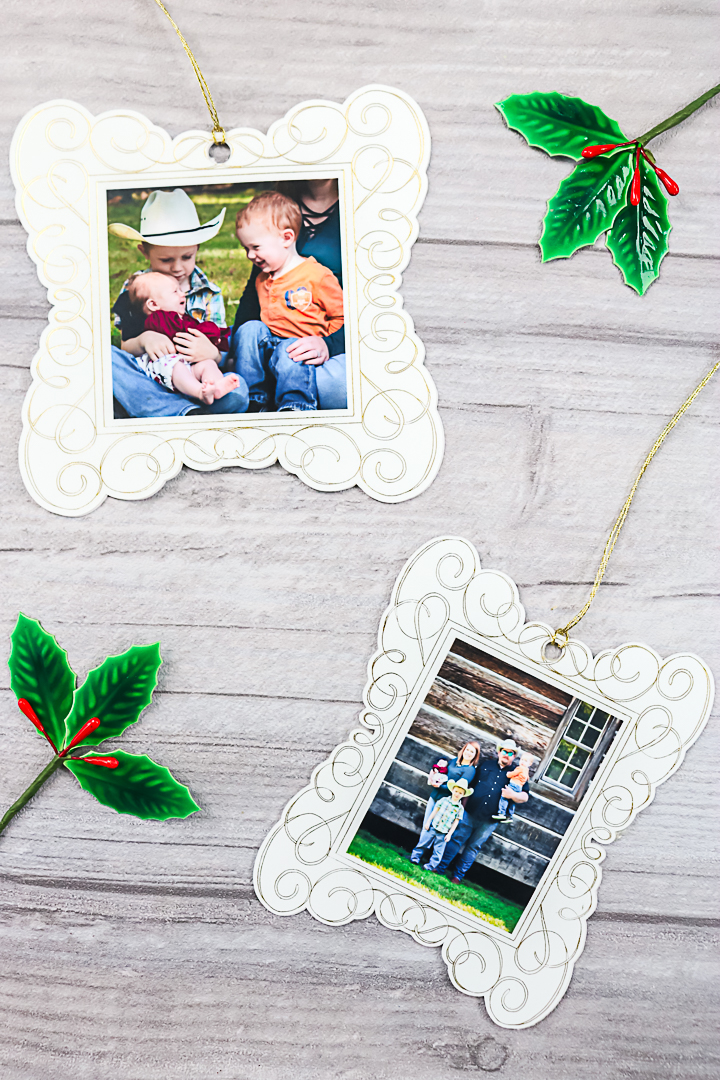
Cricut Foil on Photo Paper
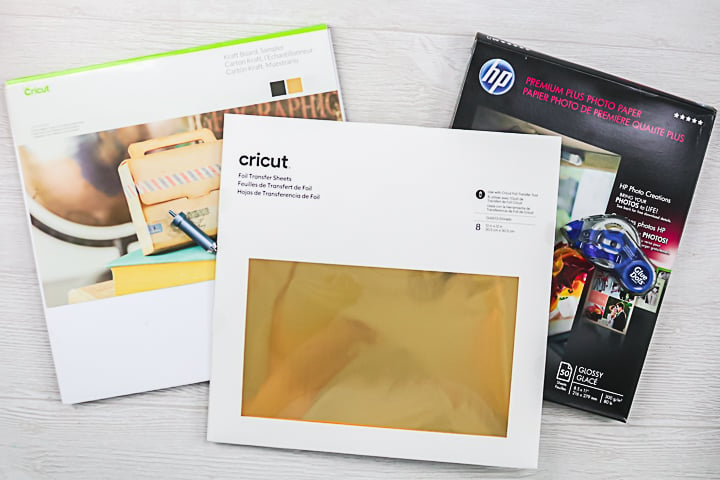
You will need any images from your phone or computer and you will need to upload those to Cricut Design Space. Otherwise, here are the supplies that you will need.
Supplies needed:
- Cricut machine (the Explore or the Maker will work)
- Cricut foil tool
- Foil transfer sheets (see what foil sheets will work with the Cricut tool here)
- HP Photo paper
- Printer (here is one that I love)
- Kraft board
- Adhesive
- Twine
- Scissors
How to Make Photo Ornaments:
You can actually watch me make these ornaments below. I even walk through how to add the foil lines to your photos right in Cricut Design Space. You will want to watch the video in order to get your design made in Cricut Design Space.
Can’t watch the video or missed some of the steps? You can also follow along with the process below!
Supplies
Instructions
- Set up your design in Cricut Design Space. You can see more about how to do that in the video above. Then print your photos onto the photo paper. Be sure to turn off auto bleed and use the printer dialogue box for printing. You want to use the best setting on your printer to get the best images.
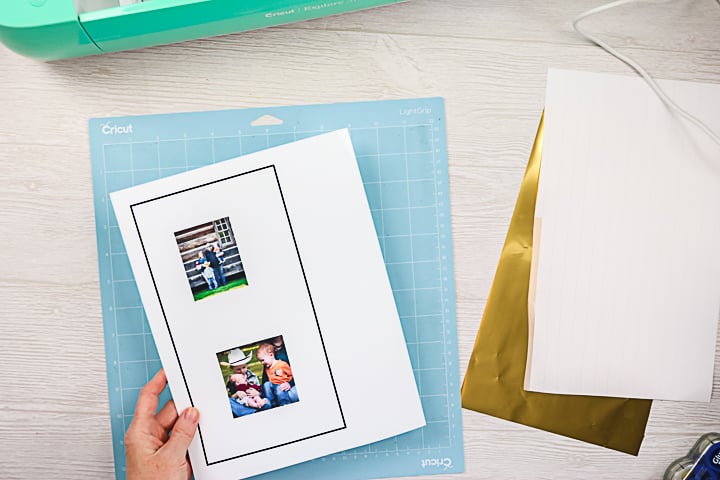
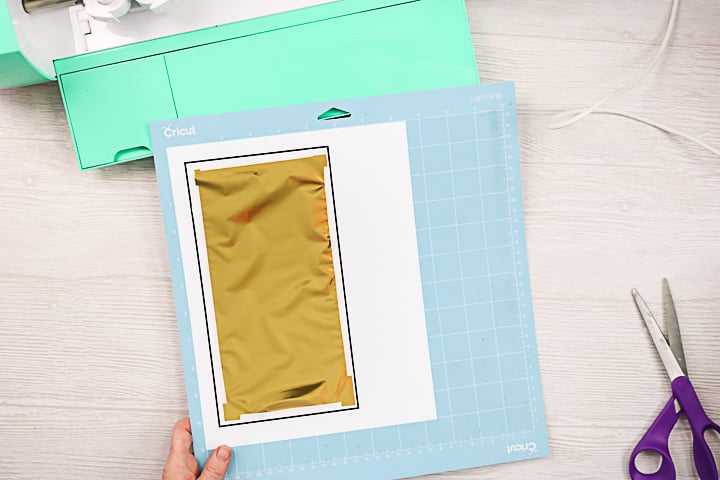
- Add the printed paper to your mat and put foil on top. You will need to tape the foil down well with the tape included with the foil. Please note that you cannot put the tape over the black box. I like to cut the tape in half lengthwise before using.
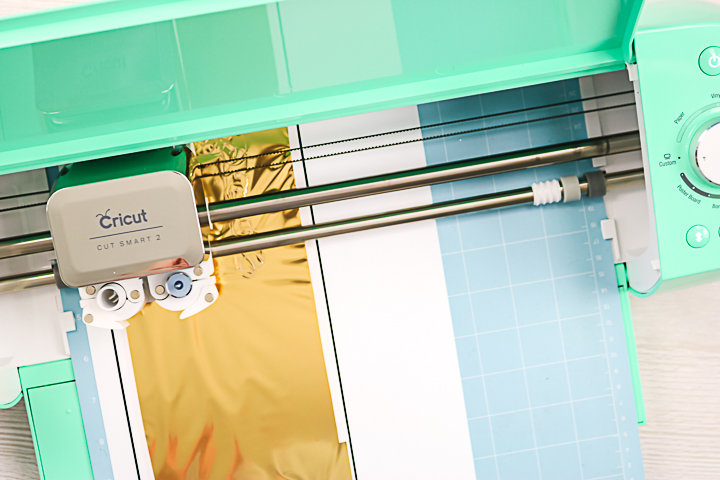
- Then use your Cricut to foil and cut your design. Cricut Design Space will prompt you when to add each tool and remove the foil.
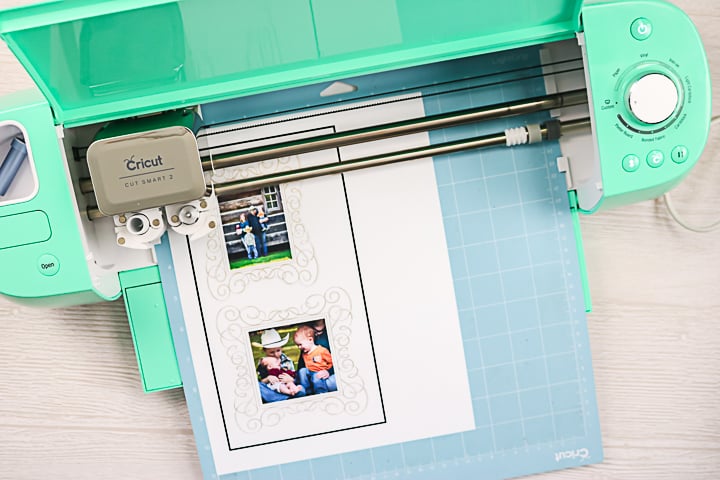
- The machine will cut the design after it foils. You will also need to cut the kraft board pieces as explained in the video.
- Once you have all of your pieces cut, you can assemble the ornament.
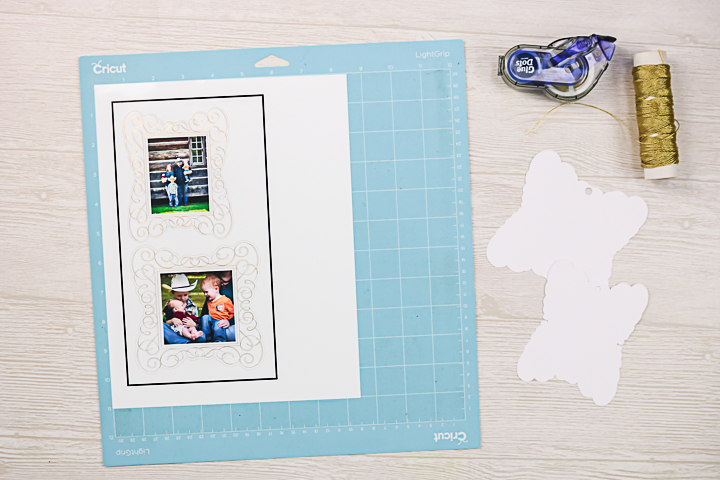
- Put the kraft board piece on the back and the printed photo piece on the top with adhesive in between. Then tie on a piece of twine for hanging.
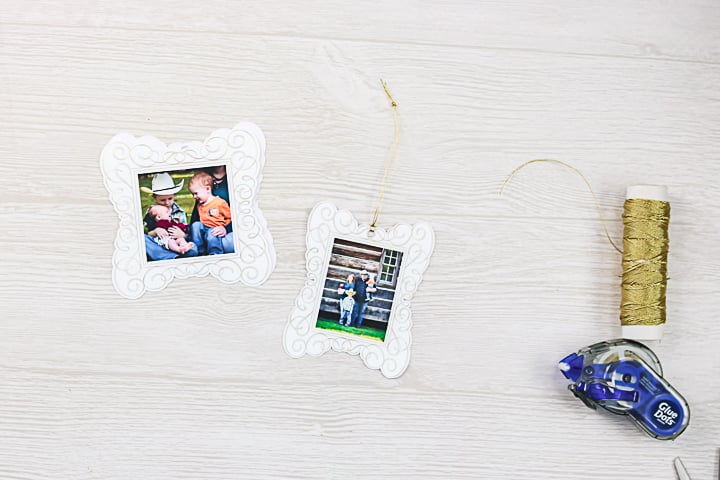
Now you have some cute photo ornaments for your Christmas tree. Use this method to add Cricut foil on photo paper and make so many things with your Explore or Maker. I will also note that I had to use the kraft board setting to cut the photo paper. This brand is really thick but other brands may cut on a thinner setting.

You will love the shiny gold foil and how great it looks on your tree. Want to change it up? There are now a bunch of colors of foil that you can use for this project. So pick red or even green if you would like. Whatever color matches your tree’s decor this year. You can even print color onto the background with the photo to get perhaps red foil on a blue background.
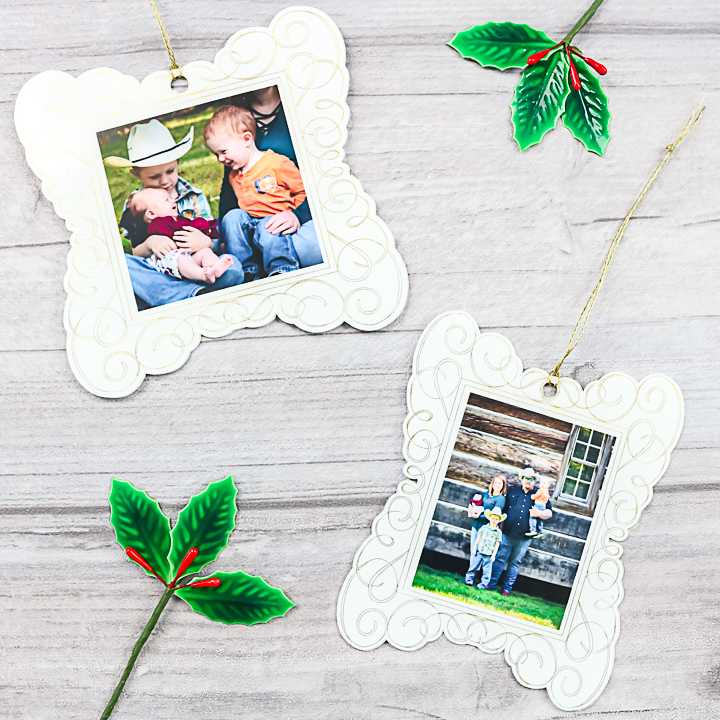
Turn those family photos into gorgeous ornaments in minutes with this technique. It is easy to add Cricut foil on photo paper for craft projects like this one. I know you will love the results! Enjoy an entire tree full of photo memories. You might also want to buy extra supplies and make some of these for gifts as well.
Love this technique for foiling on photo paper and want more? Try the links below as well!







Wonder if you could add foil highlights to the actual printed photo…
Yes! It would definitely work as well!
What a wonderful idea and an excellent video.