Today Cricut is announcing the Cricut Hat Press. I am going to go through everything you need about this new release in this blog post. You can see what is in the box, how to set up the Hat Press, and how to use it to make hats with HTV, sublimation, or Infusible Ink. I will have future posts with my review of the press along with more ideas for hats that you can use with this heat press. If you have questions you would like me to answer in those future posts, please feel free to ask them in the comment section.
Cricut did send me the press, however, this post is not sponsored.
This is not the only announcement happening today! Be sure to check out my posts on both the Cricut EasyPress 3 and the Cricut AutoPress.
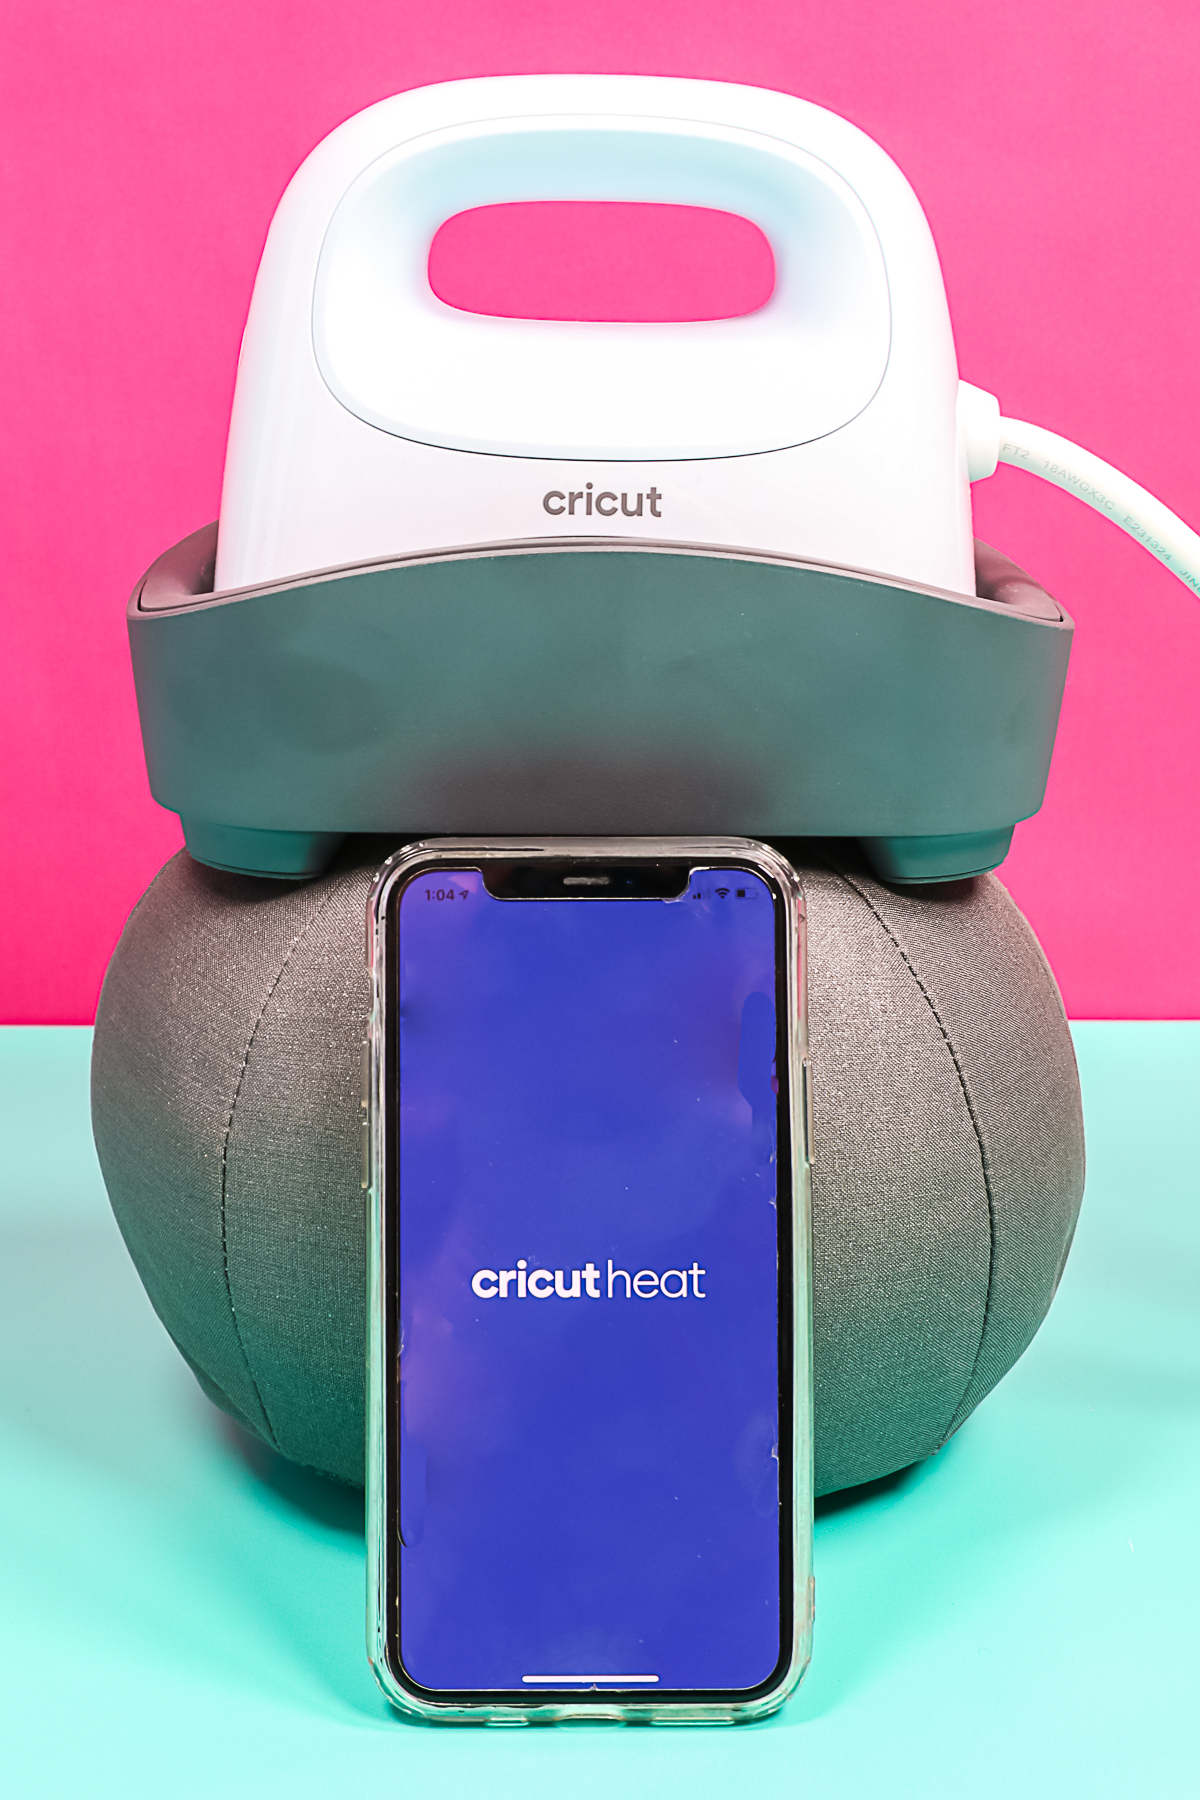
Cricut Hat Press
Ready to learn all about the Cricut Hat Press? Click play on the video below to see me set up and use the press.
Can’t watch the video or miss some of the information? You can also follow along below.
Where can you buy it?
The Cricut Hat Press will not be available until March 13, 2022. You can find it at the following links when it is for sale:
Cricut is also launching their own hat blanks and strong heat tape. You can find those at the links below and keep reading to learn how to use those as well!

Not sure which heat press is for you? Heat Press Roadmap has your answer! This extensive course is designed to guide you on your journey to deciding on the best heat press for your needs, space, and budget.
Join Angie Holden and Cori George as they explore 17 heat presses in 27 videos. Get the details and sign up for Heat Press Roadmap here!
What is in the box?
Let’s open up the box and check out what’s inside. Ready to see what comes with this heat press for hats?
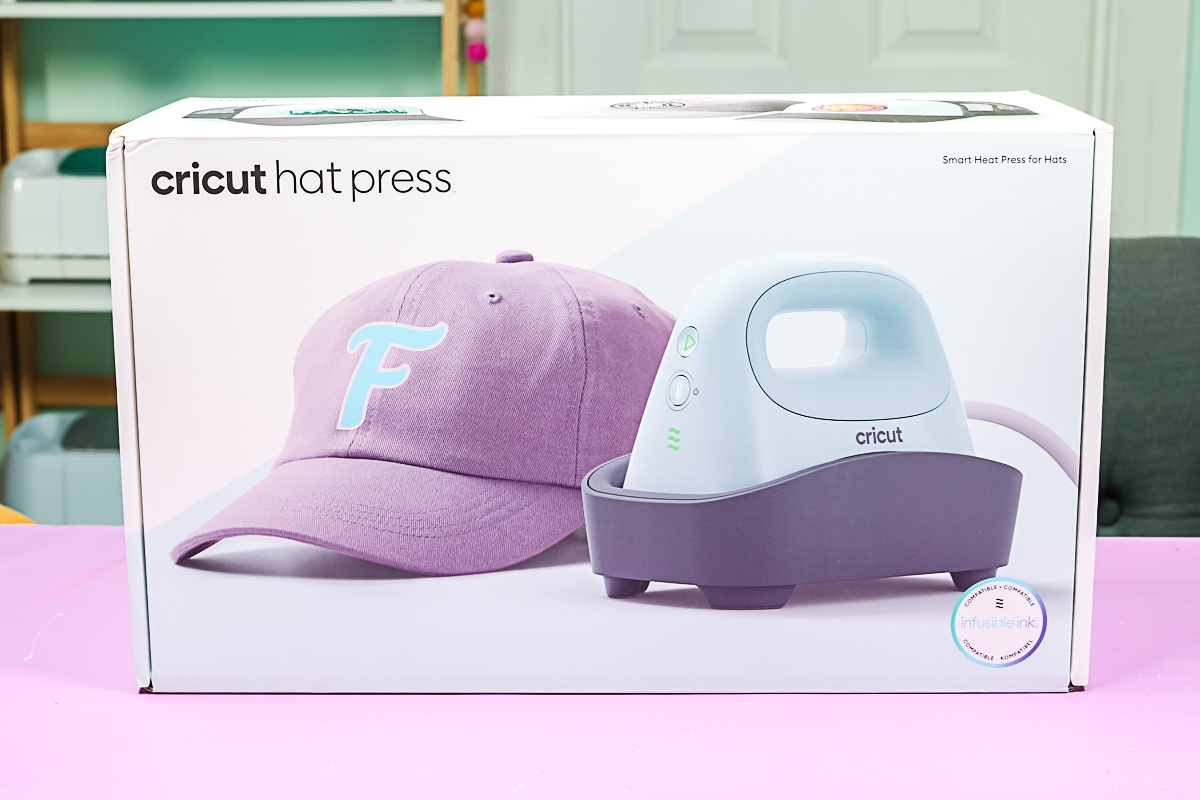
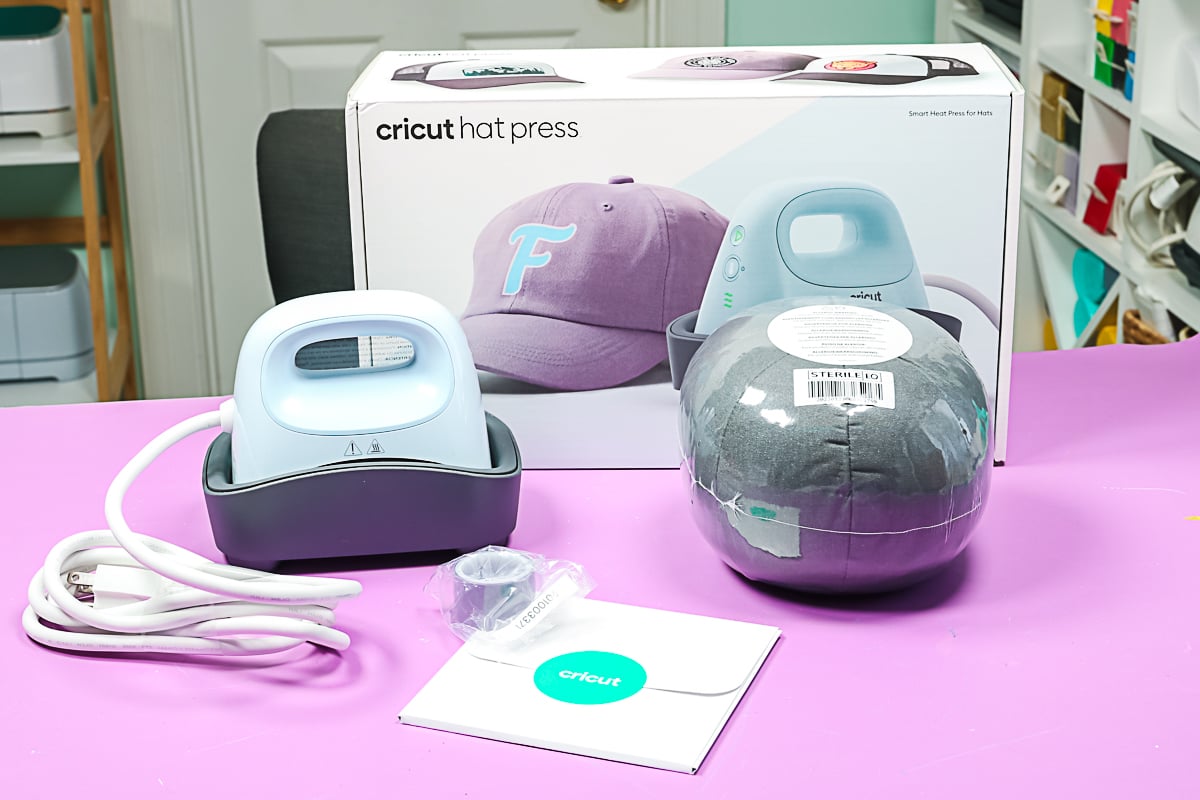
Inside the box you will find:
- Hat Press
- Safety base
- Hat form
- Strong Grip heat tape
- Start guide
- Instruction manual
- Safety and warranty information
- Iron-on design (cut and weeded)
Allergy Warning
There is an allergy warning on the box as well as on the front of the form. The form itself is filled with walnut shells. If you’re allergic to nuts or walnuts, you might want to consider that before purchasing the Cricut Hat Press. The hat goes on the form in order for you to have something to press against. The walnut shells are a great material for this because they’re firm and also hold heat well. The form itself comes out of the box completely sealed so there is no danger and you would just need to return it if you are worried about a reaction.
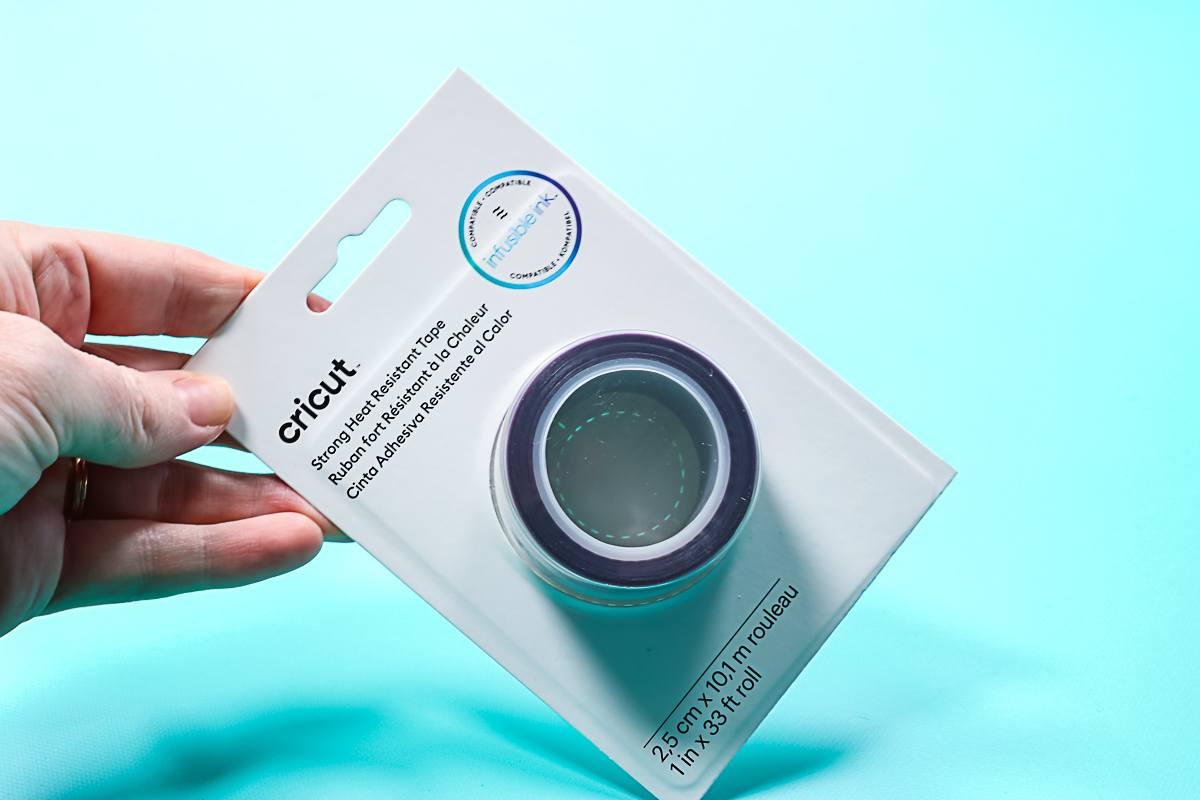
Strong Grip Heat Tape
The press is launching with a strong grip heat-resistant tape. Regular heat-resistant tape doesn’t always work around curved surfaces to hold things still. So they’re launching a strong grip version and you do get a small roll with the hat press. It’s purple in color, as you can tell the difference between it and the regular strength heat tape. You can also purchase this in larger rolls separately. They are wider than the other rolls but they still fit in a standard tape dispenser.
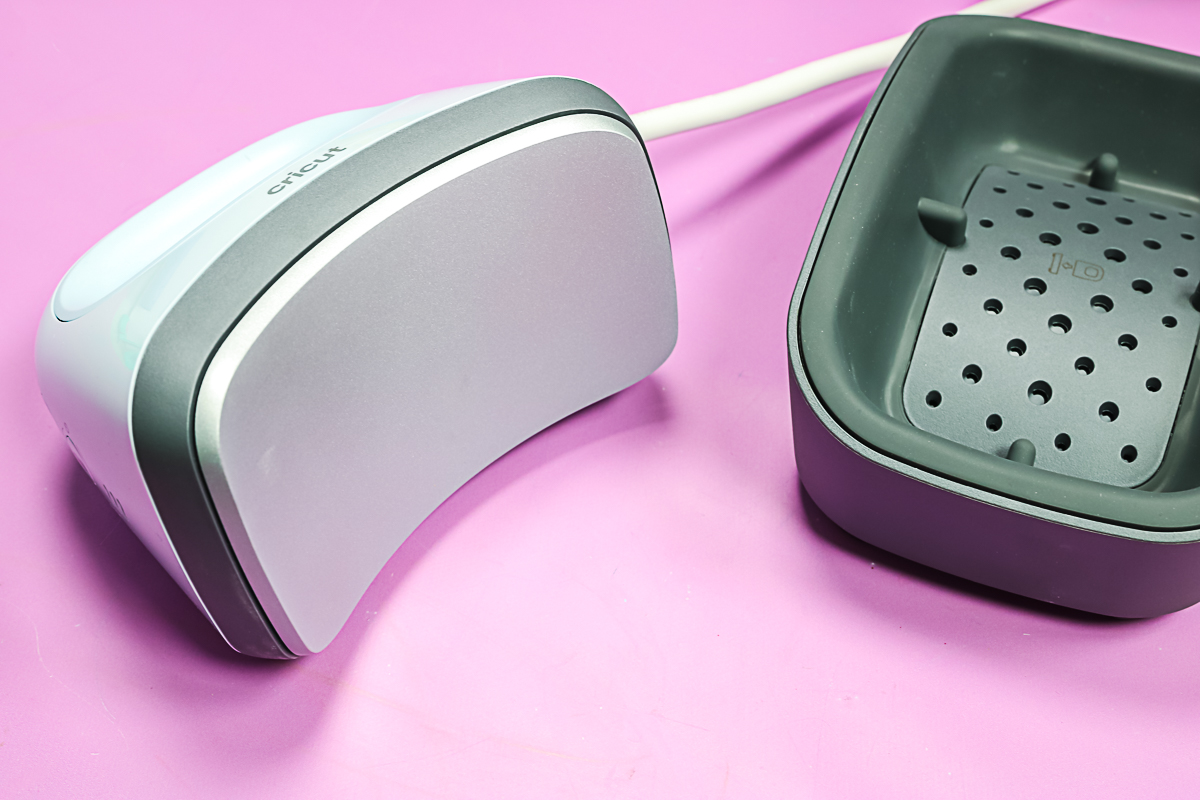
Hat Press Details
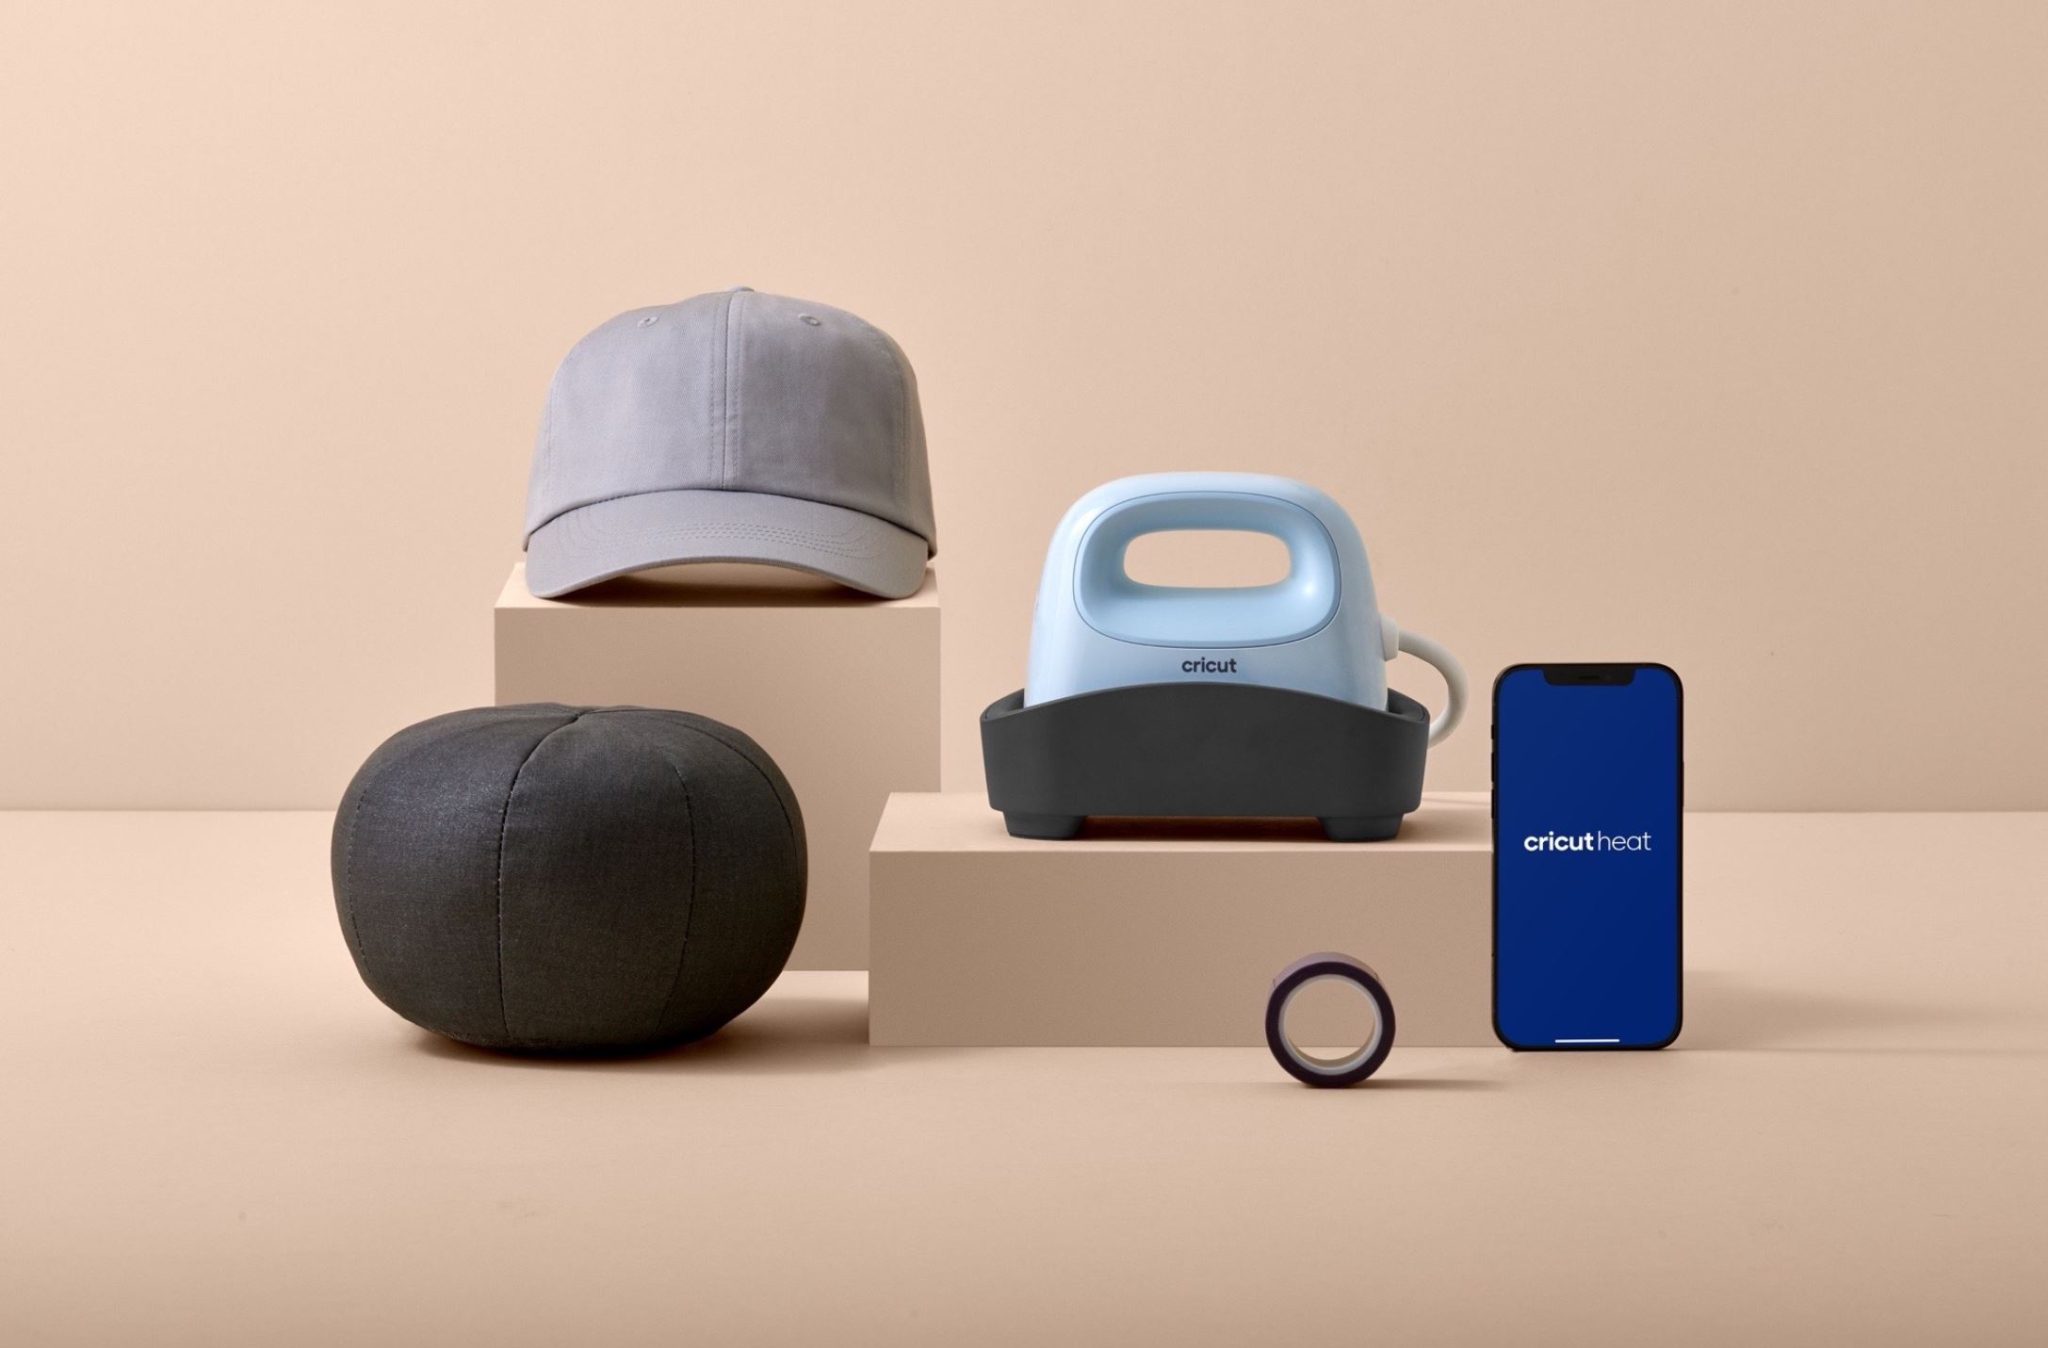
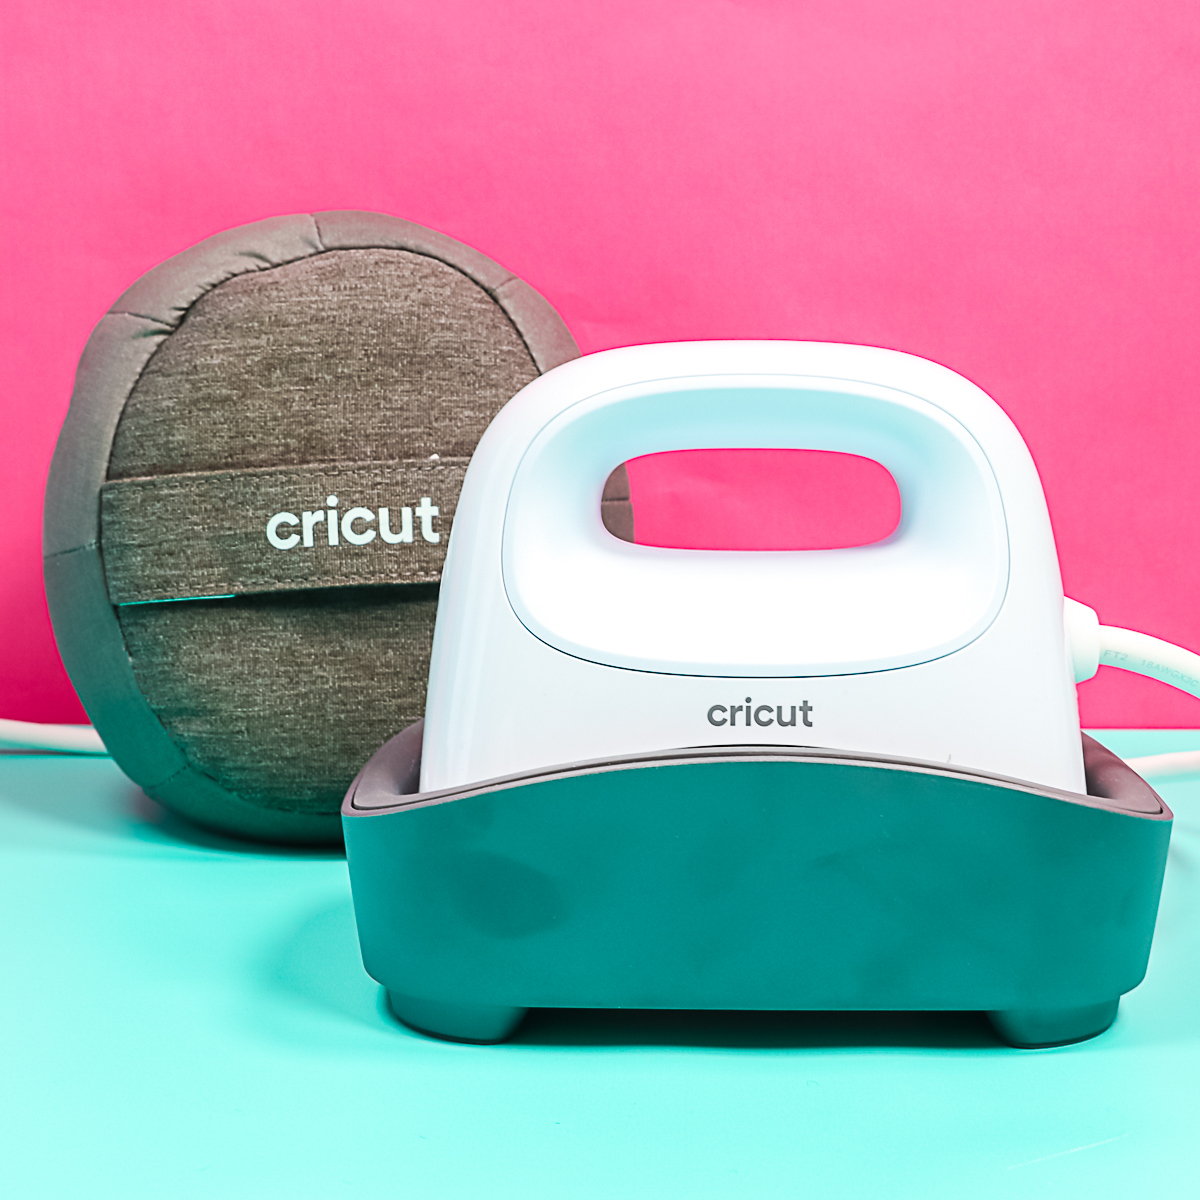
Here is a closer look at the Hat Press. You can see how curved the surface is and the included base for putting it in when it is heating up or not in use. The press itself also has an attached cord that is not removable.
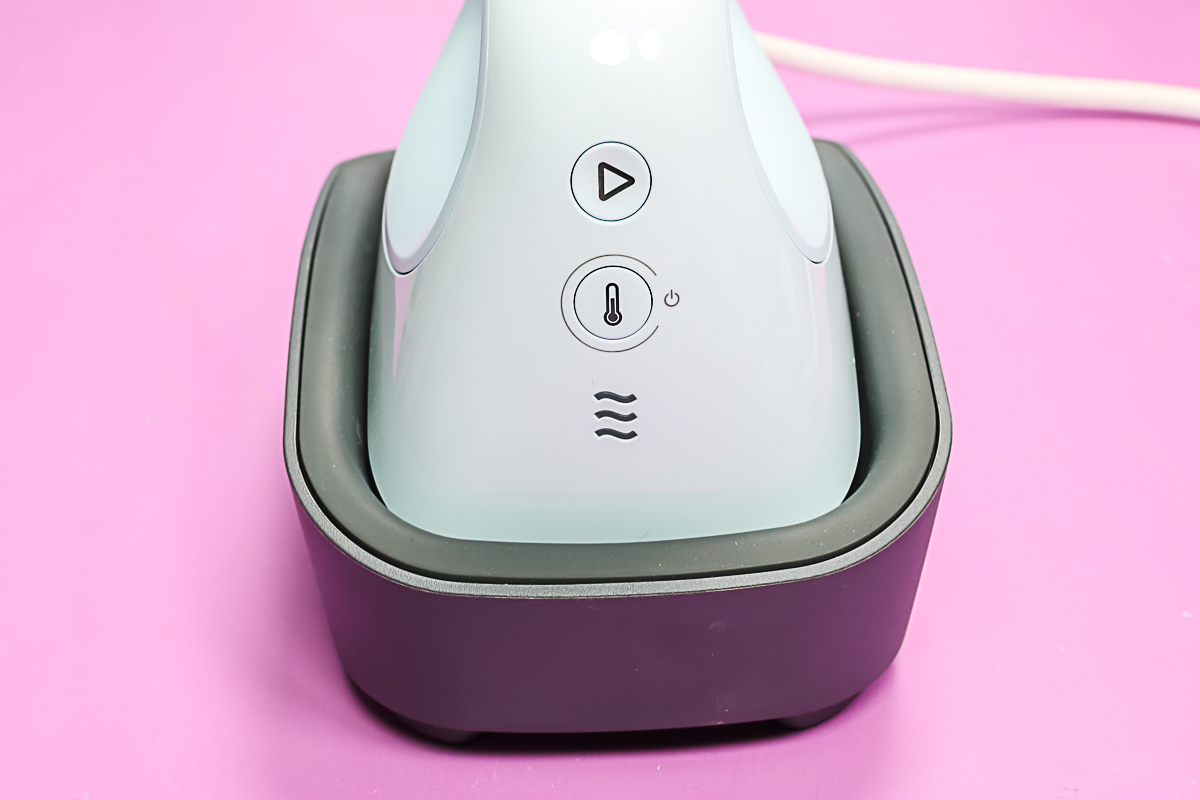
Hat Press Buttons
The bottom button is both for power as well as for temperature. Press the power button to turn the machine on. You also press this button to pick the temperature and there are three temperature settings. The three lines at the bottom indicate those. When there are no lights, it’s on standby mode. The lights on the three bars indicate low, medium, and high temperatures. If the lights on the press are green, it is heated up and ready to go. If the lights are orange, it’s warming up.
The top button is the go button. This is what you would press when you want to start the timer. But wait, there’s not a timer button. So how do you set the time? Well, the Cricut Hat Press actually interacts with an app that’s on your phone and we will use it with the app later in this post.
When you want to turn the machine off, you just press the power button and hold it until the press goes off. It does have an auto-off after 13 minutes of inactivity. You don’t have to worry about leaving it plugged in because it will turn itself off any time you do have it on and heating up. I do recommend putting it in the safety base. This keeps it from heating your table up and keeps anything from getting burned.
Hat Blanks
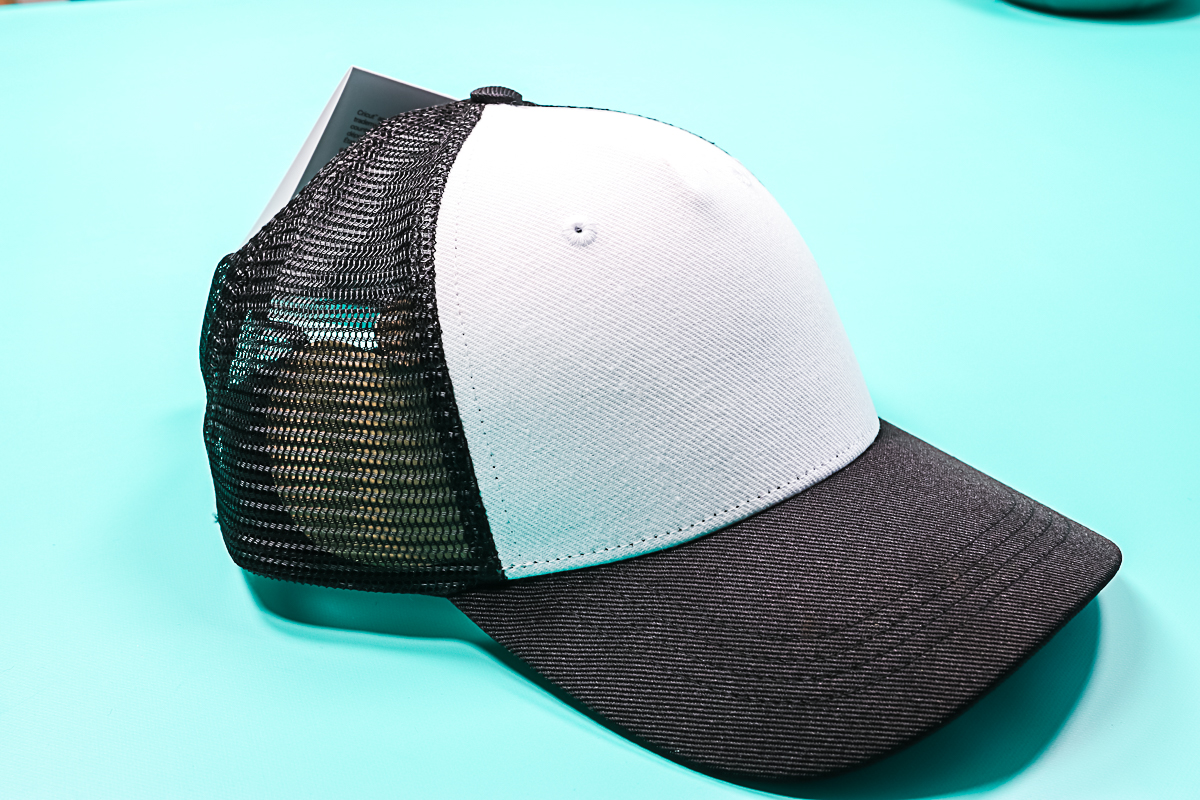
You can use the Cricut Hat Press with any hat that will fit the form. I will be doing another post with a wide variety of hats. The press does get hot enough to handle those Infusible Ink and sublimation projects. However, you will need a special hat for those. You want to look for sublimation blanks for those projects.
The good news is that Cricut is coming out with a line of hats. Here is the Cricut trucker hat. The front is polyester, so you can use Infusible Ink or sublimation on the front. They don’t recommend using these products on the bill because the heat will distort it. However, you can place HTV on the front or on the bill. The trucker cap has a mesh back and sides, so you won’t be able to add anything to those surfaces.
Cricut also has a grey baseball cap that has enough polyester content to add Infusible Ink or sublimation, and you can do that all the way around. However, the same thing applies to the bill.
Activating the Cricut Hat Press
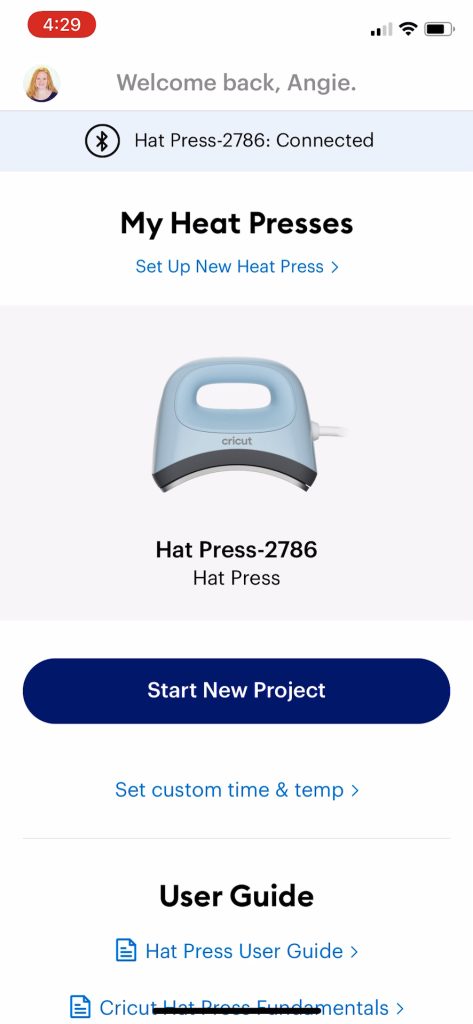
Now it’s time to activate your Cricut Hat Press. To do that, you will need some kind of mobile device (either a smartphone or tablet) that will work with the free Cricut Heat App. (iPad, iPhone, Android phone, or Android tablet.) This app will allow you to activate the Hat Press. Open the app and plug the Hat Press in. You will need to log in with your Cricut account. If you don’t already have one, you can easily create one for free. Click setup in the app to begin and turn on the press so that your app can find it.
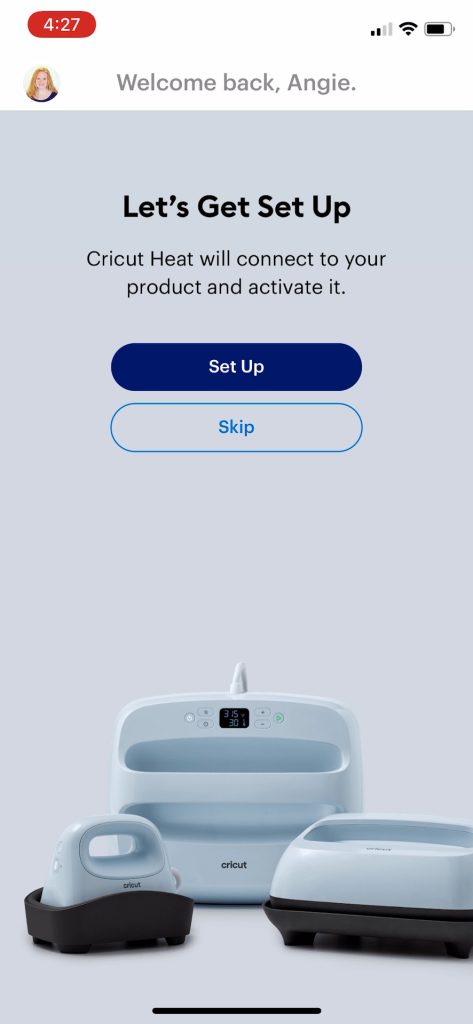
It does connect wirelessly through Bluetooth, so there is no cord or port on the press. You just need to allow it to connect via Bluetooth. Once it finds your press, you just click Connect.
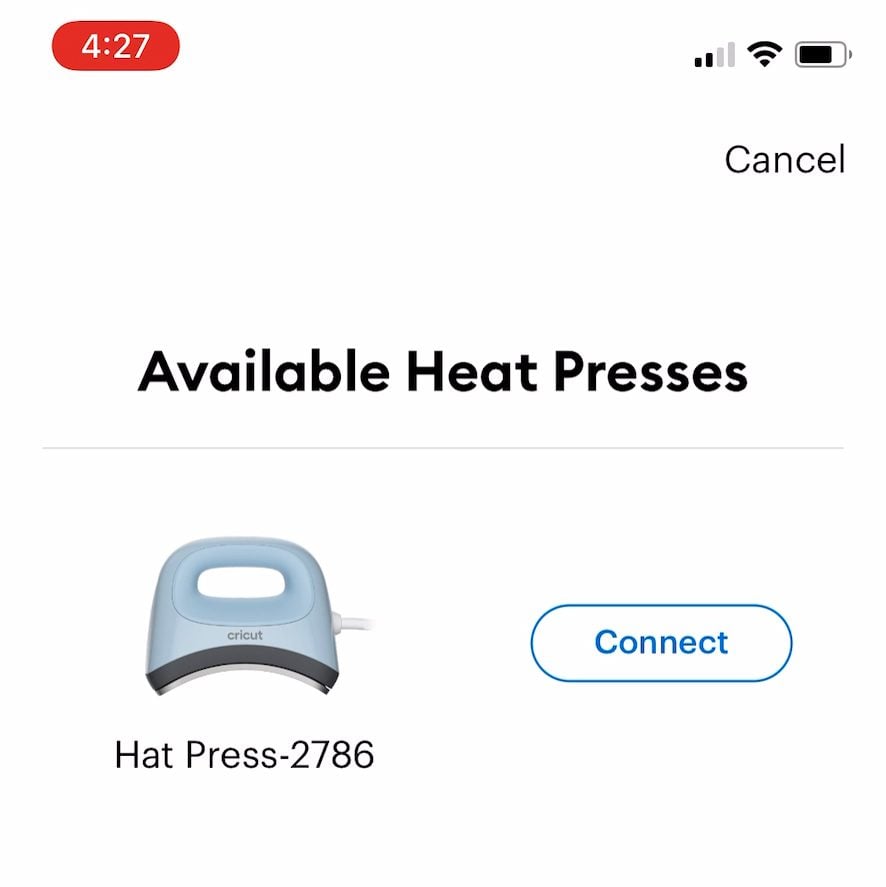
Then it will connect to your Hat Press and start the registration process, so it will be registered to whatever email address you’re logged in on. You will need to accept the Cricut terms of use and click Activate. You may hear the press beep a few times as it’s activating. That’s completely normal. Just allow it to do its process. Leave the press turned on and within range of whatever device you’re using and don’t close the app
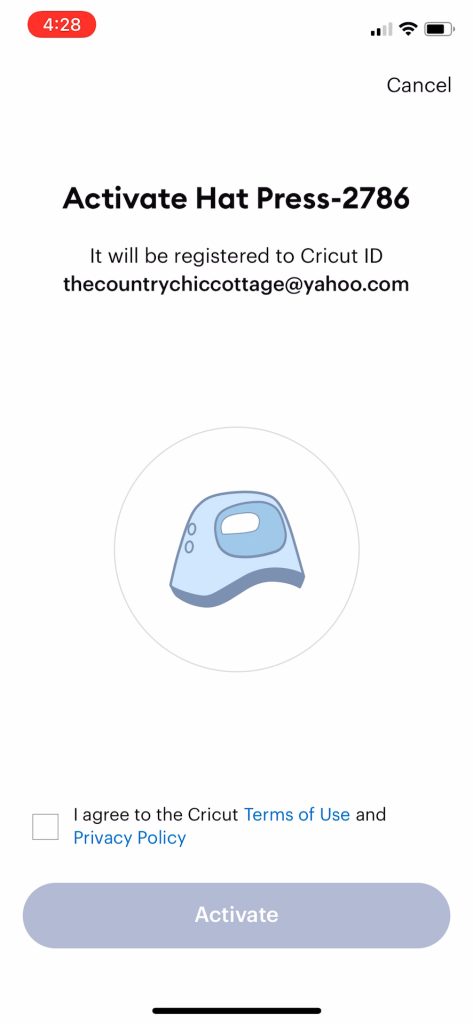
It may take a few minutes to activate, but after it’s done, your press will beep and you’ll see a success message on the app. So now that the hat press is activated, I can turn it on with the button. It’ll start heating up and we’re ready to do a test press.
How to Use the Cricut Hat Form
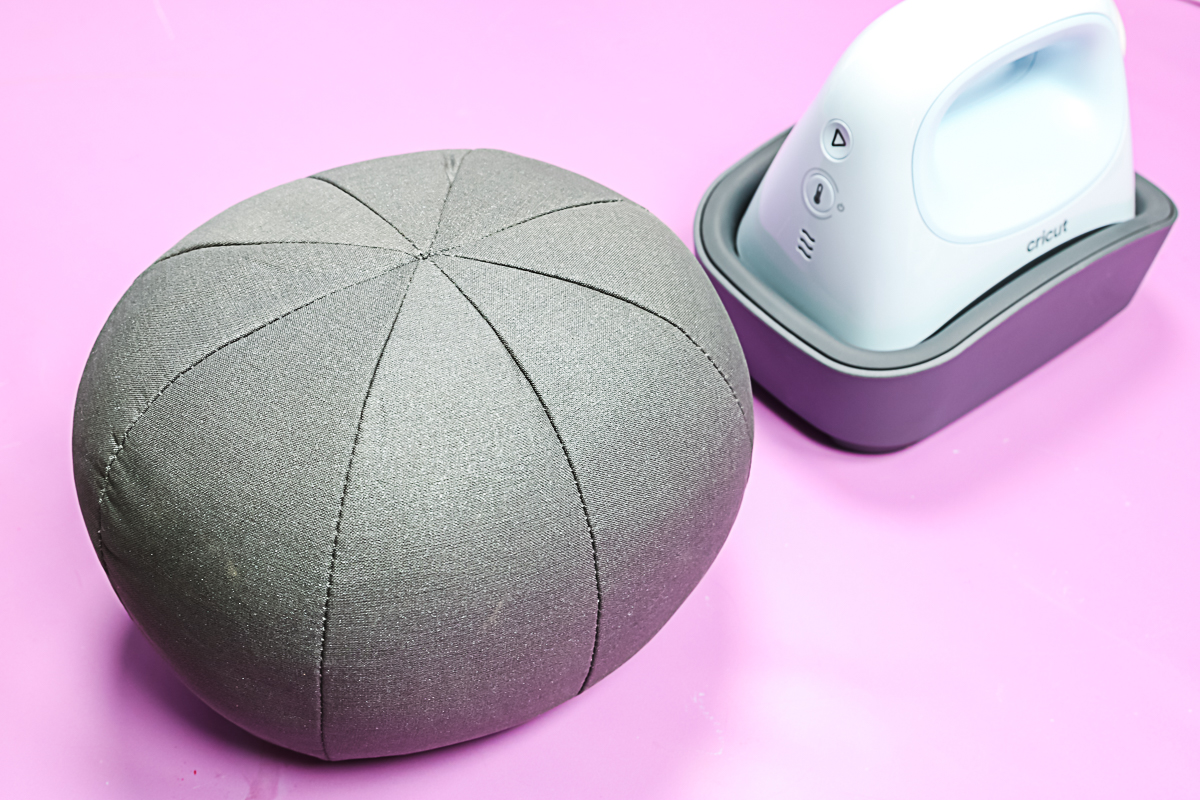
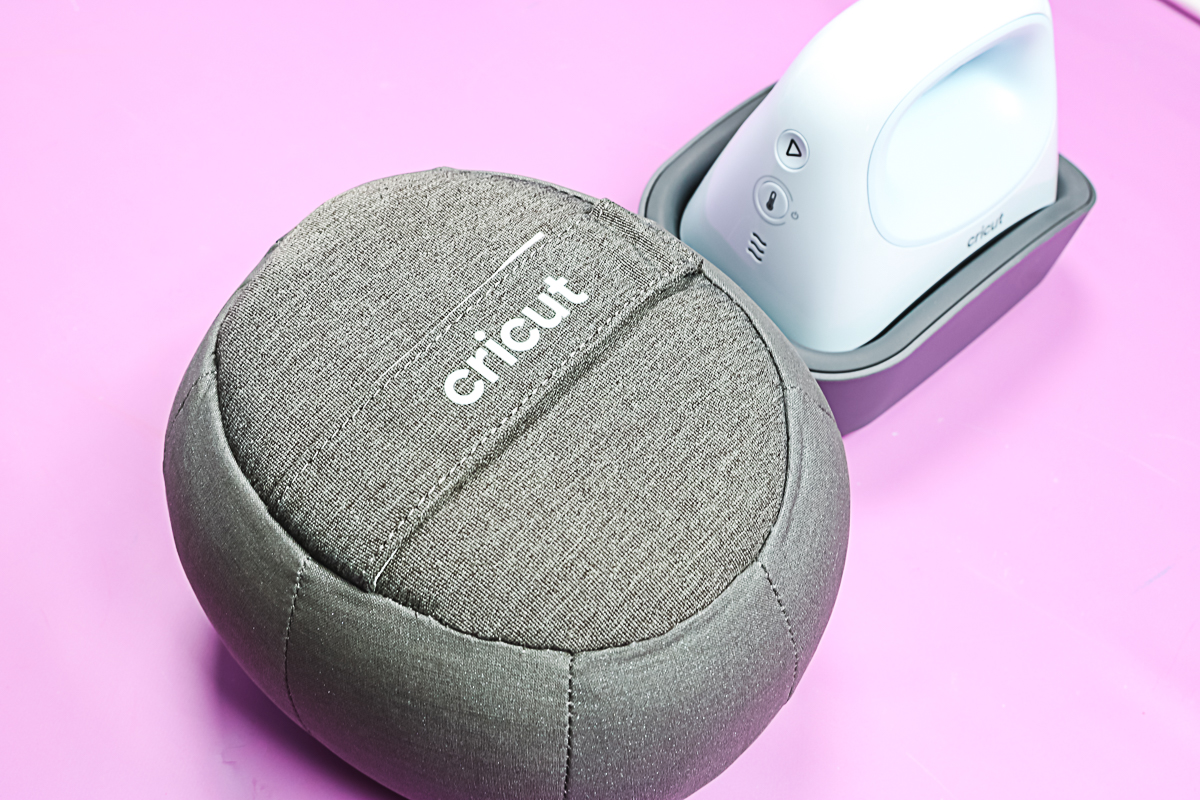
The other big part of this is the form itself. This holds your hat while you press and gives you a firm pressing surface. It is fairly heavy and the top is smooth and rounded.

If I turn the form over, you can see the bottom of the form and that it has a convenient handle. You can use that to carry it or as a handle to hold while you press. It also works great for helping you to put the form inside of your hat.
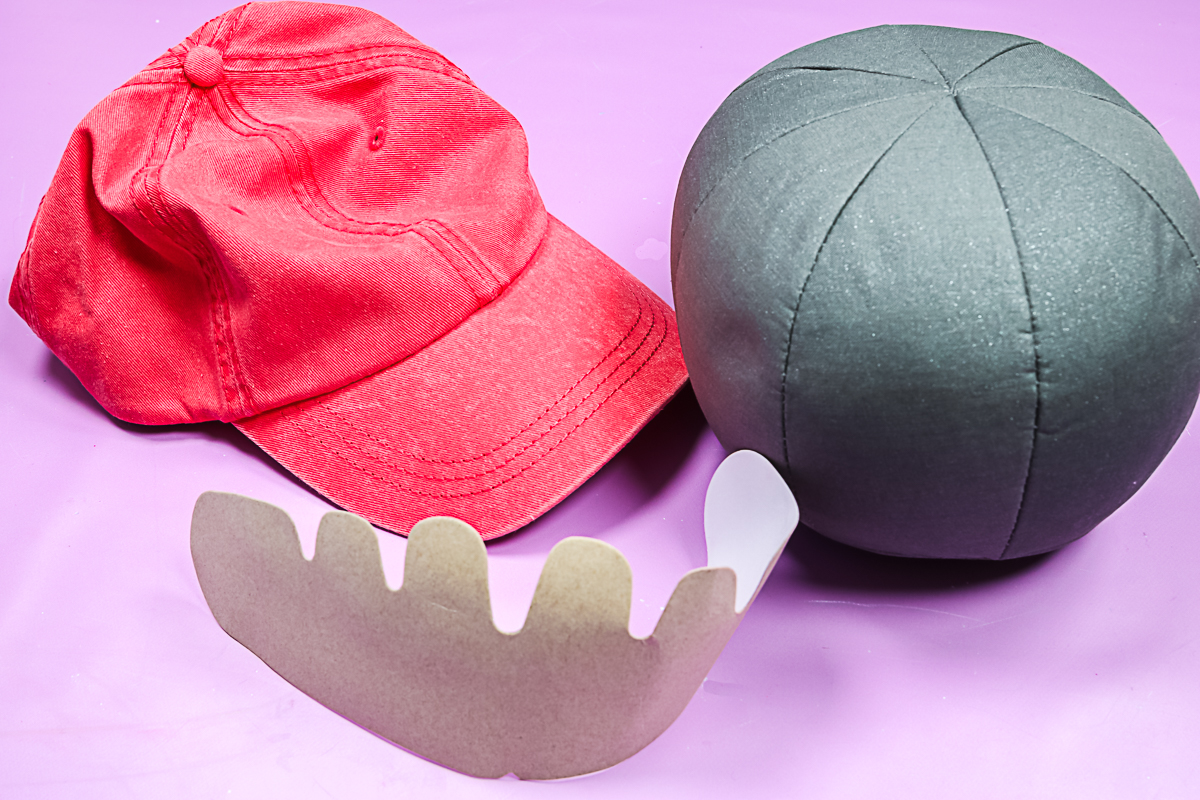
Remove any cardboard or packaging material from your hat. Then flip out any sweatband that is on the hat.
And if you’re able to open the back of the hat, that is best, otherwise, just loosen it up as much as possible.
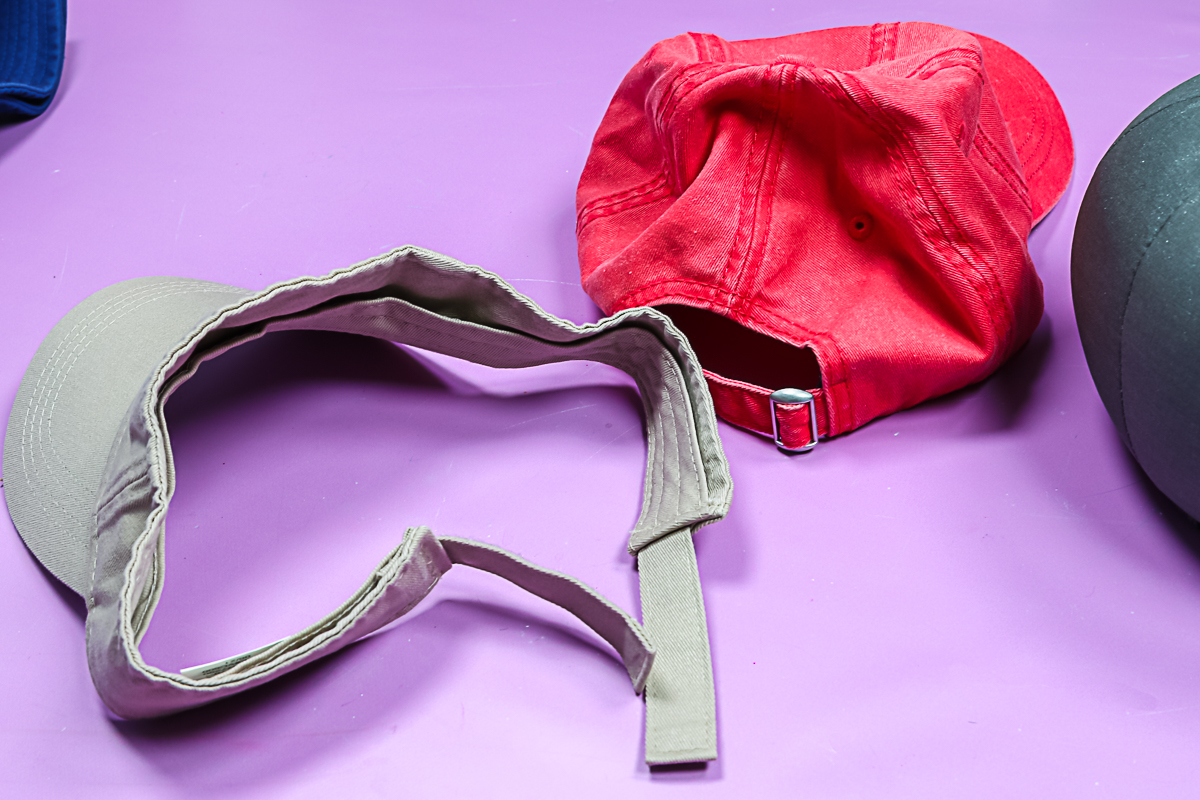
Work your hat onto the form with the sweatband out. You want the hat to be a good and tight fit. You do want it to be tight across the front or wherever you’ll be adding your design.
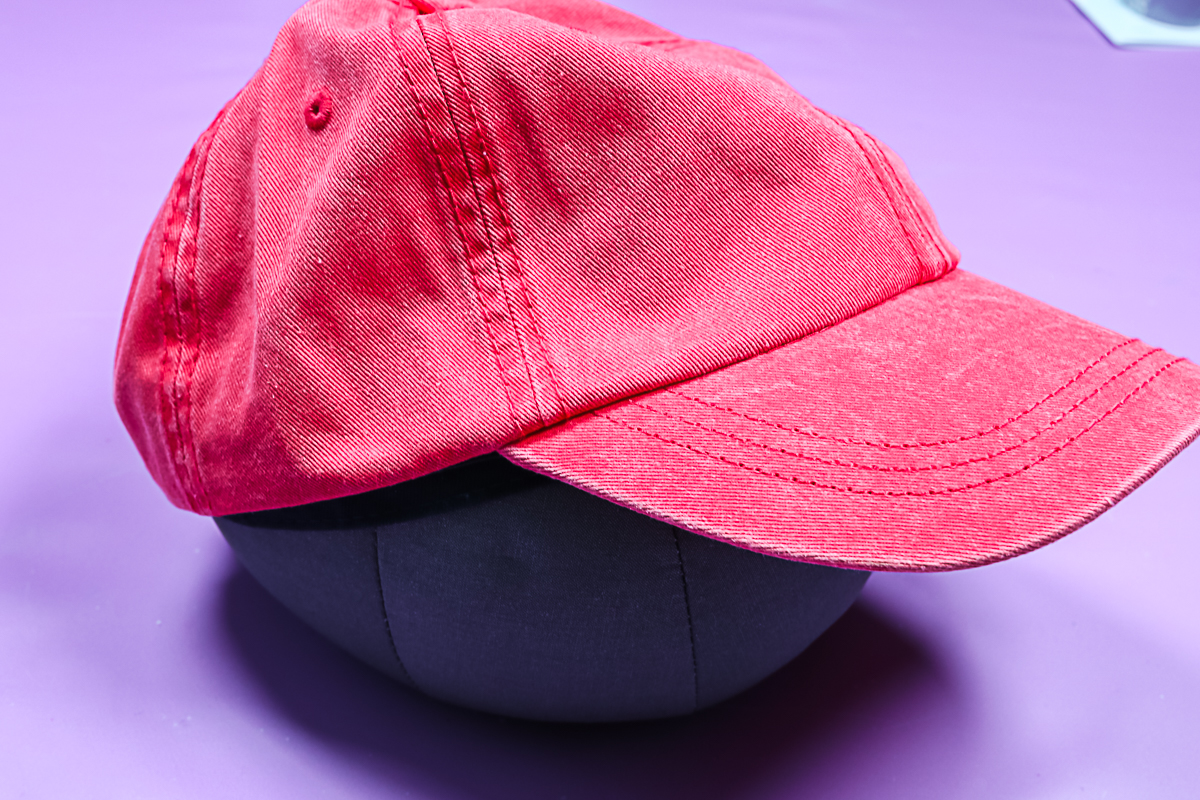
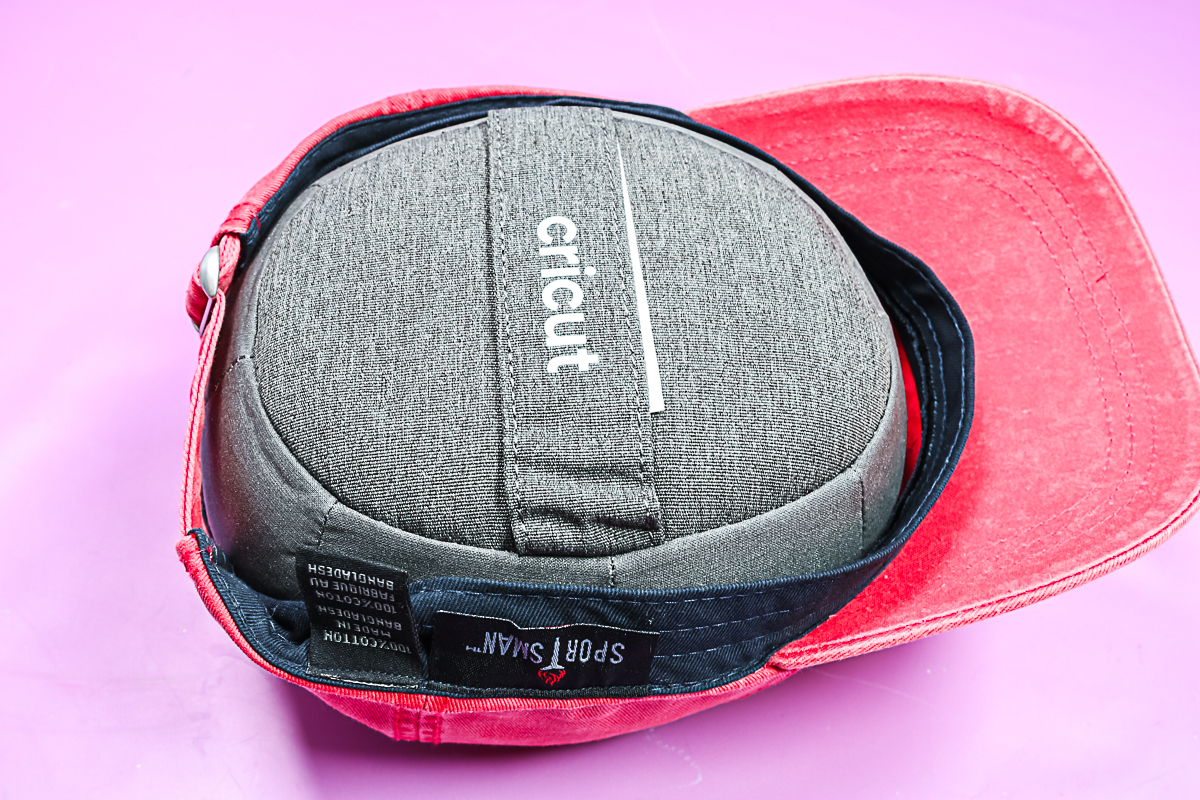
Here’s that form from the bottom so you can see that the hat is all the way around. You can pull the band tight at this time. You want the design area of the hat to be tight on the form with no air gaps.
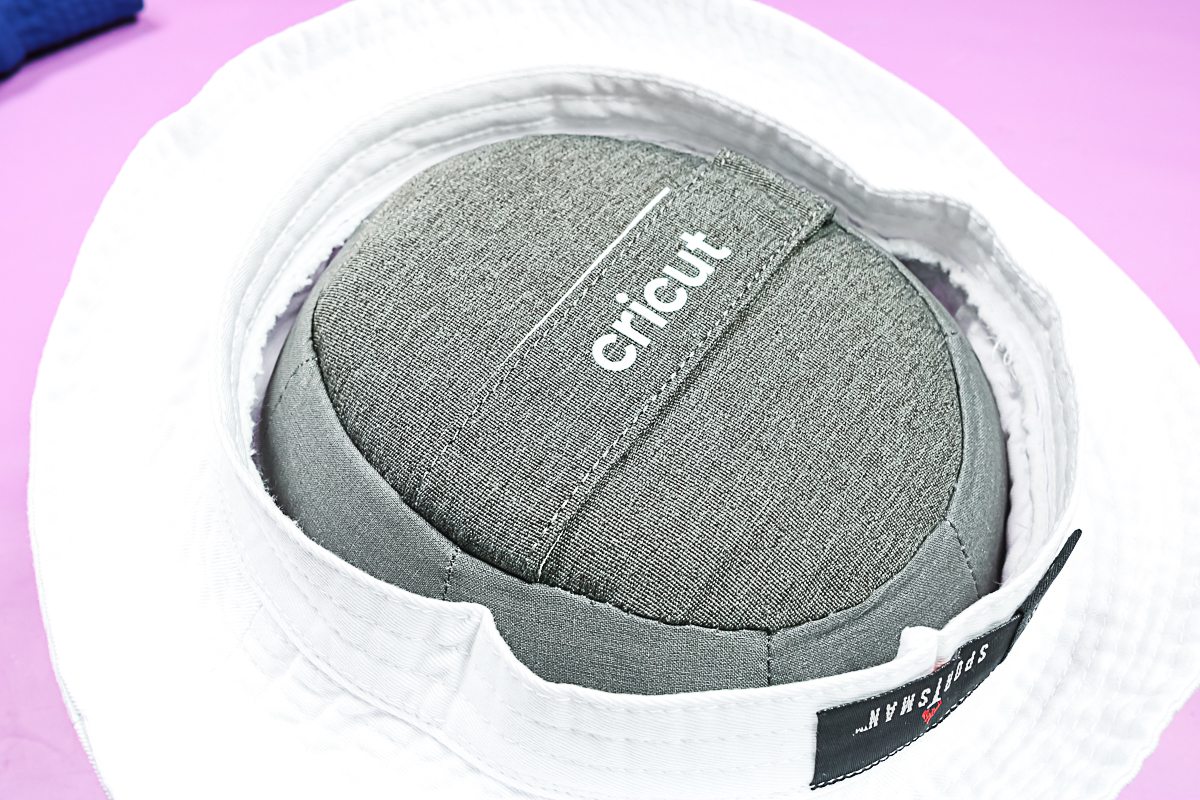
Any hat would work roughly the same way. However, something like a bucket hat would not have a band you could loosen and tighten on the form. For this one, I would probably pull as tight as I could across that front of the hat or where you are going to put the design.
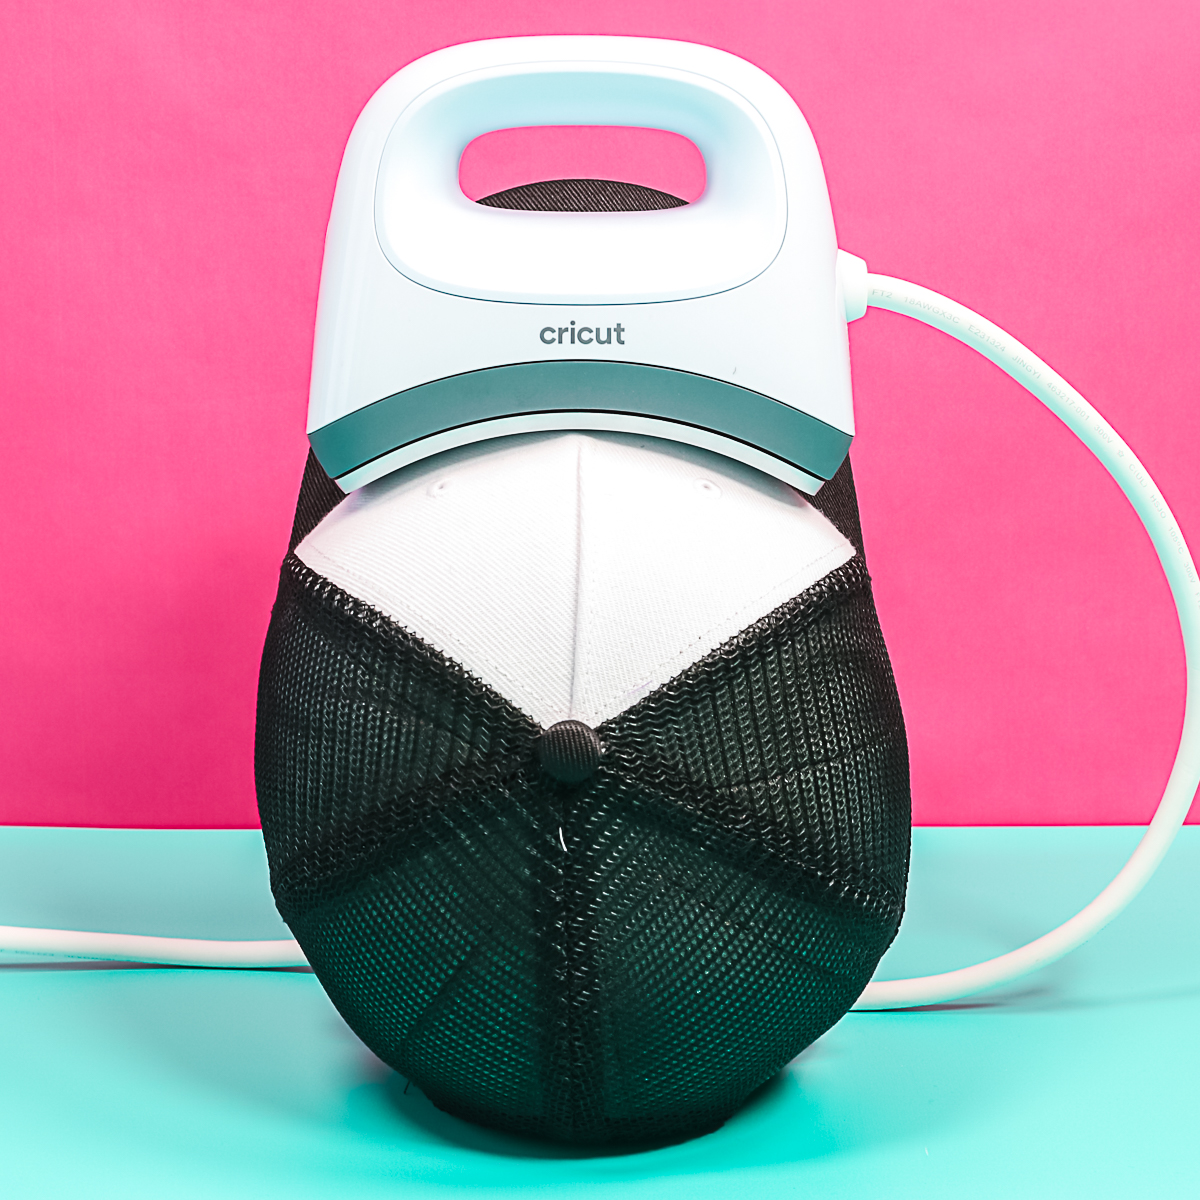
The hat form will stand upright on your table once it is inside your hat and the hat press itself will curve around the surface once applied.
Design Considerations
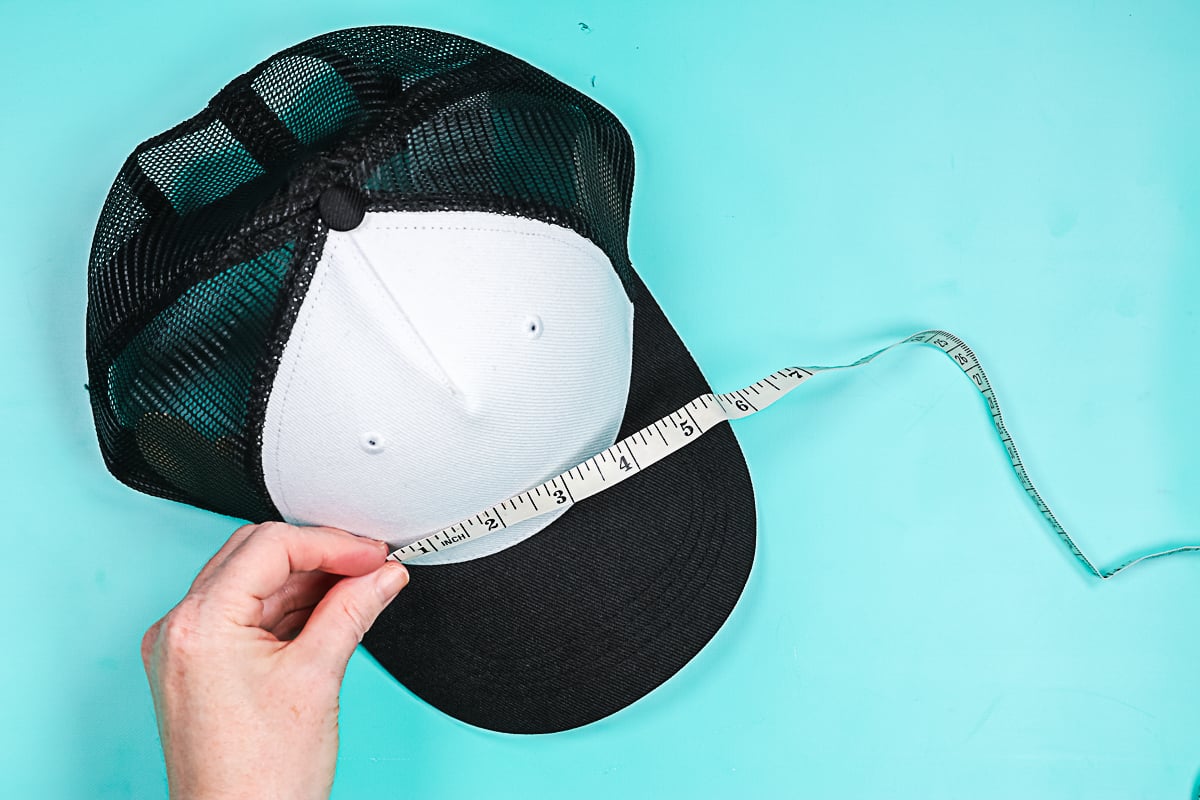
The maximum design that Cricut recommends is 2.25 inches high by 4.25 inches wide. This is because of the size of the hat press, as well as the fact that you have to move it back and forth when pressing. You should also keep your design half an inch from the bill of the hat, so you will want to take that into account when you’re picking a design and sizing it.
When determining the size of your design, I do recommend something like this flexible tape measure that’s for sewing. That way, you can get a really good idea of how your design will look on the hat by flexing it around the hat itself to measure it.
Using the Cricut Hat Press with Cricut Heat
My first example project is going to be an Infusible Ink design on one of the Cricut trucker hats. For this version, I am using the Cricut Heat App. I will do another example below using the buttons on the hat press itself. Pull up the Cricut Heat App and pick the Hat Press then click start a new project. You can also pick from the last couple of projects you have made or set a custom time and temperature.

Once you pick start a new project, you will choose the transfer material as well as the surface you are putting it on.
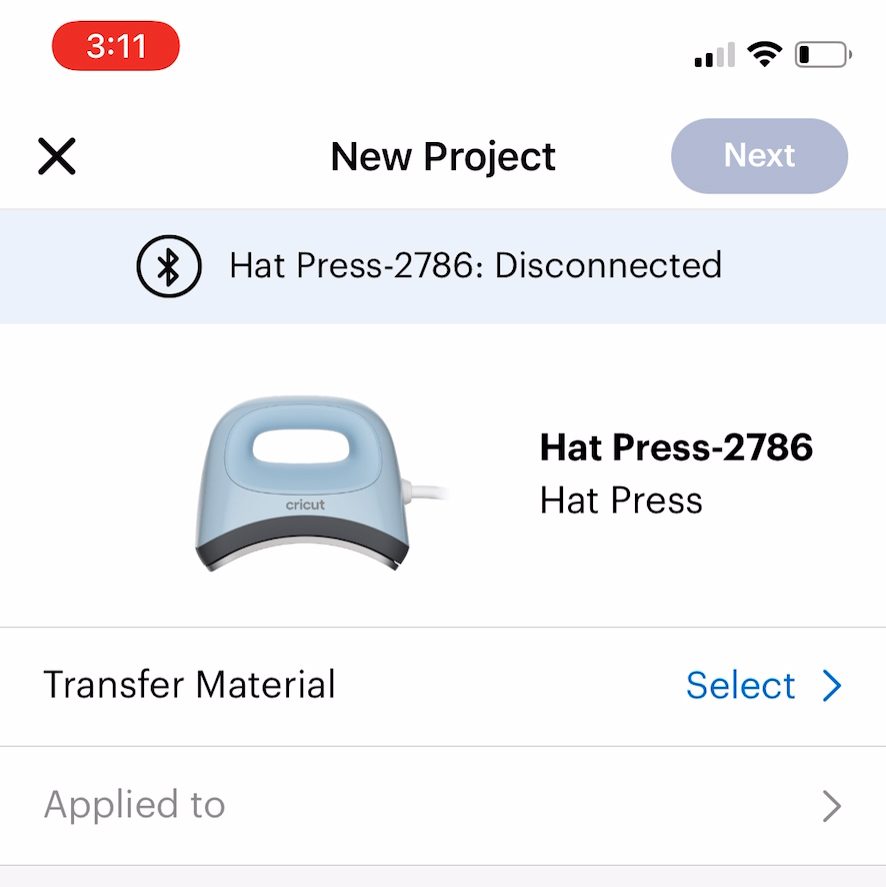
Be sure the Hat Press is on and the app will find it, then you can click to send settings to the press. The press will then start heating up. Note that with the Cricut Heat App, I can get an exact time and temperature on the Hat Press. When using it manually with just the buttons, you will not be able to do this.
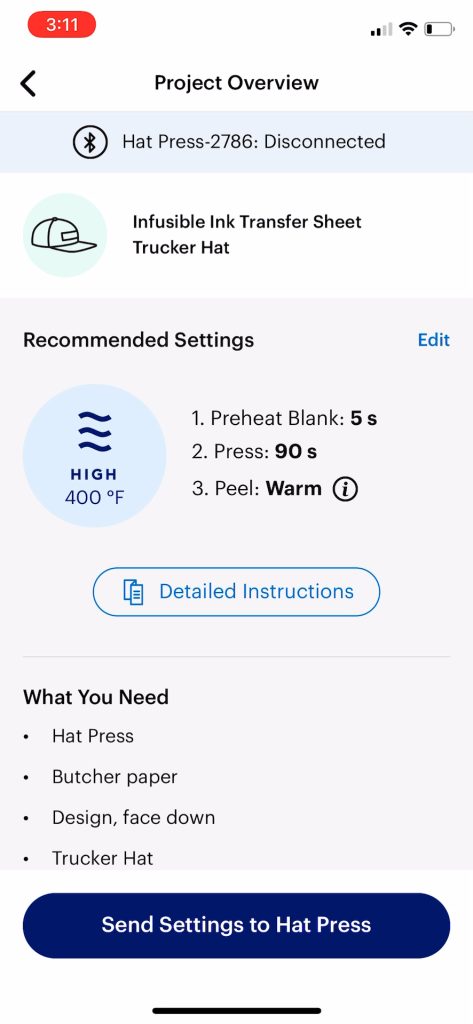
Add your hat to the hat form as described above. Adjust until your hat is tight on the form and there are no wrinkles or air gaps. Then stand the form upright on your table. Lint roll the hat surface. You can actually see the press heating up in Cricut Heat and it will tell you how long it will be before it comes to temperature. Cricut Heat will prompt you to preheat your surface. This removes any moisture. Just put the Hat Press on the hat, press the go button, and move the press back and forth while the counter in Cricut Heat counts down.
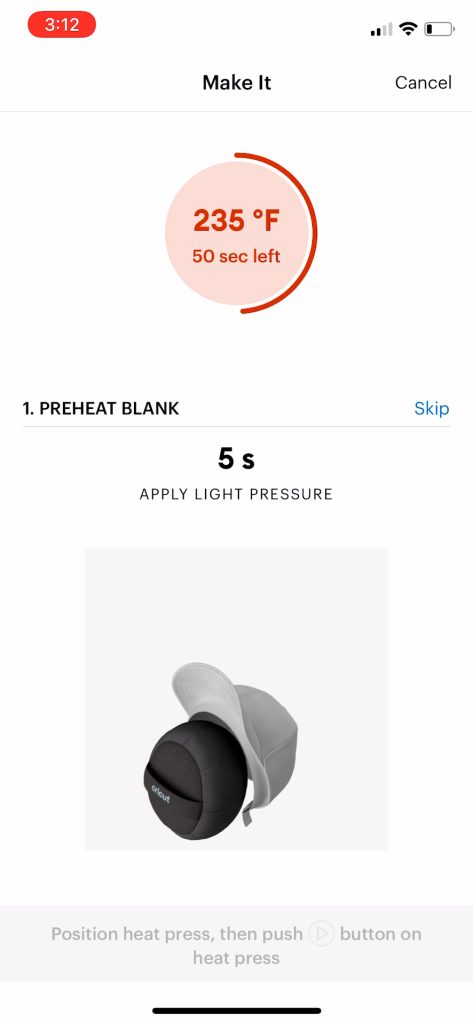
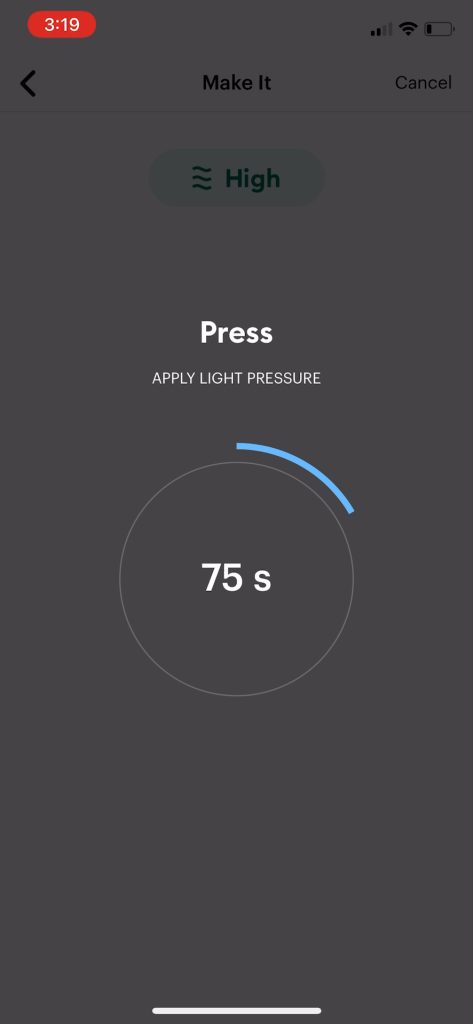
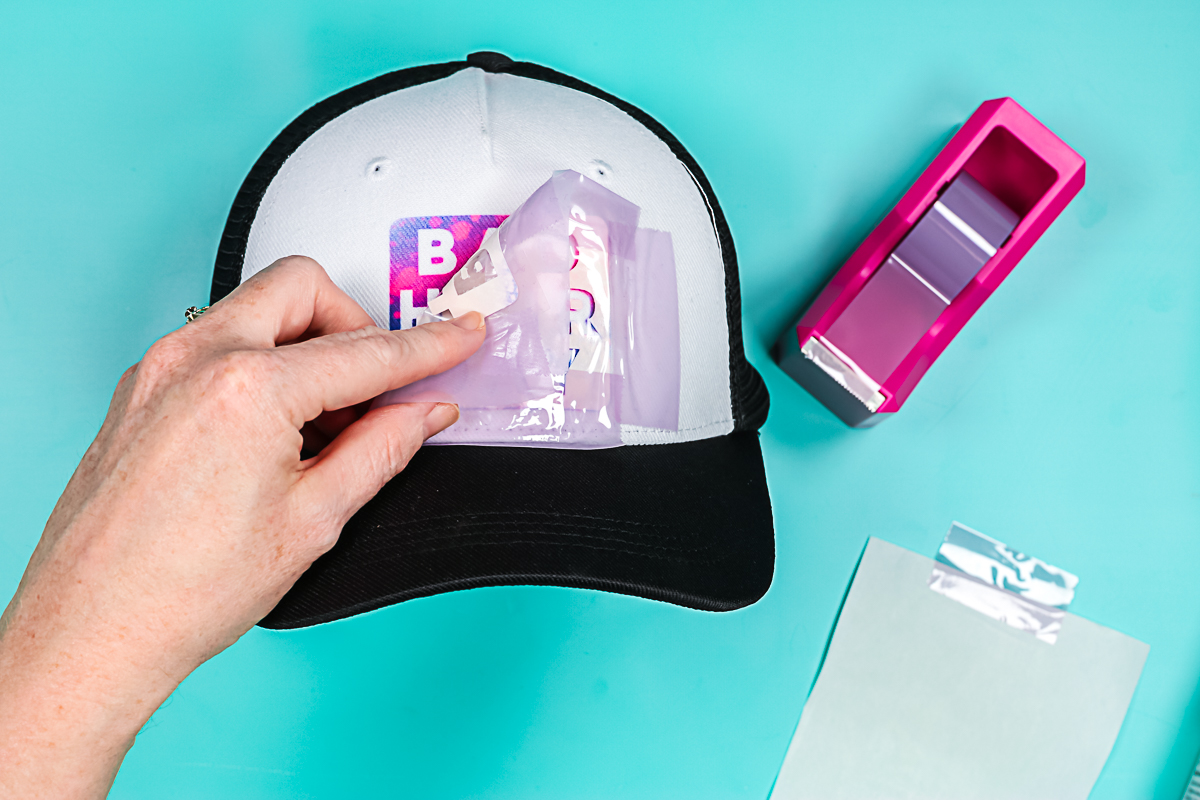
Then Cricut Heat will prompt you to press for 90 seconds for Infusible Ink. I always let the hat cool before adding my design just to avoid any ghosting. Be sure to trim the carrier sheet on your weeded design fairly close. You can even cut slits around the outside edge to help it curve. Then add the design to the hat where you would like it to be. Remember, it needs to be half-inch off the bill.
Tape the design down really well with the strong grip heat tape. This will prevent the design from moving during the pressing process. Remember that you will be moving the hat press during the pressing time. You can add heat tape over your design as it will not hurt anything.
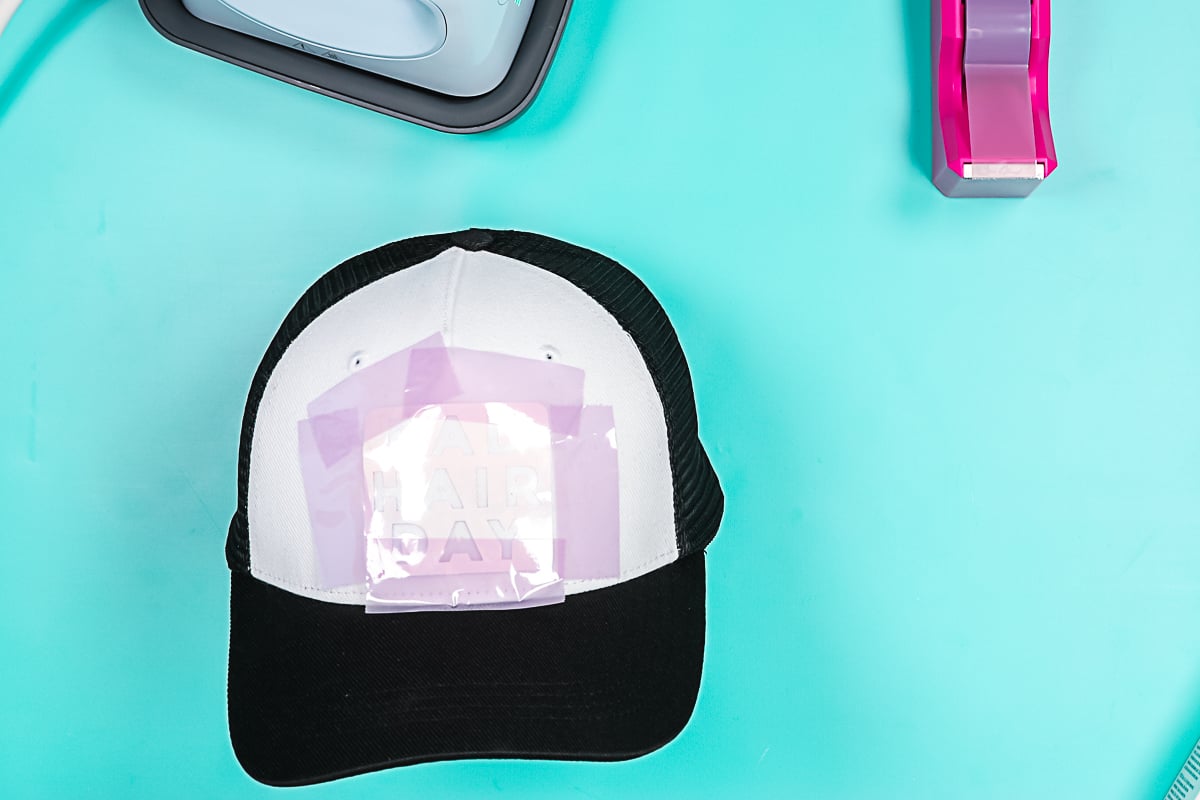
Add butcher paper over the top of the Infusible Ink to protect the Hat Press from any ink that comes out around the design. Put the butcher paper in place with a couple more pieces of the tape.
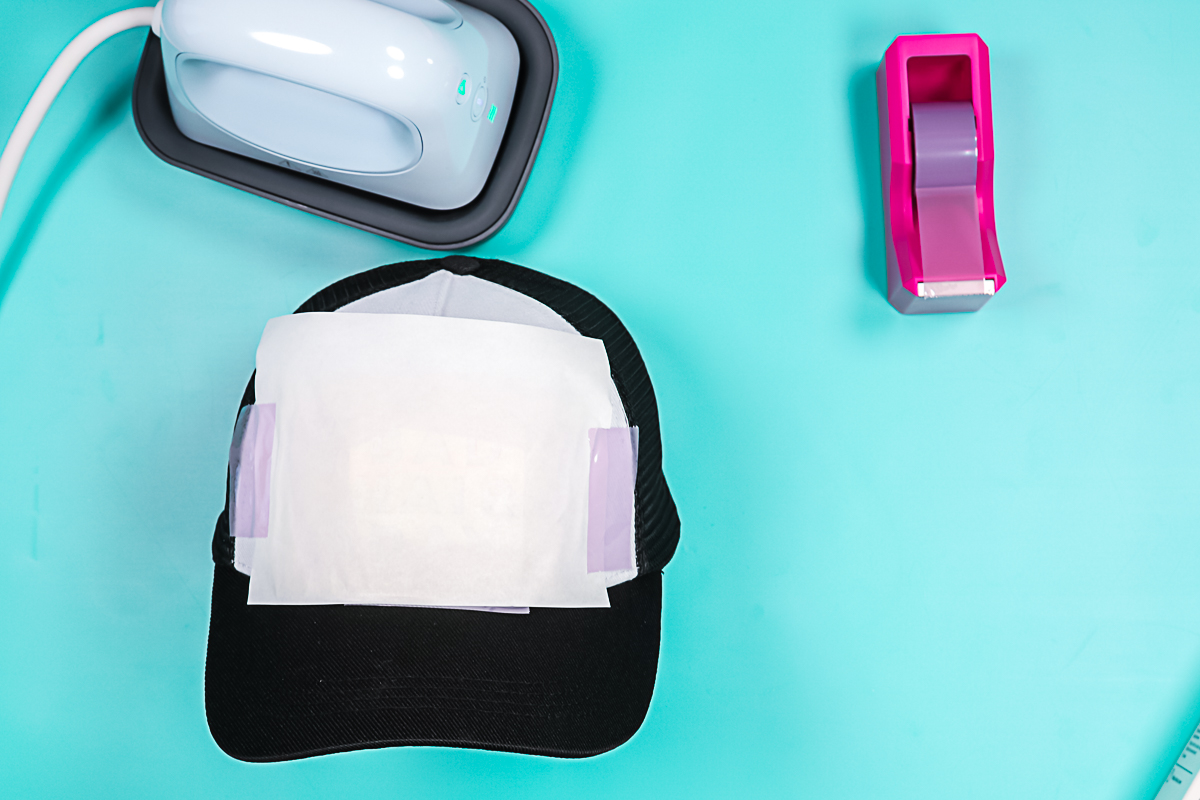
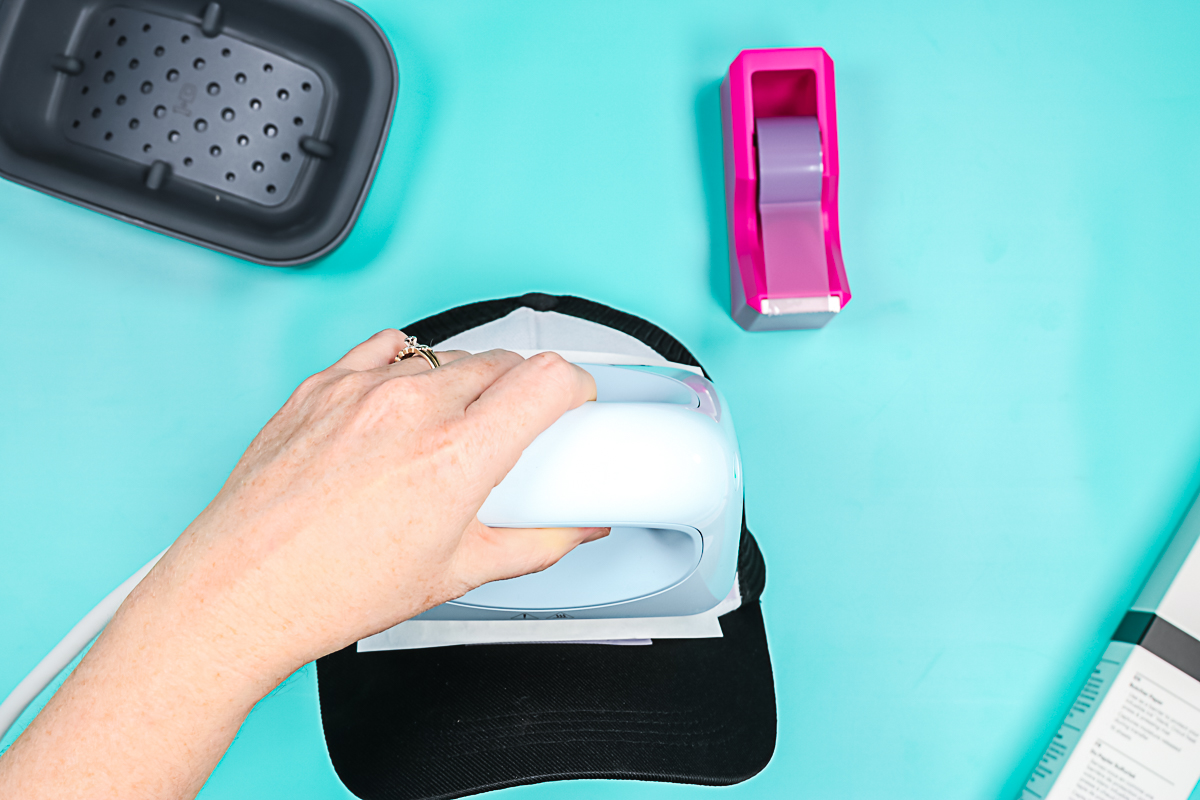
Put the Hat Press in location, make sure it’s covering the whole design, and press the go button. Hold the hat form from the side and move the Hat Press back and forth for the entire time indicated on Cricut Heat.
You can watch the time count down on the app as well.
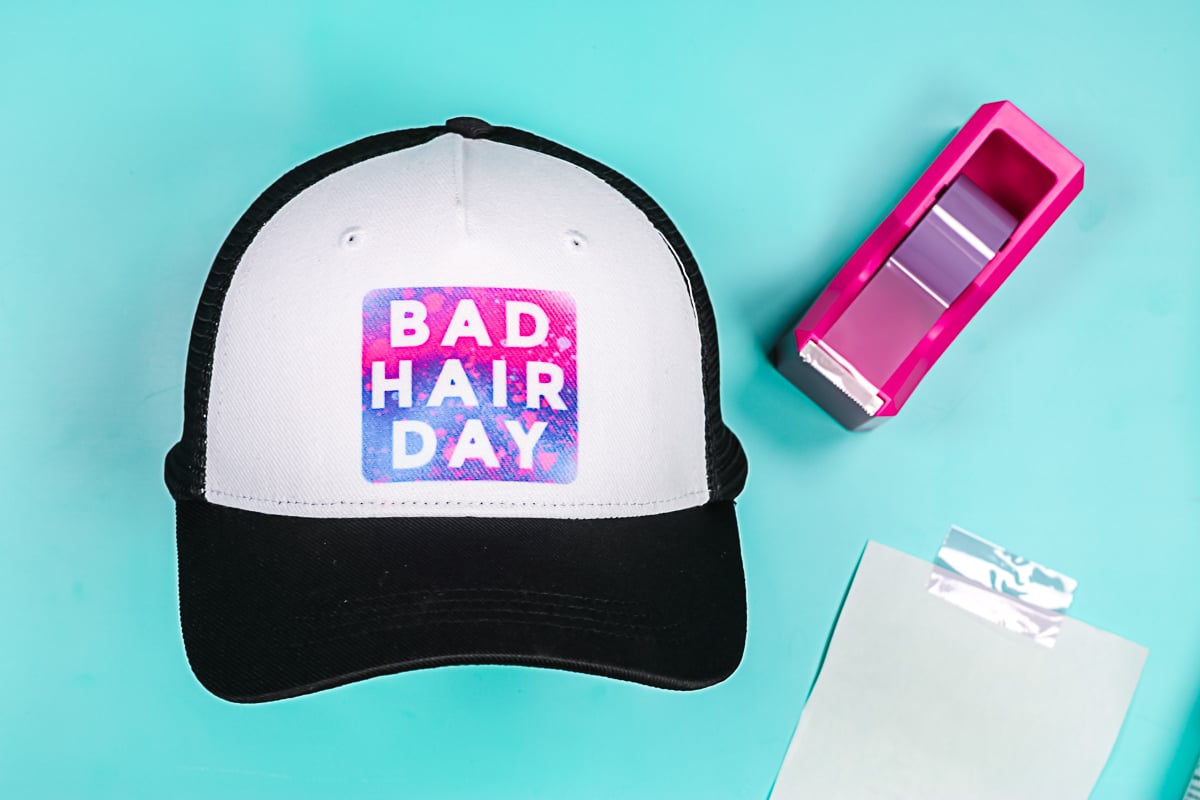
Once it’s done, it does beep. Put the Cricut Hat Press back in its base. Then remove the design while it’s warm. I did want to note that a sublimation print would work the same way as Infusible Ink does in this instance.
There is no ghosting or anything, even though I needed to move the hat press. I love the way this first hat turned out!
Using the Cricut Hat Press With the Buttons
So now let’s use the Cricut Hat Press with the buttons on the machine and not use the Cricut Heat App. Remember, you don’t have to have the app to use this press. You only have to use the app to register your device. Turn the Hat Press on by holding the center button. It will heat up to the low setting. There are three levels on the hat press:
- Low – for sensitive materials or heat transfer materials that transfer between 255 and 295 degrees Fahrenheit. Timer is set for 60 seconds.
- Medium – used with Cricut iron-on and most base materials or heat transfer materials. Transfers between 300 and 355 degrees Fahrenheit. Again, the timer will be for 60 seconds.
- High – used with Infusible Ink, sublimation, or heavy duty base materials. It transfers between 360 and 400 degrees Fahrenheit. The timer is 90 seconds.
Cycle between these three settings by pressing the temperature button. The lights on the bottom indicate which level you are on. They will change from orange to green when the press comes to temperature. These levels are within a range of heat as the only way to get an accurate temperature or change the time is with the Cricut Heat App.
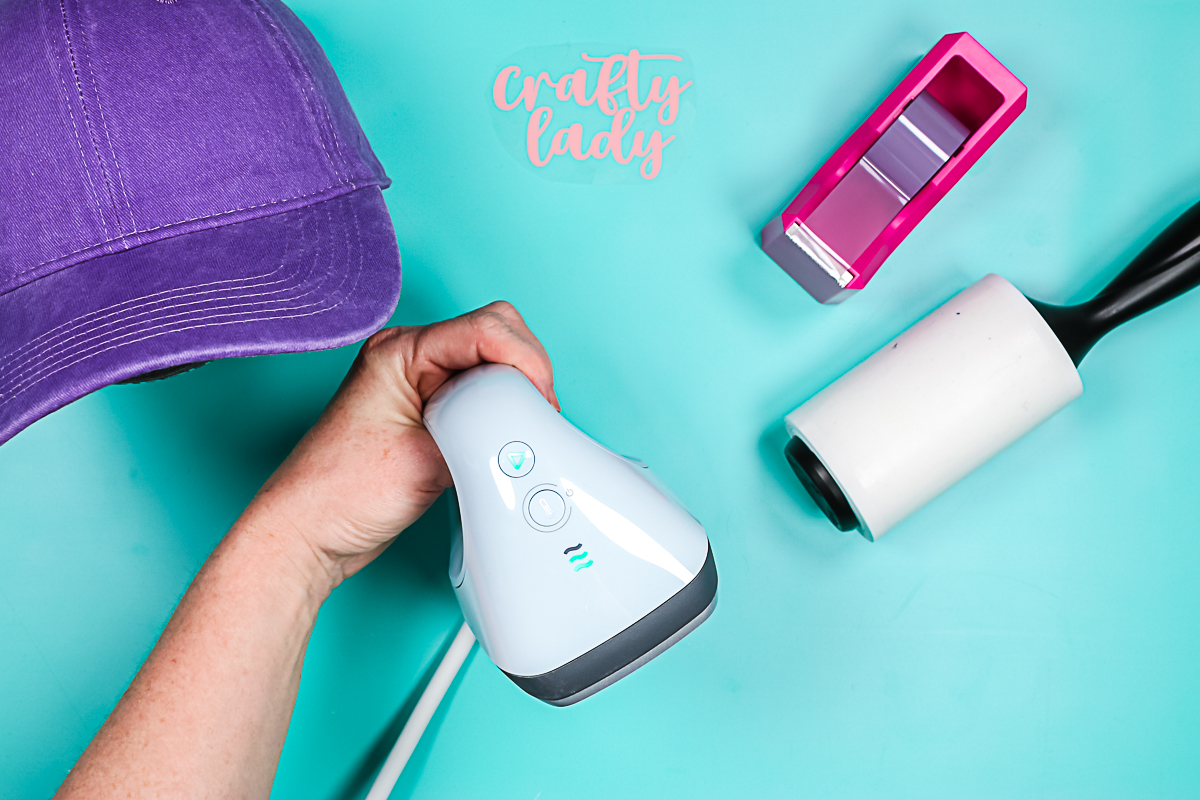
Add your hat to the hat form in the same manner. Remove any debris with the lint roller. I did trim around my HTV close and cut slits all around it. You can go over the seam in the center of any hat with HTV or Infusible Ink. Cricut does recommend that when you have holes in your hat for ventilation that you don’t put any design over those holes. Add the design to the hat and again add strong grip heat tape to hold everything down.
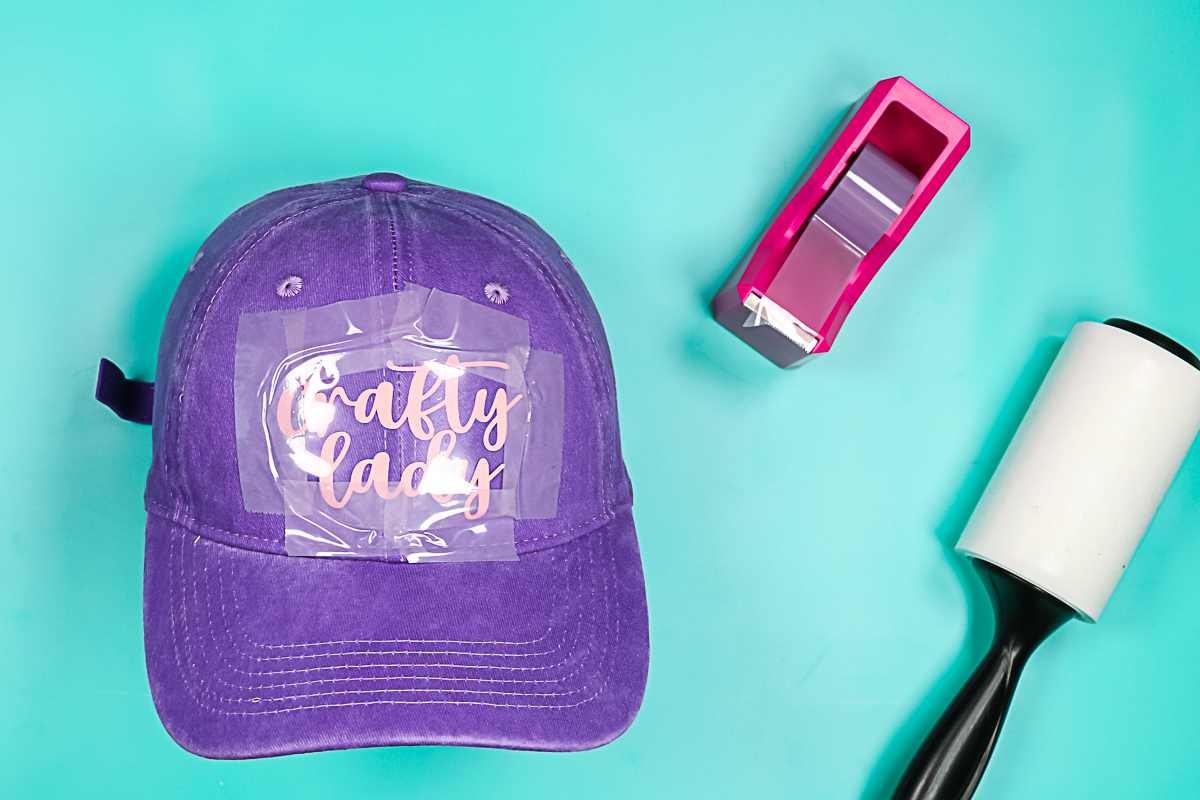
I added butcher paper over the top so I would have a smooth surface to move my hat press over while pressing. Be sure to tape it down as well. You can reuse this piece as it will not have any ink or anything on it.
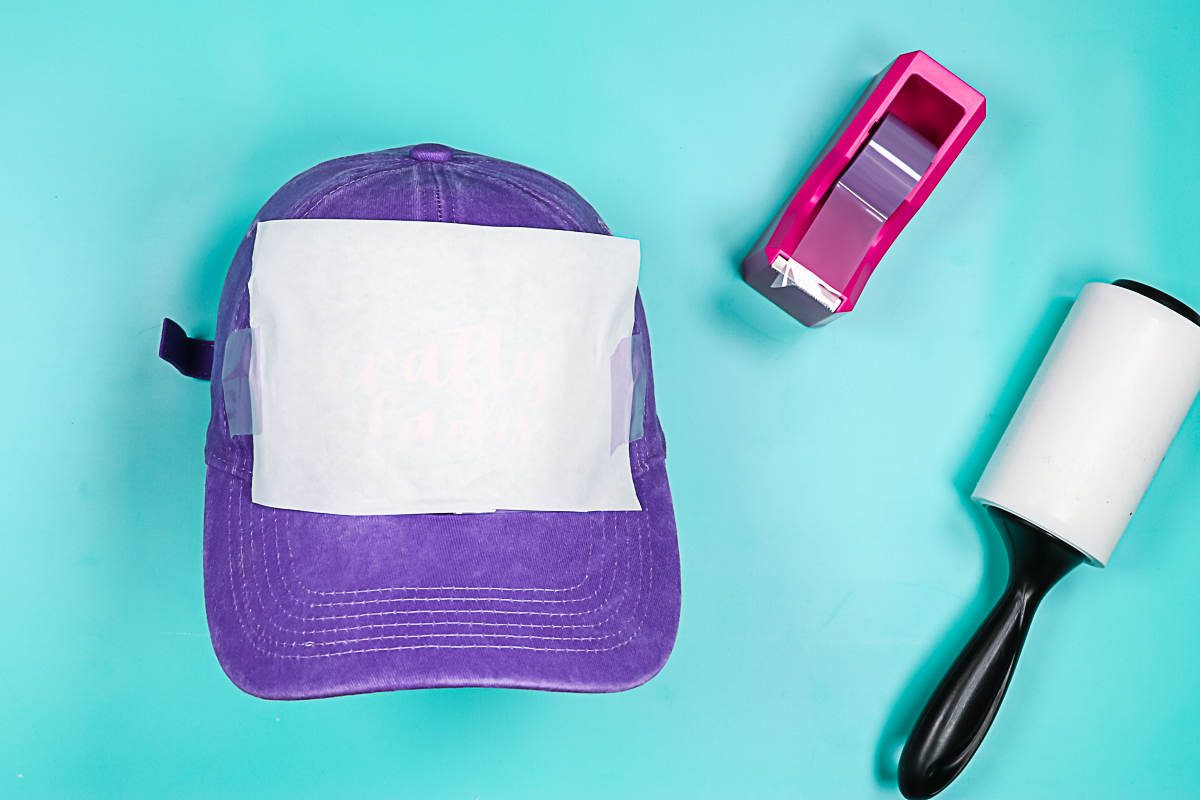
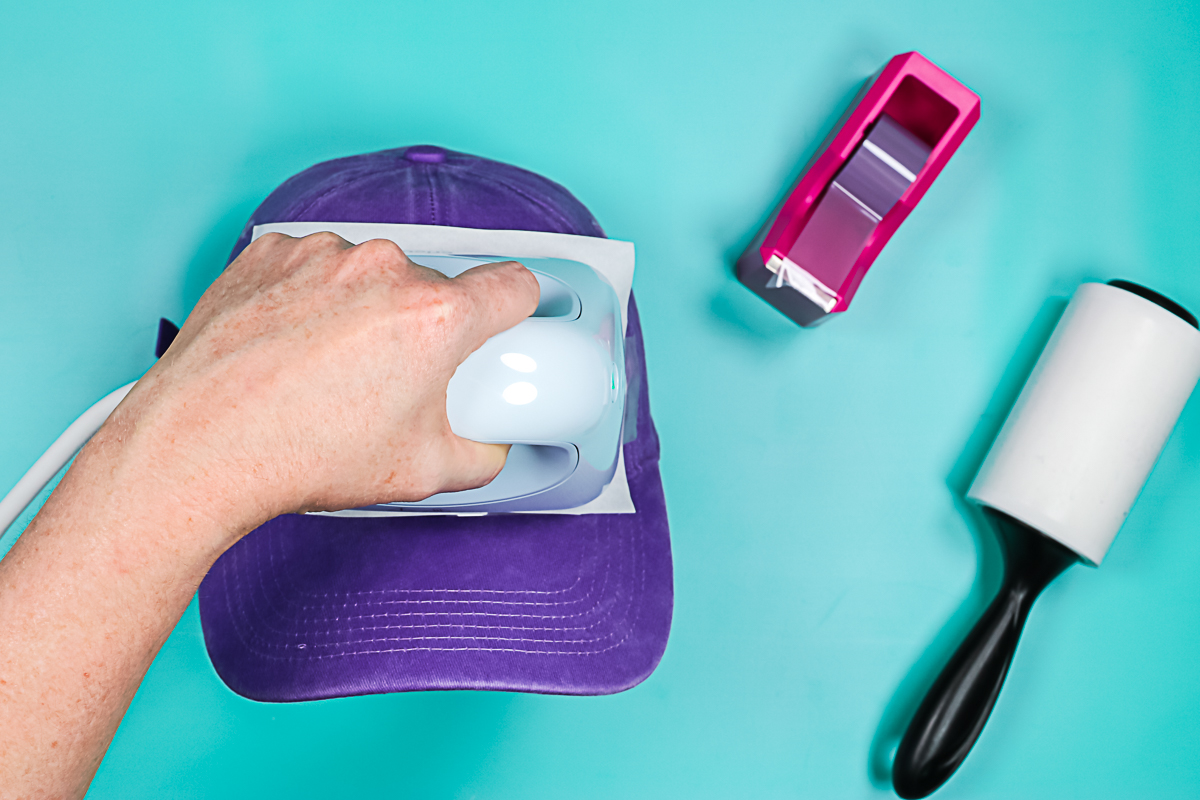
Add the Hat Press over the top and press the go button on the side. Move the Cricut Hat Press from side to side as you press down lightly. The timer will count down for 60 seconds and it will start beeping when it’s done.
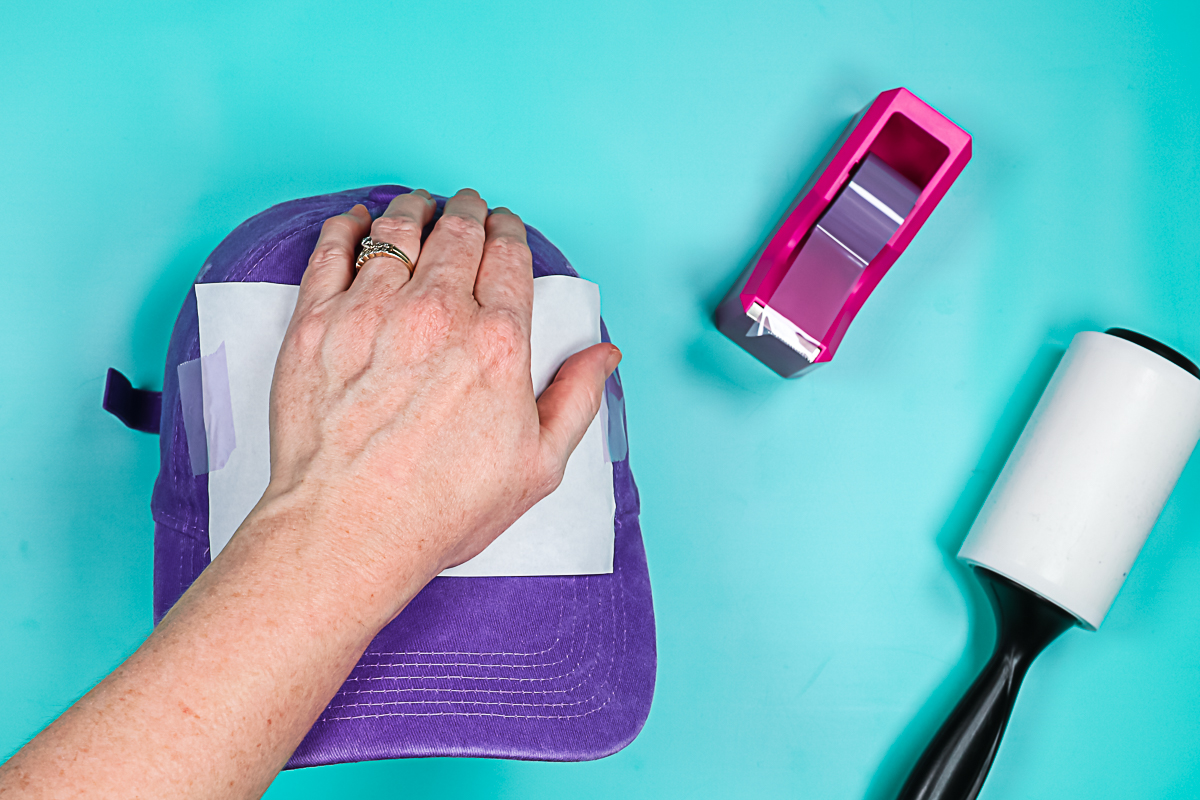
Remove the press and let it cool completely because it is Cricut Iron-on. As it cools, I do like to press on it just to make sure the carrier sheet isn’t lifting up as it cools.
The hat form itself will be hot, so this might take a little while to cool down. Once cool, peel back the butcher paper then the carrier sheet.
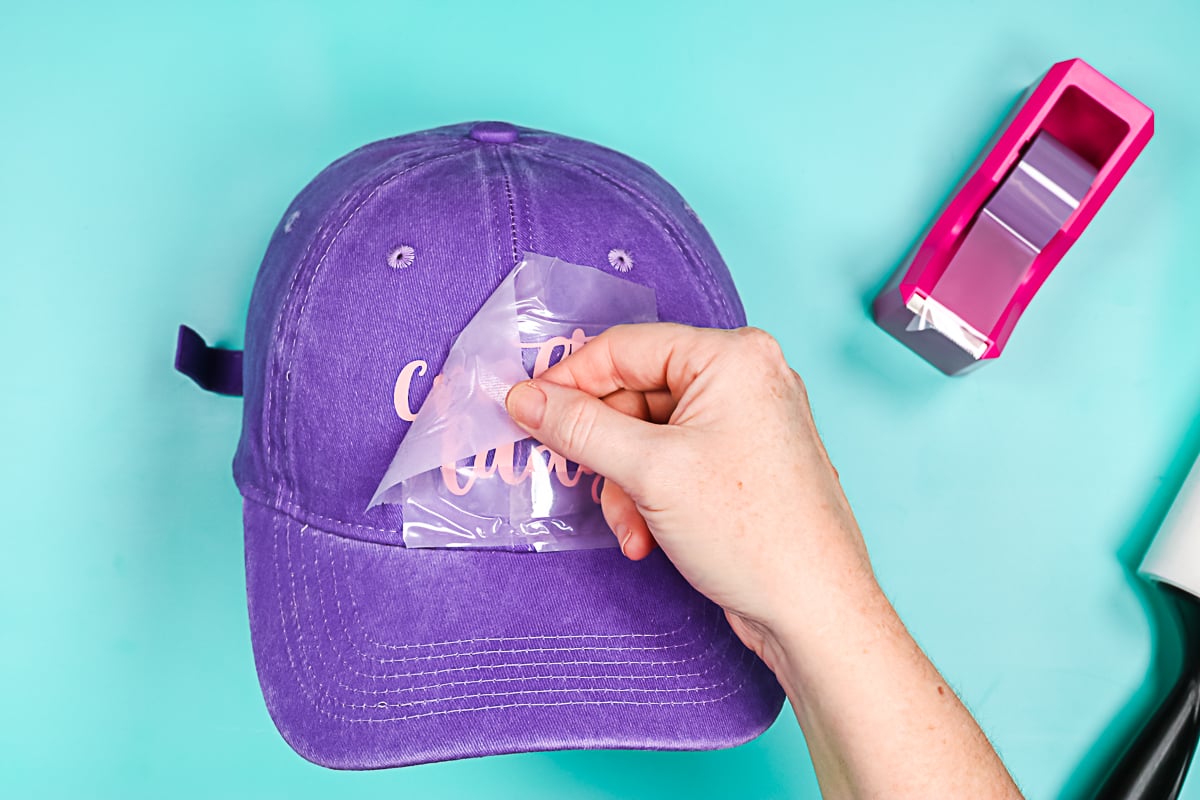
There you have HTV on a hat! I will note that this hat is from Amazon, so it’s not sold by Ciruct at all. You can use any hat blanks that will fit with on the hat form.

Cricut Hat Press FAQ
I’m going to answer some questions I think you might have below, but if you have a question that I have not answered be sure to ask it in the comment section.
Do you have to have the Cricut Heat app to use the Cricut Hat Press?
I think I showed above that you don’t have to have the app to use the press. We did a hat with and without the app. However, you do need the Cricut Heat app to register your machine. So, you will need a mobile device or a tablet for the registration process. After registration, you can use the Hat Press with or without the Cricut Heat app.
I will say that the Cricut Heat app does allow you to dial in your temperature a bit better and set your own time. If you use the three heat settings on the Hat Press, you’ll be in a range of temperatures and you can’t set an exact time.
Can you use the Hat Press with a computer?
No, you cannot. The Cricut Heat app is the only thing that works to send the time and temperature to the press. You can’t hook it up to your computer to register it or to set the time and temperature.
What kind of hats can you use?
I showed you a Cricut hat and a hat I picked up off Amazon above. Both of these worked great and I have tons more hats planned. Be sure to stay tuned for more ideas using the Cricut Hat Press. I will even be trying different hat sizes to see if things like kids hats will work.
Can you press on other things that are not hats?
Not to my knowledge. As of this time, I think this is only a press for hats. If I discover anything else that will work, I will definitely do future posts on the topic.
Do you have to purchase Strong Grip Heat Tape to use Cricut Hat Press?
I really do think that you’re going to need it to hold your designs in place on the curved surface. I just don’t think regular heat tape is going to be strong enough to hold it down as you are moving the Hat Press back and forth.
Can you use the Infusible Ink pens?
I will try these in another video but they will work in a similar manner to the Infusible Ink transfer sheets above. If you’re using the pens, however, be sure to put four layers of butcher paper on top of the copy paper that has the pen drawing before you press. The pens bleed out a lot more, and you don’t want to get any ink on the surface of your hat press.
How close do you need to be to your device to use Cricut Heat?
The typical range is about 7 feet so you will need to keep your device fairly close by while using.
All right, now you know everything there is to know about the Cricut Hat Press. You’re going to want to stay tuned to see even more. I have tons of other things planned to see just what this hat press can do!
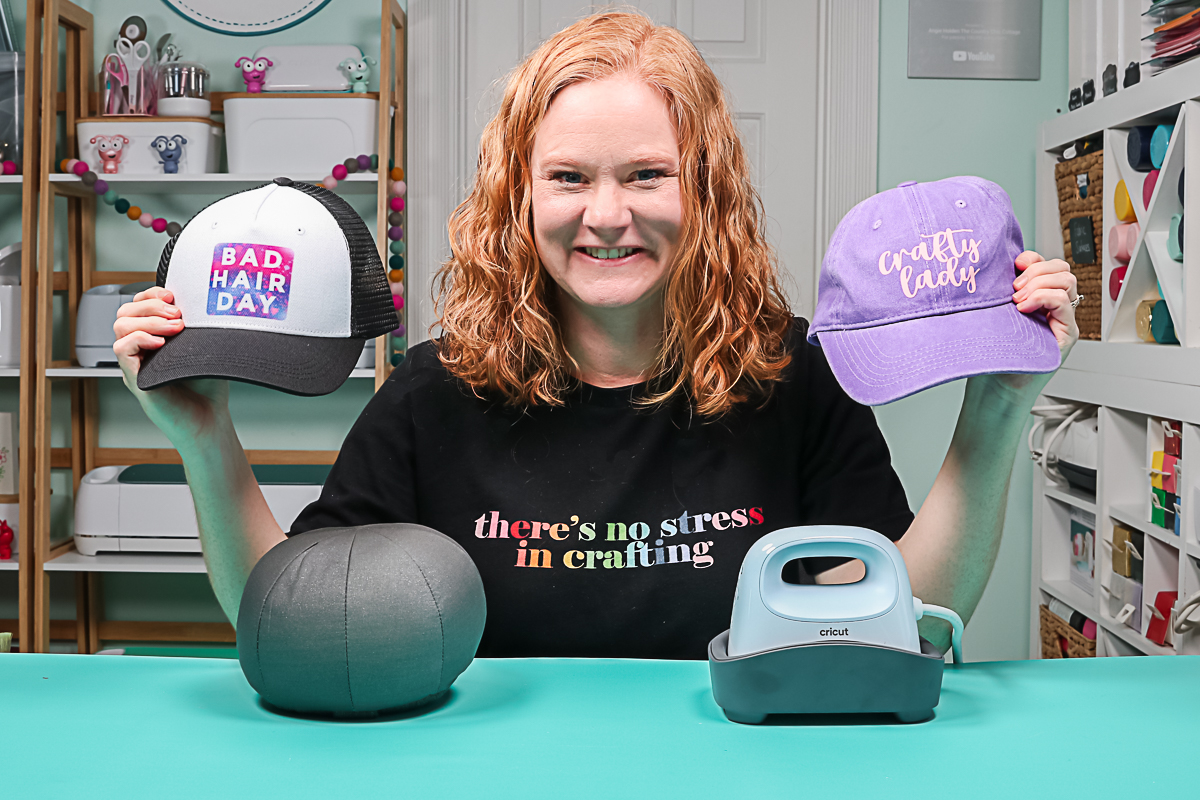
Be sure to look for the Hat Press available for sale very, very soon at Cricut and Michaels – online (available later in store). Pick one up if you want to make some hats.
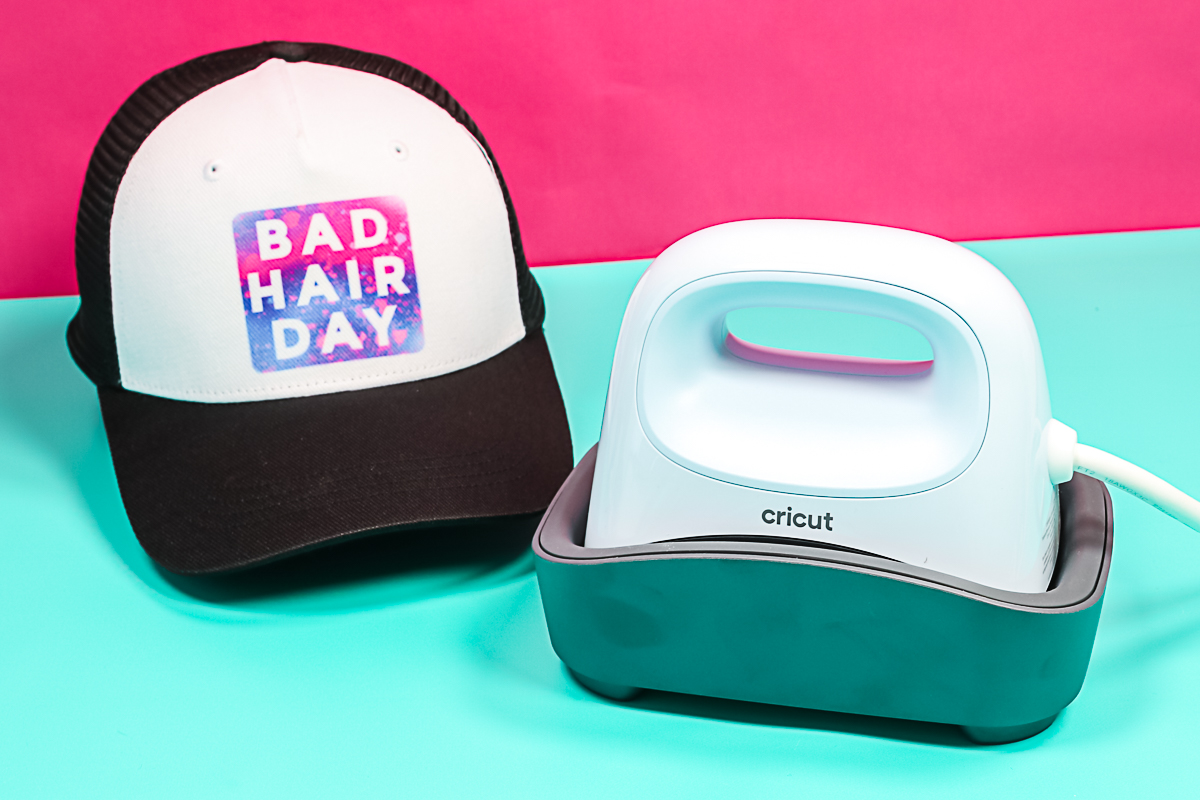
I think you will love the Cricut Hat Press and using it to make hats for yourself as well as to give as gifts. Just think of all of the hats you can make! Don’t forget to stay tuned for even more as I have so many things planned with this press.
So, are you going to be making some hats soon? Will you be adding the Cricut Hat Press to your crafty wishlist?


What is the cost for the hat press?
You can click the hat press link to see the current price.
Hi Angie! I love your videos and wondered if you could help me figure out why I’m having such a hard time sublimating on this particular hat. It’s foam polyester. The tape marks are showing through! I’ve tried lowering the temp and also the press time. I haven’t had this issue with regular polyester hats. Thanks! blob:https://www.thecountrychiccottage.net/a4430a4e-8686-4643-8583-e3969f2e9528
oops I was trying to paste a photo so you could see what it looks like.
I think I answered your questions somewhere else!