You may have heard of Cricut Infusible Ink already, but now we will teach you how to use it the right way! Your projects will come out amazing after following our comprehensive guide below. We will cover Cricut Infusible Ink, where you can buy it, how to use it, how to layer it, and so much more! So, are you ready to dive into this material from the Cricut brand? I think you will love it! Check out even more projects at the end of this post.
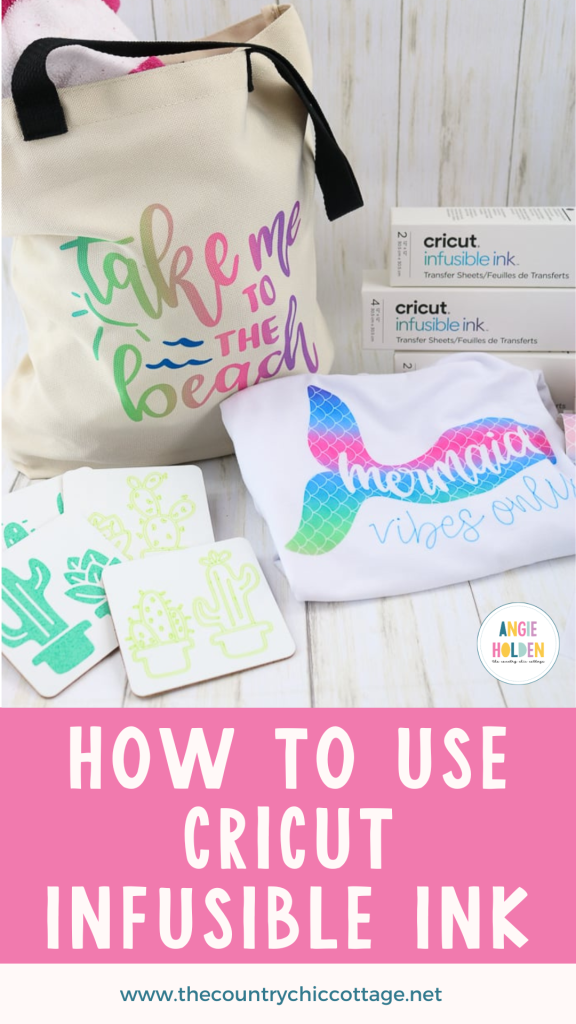
Cricut Infused Ink
I am covering a ton of information in this post. If you want to skip around or have a specific question, just use the table of contents above.
What is Cricut Infusible Ink?
Infusible Ink is a permanent ink transfer product that works on specific Cricut surfaces and surfaces made for sublimation. This product allows you to create handmade, personalized projects with a professional, store-bought finish. Think of your own creations embedded with ink on shirts, totes, coasters, and more. Now imagine this process is simple and perfect for the home crafter. That, my friends, is Cricut Infusible Ink. And you can use it with any of your Cricut machines!
Peel-proof, flake-proof, and wash-proof – now, for the first time, you can achieve professional-level personalization at home with seamlessly smooth, richly colored, pro-quality transfers that become one with your base material – and last forever. Ready to learn more? I thought so!
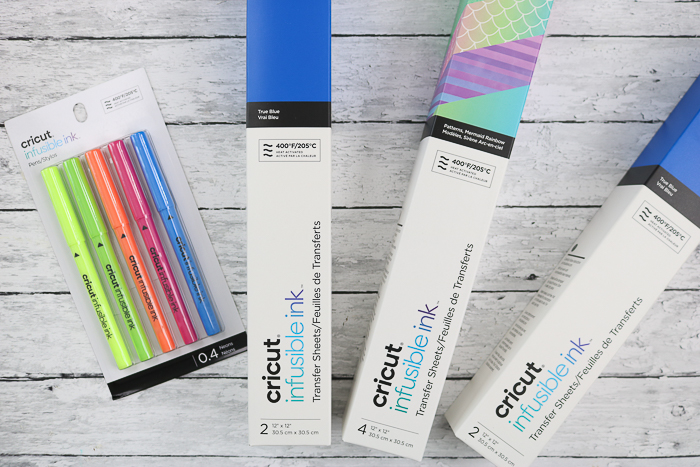
The ink is available in transfer sheets, pens, and markers. We will talk more about each below as well as show some projects using the products!
Is it like sublimation?
Sublimation is a process that uses a printer with special ink to make transfers that are then added to poly-coated surfaces. While Infusible Ink is similar, it is an entirely different product, and there is nothing like it on the market. The Infusible Ink sheets are a newer technology that allows you to cut designs in your Cricut machine. You can then use those sheets to infuse ink right into your project. The technology is easier, faster, and much cheaper for the at-home crafter who wants to take their projects to the next level.
Where can I buy Cricut Infusible Ink?
Cricut Infusible Ink is available anywhere you purchase Cricut supplies:
How much does it cost?
What can you expect to pay for this amazing new product? Pricing varies; you can often find it on sale or use a coupon, but it is affordable, especially when you see what this product will do! I would suggest starting with one project as the investment will be small. You will be hooked after the first one, though!
What surfaces can I put it on?
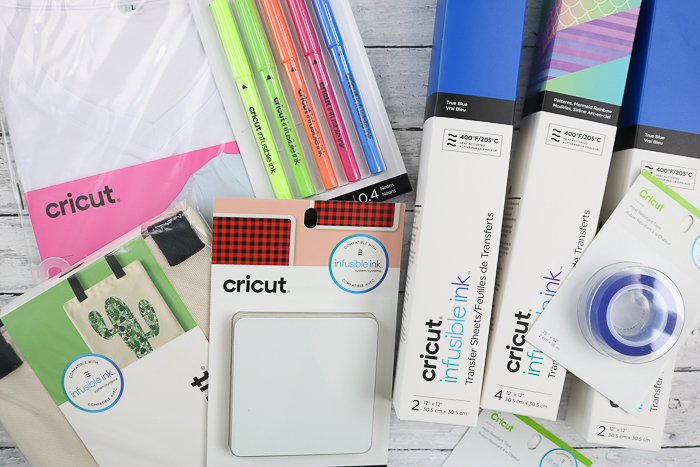
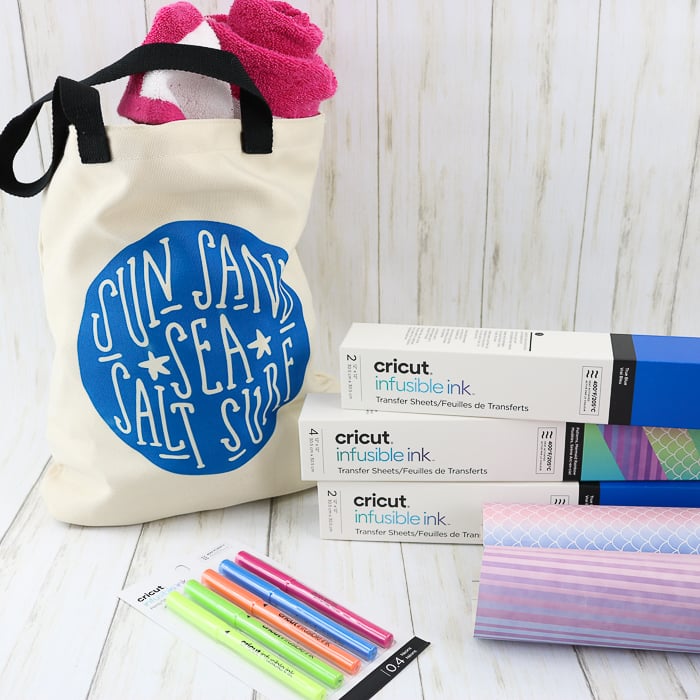
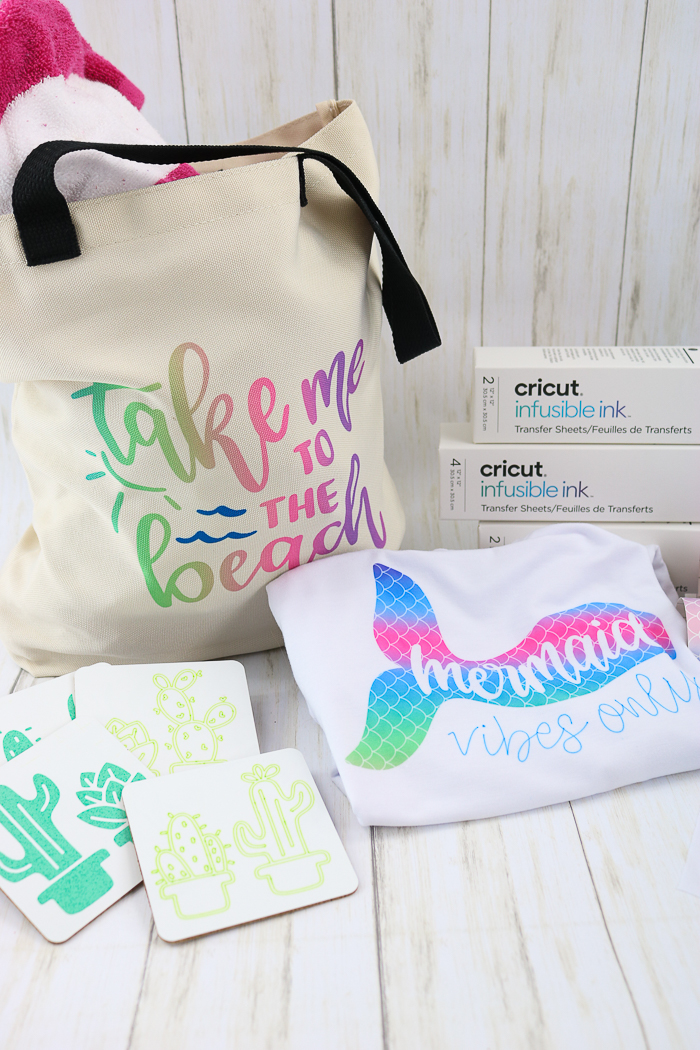
Cricut recommends that you only use these products with the surfaces that carry the “infusible ink seal.” You can see that seal on the package of coasters and the tote above. The product itself does require a polyester coating on the surface of the substrate to react and then seal once the heat is removed. You cannot, for instance, add this to a cotton shirt, as it will not work. Other blanks that will work include those made from 100% polyester and those listed as good for sublimation.
What other supplies do I need?
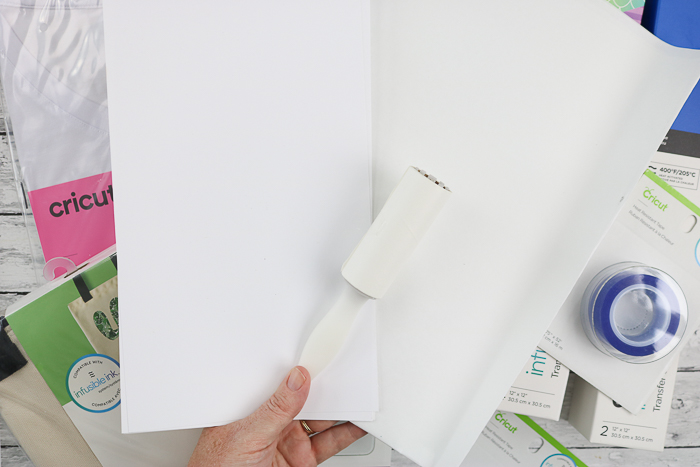
You will need a few things in addition to the product and blanks. Here is a brief list of things to keep on hand:
- Lint roller
- Lint-free cloth
- Heat resistant tape
- Butcher paper (parchment or freezer paper is NOT recommended) (NOTE: Some of this will come with the transfer sheets but you may need more.)
- White cardstock (needs to be white or off-white)
- Laser printer paper (paper needs to have a note on the package that it is okay for a laser printer)
- Cricut EasyPress 2 (the original EasyPress will work but you will need to check for different settings) (NOTE: You will need an EasyPress as large as your project as you cannot press Infusible Ink twice.)
- Cricut EasyPress Mat (this will need to be as large as your project as well and it is required)
- This project is made with Design Space files. Click here for my profile (or search for Angie Holden). Once on my profile, find the image of the project you want to create, click it to open it up, and then you can make it yourself.
Cricut Infusible Ink Video
For those who prefer to watch a tutorial, I made a video for you to learn all about Cricut Infusible Ink. You can watch that below!
However, you will find everything from the video in this post, so whichever method works best for you is fine!
How to Use Infusible Ink Sheets
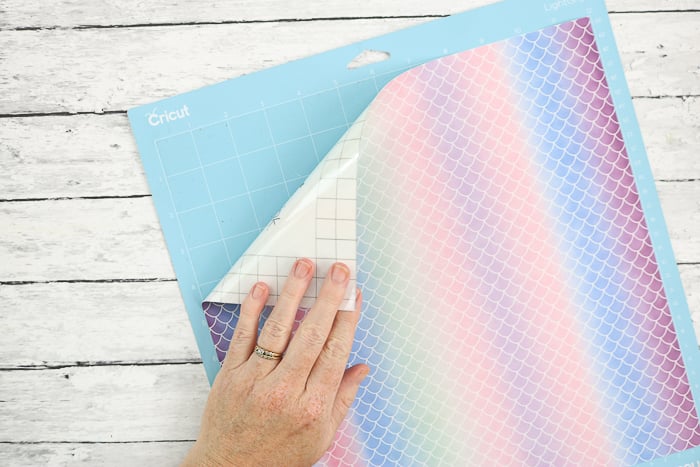
First, you will need to cut your design from the Infusible Ink sheets. Be sure your hands are clean and dry before handling the sheets! Put the material liner side down on the green or blue mat.
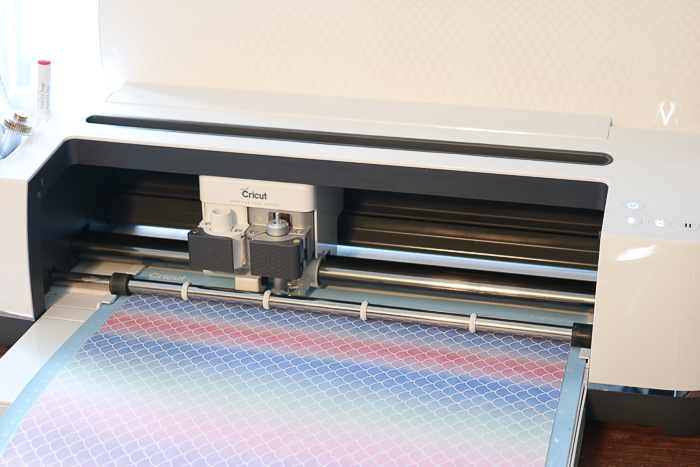
Then, mirror your design before cutting on your Cricut machine. Use the fine point blade and the Infusible Ink custom cut setting.
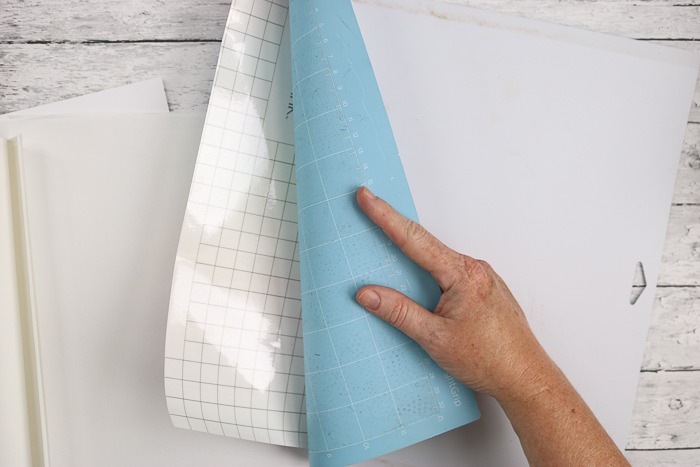
Remove the mat from the material instead of the material from the mat.
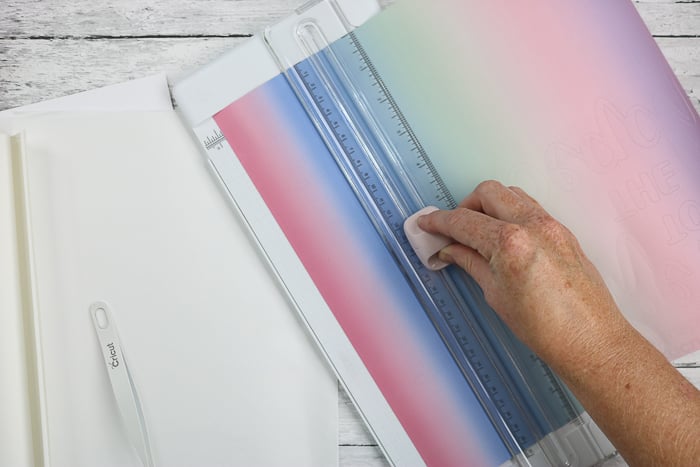
You will also want to be sure to trim away any excess from your sheet before weeding. Use either a pair of scissors or a paper trimmer to do so. Then, you can use those smaller scraps on other projects. You can see more about using scraps with your Cricut here.
Weeding Cricut Infusible Ink
Now that your piece is cut, what about weeding? There are a few tips and tricks there as well! First, roll the design before beginning to crack the cuts and make weeding easier.
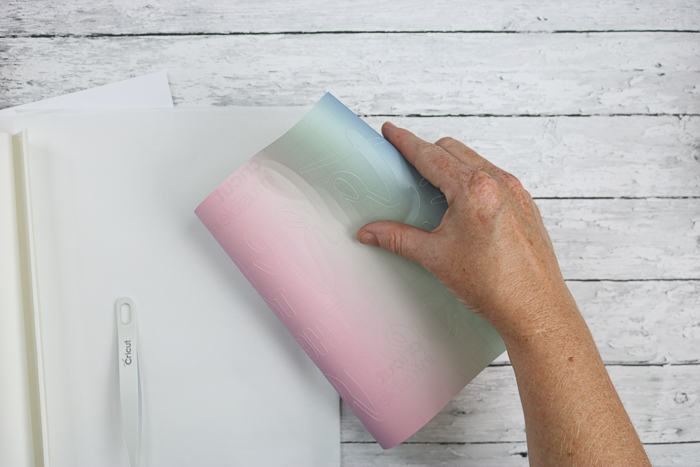
Then, remove what you can with your hands. Remember to keep your hands clean and dry when working with Cricut Infusible Ink.
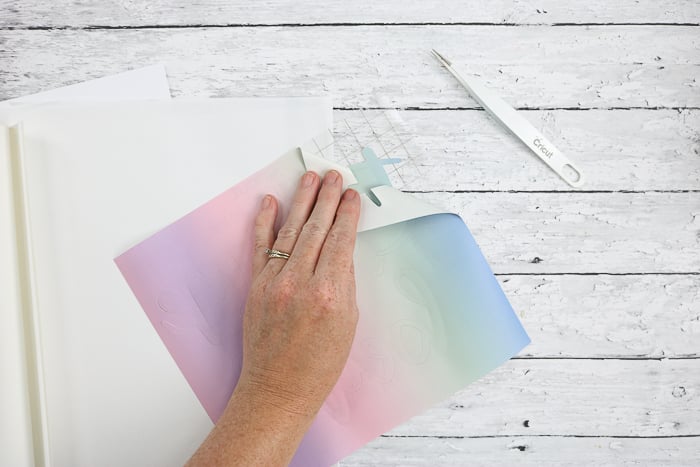
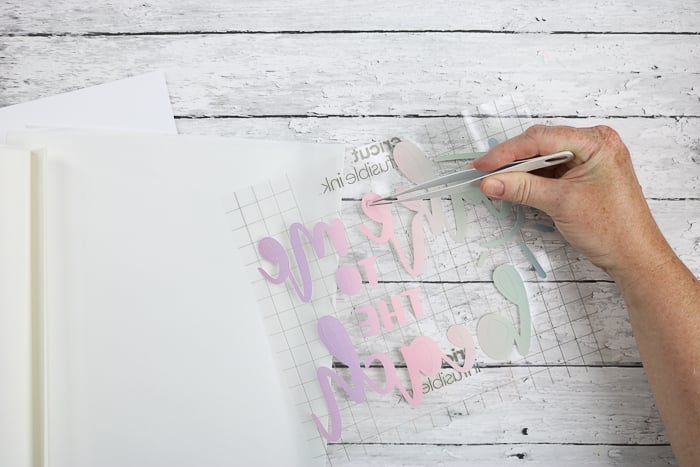
You DO NOT want to use weeding tools with the Infusible Ink. If you have any stubborn areas, try a pair of tweezers to help you lift the piece.
How to Use Infusible Ink Pens and Markers
For the pens and markers, you will want to put a piece of copy paper on the mat. Just make sure the copy paper is rated for use in laser machines. If you are using a Cricut Joy model, you will have to cut the copy paper to fit on your mat. For all other machines, the copy paper will fit on your mat.
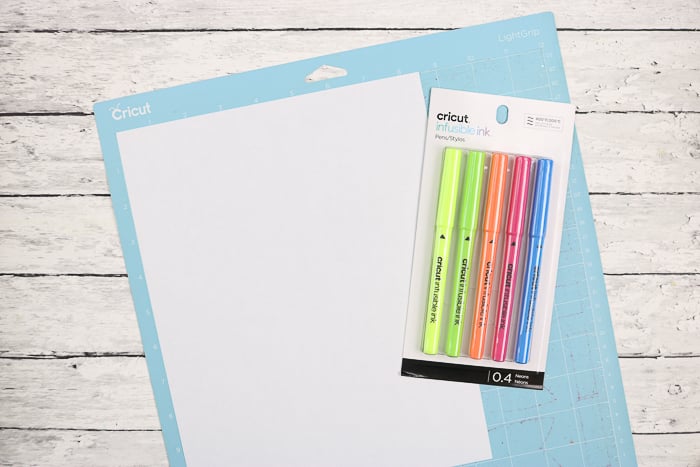
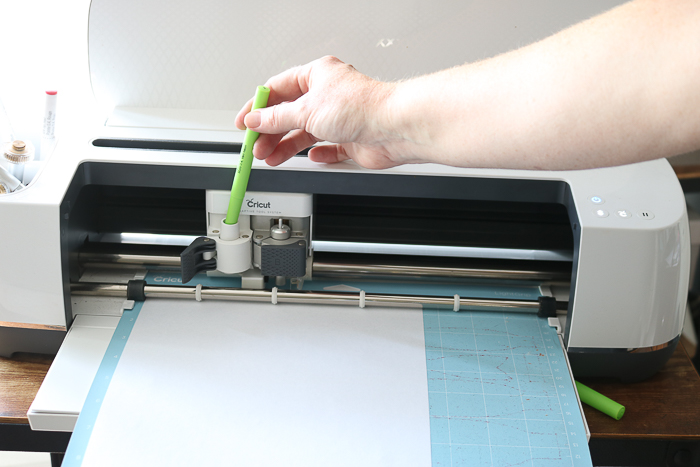
For the Explore, Maker, or Venture machines, the pen is inserted in the second holder on your machine just like any other pen. With the Joy machines, you’ll insert the pen into the blade/pen holder when prompted. The only difference here is that you do want to mirror your design before drawing it. If you are using multiple colors, be sure to color them all in Cricut Design Space. Then, your machine will stop and ask you to change pens while drawing.
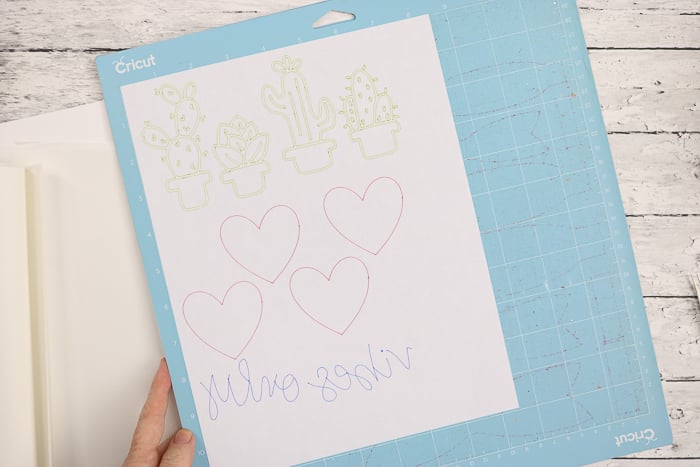
Once the drawing is complete, you can use the pieces as is or color them more with infusible ink markers. You can also have the Cricut machine cut your paper to size or use scissors to trim once removed from the mat.
Infusible Ink Projects
Let’s dive into a sample project first. Every package of Infusible Ink sheets comes with a sample swatch that you can experiment with to get the hang of the product. Let’s run through adding a heart to that swatch. Add white cardstock to your Cricut EasyPress mat. Lay the sample swatch down on top of the cardstock.
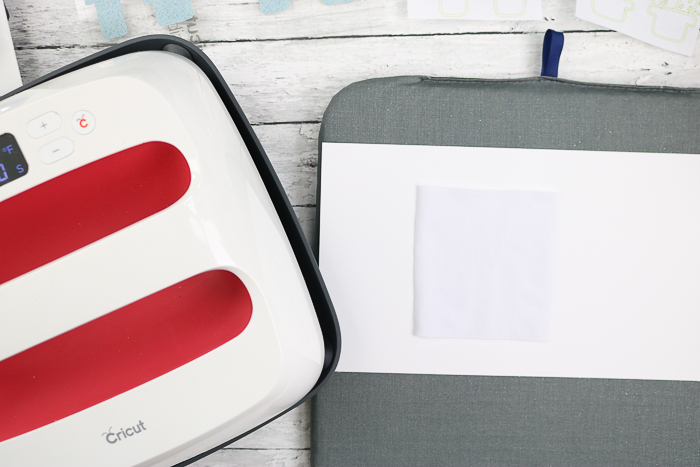
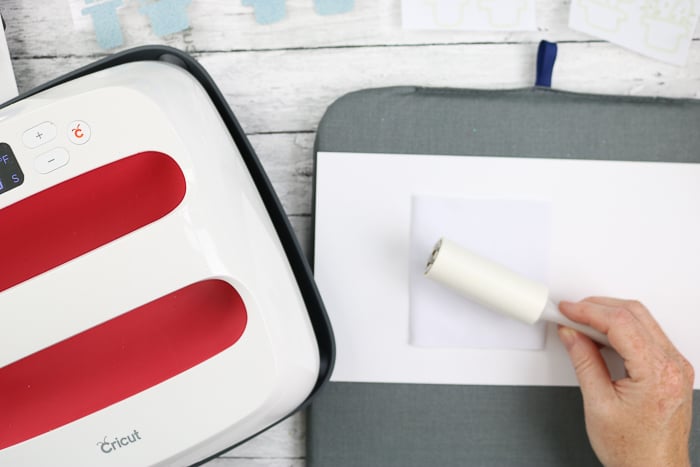
Be sure to use a lint roller to remove any debris from your surface. The EasyPress needs to sit flat on your project – lint or debris can prevent that. Be sure to roll the entire area where the EasyPress will sit.
Add a piece of butcher paper larger than your EasyPress over the swatch and press at 385 degrees for 15 seconds. This removes moisture from your project. I am using the settings for my EasyPress and the project I am completing. For your project, be sure to check the Cricut Heat Guide here for proper settings.
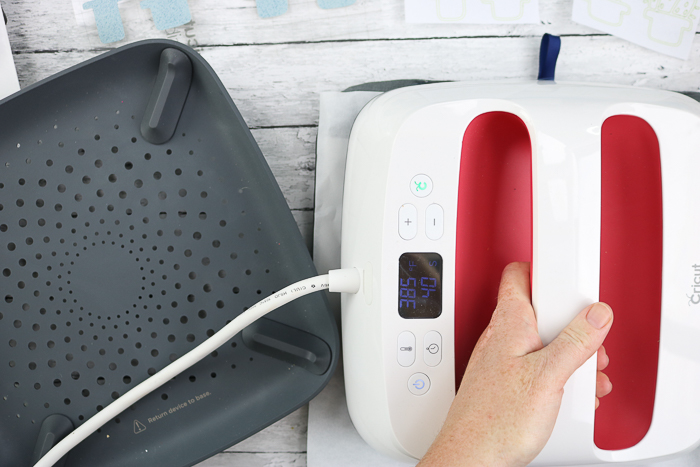
Allow your project to cool completely. Adding the Infusible Ink to a hot surface can start the transfer too early and ruin your project. Once cool, put the cut piece on the swatch with the liner side up.
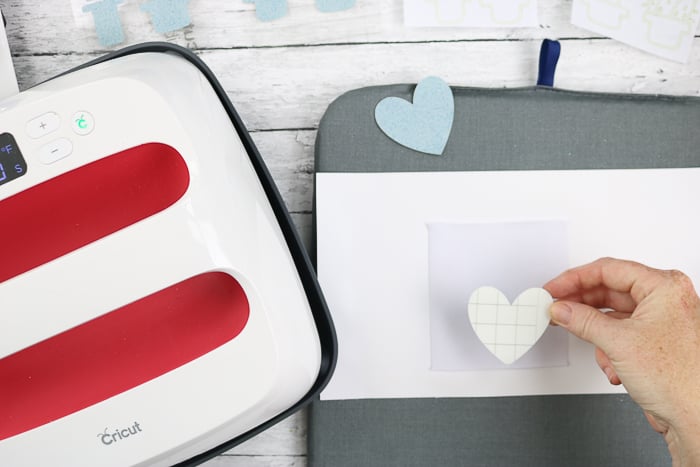
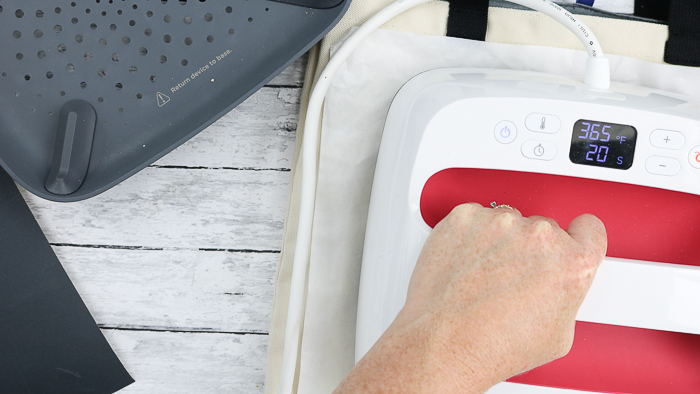
Return the butcher paper and press for 40 seconds using light pressure on the handle. Be sure not to move anything during this process! Keep the EasyPress as still as possible.
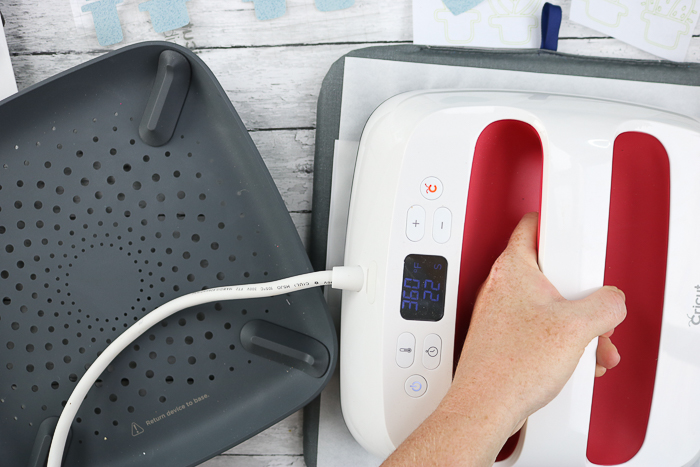
Once the time is up, remove the EasyPress, carefully lifting it straight up. Again, you don’t want to disturb or move anything. You will want to let everything cool completely before touching it to prevent ghosting around your design.
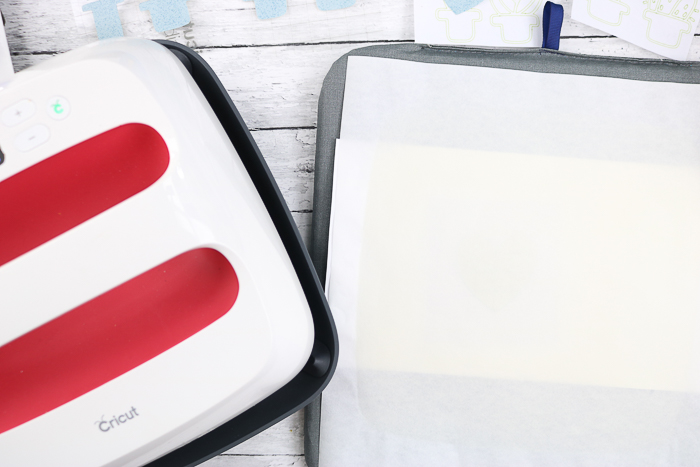
Once cool, remove your butcher paper and the liner piece. Your design will be on your sample swatch!
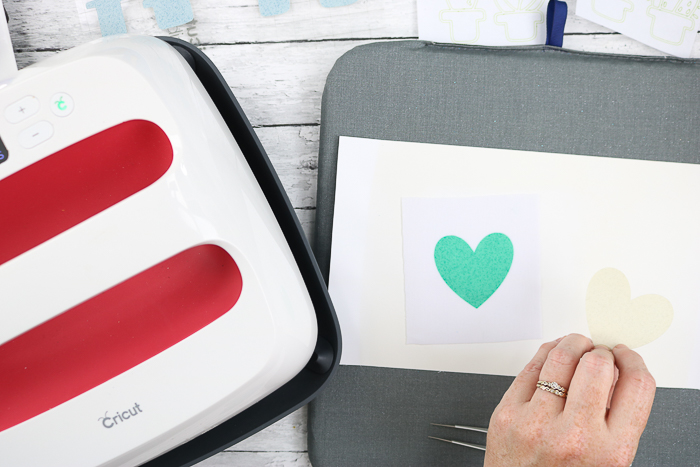
The design is completely dry and permanent once you lift everything up. There isn’t anything else you need to do! I did want to point out the color change. You can see below that the heart on the left is cut from the same pattern of Cricut Infusible Ink but it has not been pressed. The one on the right is after pressing. The color change is so dramatic! You will always want to look at the colors on the boxes of Infusible Ink when choosing and not what the sheets look like before pressing.
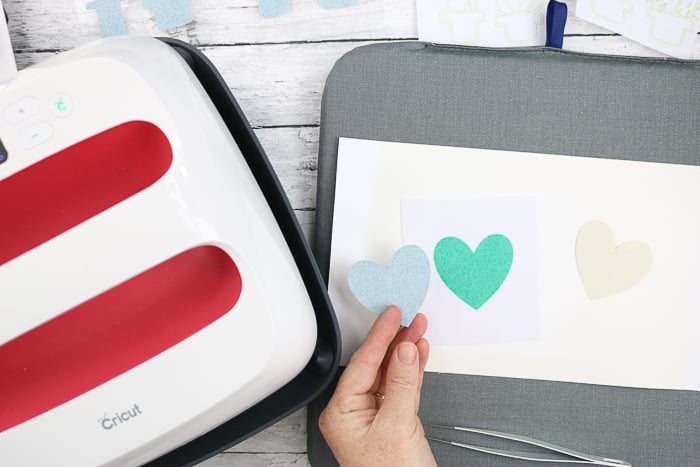
It is also hard to capture, but the ink is a part of the surface. I can stretch and move it in any way at this point!
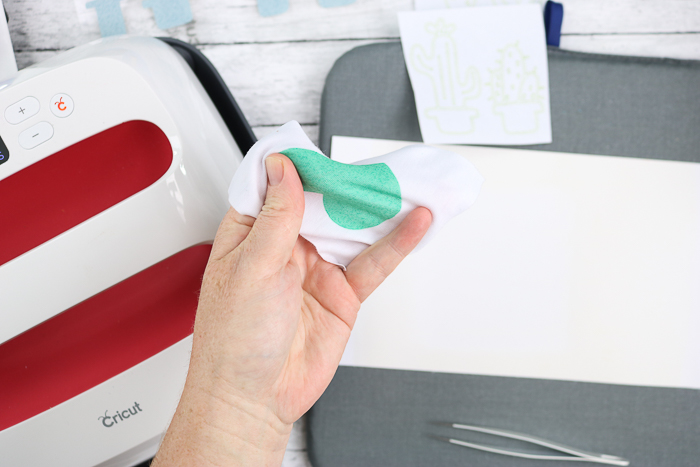
Infusible Ink Coasters
You can make custom coasters with the Cricut Infusible Ink! I did these two ways. Two with the pens and two with the sheets. That way, you can get an idea of some projects you want to create. Follow along for some tips and tricks for making coasters below!
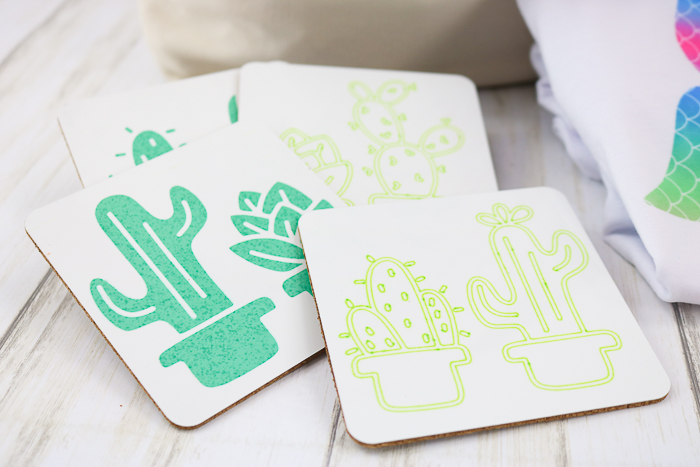
First, you can find instructions for coasters and more at this link. The instructions differ depending on what coaster you are using, so be sure to head there, especially if you use the round coasters! Otherwise, the process is about the same as the swatch above. In this case, you will need to wipe away debris with a lint-free cloth instead of a lint roller. Also, no preheating is required with the coasters.
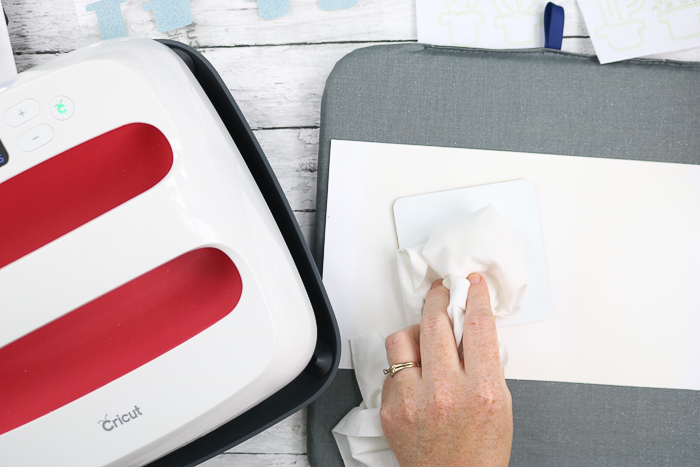
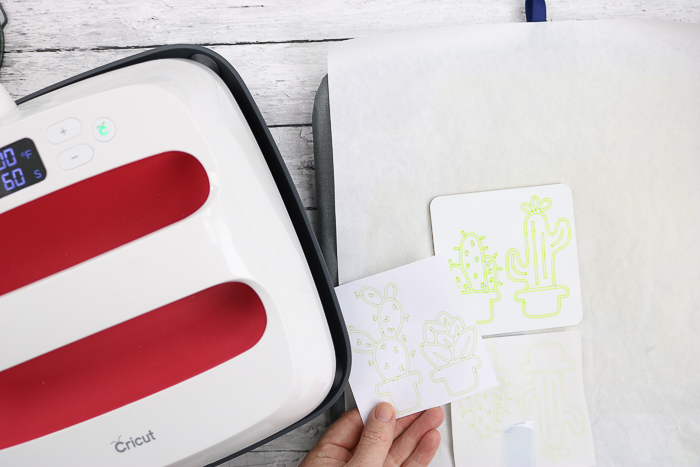
Put the drawing face down on your coaster when using the Infusible Ink pens.
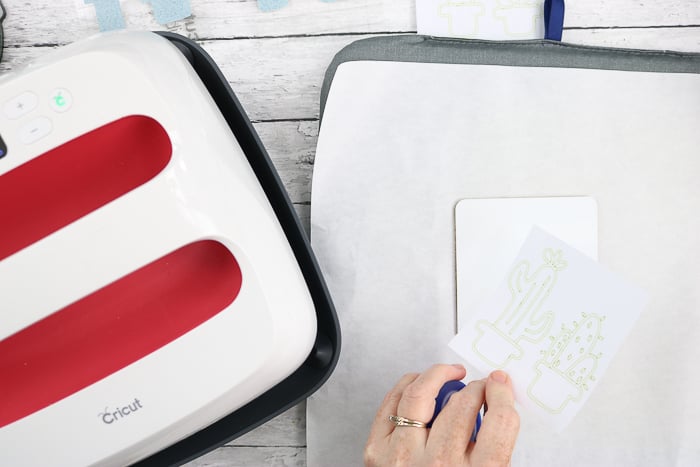
Then, you will need to tape this paper down with heat-resistant tape. You don’t want the paper to move, remember? The sheets have a sticky liner that helps keep them in place, but the pens and makers will require tape to keep them in place.
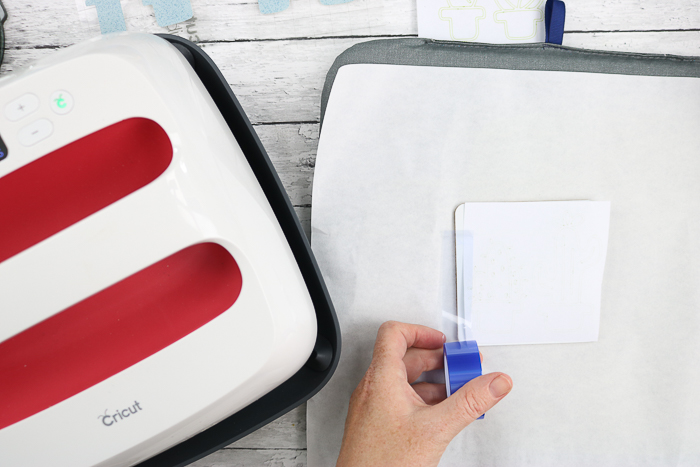
For the coasters with pens or markers, the stack is butcher paper, coaster, the sheet with the drawing taped down, and then white cardstock. You then put your EasyPress on top and press for the recommended time and temperature. This time, you don’t have to press down on the handle.
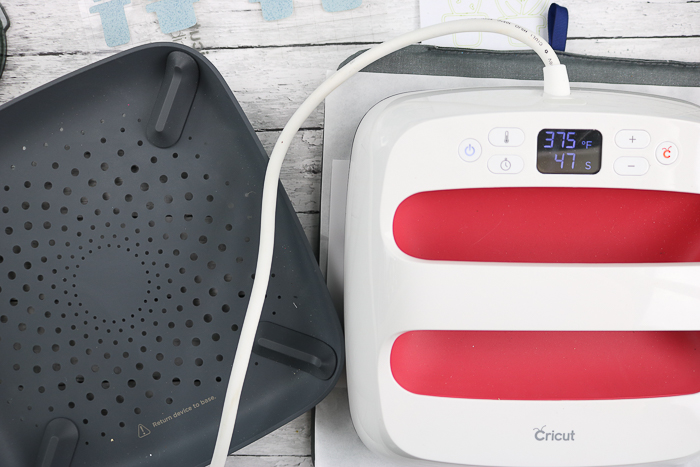
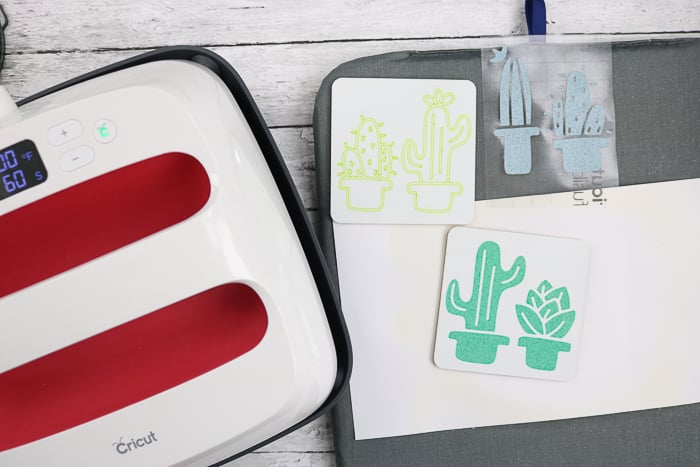
Then, pick up the EasyPress carefully, making sure not to move anything. Allow this to cool completely! It is hot when you lift that EasyPress! Once cool, peel back to reveal the magic! Once again, the colors get more vibrant once pressed, as seen in the image below. NOTE: Any cardstock or butcher paper put on top of the pen sheets must be discarded after use, as some pigment will get onto the sheet.
Using the sheets on coasters is relatively similar, and you can follow the pictures found here. You can see the difference between the pens and sheets below. The ink is locked into the coasters as soon as they cool and ready for use. No further steps are required.
Infusible Ink Tote Bag
You can also make a tote bag with Cricut Infusible Ink, but remember it must be a surface that is compatible, so be sure to pick up one of the totes with the infusible ink seal or one made of polyester or a polyester coating.
The totes have a few special instructions, such as adding the EasyPress mat inside the tote and covering it with white cardstock.
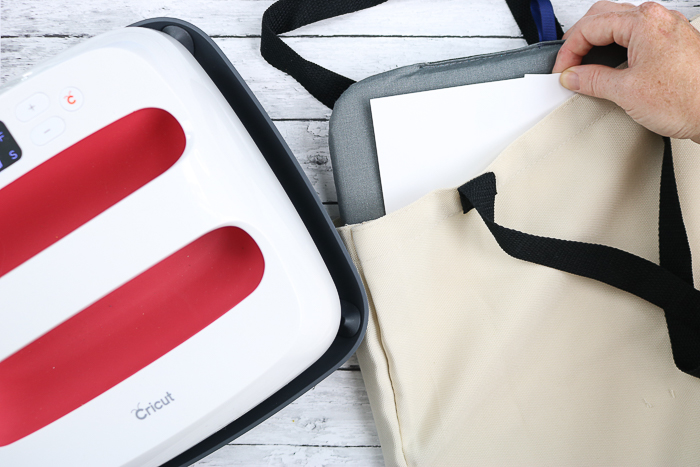
The rest of the instructions are similar to our swatch; you can find those here. One tip is to watch the seams on things like the tote and the baby bodysuits. If your EasyPress is on a seam, it will not adequately heat the Infusible Ink sheets. Make sure it is off of the seams when you press.
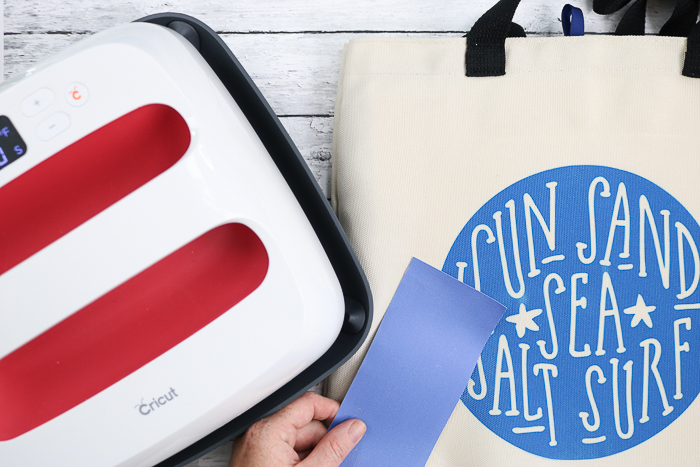
Also, similar to the patterned sheets, the solid sheets change color after pressing.
Can I layer Infusible Ink sheets?
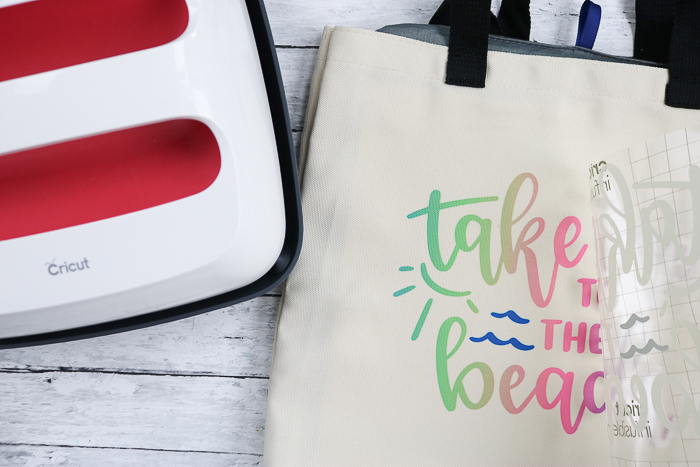
Yes, you can layer the sheets, but the process is a bit different from the one you are used to. Here, I am layering a patterned sheet with a blue solid sheet. Remember that you can only press the sheets one at a time to make your final project.
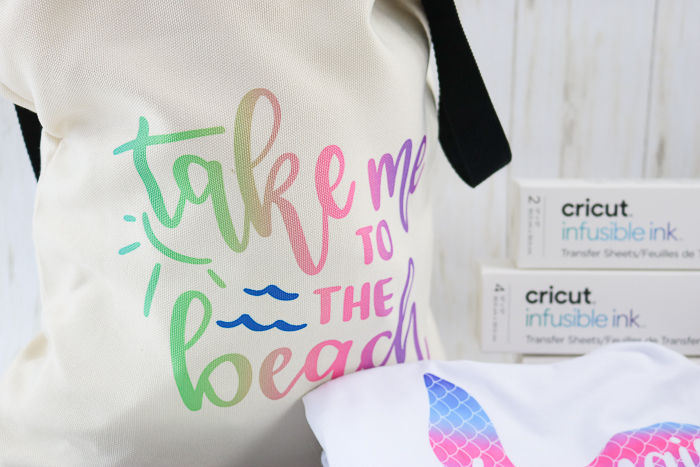
So, you will need to cut and weed both colors. Then, pick the pieces from one and put them on the liner sheet for the other. I put the blue pieces on the “take me to the beach” portion here. Then, press the design simultaneously, just like the tote bag above.
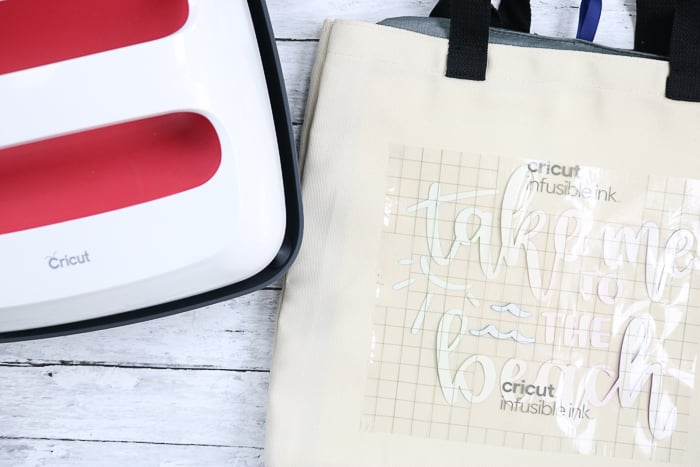
You can see more about slice and set in the instructions here. Layering infusible ink can take your projects to an entirely new level!
Using Infusible Ink Pens and Sheets in One Project
Yes, you can do that as well! I thought, why not try to layer these two together while working on some projects? Again, you will need to add them together before pressing, as you want one press for your final design.
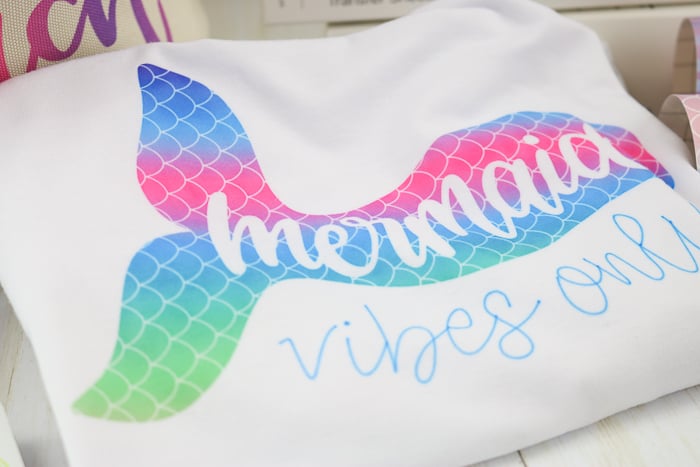
Cut your carrier sheet close to your design, then combine all the elements on the shirt. Be sure to use heat-resistant tape to secure the pieces of copy paper. You will also want to follow all the instructions for the shirt in this case that can be found here.
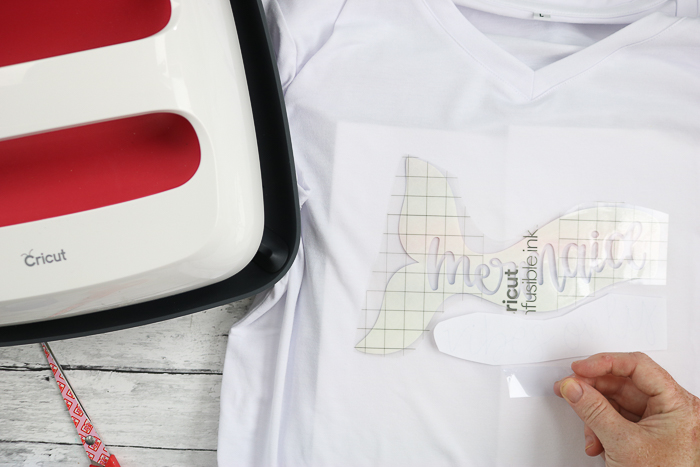
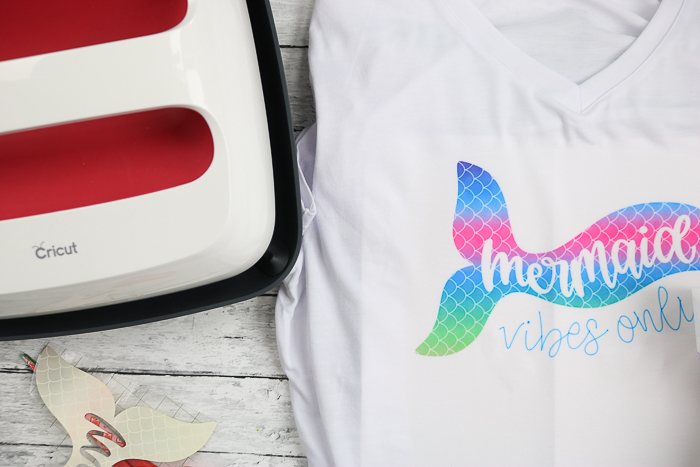
The process was easy and worked great! So, get creative with those designs and mix and match a bit!
What if some of my ink pieces remain on my design?
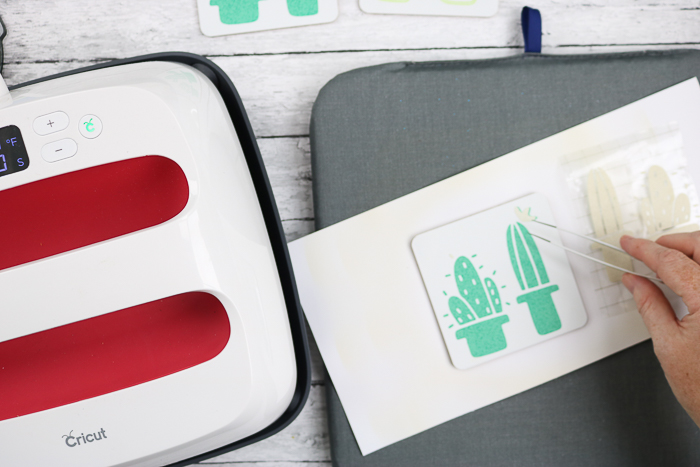
Occasionally, when you lift your liner piece back after pressing it, a few ink pieces will remain on your design. Don’t panic! Just lift those carefully with tweezers. Remember that everything should be cool at this point, so there shouldn’t be any danger to your project.
How long does Cricut Infused Ink last?
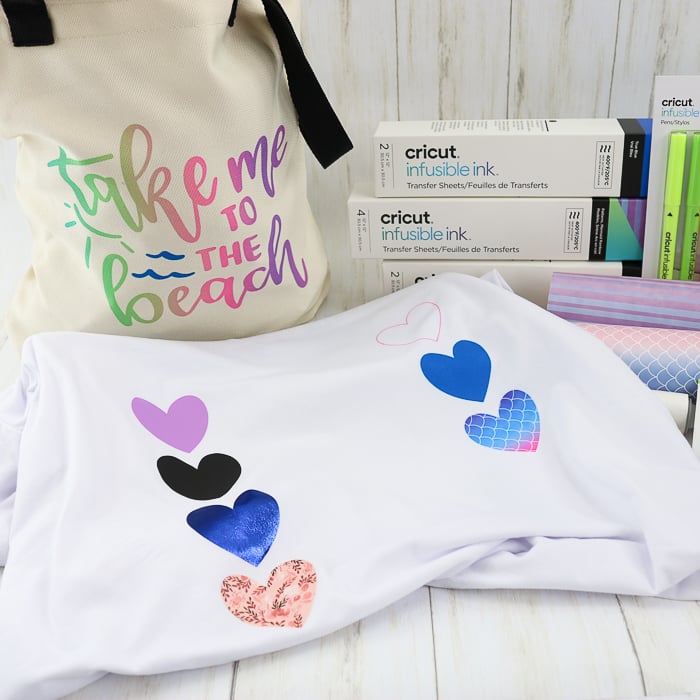
Cricut Infusible Ink will last as long as whatever you put it on. It is embedded into the surface and doesn’t just sit on top. So, there is no need to worry about cracking or peeling. But should we put this to the test? I say yes! Stay tuned, y’all, as I made a shirt with iron-on products running down one side and Infusible Ink running down the other. We will see how long each lasts and the results. I will share those on my YouTube channel, so be sure to subscribe!
Why Use Cricut Infusible Ink?
The benefits are too numerous to count, but I think the real difference is going to happen when you see this product in action. I encourage you to buy just one package of sheets and one of the surfaces at your local retailer. Then, make just one project. You will be hooked! I guarantee it! You will also have professional-level products that you make right at home. It simply doesn’t get much better.
Where can I get the cut files for these projects?
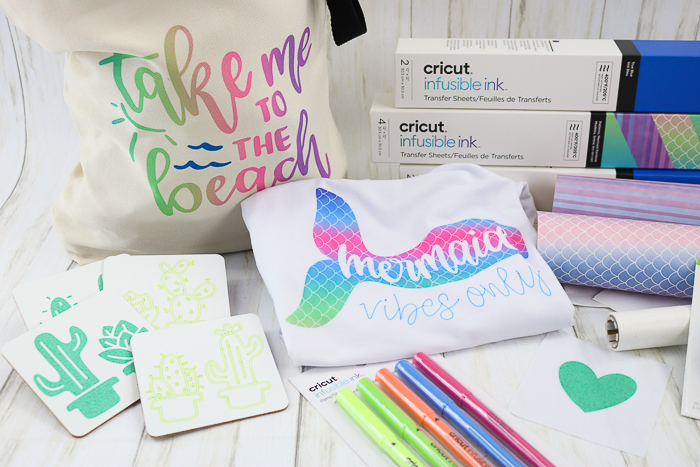
Did you see a product or design that you want to make? Here are the cut files for all of the projects shown in this post. You will need to log into Cricut Design Space and delete any cut files you do not want to make before cutting.
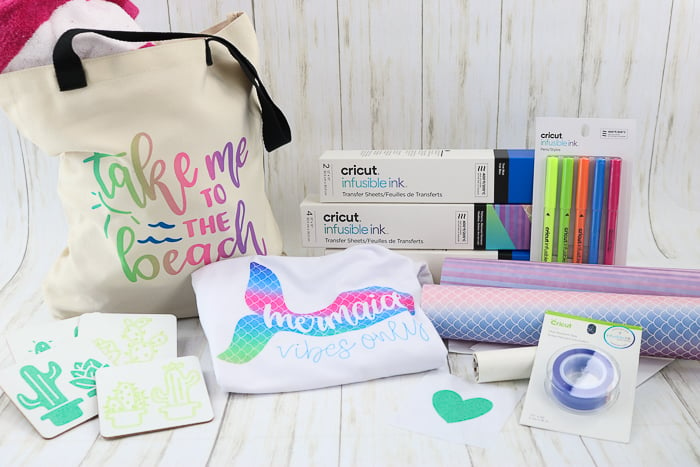
I hope you will come back here and let me know how much you love this product once you have had the chance to use it! As you can see above, there are a few tips and tricks, but overall, it is an easy product to use. And it is going to change your crafting forever! So, pick up the supplies for one project and experience the Cricut Infusible Ink difference for yourself!
More Infusible Ink Projects and Ideas
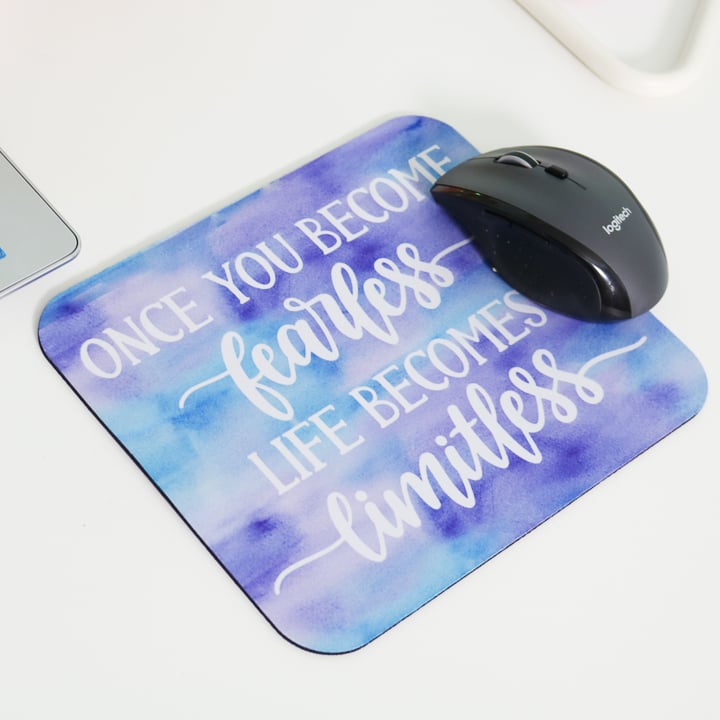
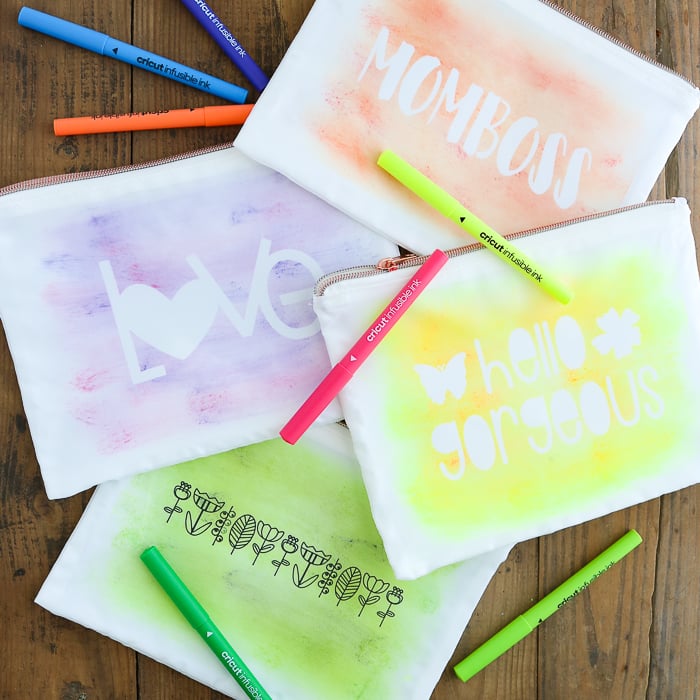
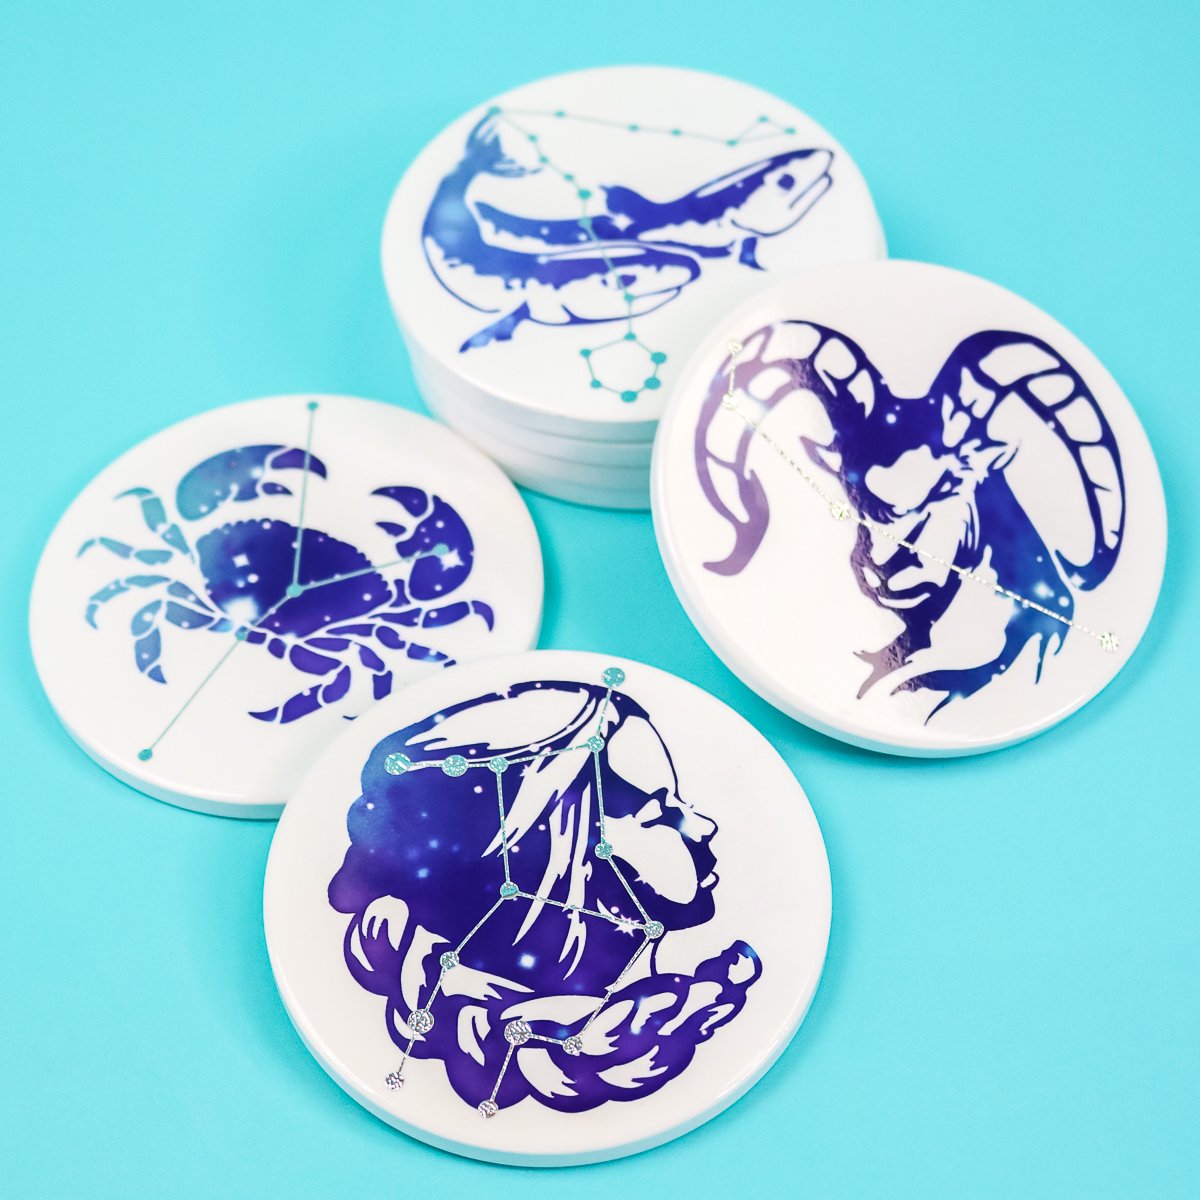
Once you are hooked on using infusible ink, check out some of the projects below:



Where did you buy white butcher paper?
I get it from Amazon.
Can you use a blank that is a color other than white with infusible ink sheets?
They now have grey but it does show through your color a bit so it changes the color of your final project.
I have a memory shirt that I’m either going to reproduce for myself only or try to restore the design as it is faded and cracked. Would this infusible method work?
Does that shirt have a picture on it?
I’m from Australia & our “butchers paper” is unprinted newspaper. Quite thin & tears easily so It doesn’t look anything like the butchers paper in your Invisible Ink video.
Is the paper you are using like baking paper which can be used in making baked goods & able to hold up in high temperatures?
Hmmmm….It isn’t like parchment paper really which is what I would use for baked goods. But yes able to hold up to high temps. I think maybe try the paper you can get that can hold up and see what happens? Maybe try the scrap in the Infusible Ink box first just to see what happens.
Can you use the invisible ink sheets n Neoprene color can Koozies?
Try this post: https://www.thecountrychiccottage.net/make-your-own-koozie/
Is there a follow up video with the washing of the t-shirt with the hearts? couldn’t find it easily…
I did not ever shoot it as the shirt worn out before either of the samples really did!
I am very new to Cricut but would love to make the Mermaid tshirt for my granddaughter. Where did you get the image? It would be perfect for her! Love your tutorials!
It is in Cricut Design Space! Or it was at the time of this post!
I cant find the mermaid image in design space. Do you know where I can get it elsewhere?
I do not. Sorry. Sometimes they get rid of images.
I am new to the cricut world. I have Cricut infusible ink transfer sheets. The back of the sheet is all white it doesn’t look like your transfer paper in the Video. I have a roll of transfer tape 12×12 am I suppose to add it to the back of the infusible ink transfer sheet?
Did you peel the Infusible Ink off the carrier sheet? Infusible Ink comes on a carrier sheet like HTV does, you don’t need a different transfer tape.