Y’all the Cricut Joy was announced today and I am so happy to be bringing you all of the details on the newest Cricut machine. Today I am going to do a Cricut Joy Beginner’s Guide as well as an easy project. Stay tuned, however, as I am going to do a post on each of the features of the smallest Cricut machine before the order date so you have all of the information you need to know if you are going to buy one or not. This is the first new machine since the Cricut Maker and it is really a game-changer. Why? So many reasons including matless cutting, a portable size, and a machine that is easier to use than ever before. Are you ready to dive in? Keep reading for all of the details below!
This post is sponsored by Cricut, however, all projects and opinions are my own.
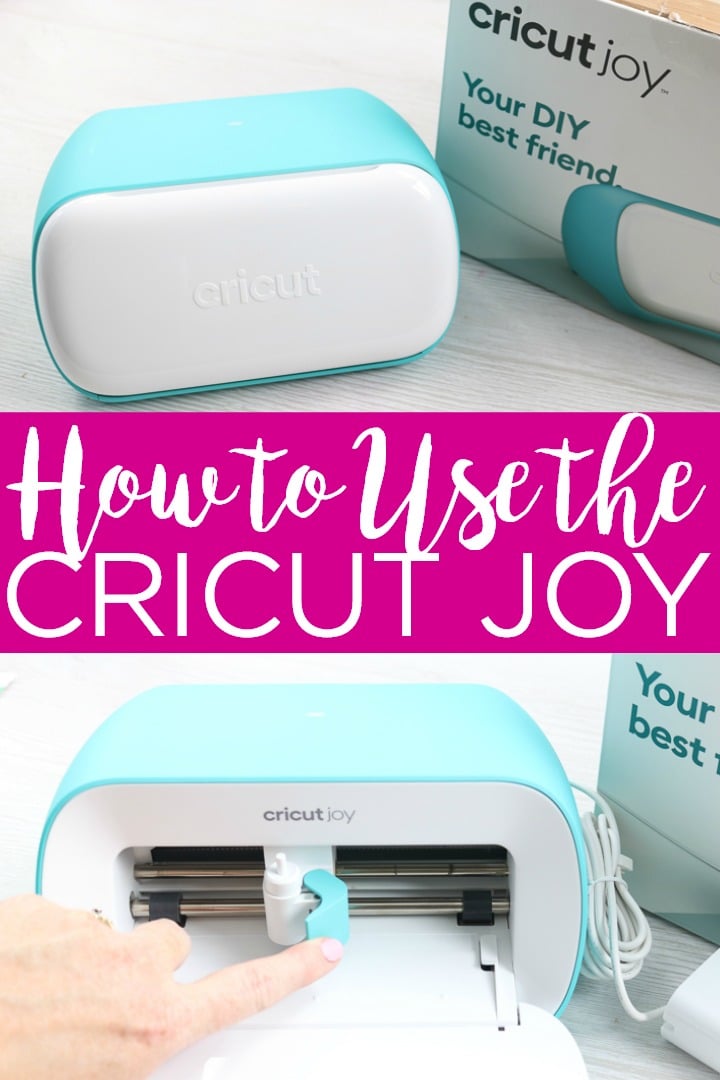
Cricut Joy Video
If you would rather watch a video all about the smallest Cricut machine ever, then just hit play below. I will cover all of the information in the video below but I know some of you just love watching videos for your information.
Table of Contents
- The New Cricut Joy
- What comes in the box?
- Plugging it in
- Changing the blade
- Using Cricut Joy pens
- Cricut Joy mats
- Cricut Joy matless cutting
- Writable vinyl Smart Labels
- Insert cards and the card mat
- Other materials
- Tools for the Joy
- Cricut Joy tote
- Project idea (click here for the farmhouse style bathroom rules sign)
- Why do you need the Cricut Joy?
- Where to buy the Cricut Joy
The New Cricut Joy
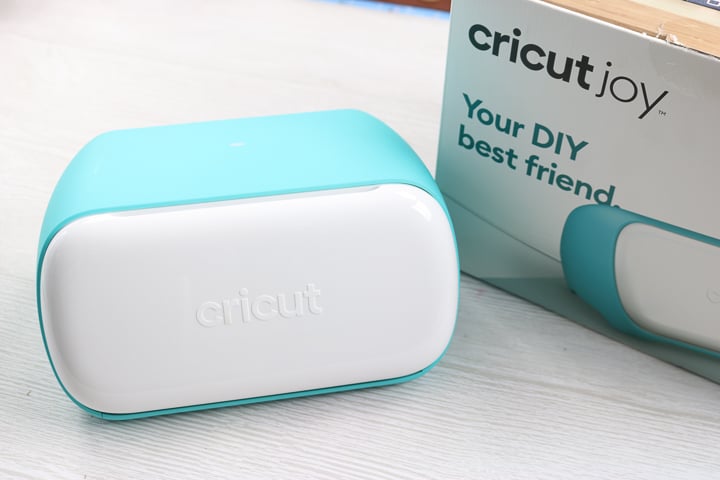
The newest machine in the Cricut family is also the smallest. It is tiny but mighty! This machine is easier to use than ever before and it is rolling out with some new features that will have the most die-hard of Cricut fans lining up to get one. I am going to walk through some of the features as well as some new accessories that are launching with the Cricut Joy below. I will also sum everything up at the end as to why you will want to consider adding this machine to your home.
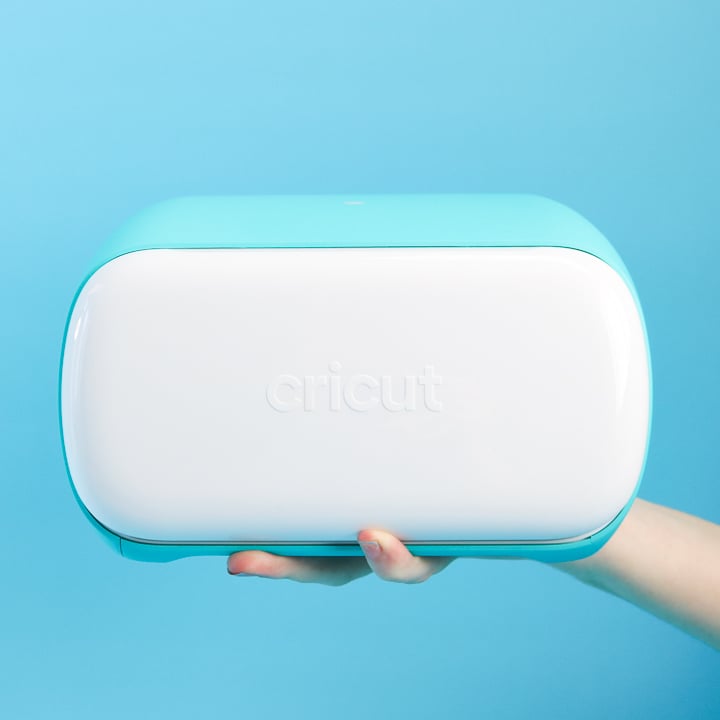
If you are ready to take your Cricut everywhere you go, this Cricut machine is for you! This small, lightweight machine is literally ready for crafting on the go. Plus, it is perfect for those quick and easy projects when getting out your larger machine seems like such a chore. So, are you ready to see what all is inside the smallest Cricut machine ever?
What comes in the box?
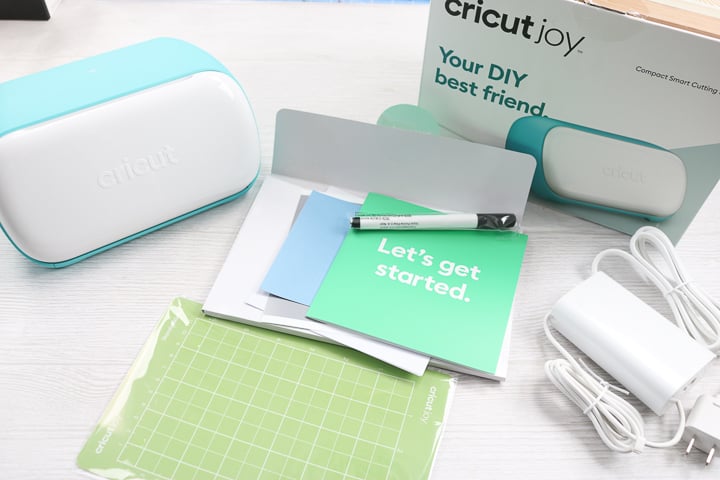
In the Cricut Joy box, you will find the following:
- Machine (with blade included)
- Power cord
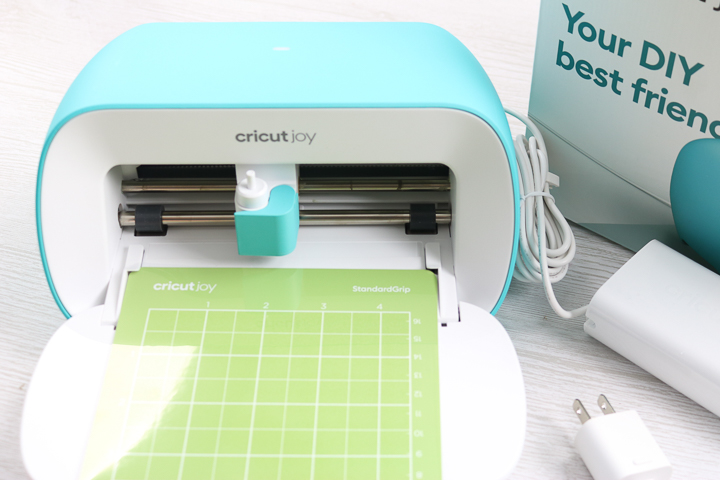
- Standard Grip mat (4.5″ x 6.5″)
- Black pen
- Materials for your first project
- Get started guide
Plugging It In
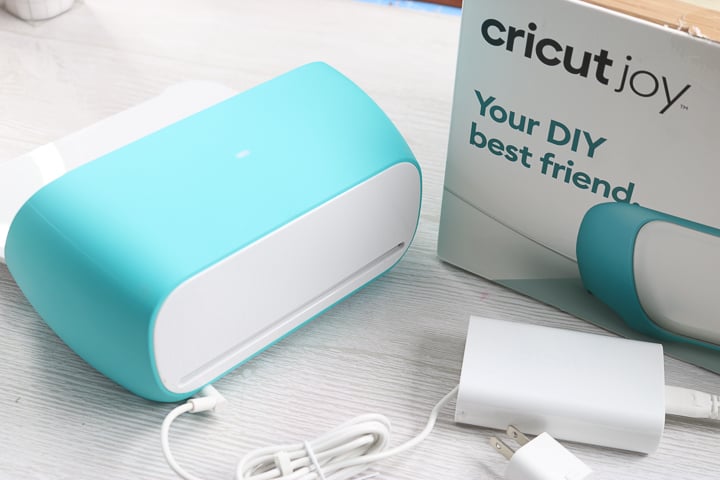
The first thing you will note is that there is only one cord included in the package above. That is because the Cricut Joy only takes a power cord that plugs into the back. There is no cord for hooking up to your computer as this Cricut machine operates solely on Bluetooth. You will also notice that there are NO buttons. We will cover the operation of this Cricut machine a little later in this post.
Changing the Blade
First, there is only one blade! That is right! I told you this was the easiest Cricut machine ever. To change, you just need to open the clamp and remove the blade housing. Look how little that housing is! It is definitely much smaller and not the same as the ones for the other Cricut machines.
NOTE: To open the Cricut Joy itself, you literally just flip down the front flap. No button or anything to worry about pushing.
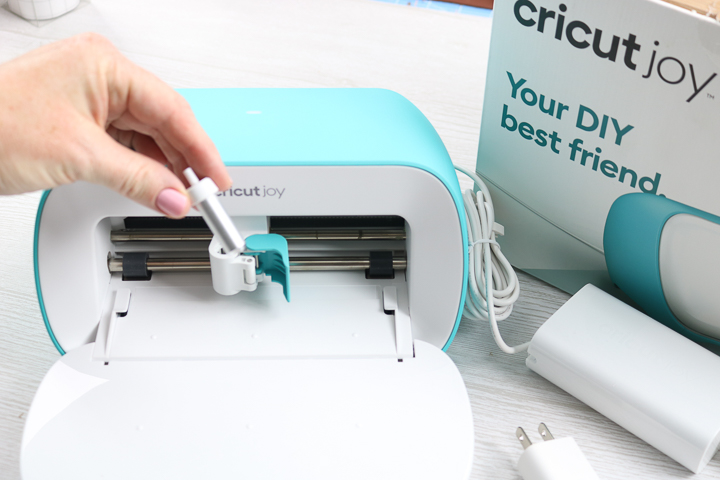
Then you can depress the plunger on the top and remove the blade. Add in another replacement fine-point blade by depressing the plunger again. The blades themselves are different from the fine-point blades for the other Cricut machines. The blade is specifically for Cricut Joy and is not interchangeable. You can get new blades here.
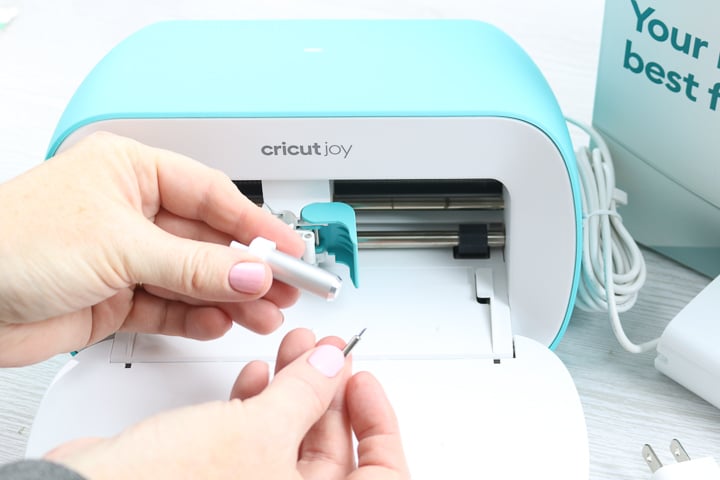
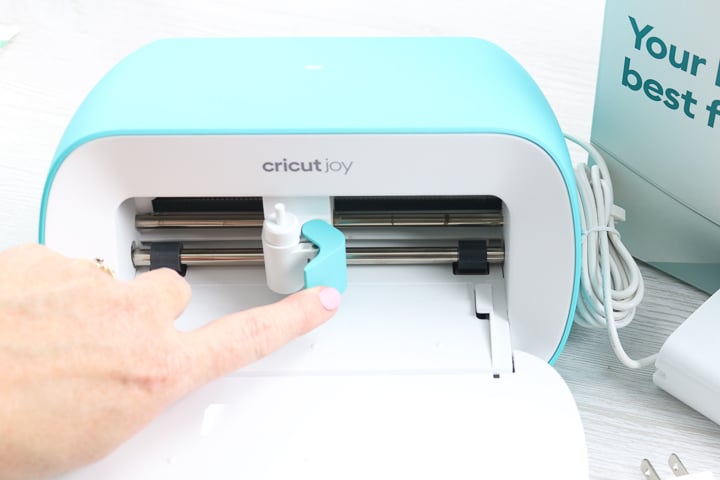
Then just add the housing back to the machine and close to the clamp. So easy! You only need to do this procedure when your blade gets dull. You can see more about how to know when to change your Cricut blade here.
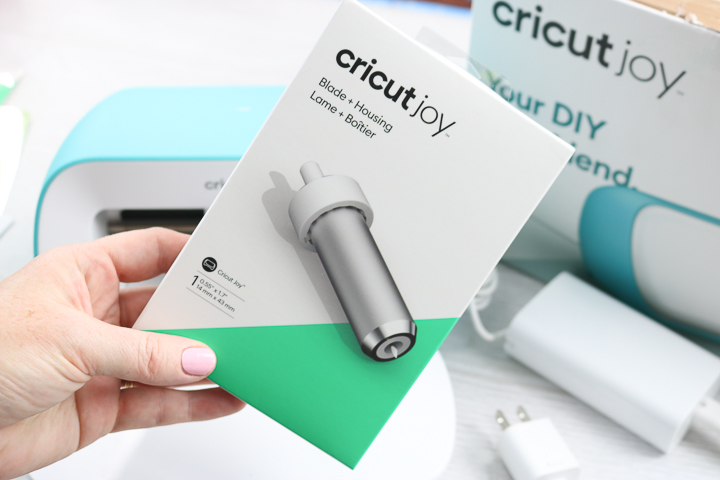
Also, if you need a whole new housing, the package to look for is shown below. You shouldn’t need this as you can just replace the blade itself but you can get one here if you need it.
Using Cricut Joy Pens
Yes, the smallest Cricut machine also writes! You will, however, need the special pens that are sized for this machine. They are smaller and different from the pens for the other machines. You can see the full selection here.
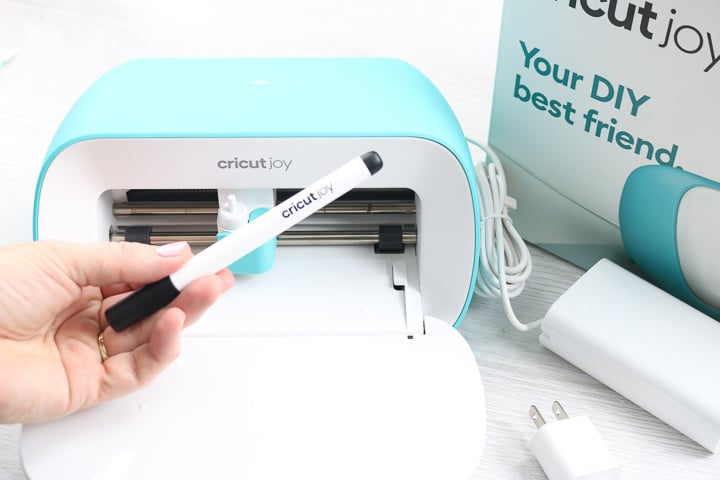
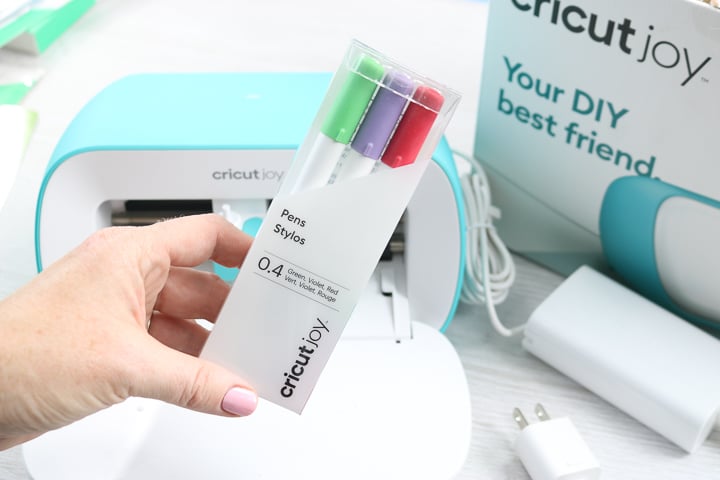
You will find a wide variety of colors as well as sizes at your local store once Cricut Joy hits the shelves. Look for packages like the one below in-store or shop online here.
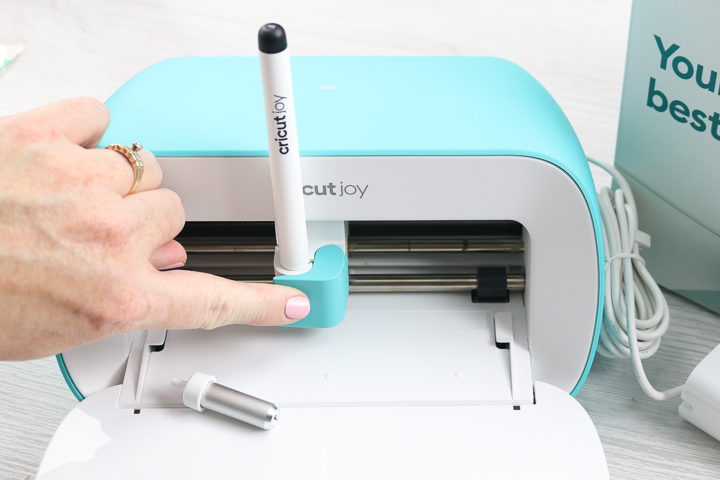
Adding your pen is a bit different than any of the other Cricut machines. With this machine, you literally just open the clamp and drop it in. There is no need to press down anymore!
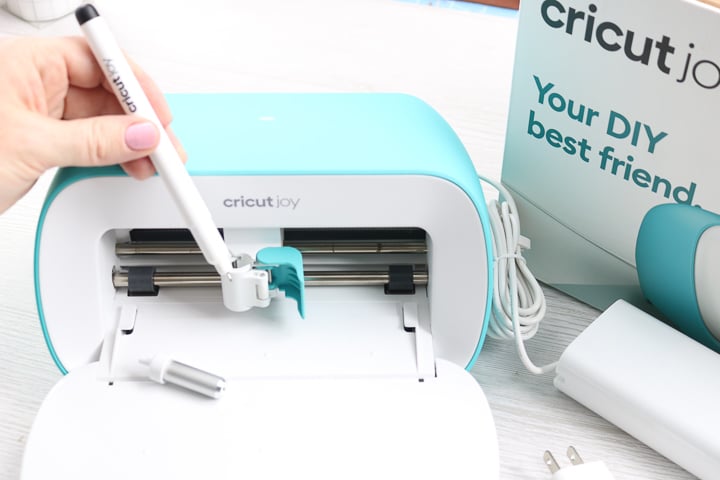
Once you drop it into place, close the clamp and you are ready to write!
Cricut Joy Mats
You may have noticed the small size of the mat mentioned in the box contents. Currently, you can get the following mats for this machine:
- Standard Grip 4.5″ x 6.5″
- Light Grip 4.5″ x 6.5″
- Standard Grip 4.5″ x 12″
- Light Grip 4.5″ x 12″
The mat size indicated is the size of the grid area on the mat. The actual size of the mat is a little larger. You can find all of the mats here.
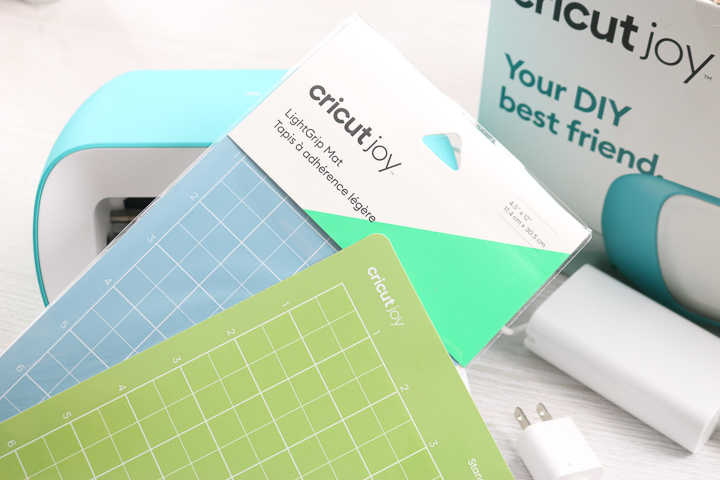
The mats fit perfectly inside your machine and can be used with the materials you already have for cutting anything that the fine point blade will cut now.
Cricut Joy Matless Cutting
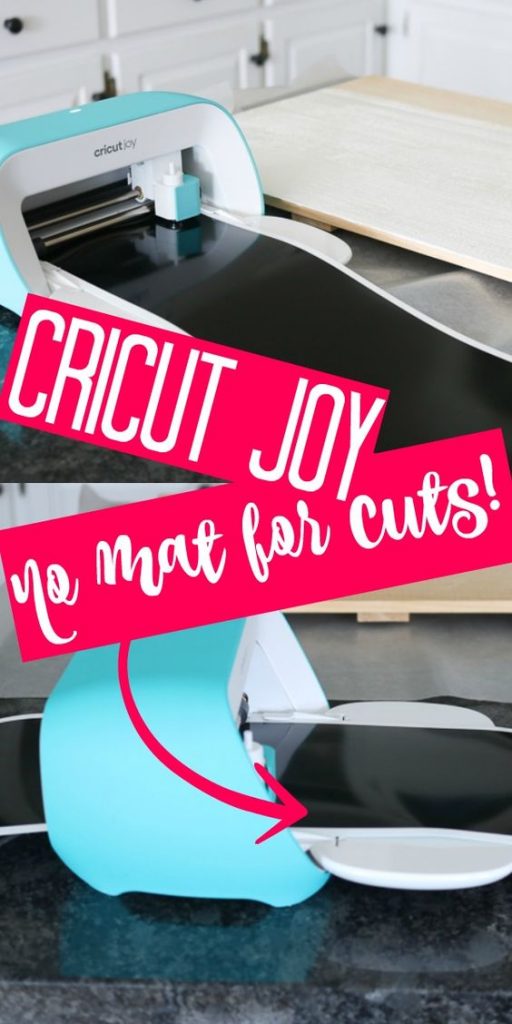
You read that right! The Cricut Joy will cut without a mat! This is the only Cricut machine with this function and I must say it is fabulous. To cut without a mat, you will need to look for Cricut Smart materials. You can find the matless feature in vinyl, iron-on, and label material that we will discuss later.
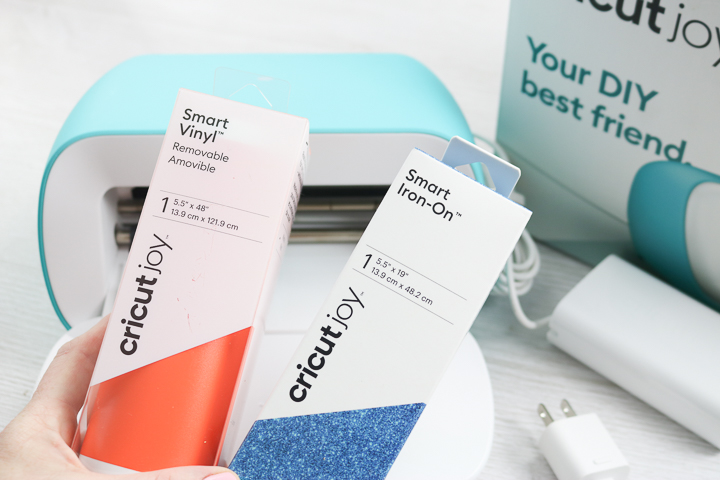
The material will fit perfectly inside your Cricut Joy!
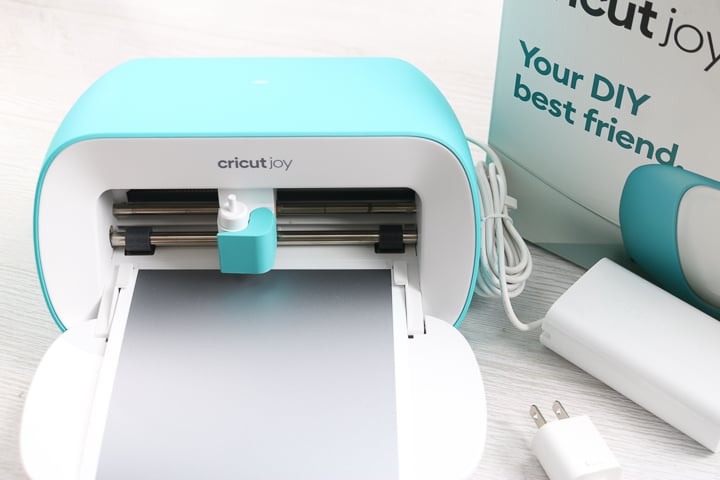
And certain colors of vinyl come in up to 20-foot lengths! That is right…you can cut up to 20 feet of material using the smallest Cricut machine of all time. Is your mind blown? It gets better.
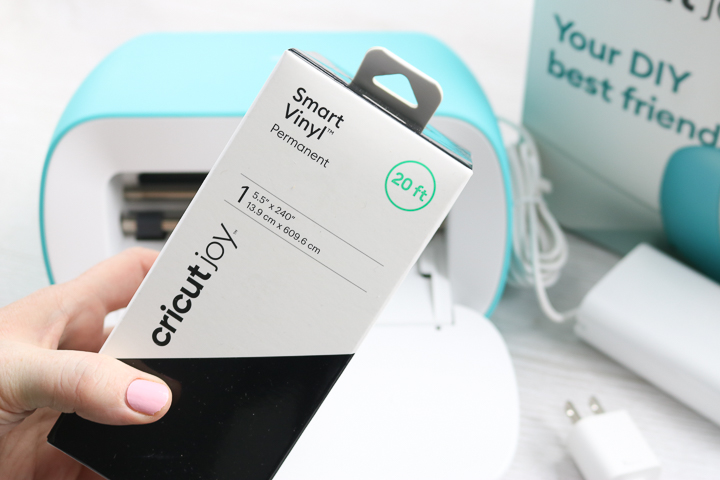
The best part about the matless feature is this Cricut machine will self-correct the alignment of your material. So, no more crooked material when you get to the end of a long cut. Now that is something amazing, right? You will also love the fact that Cricut Joy will measure your material BEFORE you cut to make sure you have enough. Have I convinced you yet that you need this little machine? Keep reading because it gets better! And I have a matless project in this post that you are going to love as well.
Writable Vinyl Smart Labels
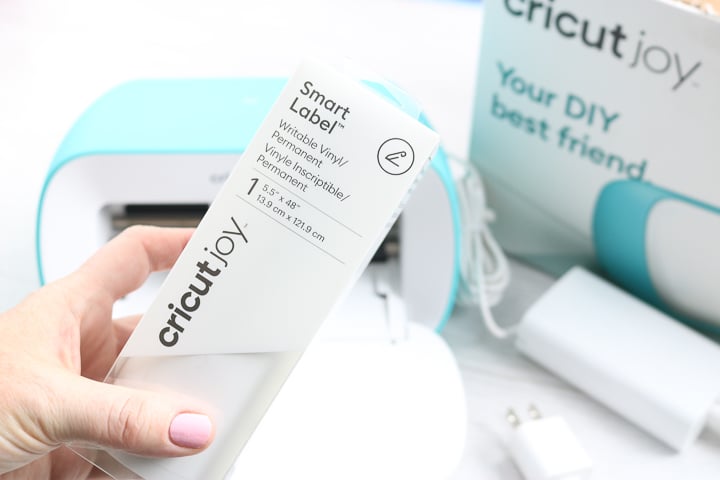
I mentioned that you could cut label material without a mat. The Smart Label material is actually writable vinyl that you can use with the pens above. And it will not smear! I will be doing another post putting this material to the test so be sure to stay tuned.
Insert Cards and the Card Mat
I did mention that it gets better right? The Cricut Joy is currently the only machine compatible with the new card mat and the insert card sets that are being released with the machine. The Insert Cards are a set of 12 cards (already cut and folded), envelopes, and inserts for the cards. Wait? How do you cut a card that is already cut and folded? The card mat is the answer!
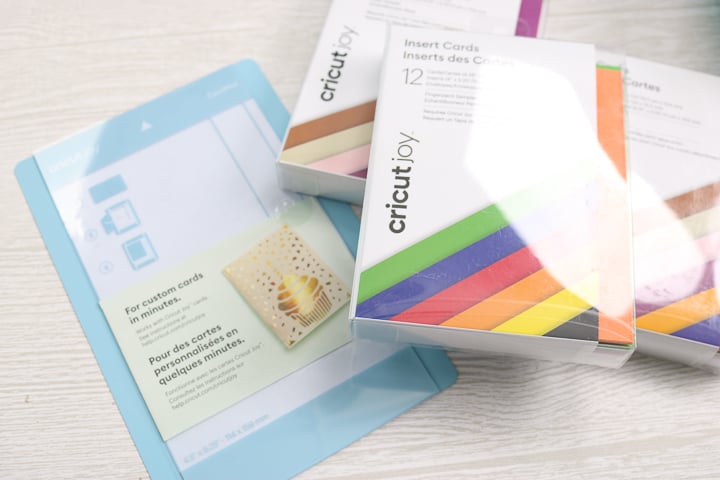
The card mat is a genius little device that allows you to insert your card into a pocket in the mat itself.
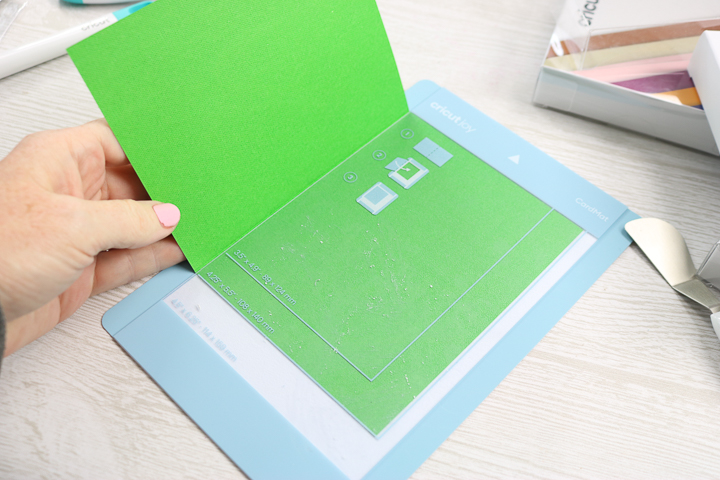
Then just fold over the front of the card onto the sticky portion of the mat
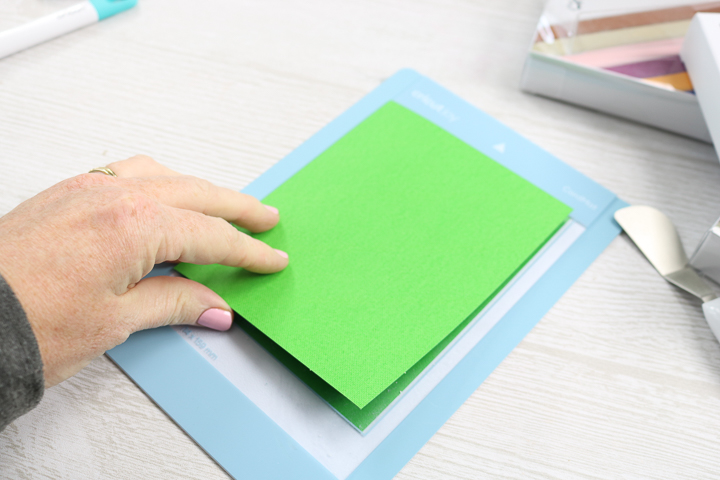
You are ready to cut the front of your card while the back stays protected inside that pocket. Genius right? See my post on the cards and card mat here so you can really see it in action.
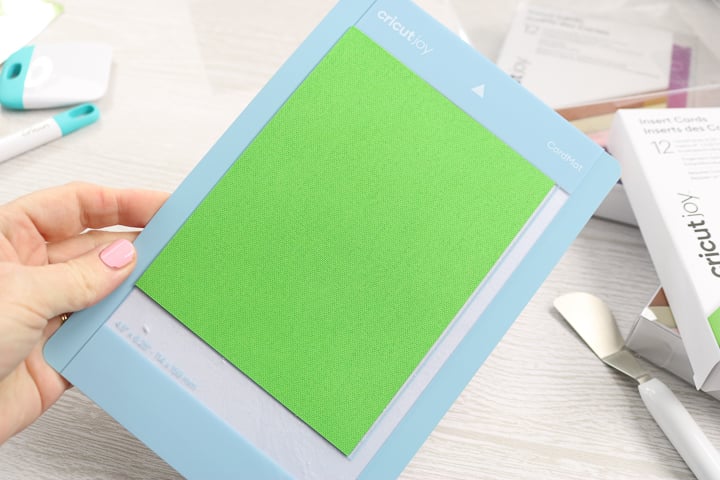
Other Materials for the Smallest Cricut Machine
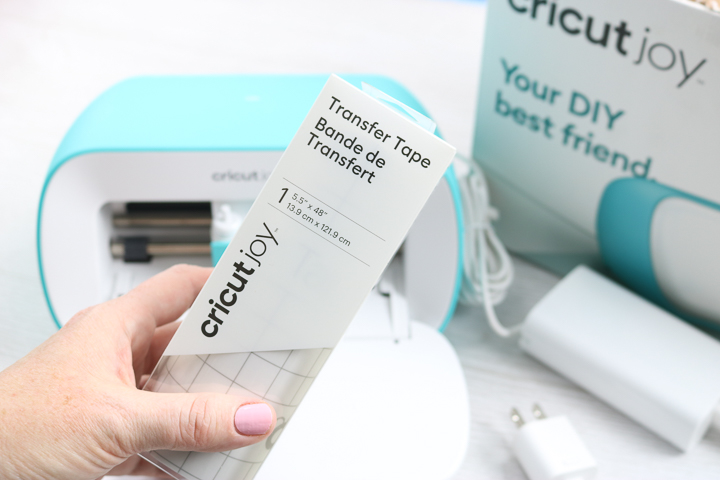
There are a few other things that you can look for that are specifically sized for Cricut Joy. First is transfer tape that is already the size needed for the Smart Vinyl.
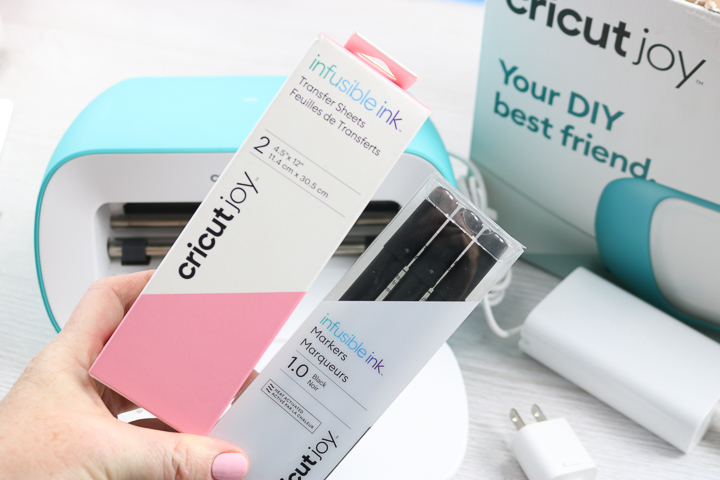
Second is, of course, Infusible Ink! You will need the mat for the transfer sheets or you can pick up the markers sized just for Cricut Joy.
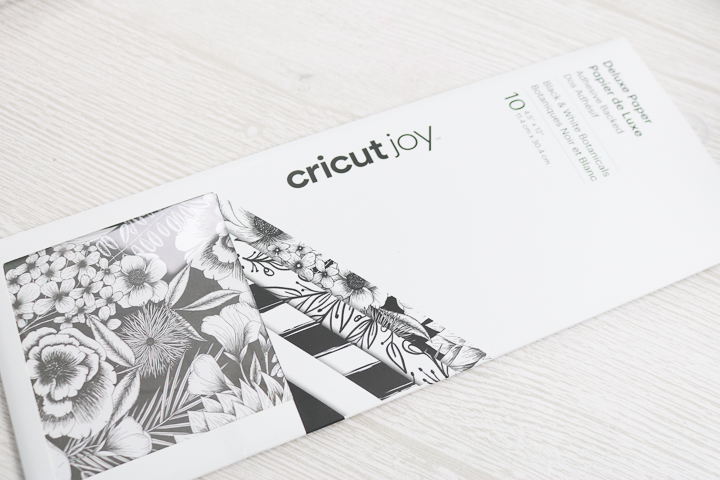
Finally, there is some special adhesive-backed paper that is launching as well. You can see a post and video on this here so you can see just how it works.
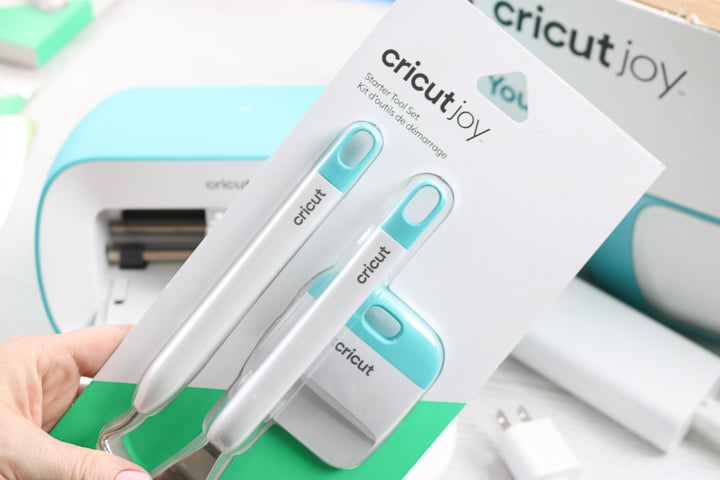
Tools for the Joy from Cricut
You can’t have a Cricut machine without matching tools! Whether you just want to match or this is your first Cricut machine and you need the basics, give this starter toolset a try.
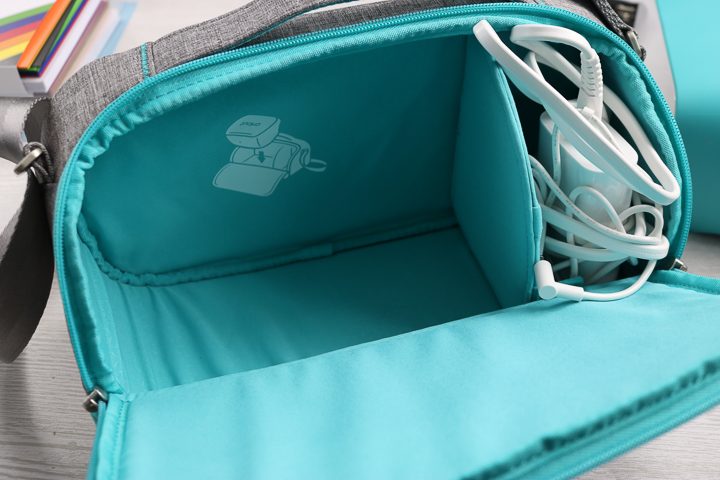
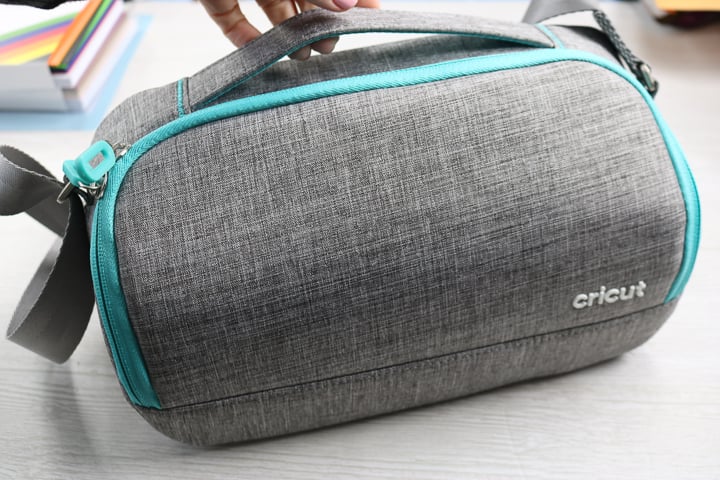
Cricut Joy Tote
One of the best parts about this new Cricut machine is that it is small enough to take anywhere. So, you are definitely going to want the tote to go with this one. It fits your power cord on one side.
And the smallest Cricut machine on the other side!
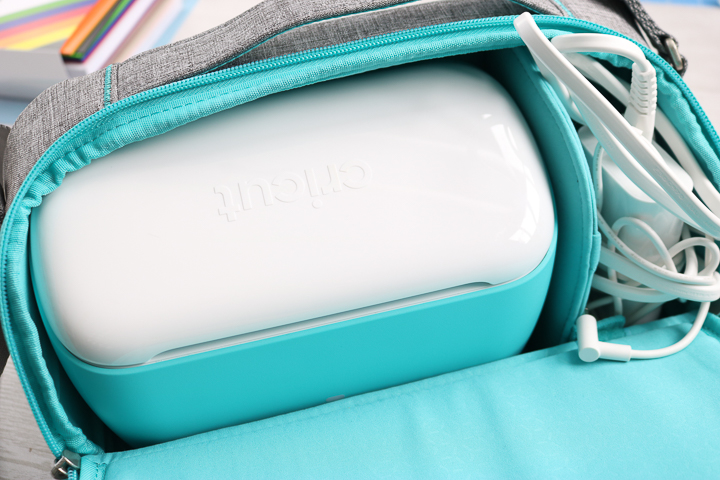
Then you can carry around your Cricut machine in something that is probably smaller than your purse. Now, that is amazing!
Mat Free Cutting Project Idea
So, now that you have seen a little about the machine itself, it is time to do a Cricut Joy project. I wanted to demonstrate that you can actually make really BIG things with this small machine. I like to say this machine is mini but mighty! So, let’s make this extra-large bathroom rules sign for my farmhouse style bathroom.
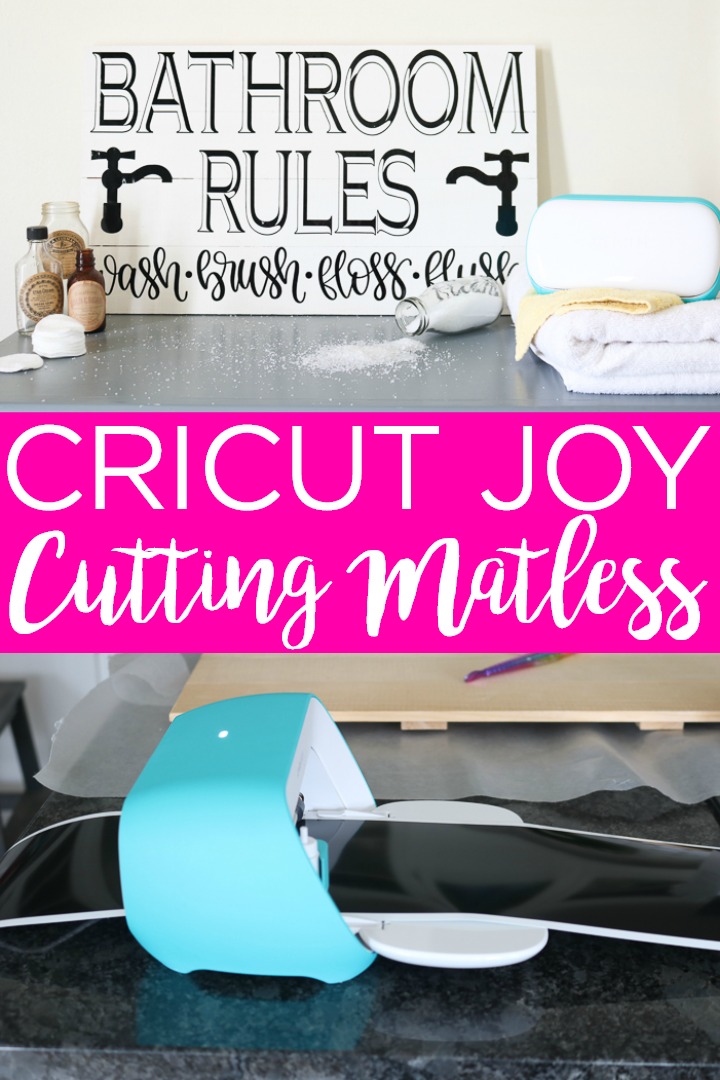
Materials needed to make this bathroom rules sign:
- Wood sign (14 x 24)
- White paint
- Paintbrush
- Cricut Joy (click here to purchase)
- Smart Vinyl in black (20-foot long roll available here)
- Cricut Transfer Tape
- Cricut tools
- Cut file (click here to access in Cricut Design Space)
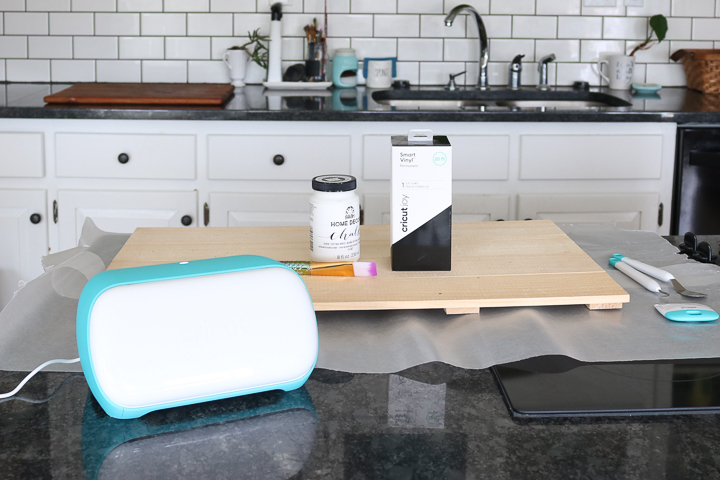
How to Make a Farmhouse Style Sign
First, you will note that I am in my kitchen completing this project. This is for two reasons. The first is to illustrate that with Cricut Joy you don’t have to have a craft room! This machine will work just about anywhere. The second reason is that your kitchen island or even the table is a great place to really spread out and get creative. With this Cricut machine, you can move from room to room depending on your project and just take the Cricut fun with you wherever you go.
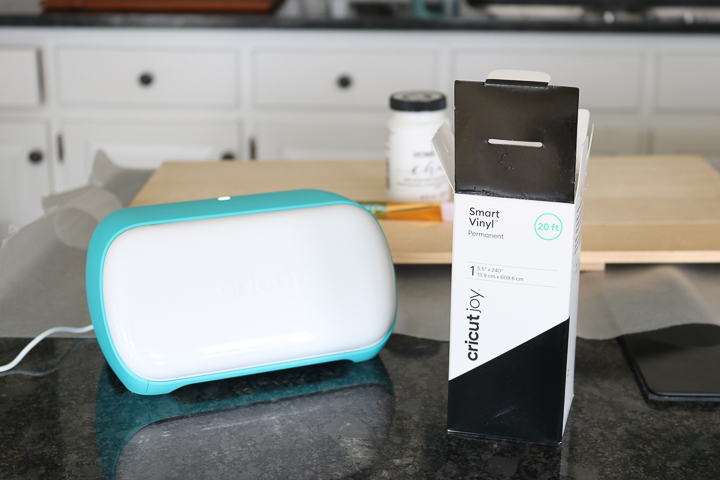
How to Use Mat Free Cutting on a Cricut
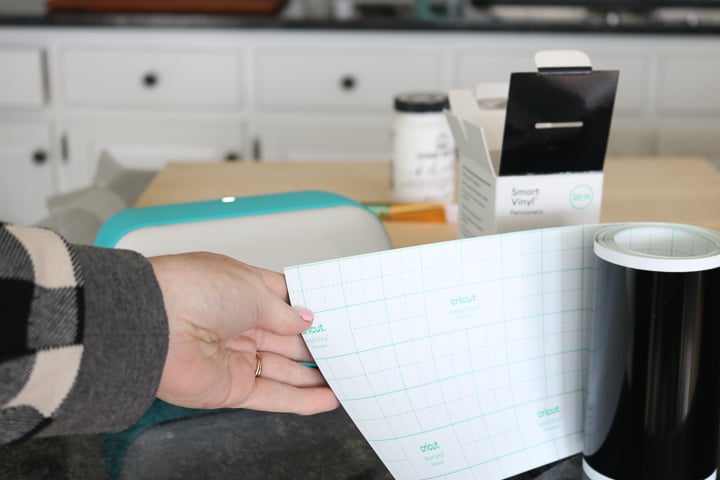
I am using the permanent Smart Vinyl in a 20-foot roll. You can see the back in the picture below with the easy to cut grid lines. But, you don’t have to cut this at all! No measuring or trying to fit this material on a mat. Cricut Joy is going to do all of that for us.
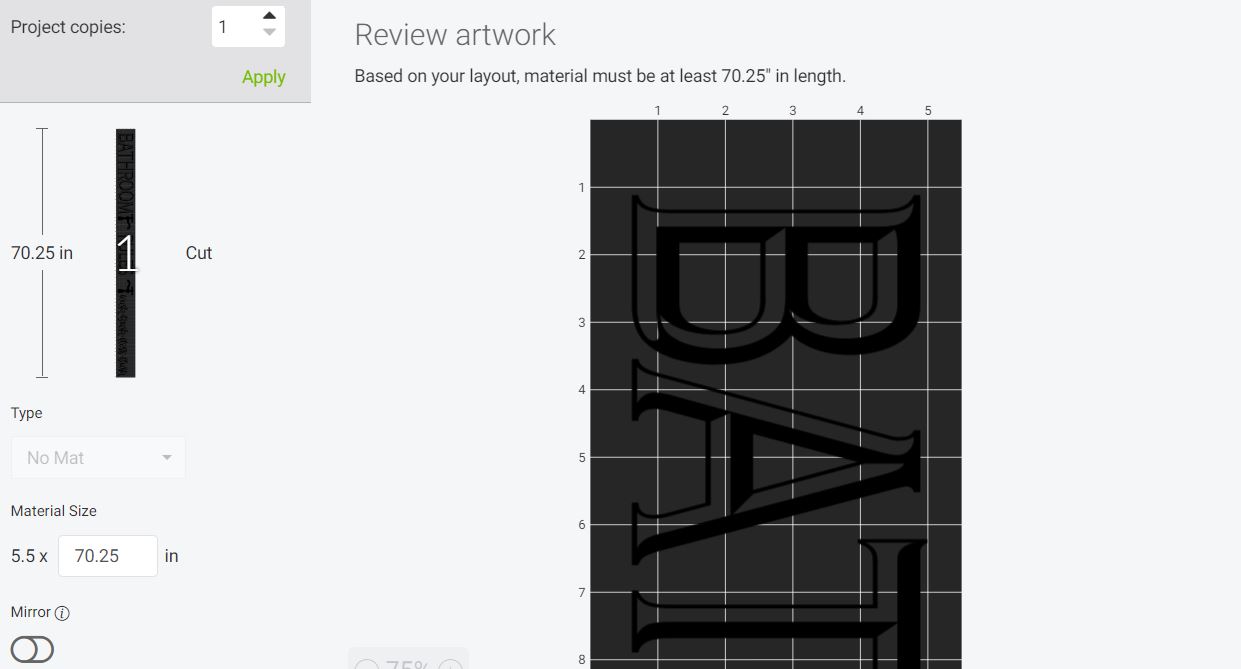
Open up my Cricut Design Space profile and scroll to the “Bathroom Rules Sign” project. Once you click “make it”, your screen will look similar to the one below. When you are cutting with no mat, Cricut Design Space will tell you exactly how much material you need to complete your project. Click next on this screen then connect your machine. You will want to choose Smart Vinyl for your cutting material.
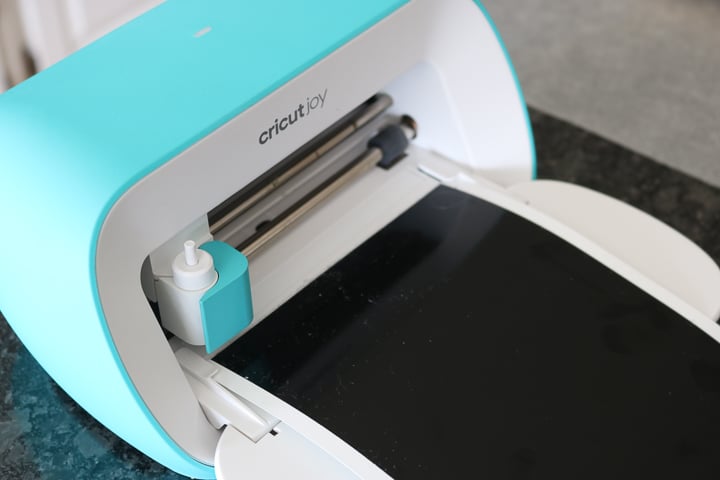
Then, we need to load our material into the machine. But, remember, I said there are no buttons on Cricut Joy. So, how do you get the material inside the machine? Well, there are sensors on both sides that will automatically sense when the material is close and pull it into the machine.
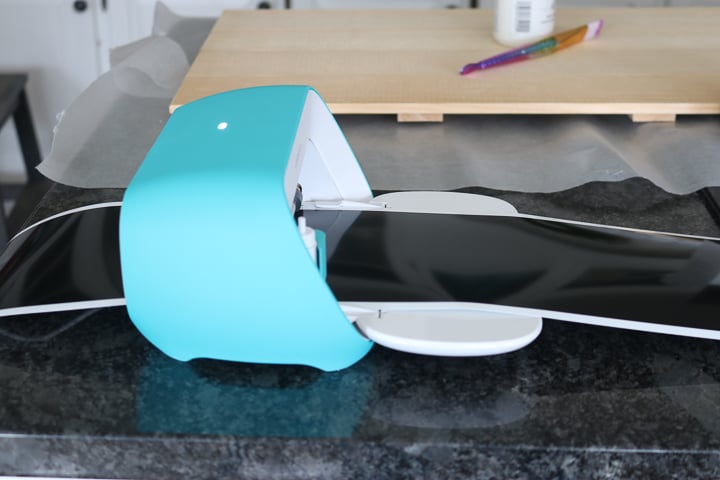
Remember, it is okay if it is a little crooked! The Cricut Joy will straighten the material itself as well as measure it to make sure that you have the right amount to complete your project. So, once your material is loaded. The machine will run all 70.25″ (in this case) of material through the machine.
Then we finally get to the fun part! It is time to cut! But how do you start your cut with no buttons? You just click go right in Cricut Design Space.
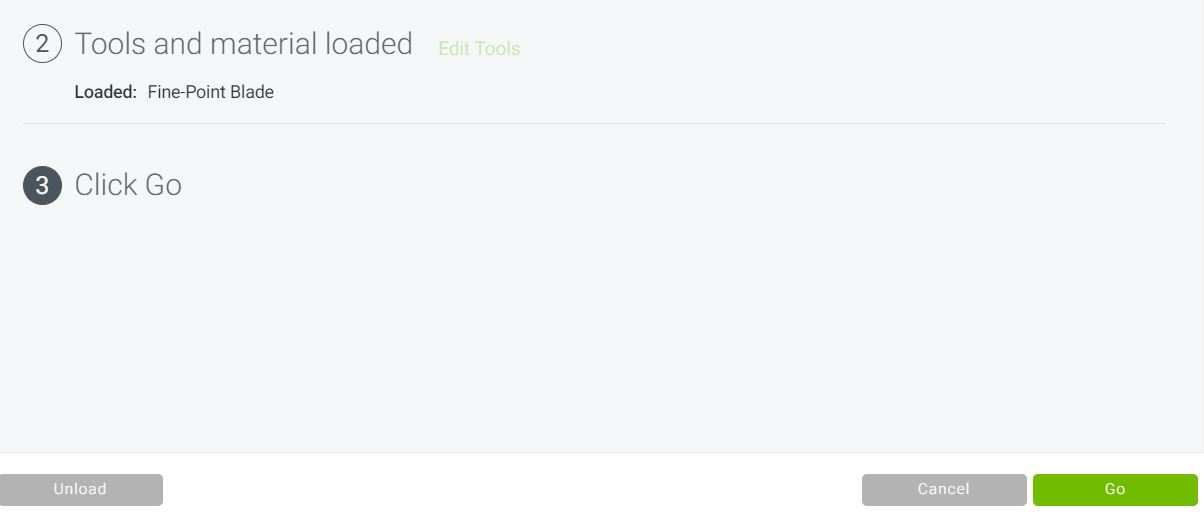
You can also unload the material right from that screen if you have loaded the wrong thing or there is some other error. Please note that my screenshots are from the desktop application, however, Cricut Joy is compatible with mobile as well. Then you can actually work on the other parts of your project while the smallest Cricut machine does its thing. No loading or unloading mats of materials. Just let it run while you add a coat of paint to your sign. Once painted, set it aside and allow it to dry.
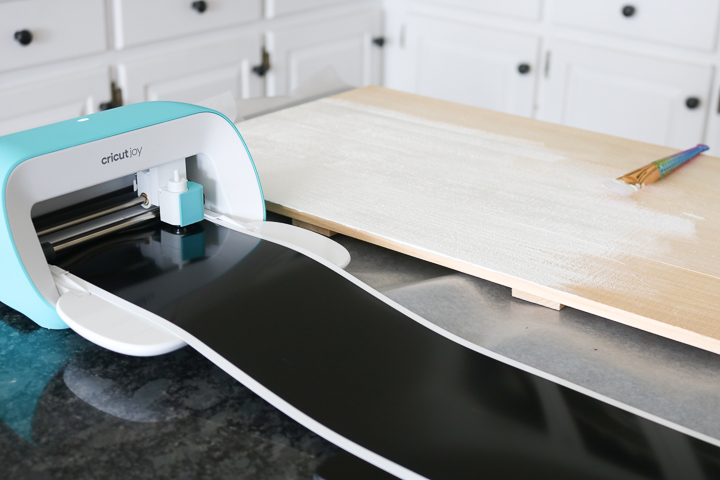
Working with Smart Vinyl
Once the cut has completed, Design Space will prompt you to unload your material. You can also choose to run it again for those materials that may not have cut through on the first pass. Once unloaded, you can then cut the vinyl into the pieces needed for your sign. You will also want to store the remainder of that roll for use on another project.
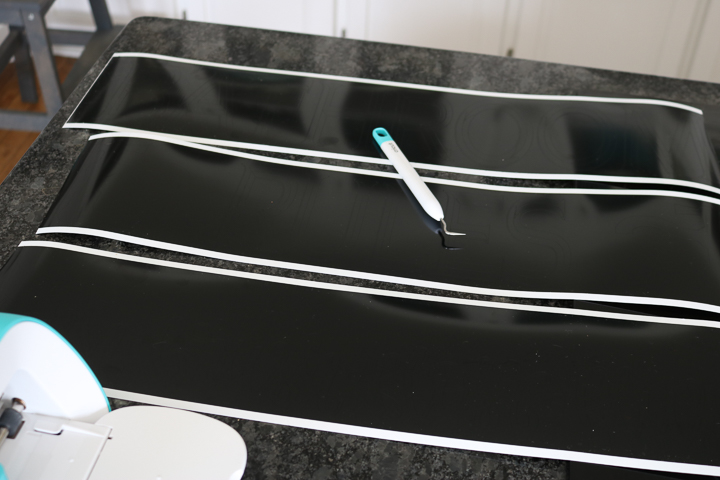
You will then need to weed away all of the excess from each of the three strips of vinyl.
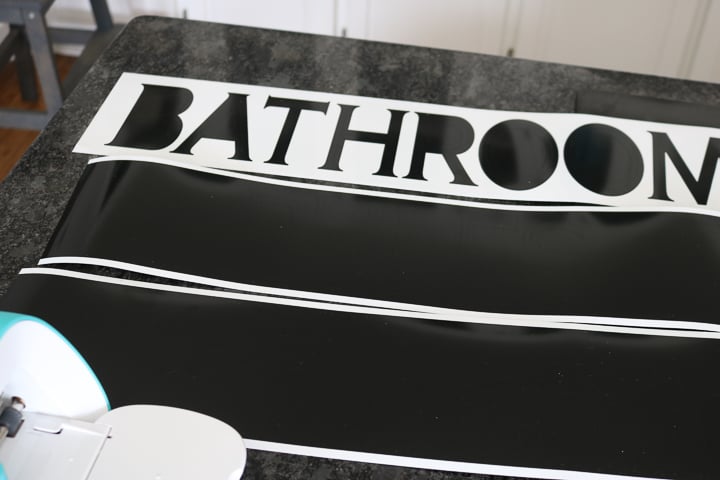
Weed all around the outside as well as the centers of letters. A weeding tool really helps here.
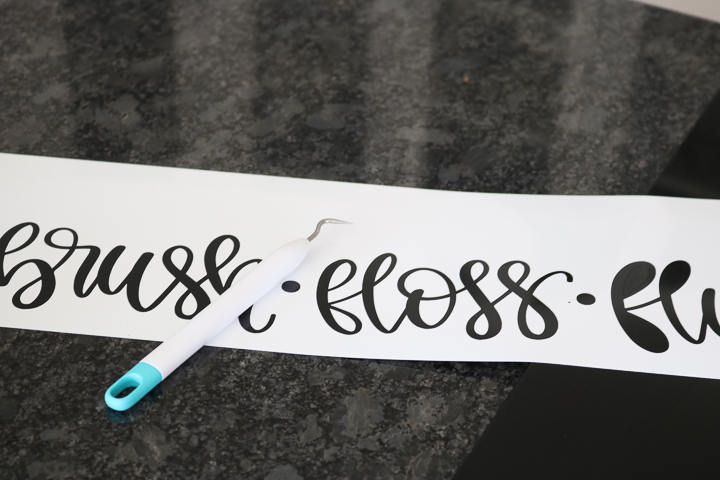
Once everything is weeded, you can add your vinyl to the painted sign.
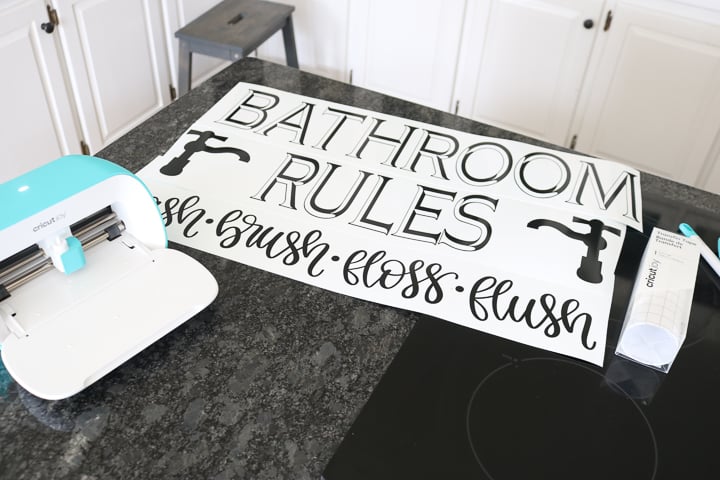
For this, be sure to use transfer tape as it will help keep your design in place.
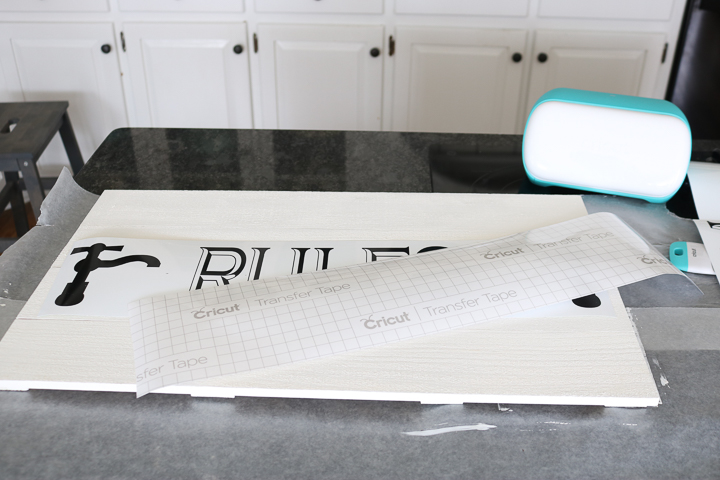
Add a strip of transfer tape over the entire vinyl strip and use a scraper to rub over it both on the top as well as from the bottom.
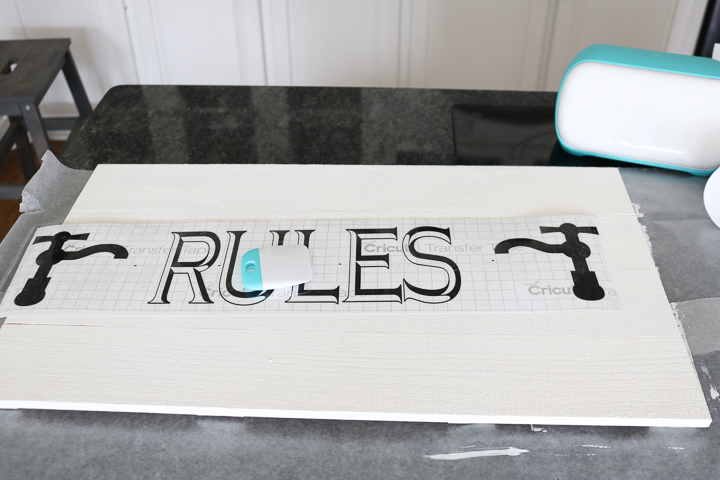
You can then peel back the transfer tape while removing the vinyl from the backing. The backing on the Smart Vinyl is thicker than other vinyl products so here are a few tips and tricks:
- Use a blow-dryer on high for 20 seconds across the back of your vinyl strip.
- Then run your scraper across the backing paper again.
- Then use the blow-dryer once more for about 20 seconds.
This will help the vinyl release from the backing paper much easier.
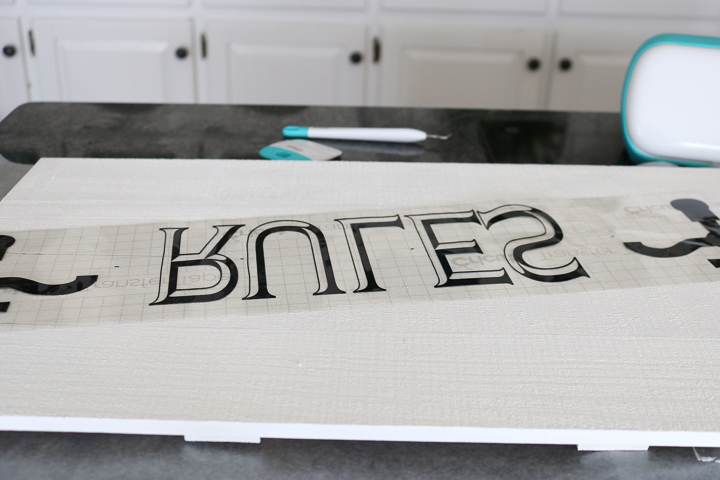
Then just put the vinyl in place on your sign and once again, burnish it down well with the scraper. Peel back the transfer tape leaving the vinyl in place on your sign.
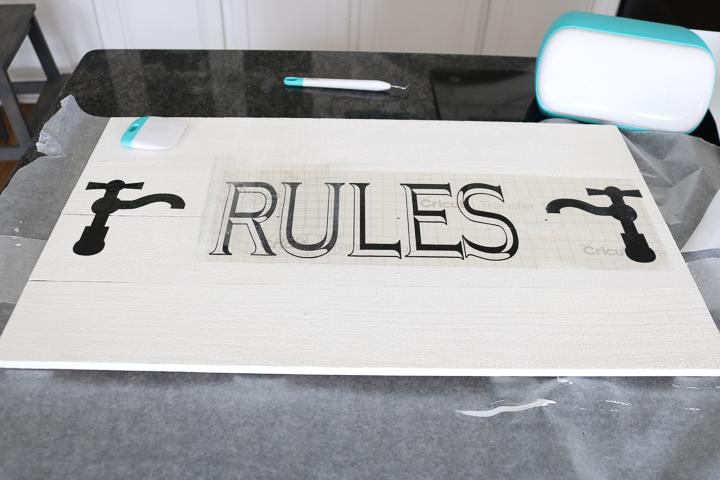
Repeat with all three strips of vinyl to complete your bathroom rules farmhouse sign. Be sure to burnish all of the vinyl down well once it is on your sign.
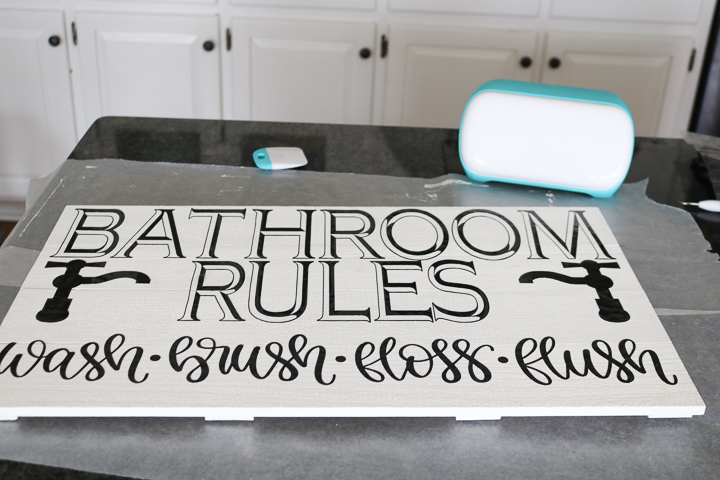
Then just put this in any bathroom. Heck, with Cricut Joy, you could even make a sign like this IN the bathroom!
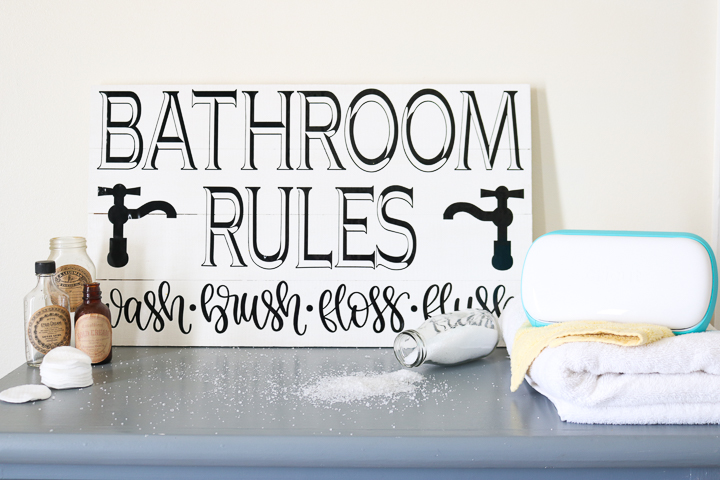
It is so portable that you can quite literally take it anywhere.
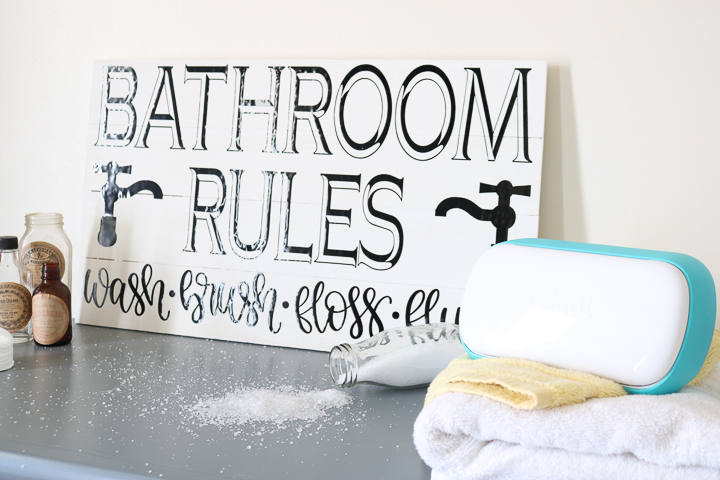
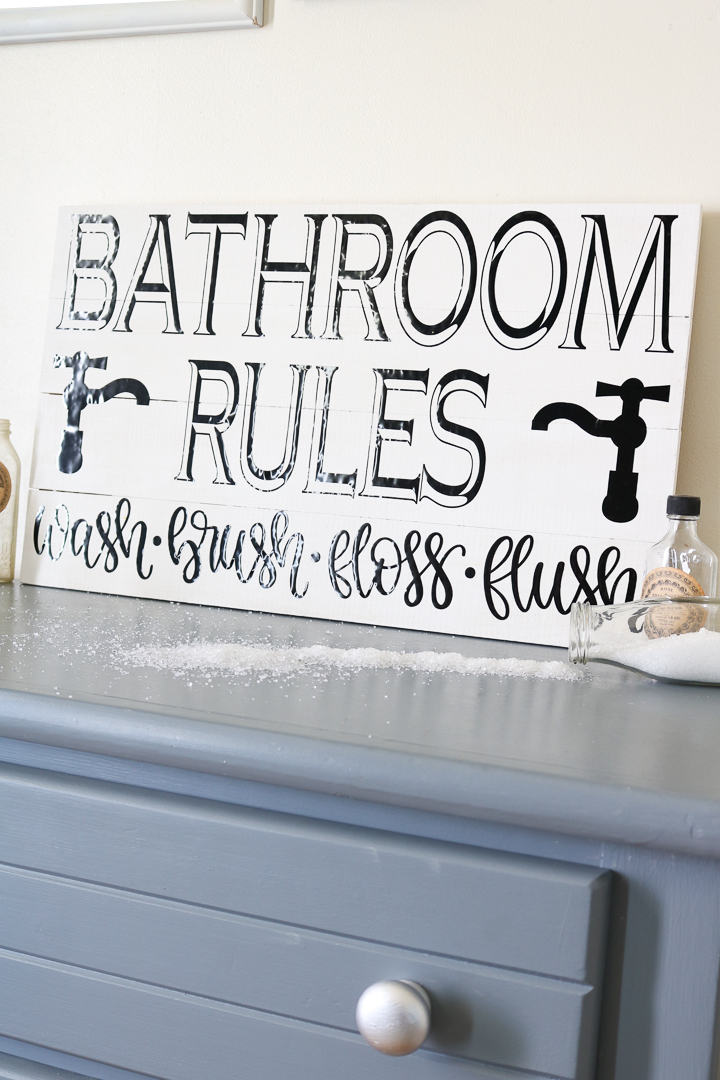
I am in love with how this sign turned out and how it looks in my farmhouse-style home.
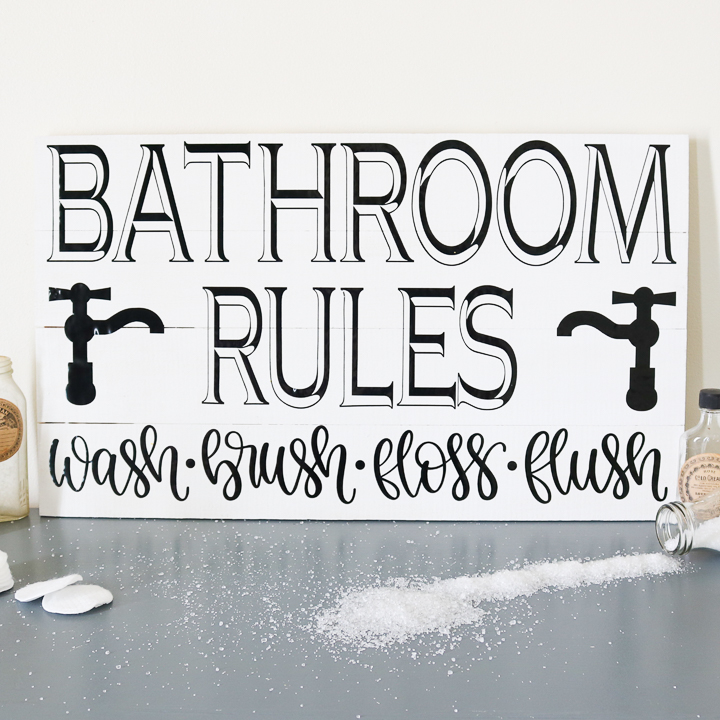
A gorgeous bathroom sign that is extra-large out of a Cricut machine that is extra-small. Yes, it is all possible with Cricut Joy.
Why Do You Need the Cricut Joy?
So, now we are getting to the bottom line. Why do you need the Joy in your life? Perhaps you already have a Cricut machine or perhaps you are new to Cricut crafting. Either way, there are several reasons you will want to consider adding this Cricut machine to your home. I am going to run down five reasons for both types of individuals but there are so many more.
Why Current Cricut Owners Need Cricut Joy
Even if you already have a Cricut machine, you really need this little nugget in your life. Why? Here are my 5 reasons:
- The matless cutting feature is hands-down the top reason. This feature makes those long cuts possible and opens up a whole new world of crafts.
- A machine that can go anywhere so you can be ready to craft at any time. Think of events, parties, and so much more.
- The card mat will change your card-making world and you can only use it on Cricut Joy.
- Organizing has never been easier! Grab the Smart Labels and this Cricut machine and head right into the pantry for some organization right where you need it.
- Ever wanted to give the gift of Cricut? Well, now that is easier and more affordable than ever. Think about adding this to a gift box for anyone who you are celebrating this year.
Why Cricut Newbies Need Cricut Joy
New to the world of Cricut? Yes, you do need the smallest Cricut machine of all time and here is why:
- This machine is so small that you don’t need a craft room. Craft with Cricut Joy anywhere in your home at any time.
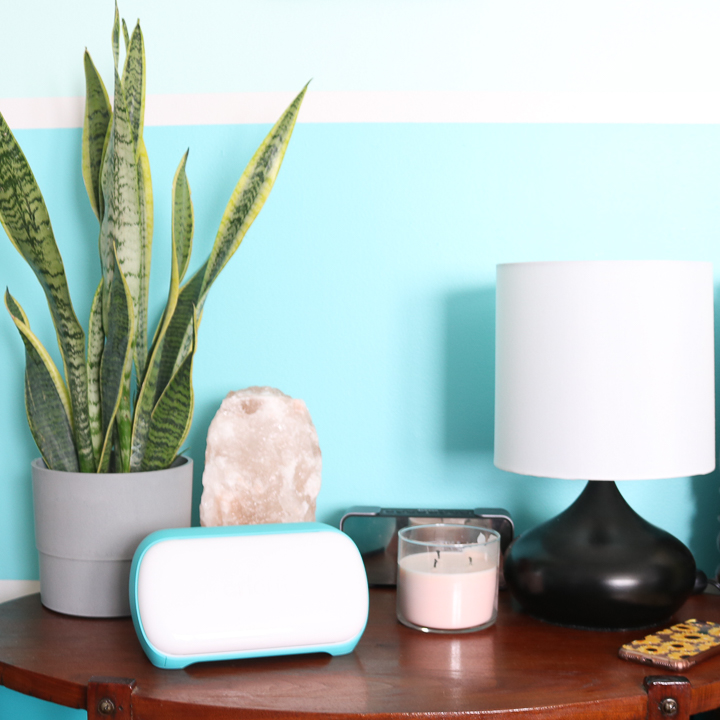
- It works in your decor so there is no need to even hide it! Display it in any room and no one will know it is a craft cutter unless you open the front flap.
- This is hands-down the easiest Cricut machine ever! With just one blade and easy to follow instructions, this Cricut machine will have you creating gorgeous projects in no time at all.
- This newest machine is also a great introduction to Cricut. If you have been wanting to try a machine but are intimidated, Cricut Joy is the answer and you can upgrade later if you really find you need to.
- If you love flexing your creative muscle, Cricut Joy will be a welcome addition to your home. From making home decor to personalized gifts, you will find that creating has never been quicker or easier.
Where to Buy the Cricut Joy
So, now that you are ready to make a purchase, where do you sign up for this newest Cricut machine? You can click here to order now. This Cricut machine is not exclusive to any one outlet so you will also find it at your local craft retailers as well.
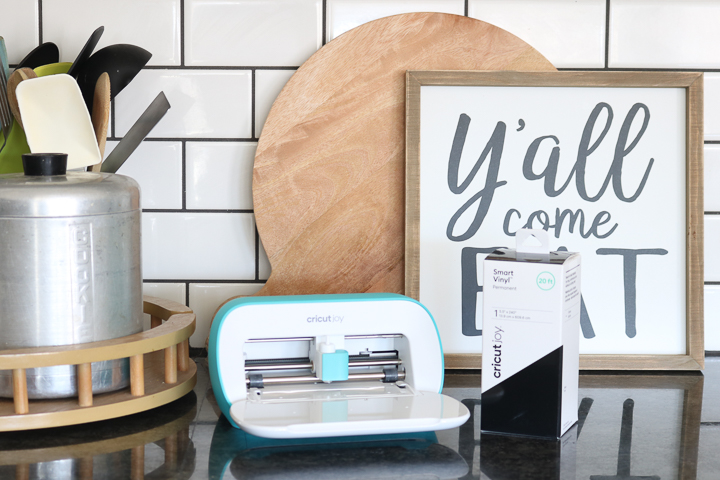
Be sure to get the machine itself and any accessories you read about above that you want to try. Trust me, once you start using this little machine, you will not want to stop. And just look at how well it blends with the decor in my home. I was a little worried as I love all things rustic and farmhouse. But Joy looks right at home in my space! I hope y’all have enjoyed this Cricut Joy beginner’s guide. Be sure to comment below with any questions you may have that I did not answer and get your own Joy here.
New to Cricut?

Sign up for our email list to download the Beginner's Guide to Cricut Design Space for FREE today!
Sign up to get the guide emailed to you!



I just wanted to weigh in on another reason for me to purchase this machine. I have a cricut expression and many cartridges and cannot bear to part with it. But I have not wanted to purchase another large, space taking machine. With this machine I can do all the projects I feel like I am missing out on. I am a cardmaker, journaler, and planner addict so this will enable me to cut all those stickers and ephemera I love! Thank you for a wonderful new option!!
Great video explain step by step how to used the machine
Other than matless cutting and the card mat, what can the Joy do that the larger machines can’t do?
I have a comparison up here: https://www.youtube.com/watch?v=ucv-BvIFEf4
Why does am Cricut. sell a Joy mat for three different cards but don’t sell all three sizes? I am fine with cutting my own paper but still need a Cricut score tool! And Design Space “make it” should ask for me to insert a score tool for the various size cards that YOUR mats appear to be able to create.
Yea there is no score tool for the Joy. You could cut those card sizes with the Joy anyway as they would be too large once you fold them out.
I have an old Cricut and use cartridges. How would I up load these cartridges to a design space account with a Cricut Joy machine? I’ve been considering upgrading and this machine looks great!
I think you would need to contact customer service and have them load the cartridges to your account. Then you can access them online.
Can the Cricut joy cut 3 mil plastic for making reusable stencils?
I have cut stencil film with it. I used the Darice brand and I am not sure of the thickness. You can see my cut here: https://www.thecountrychiccottage.net/cricut-joy-versus-cricut-explore/
Can we trim current vinyl sheets and use them in the Joy?
You can use them with the mat. I have not tried trimming some and seeing if it will cut without a mat. The backing on the smart materials is thicker allowing it to cut without a mat.
I rushed to Michaels after service on launch day because up until now I was merely an assistant weeder 🤣 for my daughter (she has an Air 2). I’m thrilled to have a cricut of my own. Oh yeah – and I’m making stuff LOL!!!
Yay! I hope you love it!
Hi Angie:
Can you tell me where you got the board you used to make the sign and the cost? Thank you so much for the informative videos.
Sure! You can find it here: http://shrsl.com/a8yo-17t6-daew24_1-1
I have pictures that I would like to do but I keep getting a message not compatibly with joy what am I doing wrong
Are they too large? Or do you have them set to do print then cut? Both would cause that error.
I am having trouble getting the Joy permanent vinyl to stick to a painted wood surface. Any suggestions?
Burnish it really well. Then peel back the transfer tape at a sharp 90 degree angle. I remember having issues getting it on the transfer tape but not really getting it onto the wood.
I have. It just won’t adhere to the paint.I have even sprayed it with a spray adhesive and no luck😢
That is so odd! Not sure why that would be. Try a scrap piece on a different surface and make sure it is not the vinyl. Maybe it is the paint?
does the cricut joy cut leather, for earrings and such?
It will cut faux leather.
I bought this design. Now when I try to use just parts of it such as the faucets or just the “wash, flush, floss, brush” Design Space wants to charge me for each one. I am very pleased with the design!
I believe they are all individual designs in Design Space.
Great video! I’ve wanted to use vinyl but it’s a bit intimidated, your tutorial helped to clarify some things. Do you have a video on how to use the Cricut design center? it can be a bit confusing (at least for me). Thank you so much 🙂