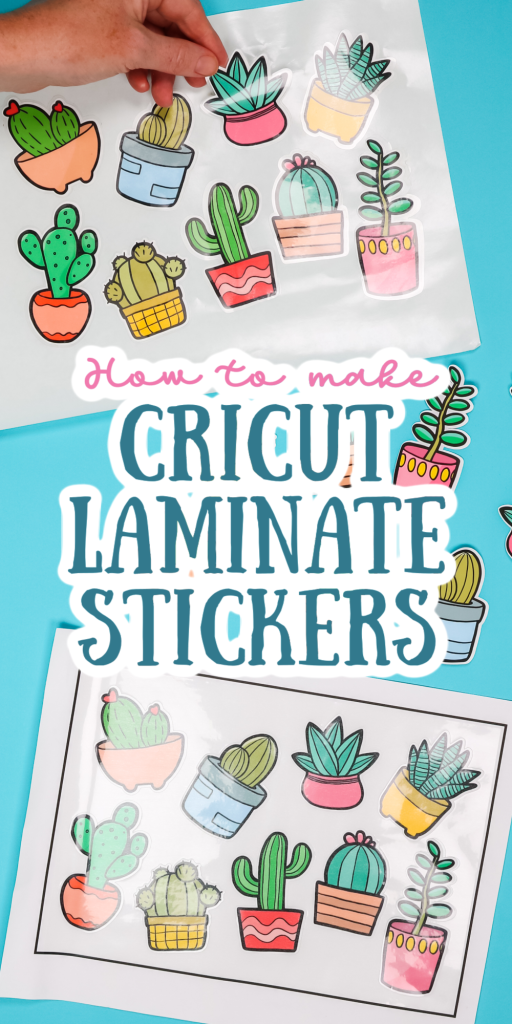
Have you ever made Cricut laminate stickers? Laminate is a great way to add extra protection to the stickers you make on your Cricut machine. However, there are two different ways that you can apply that laminate, and both of those have benefits as well as drawbacks. Keep reading to see how to make laminate stickers with your Cricut and pick the way that will work best for you!
This post is sponsored by Online Labels, however, all projects and opinions are my own.
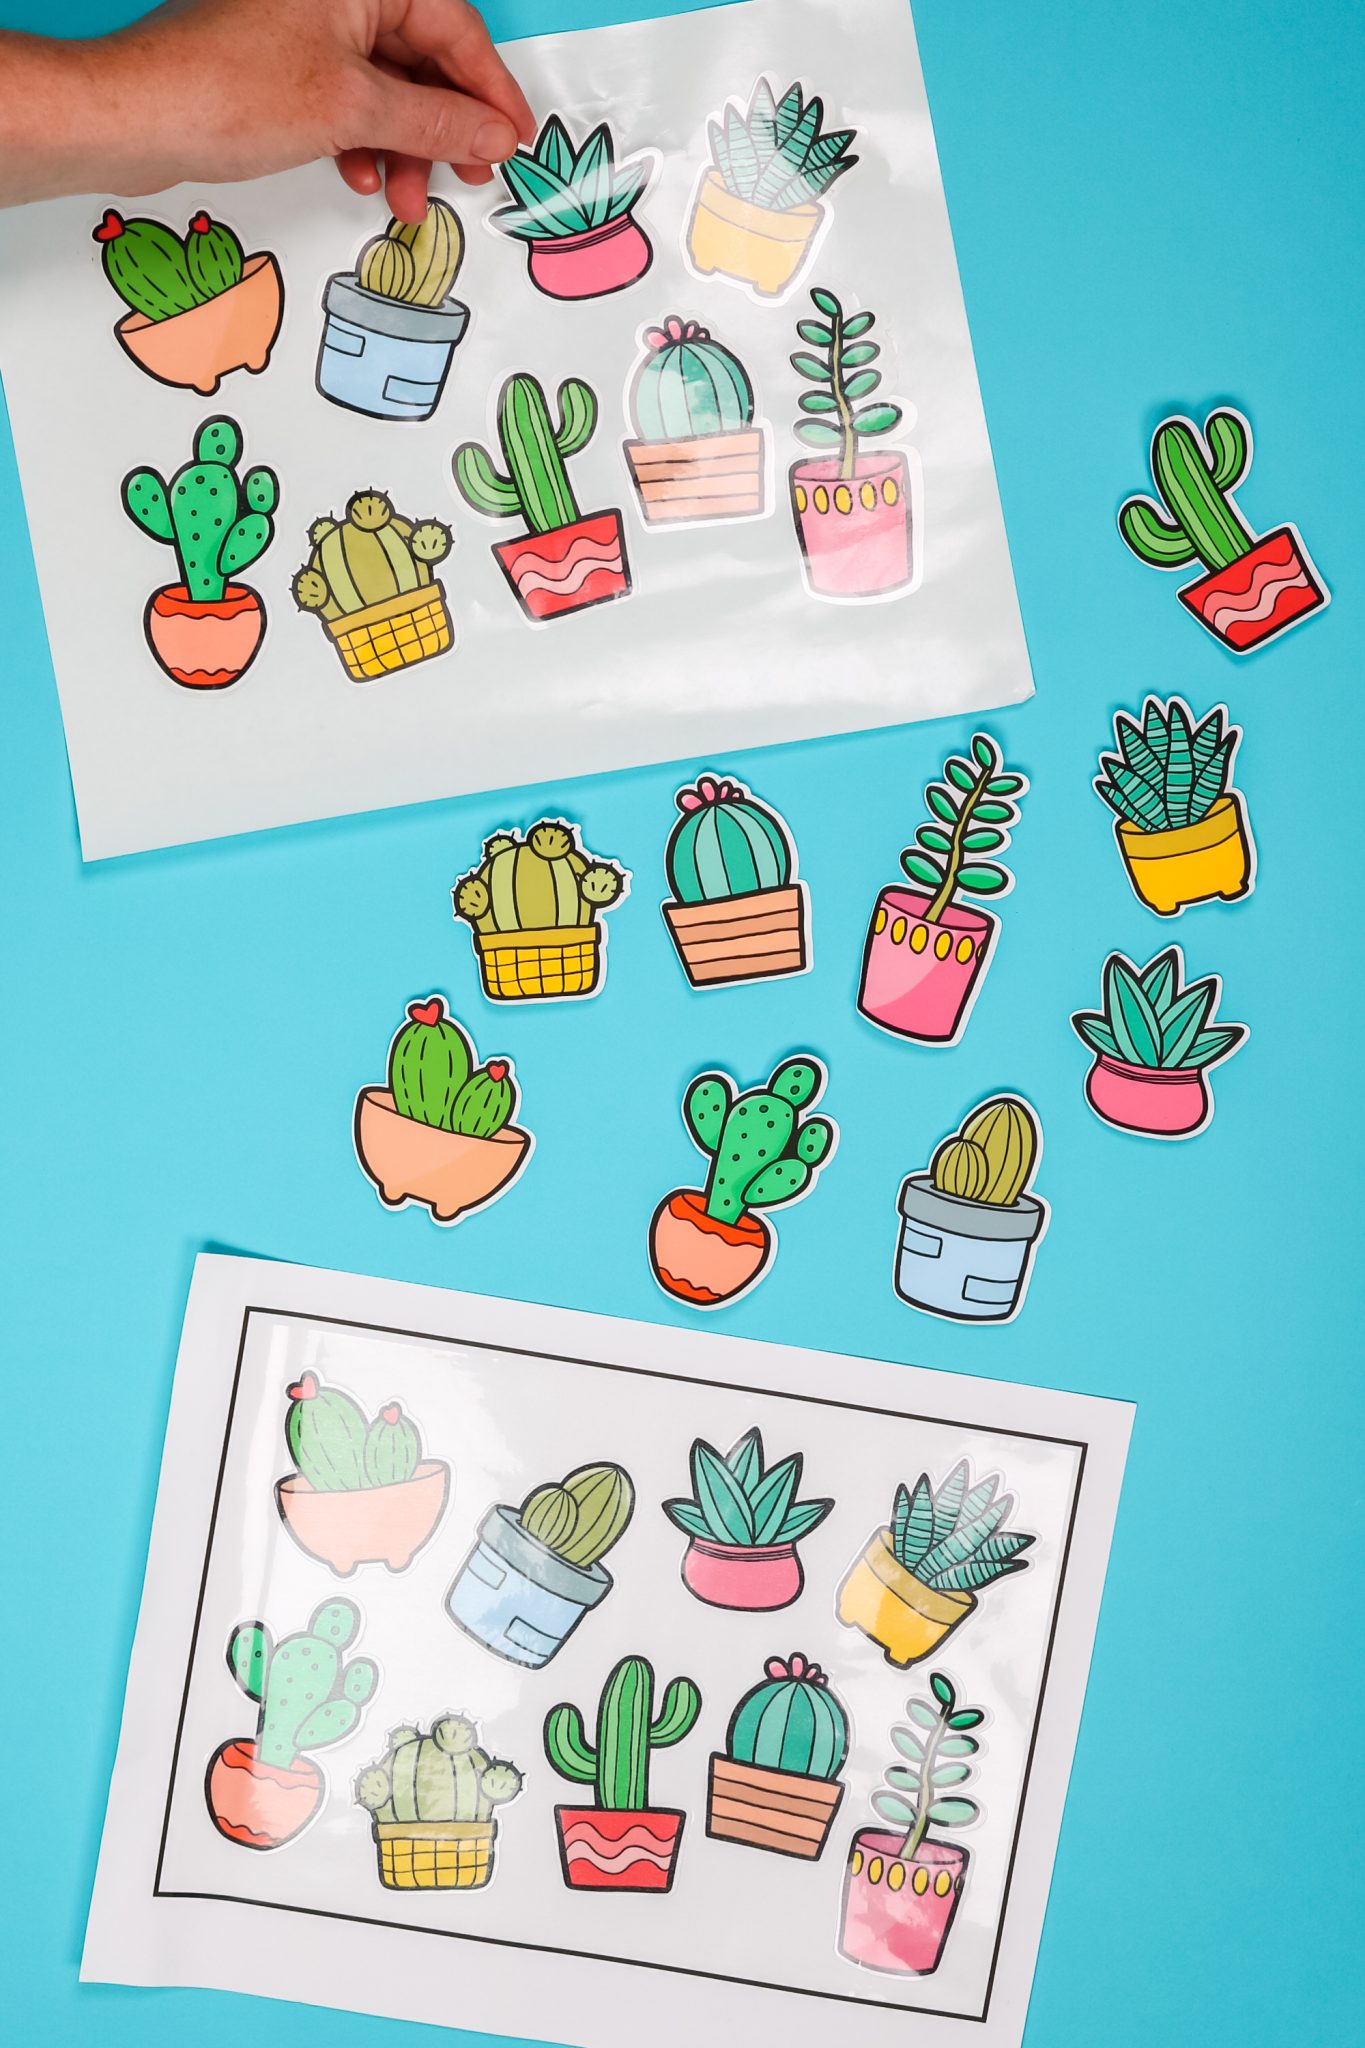
Cricut Laminate Stickers
Want to see me make laminate stickers with my Cricut machine? You can click play on the video below as I walk through how to design stickers and make them two different ways with laminate sheets from Online Labels.
Can’t watch the video or miss some of the information? You can also follow along with the tutorial below.
Supplies needed:
- Online Labels Matte Sticker Paper (Click this link to get a $5 reward code!)
- Online Labels Weatherproof Sticker Paper (Click this link to get a $5 reward code!)
- Online Labels Clear Laminate (Click this link to get a $5 reward code!)
- Cricut machine (NOTE: Cricut Joy does NOT do print then cut!)
- Brayer
- LightGrip Mat
- Scraper
- Scissors
- Cactus stickers design
- Printer (You can see the printer I use here.)
Applying Laminate Before Cutting Stickers
First, we are going to talk about adding the laminate to your sticker sheet before you cut the stickers with a Cricut. There are a few tips and tricks to make this process a bit easier and this is definitely the easiest way to make Cricut laminate stickers. However, you will want to keep reading for the drawbacks of this process as well!
How to Design Stickers in Cricut Design Space
First, you will need to upload the image you want to make into stickers into Cricut Design Space. You can see more about how to upload images here. Then you will want to add an offset. I added a 0.05 offset to my stickers. You can see more about working with offsets in Cricut Design Space here.
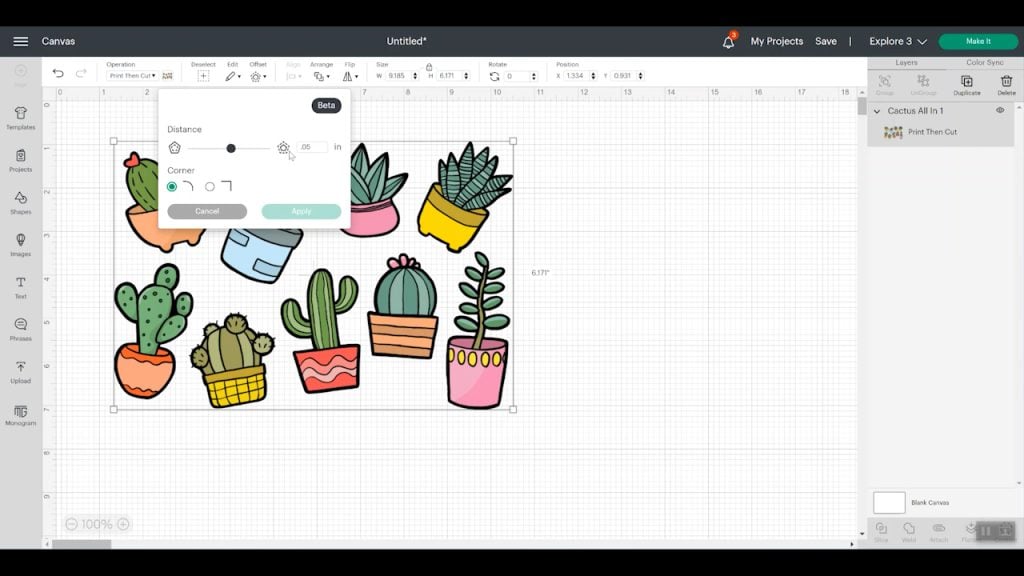
Change the offset you add to white. Then pick both the stickers and the offset and click flatten. You can then resize the images to fit the maximum print then cut size for Cricut which is 6.75 x 9.25 inches. Then click “make it”. You should see your sticker sheet on a mat with a black box around it. This is the box your Cricut machine will use to locate your cuts.
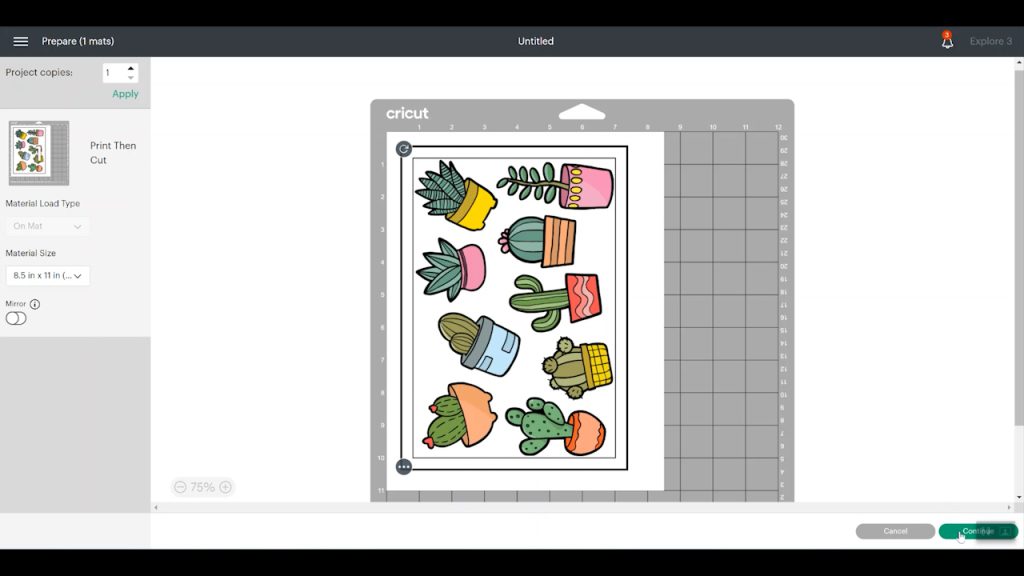
Print Settings for Stickers
Click continue then click “send to printer”. You will want to turn off bleed and check the “use system dialogue” box. That will bring up your printer menu. Click preferences to get more options. I like to print my stickers using a matte paper setting and turn the quality to high or best. If you have any high-speed printing options, be sure to turn those off. NOTE: The matte paper settings are for matte sticker papers and should be altered if you are using glossy sticker paper.
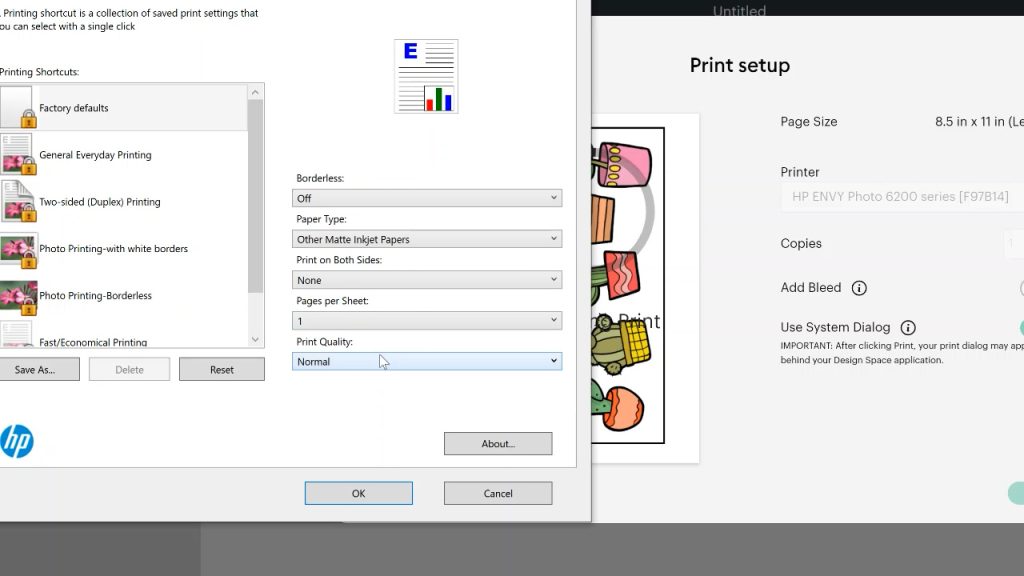
Then sent the sticker sheet to your printer. One trick is to peel up the corner of your sticker paper to ensure you are printing on the right side. You want to print on the side that has a sticky backing.
How to Apply Laminate to Sticker Sheet
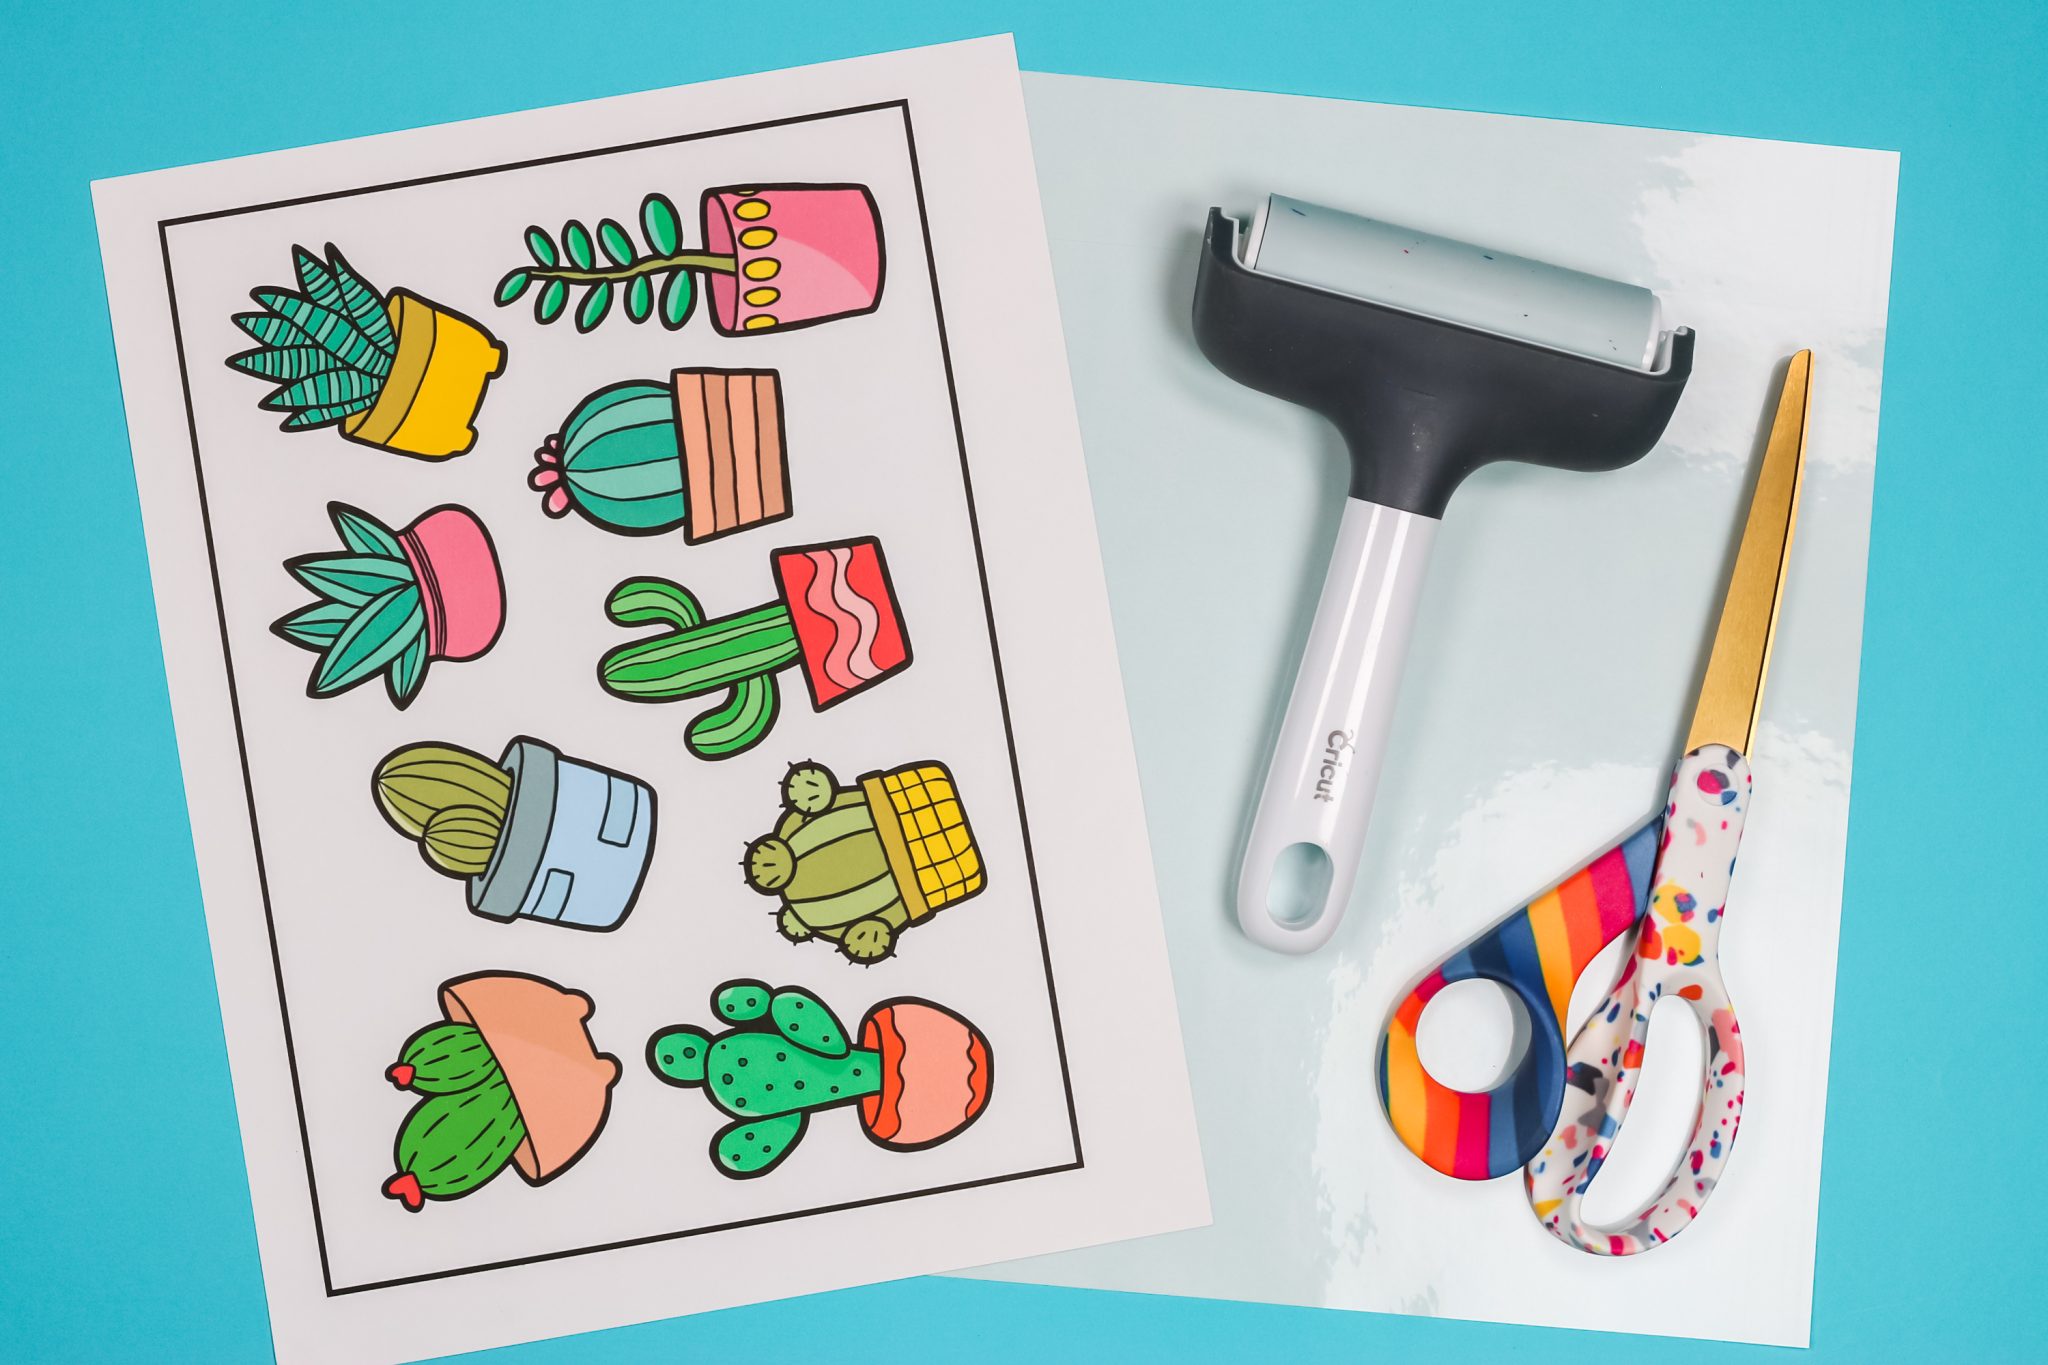
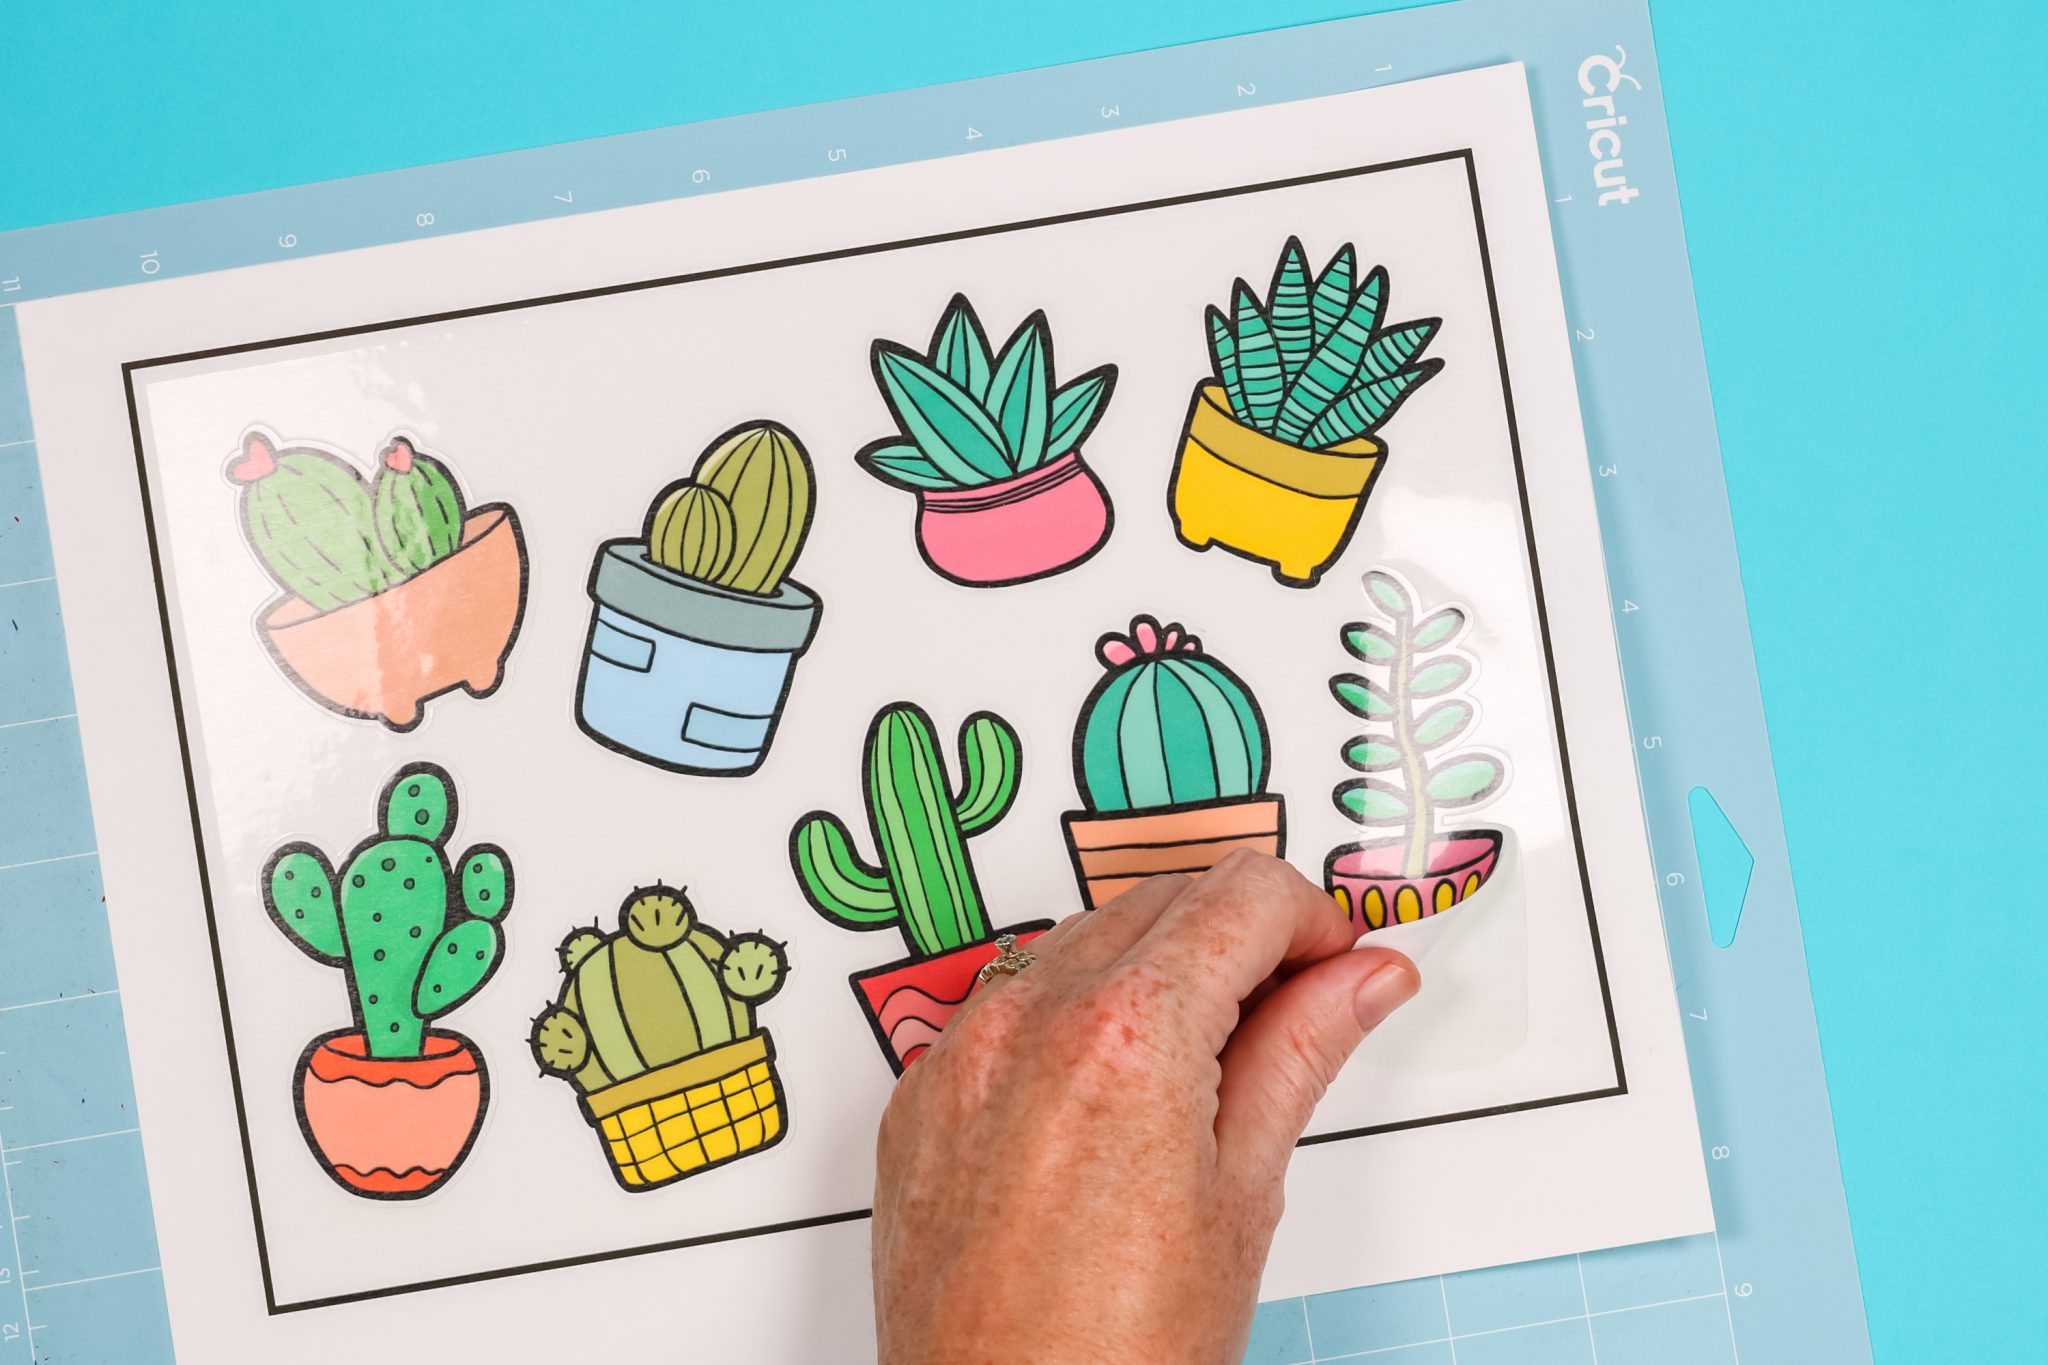
For this version of Cricut laminate stickers, I am applying the laminate to the sticker sheet before cutting. Trim the laminate sheet to size with scissors. You want it to fit inside of the black box that is printed on your sticker paper. This will ensure that the laminate does not interfere with your Cricut cut sensor.
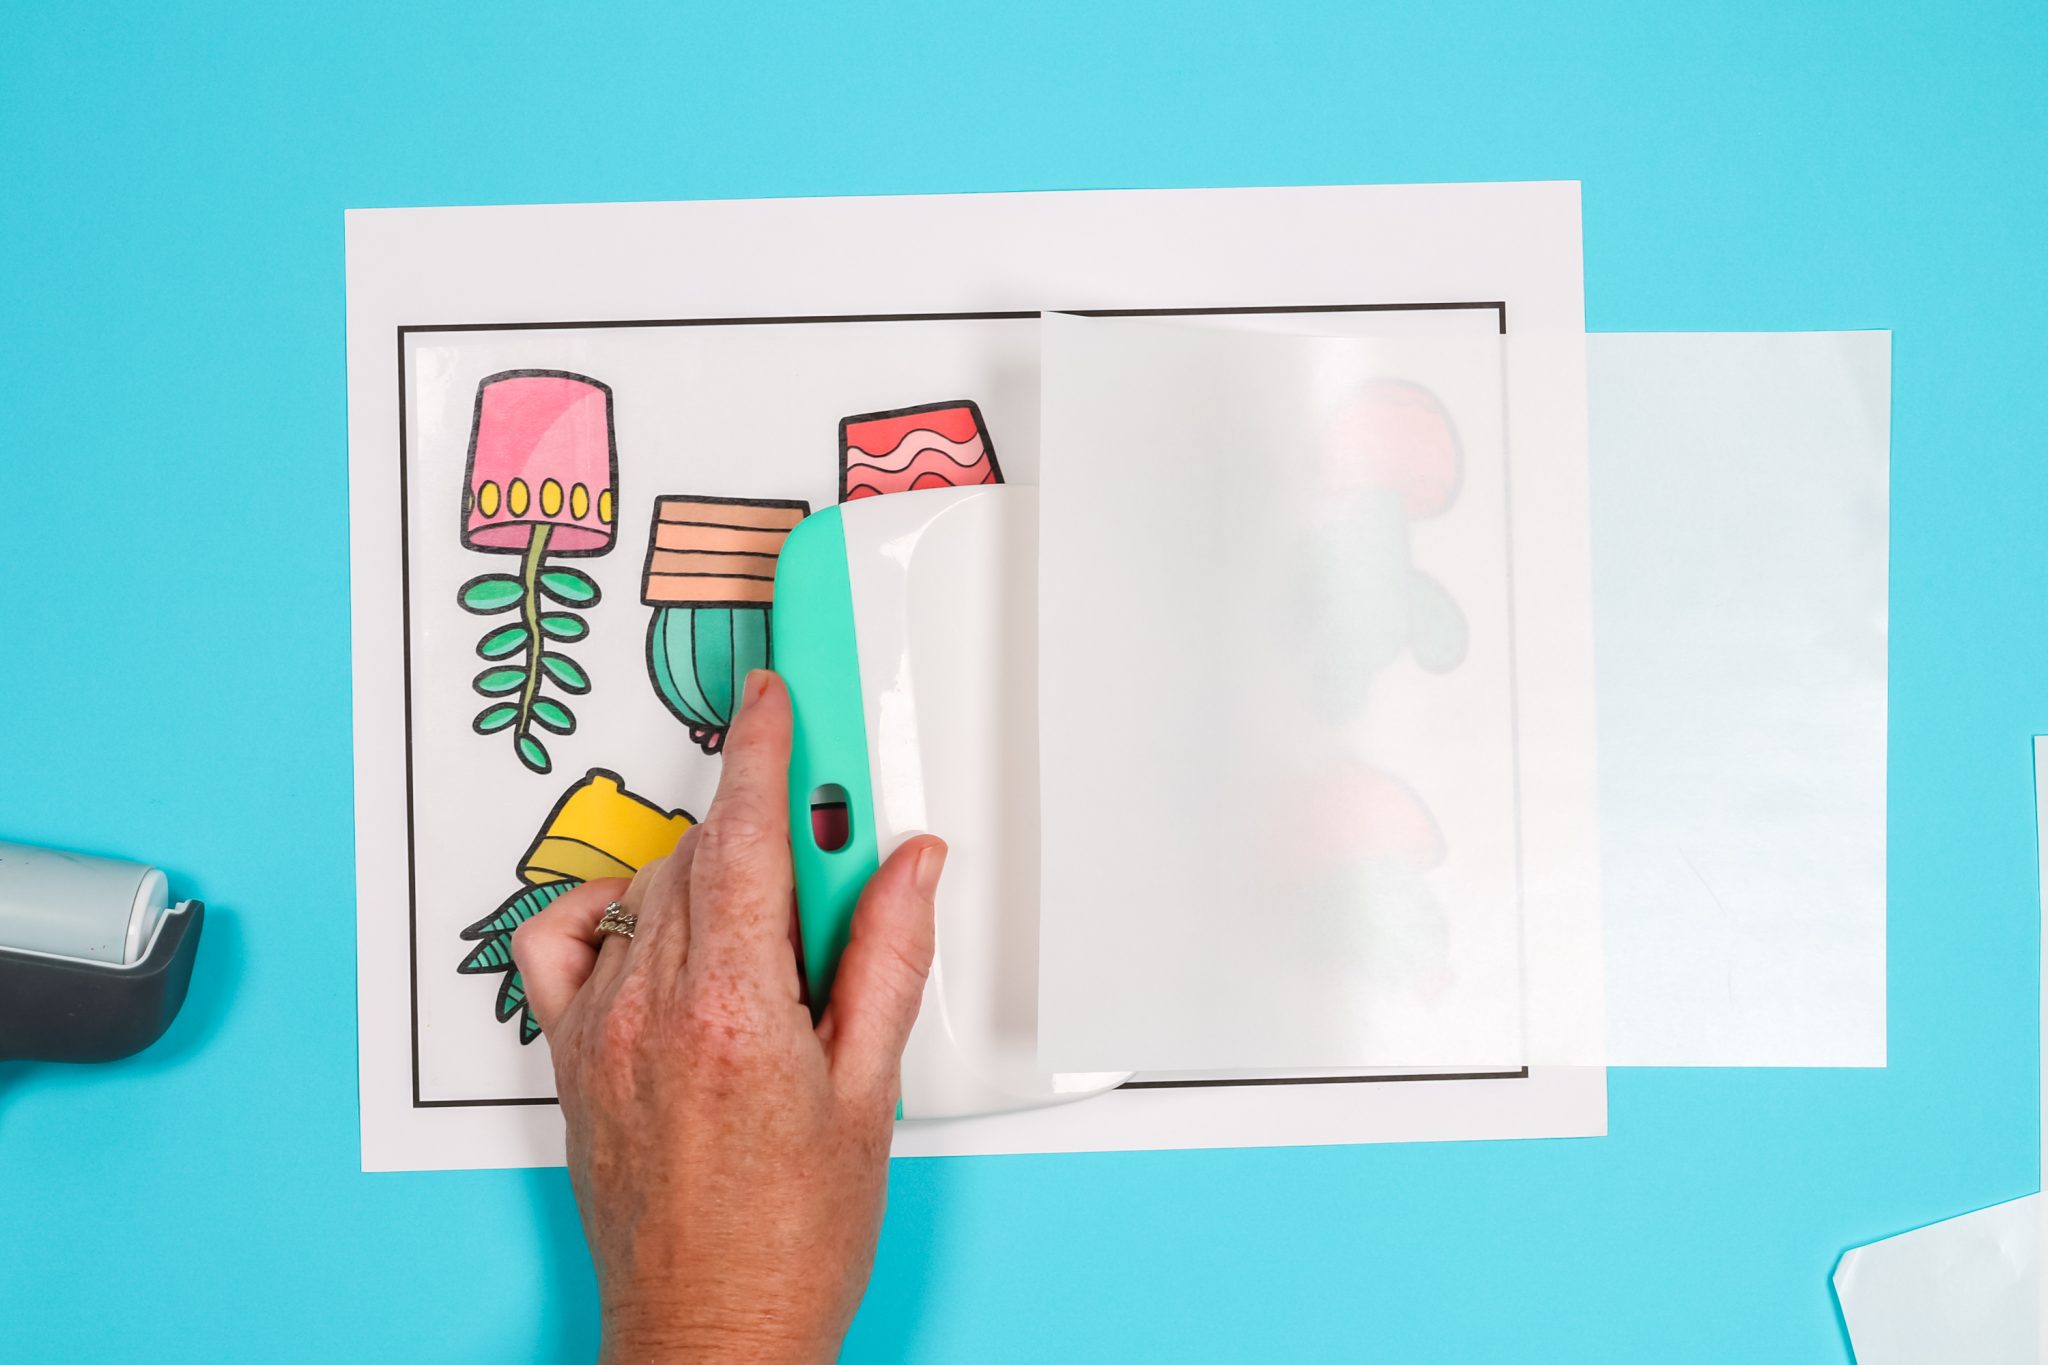
Then peel back one side of the backing paper and start the sheet onto your print. Make sure it is inside of the black box and straight. Use a brayer or scraper to adhere it to your paper. Slowly remove the backing paper pressing the laminate down as you go along. This will ensure there are no air bubbles. Burnish the entire laminate sheet down well after it is applied.
How to Cut Stickers
Add your sticker sheet with the laminate applied to your Cricut mat. You will want to make sure the sticker sheet is in the same orientation as it is on the screen in Cricut Design Space. Use a brayer to press it down well on the mat.
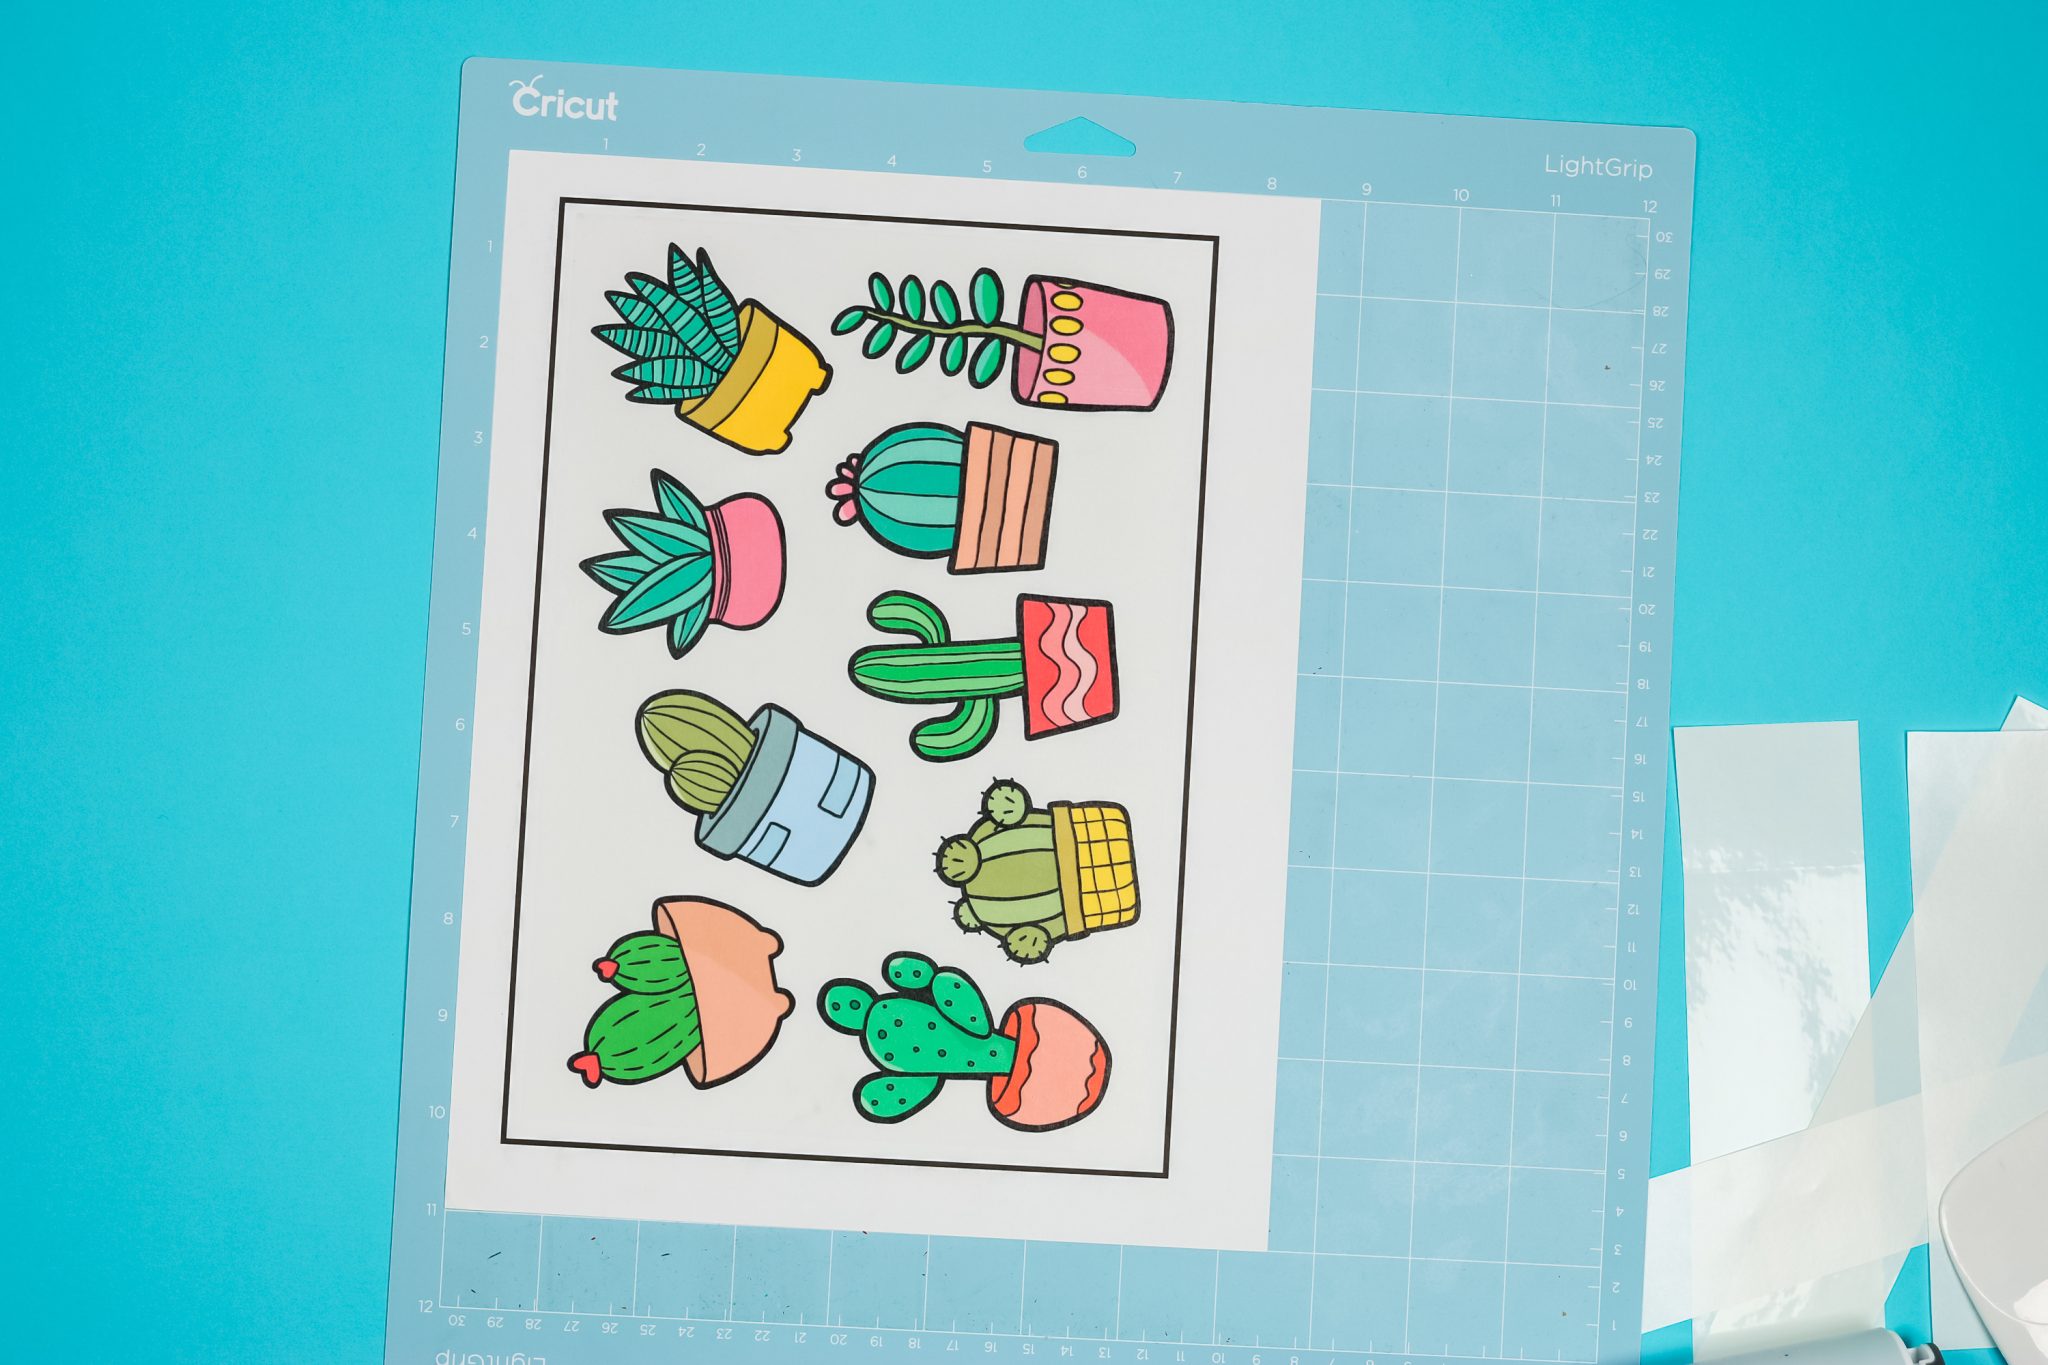
Use a light cardstock setting for a kiss cut on your stickers. You can choose a heavy cardstock setting if you want a through cut. A kiss cut will leave the backing paper in one piece while a through cut will cut through the laminate, sticker sheet, and backing paper. Then just add your mat to your Cricut machine and cut. The machine will look for the black box and cut around each of your stickers.
Benefits and Drawbacks
What are the benefits and drawbacks of adding the laminate to your stickers before you cut? Let’s take a look!
- The laminate layer will provide scratch resistance for your stickers so it is a great addition to stickers that will get a lot of wear.
- Cutting the laminate and sticker sheet all at once is faster and easier than the method we will discuss below.
- The laminate applied before cutting offers slightly LESS water resistance than the method below. The water is able to seep in on the sides of your stickers and can discolor the edges.
Applying Laminate After Cutting Stickers
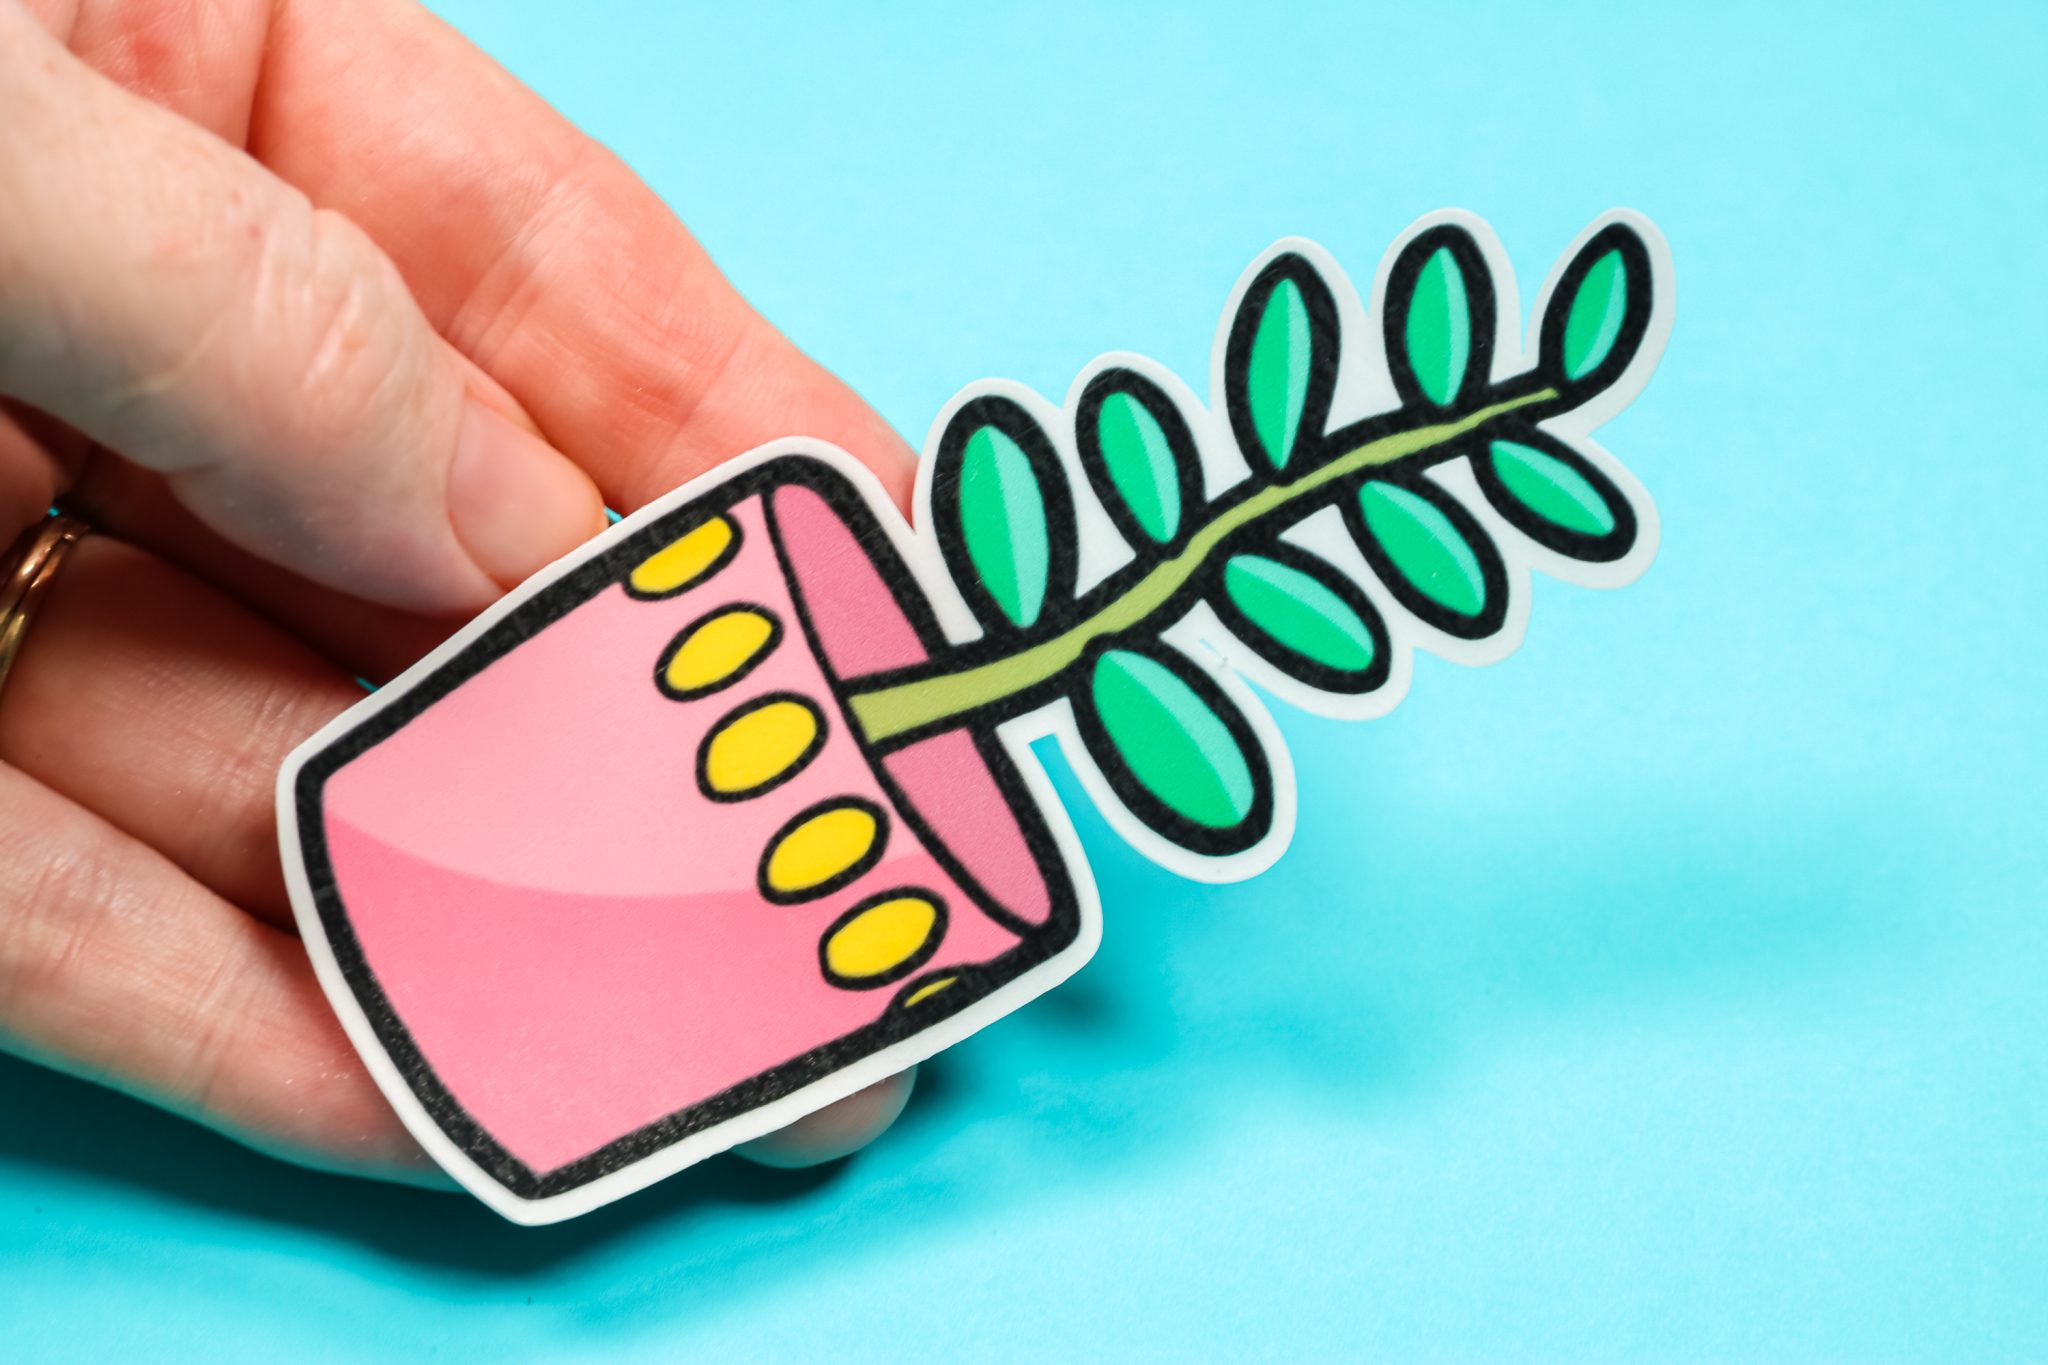
There is another method for making Cricut laminate stickers and it offers up the scratch-resistance of the method above plus it is superior for water resistance. So, if you are looking to make a weatherproof sticker with your Cricut, this is the method I would recommend!
How to Design Stickers in Cricut Design Space
You will need to start with a design with the offset attached as described in the section above. Then you need to do a few more steps before you are ready to cut your stickers and laminate. You will need to add another offset. This can be fairly small but the larger it is the more protection it will provide. Here I used a 0.04 offset.
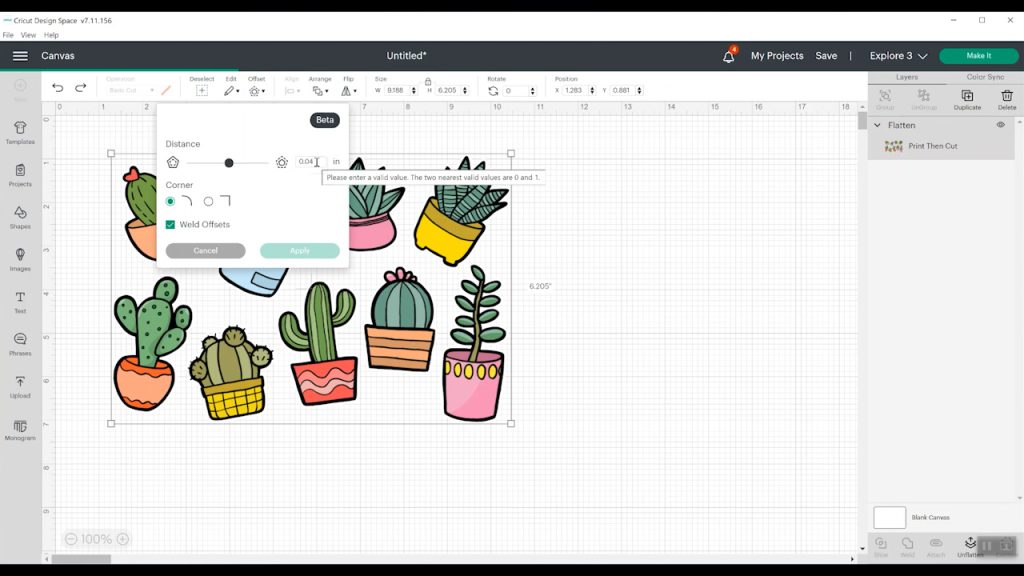
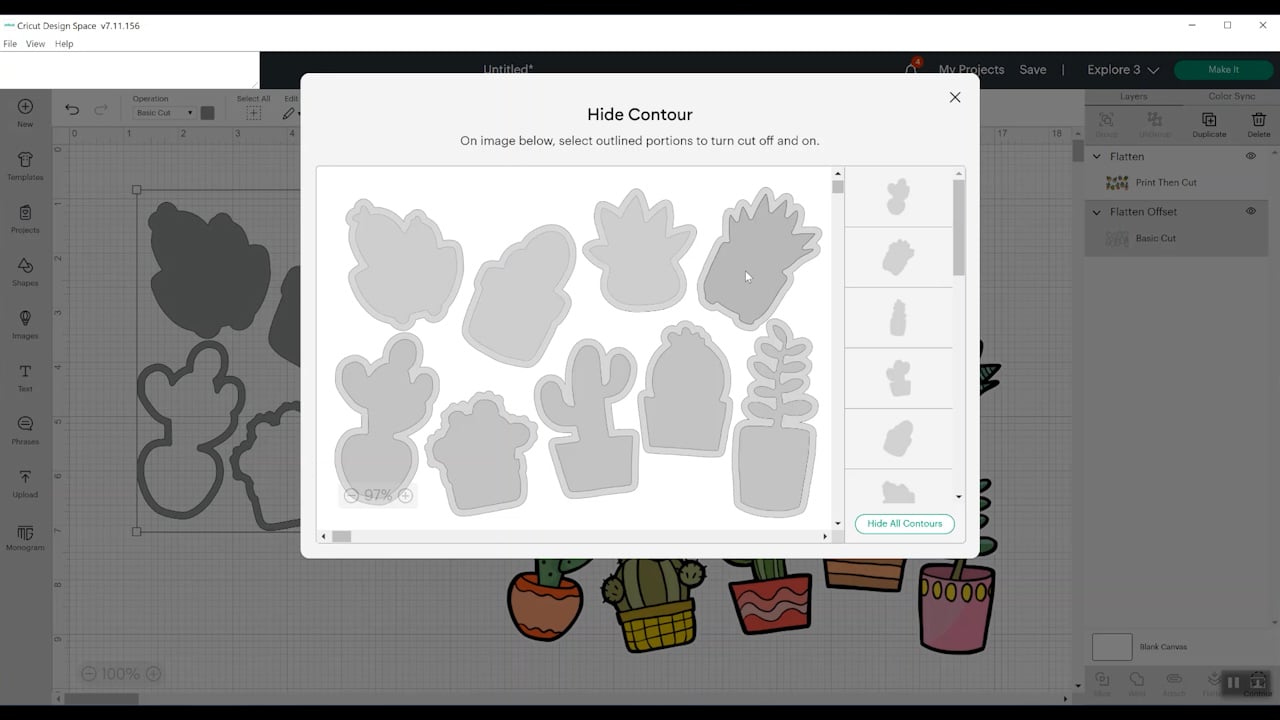
Be sure your offset layer is a cut layer and your sticker layer is print then cut. You will not, however, that your offset layer has an internal cut and we will need to get rid of that. Use the contour feature to remove all of the internal cuts. You can see more about using the contour feature here.
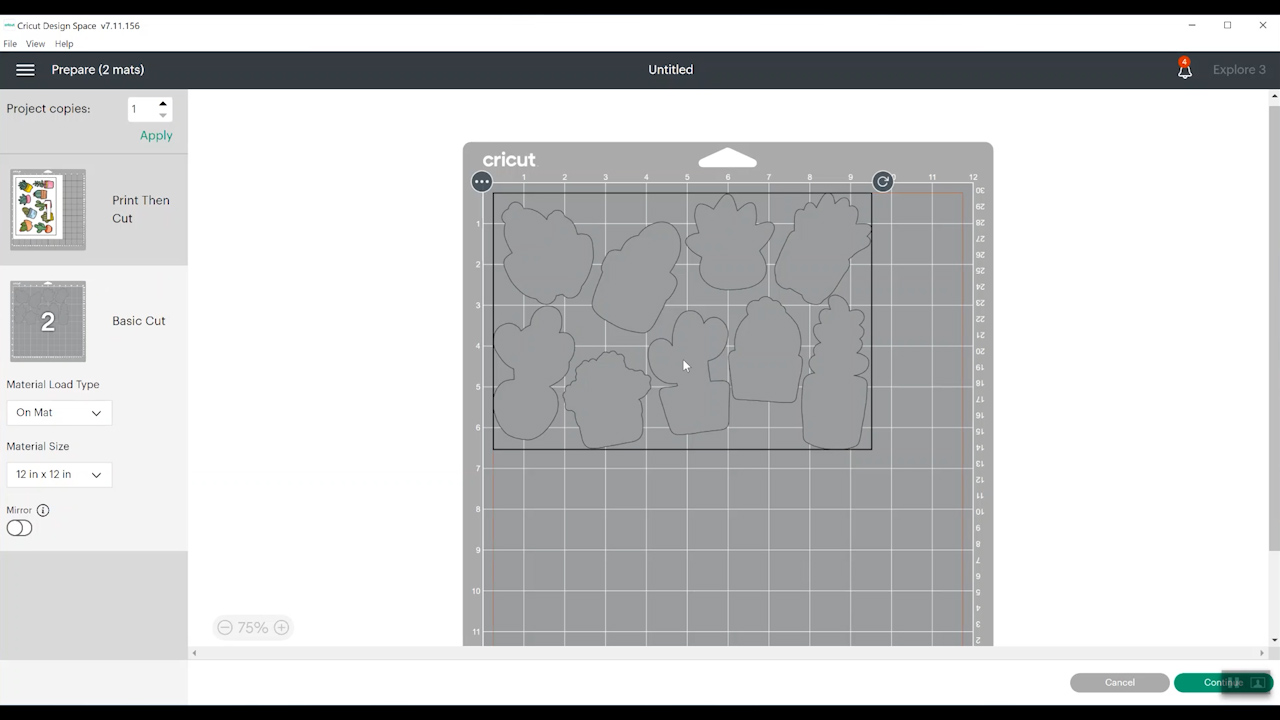
Then click “make it” and you should have a print then cut sheet as before but this time you will have a cut layer that is for your laminate. NOTE: The orientation on this sheet is horizontal so I will need to make sure to put the laminate sheet the correct way on my mat.
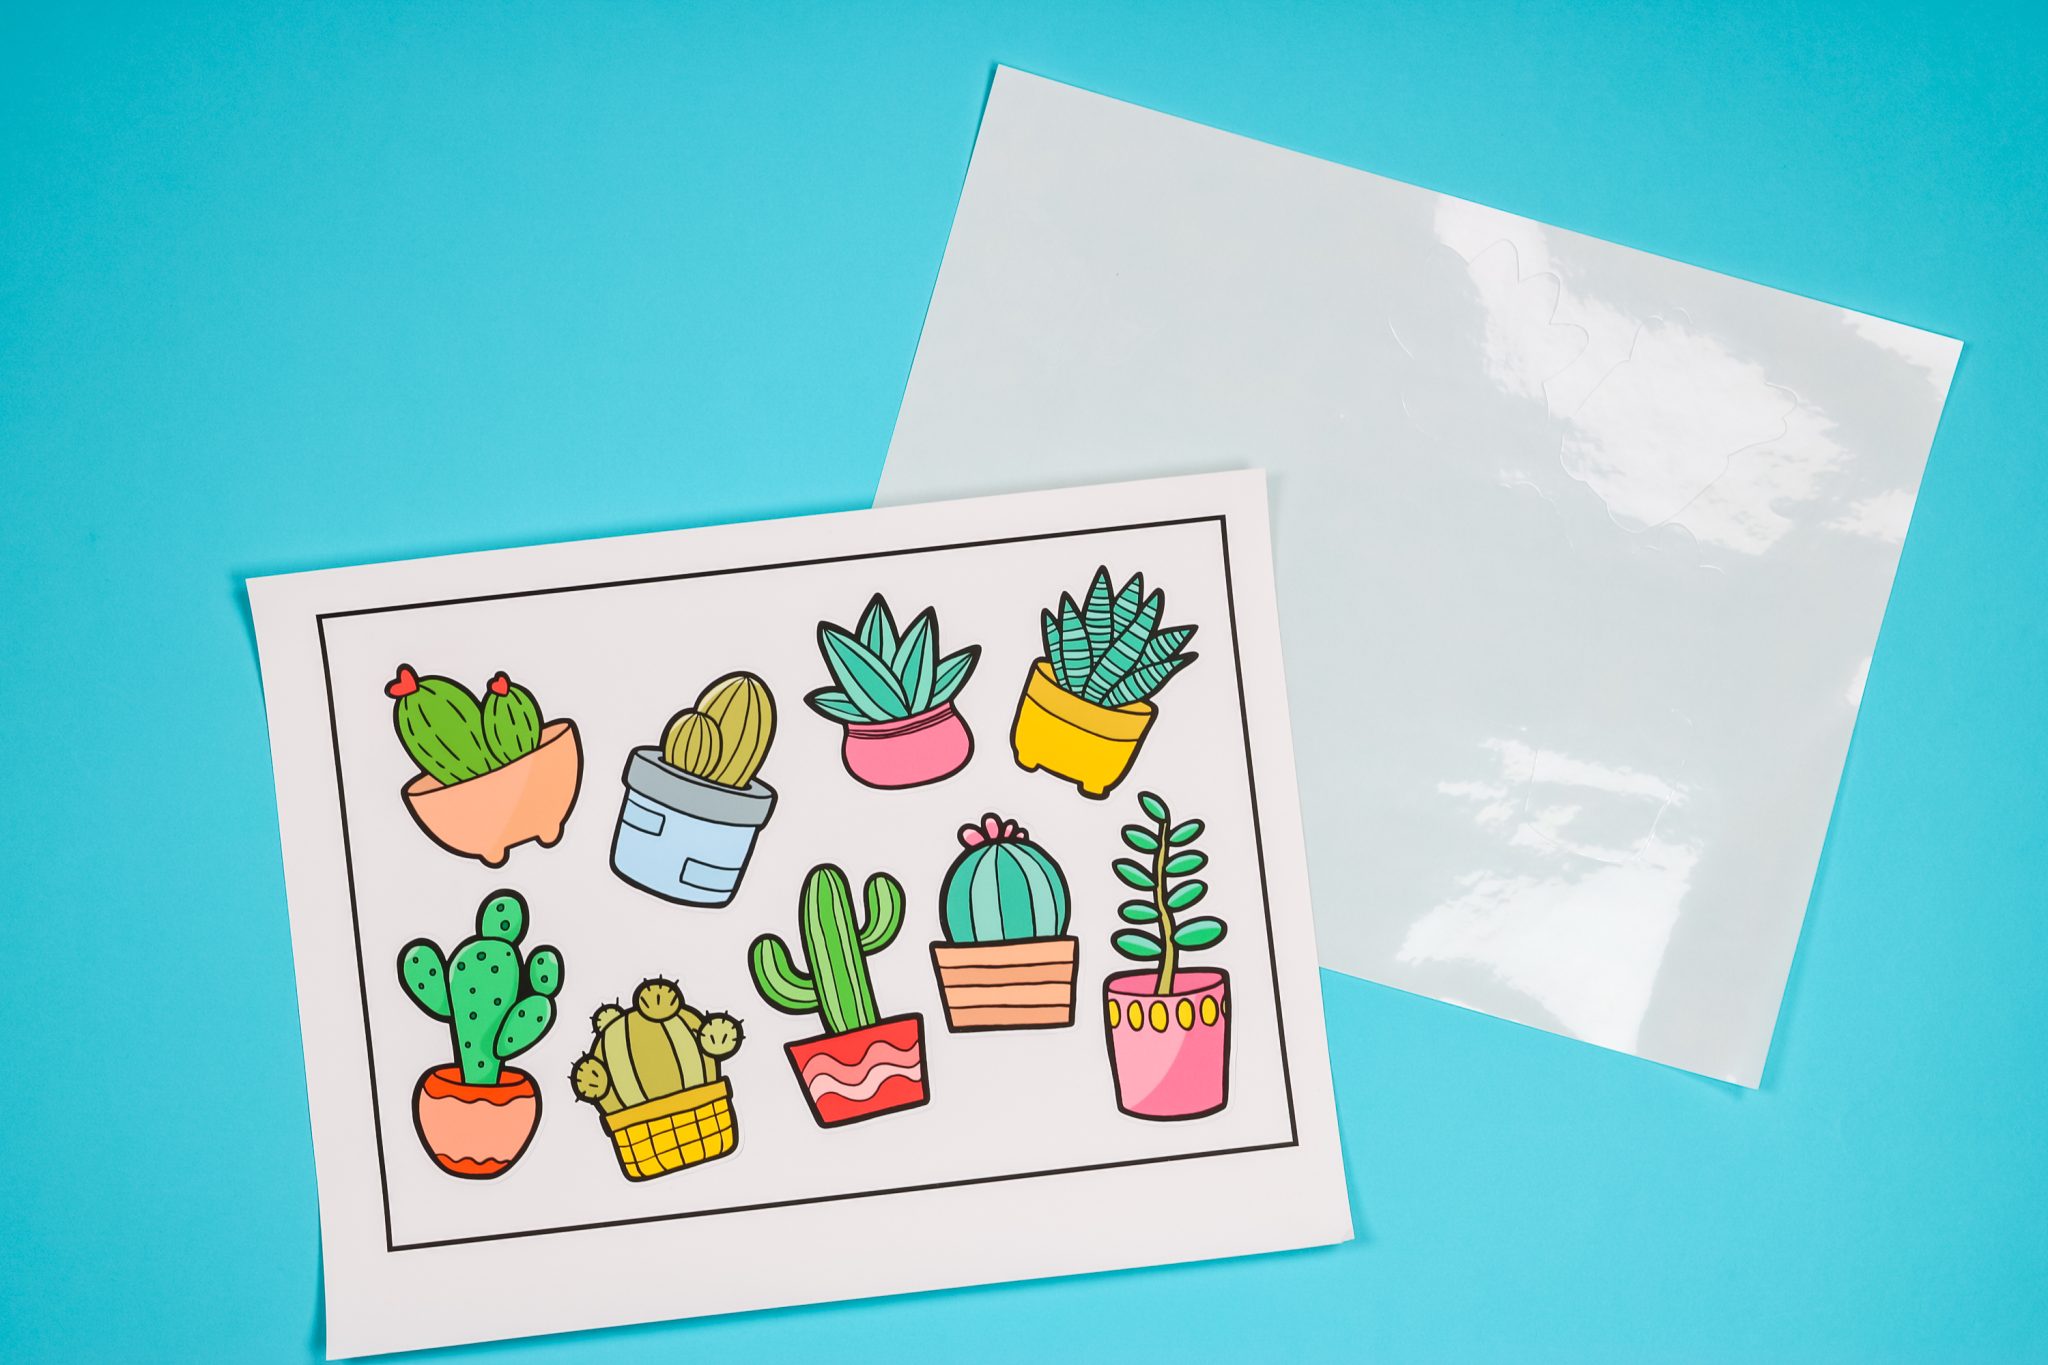
Print the sticker sheet in the same way as you did above. The same print settings will apply.
How to Cut Stickers and Laminate
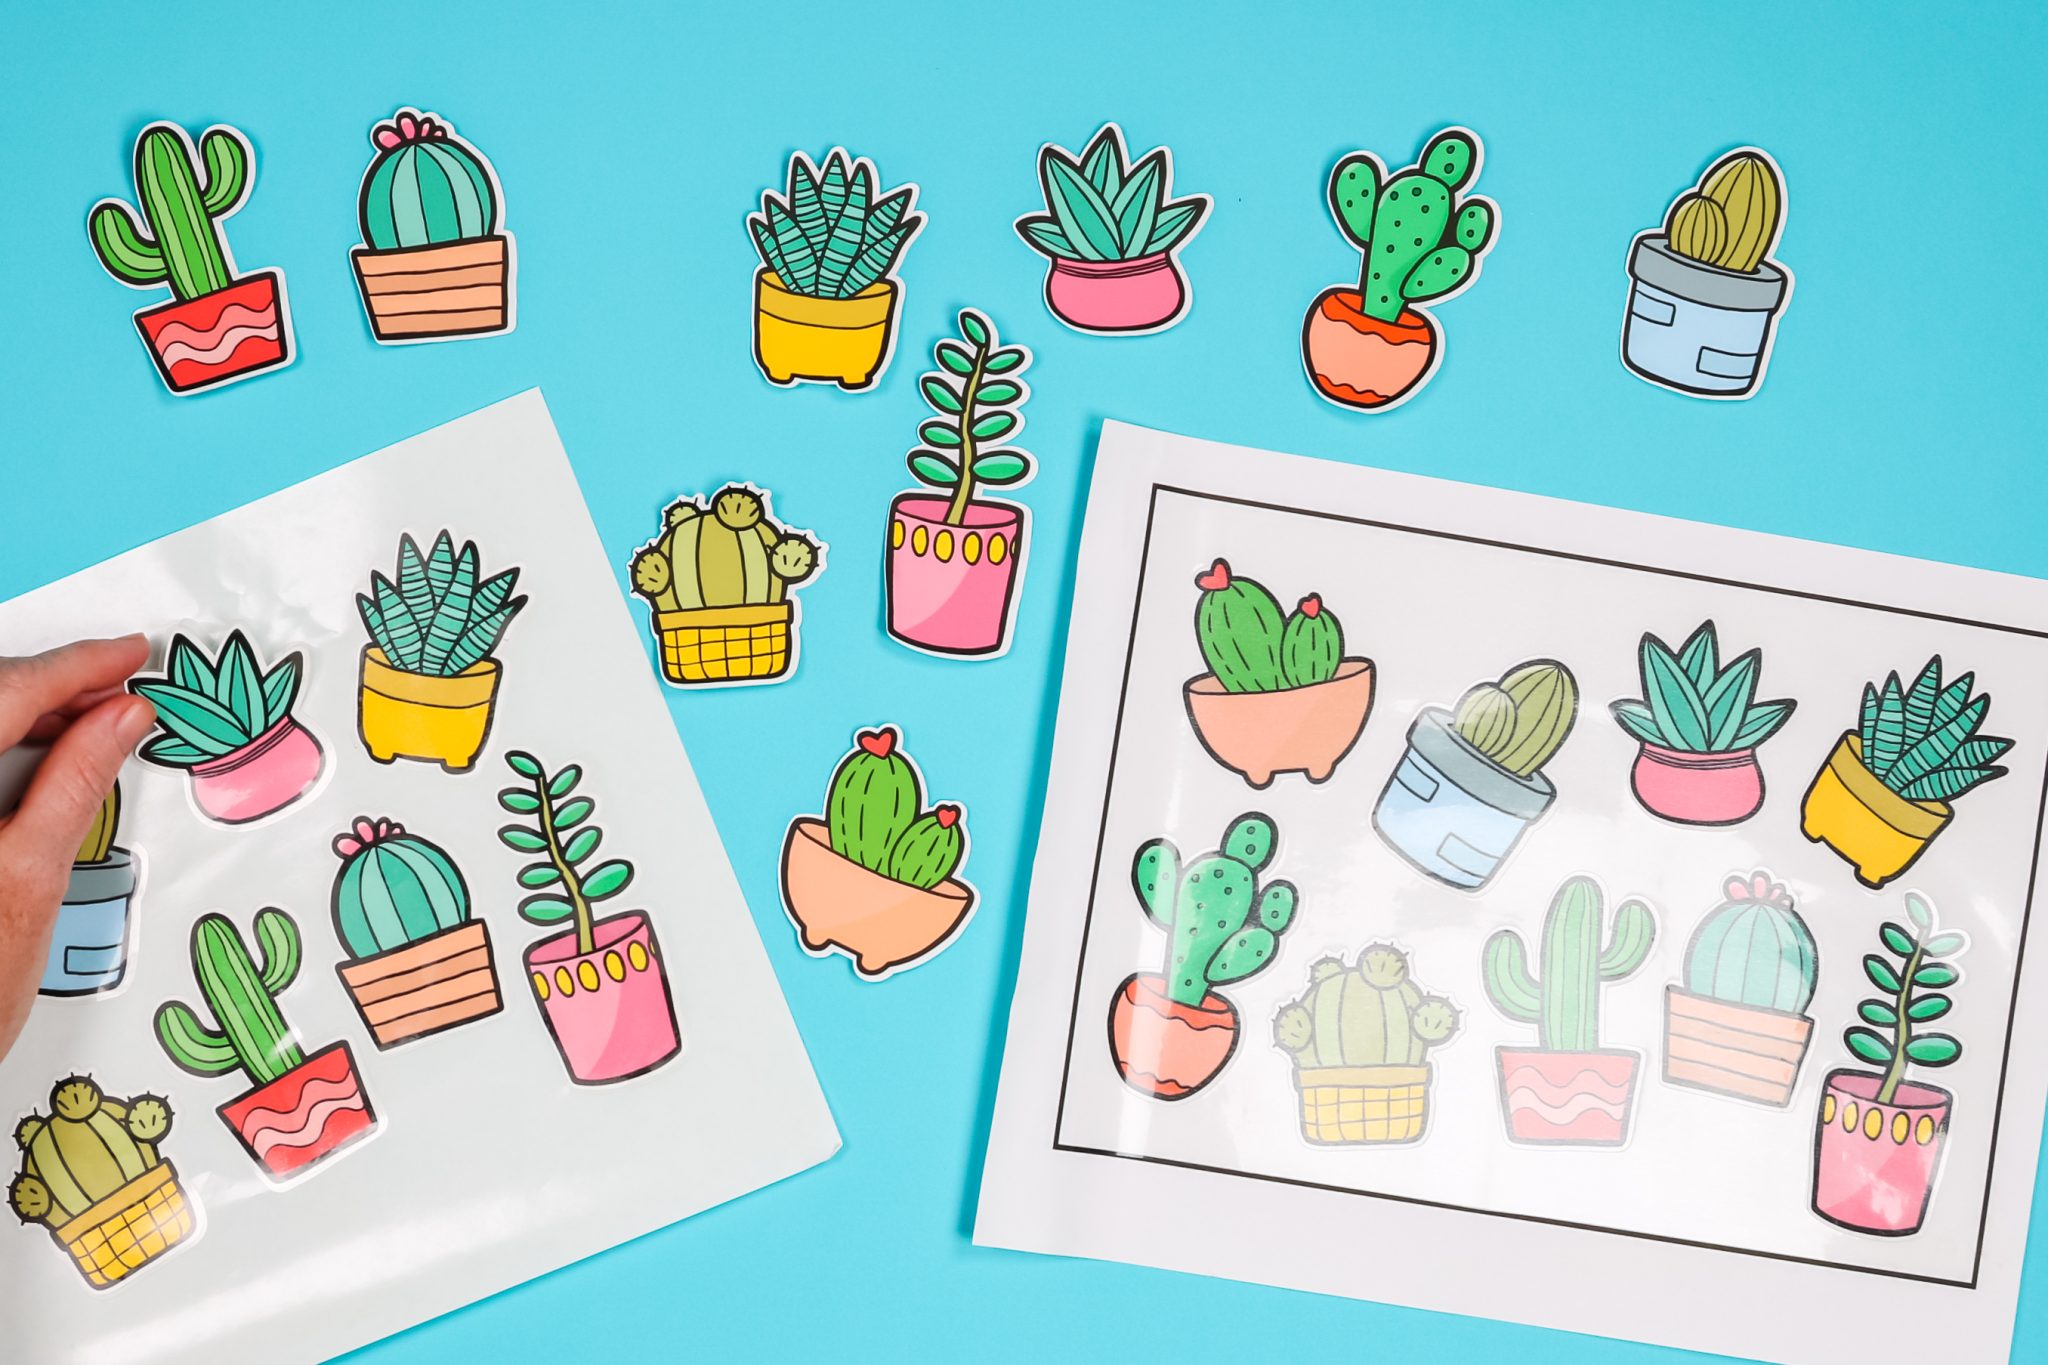
This time, you will cut your laminate and sticker sheet separately. Be sure to orient them on the mat in the same manner as they are shown in Cricut Design Space. I used the vinyl cut setting for both of my sheets for a kiss cut. Again, you would want to try something heavier if you wanted a through cut. In this case, a light cardstock setting would probably work.
How to Apply Laminate to Stickers
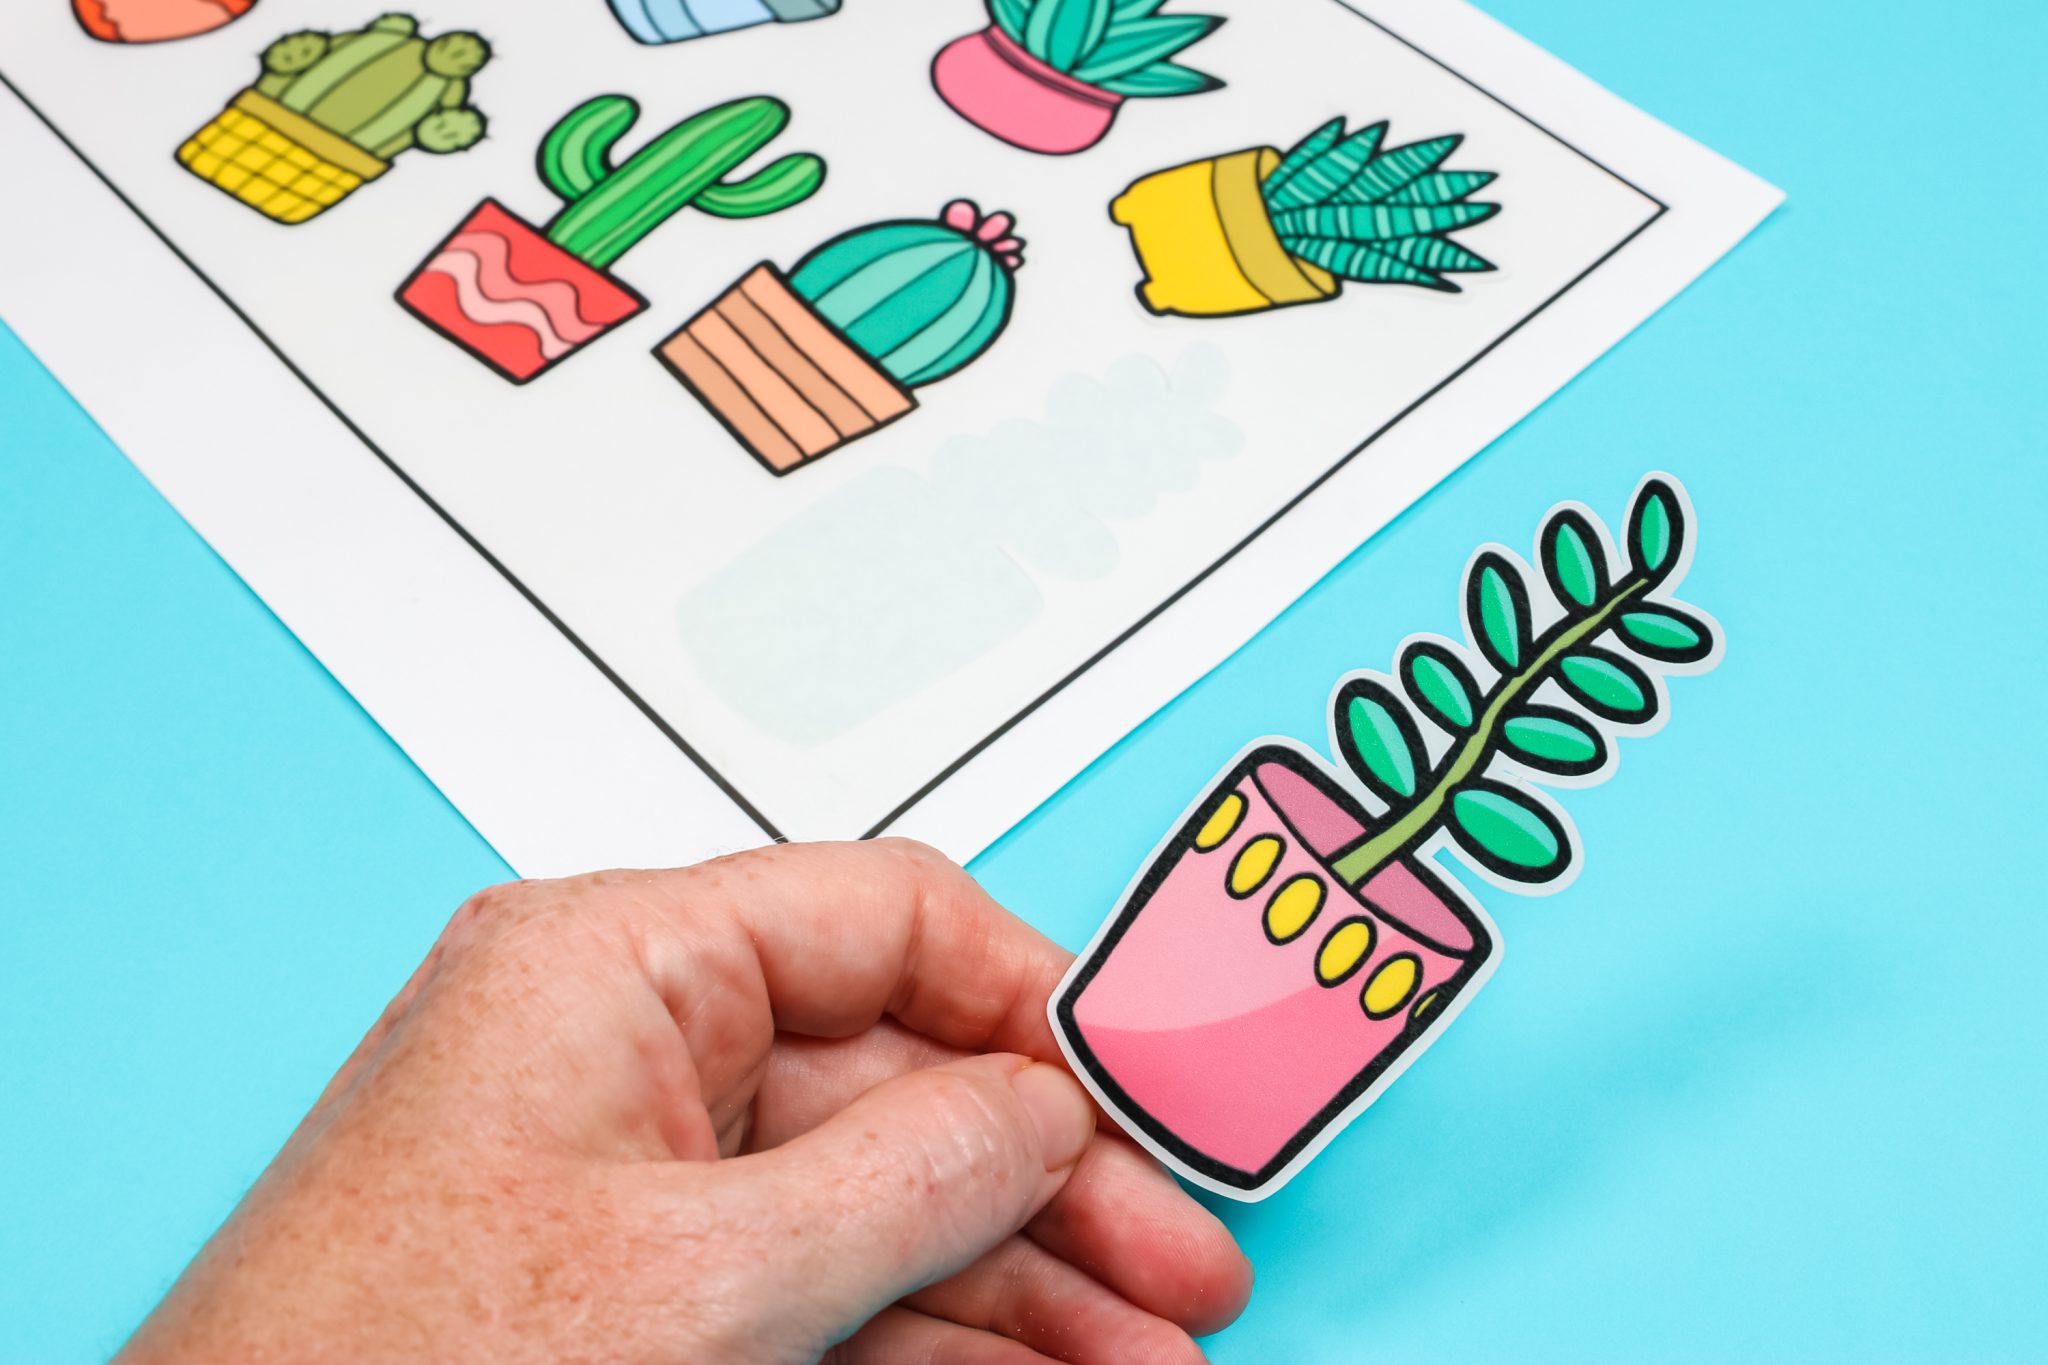
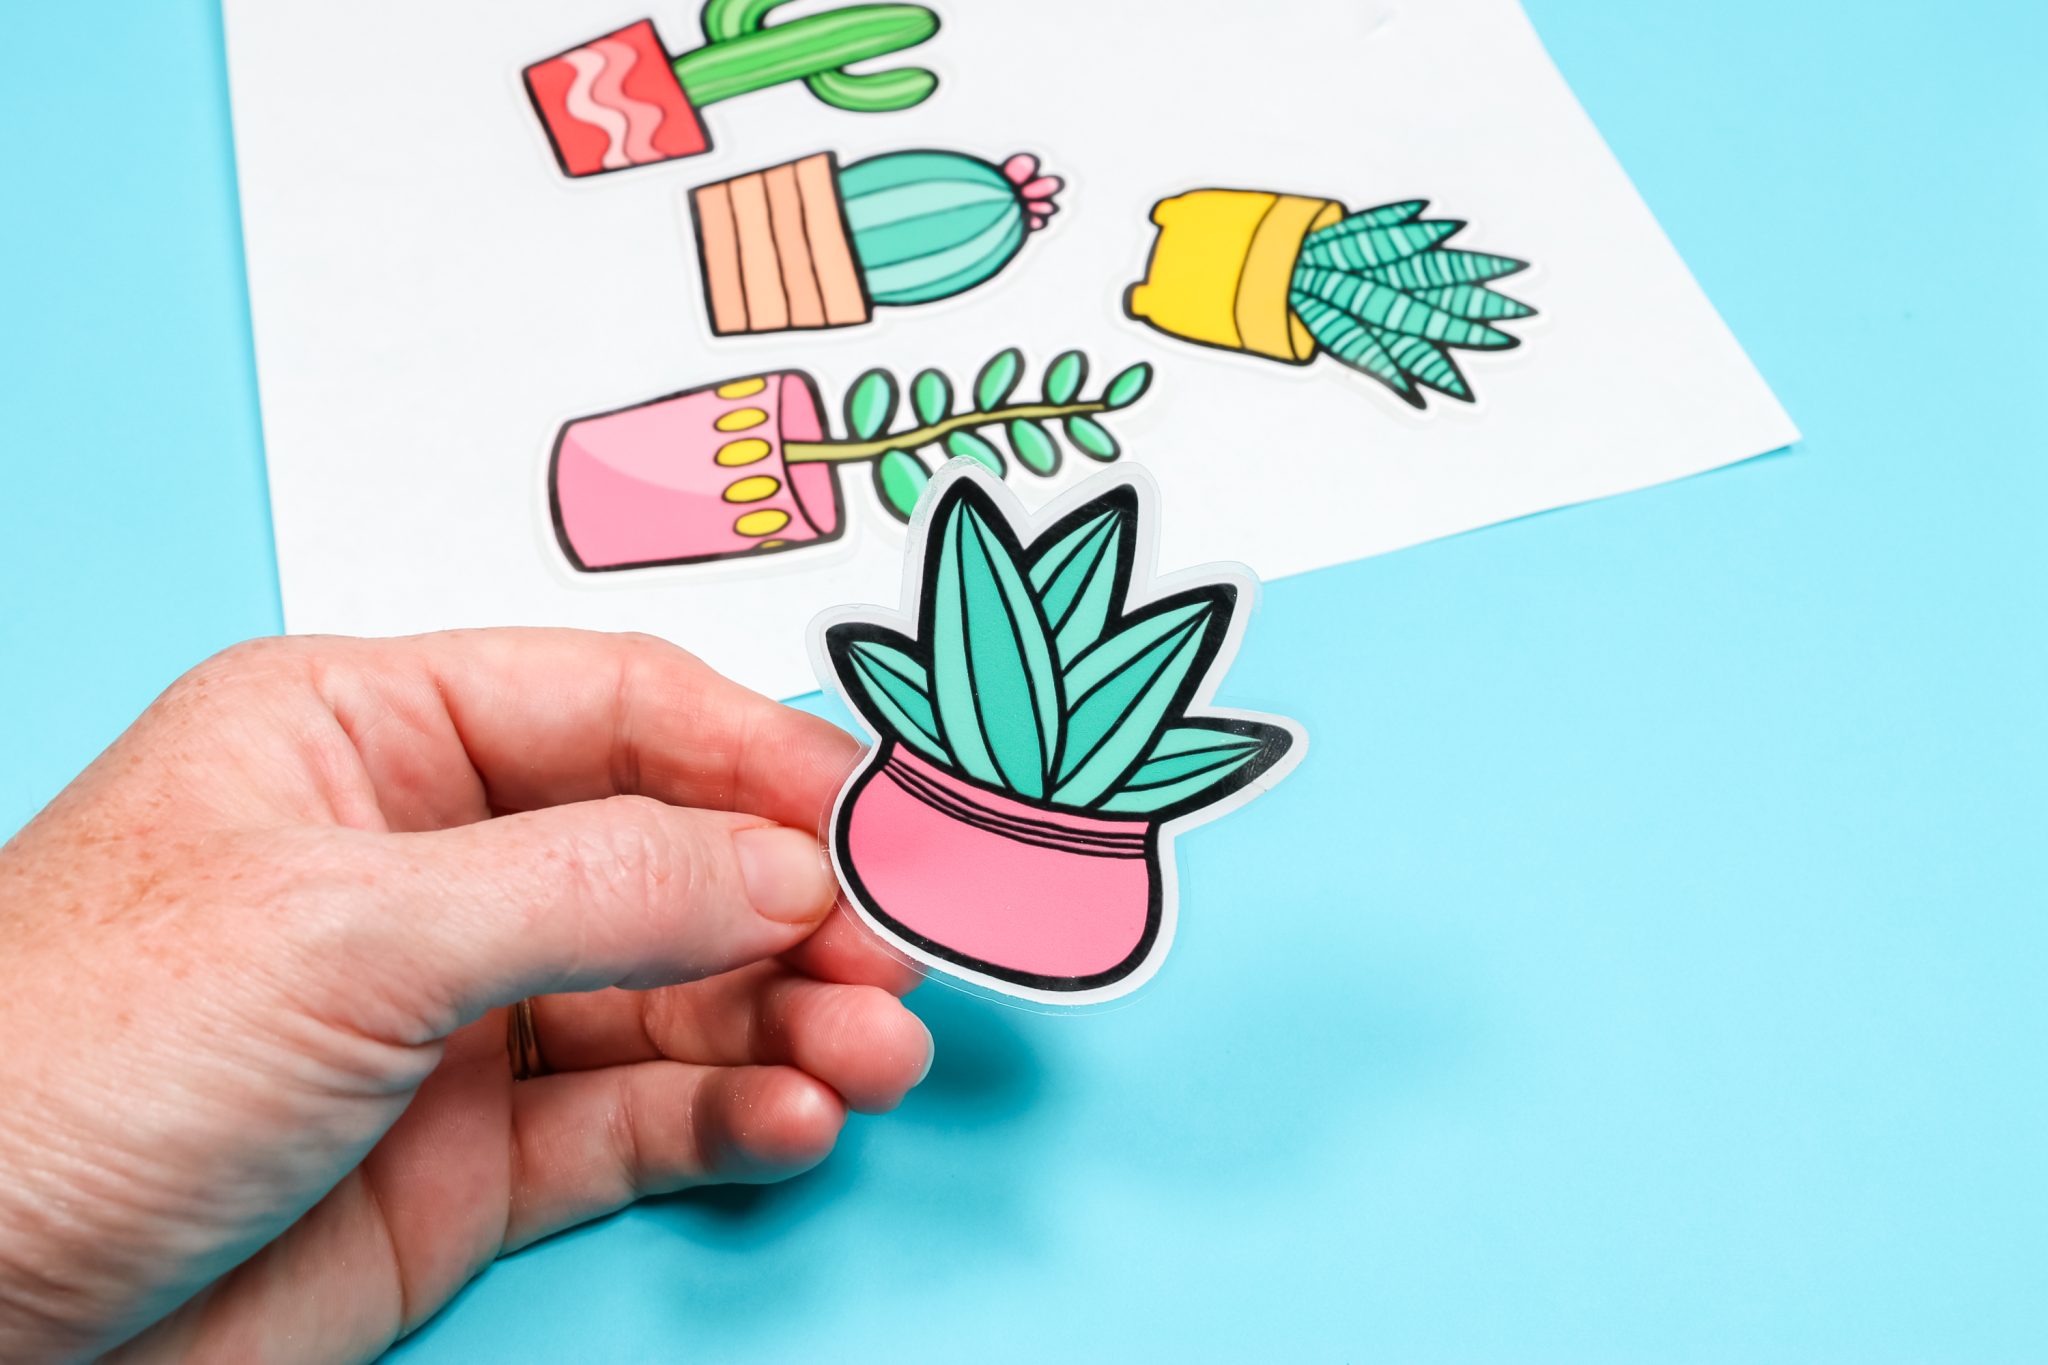
Peel the cut laminate from the backing and put over the correct sticker on your printed sheet. Locate to the center carefully.
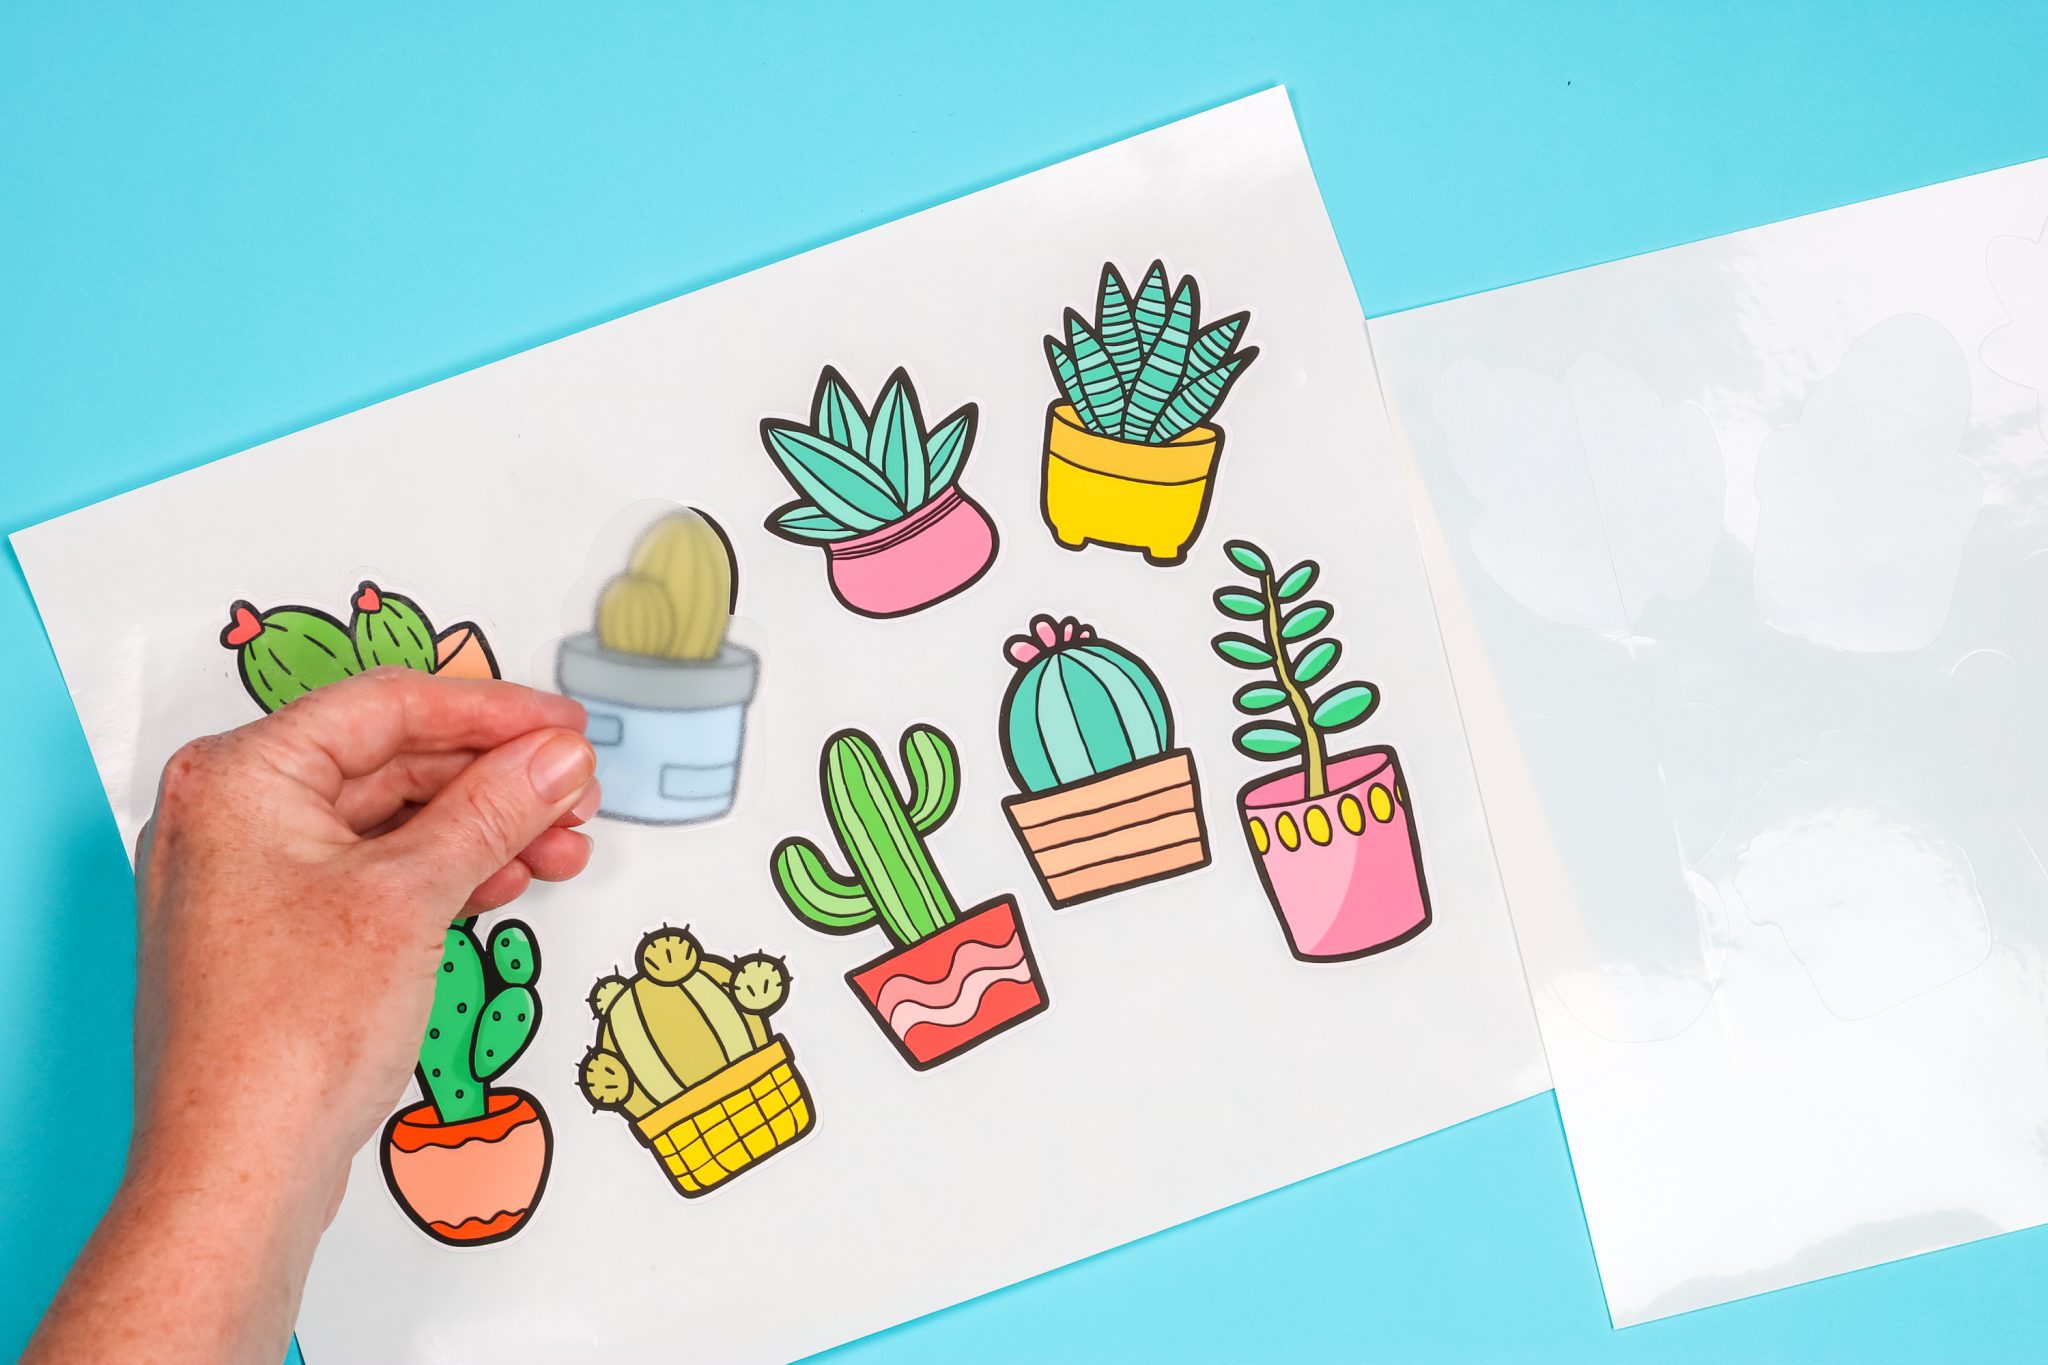
Then press the laminate over the sticker. Be sure to press it down really well.
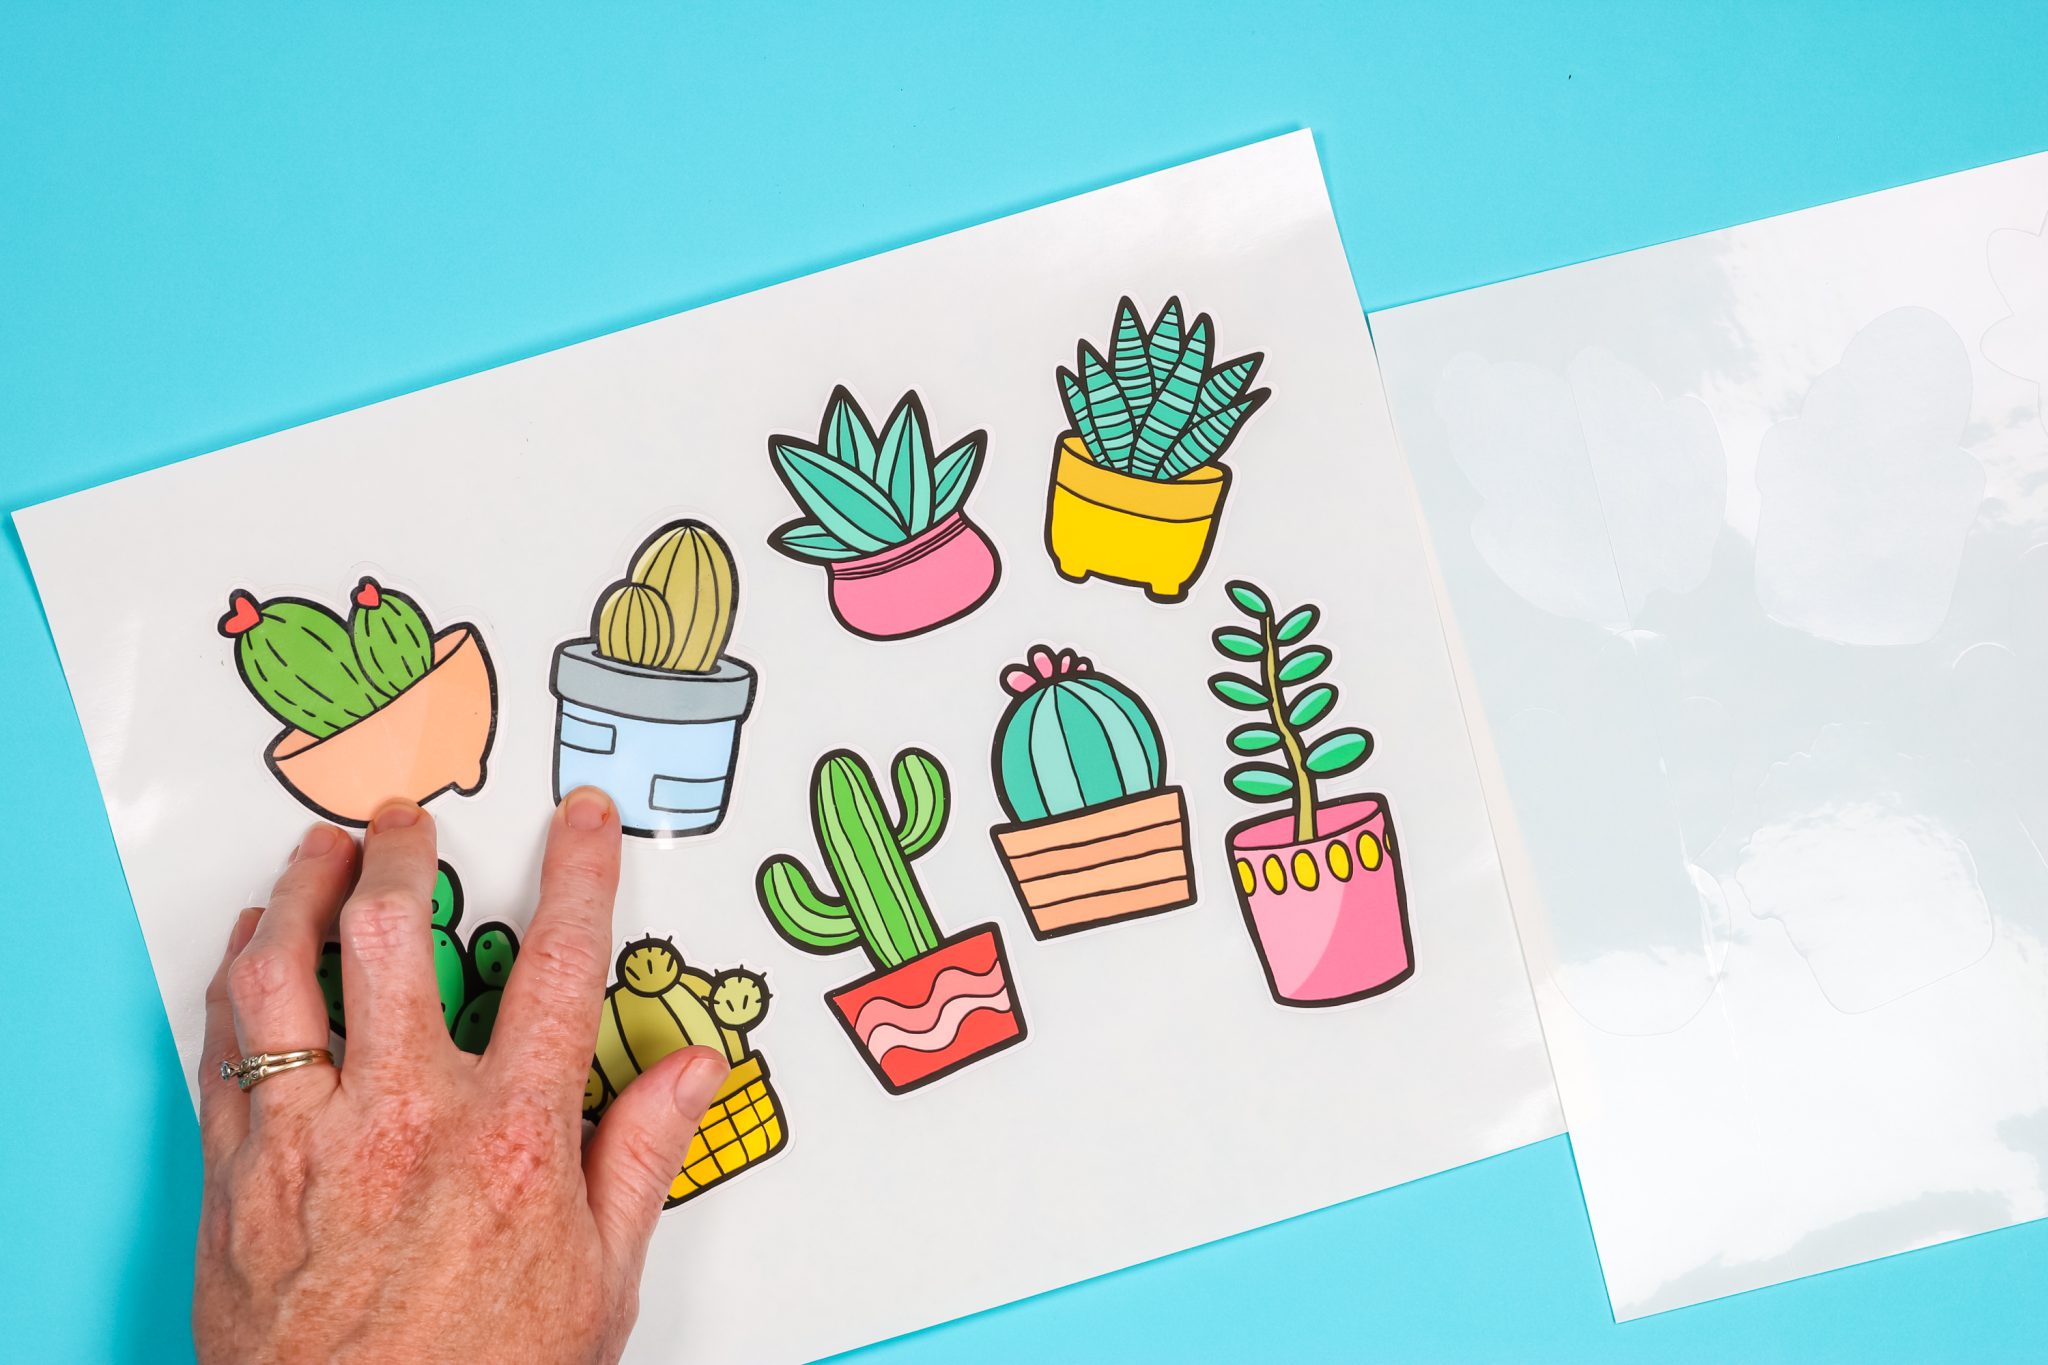
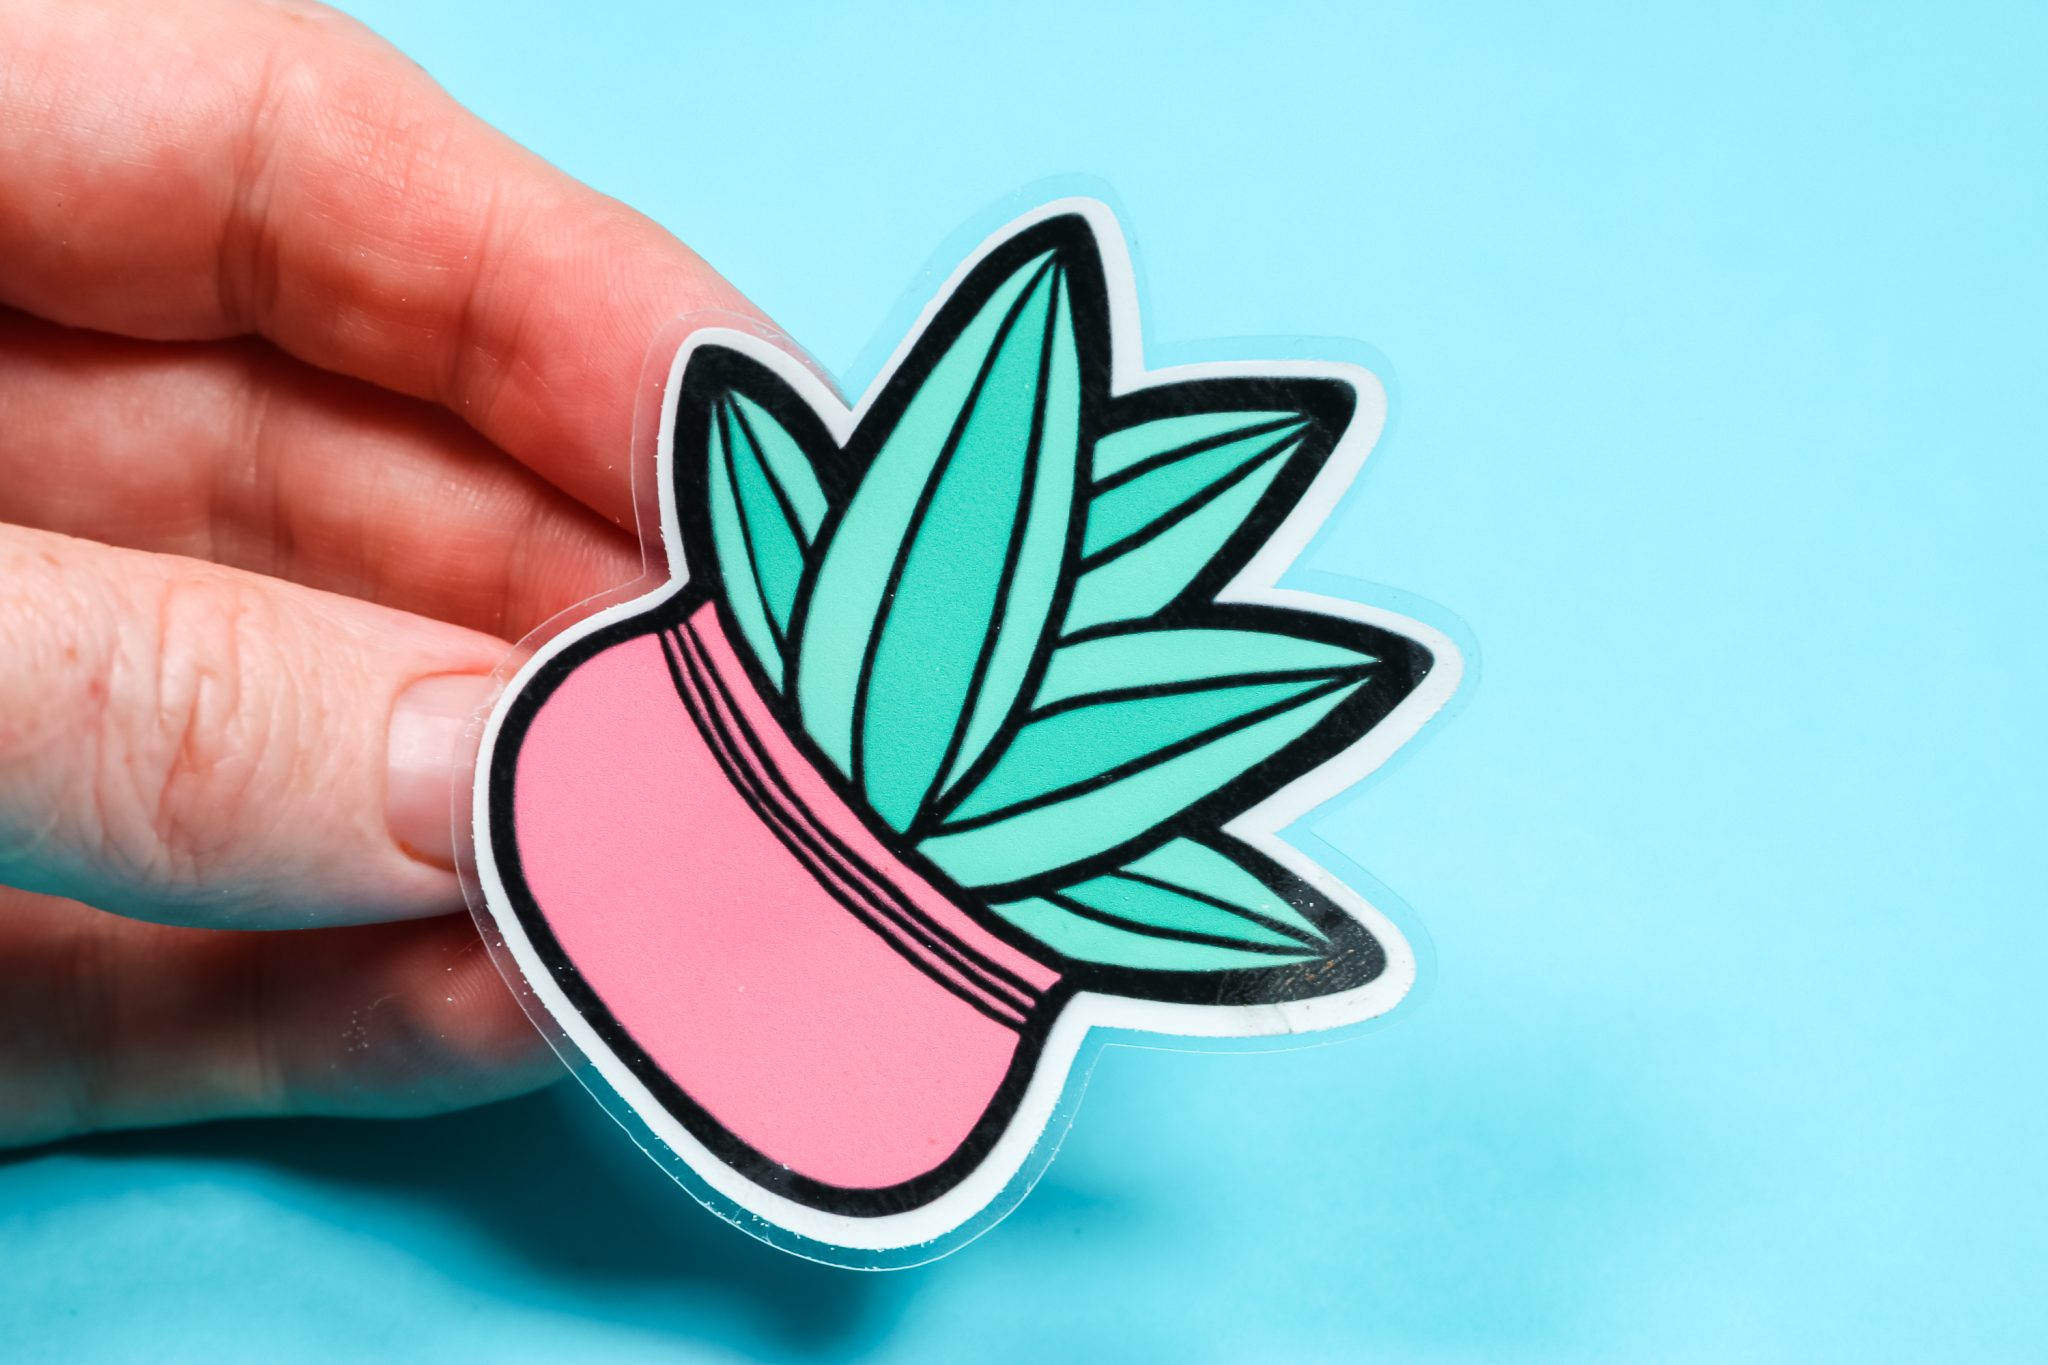
When you go to use the sticker, you will need to peel the laminate and the sticker off of the backing paper and apply both to your surface. Press the laminate around the edge down well to your surface.
Benefits and Drawbacks
As with the previous method, there are both benefits and drawbacks to applying the laminate after you cut your stickers.
- The laminate protects the surface better from water which makes these stickers even more weather resistant.
- Once again, the laminate will protect your stickers from scratches.
- It can be difficult to line up the sticker with the laminate and you may mess some of them up by misaligning the layers.
- These do take longer to make as you have to cut two layers and carefully line them up after cutting.
Which method is best for making Cricut laminate stickers?
So, which of these methods should you use? What is the best way to make Cricut laminate stickers? Let’s discuss your options!
Which sticker paper should you choose?
First, I used two different sticker papers. I used the Online Labels Matte Sticker Paper and the
Online Labels Weatherproof Sticker Paper. I would use the matte for indoor use but the weatherproof version for any outdoor applications or indoor applications that you expect to get wet frequently.
Which laminate application method should you choose?
I choose to apply the laminate before cutting if I just need scratch-resistant with minimal water resistance. That way I can make my stickers faster and still get great results. If you need superior waterproofing, I would choose the application of the laminate after cutting. The offset around the outer edge really will protect those edges and make your sticker last even longer in extreme conditions.
Common Cricut Sticker Issues and Fixes
I know that many of you have issues with print then cut and making stickers with your Cricut machine. Here are a few things you can try:
- Ensure that nothing is covering the black box on your printable sticker paper. That includes the laminate if you apply it before cutting.
- If your sticker paper is glossy, be sure to use some clear tape with a matte finish around the box. This will cut down on the glare and allow your Cricut to see the black box for locating the cuts.
- If you are using an Explore Air 2, be sure your sticker paper is white. This machine cannot cut colored papers when using the print then cut function.
- Be sure to calibrate your machine for print then cut. You may have to calibrate 2 – 3 times to get the cuts correct.
Still having trouble making Cricut stickers?
I highly recommend this sticker course for those of you that are serious about sticker making. You can even use code TCCC10 to save 10%! The course will walk you through issues making Cricut stickers so you have more success and can start creating like a pro!
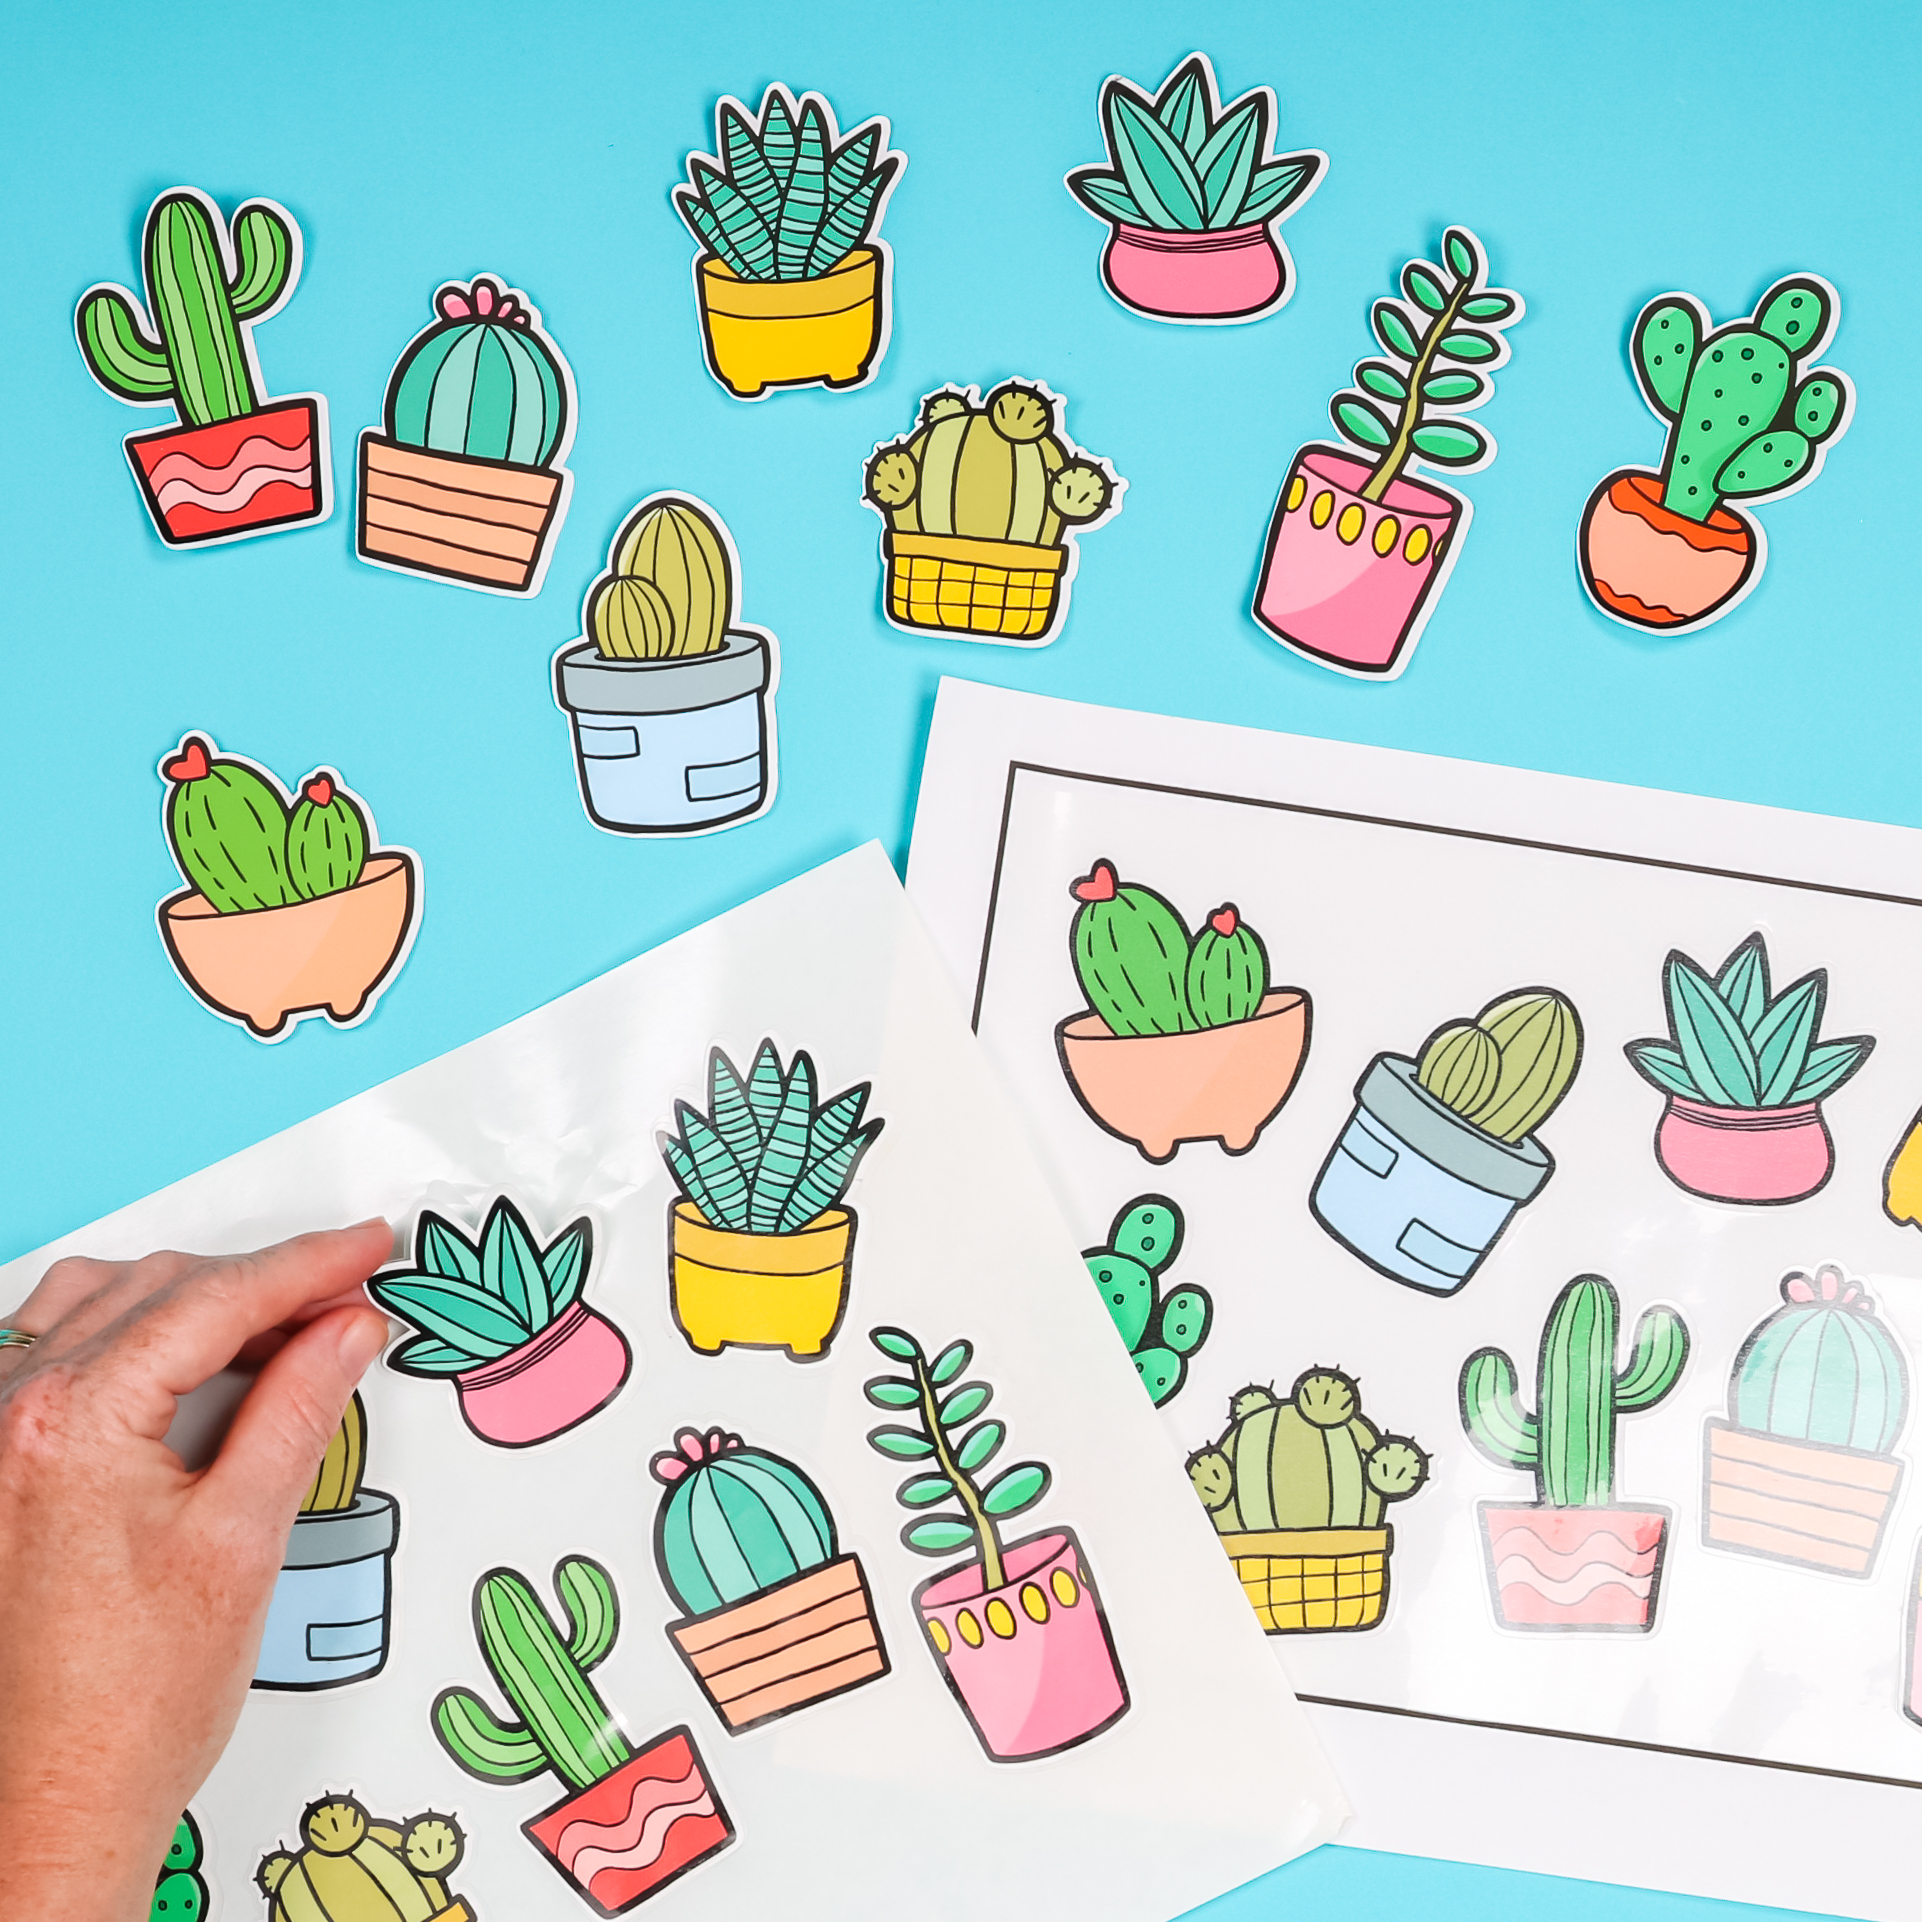
I hope you enjoyed these methods for making Cricut laminate stickers. Be sure to pick up your supplies from Online Labels and get started making your own version of this project today!


Thank you for the information! I just switched to the Cricut Maker (from the Silhouette) is there a way to make die-cut stickers with clear sticker paper? I use online labels also! Trying to come up with a solution.
Yes, you can use clear sticker paper.
So if I want to make stickers for car windows, which is the best process to use?
I’m definitely doing the second method! I always have a hard time applying the laminate sheet over my stickers. The second method will make it easier for me.
I hope it works wonderfully for you!