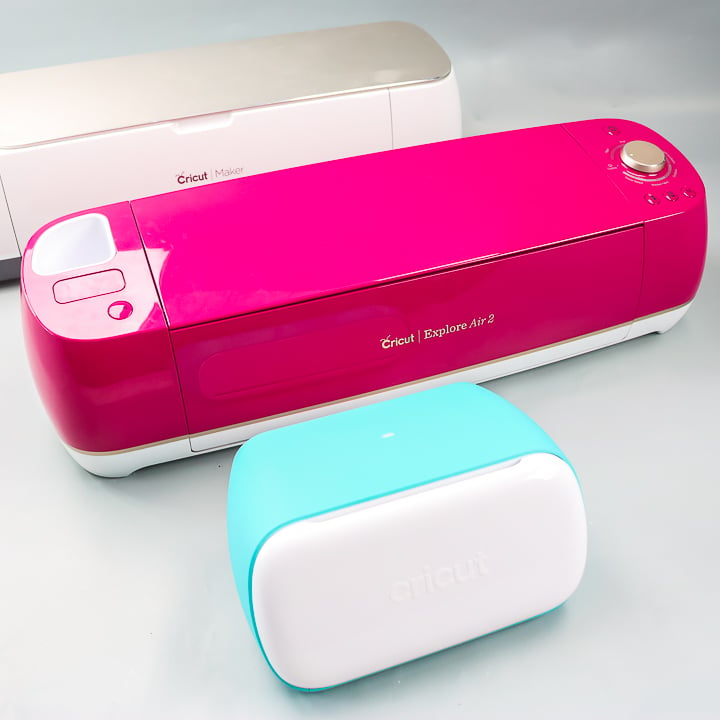
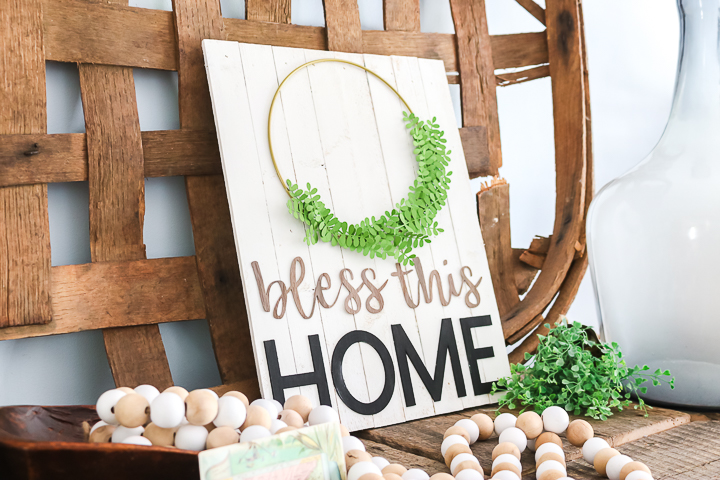
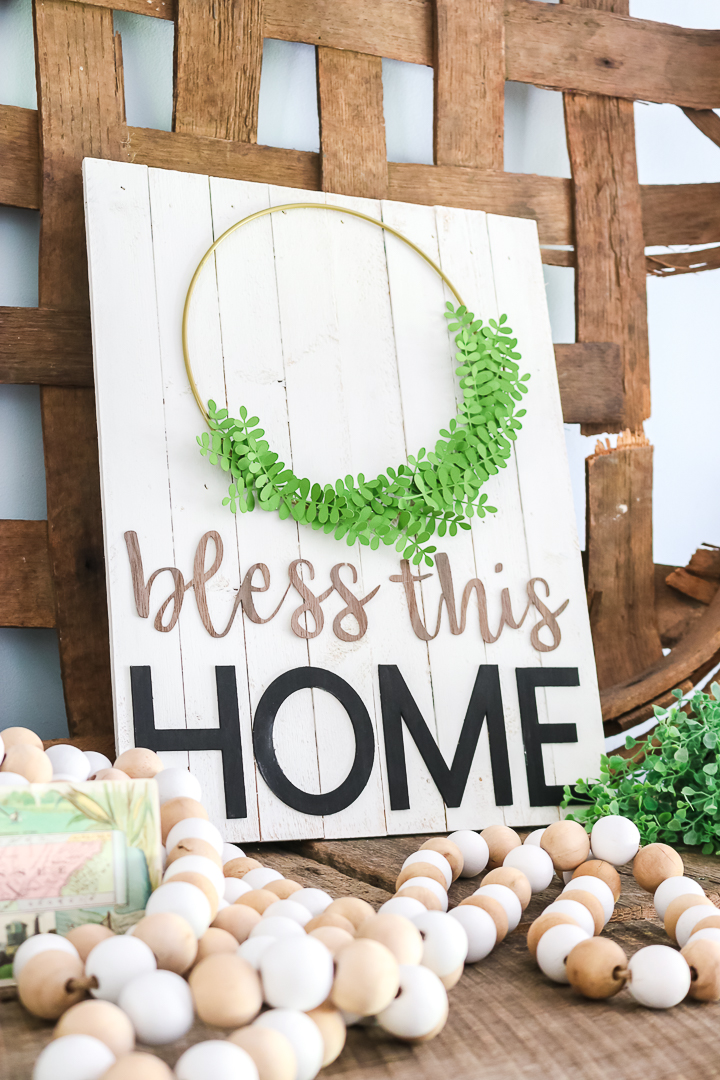
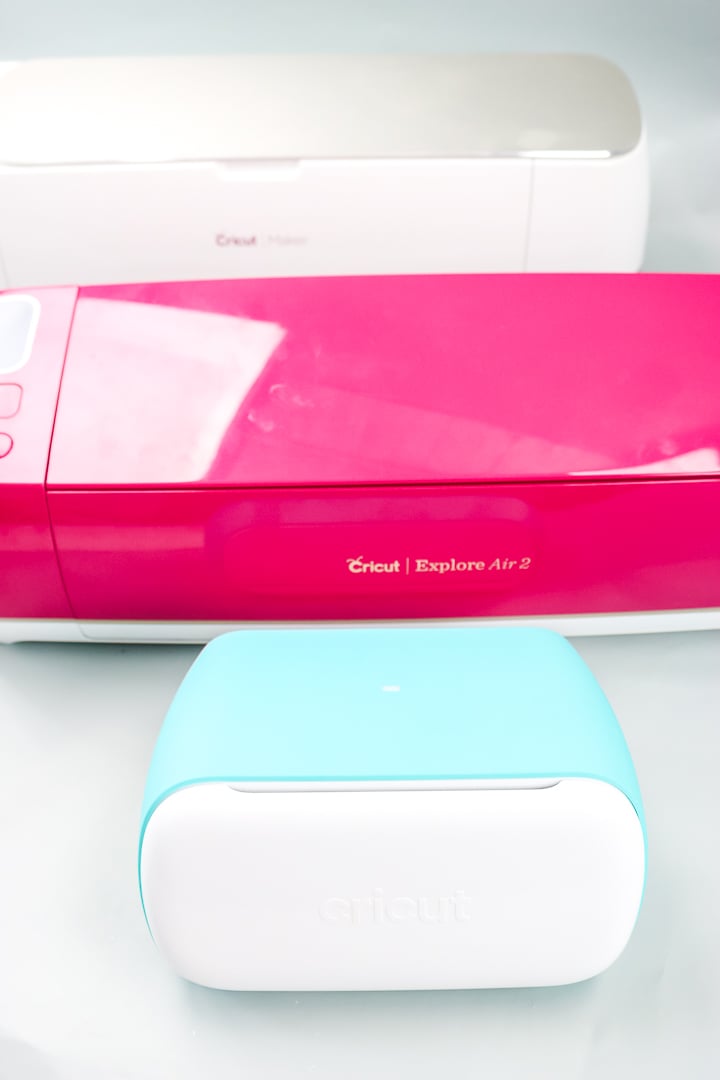
I wanted to do an in-depth Cricut machine comparison for those of you that may be confused about which machine is for you. So, today we are going to talk about the Cricut Maker versus Explore versus Joy. I am going to do that by completing one project with all three machines. We are going to make three components (one with each machine) and add those to a farmhouse style sign. Hopefully, through this process, you can see some of the differences between the machines and decide which you need.
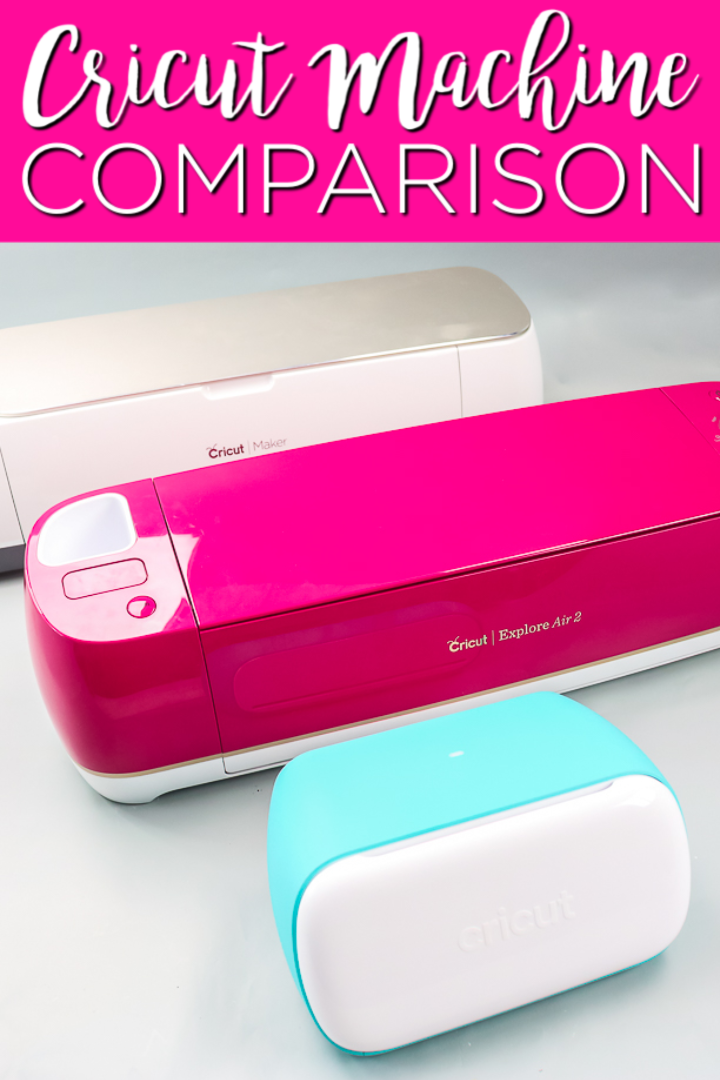
Now, if you have the Cricut Maker, you could absolutely do the whole project below on one machine. If you have the Explore, you could change some of the surfaces and you could make the whole project. With the Cricut Joy, you could change some of the things I’m using as well. This post is to illustrate the differences between the machines, so I am making one component with each one.
Supplies needed:
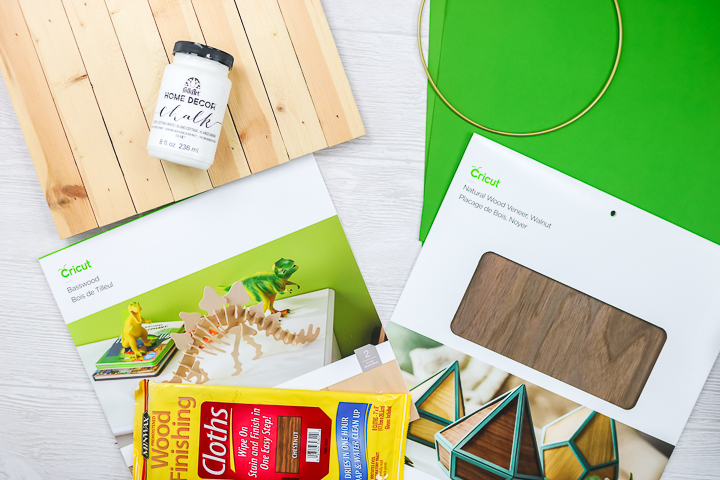
These are the supplies you will need to create the completed sign:
- Pallet sign
- Paint
- Green card stock
- Wire wreath hoop
- Hot glue and glue gun
- Paintbrushes
- Cricut Natural Wood Veneer
- Cricut Basswood
- Stain or paint
- Cricut machine (see notes about which machine will cut which materials)
- Adhesive
- Cricut cut file (go to my Cricut Design Space profile and scroll to “Bless the Home sign”)
Cricut Maker Vs. Explore Vs. Joy
Want to watch a video with all of the information you need to make a decision on which machine to buy? I have a great video with my Cricut machine comparison that you can watch below.
Can’t watch the video or missed some of the information? I am also sharing everything below.
Cricut Joy
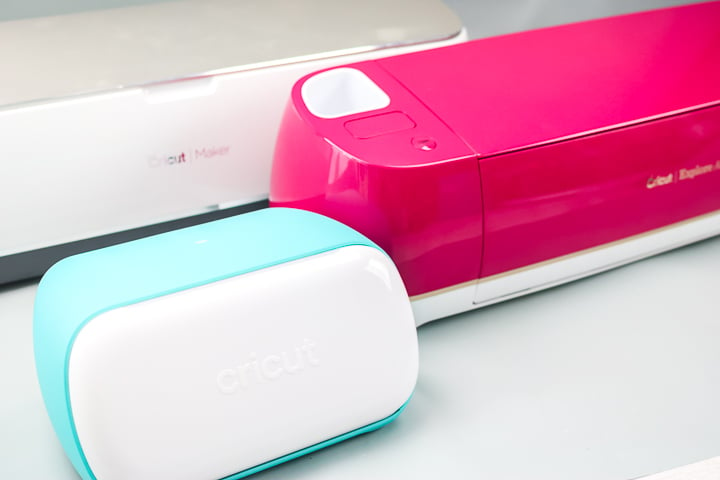
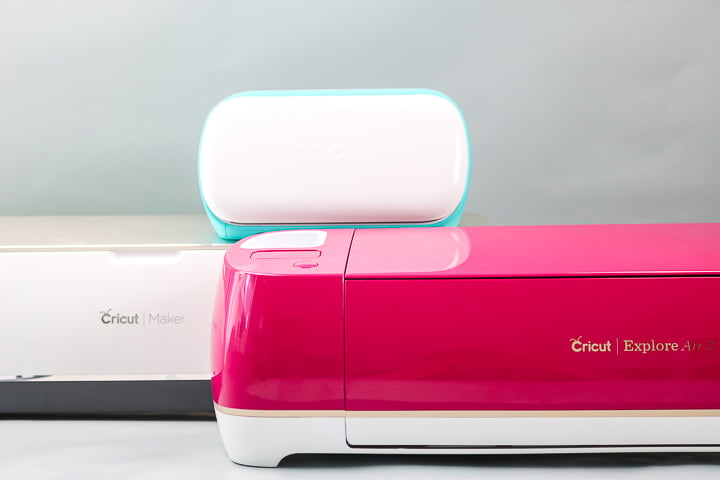
We are going to start with Joy. I like to call this one mighty but mini. The first thing you will notice is the size. The size of the Cricut Joy is much, much smaller than the size of the Cricut Maker or the Cricut Explore. The Maker and the Explore are basically the same size. The Joy, however, as you might be able to tell, is significantly smaller.
So the very first thing I tell people when they are thinking about which Cricut machine they want to buy is if space is a constraint, the Joy is definitely something you wanna consider. If space isn’t a constraint, then you can pick and choose between all three machines, but the Joy might still be for you.
Wreath with the Cricut Joy
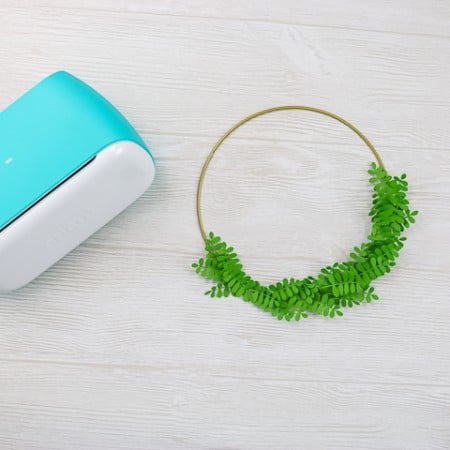
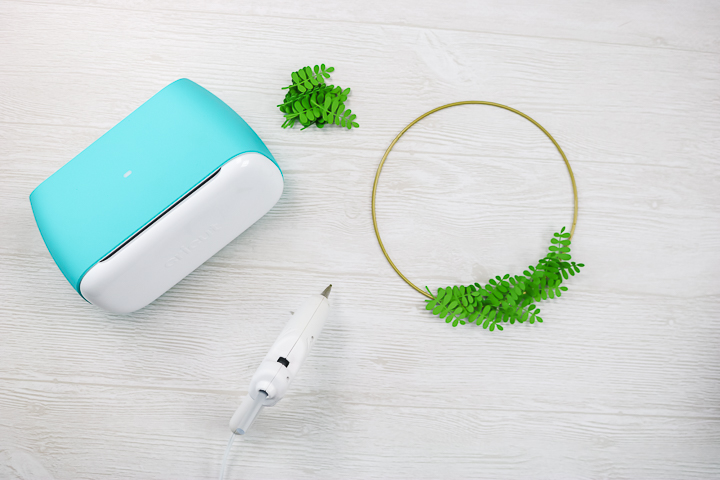
With the Cricut Joy, I am going to make a paper wreath. You can actually make this small wreath with just one sheet of paper and your wire wreath form. Follow the instructions below to assemble your wreath and learn a little more about the Cricut Joy.
Supplies
- Green card stock one sheet
- Cricut Joy or any other Cricut machine
- Cricut Joy mat
- Hot glue and glue gun
- Wire wreath form
- Scissors or paper cutter
Instructions
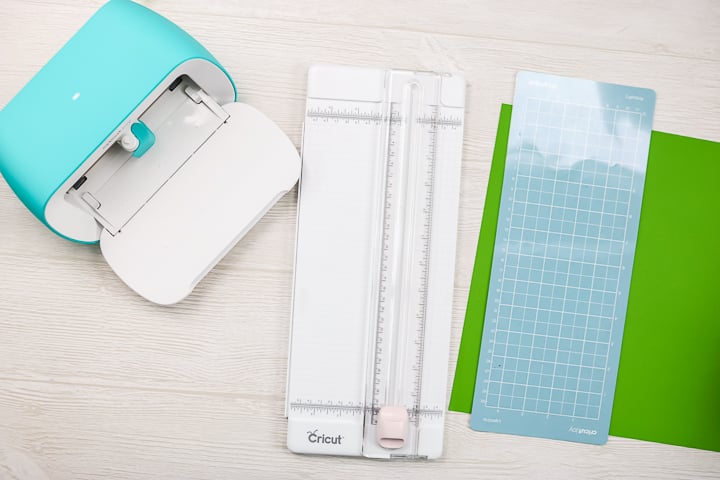
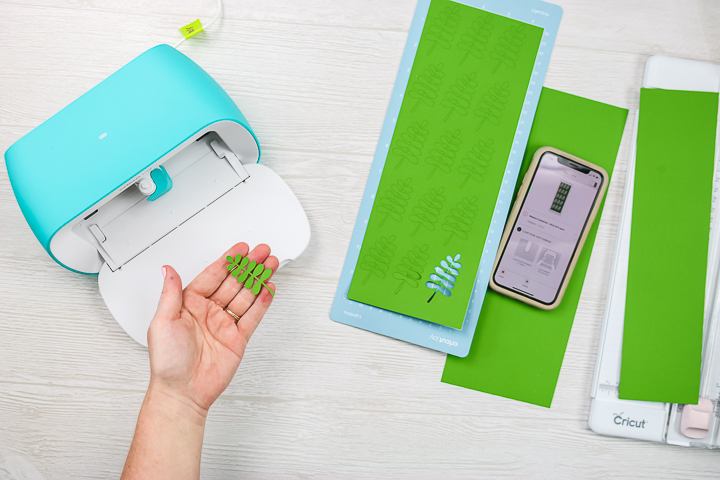
- Cut the paper into strips that are 4 1/2 inches wide and that will fit onto the mat. I used two pieces and cut 30 leaves. The Joy itself can cut small items obviously so we had to trim our 12 by 12 paper because the maximum size on a mat is 4 1/2 by 12. Now, the Joy can cut mat-less as well. Things like vinyl and iron-on can be cut out of long rolls. You can cut up to 4 1/2 feet of a single design or 20 feet of a repeating design. So you can definitely get long projects out of a very small machine. However, if you're going to cut paper, you're limited to the 4 1/2 by 12.
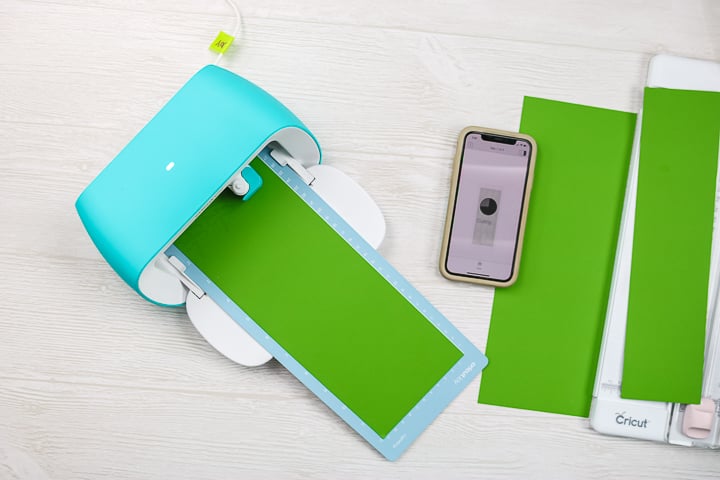
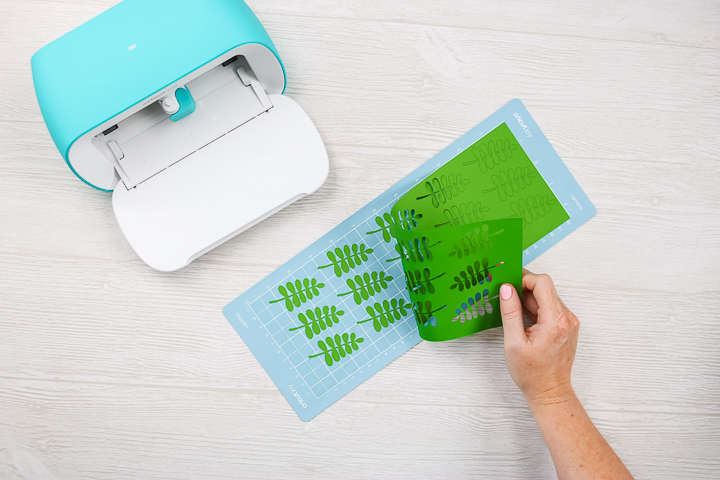
- The fine point blade is the only blade that comes with the Cricut Joy, so it is for thinner materials. Things like paper, iron-on, vinyl, that type of thing, but these materials are super common when you're making projects so the Joy might be the only machine you need. The Joy actually doesn't have any buttons and you use the app for all of your functions. Just set the material type and then, once this light is flashing, load your material. The great thing about Joy is you just start sticking the material into the machine and it pulls it in for you. The other great thing is it measures the material for you so you don't have to worry if you don't have enough or not. And then, when it's done with all that, right in the app it asks you to press go to start. I cut two sheets of these leaves for the 8-inch wreath that I made. You can cut more or fewer depending on the size you are making and how full you want it to be.
- Once the cut is complete, it'll prompt you to unload right in the app or try again where you can cut over the same area again. Then each of thee leaves need to be removed from the mat.
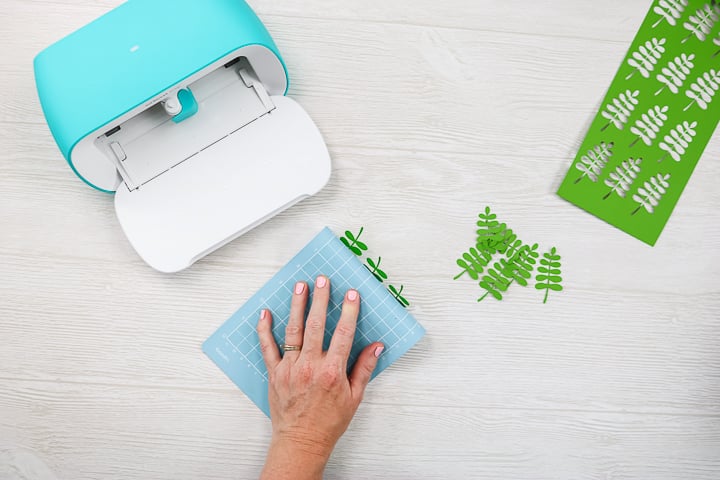
- I like to remove all of the scrap areas first and discard them.
- Then you can flip the entire thing over and bend the mat back to remove the leaves. These are pretty delicate and you don't want to rip them as you take them off.
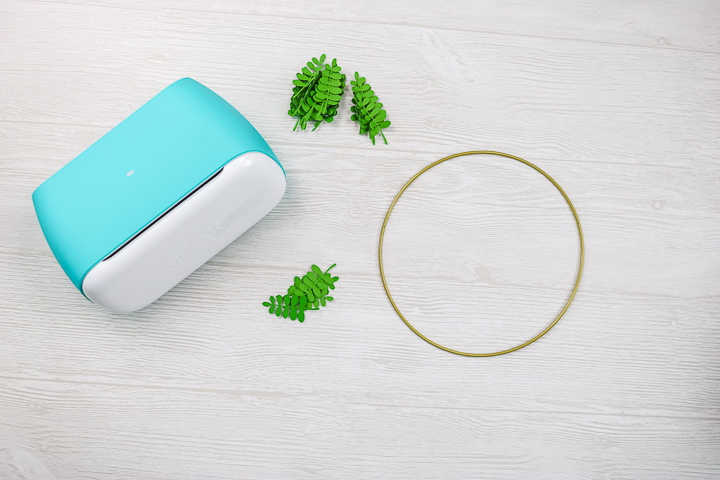
- Then you want to take each leaf and sort of bend them up towards the center. This just creates more of a 3D effect when they're actually on the wreath. Just slightly bend the leaves up on both sides.
- Then take a hot glue gun and just glue each of the leaves into place. Use a tiny dot of glue for each to connect it to the wire and you want it to slightly hang off. You can fill as little or as much of this wreath up as you want.
- So there is our finished wreath all with Cricut Joy. So that was our first project all with the Cricut Joy. So you could make this wreath in any size you wanted to, right? So just because the Cricut Joy is small doesn't mean you have to make small projects with it. So it cuts simple materials, think of it that way. Simple machine, simple materials. Super simple machine, super simple design, one blade, you just like put the material in and it feeds it in for you, very intuitive, Cricut Design Space walks you through everything, but even though that mat is super small, we can make big projects with it, right? So we can divide things up, make tons of these leaves, make a full wreath as big as we want to. We could make vinyl that I talked about, up to 4 1/2 feet for a single design or 20 feet repeating, so huge signs you could make with the small, simple, Cricut Joy.
This is what 30 leaves look like on an eight-inch wire wreath form. So if you’re making an eight-inch wreath and you want the whole thing to be filled up then I would recommend doubling the leaves so it would be 60 leaves. If you want fewer, you could cut fewer. If you have smaller or larger wreath you might have to play with the amount.
You could literally make this wreath in any size you wanted to. So just because the Cricut Joy is small doesn’t mean you have to make small projects with it. The Joy is a simple machine that cuts simple materials that is very intuitive to use. However, even though that mat is super small, you can make big projects with it. You can divide larger projects up into smaller pieces and I talked about those matless cuts up to 4 1/2 feet for a single design or 20 feet repeating. That means you can make huge signs with the small, simple, Cricut Joy.
Cricut Explore Air 2
Now, if you’re that person that wants to step up a little bit, the Cricut Joy is great, but you may want to look into the Cricut Explore Series. Now, everything that the Cricut Joy can make the Cricut Explore can make except for those long cuts. The Cricut Explore Series always needs a mat. The largest mat is 12 by 24. That means the cutting size is about 11 1/2 inches by 23 1/2 inches, so that’s your cutting area and that’s what you’re limited to. Now you can do some things like tile those larger projects, but you need to keep that in mind when you’re comparing machines.
With the Cricut Explore Series, you also add print then cut. So you can now print something and then cut it out as a design. It also adds the deep point blade and that’s what we are using today. So the deep point blade opens up a few more materials, more than you can cut with the Joy.
Wood Words with the Cricut Explore Air 2
The material we’re going to cut today with our Cricut Explore Air 2 is actually a wood veneer. It’s a really thin wood product but it adds something amazing to projects like the sign we’re making today. You can see more about cutting wood veneer here. Here we go with our Cricut Explore Air 2 showing you just how to use it and how it can make your crafting so much easier.
Equipment
- Cricut Explore Air 2
Supplies
- Cricut wood veneer walnut
- StrongGrip mat
- Brayer
- Deep point blade
- Masking tape
- Tweezers
Instructions
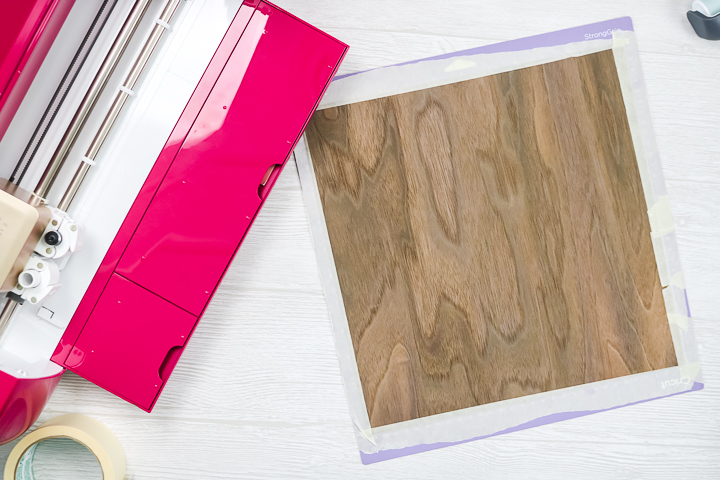
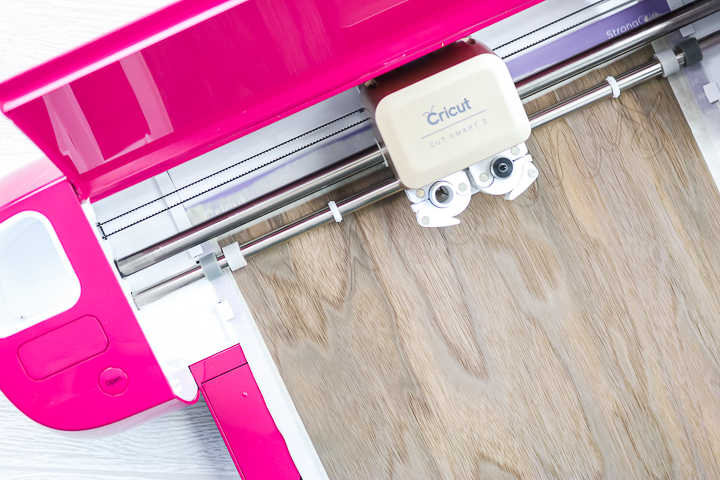
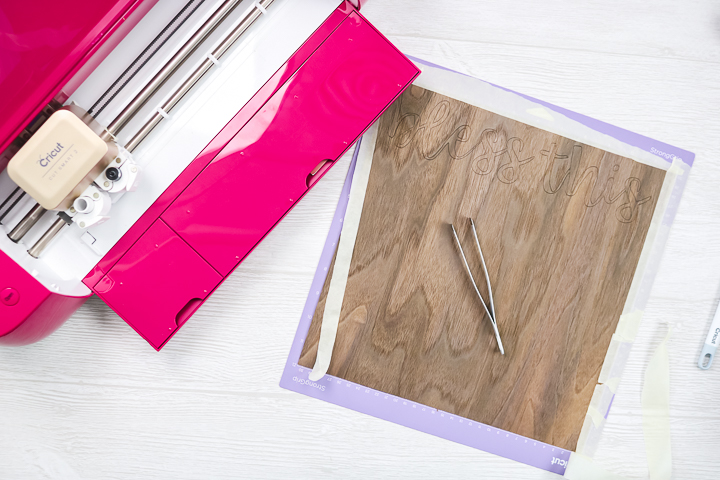
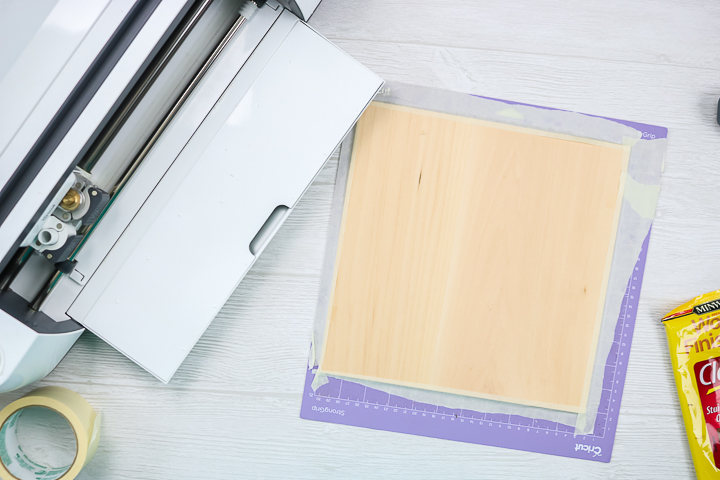
- Add one sheet of the wood veneer to the StrongGrip Mat. Roll the brayer over the surface to make sure that this is down really well on the mat. As extra insurance, add masking tape all the way around the outside edge.
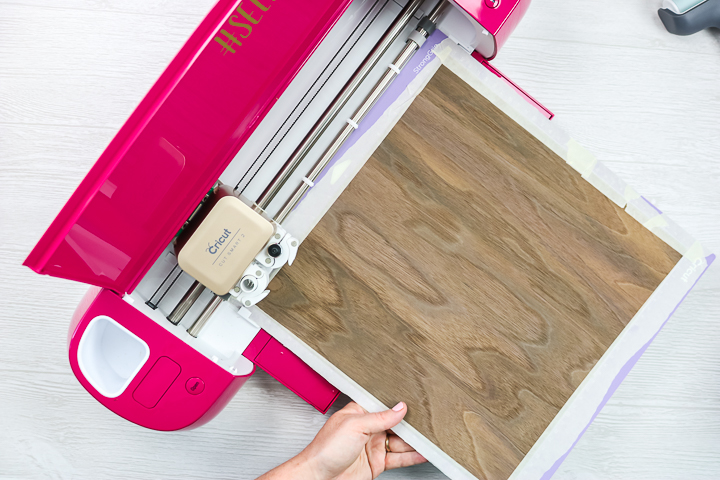
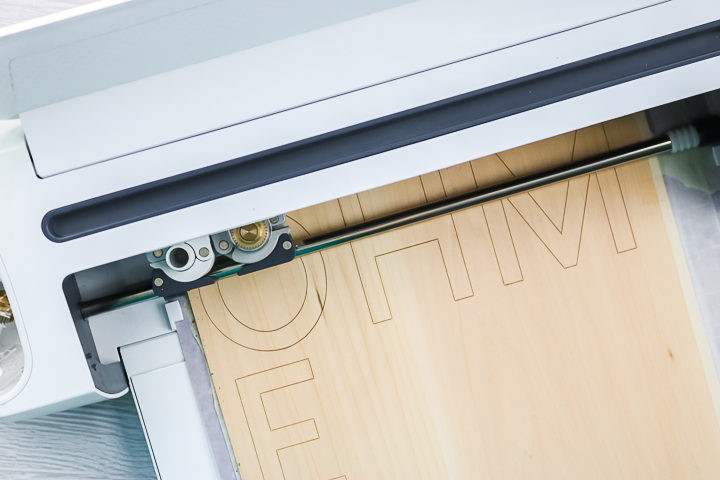
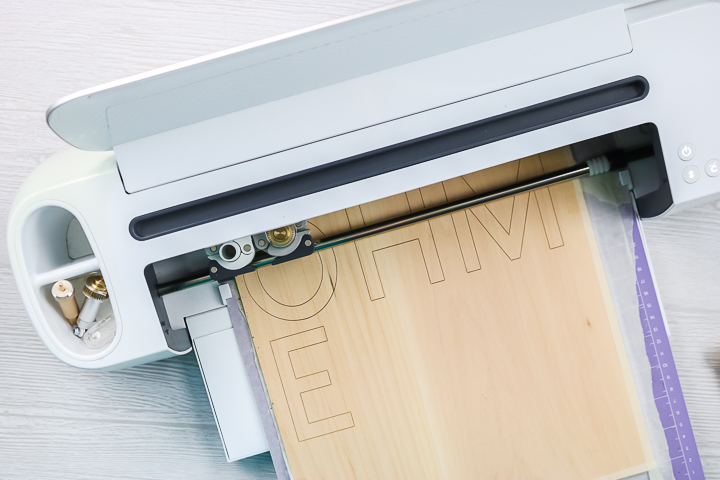
- Set the dial on the Cricut Explore Air 2 to custom and pick natural wood veneer right in Cricut Design Space. Then load the mat with the wood veneer attached. Start your cut. This will take several passes to cut through.
- Once your machine is done cutting, I do recommend making sure this is cut all the way through. Any kind of thick material I usually check before I remove it from the machine. Remove the tape from the sides and gently pull up or use a weeding tool to pull up the edges. If it is not cut all the way through, hit the C button before removing it from the machine. Once cut, remove the mat and material from your machine.
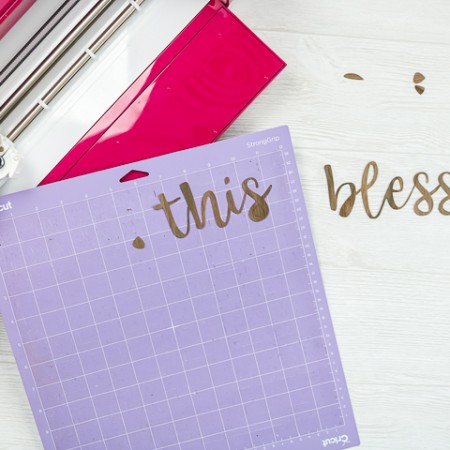
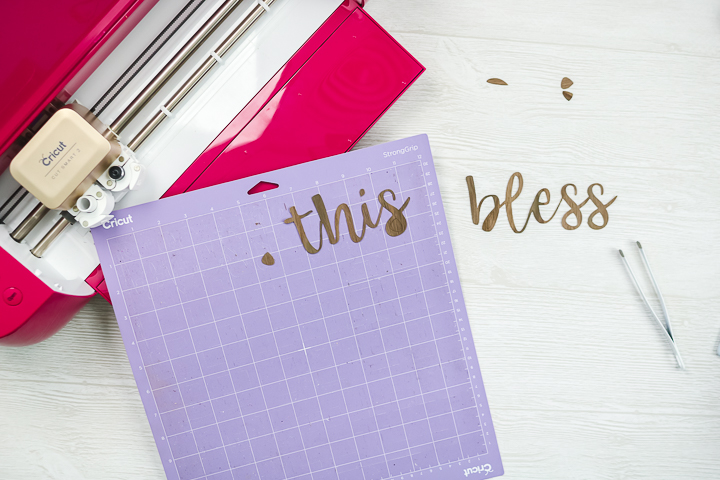
- Then you can remove the tape around the outside edge. Tweezers are recommended to remove the cut pieces. Flip your mat over and start slowly peeling back. You can use the tweezers to get underneath the wood, however, you want to be really careful. This is thin wood and now it's cut into a thin word, so we just don't want to break it. So, for me, the name of the game is going slow here and just slowly peeling the pieces off of the mat.
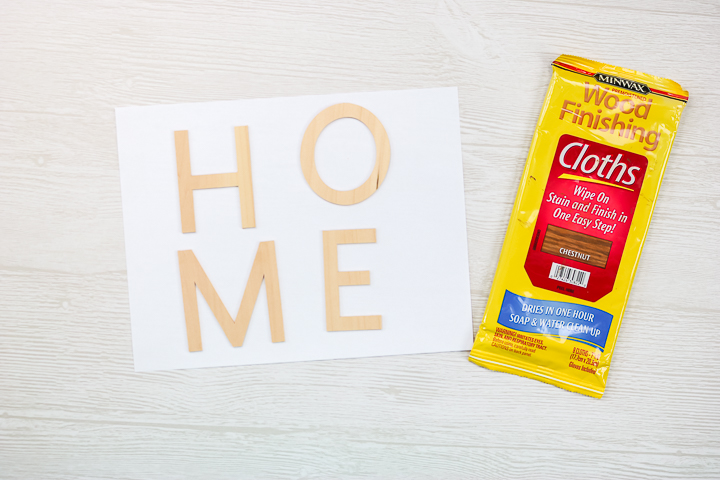
- Remove the words and pop the centers of the letters out of the piece as well. Then you have some finished words cut from wood using your Cricut Explore Air 2.
All right so now we’ve used the Cricut Explore Air 2 and we cut that thin wood veneer into a couple of words and these all go on our sign at the end. Now, maybe you said, yes, I want all of the functionality that Cricut Explore Air 2. I want to be able to use that deep point blade, the print then cut function, and so much more. Maybe you need the Cricut Explore Air 2 in your life. The question now is, do you want to step up to the Cricut Maker?
Cricut Maker
The Cricut Maker steps up from the Cricut Explore Air 2. The Cricut Maker opens up a whole new world. So the Cricut Maker can do everything the Cricut Explore Air 2 can do, which can do everything the Cricut Joy can do, except for those long cuts like we talked about. Again, the Cricut Maker has the same cutting size as the Cricut Explore Air 2, so about 11 1/2 inches by 23 1/2 inches.
The Cricut Maker, however, adds a ton more functionality. It comes with a fine point blade, just like the Explore Air 2 and the Cricut Joy, but it also comes with a rotary blade. The rotary blade cuts fabric without a backing. The Explore Air 2 will only cut fabric that has a backing attached. The Maker can cut just about any fabric. In fact, I’ve not found a fabric it won’t cut with that rotary blade. The blade is just like a miniature version of a rotary cutter that you might use if you like to sew. But it’s mechanical and cuts whatever you tell it to from Cricut Design Space.
Then, you can add tools to the Cricut Maker. You can add things like the knife blade, which allows you to go even deeper than that deep point blade that we just used on the Cricut Explore Air 2. And today, spoiler alert, we are using the knife blade on our project. You can also add things like a perf blade to make perforated cuts. You can add an engraving tip, a deboss tip, a wavy blade, and a scoring wheel. There are tons of different options and tools that you can add to the Maker machine. Plus you can go even thicker and through a whole wide range of materials, many more materials than you can with the Cricut Explore Air 2. So it opens up all those possibilities.
Cutting Basswood with the Cricut Maker
So today we’re going to use the knife blade. You cut that thin wood veneer with the Cricut Explore Air 2, but now we are going to cut thick basswood with the Cricut Maker. So I can show you that knife blade and I can show you that it can cut thicker wood. You can see more about cutting wood with a Cricut here.
Equipment
Supplies
- Knife blade
- Basswood sheets 11 x 11
- StrongGrip Mat
- Masking tape
- Brayer
- Paint
- Paintbrush
Instructions
- Add the basswood to a StrongGrip Mat. Repeat just about the same procedure as we did with the wood veneer. Use the brayer and make sure it's down really well on the mat. Add masking tape all the way around all four edges.
- Add the knife blade to the clamp and move the star wheels all the way to the right. Pull up your project in Cricut Design Space and choose basswood as the material. The cut will take several passes and quite a long time.
- Starting at the halfway mark, I hit the pause button on my machine, pause the cut, and use something like a weeding tool to lift up the edges. If it is cut all the way through, you will want to remove it from the machine. If it is not, allow it to go a few more passes and check again. You don't want the cuts to damage your mat or your machine. If some of the corners are not cut, you can use something like a craft knife to just finish cutting those.
- Once the letters are cut all the way, remove them from the machine and carefully remove them from the mat.
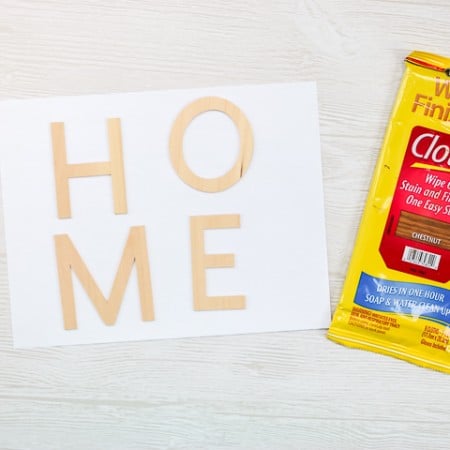
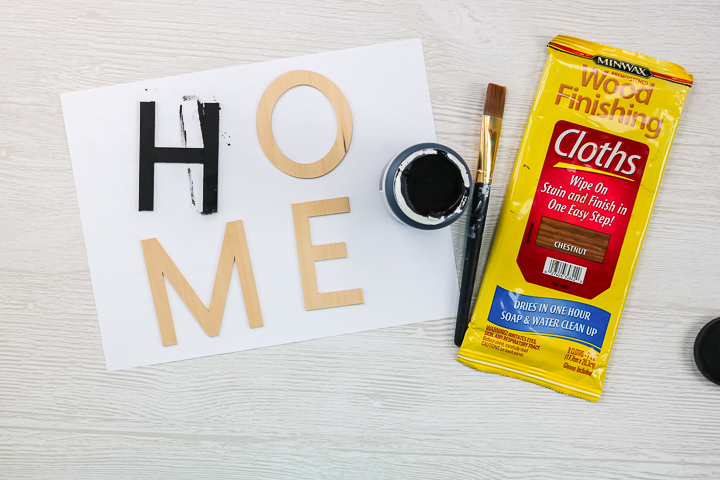
- I painted my letters black, however, you can stain them if you wish. Allow to dry completely before continuing to make your sign.
Any material this thick is going to require the knife blade which you can only use with the Cricut Maker. So it is the only machine that has enough force and depth to be able to do projects like this one. That’s why for me personally, I always need my Maker because I like to experiment with all of these great surfaces.
Farmhouse Style Sign
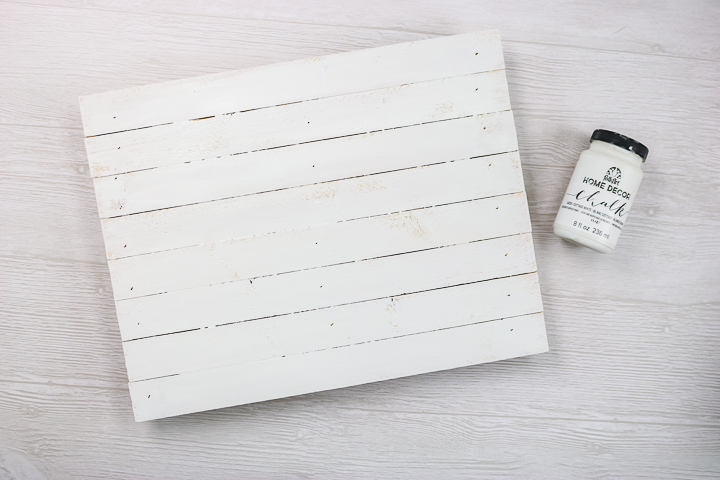
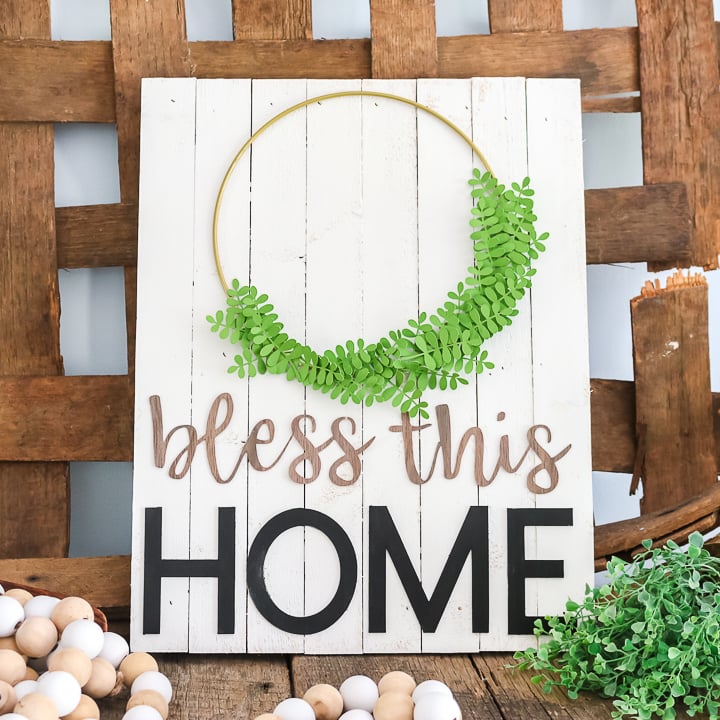
Now we are going to pull all three of these projects together into one cute little sign. Add a coat of paint to the sign itself first. Now I’m going for a rustic look so I added a really light coat so you can even see some of the raw wood through my paint which is the look I’m going for. If you want like a more finished look, you can do a couple of good coats of paint over the top just depending on your style.
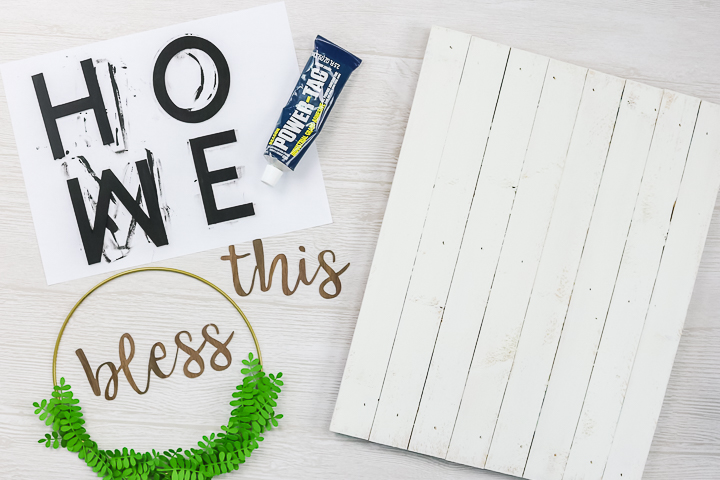
Once the sign is dry, gather your other materials. The Cricut Maker letters painted and dried. The Cricut Joy wreath all ready to hang and the wood veneer cut with the Cricut Explore. I did want to note on the veneer that you want to be sure to keep the dot on that I because you’ll need it for your sign. I’m going to use the Power-Tac for the basswood as well as the wood veneer and I’m actually just going to use my hot glue gun for the wreath itself.
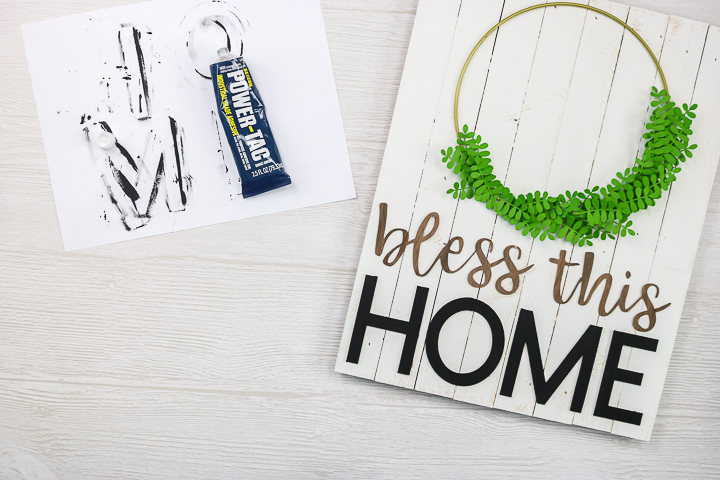
Lay everything on the sign first to get the placement right. Then glue the pieces into place. Allow everything to dry and your sign is done.
Three machines, one project, simply amazing. This project is just for illustration purposes. You could definitely make this entire sign just the way I made with just the Cricut Maker. Perhaps you want to change it up and use wood veneer for the home as well and make the entire thing with the Cricut Explore. You could also use vinyl or some other surface for the bless this home portion and you could make it all with the Cricut Joy.
So don’t think because you have the Cricut Joy, all you could make is the wreath. You could definitely still make yourself a cute sign. I hope this helped you by illustrating the differences between the three Cricut machines and maybe helped you pick your favorite.
Cricut Machine Comparison
I have another video that walks through the differences between the three machines in a little more detail and you can watch it here. I also have tons of information on my YouTube channel about all three machines. If you just want to do a ton of research, I would definitely head on over there, scroll back, start watching some videos and I hope I can help you decide which machine is right for you.
So you read this entire Cricut machine comparison and you still have no clue which machine is for you, drop me a comment below and I will try to help you decide. It really depends on what type of crafter you are and what type of projects you’re going to do. So think about the size of the projects you will make as well as the type of materials you will cut and that will help lead you in the right direction as to which Cricut machine is right for you.
Personally I don’t think you can go wrong. You can start with the Cricut Joy and sort of move your way up. You can start all the way at the Cricut Maker and just jump right in headfirst. Either way, I think that you will love your Cricut and I also think our channel can really help you learn your machine.
All three machines use a program called Cricut Design Space that is free. You can purchase a Cricut Access subscription that will get you some free files and fonts and that type of thing. You can also try our beginner’s series on YouTube that will start helping you learn Cricut Design Space. If you don’t know already, you can download Cricut Design Space for free if you don’t have a Cricut machine. So you can download it and start poking around, understanding how a Cricut works and that might help you decide if you want to start simple with the Cricut Joy, medium with Cricut Explore, or more complicated with the Cricut Maker.
Maybe you are like me. I’m the crafter that likes to dabble in a little bit of everything. The Cricut Maker was the only way to go for me. Now as you can see I have all three but I could not do without my Cricut Maker. So it totally depends on what type of crafter you are and you have to decide that through watching videos like these. I hope this Cricut machine comparison has helped. Please ask any questions you have in the comment section.
New to Cricut?

Sign up for our email list to download the Beginner's Guide to Cricut Design Space for FREE today!
Sign up to get the guide emailed to you!



I am thinking about getting a cricut and I have never used one before. Planning on using it for vinyl decals or cars, mugs, tumblers ect. And also baby onsies with a possible adult t-shirt here and there as I get more comfortable. Do you think the Joy will be good for me?
Yes! It will definitely work for that. For the adult shirts, you may have to divide up your design to work with the 4.5 inch width but that is totally do able.
I have been a part time crafter for a while mainly creating, sewing, or customizing baby clothes for family and friends occaasionly selling online bst sites. Lately I’ve been getting more request for adults and kids shirts, like mommy and me, with custom designs or wording on them, also with bleach or tie dye. I got a few packs of premade iron on letters and designs to apply using an iron. However, they r just so simple and basic u cannot really be creative with ur design just basic block letters of 1 color. I’ve been looking at purchasing a circuit for this purpose but am still uncertain which 1 I need. First, technology & computer stuff easily gets me frustrated so I need something very simple & easy to understand directions but also needs to be able to make bigger designs like circular patterns for adults shirts. For example I seen 1 shirt done for Jalloween using a hocus pocus design. It had a picture of the 3 witches with words circled around the picture. I won’t be starting out doing a design this intricate but hope eventually and do not want to have to buy more than 1 machine. So, to start out with making simple wording designs & maybe simple pictures for adult and kids clothes moving up lately to more detailed designs which machine would work best for a person like me who doesn’t work easily with technology. Lol Also what supplies do I need to go with it? I want to stay with simple heat transfers for now!! Tia
I would go with the Explore in your case. And you can start with the machine and maybe some weeding tools since you will be making shirts.
I am looking for a machine that allows me to cut long vinyl like car decals (maybe 3 to 4 ft long) which perhaps works best using a Joy. At the same time, another feature I am keen on is being able to make larger designs which the Joy cannot handle….
I was wondering if I should get the Explore Air 2 or Explore 3. EA2 seems to have a limitation of cutting only up to 2ft in length…
I was toying with the idea of using a Joy Smart Vinyl to fit on the Explorer. The rational is that I do not want wastage on the other part of the vinyl that is unused. I do not foresee the lettering on the car decal to be more than 4 inches…
Appreciate your advice. Thank you very much!
I would go with the Explore 3 in that case.
Thank you 🙂