Have you ever tried using Cricut magnet sheets? Did you even know that cutting magnets with your Cricut machine was possible? I am actually going to make Cricut magnets in a few different ways for you then you can pick the way that you think will work best for your project. Hopefully, in the end, you will have some cute magnets that you can add to your craft room, refrigerator, or anywhere else around your home!

Cricut Magnet Sheets
Want to watch me make magnets and get all of the tips and tricks you need? Just click play on the video below to watch! You are sure to learn something about making DIY magnets with a Cricut machine.
Can’t watch the video or missed some of the steps? You can also follow along below!
Supplies Needed
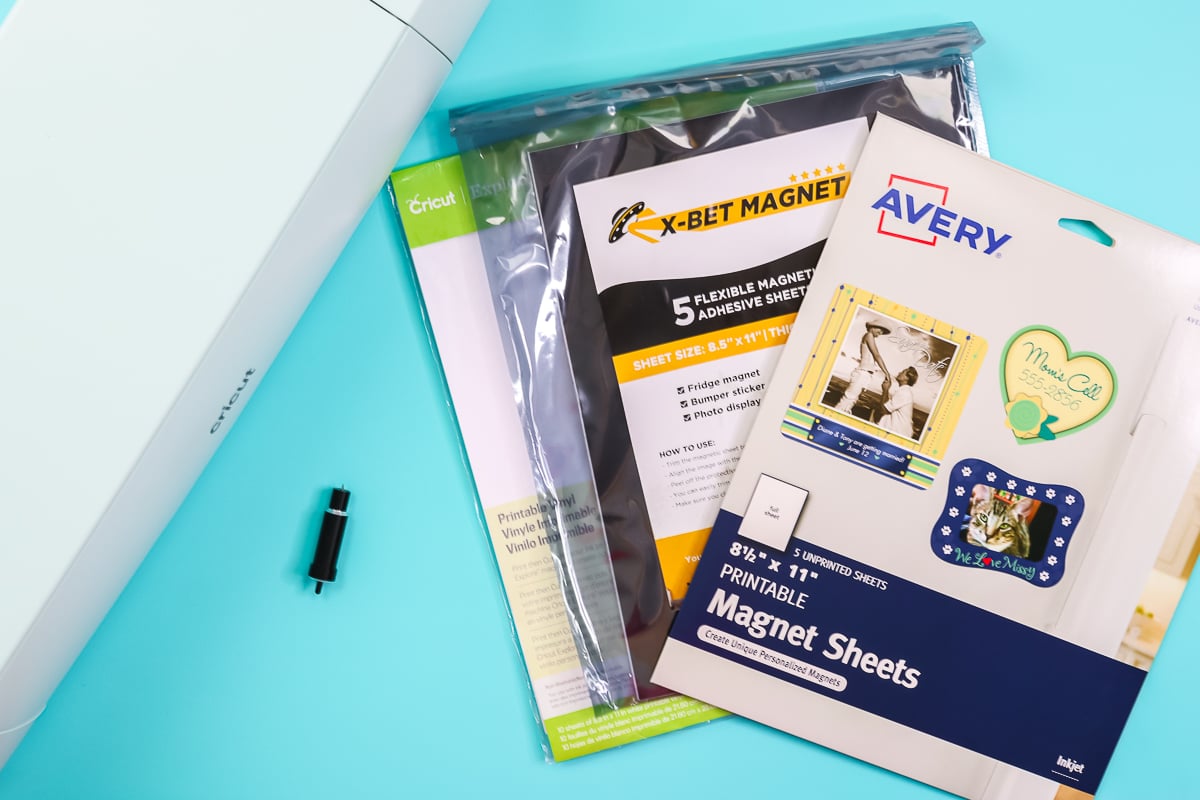
- Cricut machine (I’m going to use a Cricut Explore 3, but you can use any machine that will take the deep point blade. That includes all the Explore machines, as well as all the Maker machines.)
- Deep point blade
- Strong grip mat
- Printable Magnetic Sheet
- Adhesive Magnetic Sheet
- Printable Vinyl (only if using the adhesive magnetic sheets)
- Brayer
- Printer
- File used for stickers shown
Adding Design to Design Space
Let’s talk about how to get your images into Cricut Design Space. I have a brief description below of the process.
- Click “upload”, then “upload image”, and then you would click “browse” and find your image on your computer.
- Once you find that, you will have an option for simple, moderately complex, or complex. I generally pick complex just as a general rule and click “continue”.
- You will want to make sure that the background is checked. You can do that by clicking the background, or it may already be checked depending on the file type that you upload. You will want to zoom out and make sure everything looks correct on your screen.
- Click “continue” then click “print then cut image”, and then click “upload”.
- Find the image you uploaded and click “insert image”.
- Once the image is on your canvas, you will need to resize so that it’s the correct size for print then cut. Remember the maximum size for print then cut is 6.75 inches by 9.25 inches.
If you are using the printable magnetic sheets option, you only need the printed copy. You don’t need anything else. If you are going to use the printable vinyl option, I have two different ways I am going to show you how to cut the sheets. For one of those, you will need another copy to cut. To do that, we just make a copy. Pull down and click “cut” instead of “print then cut”. Now you have an exact copy that will be cut out of the adhesive magnetic sheets instead of the print then cut copy. Please watch the video above if any of the Design Space steps are confusing.
Magnetic Sheet Options for a Cricut
We’re going to make our magnets three different ways, so you’ll have a couple of different options. You can then pick and choose which works best for the project you have in mind. I will also cover which is my favorite at the bottom of this post.
Adding to the Mat
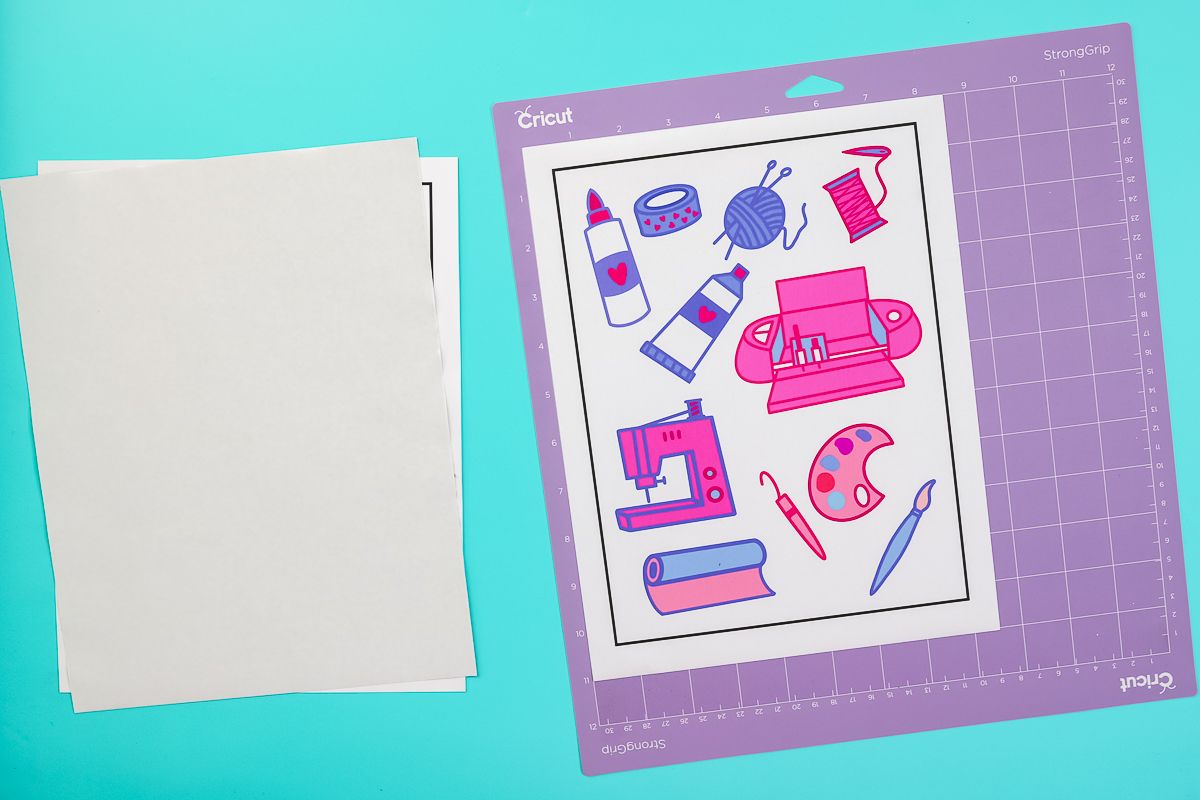
For each of the magnetic sheets, we’re going to put them down on a strong grip mat and press down really well. For the adhesive vinyl, you can put that on a blue light grip mat and it will cut fine. I’m going to use the magnetic sheet 0.5 millimeter setting for cutting both of these magnetic sheets. There’s also a magnetic sheet 1.0 millimeter setting. If you have a thicker magnetic sheet, you can try that as well.
Cutting Printable Magnet Sheets
The first method is these printable magnetic sheets. If you use these, you only need the magnetic sheets, your Cricut machine, deep point blade, and, of course, a printer. Run the magnetic sheet through your printer printing on the white side. You always want to pick best quality printer settings and choose a matte paper setting when you’re printing on material like this.
I’ve added my deep point blade into my Cricut Explore 3. I like to go ahead and move the star wheels all the way to the right when I’m cutting anything that it might imprint on. Load the mat with the magnetic sheet attached and press the “go” button for the machine to start cutting.
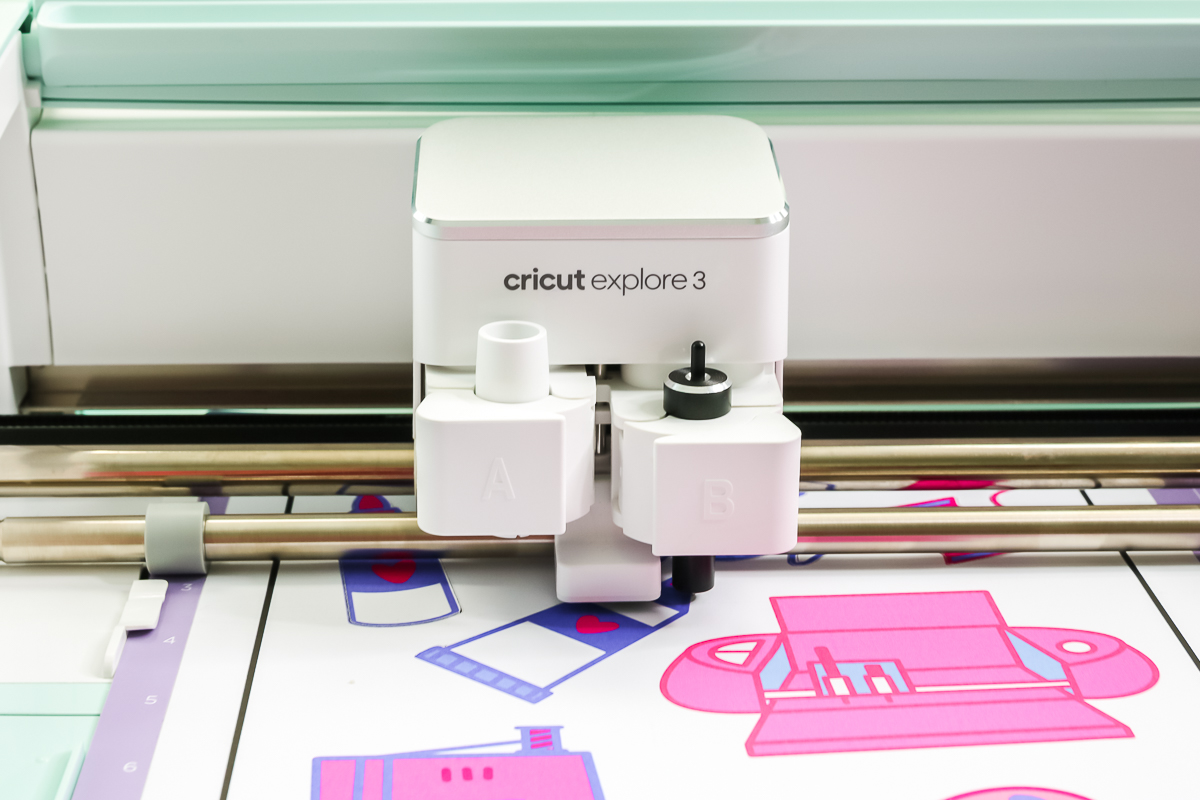
When the machine is done cutting, you can check to make sure it’s cut all the way through before you even remove it from the machine. If they are cut through, remove the mat from the machine and start removing the scrap magnet sheet. These Cricut magnet sheets are really easy to print on and easy to cut.
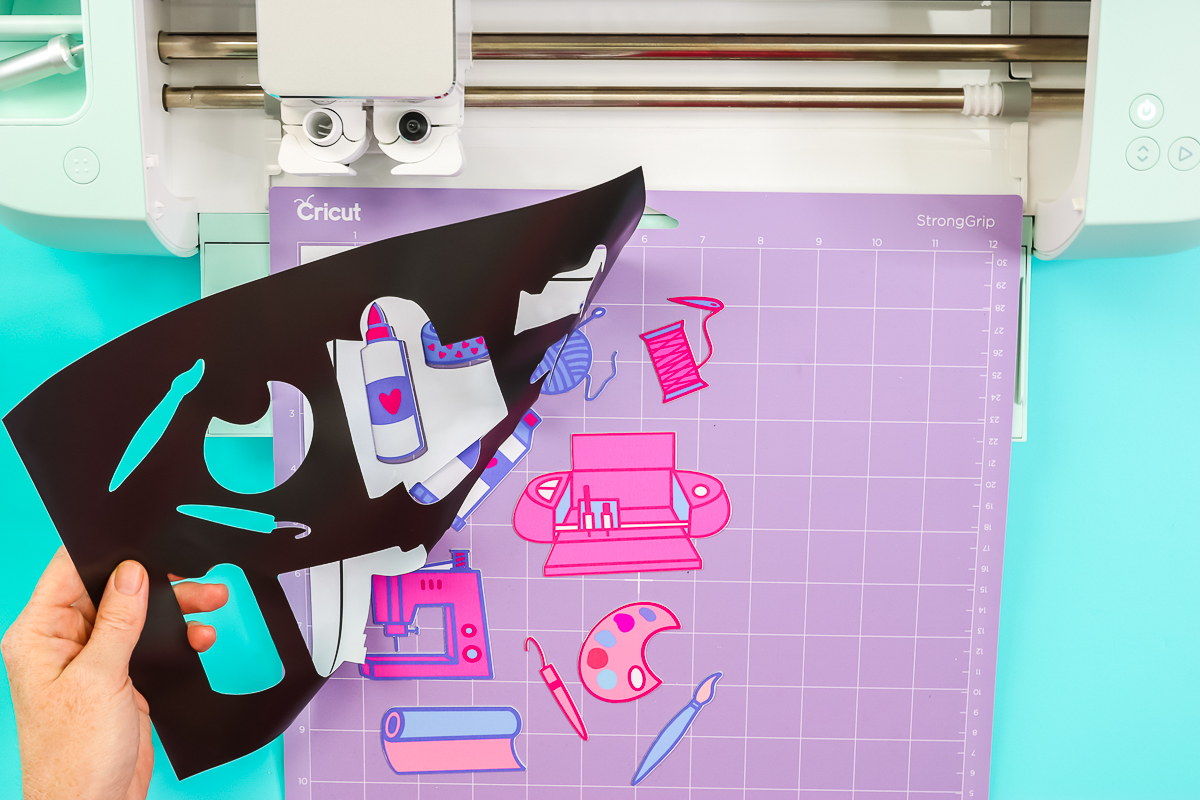
Just peel the magnets off of the Cricut mat and add them to any surface. You can literally do this with any image or sticker sheet.

Cutting Adhesive Magnet Sheets
Let’s take a look at our second method for making magnets. For this one, you will cut the printable vinyl on a blue mat and the magnet sheet on a strong grip mat. Once you have both sheets cut, it is as simple as peeling back the protective sheet on each magnet piece.
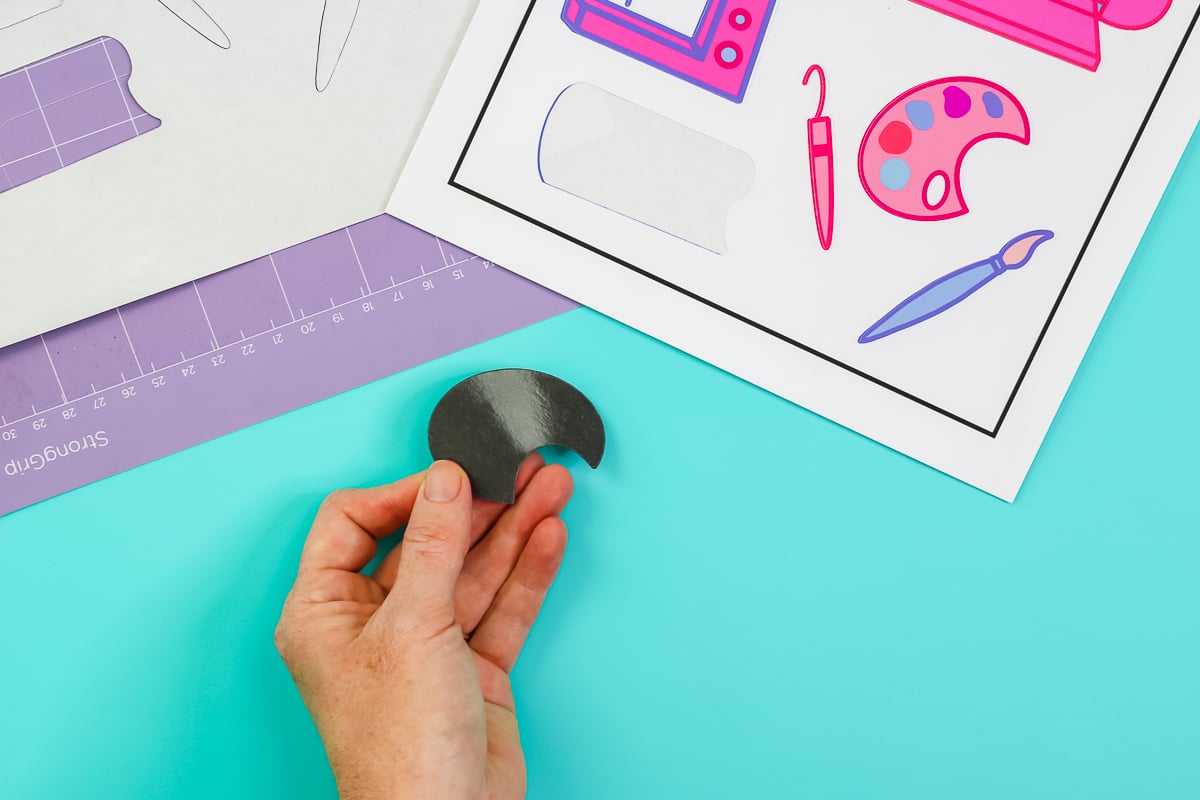
Then just line up and add the printable vinyl to each one. I like using the adhesive for both the printable vinyl and the magnet sheet to make sure they are together well.
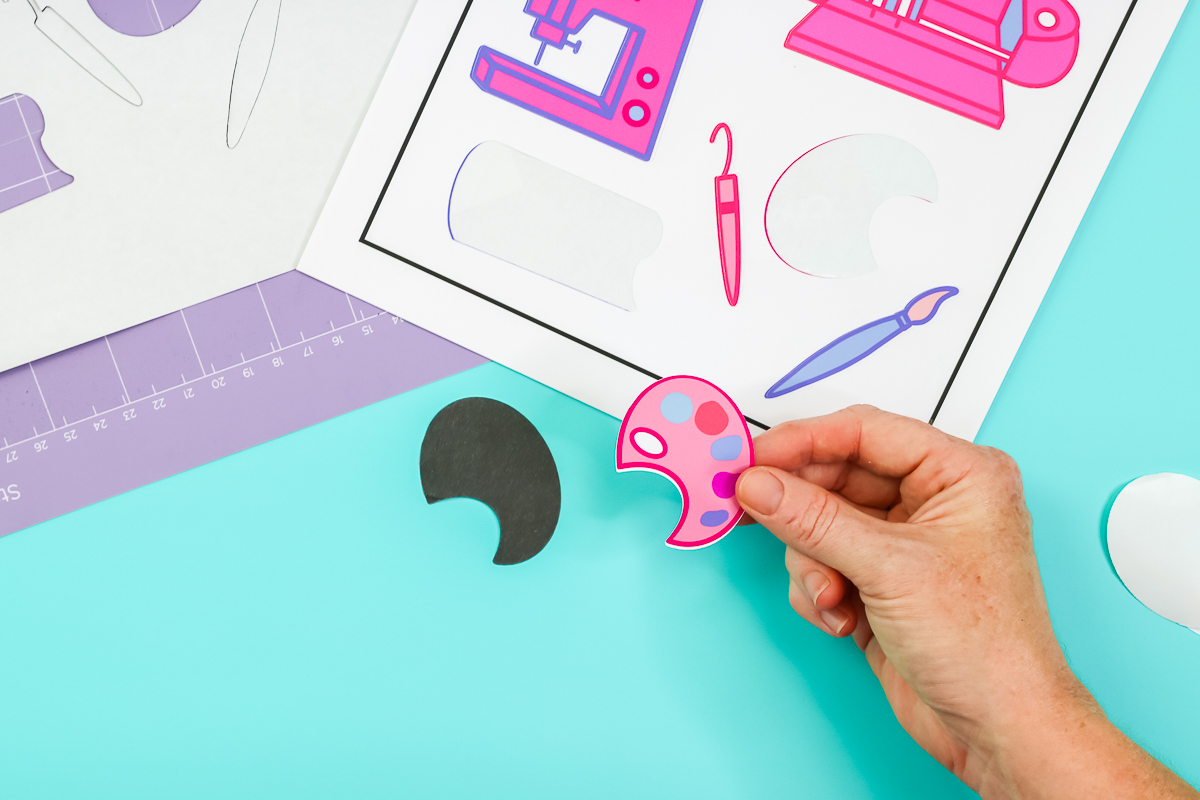
Now you have a magnet ready for your refrigerator or your craft room! Let’s take a look at another way to combine the printable vinyl with the magnetic sheet that makes it a little bit easier.
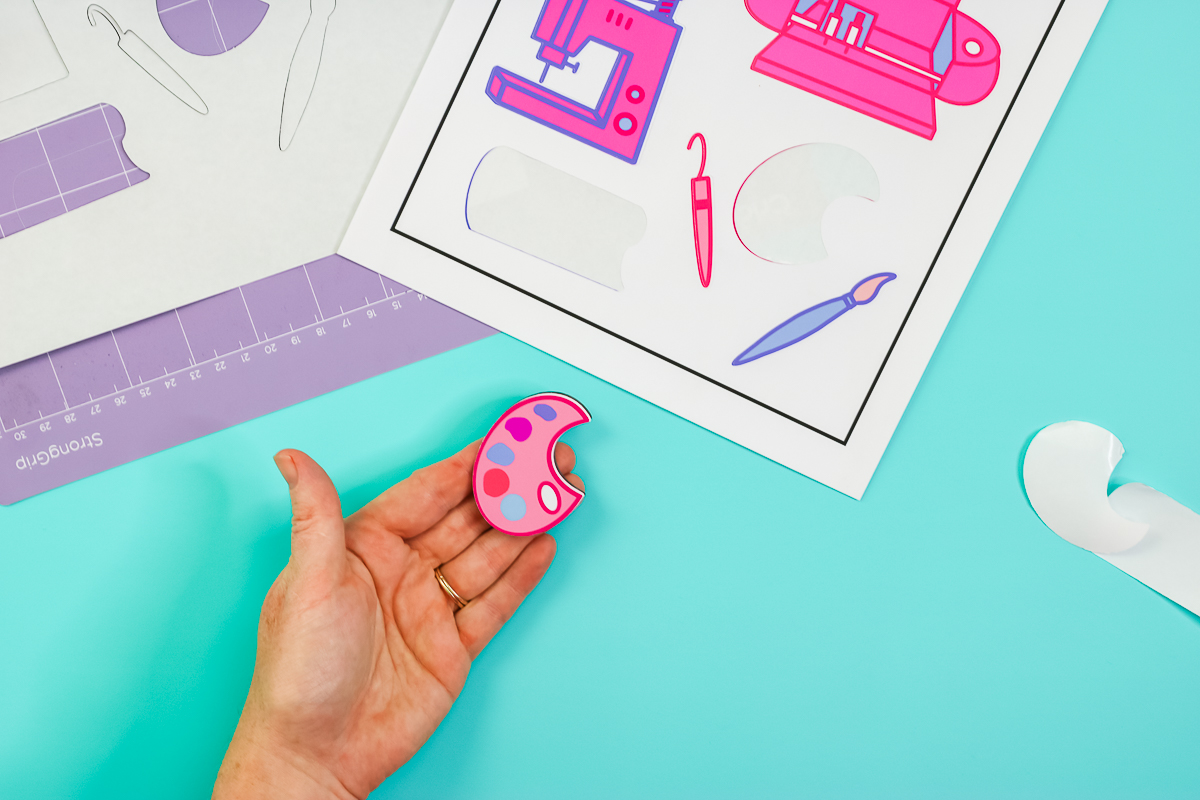
Cutting Magnet Sheets with Vinyl Applied
For this version, we’ll take the magnetic sheet, and we’ll peel back the entire protective sheet from the top.
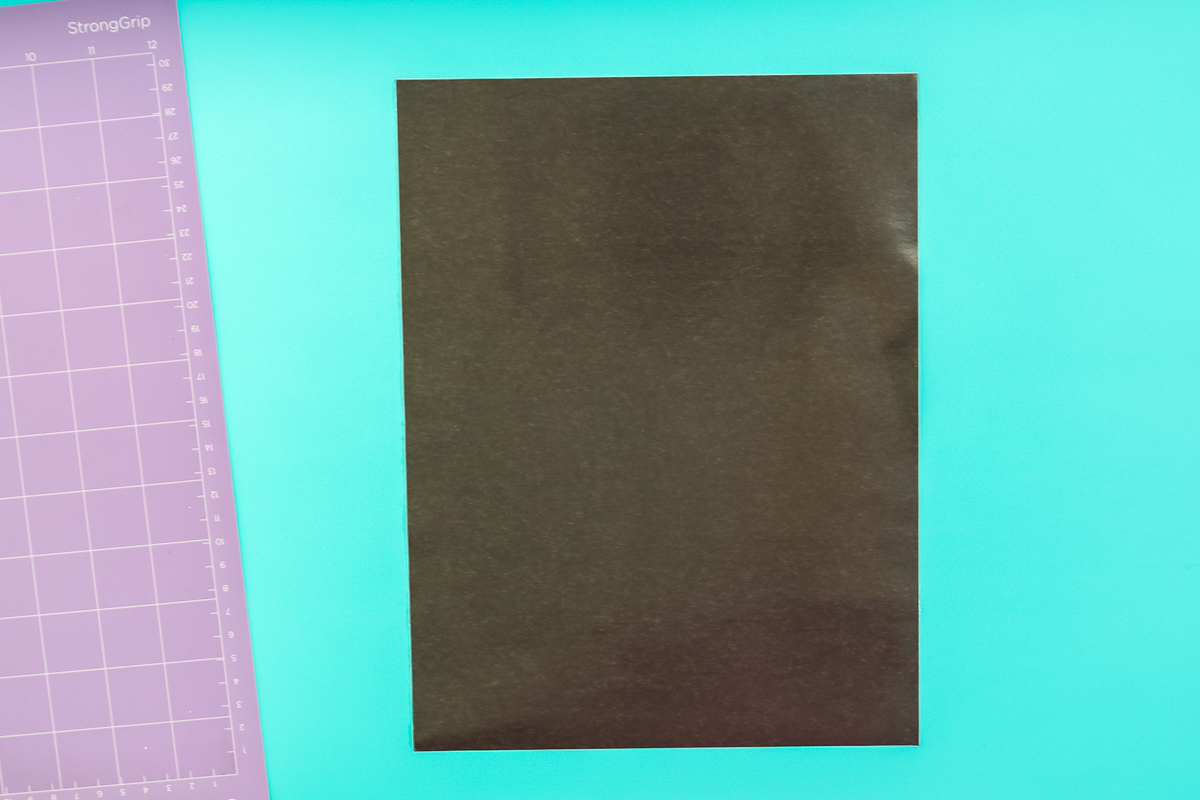
Peel the backing from the printable vinyl as well. Then apply the vinyl over the entire sheet of the magnet. I like to start at one end and work my way to the other end, lining it up as much as possible. This time the Cricut is going to take care of the alignment for us when cutting.
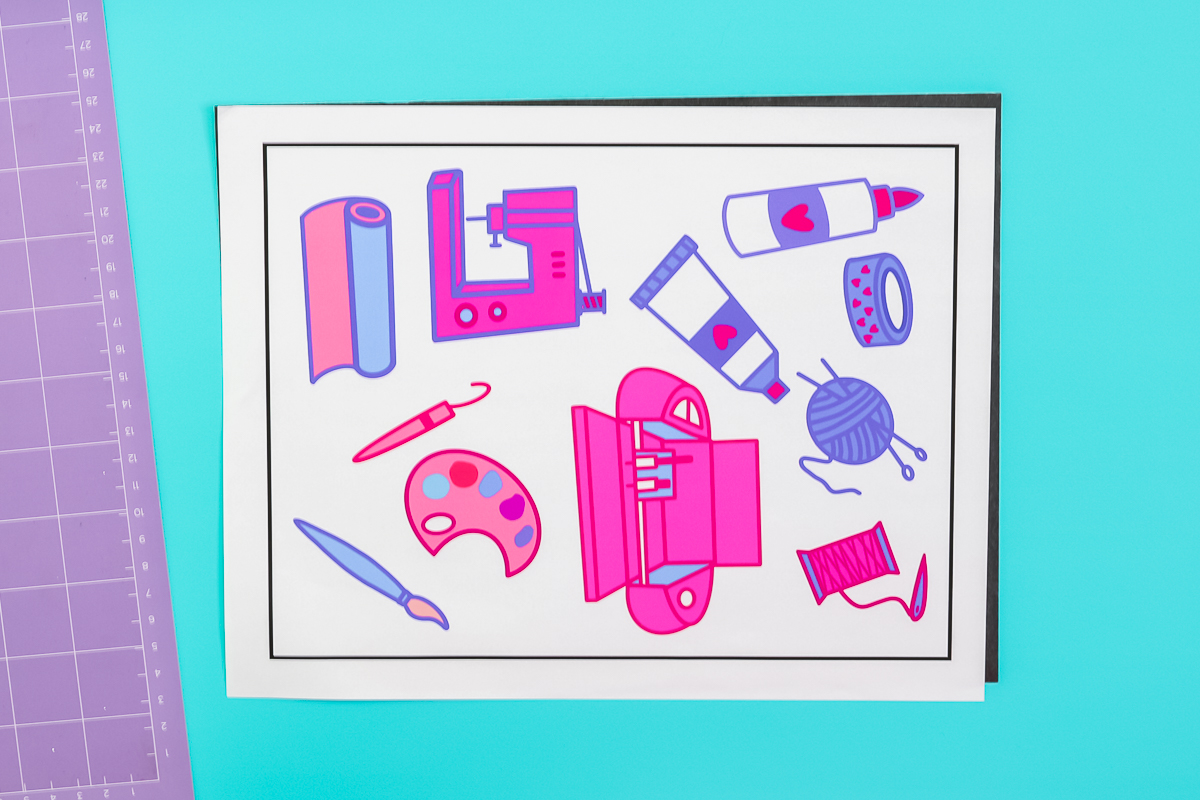
Then put the magnetic sheet on the strong grip mat. I have had a little bit of trouble with these magnetic sheets sticking. I like to just go over the entire thing with a brayer and make sure everything is down really, really well.
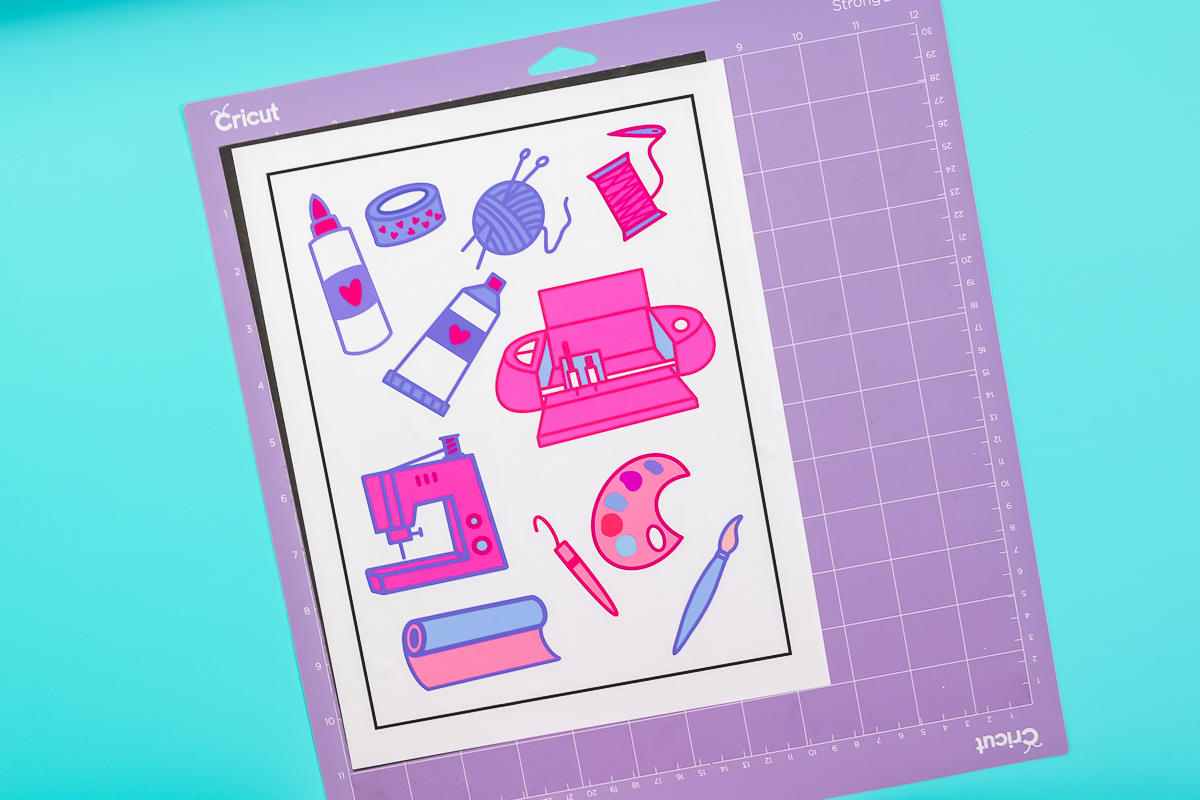
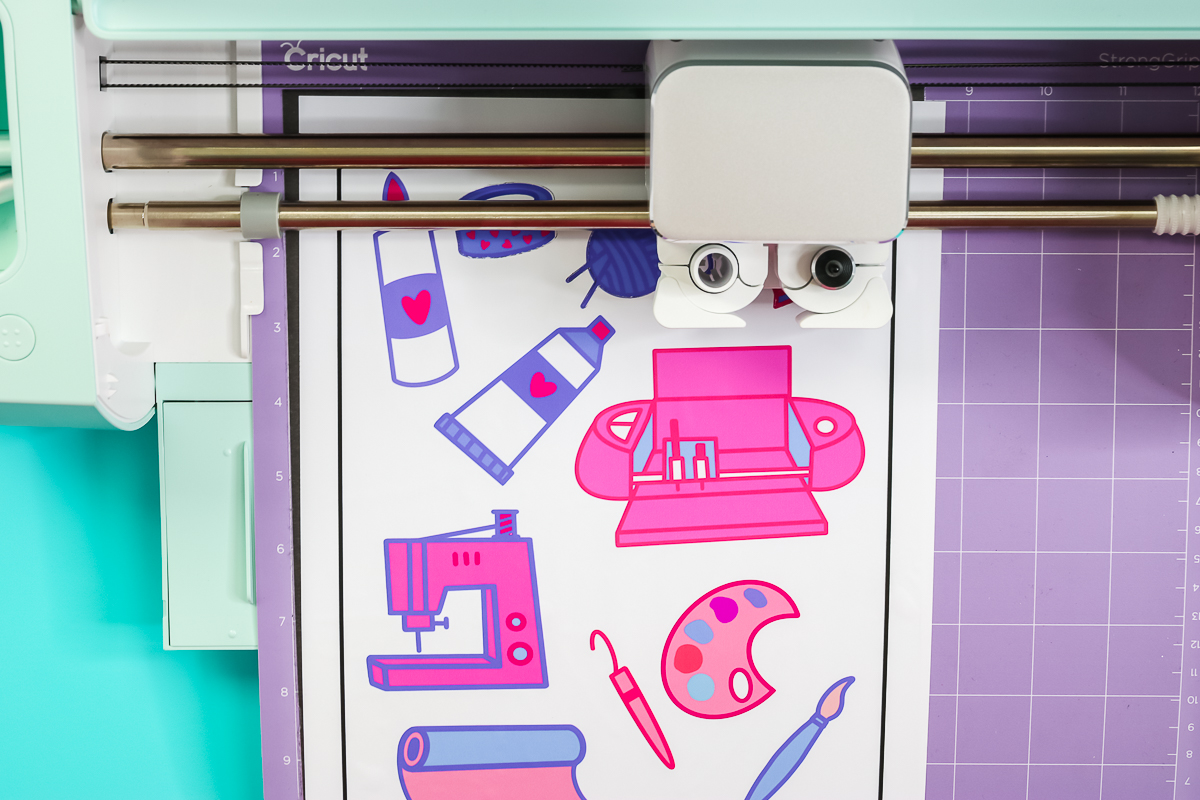
Then just cut it in the exact same manner as the printable magnet sheet above. Be sure to use the deep point blade and move your star wheels.
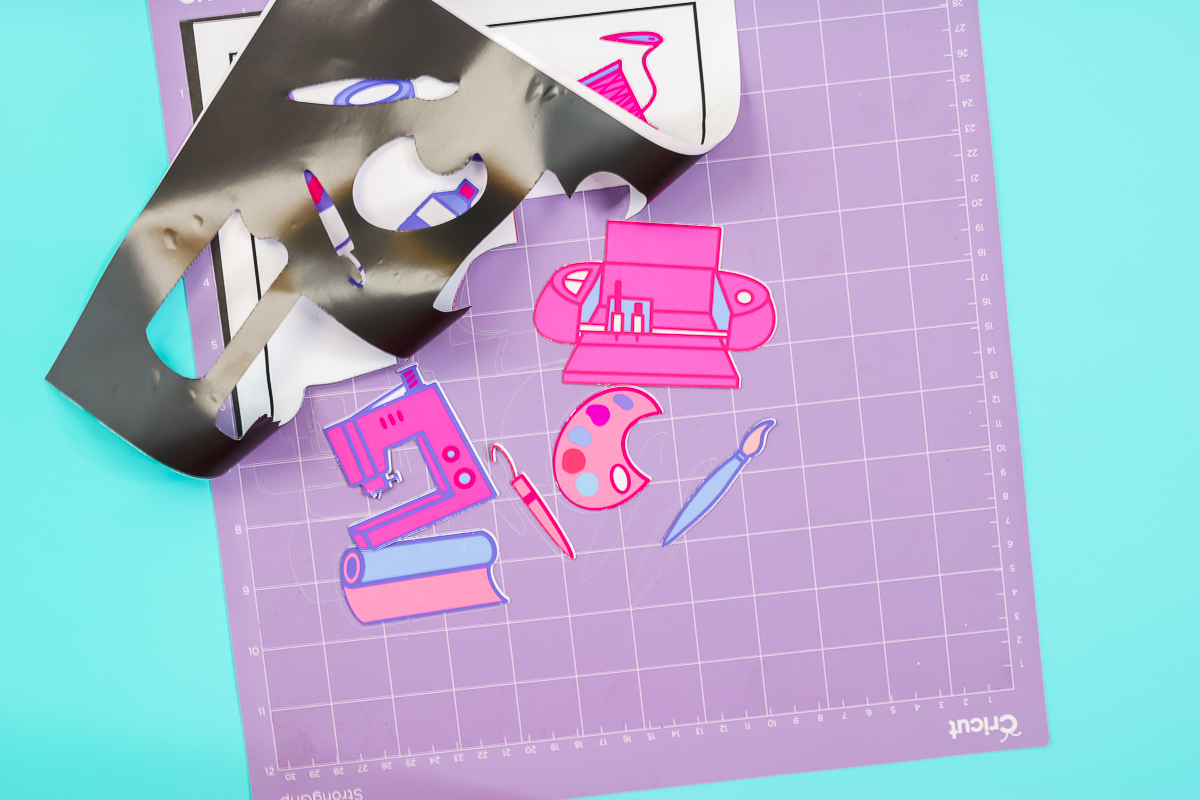
Once the cut is complete, just remove it from the machine then peel the magnets back from your mat. While these cut out fine, this is definitely the least clean of all of the methods. Some of the finer details did not cut as well. Some of my finer details got ruined with this method. If you’re going to use this method, you may want to stick with larger magnet pieces. Now I have some cute and crafty magnets for my craft room, which is where I’m going to use them!
Which method for making DIY magnets works best?
I personally like the printable magnet sheet as they cut really clean and are super easy to use. However, if you need to cut just a regular magnet sheet, it is definitely possible. I will say that my least favorite method is the last one with the printable vinyl applied before cutting. The cuts are not as clean and the smaller details got ruined in my tests.

However you choose to use Cricut magnet sheets, I think you are going to love the ability to make your own custom magnets right at home with your Cricut machine.

I have had several people ask about using these for cars. I don’t think the magnets themselves are strong enough for that application and these are DEFINITELY not waterproof enough for outdoor use. So I would say this is not the solution for making car magnets. You can see how I make car decals with my Cricut here.

So, will you be giving Cricut magnet sheets a try for your next project? Have an idea for making DIY personalized magnets? Well, break out your Cricut machine and the deep point blade and make it happen!


Would it be possible to download photos on the magnetic sheets?
You can click the last link on the list of supplies for this project to get the images I used. If you’re looking to add photos – like photos you’ve taken you would follow the same steps in the post just use your photos instead of the craft supply images I used.
Thank you Angie. I love the scientific approach you take to thoroughly test and compare products and techniques. I had a question about whether these magnets are suitable for cars and you definitely answered it for me.
I’m so glad you found it helpful!!