Today I am introducing you to MetalFects, which are Cricut metal sheets that work with the Cricut Explore or Maker. This is actually chipboard covered in a galvanized-look sheet. This makes projects easy as the thick material will look just like metal on your surface. So, grab these metal sheets that cut with the deep point blade and start making all sorts of farmhouse-style crafts. You are going to love the look of this material and how easy it is to cut. Follow along below for tips and tricks when it comes to your design and common issues with the material.
Note: Since this project was published, MetalFects are no longer available. I will give some options to obtain a similar look in the instructions below.
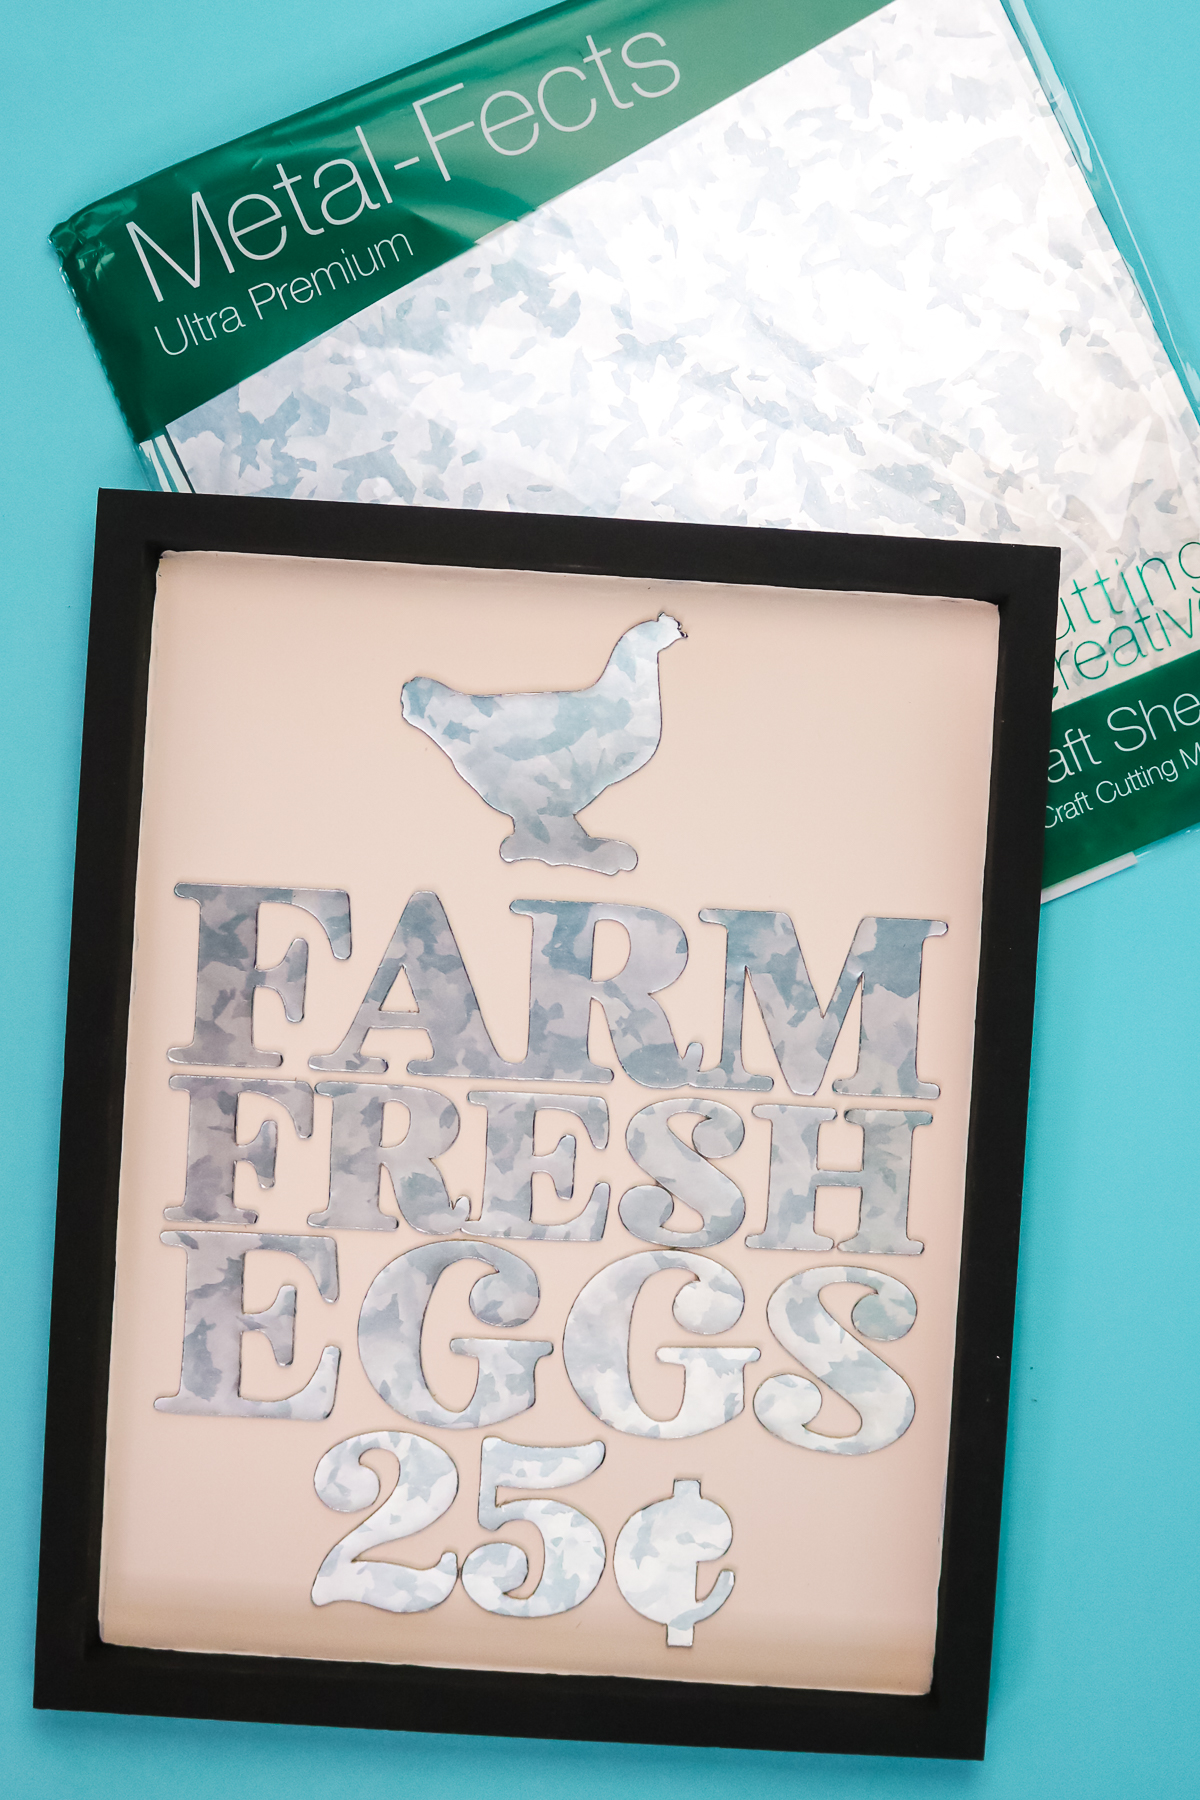
Cricut Metal Sheets
You can actually click play on the video below and watch me use MetalFects in a project on my Cricut Explore Air 2. You are going to love how these sheets look in the finished design!
Can’t watch the video or missed some of the information? Just follow along below!
Supplies Needed
- MetalFects sheets (no longer available)
- Wood panel
- Chalk paint
- Paintbrush
- Brayer
- Cricut machine (Explore or Maker)
- StrongGrip mat
- Deep cut blade
- Farm Fresh Eggs SVG File
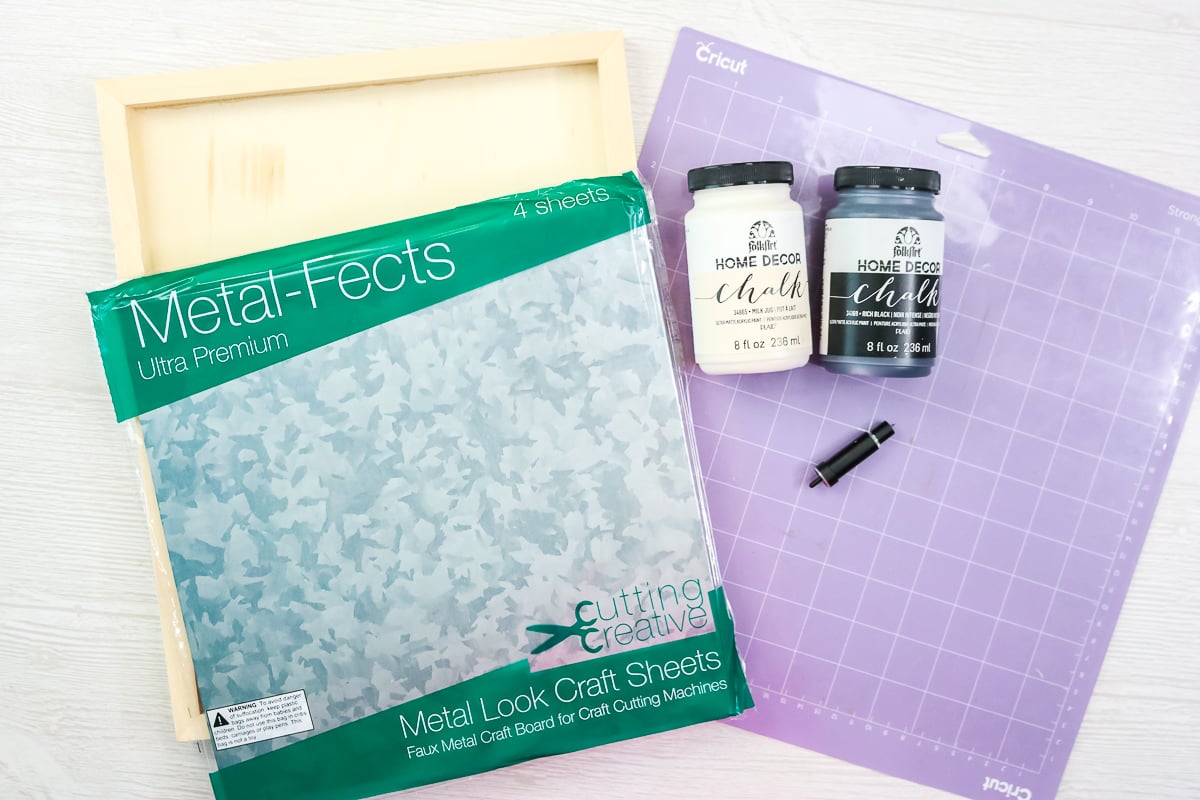
MetalFects Sheets
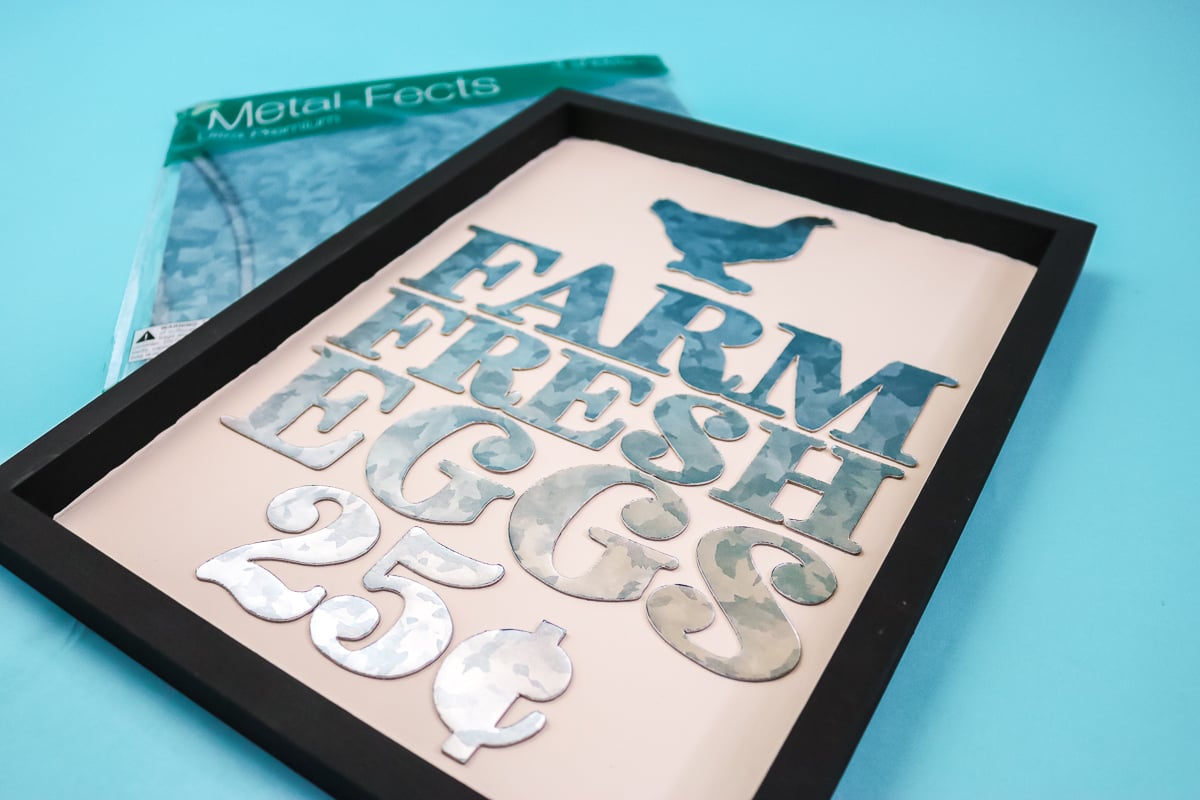
Let’s take a look at the MetalFects product, and what’s included in the package. MetalFects is a metal-look craft sheet. What comes in the package? You get four sheets of the MetalFects, as well as instructions for use. The MetalFects itself is similar to chipboard and is self-adhesive on the back.
This material does require a deep-cut blade. That means that you can use it in an Explore or a Maker, but not in the Joy. They do also recommend that your images not be thinner than a 1/2 inch or approximately the width of two pencils. Right now, it just comes in the one metal finish. Hopefully, we’re going to cross our fingers that they come out with more soon.
Option for a metal look
You can use a kraftboard or chipboard and some paint to get a similar look with a few extra steps. You can find ideas to get a rusted metal look, brushed metal, or metallic paint look pretty easily with some paint. You might also be able to add a piece off metalized vinyl to your project to create that look.
Painting the Base
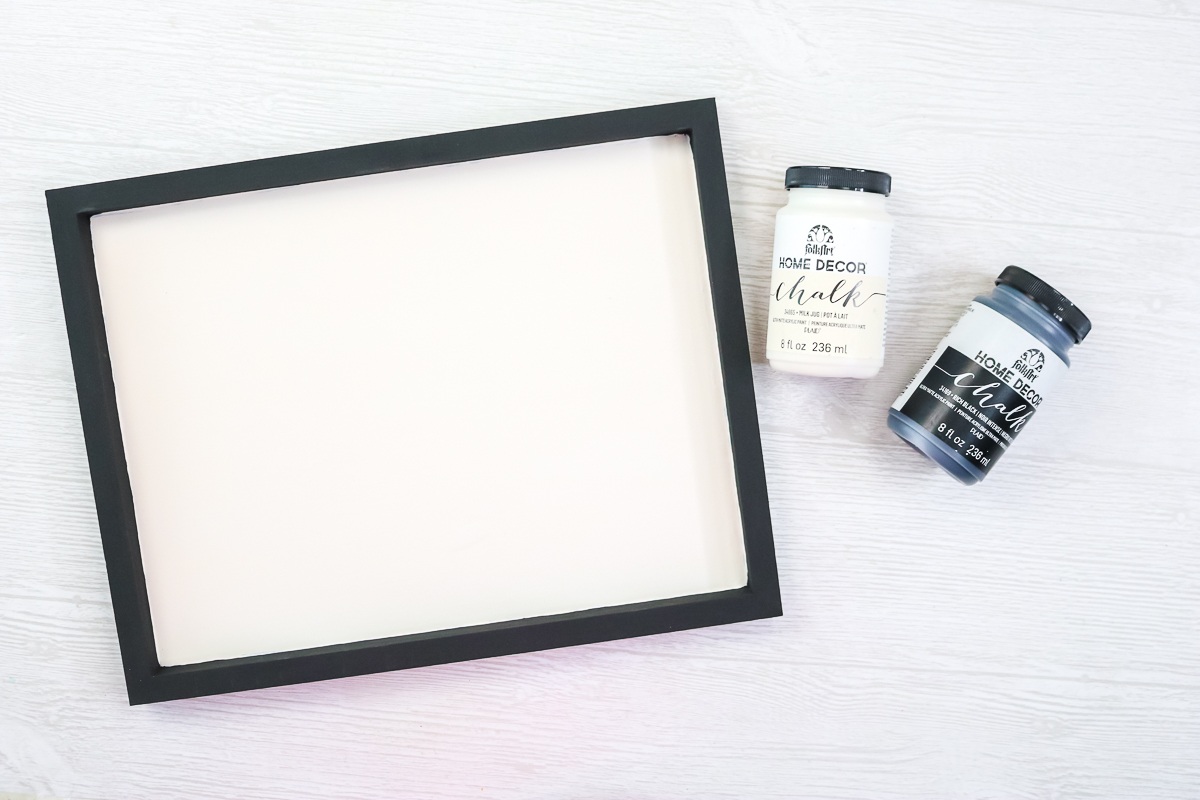
I used creamy off-white chalk paint for the inside of my sign and black for the frame portion. Add as many coats as you need to get good coverage. Be sure to allow to dry in between coats as well as drying completely before application of the MetalFects pieces.
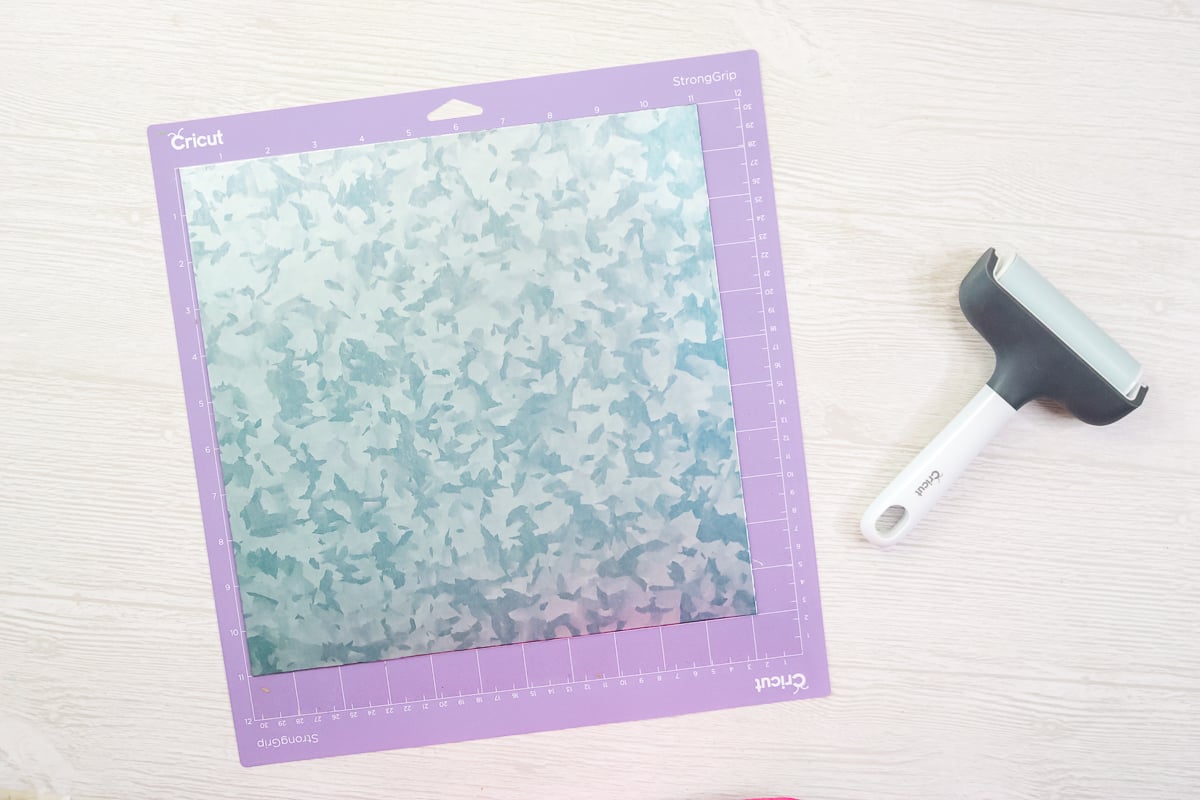
Putting Cricut Metal Sheets on the Mat
Put MetalFects face-up on your StrongGrip Mat. They do recommend that you not place it all the way to the white line on the left side of your cutting mat. I place mine just a little bit over. The first thing you may notice is that these sheets are 11″ X 11″, so you will want to keep your design within that. You need to press it down really well on the mat. I find a brayer works well for that. That’s not required at all, and you could definitely just go over it with something else, but a brayer is a nice, smooth way to go over the top and make sure it’s on your mat really well.
Design Considerations for MetalFects
Remember that your pieces need to be at least the width of two pencils. I thought I would cut a design first that is NOT that size just to show you what can happen. However, here are a few things you can do to your design to make sure it is the size needed to cut correctly from the MetalFects sheets:
- Contour out any small pieces that may be in the center.
- Make your fonts wider by making them bold. You can also use the offset feature to put some extra material around any font. Be sure to weld this to your original font before cutting.
- Offset any image to add extra space around the outside.
- Slice off pieces of images and make just those a little larger or add the offset. Then weld them over the top of the original piece.
- Add shapes over the top of any thin lines and weld them to the original.
You can actually see me use all of these strategies in the video above. Your goal is to make your design a bit thicker for this material to make sure it cuts well from the Cricut metal sheets.So, what happens when you cut thin lines?
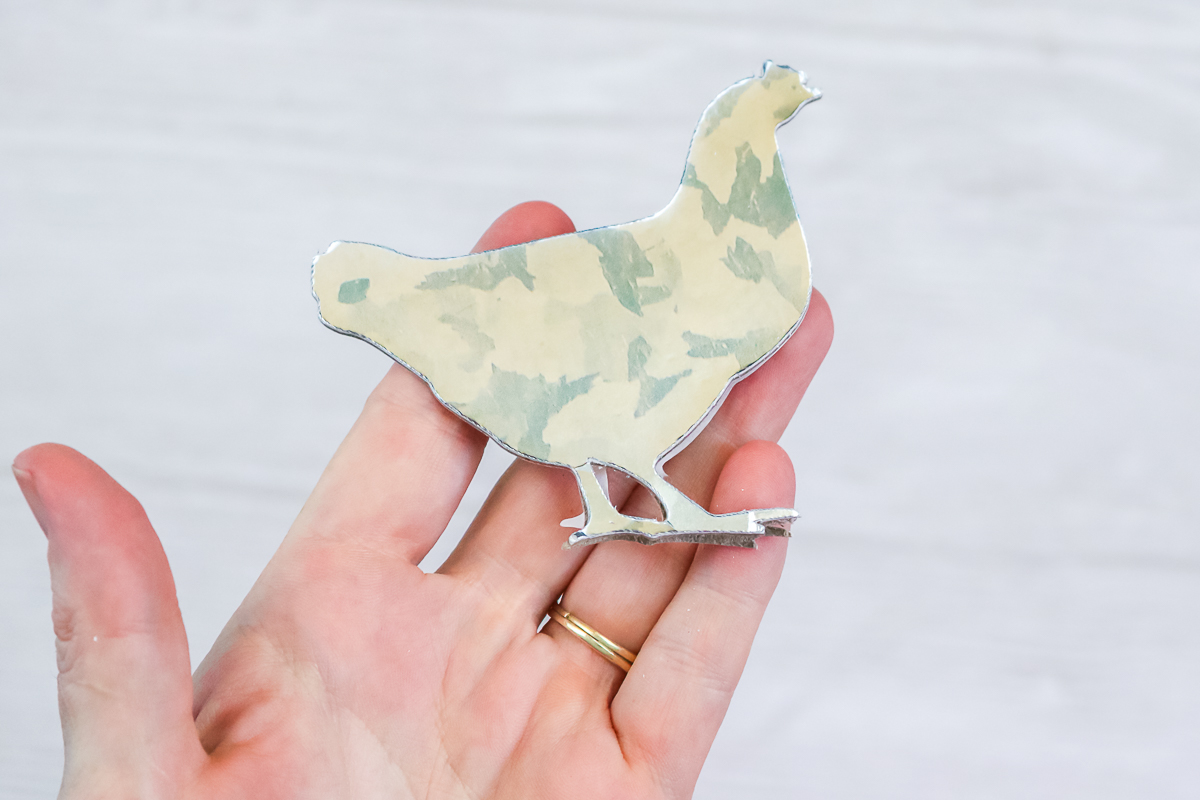
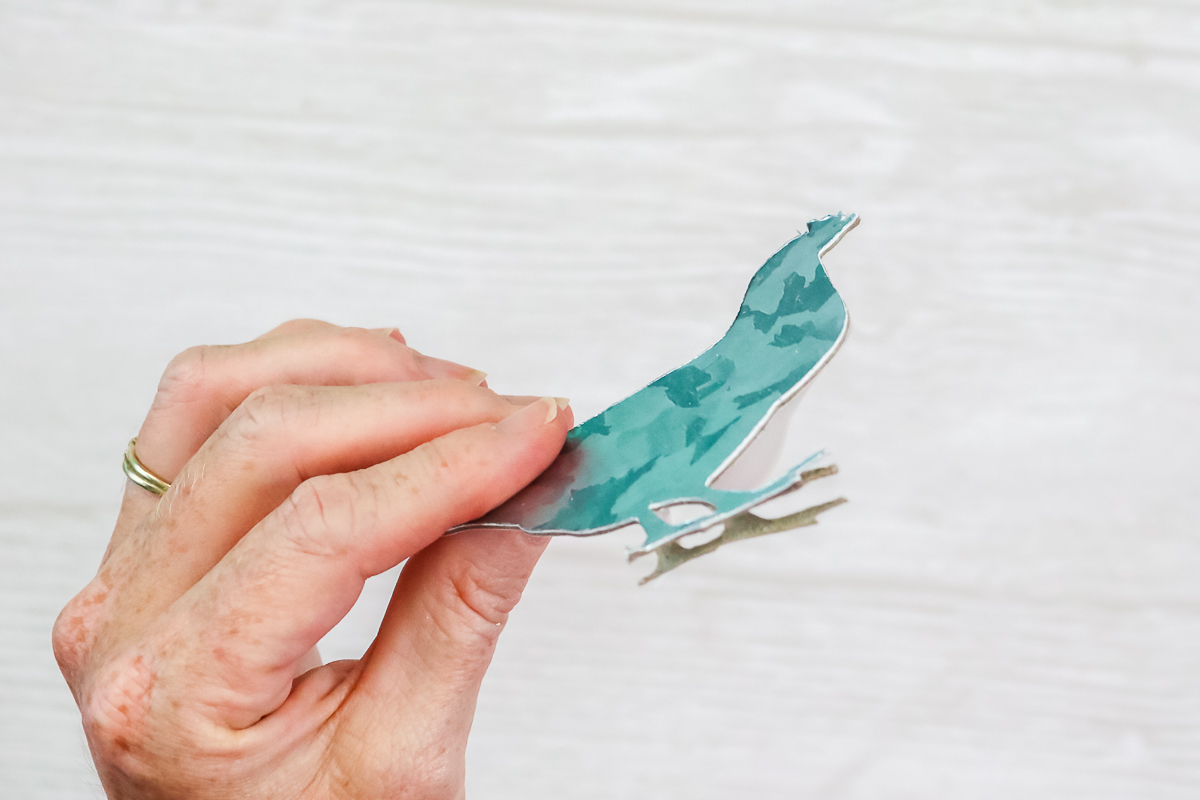
Because the feet on this chicken were so thin, the layers of the material began to separate. The chicken itself looks amazing, but when you have thin details like this foot, it does get messed up. So, use the tips above to alter the designs to work better with this material.
Custom Material Setting
NOTE: You will only have to add this new material one time for each of your machines and it will remember it from that point forward.
You will need a custom material setting for this material. If you are using an Explore Air 2 or earlier, be sure to put your dial on custom. Once you click make it in Design Space, click browse all materials. Then click material settings in the lower left-hand corner. Scroll all the way to the bottom and click add new material.
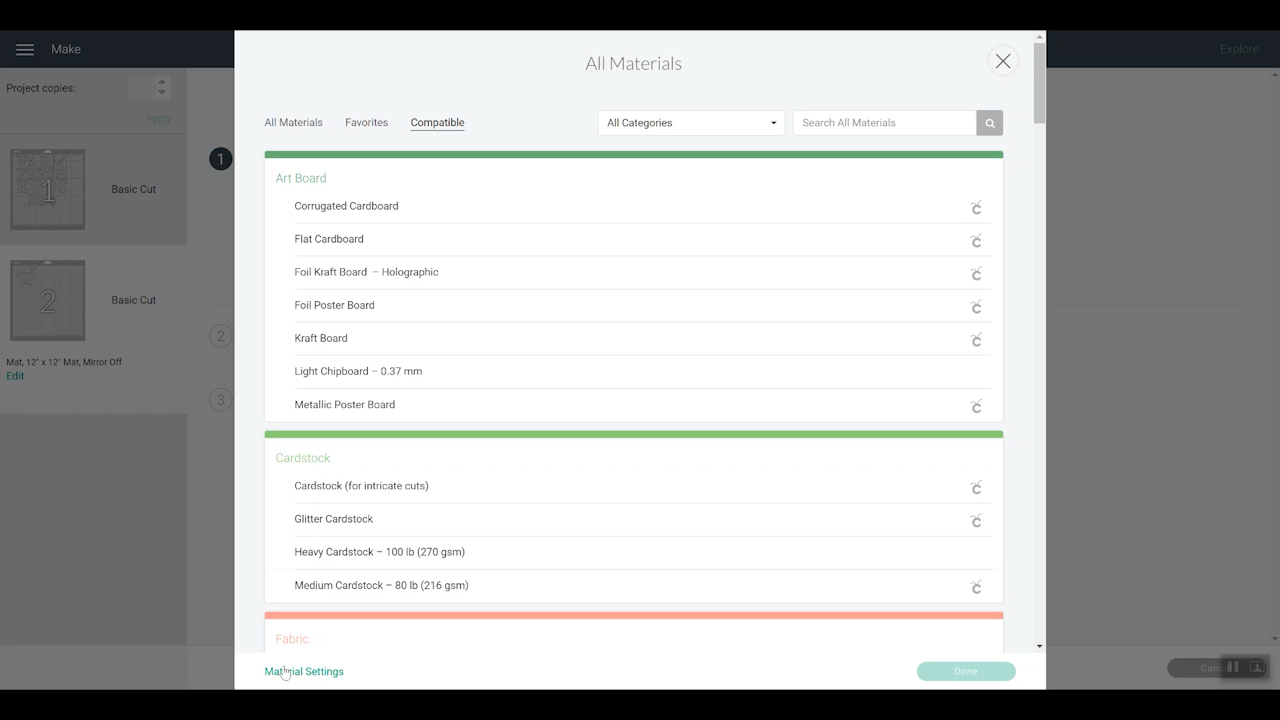
Name your material and click save. Then set it for the deep point blade, 8x for the number of cuts, and 295 for the material pressure. Then click save.
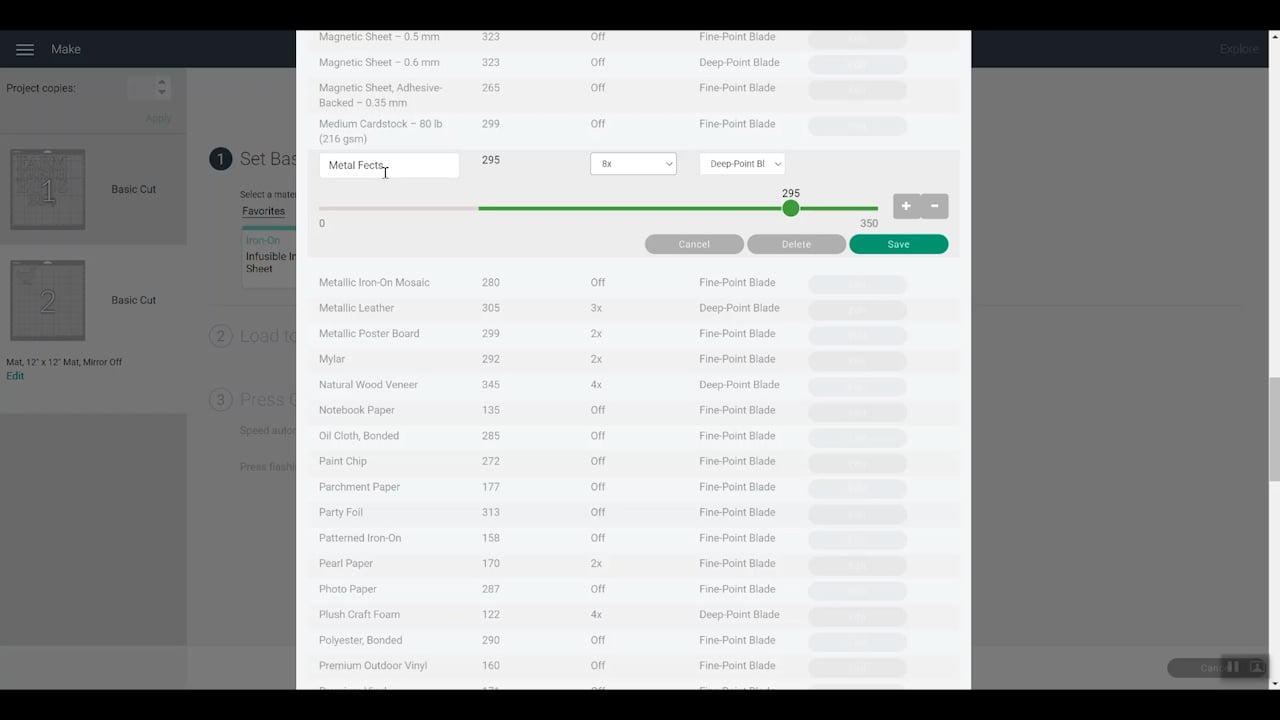
Once this is set up, you can pick MetalFects for future cuts, directly from your Custom Material menu.
Cutting MetalFects
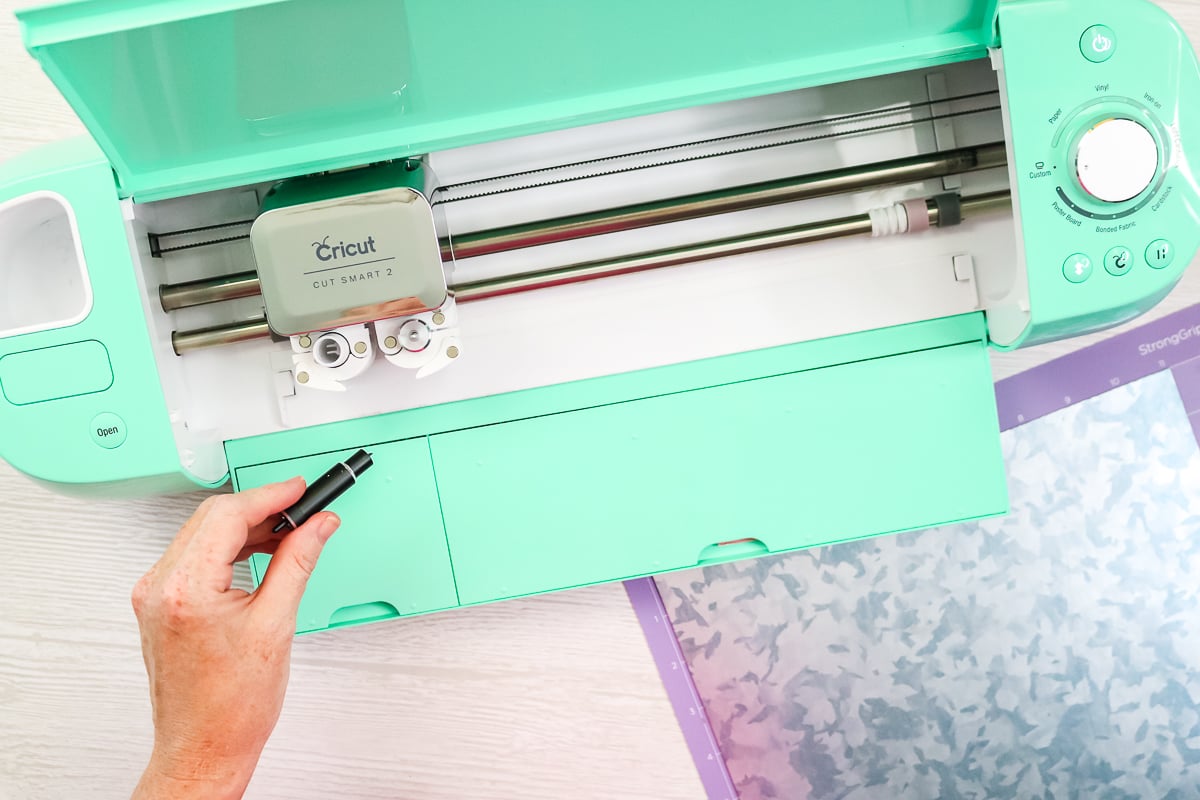
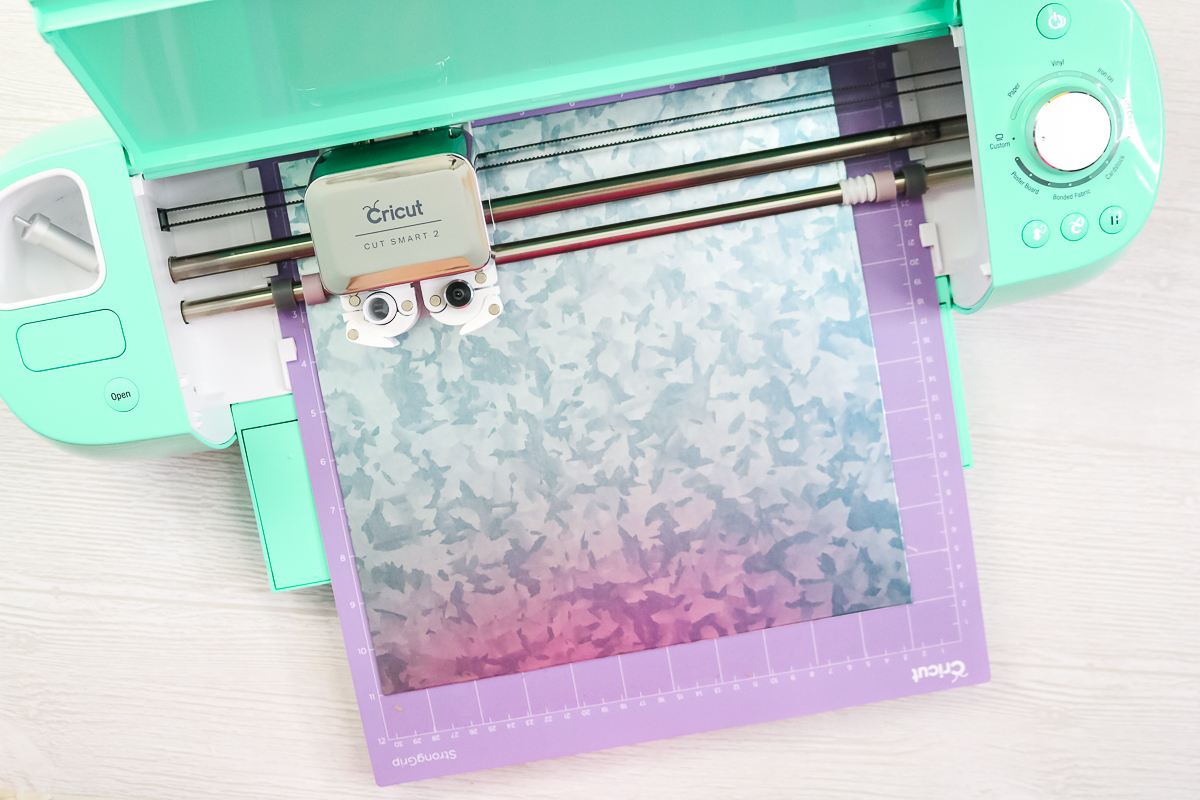
Once you have your custom material picked, it is time to cut your design from the MetalFects sheets. Add your deep point blade to the machine and move the white star wheels along the roller bar all the way to the right.
Then you can load your mat and begin your cut. Be sure to watch your cuts carefully.
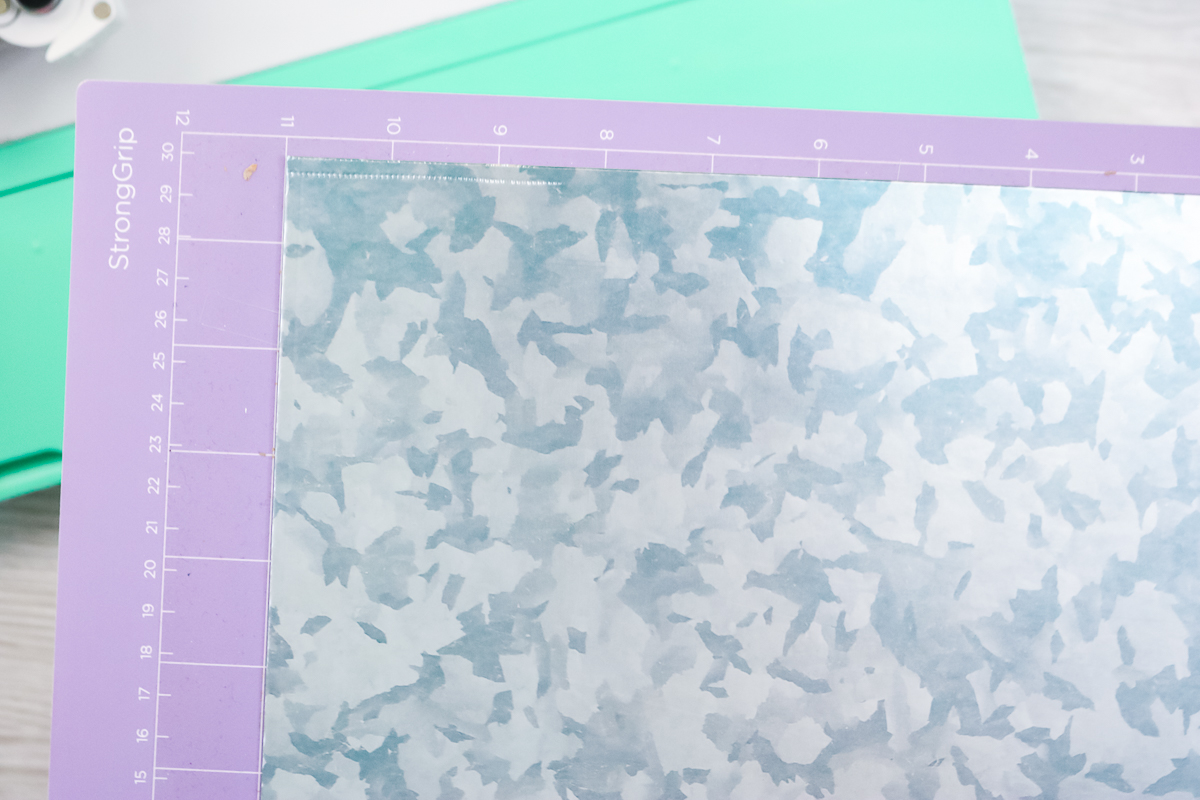
I did want to show you what happens with your white star rollers if they run on the material. If you don’t move them to the side, you would have marks like the ones shown below down the center of your sheet.
Small Pieces During Cutting
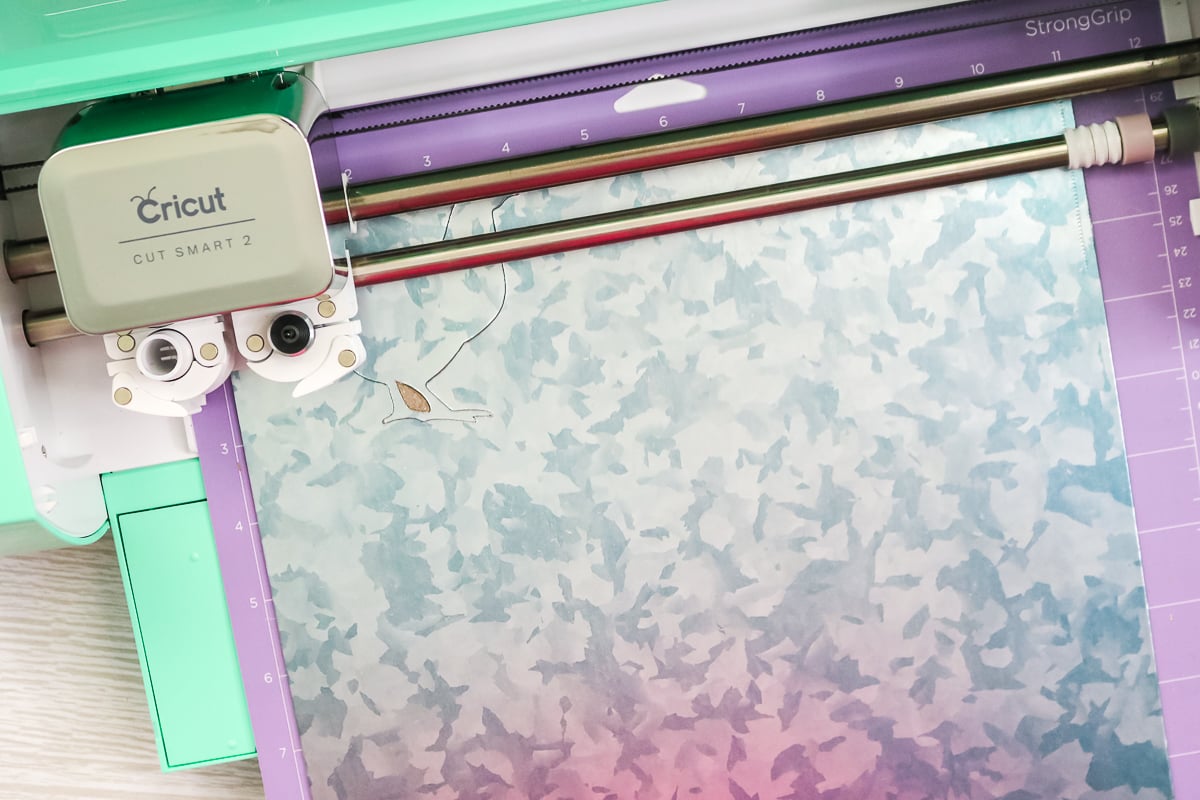
Let’s take a look at something that might happen to you when this material is cutting. Small pieces may cut completely and pop out from your design during the cutting process. If you see this happen, pause your machine and remove those pieces. Here a piece came out and it was actually scrap from inside the chicken’s legs. I just paused the machine, removed the piece, and discarded it. Then just hit pause again to resume your cut.
Checking Your Cuts
Occasionally during the cutting process for these multiple-cut pieces, I suggest that you pause your machine and check to see if your material is cut all the way through. Just hit pause again to continue cutting. When the cut is done, I also recommend that you check the cut before you remove it from your machine. I like to peel up the material and make sure it’s cut completely and all the way through. If it is cut all the way through, remove from the machine. If it is not, you can click the go button again for an additional pass.
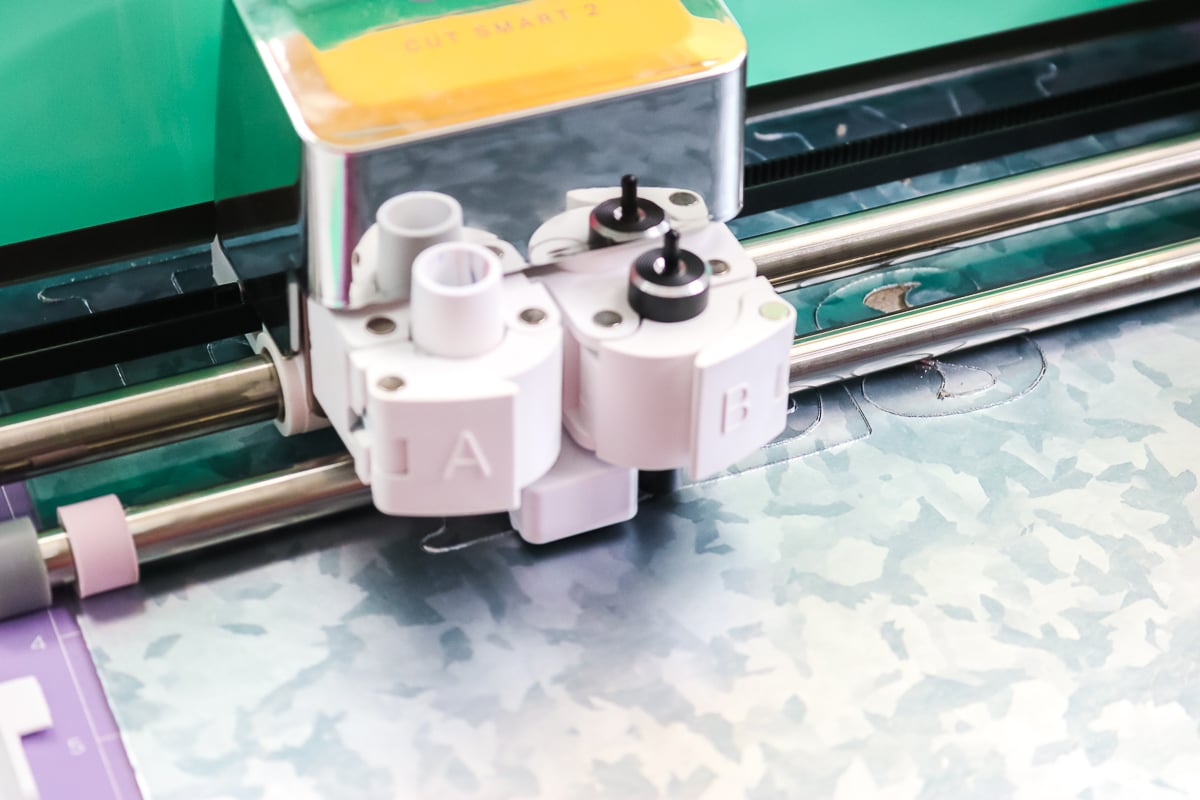
Once you have your design right, this material cuts amazing. I was left with my letters and a chicken for a sign. Let’s take a look at how to put that together!
Assembling a Farmhouse Style Sign
Now that you have your pieces, you will need to remove them from the rest of the sheet. Remember they are adhesive on the back.
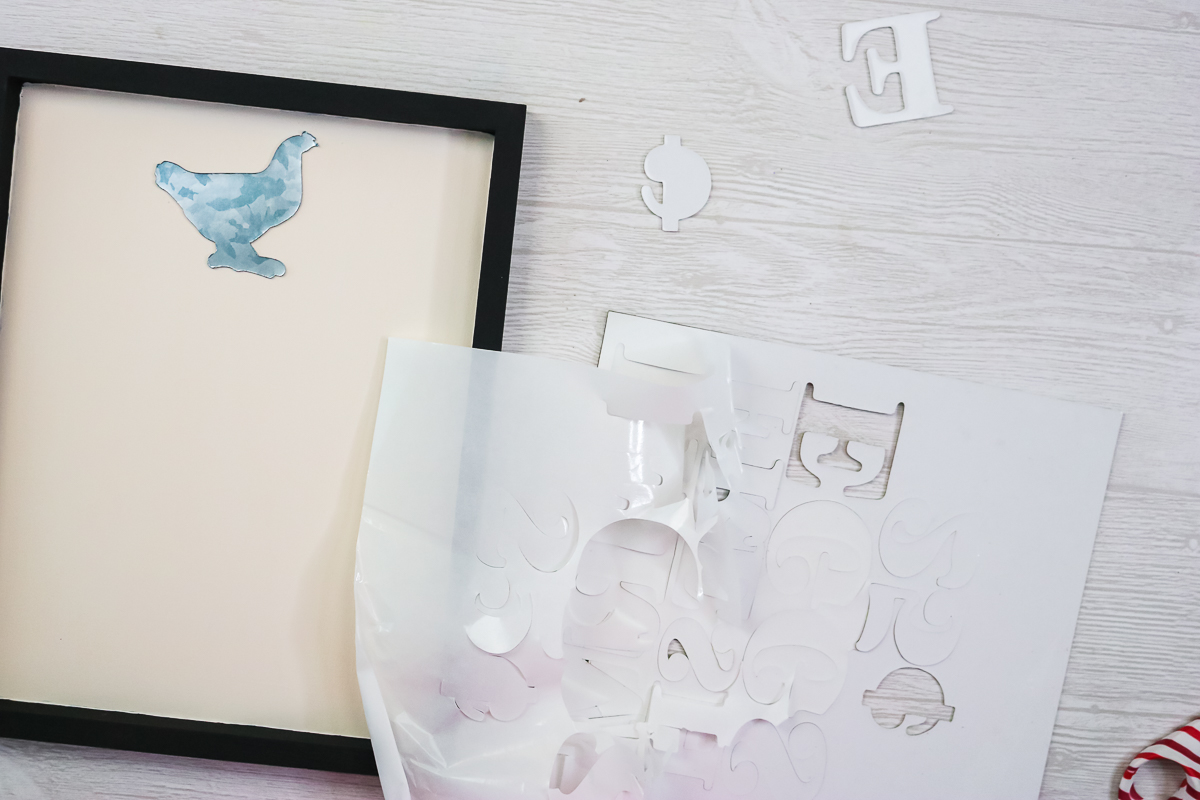
I like to remove them all and put them adhesive side up on my table in order that they will be put on the sign.
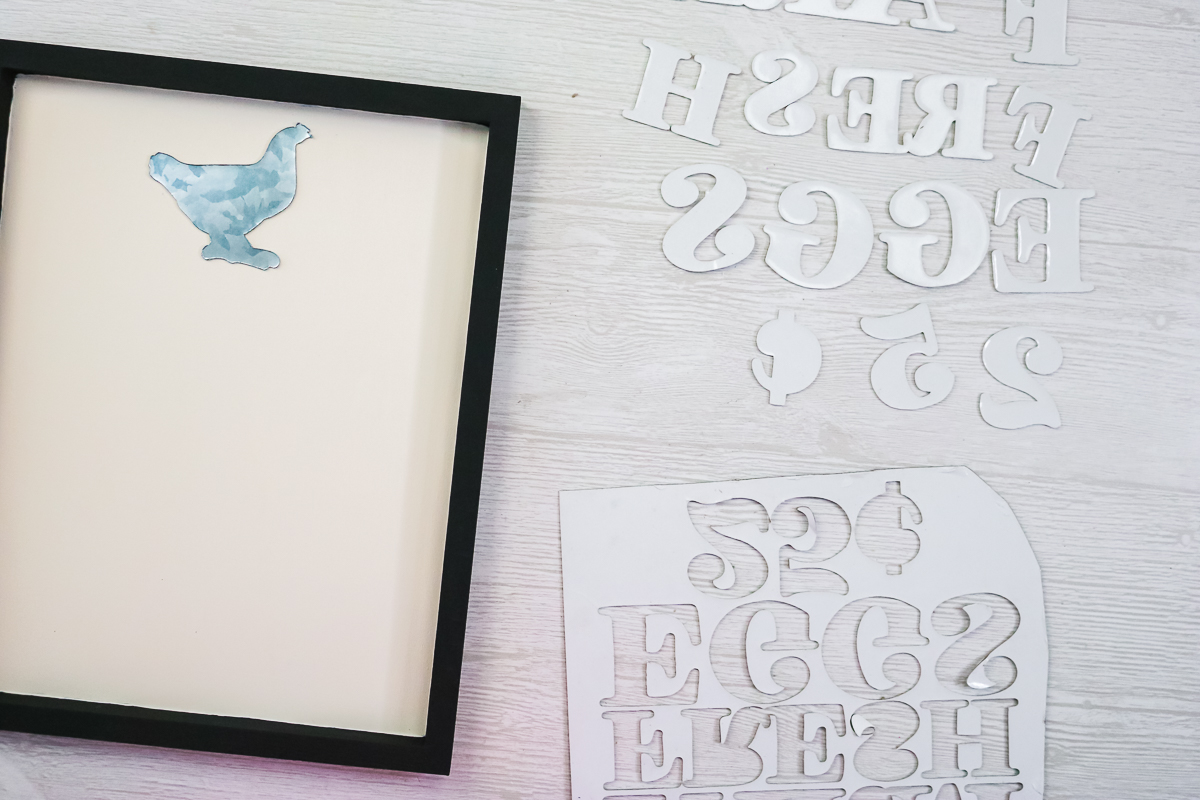
Then we will need something to get them into the location on the sign correctly. I separated the adhesive layer from my scrap piece and peeled it back.
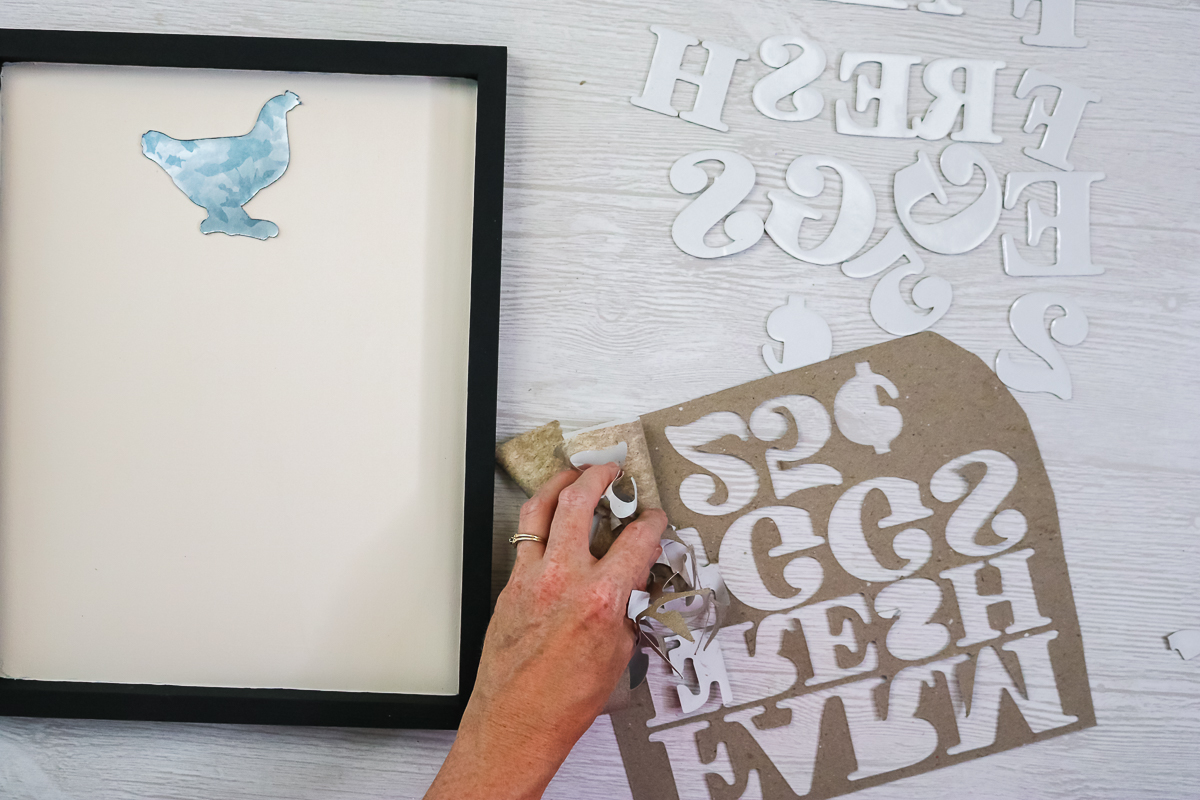
Then I trimmed the scrap with scissors until it fit into my sign. Then you can just place each letter and press down well to adhere into place.
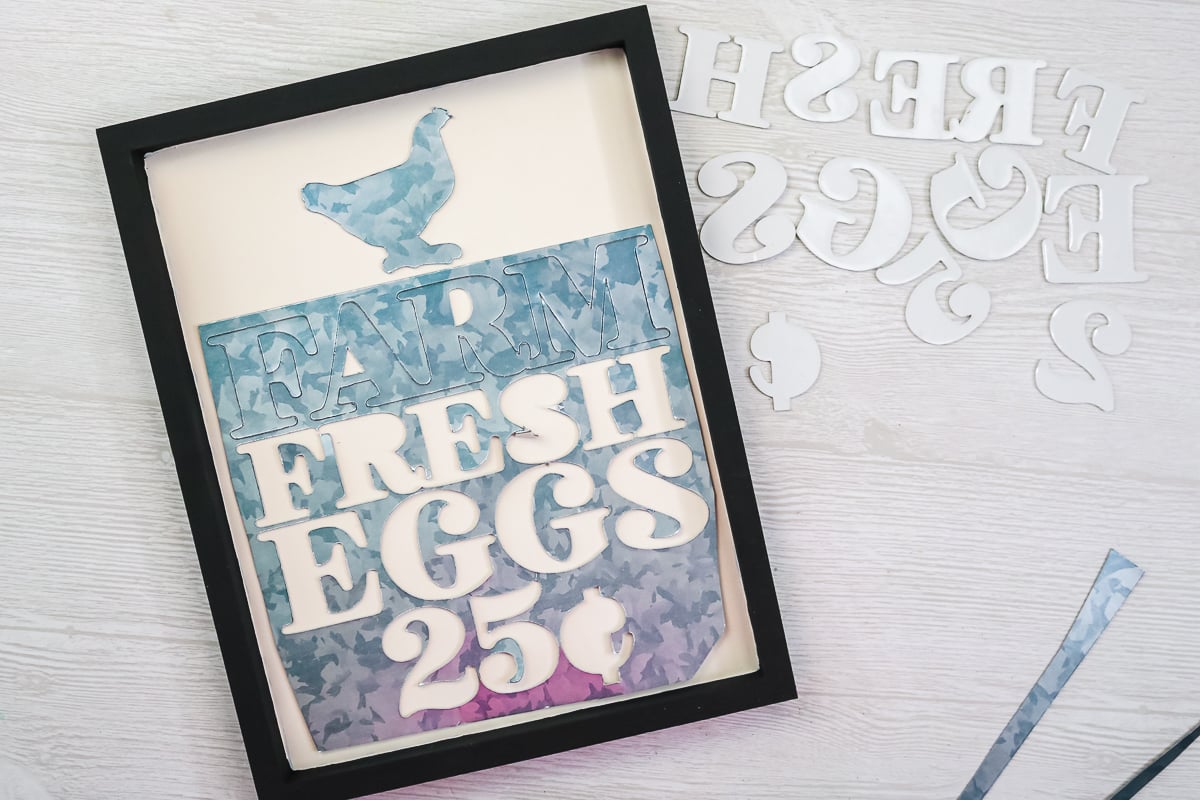
Once all of your pieces are in place, just peel back the scrap and discard.
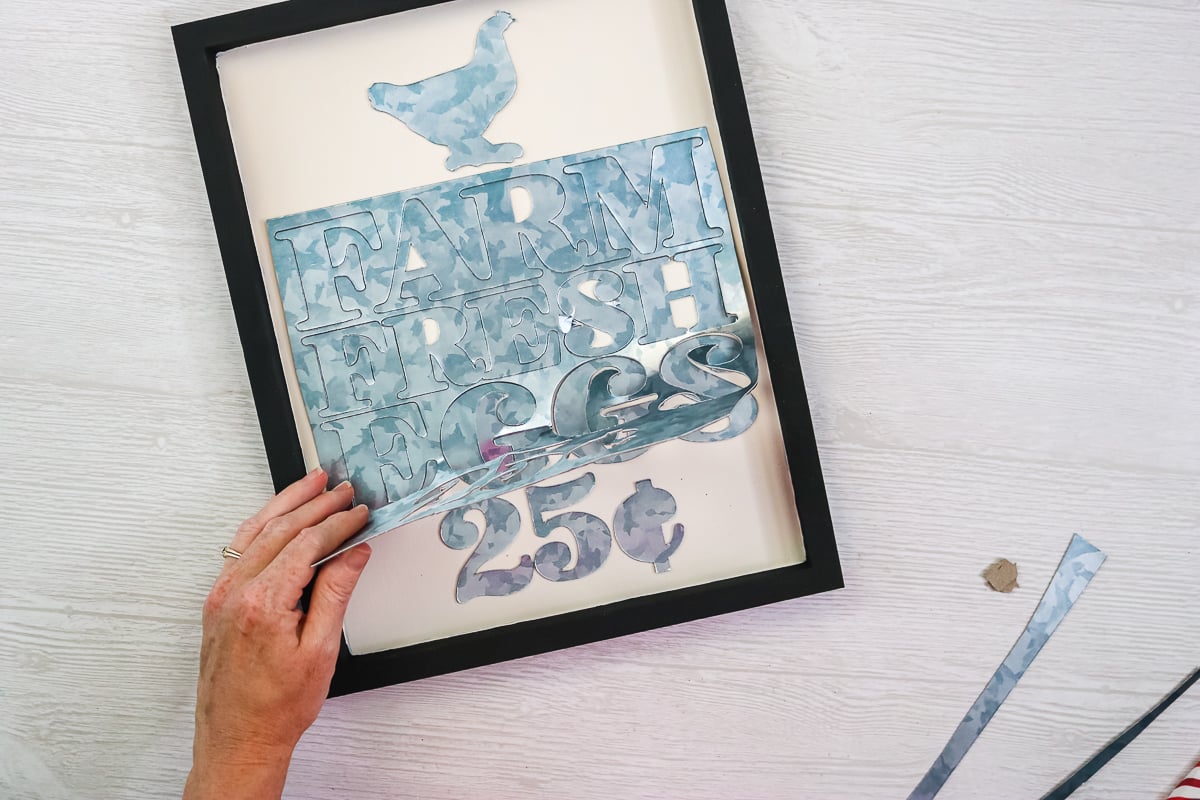
Then your sign is complete and ready to be displayed around your home!
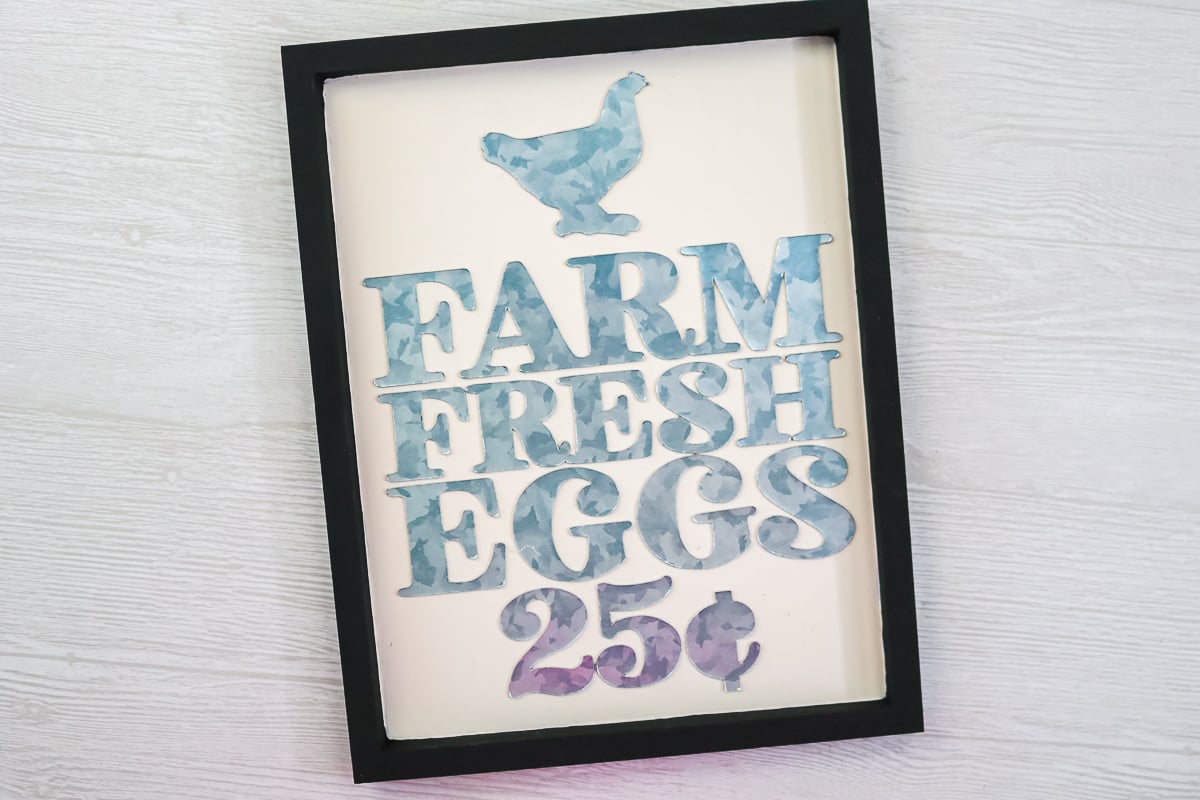
I have a cute, metal-looking sign all with my Cricut Explore and MetalFects metal sheets! Now you know how to get that gorgeous, farmhouse, galvanized look with metal right in your Cricut Explore or your Cricut Maker with MetalFects.
FAQ
Here are a few of the questions I have received but feel free to ask any other questions you have in the comment section below.
Is this material real metal?
It is not. It is a chipboard material covered in a sheet that is made to look like metal.
Can you cut these Cricut metal sheets in a Glowforge?
Currently, you cannot.
Can you cut MetalFects with the fine point blade?
No. You will need the deep point blade.
Where can I purchase MetalFects?
Unfortunately, it is no longer for sale on their website here. You may be able to find it from another retailer, but I haven’t been able to find it.
What material setting do you use to cut these sheets?
I went over the custom material setting above that you will need to set up.
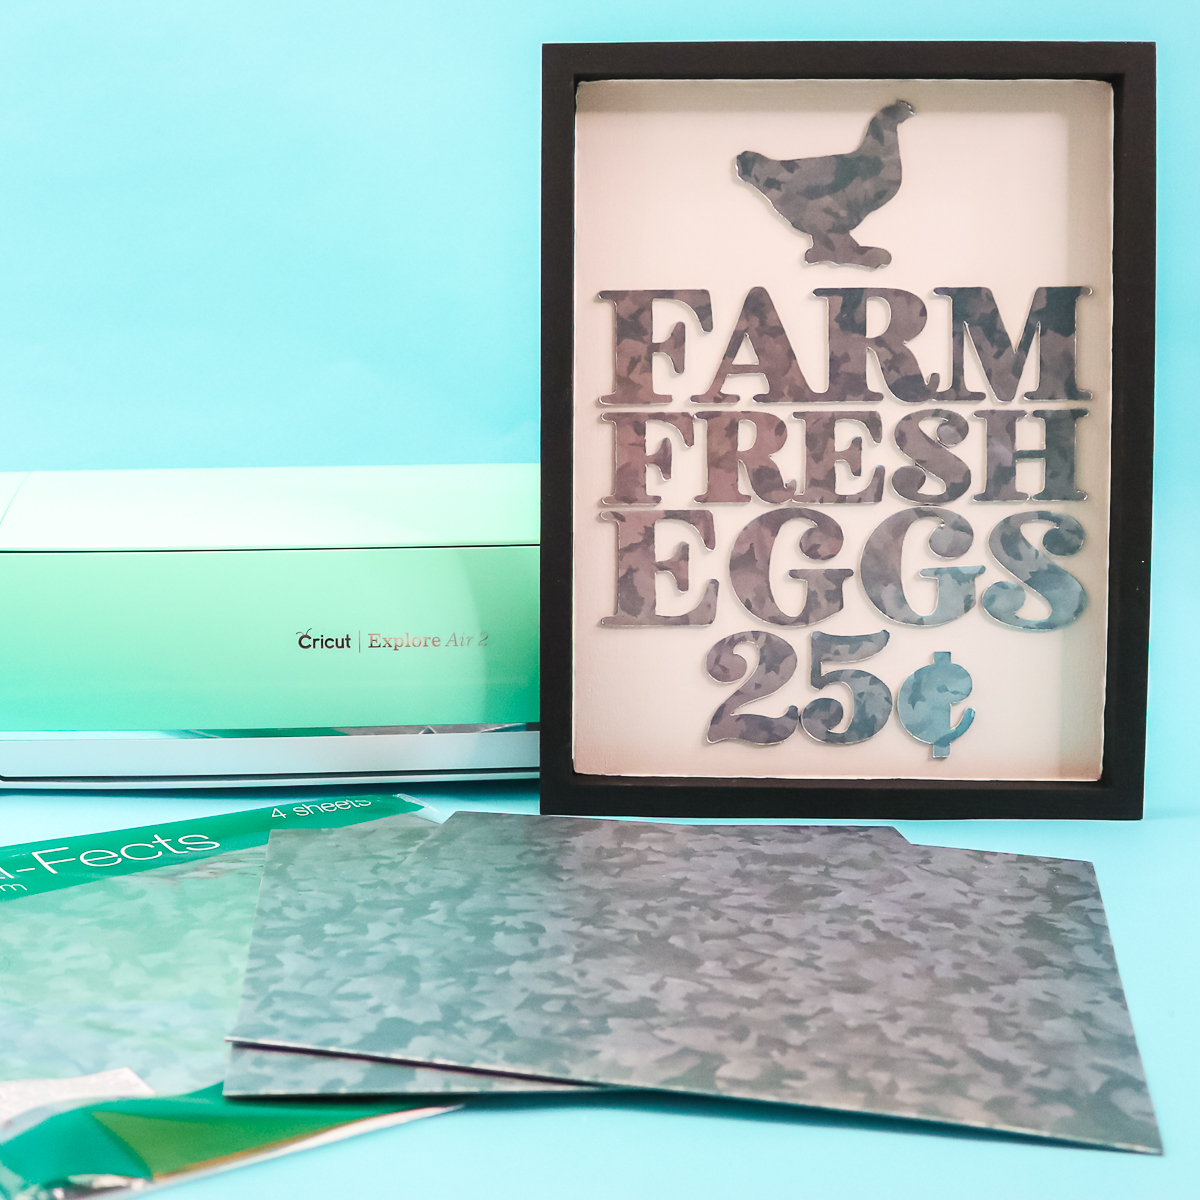
So, whether you make your own farm fresh eggs sign or another project, I really think you will love how these sheets make your projects really pop!
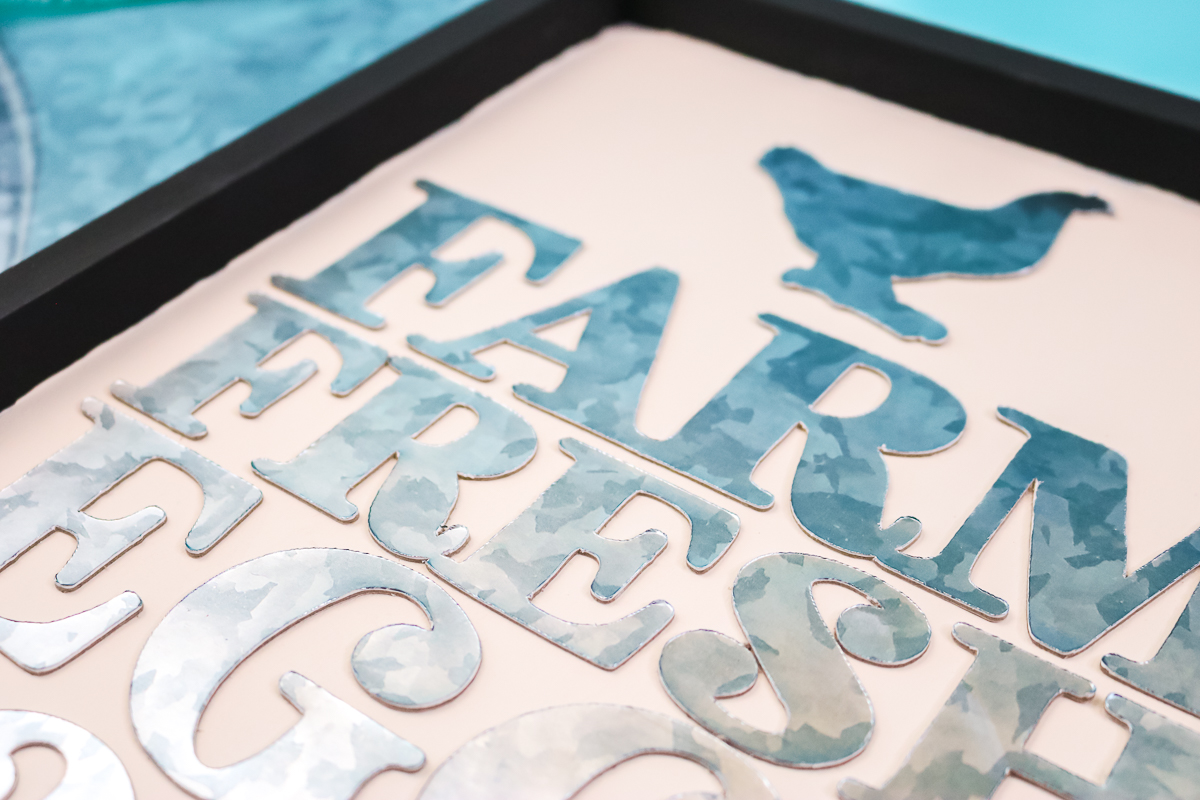
Be sure to pick up MetalFects and use these Cricut metal sheets in your next project. I know you will love the results.


Where do you find this? My internet searches for the metal-ish product yields nothing. Thanks
Unfortunately, I think they have gone out of business. I haven’t found a material that I think compares yet but I am on the look out!
Hey, have you had any luck?
I haven’t. Not anything that looks like this and can be cut with a Cricut 🙁