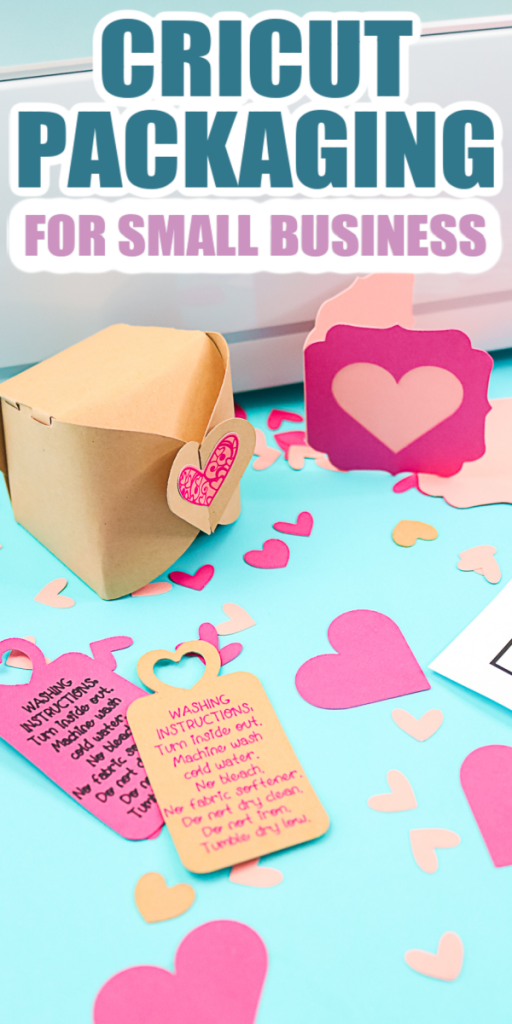
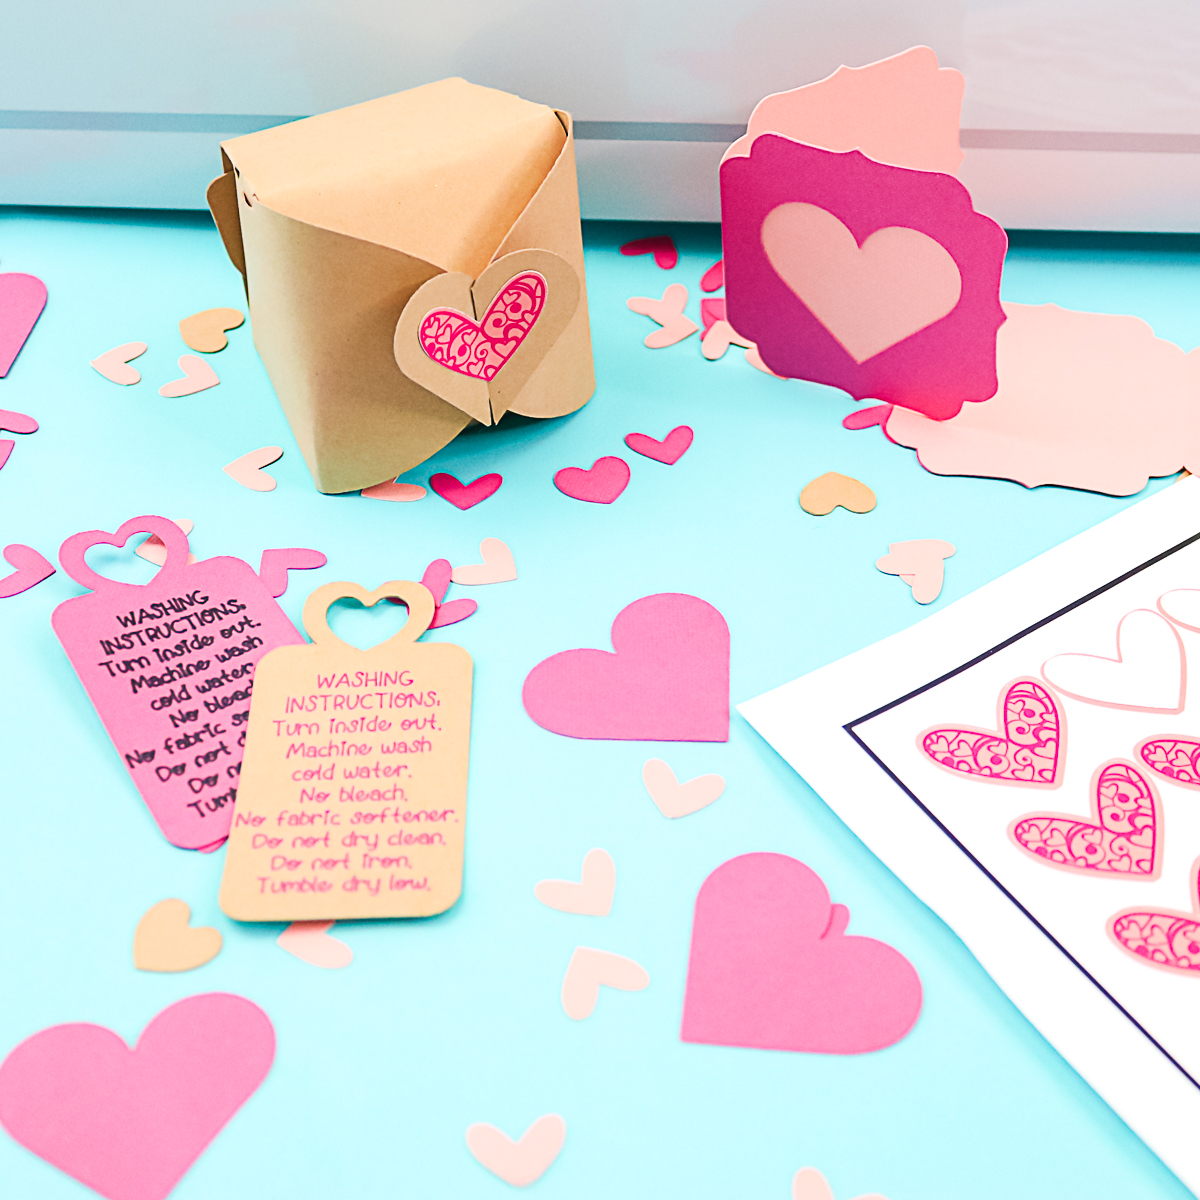
Cricut packaging ideas can be a great way to set your small business apart from the crowd! I have 5 ideas for you to use your Cricut machine to brand your business and package your handmade goods. Don’t have a small business? Use these ideas for packaging gifts for family and friends. I know you will find an idea or two that will work for you!
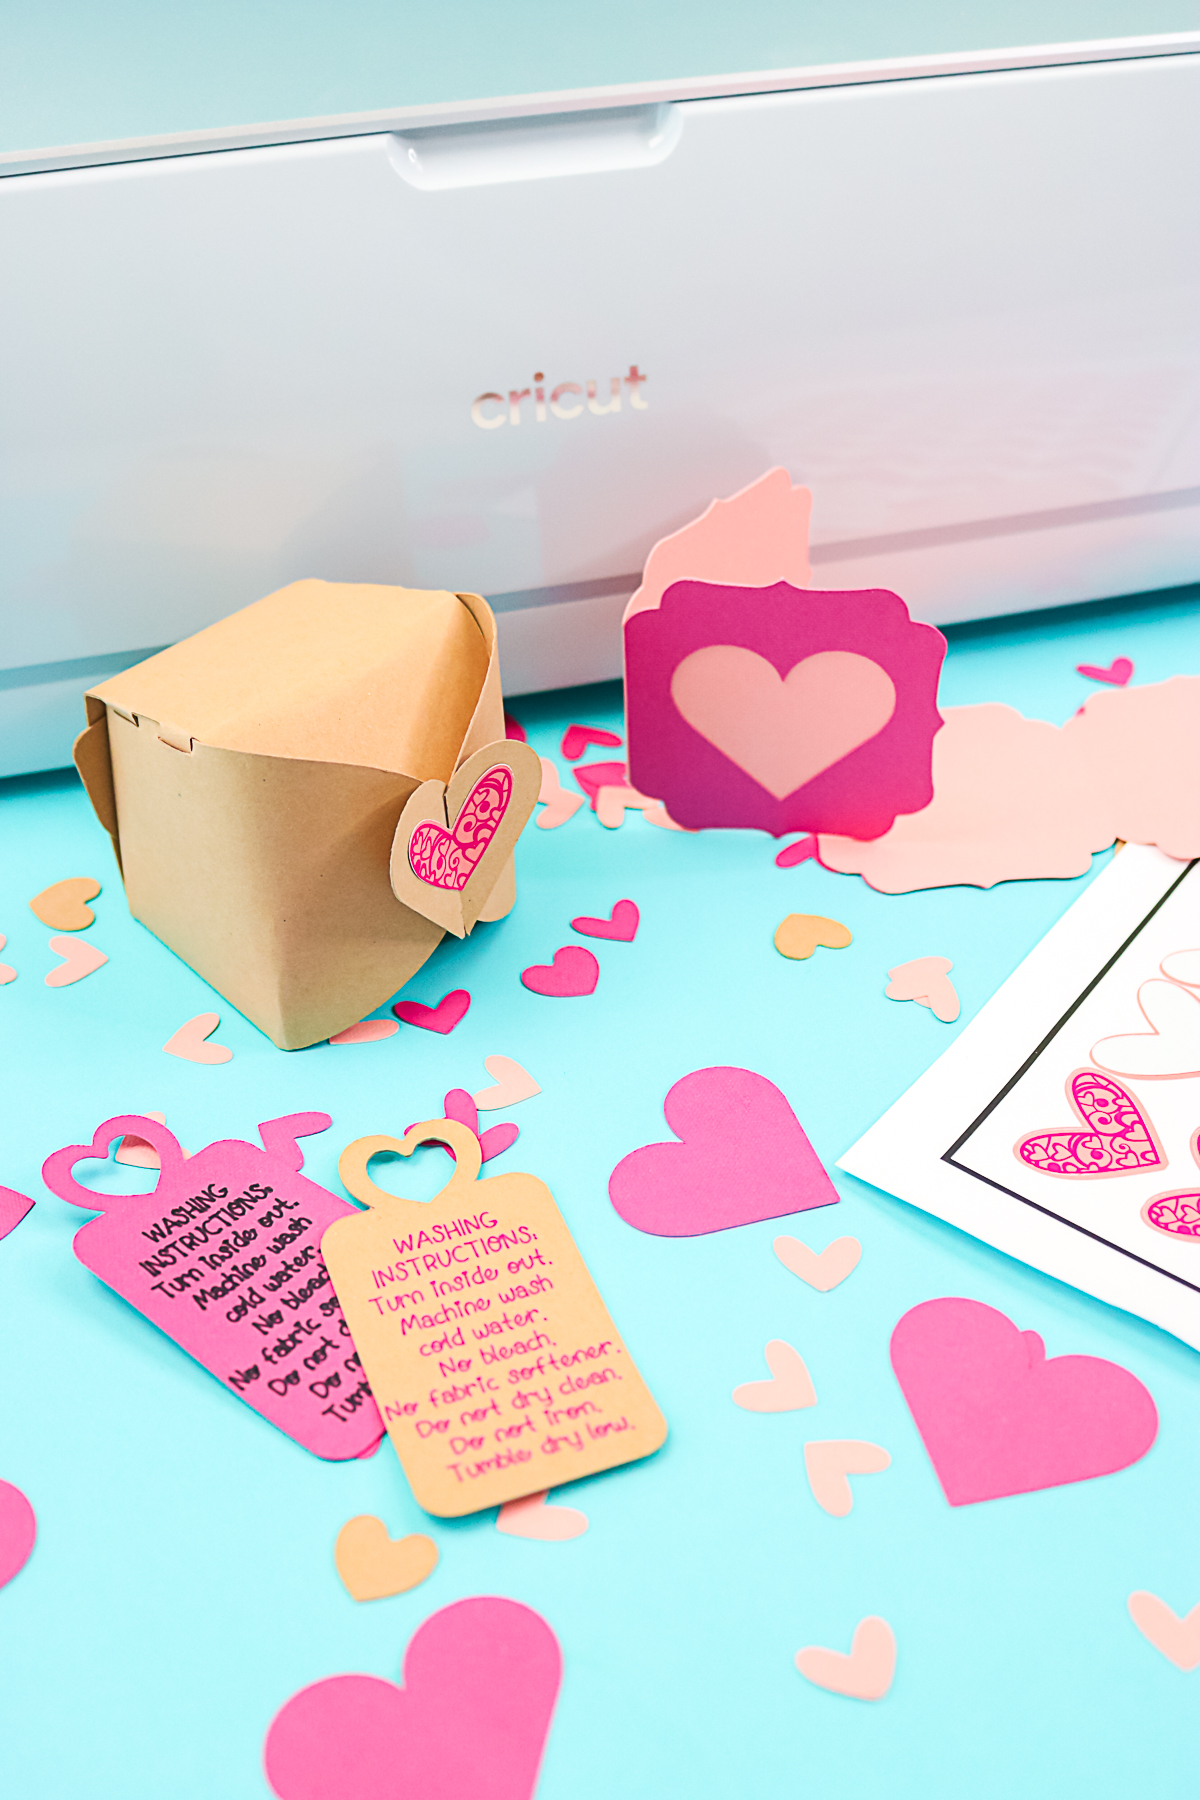
Cricut Packaging Ideas
You can actually see all five of my ideas and watch me make each of them in the video below. Just click play to start creating!
Can’t watch the video or missed some of the steps? You can also follow along below!
Supplies Needed
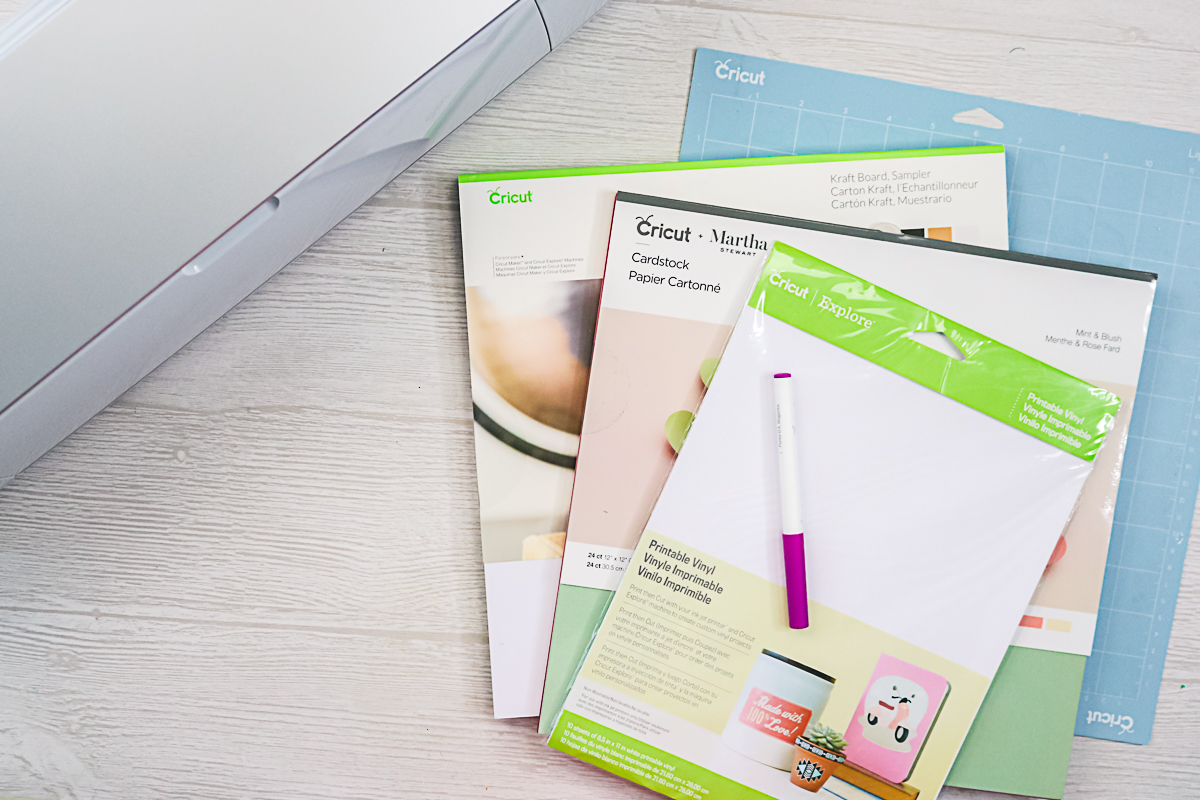
- Cricut Maker 3 (or any Cricut machine)
- Lightgrip mat
- Cardstock (choose colors that work with your branding)
- Kraftboard
- Cricut Printable Vinyl
- Cricut Pens (choose colors that work with your branding)
- Spatula
- Printer
NOTE: I’m going to use my Cricut Maker 3 for this. However, any Cricut machine will work. We are going to do some Print then Cut projects and some larger projects. I wouldn’t necessarily recommend the Cricut Joy for the majority of the projects we’re going to do, but otherwise, grab the Cricut machine that you have.
Cricut Packaging Considerations
Before we even start the Cricut packaging ideas, there are a few things you need to consider for your business. These thought starters will help you decide on the packaging ideas below as well as what to make them out of.
Wow Your Customer
The first thing I want you to consider is how to wow your customer. You’re a small business. If you wow your customer when they open that package, they’re going to think about you again and again for all of their needs when buying in the future. Let’s wow them when they open that package! There are several ways to do that and we’re going to use our Cricut machine to do a few Cricut packaging projects.
Branding is King
When we’re talking about wowing them, the second thing I want you to consider is branding. Branding for your small business is going to be extremely important. You want them to know as soon as they open that package that it is from you. That goes beyond just dropping your business card on the inside. Think about the colors you’re going to use, the shape you’re going to use, etc.
Choose Colors and Shapes
I’m going to pick a color palette. I want you to pick a color palette for your small business and use that throughout your packaging, your marketing, your business’s website, all the places. I’m going to choose a shape of a heart just to generically brand the small business that I’m making up for this video. However, you could use your logo in place of this. You could use a different shape or anything you love. Third, I’m going to have five ideas. Not all of these will apply to your small business, but hopefully, these will be a jumping-off point for you to create those small business packaging ideas that will work for you.
Designing Your Cricut Packaging Ideas
Now that you have some of those branding elements in mind, it is time to head to Cricut Design Space to make your projects. Again, I am going to show you 5 Cricut packaging ideas but you can definitely expand on these if you need to. You can see how I designed each piece in Design Space in the video above. Here is a brief overview of each one, however.
Kraftboard Box
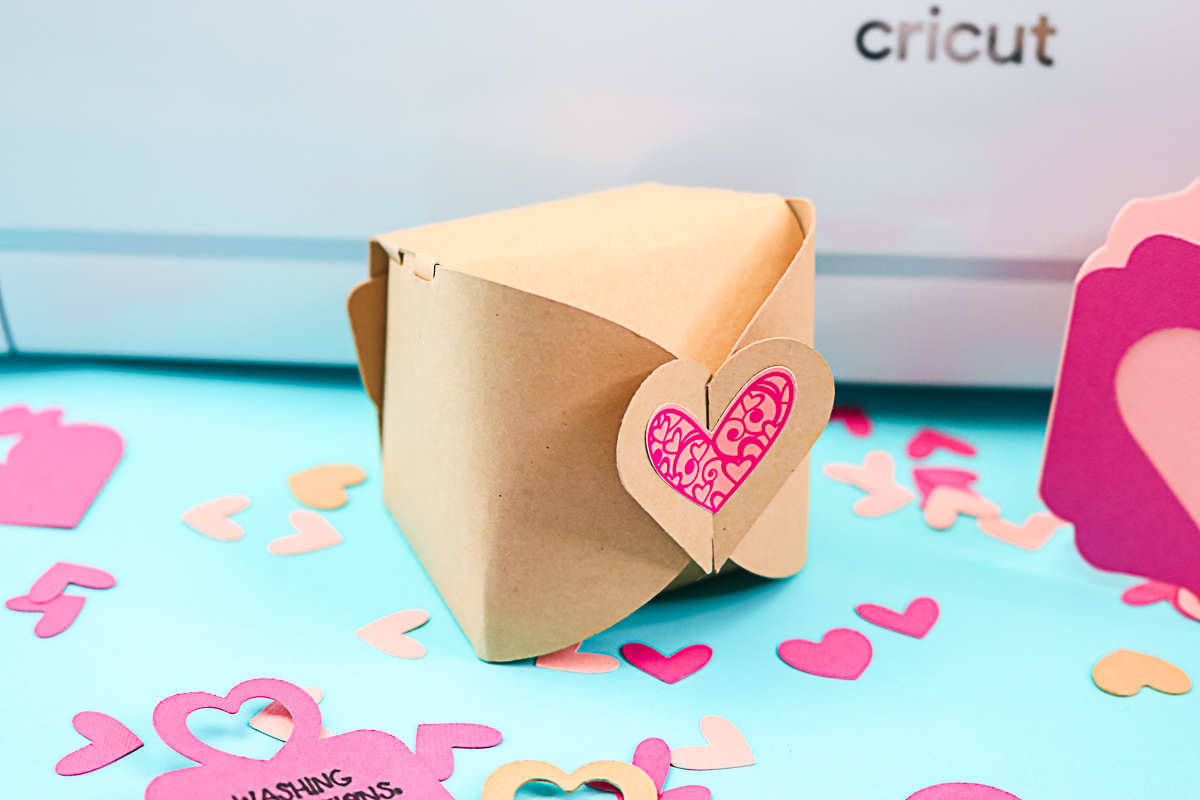
This box is intended to be for something small that you sell. This box wouldn’t be for packaging, but you could put a box inside of a box for something like earrings or a necklace. Here are instructions for finding and designing your box:
- To find a box in Design Space, go to “images” and search for “box”.
- Filter those by going to “project type” and picked “3D”.
- Pick the box you like. I actually chose this one that becomes a heart at the top. Remember, I told you that I’m going for a look of hearts as an example of something that will repeat throughout all of the elements.
- Add the box to your canvas and size it however you would like.
Stickers
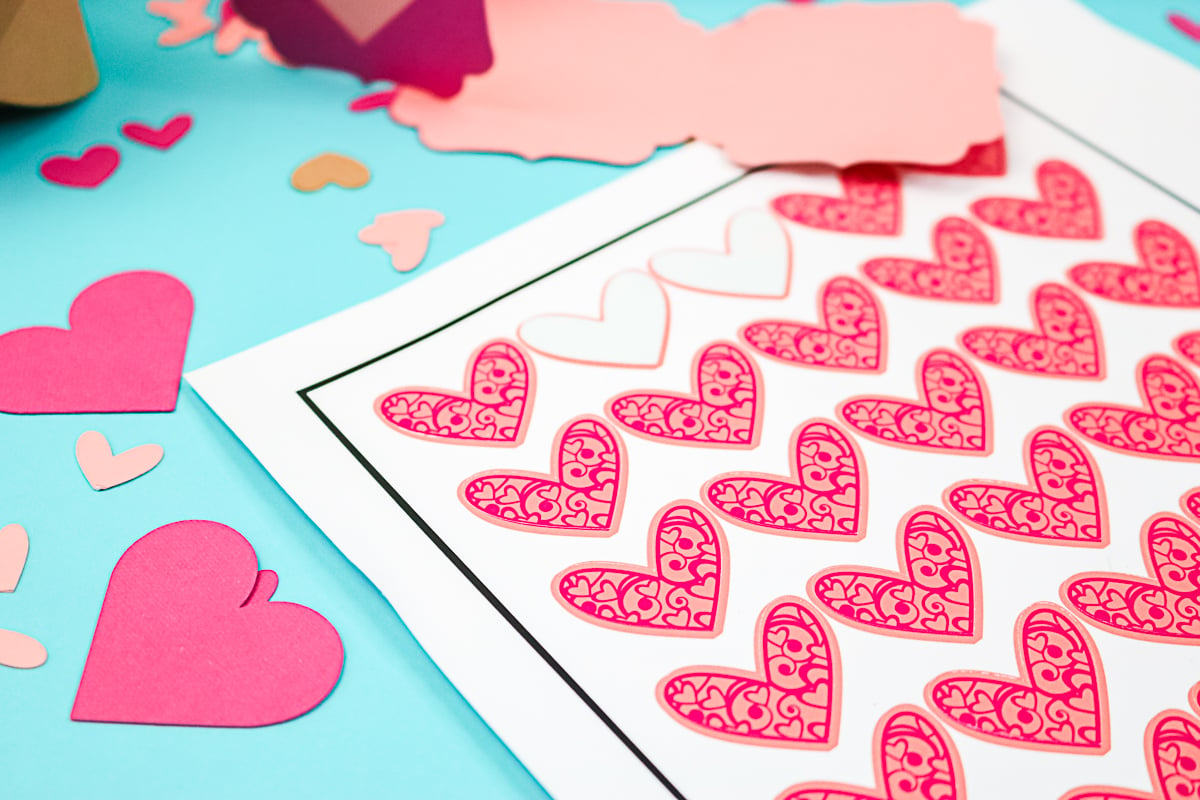
The next project we’re going to make is print then cut stickers. These are a great way to add some personality to the inside or outside of your package.
- Go to images and search for something you like. Again I picked a heart to go with my theme.
- Insert it and resize.
- Change the layers of your design to the colors for your brand.
- Pick all of the layers and click “flatten”. This is now a Print then Cut image. You can now duplicate that as many times as you would like.
Get my free small business sale planner!
Plan your next sale using this 2 page planner and reach as many people as possible! Increase your reach and increase your sales with a well thought out plan that will have customer coming back again and again!
Care Tags
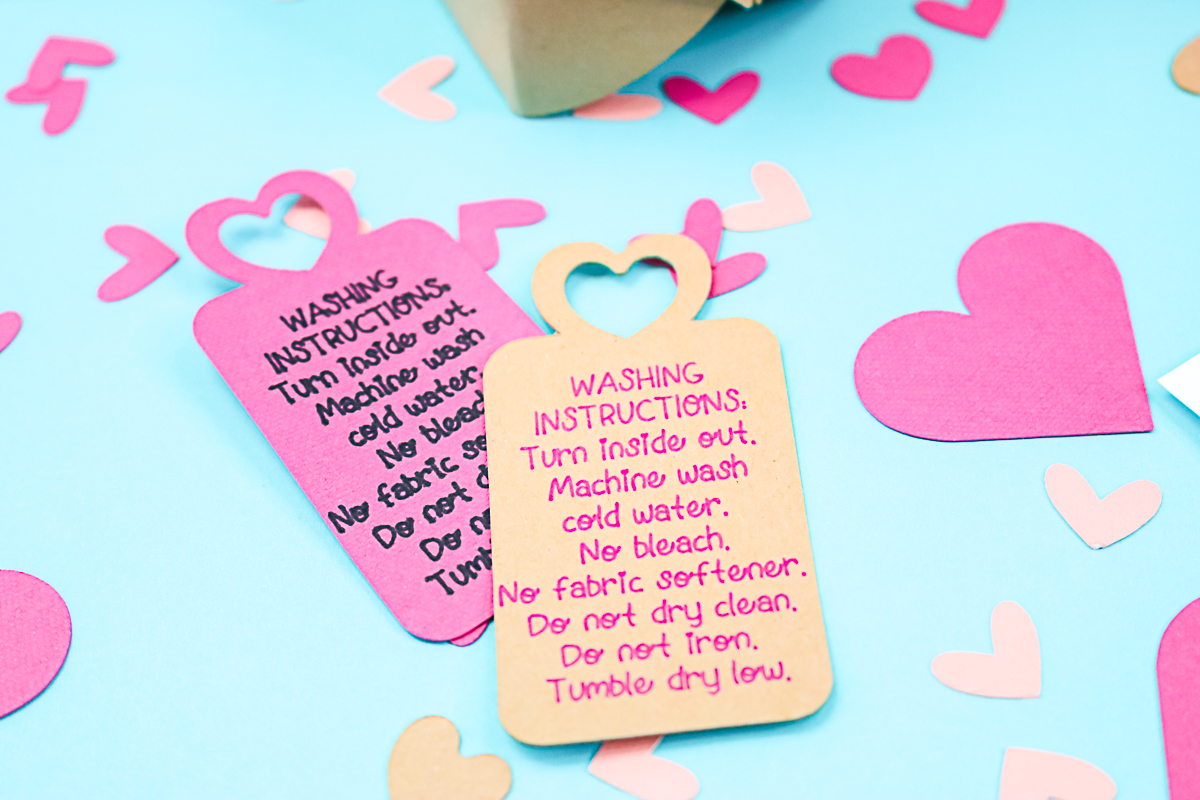
The next thing we’re going to talk about is a care tag. A lot of handmade items require special care whether that’s putting an HTV on a shirt, vinyl on a tumbler, or something on a mug. You may have special instructions for cleaning the necklace you make. Care instruction tags are something that I think are a great addition and might not be something you want to write out every time. We can let the Cricut do the work for us!
- Type out the instructions and change the font to a writing font.
- Add a tag by searchign images for “tag”. Again I went with something that has a heart.
- Put the writing on top of the tag, locate it, then pick both and click “attach”. The Cricut machine will now write on the paper and then cut out the tag around the writing.
Cards
Our fourth project is going to be a card. I always think a handwritten thank you card is a great addition to your packaging, but making it branded is even better. I like using paper in my brand colors to make a simple card that has a heart again because all of our elements have hearts. That just adds that extra special touch. I’ll just write “thank you” on the inside and put that inside my package.
- Click “images” and search for something like “card heart.”
- Choose one you like and insert it.
- Resize to whatever dimensions you need.
- Change the colors to be the color of paper you are going to use. Then you can copy as many times as you would like for additional cuts.
Confetti
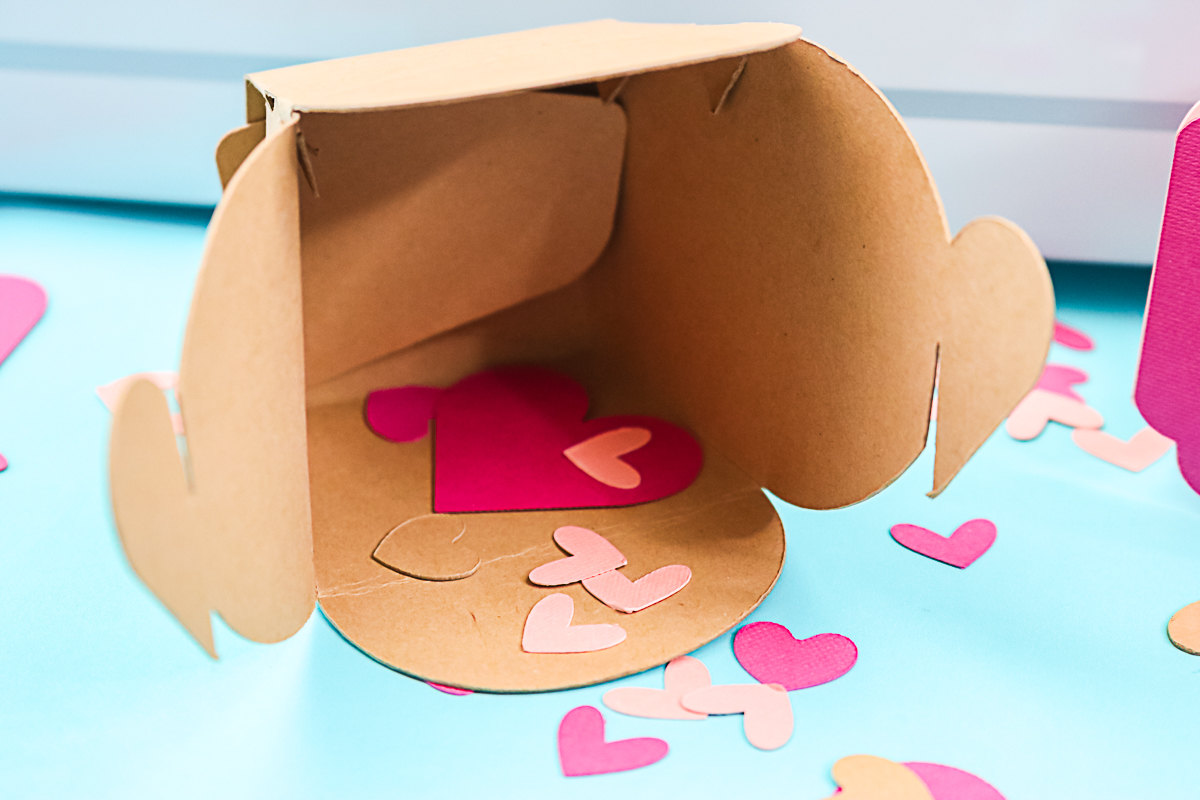
For our fifth idea, I want to encourage you to make your own little confetti to throw in the package. This is an amazing way to use up scraps. I just made a couple of little hearts here and I made them the same color as this paper. I’m going to make hearts that fit around the excess area of the paper. That way, this little confetti doesn’t cost me any extra. It’s the scrap paper that will be around these cards anyway. I can use it to throw in the package. It doesn’t cost me any extra and it’s that extra special touch that people really like. Just throwing a few pieces of those hearts on top of the package will be something that they will remember.
Maximizing Material
Anytime you are making things like these Cricut packaging ideas, you will want to get the most out of each sheet of material. Things like the care tags, for instance, can actually be made out of any of the colors of paper. So, I would use those to fill in the gaps in my sheet of paper. Again, the confetti that we talked about above can be used to fill up your sheet. So, try making multiple copies of your elements and click make it to see how the Cricut lays out your sheet. You can move the elements around on the mat and even move them from one mat to another. Once you are happy with the placement and material utilization, then you can continue to cut your material.
Cutting Stickers
For stickers, click “make it” and just add the number of copies in the project copies area. I keep adding to the number until I get a full sheet of stickers. For my example, 45 stickers will fit on a sheet. Then just click “continue” and send it to your printer. Print the sheet on your printable vinyl.
Pick “printable vinyl” as the material and add your sheet that’s already been printed to a light grip mat. Then just load the mat into the Cricut and let it cut your stickers for you.
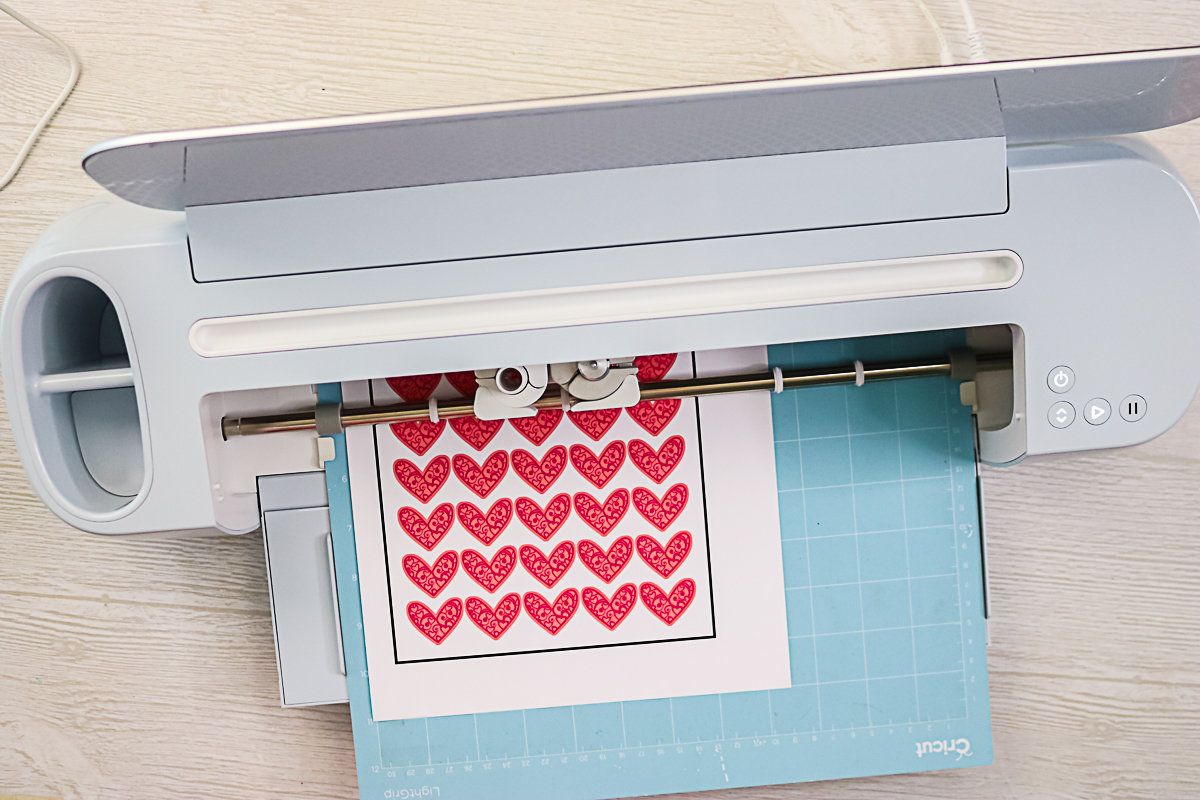
Now, you have stickers ready for your branding and packaging for your small business. Again, you can use these stickers a wide variety of ways both on the inside and outside of your package to make it extra special.
Cutting Kraftboard
To make this box, you will need to add some scoring lines. For this, I am using the scoring stylus but you can also use the scoring wheel if you have a Maker machine. Add the scoring stylus to clamp A when prompted by Design Space then you will need the fine point blade in clamp B.
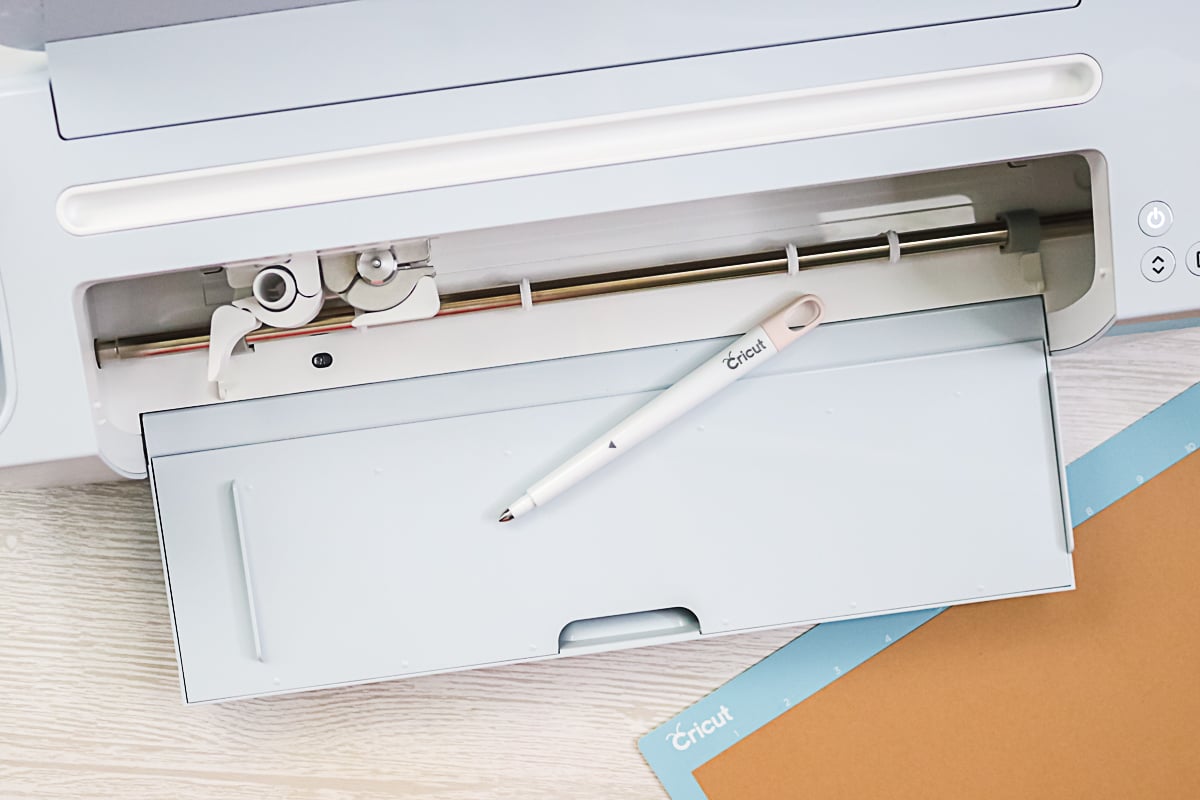
Put the sheet of kraftboard onto a light grip mat. Load it into the machine and press “go” to start the cut. If you have writing on the sheet as well, Design Space will prompt you to change out the stylus and add the pen. After adding the pen to clamp B, press “go” to draw. Once it’s done writing, it will start the cutting process.
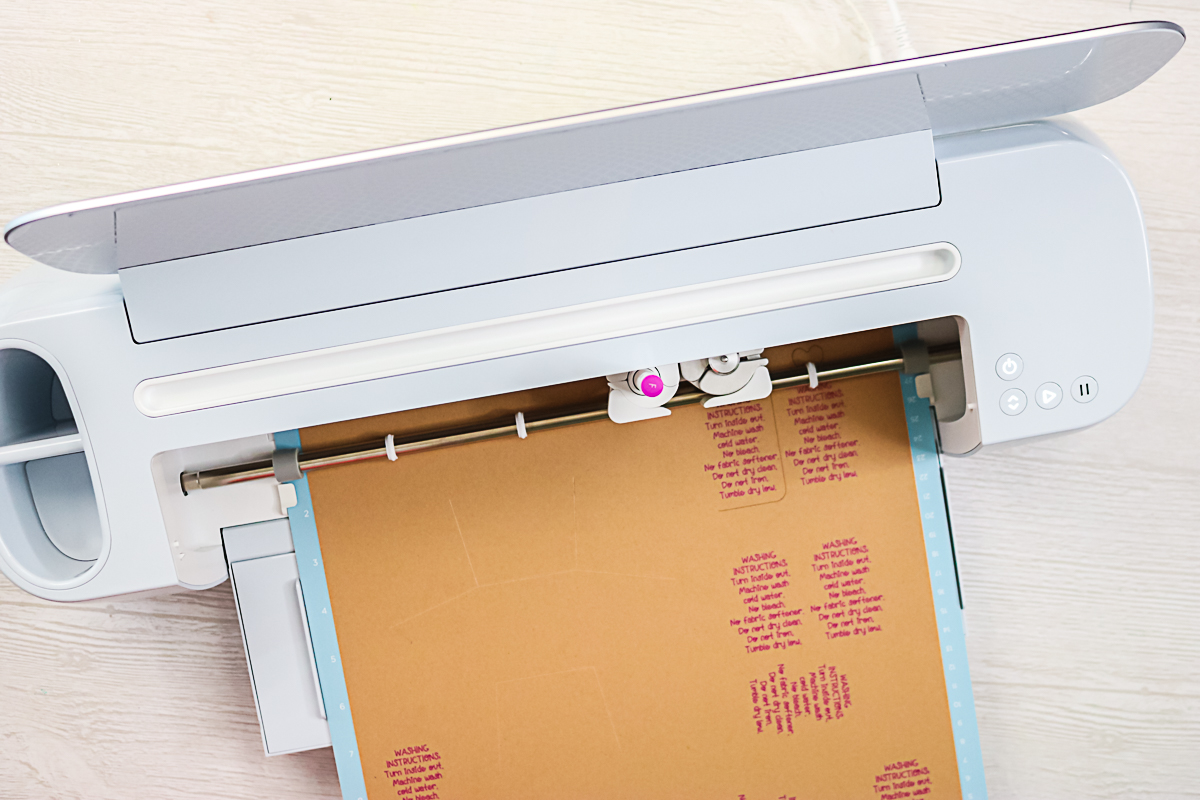
Once the cut is complete, remove the mat from the machine. We will take a closer look at folding the box below.
Cutting Cardstock
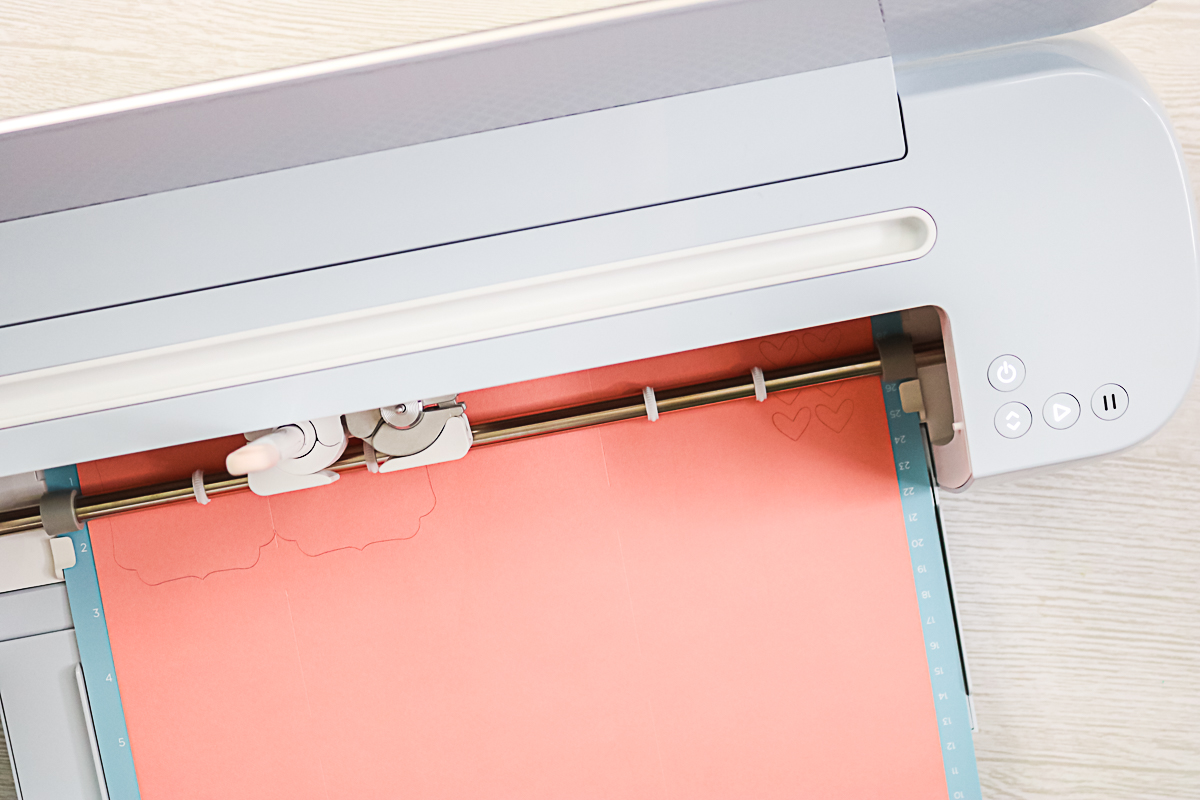
I am actually using two colors of cardstock for these projects, however, both cut the same. I have writing on both of my mats so I loaded a pen into clamp A and the fine point blade into clamp B. For Cricut cardstock, I like to use a medium cardstock setting. Add your cardstock to a light grip mat and load it into your machine. Then click the “go” button to start cutting. After the writing is done, your Cricut machine will cut all of your pieces.
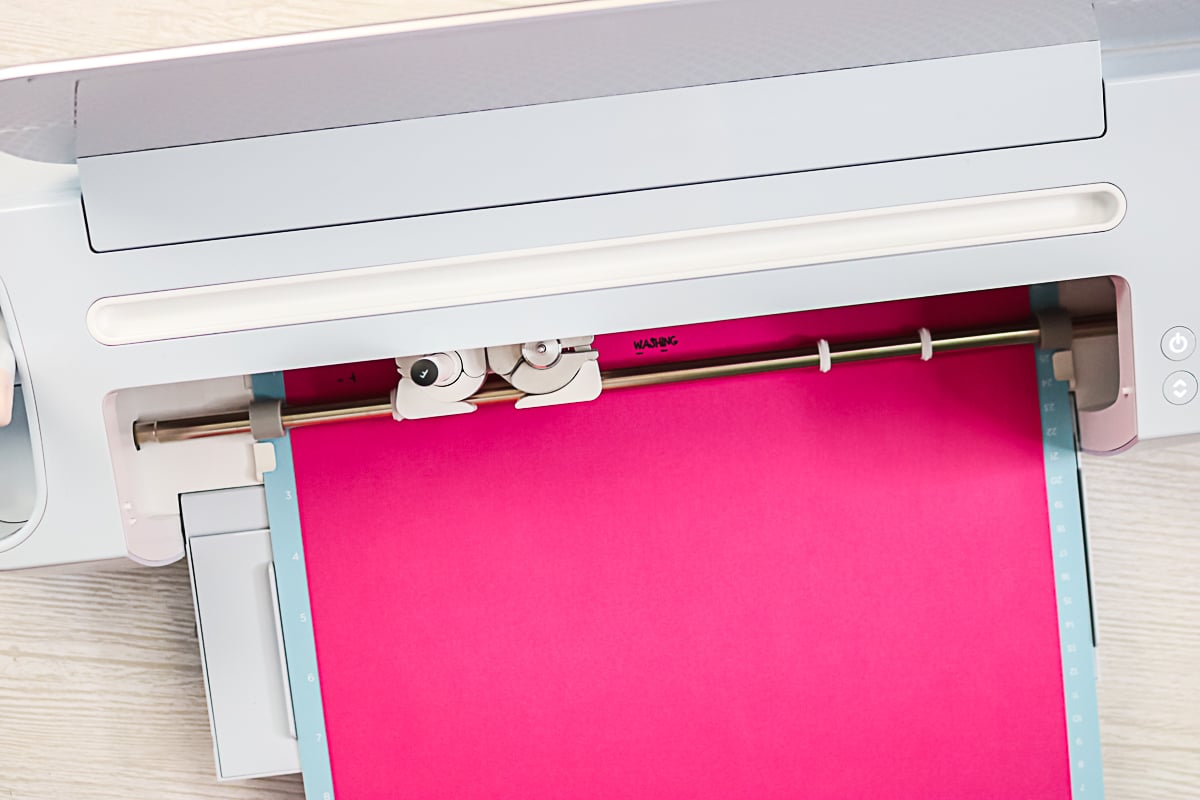
Once your first sheet is done, you can repeat the process for loading any additional colors or mats. If the mat has score lines, follow the prompts in Design Space for loading your tools and pens at the right time.
Removing Paper from the Mat
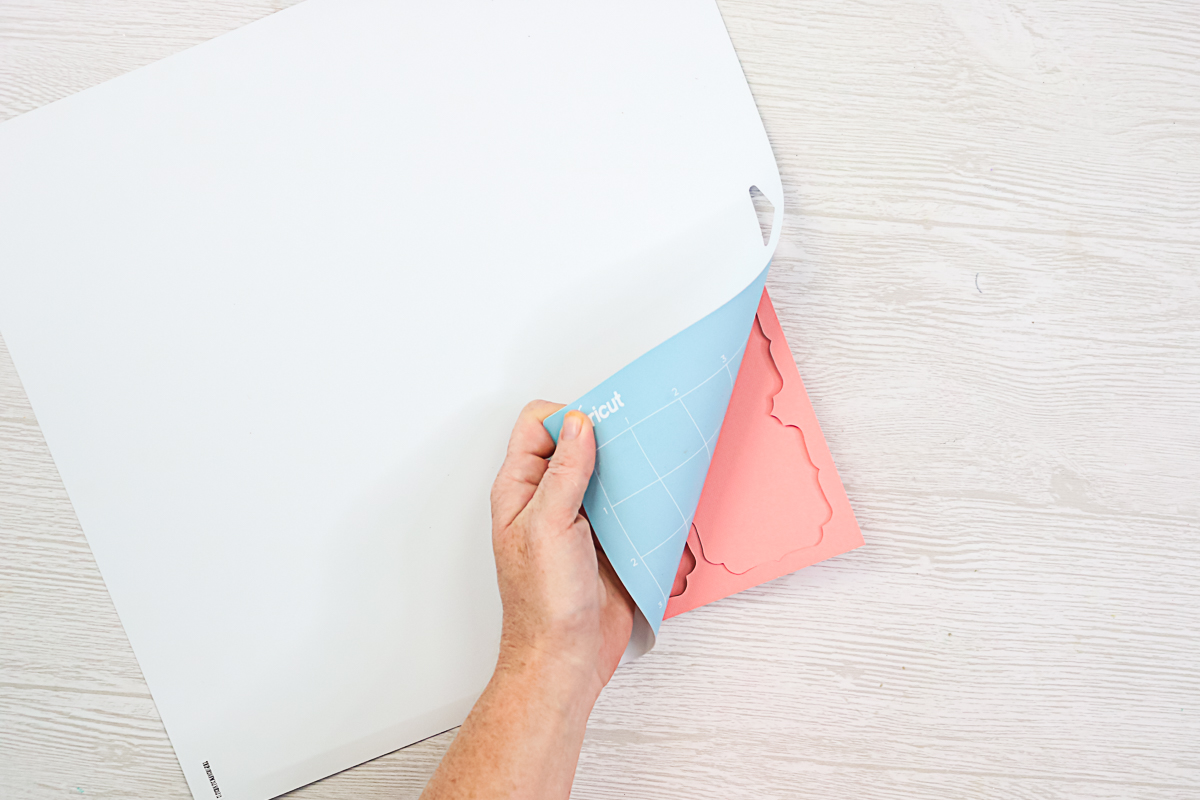
As always, the best way to remove your pieces from the mat is to flip the mat over and then peel the mat back to remove your pieces.
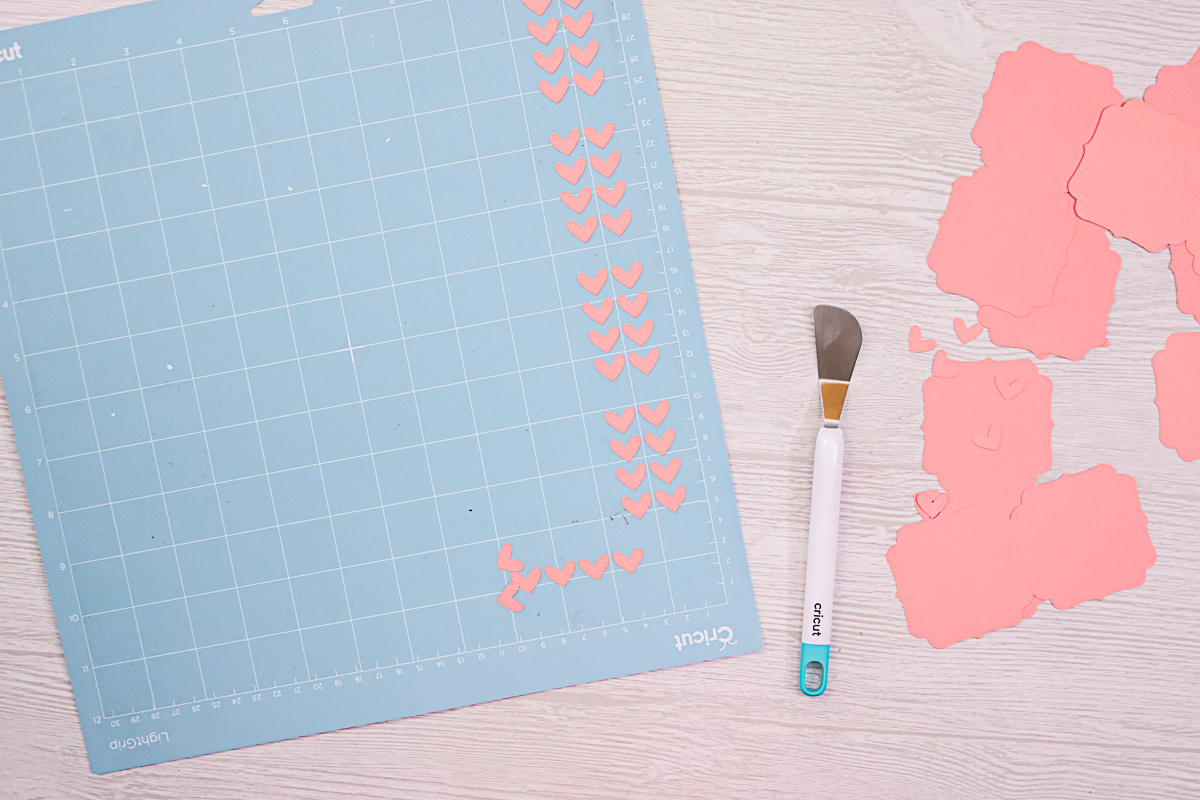
For small pieces like confetti, it’s often good to use something like a spatula to get under your pieces and just push them off the mat.
Folding the Box
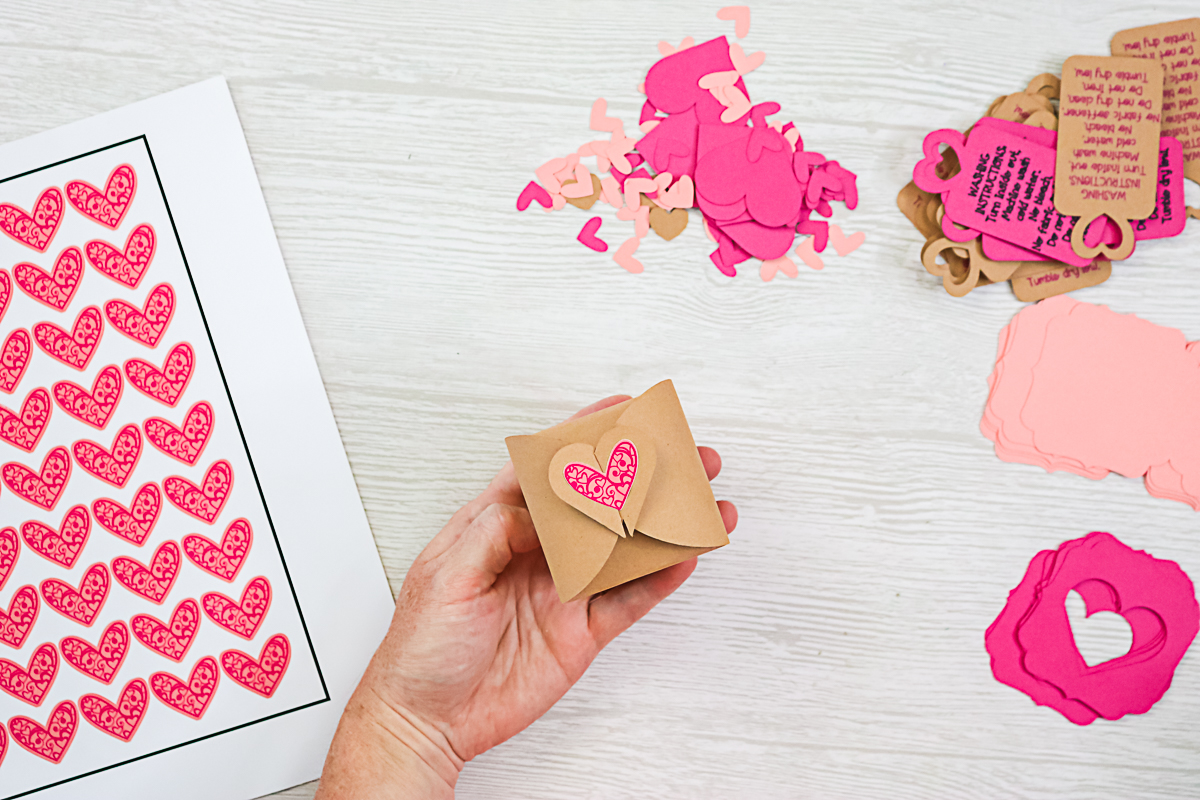
First, we want to fold the box along those score lines. It’s as easy as folding it up. There are little narrow pieces and they go into the slits in the sides. We’ll just repeat for the tabs on the other side.
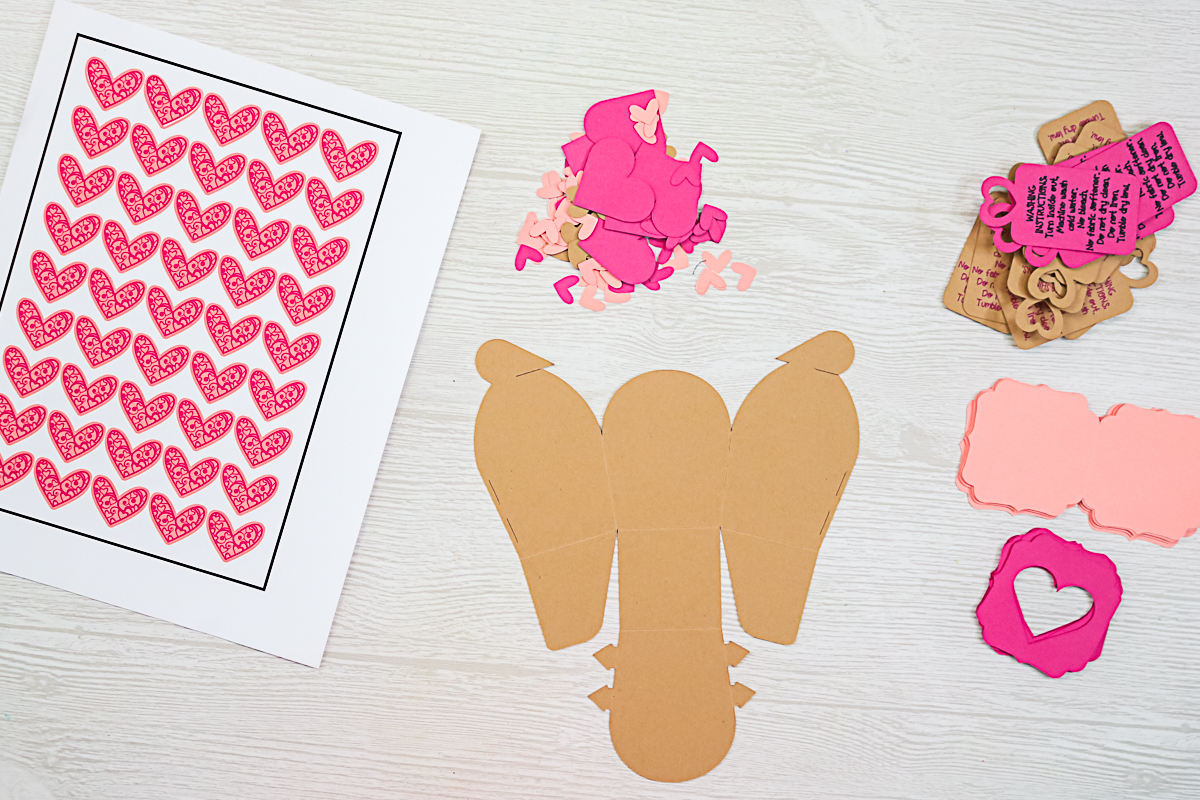
Once you have your little box assembled, you could add whatever you’re selling to the inside, maybe a little bit of the confetti that we cut, and then you would just close up the box. Then, this one forms a heart on the top. I like to use one of the Print then Cut heart stickers right on the top. That makes the box look a little bit more like the branding I have going on.
Assembling the Cards
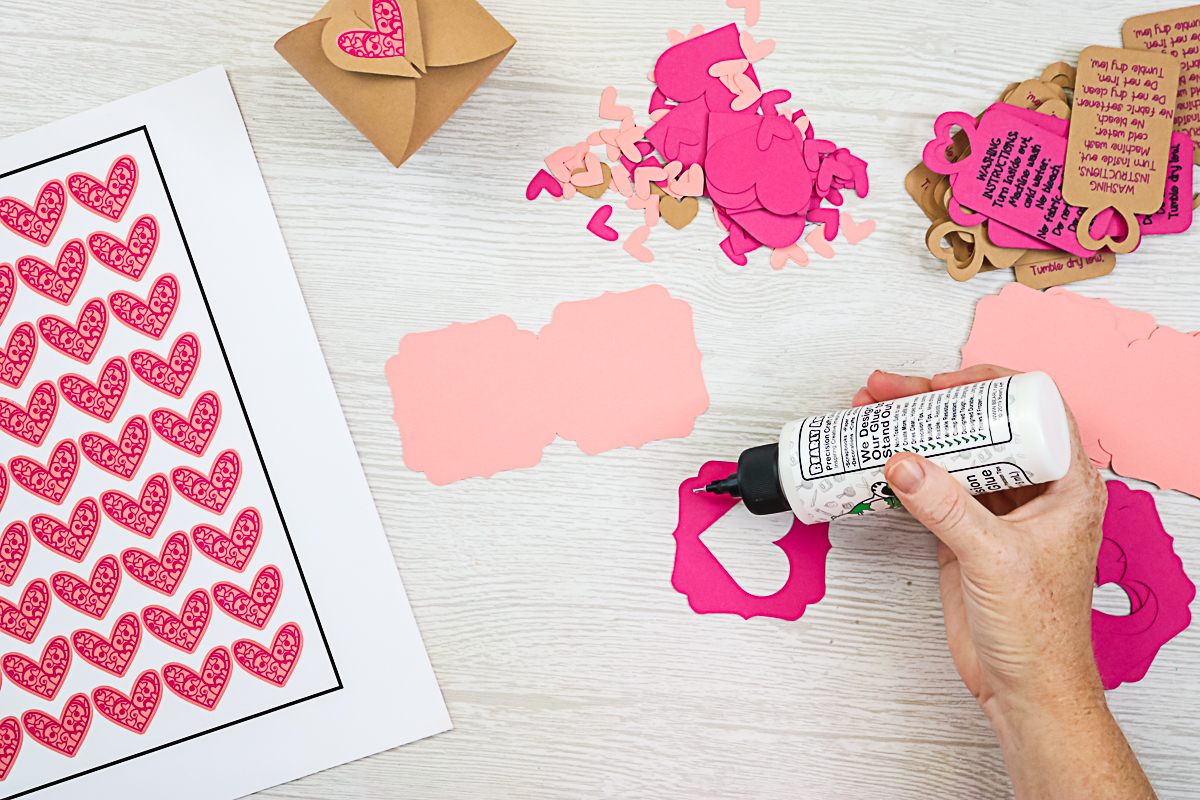
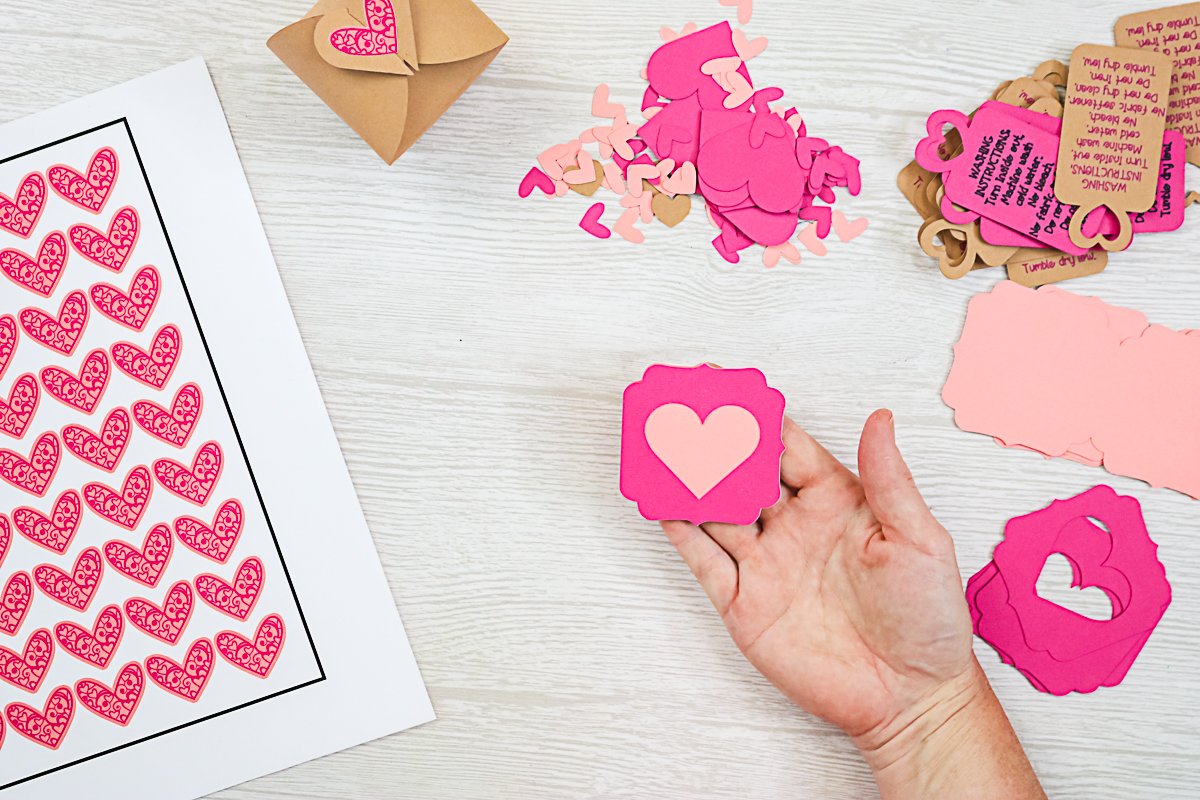
We would also want to add a handwritten thank you card. To make the handwritten thank you card, we just need to assemble the card itself. The card has a scoreline to fold. Then, you would just add glue to put the second piece of the card.
We could just assemble those two together, allow that to dry, sign the inside, and you would have a handmade thank you card all within a couple of minutes.
Ways to Use These Cricut Packaging Ideas
Now that you have made several items for your small business, how do you use each of these effectively? Here are some ideas to put these items to use!
- Use the stickers wherever you can for brand recognition. Using them on the outside of the package means your customer will know when they open their mailbox that they have something from you.
- Adding a box inside of a box is a great idea if your items is small enough. Everyone loves opening a present! Can’t fit your item inside of a small box like the one in this post? Wrap your item in tissue paper and close with one of the stickers we made. That has the same “gift” effect and will not add that much to your costs.
- Care tags are a great way to show you care and make sure your items last as long as possible once they reach their destination.
- Drop in that small thank you card to give your order that personal touch.
- Adding confetti to a package is one of my favorite ways to brand a business. Why? Because it can come from your scraps meaning it doesn’t really cost you ANYTHING to add!
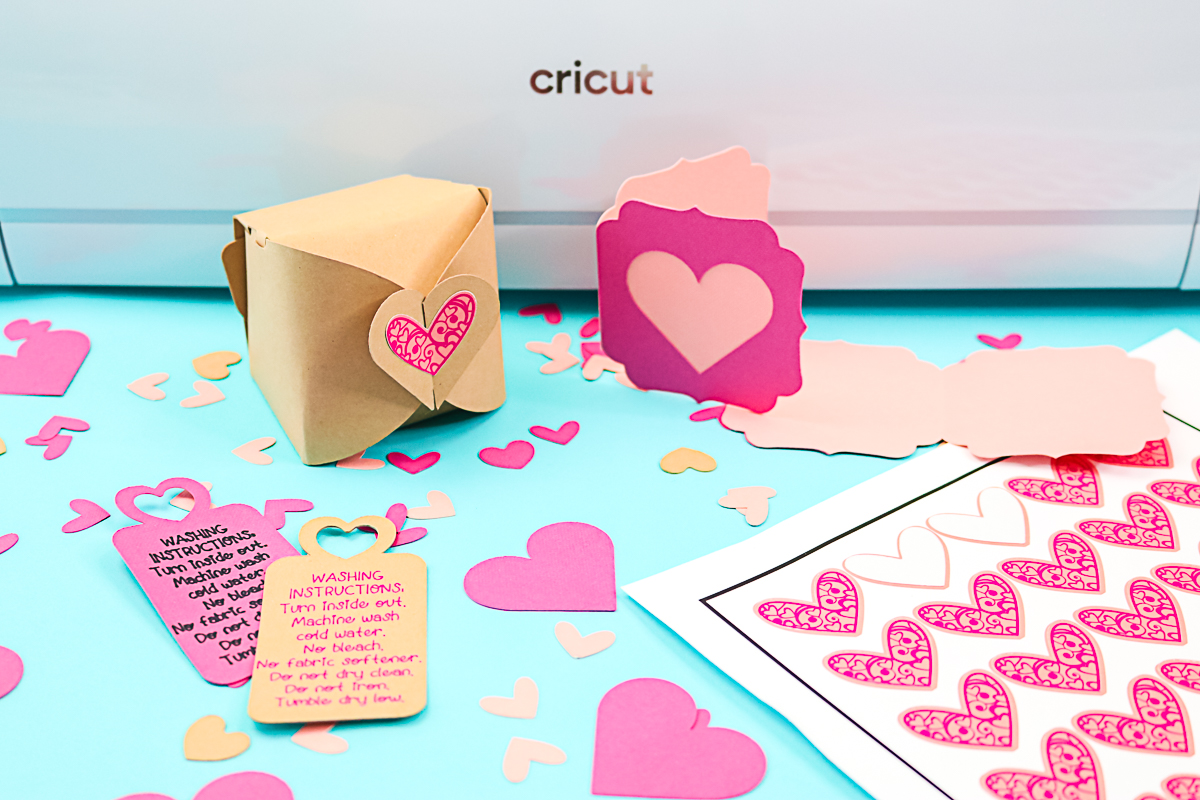
Here are five ways to personalize the packaging for your small business! I hope this helps you develop a method for packaging your products that works for you and that screams your branding, your business, and what you want to convey to your customers.
I hope this gives you some ideas, gets those wheels turning about how to use your Cricut machine, and even your scraps to add something personal to your small business packaging methods. Cricut packaging ideas are a great way to show your customers that you care!
