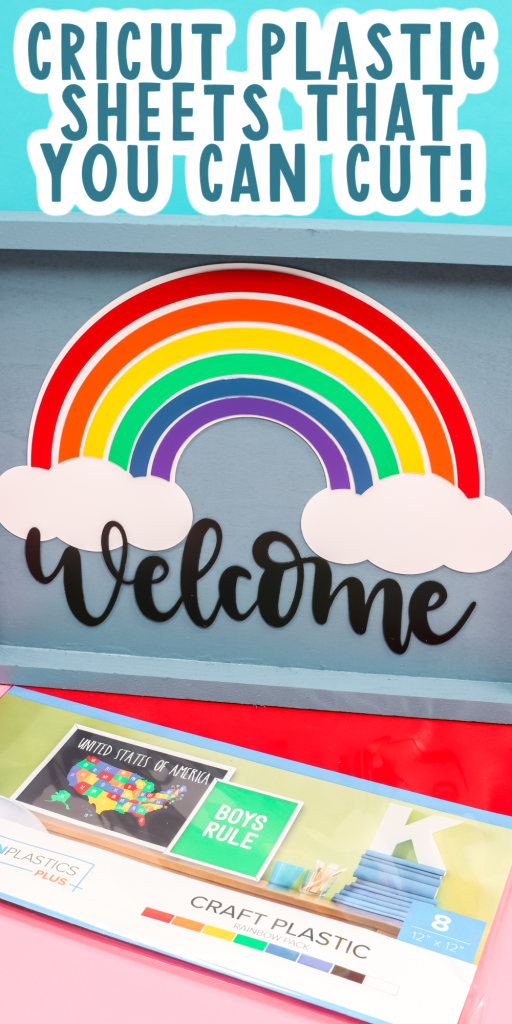
I have had so many people ask me for Cricut Plastic Sheets to make products out of. Well, this new product is perfect for making home decor and even cake toppers. Keep reading to learn how to use it with your Cricut Maker or Maker 3 and the knife blade. I have cut thin acrylic sheets with my knife blade before but these sheets are thicker and come in colors!
Looking for more information about the Knife Blade? Check out my post all about the Cricut Knife Blade here.
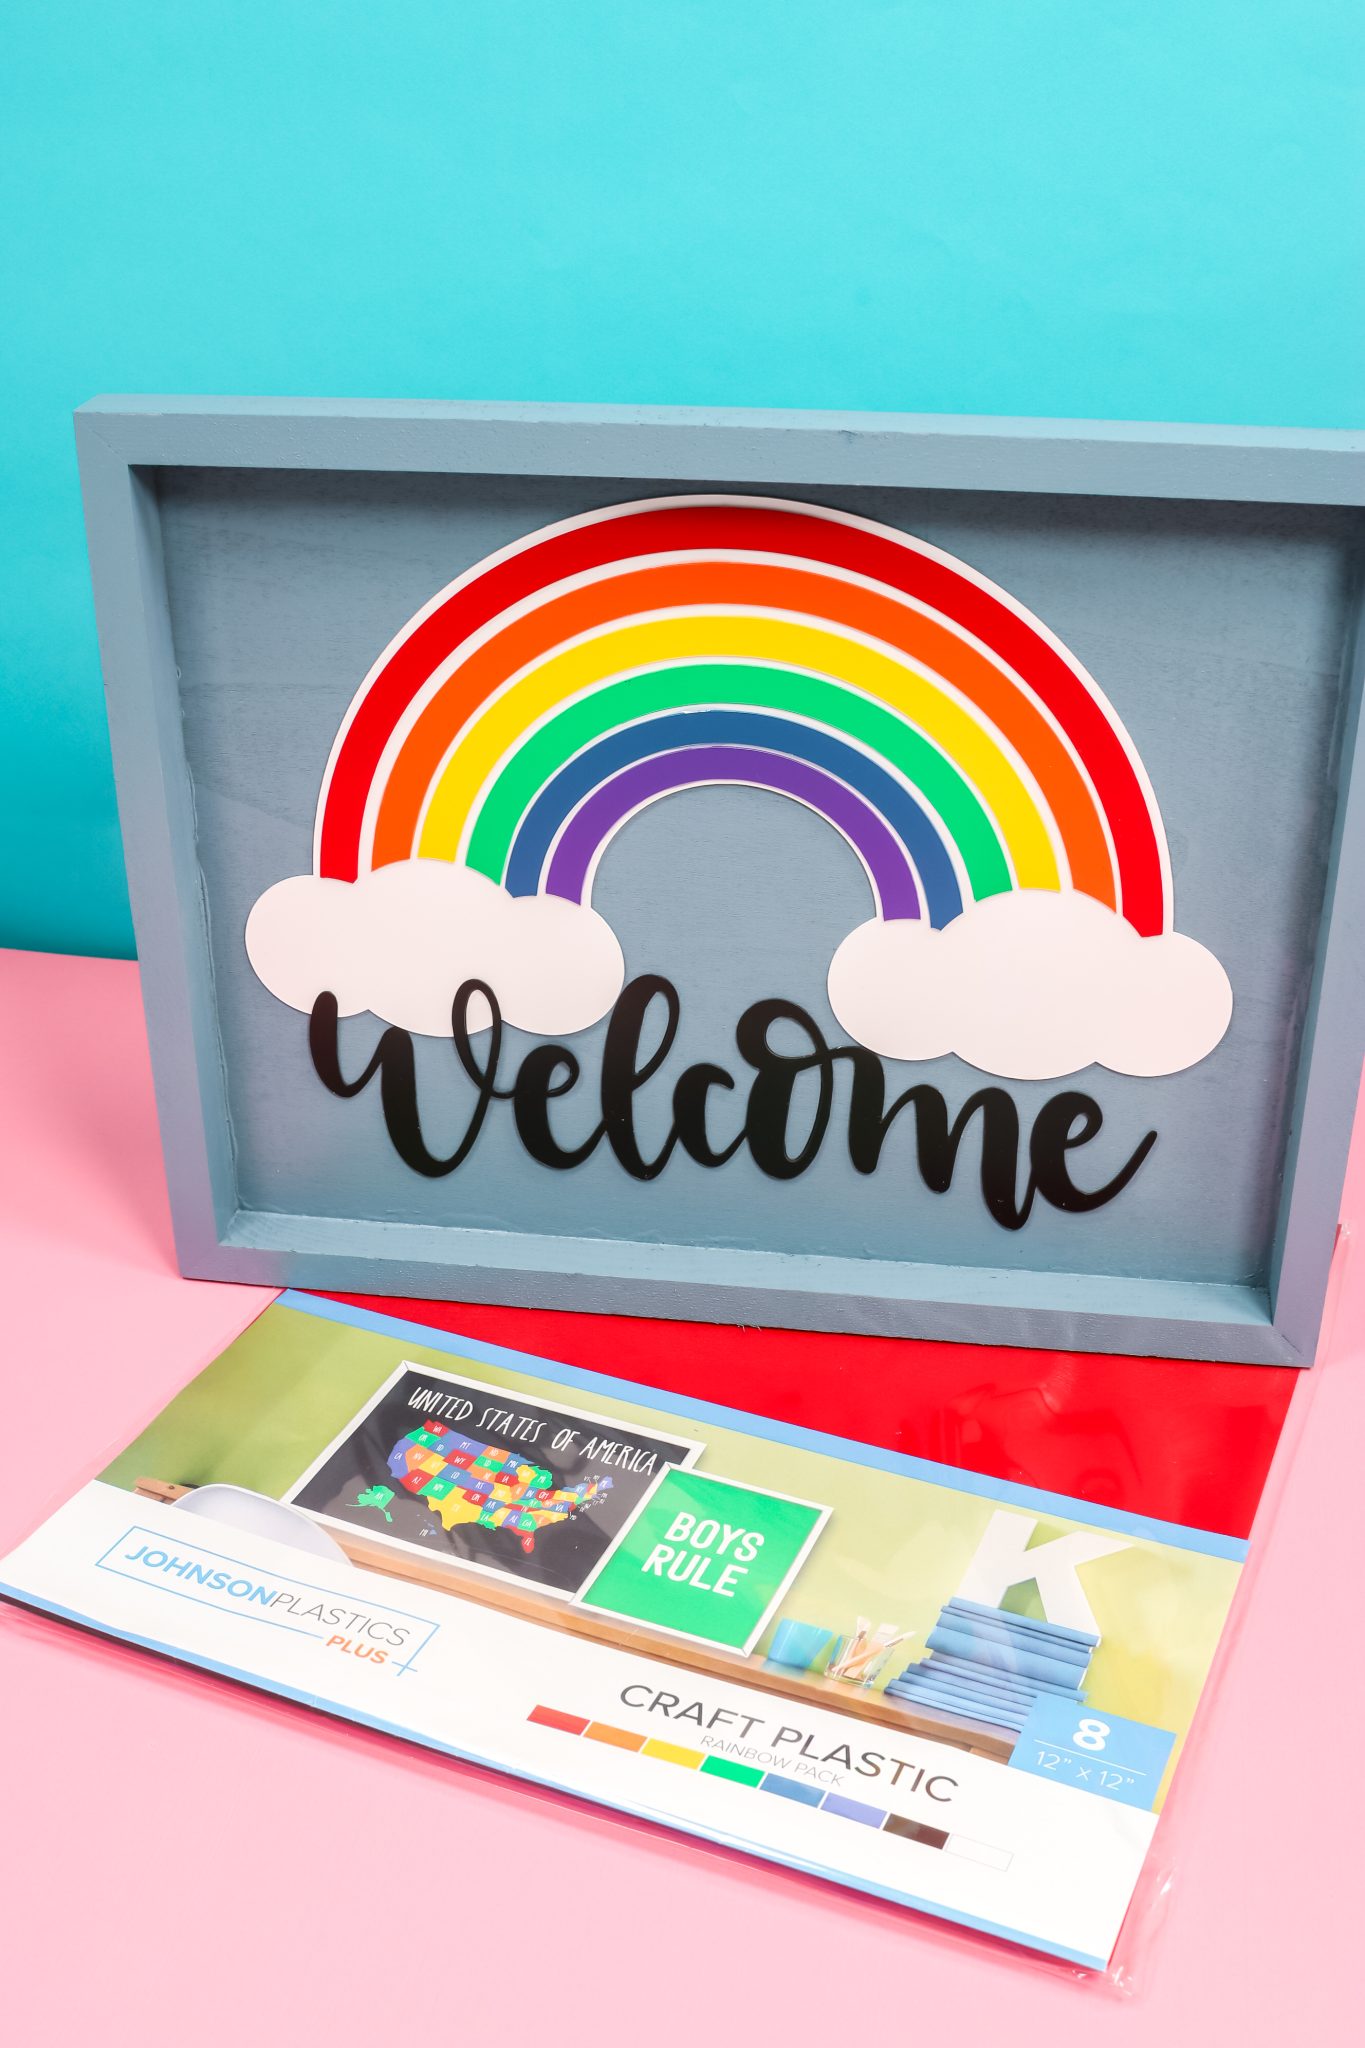
Using Cricut Plastic with Cricut Maker
Craft Plastic is a new product for me. It comes in a wide variety of different colors and it’s a fun material to use with your Cricut Maker machine. You can watch me cut Cricut plastic and make this sign by clicking play on the video below:
Supplies Used:
- Craft Plastic Sheets
- Cricut Maker
- Knife Blade
- StrongGrip Mat
- Masking Tape
- Wood Canvas
- Paint
- Clear Glue
- Brayer
- Scissors
Cricut machine needed:
Craft Plastic is not thick but it is a denser material that requires the Knife Blade to cut it. That means you need the Cricut Maker or Maker 3 and you will need the Knife Blade. The Knife Blade does require the use of a computer, not the mobile app to use. To use this product you will need to also have a computer.
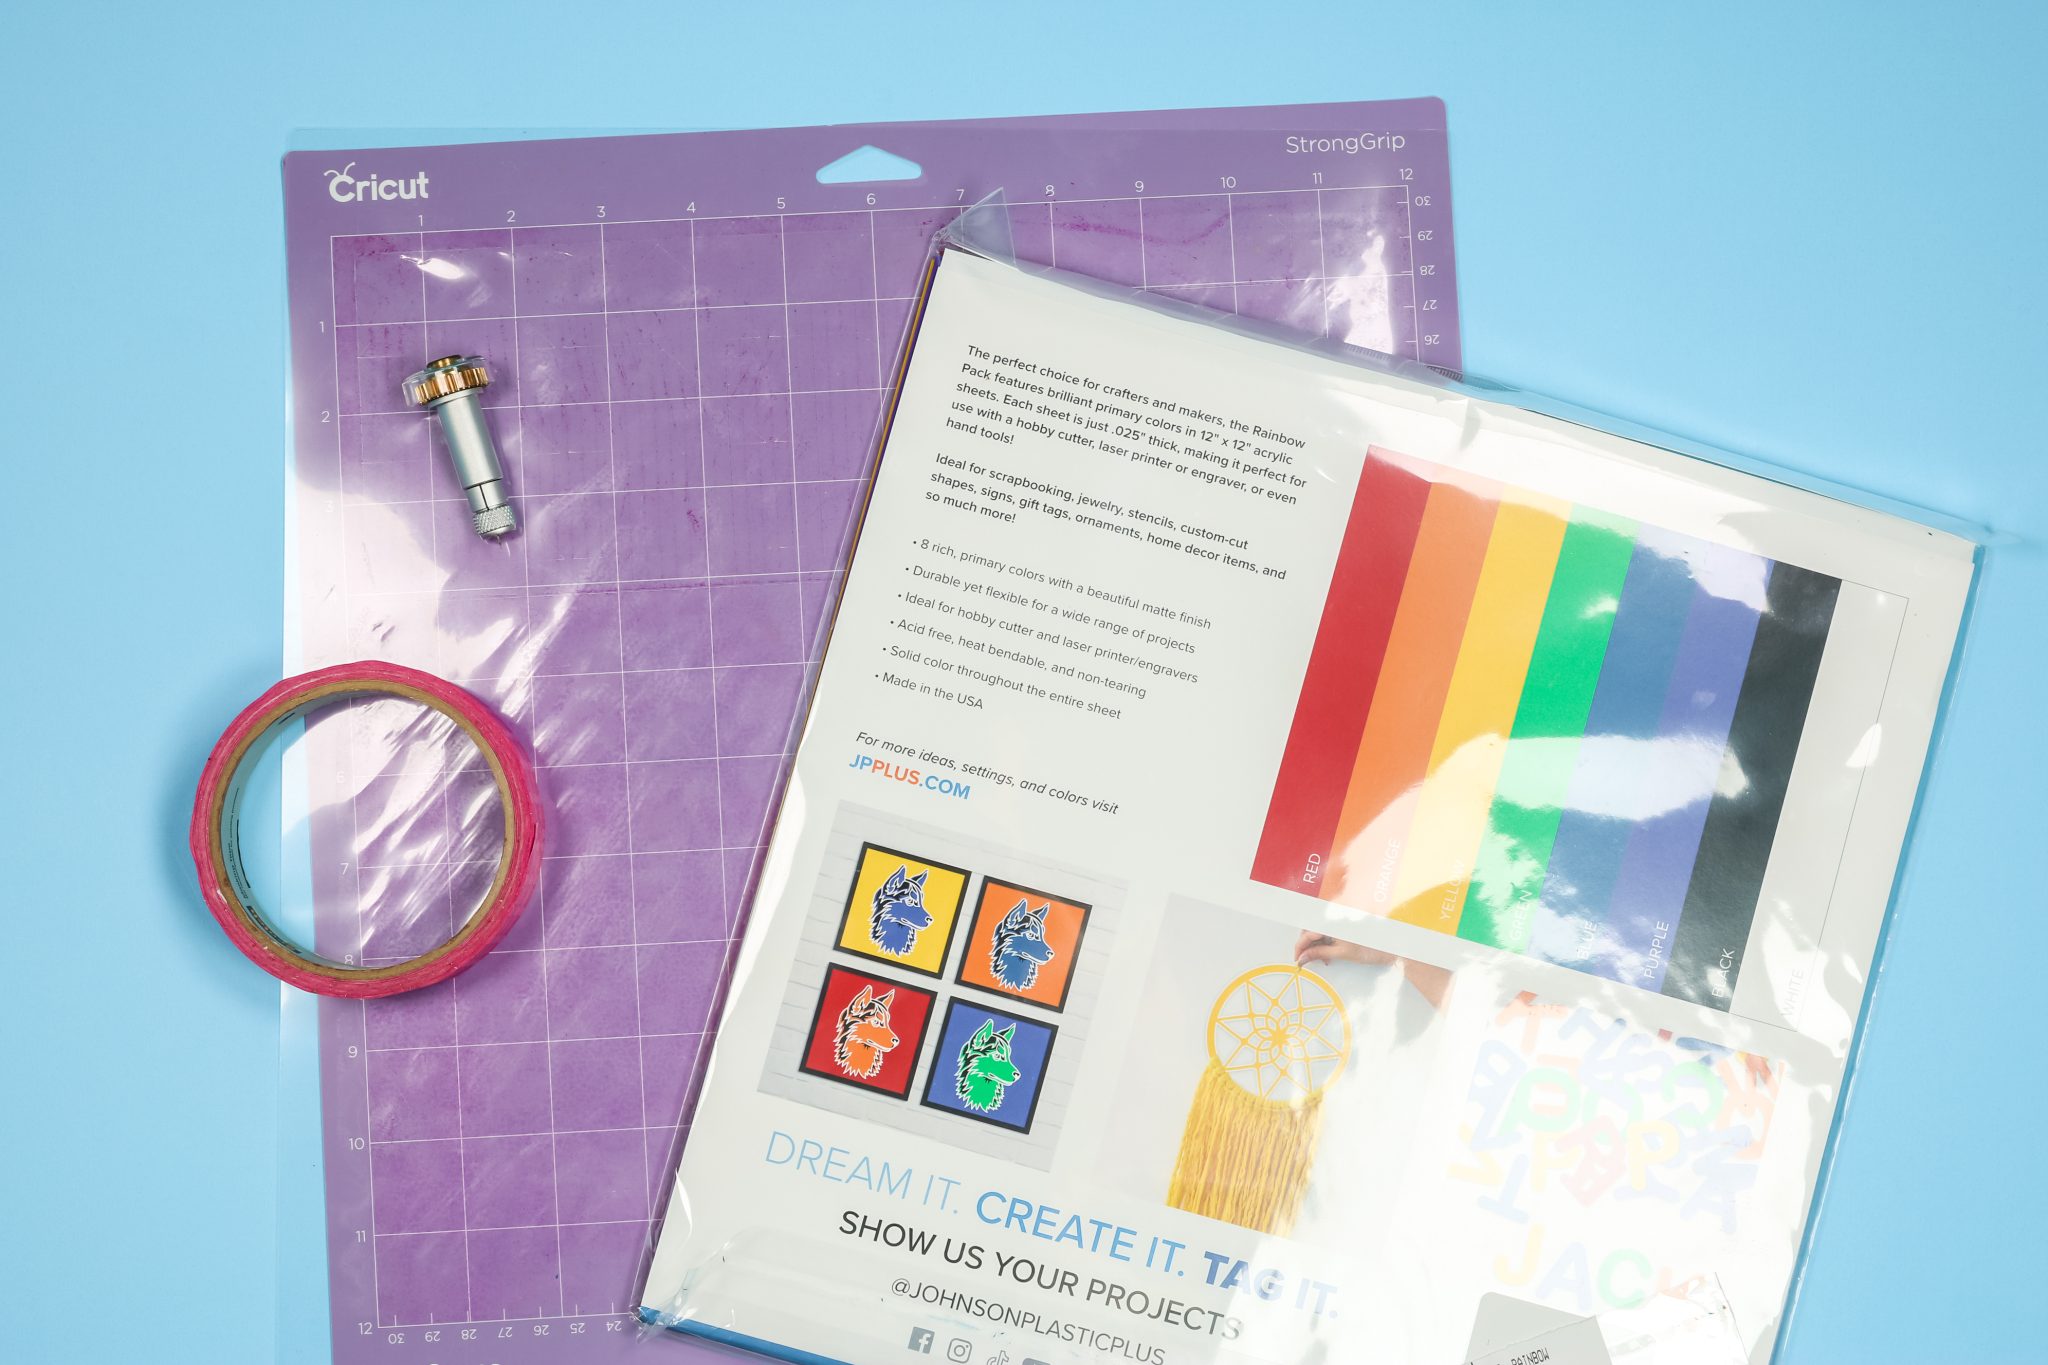
How to Cut Craft Plastic
To make my rainbow welcome sign, I am using the rainbow package of craft plastic. All of the colors I used are included in that one rainbow pack. They do have other packages with different color combinations if you’re looking to do a project with different colors.
Applying Cricut Plastic to the Mat
Each sheet of craft plastic has a side with protective film and a side without it. I like to put my plastic sheet on the mat with the protective film side up. This helps protect the material from any scratches it may get from the machine.
You need to make sure your plastic is stuck down to the mat really well. I like to use a brayer to help make sure it’s adhered well across the whole mat. When using the Knife Blade, you should always use painter’s tape or masking tape all the way around the edge of the mat and material to help hold the material in place.
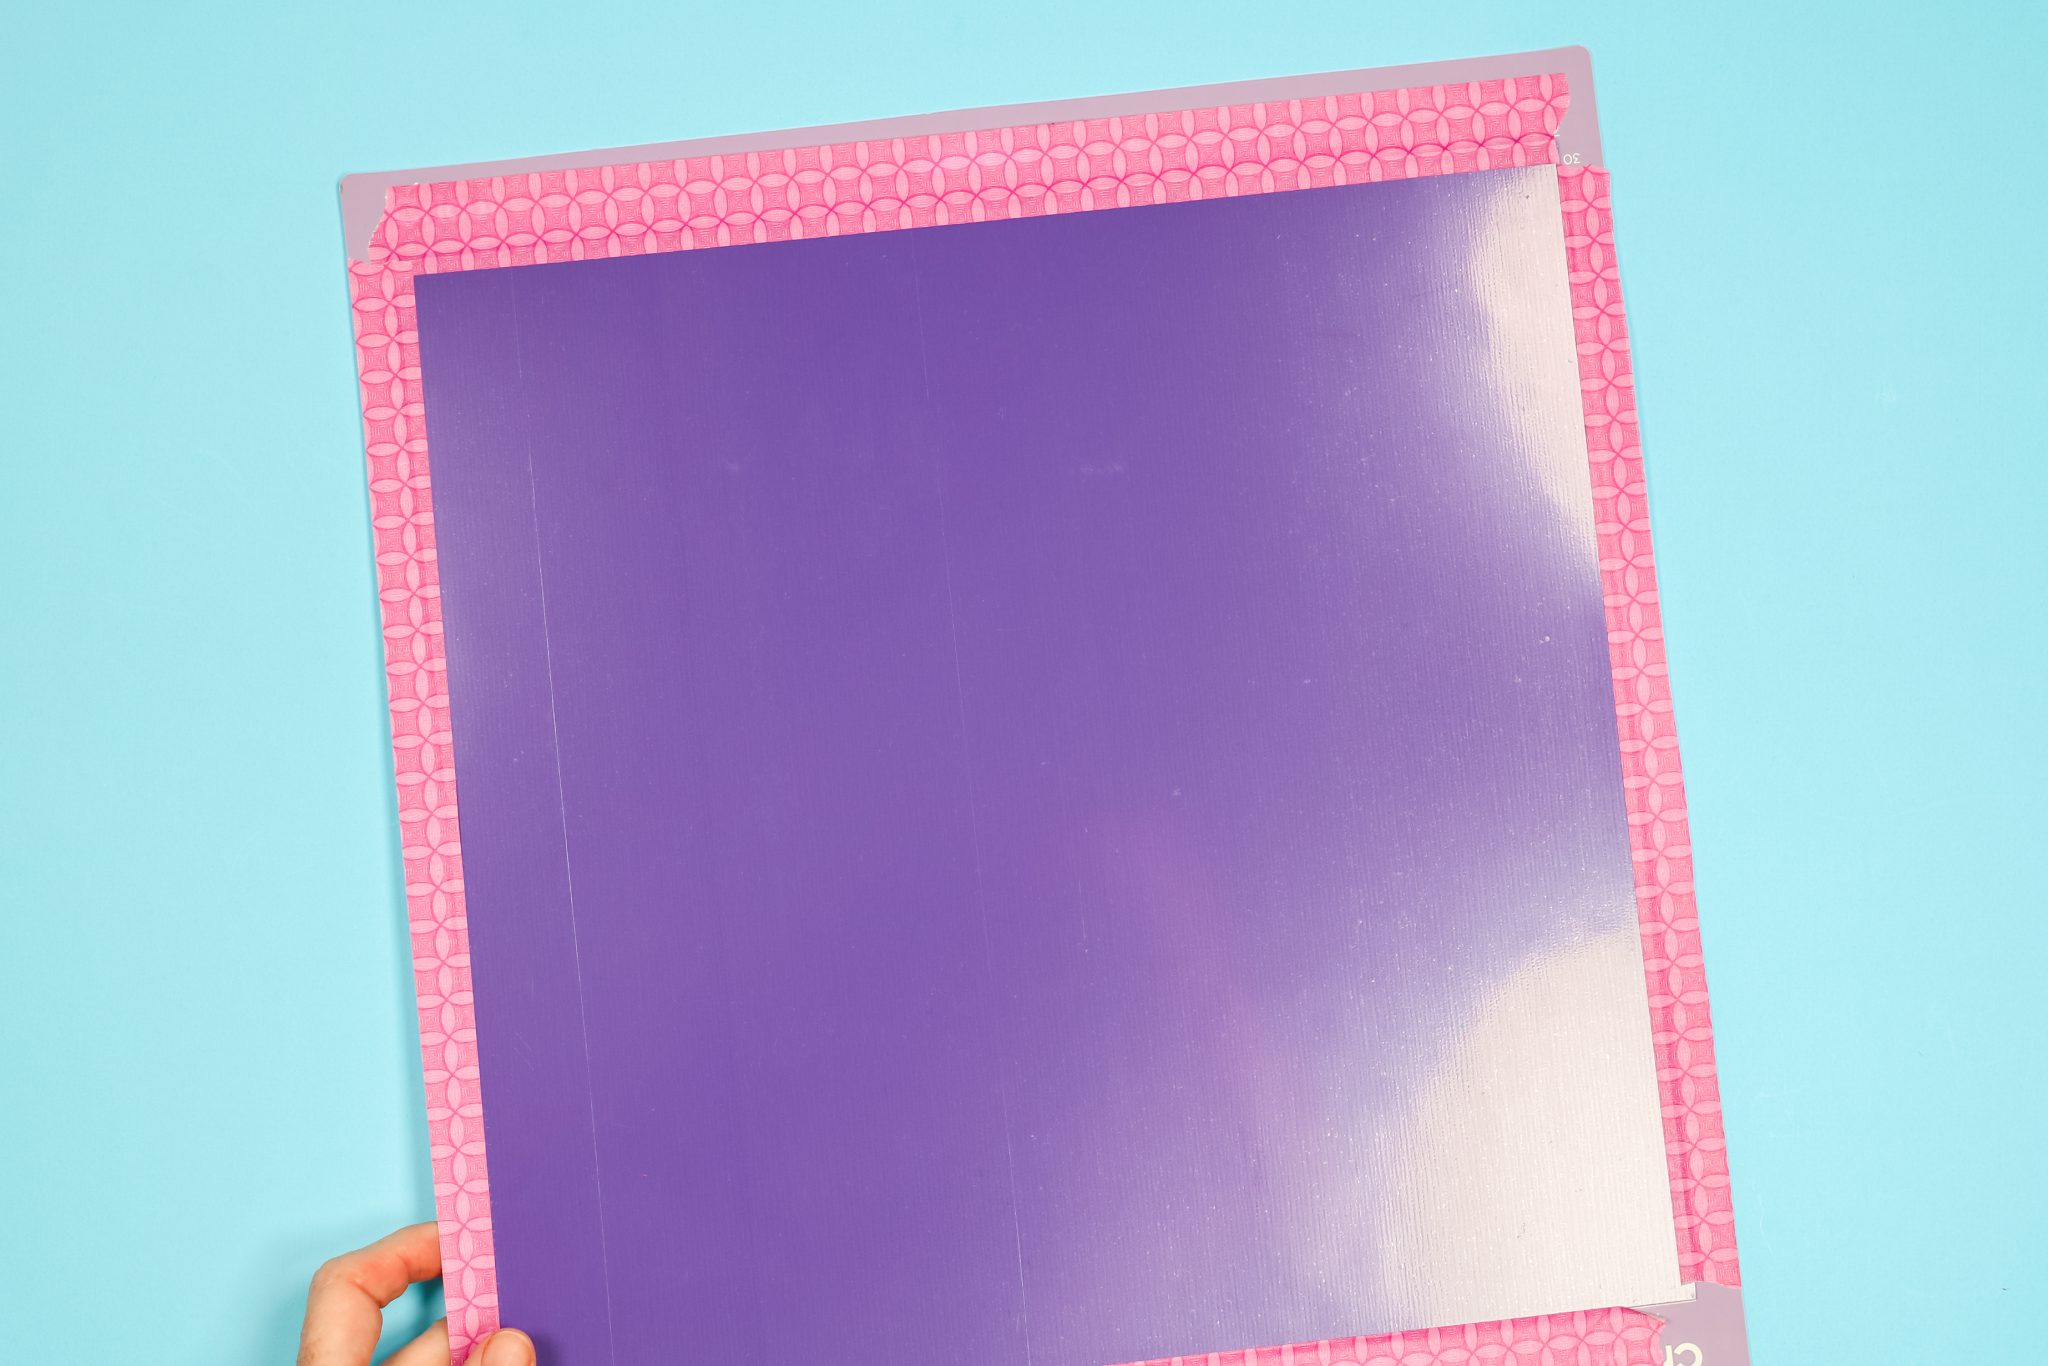
NOTE: Make sure your tape doesn’t go over the edge of the mat, that can catch on the side of the machine and mess up your cuts.
Cutting Cricut Plastic with a Cricut Maker
Now that everything is correctly applied to the mat, load it into the machine. Remember you have to use a Cricut Maker or Maker 3 with the Knife Blade to cut this material. Design Space doesn’t have a setting for craft plastic so I picked “Art Illustration Board” for my material.
You do not need to move the star wheels when using this product. In fact, I like having them spread out. It helps hold the material in place. Load the mat and press the go button just like you would with any other project.
My image is fairly simple and will take approximately 7 minutes to cut each sheet. The Knife Blade will make 17 total passes to cut the craft plastic sheet. As the Knife Blade cuts with each pass, it adds a little more pressure to help cut through these denser materials.
Checking Your Cut
I found that the 17 passes work pretty well. With this material, you’ll find that you kind of pop it out at the cut line after it’s cut. It won’t be cut all the way through but it will pop out when you push on it. After your machine is done with the initial passes, without ejecting your mat, check the cut.
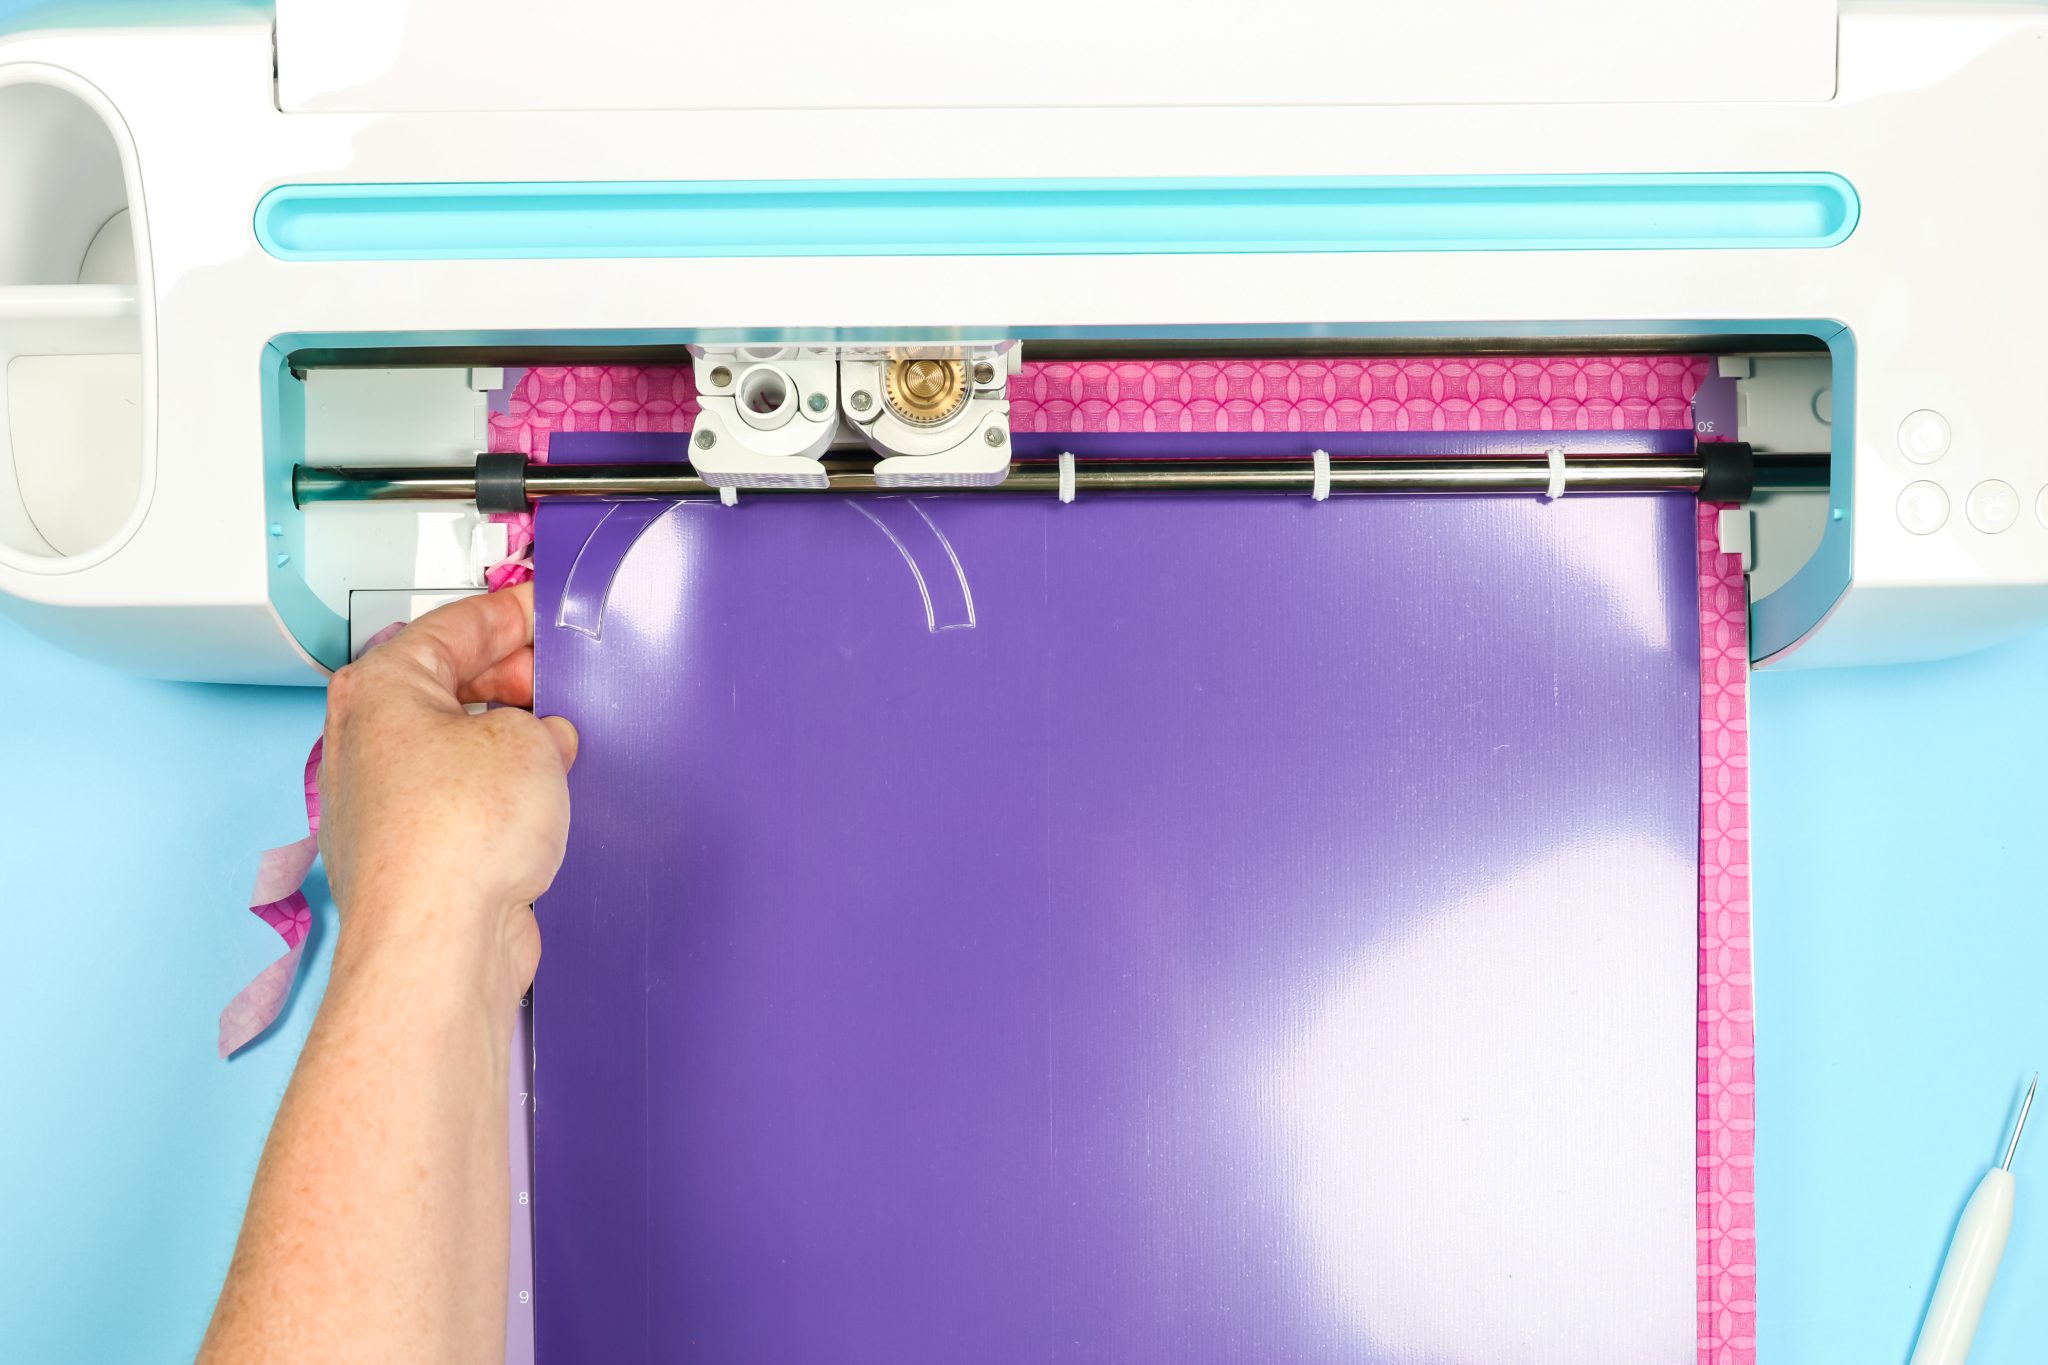
I like to slide my finger under the edge so I can push up against the back to see if it will pop out. If you don’t feel your plastic is cut enough, press the material back down, and without unloading the mat, press the Go button again. You can do this one or two more times and then check it again.
If you ejected the mat, do not try to reload it and cut it again. Your cut lines will not match up and your material will be ruined.
Removing Craft Plastic from the Mat
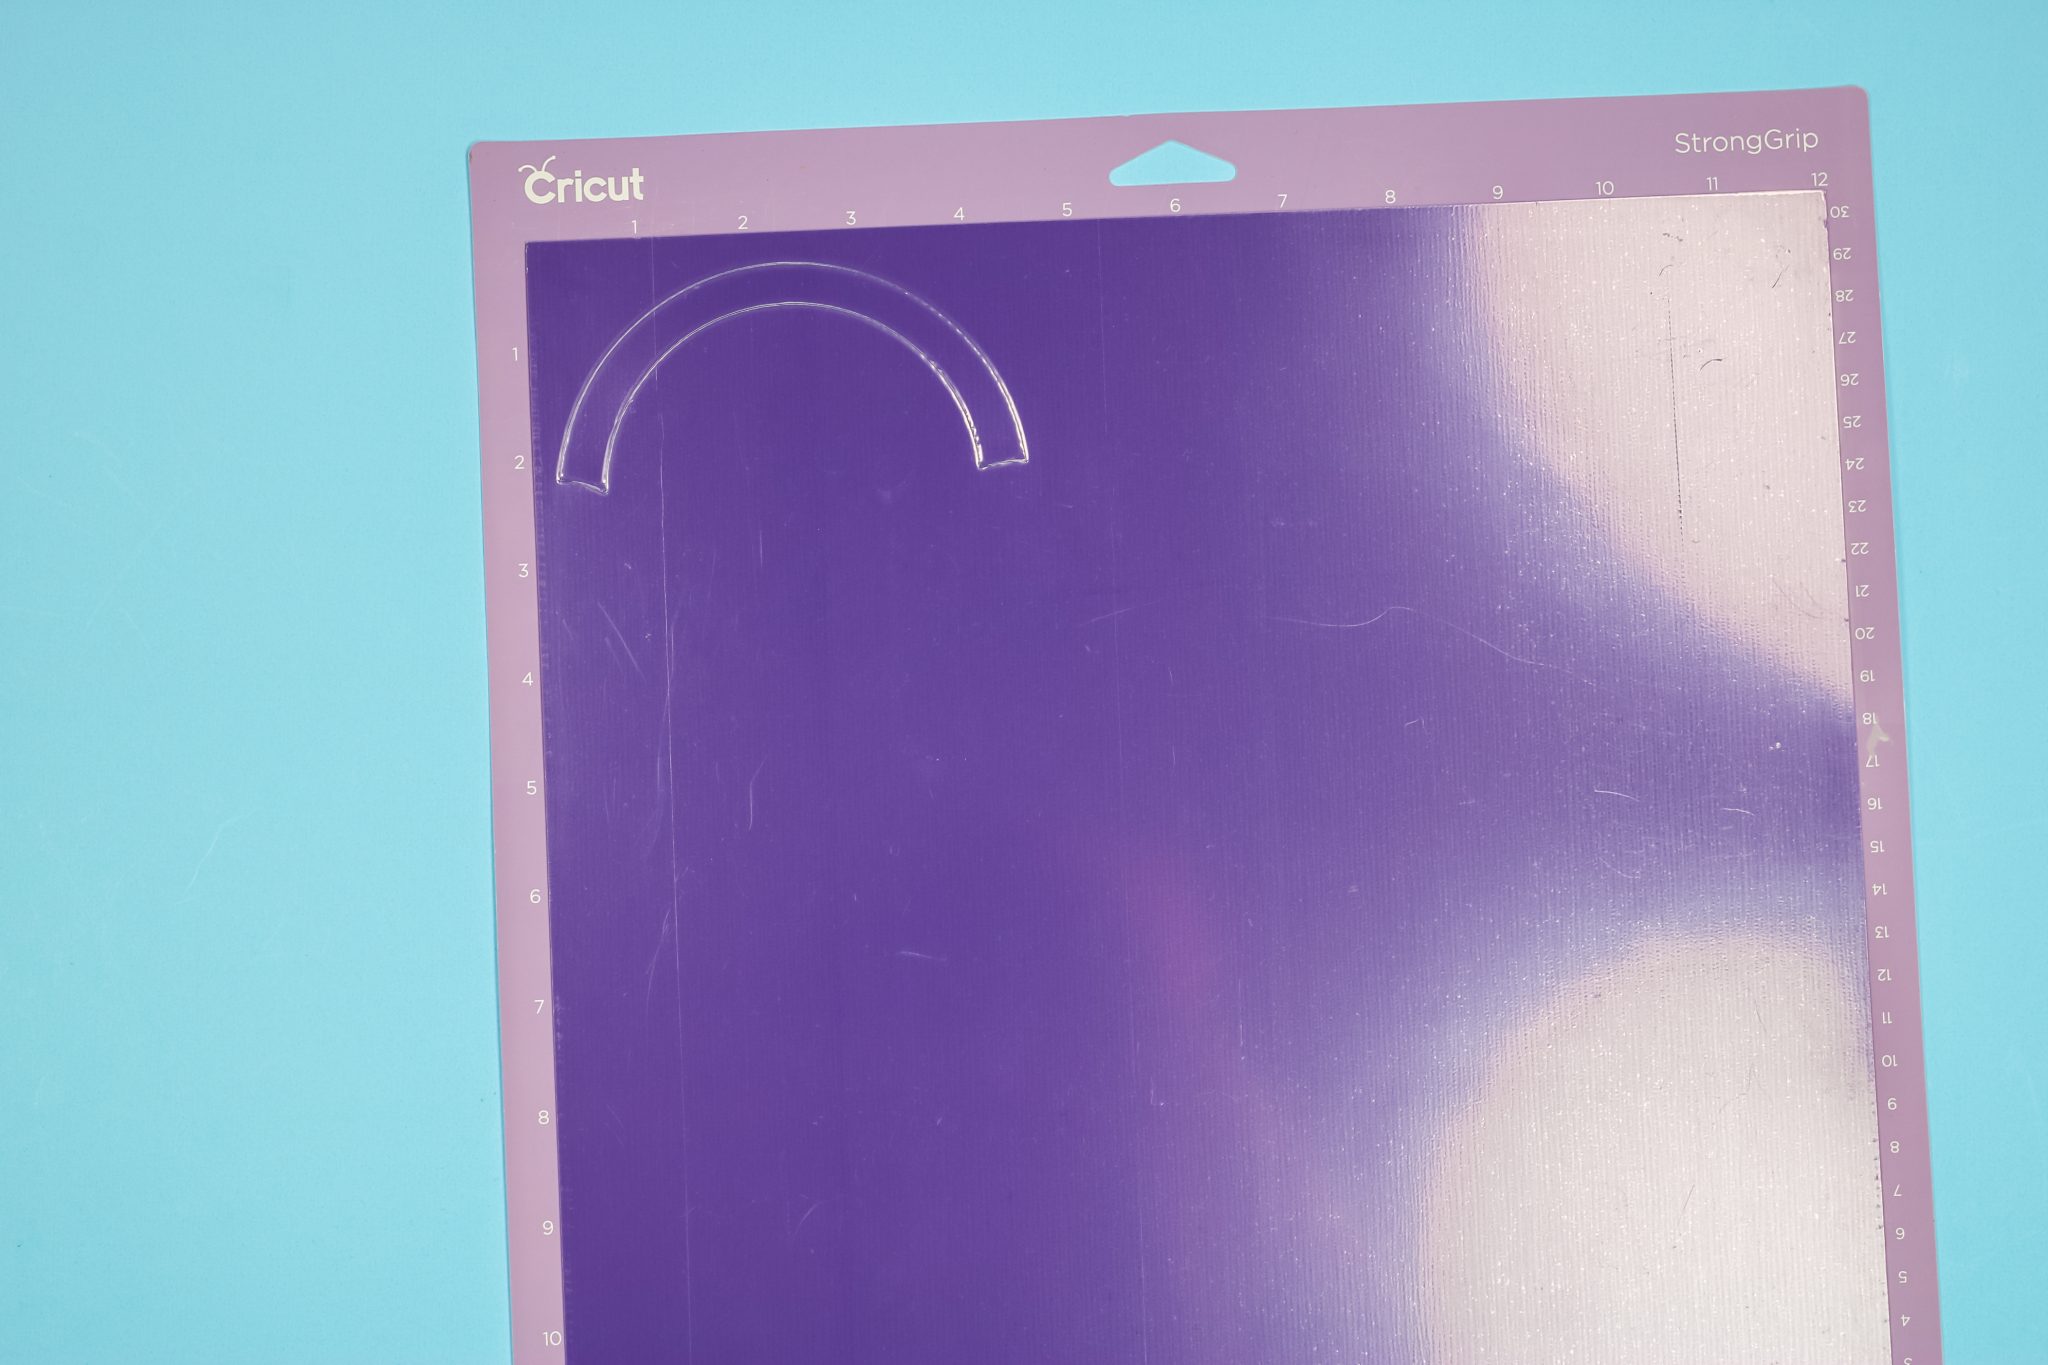
Now that I’m confident my cuts are good I can unload the mat and remove my material. Remove the tape all the way around the edges and remove the Cricut plastic from the mat. You’ll do this just like you would other materials taking care to not crease or break the plastic.
Popping Out Your Design
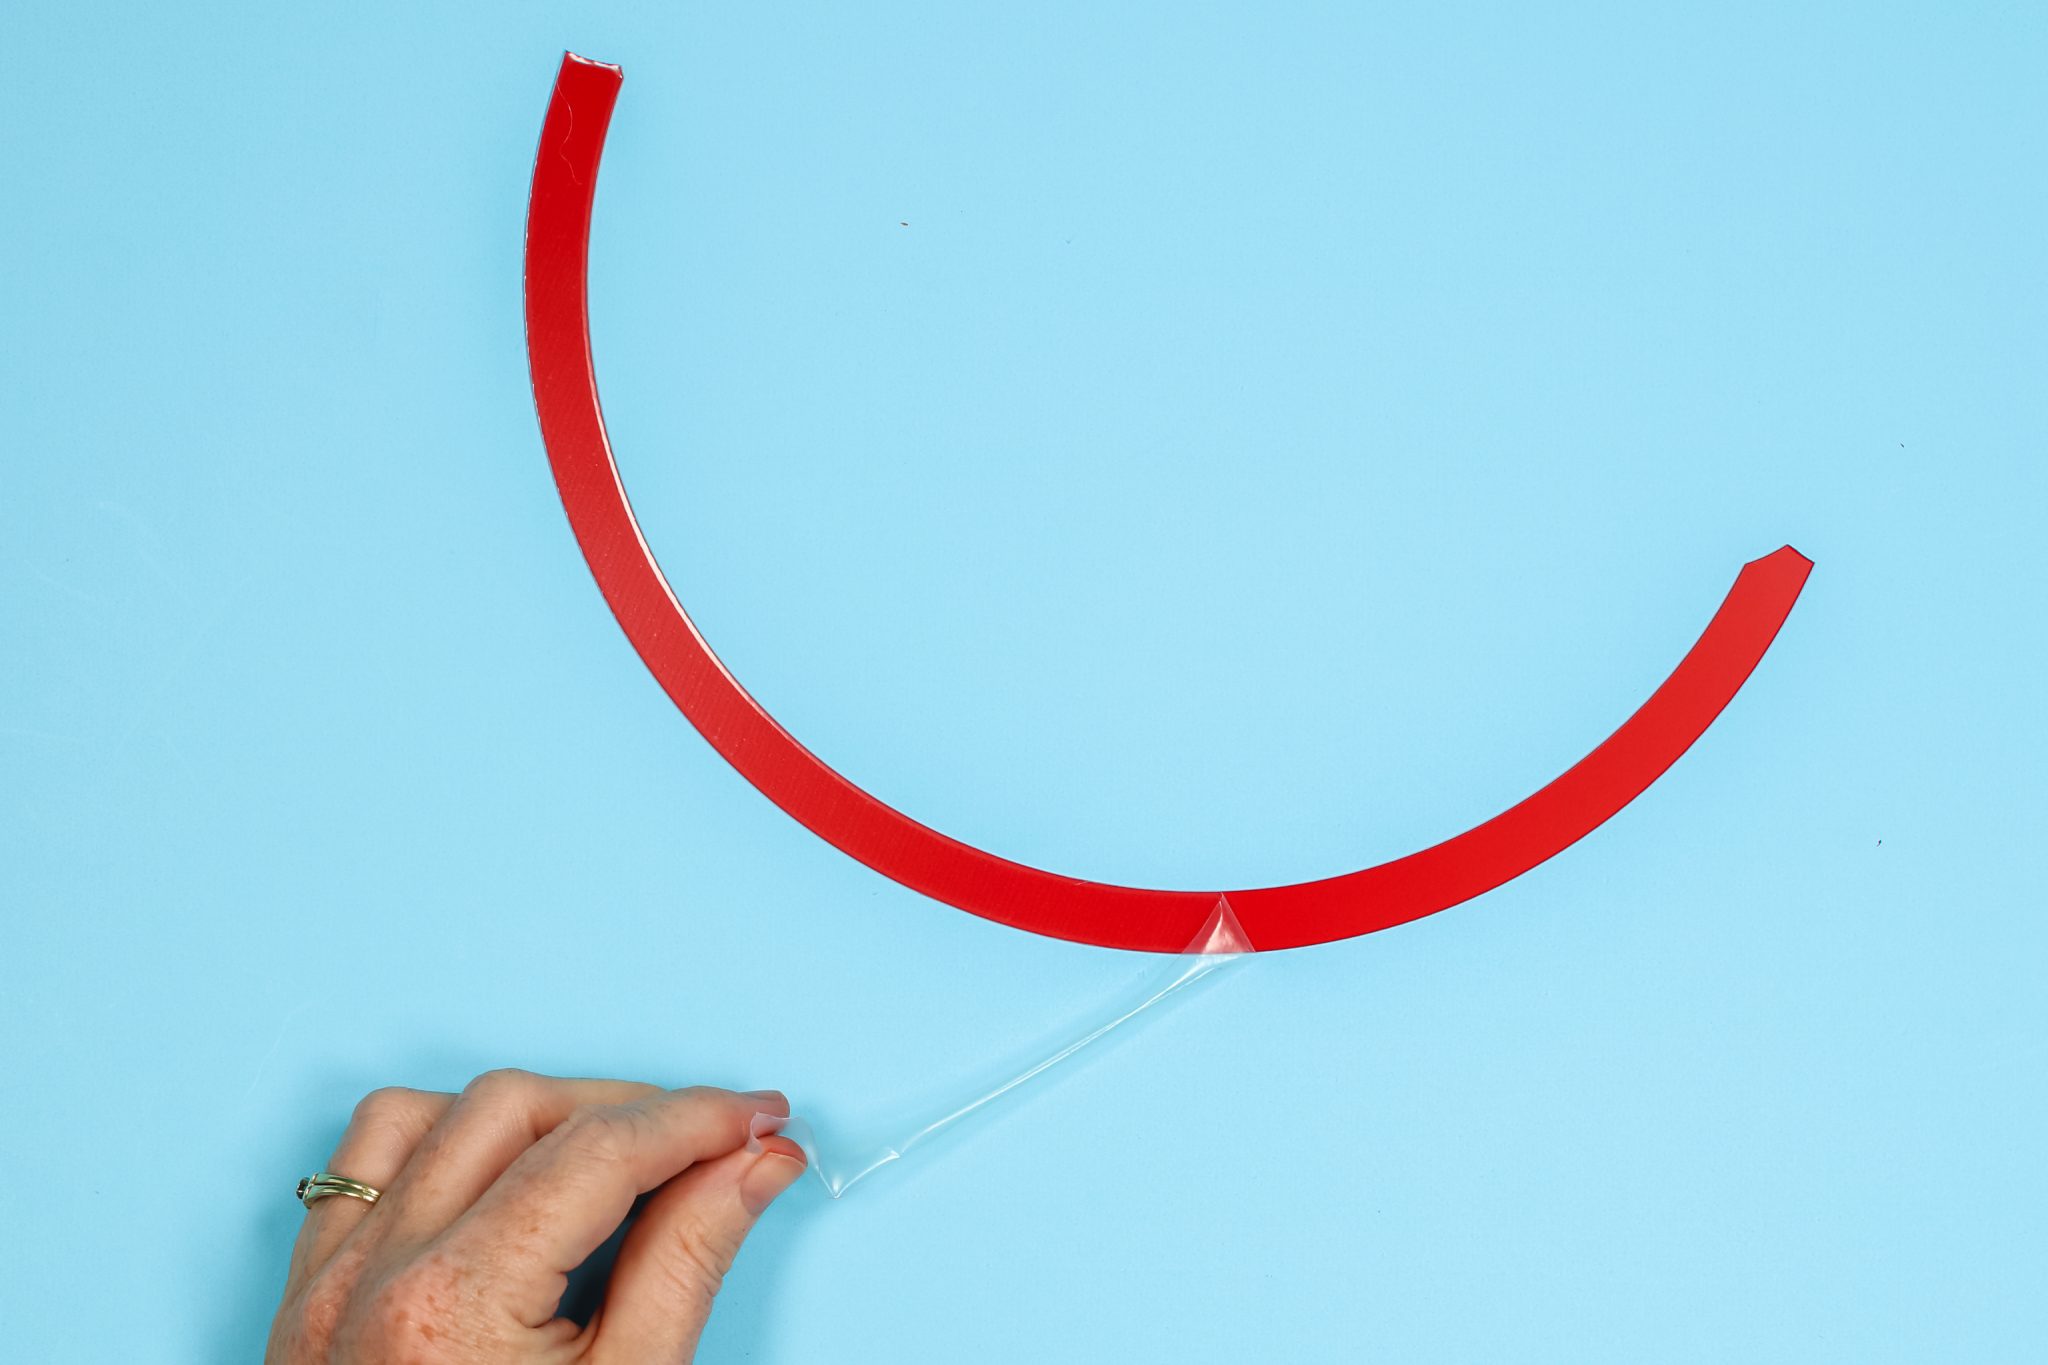
Now that you have your material removed from the mat, when you look at the back you’ll notice you can barely see the cuts. To pop the design out, press your finger along the edge of the cut and you should feel the cut line break and the design start to pop out.
On simple designs, like this rainbow, it’s very easy to press the pieces out. If you’re cutting a more complicated design, this is going to be harder. Once you have all your pieces popped out, remove the protective film from each piece.
Assembling the Welcome Rainbow Sign
I am applying my Cricut plastic sheets to a wood board. I painted my board blue and allowed it to dry really well before adding the plastic sheets.

I’m using a clear Gorilla Glue to adhere the Cricut plastic to the wood board and it worked great. Take your time and place each piece in place starting with the back layer. And now we have a finished sign that is so fun and looks great! Other than the wood board sign itself, this whole design was made with just one package of craft plastic.

Frequently Asked Questions about Cricut Plastic
Here are some of the questions I’ve seen asked the most about using Cricut plastic:
Do I have to tape down my material?
Yes! You need to tape down your material. If you don’t you run the risk of your material shifting during the long cut process and messing up the cut lines.
Can I cut intricate designs?
Yes, you can. Just be aware that you may need to add additional cut passes and that it will take longer to cut. You also need to take extra care when popping out the pieces to not break the thinner cut lines. I also found that using wide flat-end tweezers helped me pop out the thin lines of the more intricate designs without breaking them.

Why did my machine cut in different places?
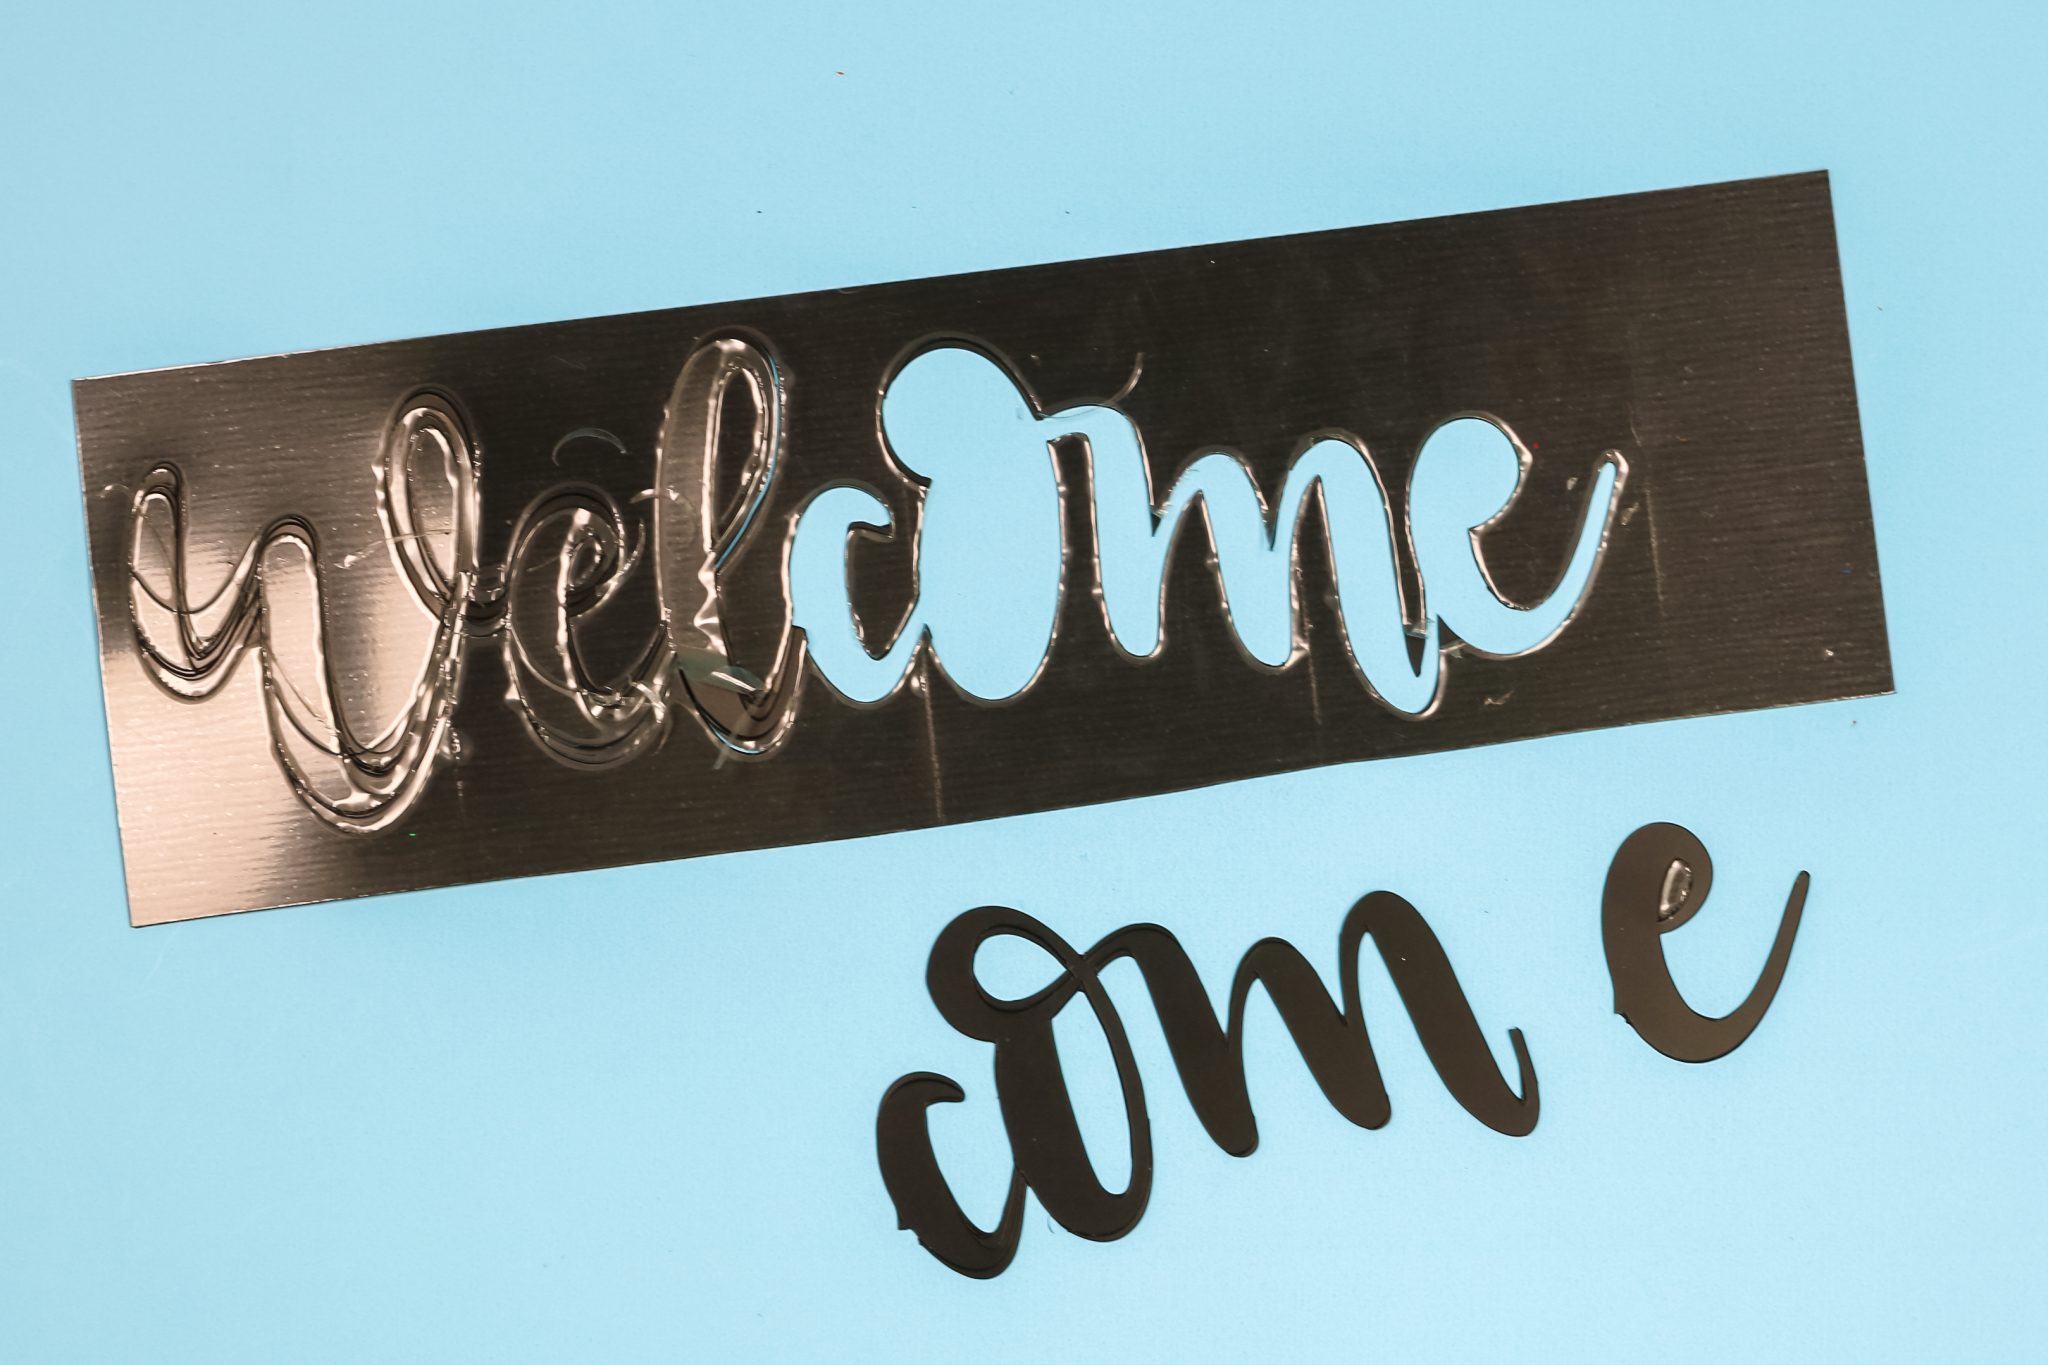
There are two reasons your machine may have cut your design in different places so the cut lines don’t line up. The most common reason is that your material wasn’t secured to your cutting mat. As you can see in the photo below my cut lines are messed up. I didn’t tape my material down for this sheet of Cricut plastic and it moved during the cut.
The second reason is that your Knife Blade needs to be calibrated. If your cut lines aren’t matching up and your material is taped down well, you need to calibrate your Knife Blade.
Can I make cake toppers with Cricut plastic?
Yes, I think you can and I’m really excited to try this. Cricut plastic is extremely thin so to create a stand-alone project with it you’d need to cut multiple pieces and layer them. I think it’s too thin to use just one layer. Since I was applying it to a wood board I didn’t need to layer it.
Final Thoughts on Craft Plastic
I really, really like this product and I can see tons of different things you can make with it. It’s great on projects like the one I just made and I think it would be really fun to create a layered cake topper. I do think using one sheet for something like a cake topper would be hard because it is so thin, I think it would be brittle and could possibly break. Gluing together multiple pieces would create something thick and sturdy that would be perfect for a cake topper.
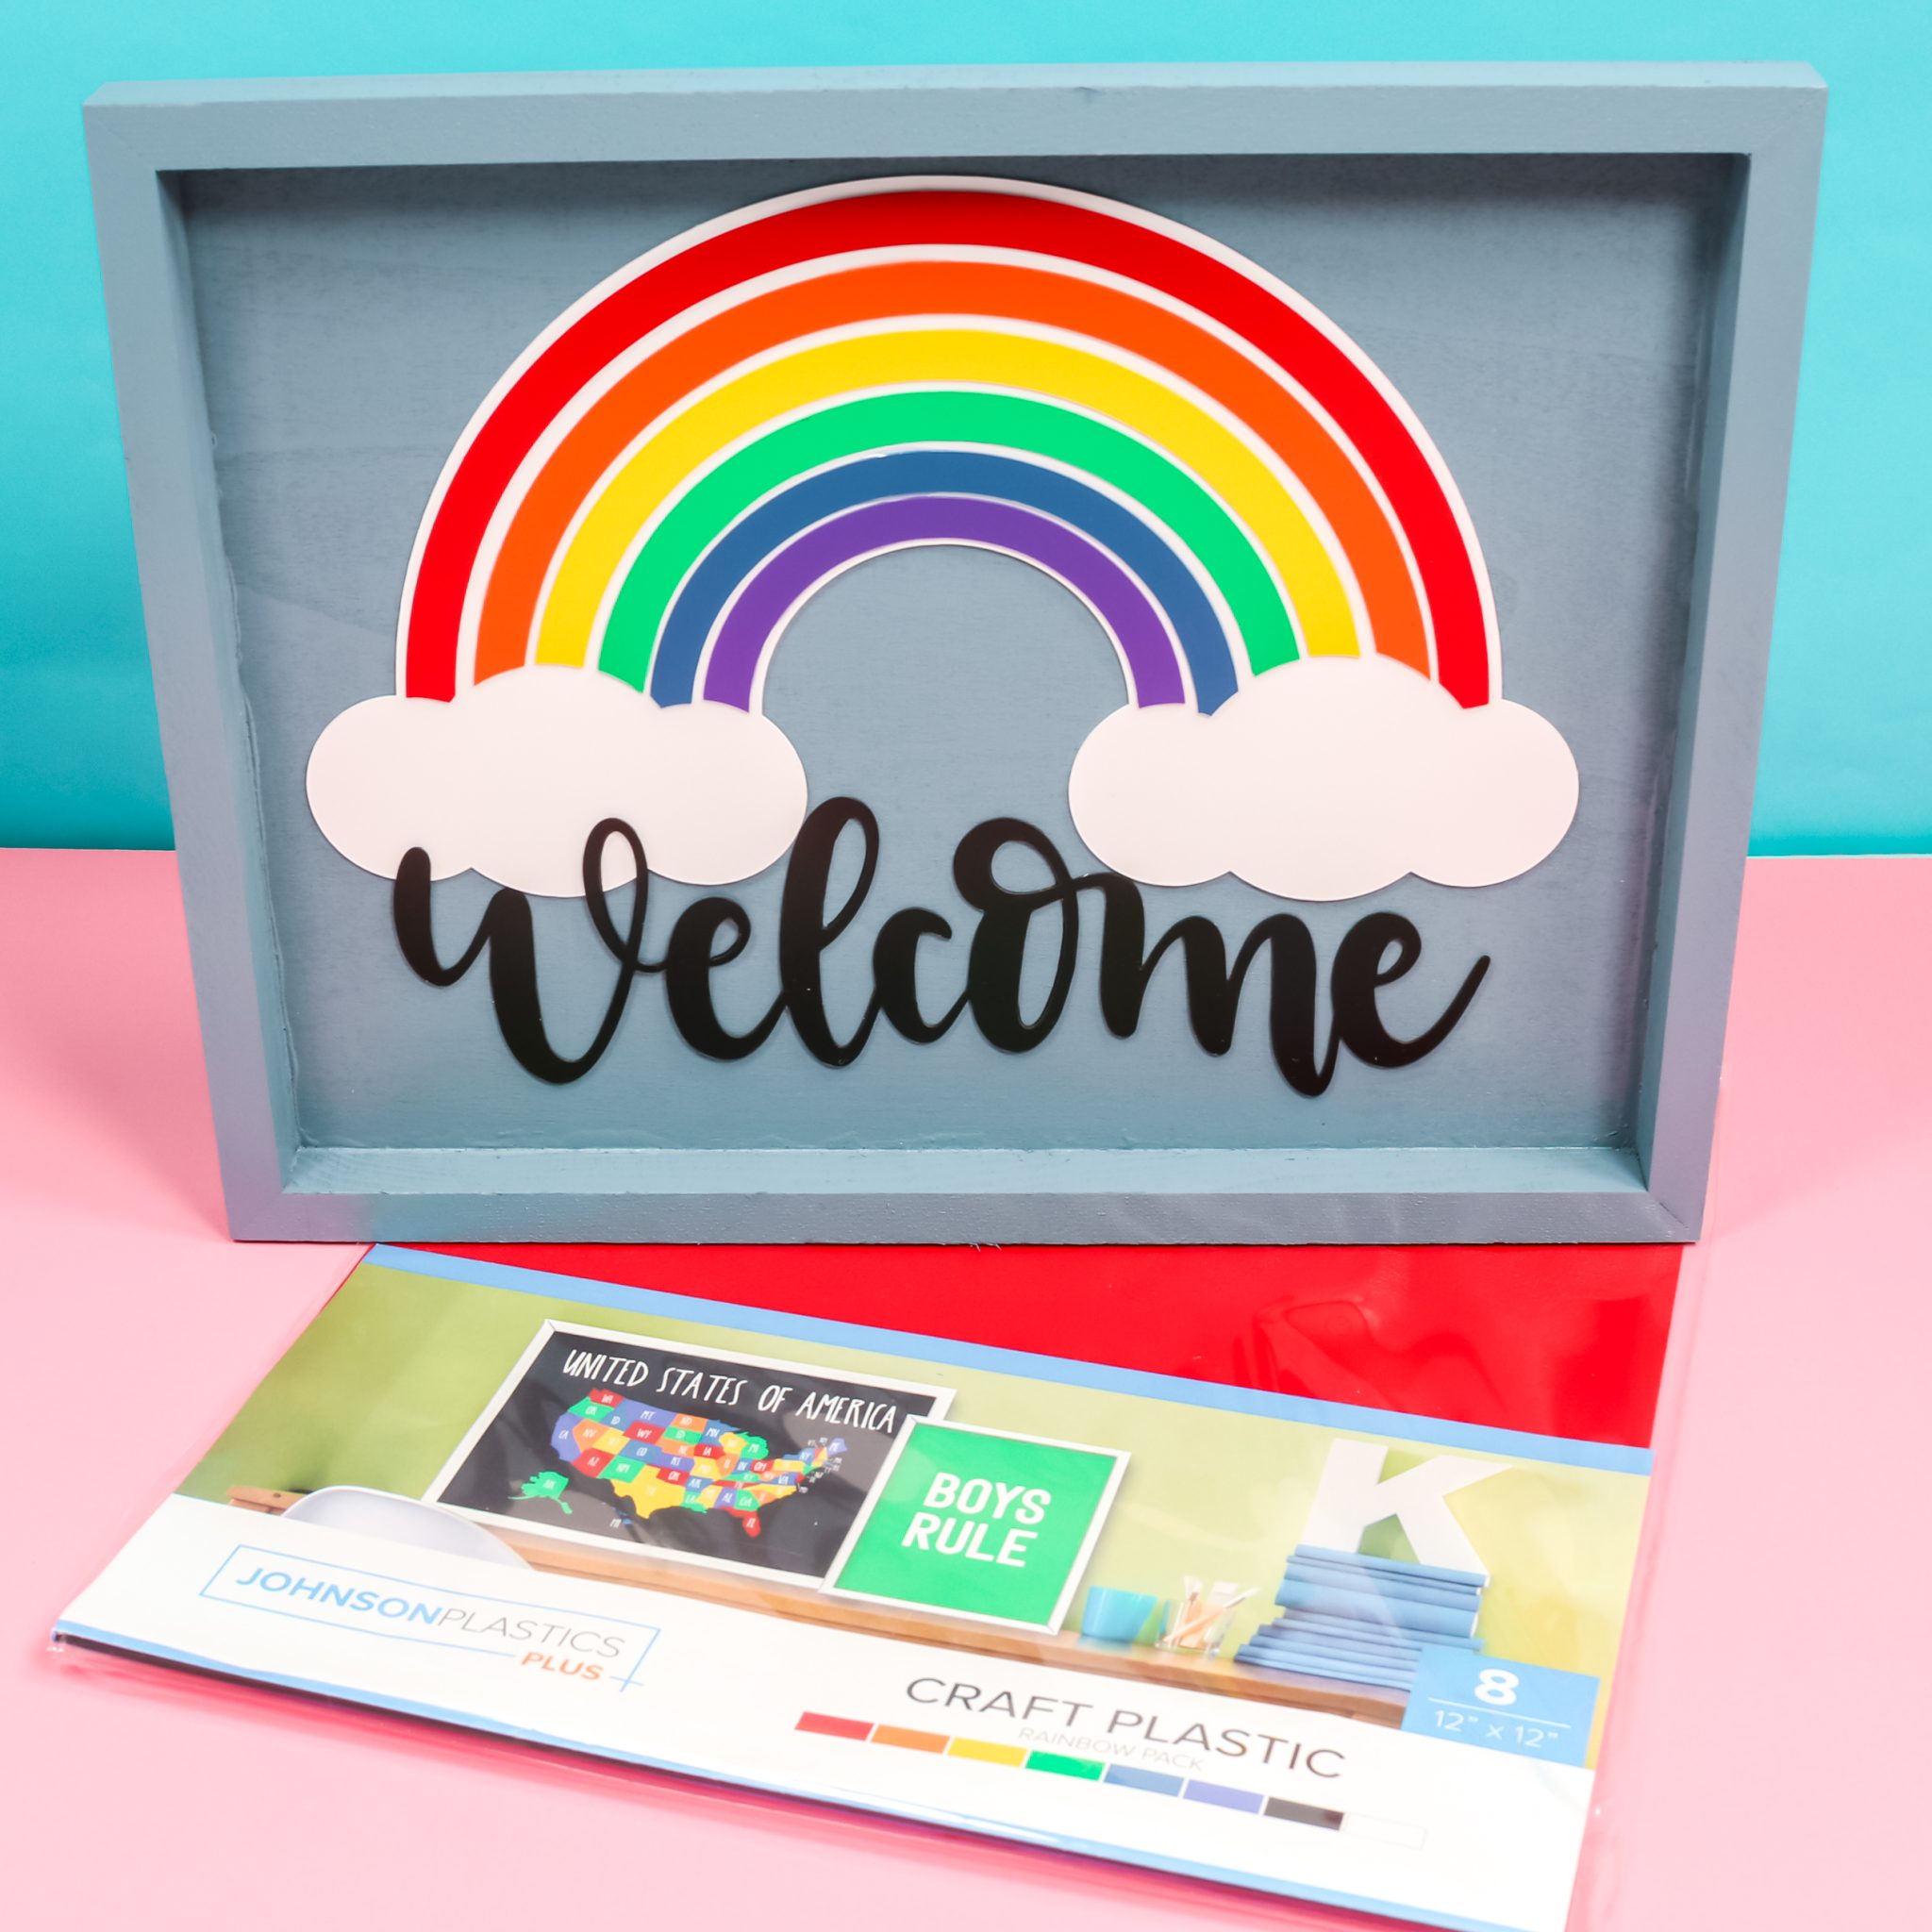
It is thicker than vinyl and cardstock so it would add a fun dimension to cards and other paper projects you make. I hope you enjoyed learning all about Cricut plastic and that I answered any questions you had. If I didn’t, leave your questions in the comments and I’ll get those answered for you.
