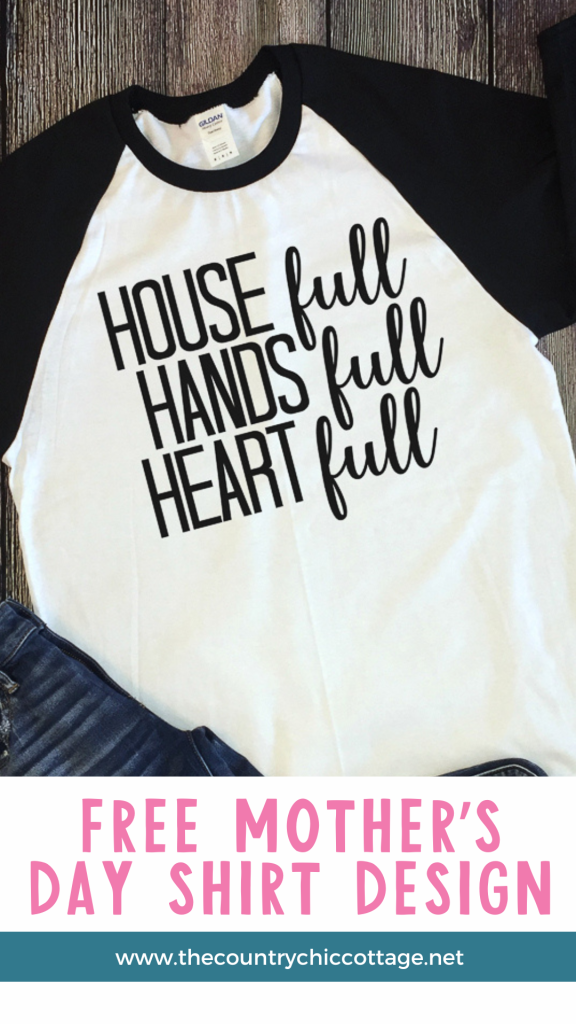
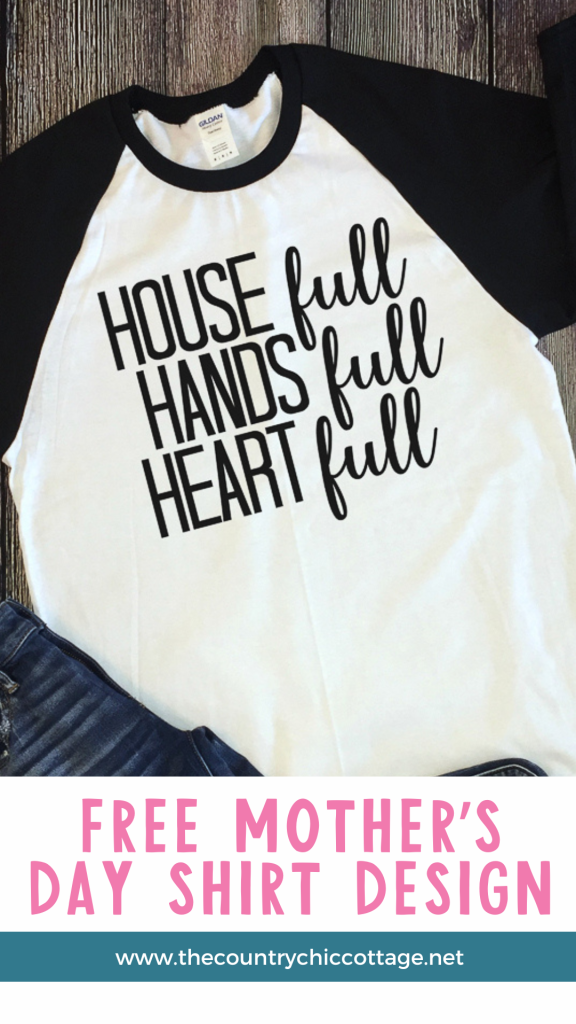
Today, I thought I would share how to design a Mother’s Day shirt using your Cricut! I have a fun, free SVG file perfect for making a great gift for mom (whether it’s Mother’s Day or not)! Using your Cricut machine for t-shirts is easy and allows you to make things for yourself and give to others. So, let’s dive in and learn how to make t-shirts with Cricut for Mom and yourself!
This is part of the Cricut Mother’s Day event, so be sure to scroll to the bottom of this post to see the other Mother’s Day ideas shared this week!
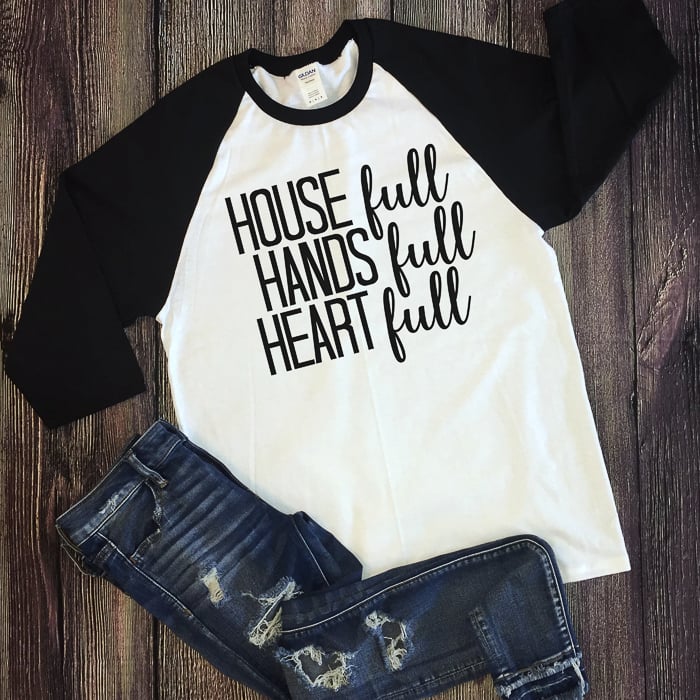
How To Make Mother’s Day Shirt Design
Making shirts with your Cricut is one of the easiest projects you can tackle. There are a few tips and tricks that will help make your first project a success. We cover everything you need to know about making a Cricut t-shirt below. Use our tips to start making shirts today!
NOTE: I love using my Cricut to make t-shirts! I’ve made all kinds of seasonal shirts like this four-leaf clover shirt, Halloween mommy and me shirts, big brother and little brother shirts, and even maternity shirts!
Supplies Needed To Make Mother’s Day Shirt Design
- Heat Transfer Vinyl or Iron-On material
- Cricut machine (you can see which one is my favorite here)
- Weeding tools (optional)
- Heat press or iron (I use the Cricut EasyPress, and you can see more about it here)
- Shirt design (in this case, we are using a free SVG, but we have more ideas for designs below)
Download Free Mother’s Day Shirt Design
If you want to use the house full, hands full, heart full design for your Cricut t-shirt, you can download that below. Please note that this file is for personal use only. If you have trouble with access, please email thecountrychiccottage@yahoo.com, and I will try to troubleshoot for you!
Step 1: Download & Upload File To Cricut Design Space
Download the SVG file above. Then, follow these instructions to upload it to Cricut Design Space. Click “Make” to send it to your Cricut machine.
Step 2: Turn On Mirror
Toggle mirror “On” for your mat. Then, click “Continue”.
Step 3: Add Material To Mat
Pick the type of iron-on or heat-transfer vinyl you are using from the list. Next, add the material face down on your mat. This is usually shiny or “good” side down.
Step 4: Add Mat To Machine
Feed the mat into your machine and press the “C” to cut your design.
Step 5: Weed Design
You will need to weed away all excess from your Cricut t-shirt design. This means getting rid of everything around the outside and the centers of letters. My top tips for weeding are here.
Step 6: Iron Design To Shirt
Put your design onto your shirt using an EasyPress or an iron. You can see how to apply your iron-on here.
Step 7: Remove Carrier Sheet From Mother’s Day Shirt Design
Once your design is pressed, you can remove the carrier sheet. Then your Cricut t-shirt is complete and ready to wear!
More Cricut T-Shirt Ideas
Now, even though we are talking about Mom, you may be wondering what else you can add to a Cricut T-shirt.
Well, needless to say, there are so many options! I have tons of free designs on the blog, but I thought I would share a few of my favorites below!
- Big Brother Little Brother Shirts
- Funny Maternity Shirts
- Gender Reveal Shirt Ideas
- Superhero Shirt Designs
- Camp Shirts

Can you use a Cricut to make shirts? Yes, yes, you can! I hope you now see just how easy it is!
Using your Cricut machine for t-shirts is one of the easiest crafts you can make. Download our free SVG and make this Cricut t-shirt or any of our other ideas above!
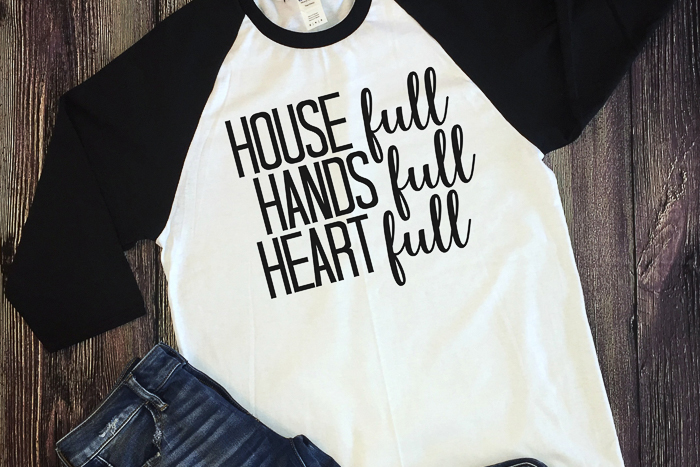
Creating a Cricut t-shirt for yourself will get you hooked! Soon, you’ll want to make them for everyone in your life, including gifts for Mother’s Day!
FAQs About Mother’s Day Shirt Design
Here are a few common questions that I often see readers asking about making this Mother’s Day shirt design. If you have a question, please check if I’ve already addressed it below. If you don’t see your question listed, please leave it in the comments!
What Cricut Machine Can I Use For This Project?
All of them! The Cricut Maker series, Cricut Explore series, Cricut Joy, Cricut Joy Xtra, and Cricut Venture can all cut iron-on!
The only thing to keep in mind is that each Cricut machine is different regarding project size capabilities and the materials it can cut. So, depending on what project you have in mind, you might need to resize the design or cut it out using a different material.
Can I Use My Iron Instead Of An EasyPress?
Yes! An iron works well with iron-on vinyl. However, it’s important to use appropriate heat settings to prevent scorching or ruining your project. I find that using the EasyPress makes this a little easier.
If you are unsure which to use, check out our Cricut EasyPress Versus Iron: Which is Better? Blog post!
Could I Use Different Colored Shirts For This Project?
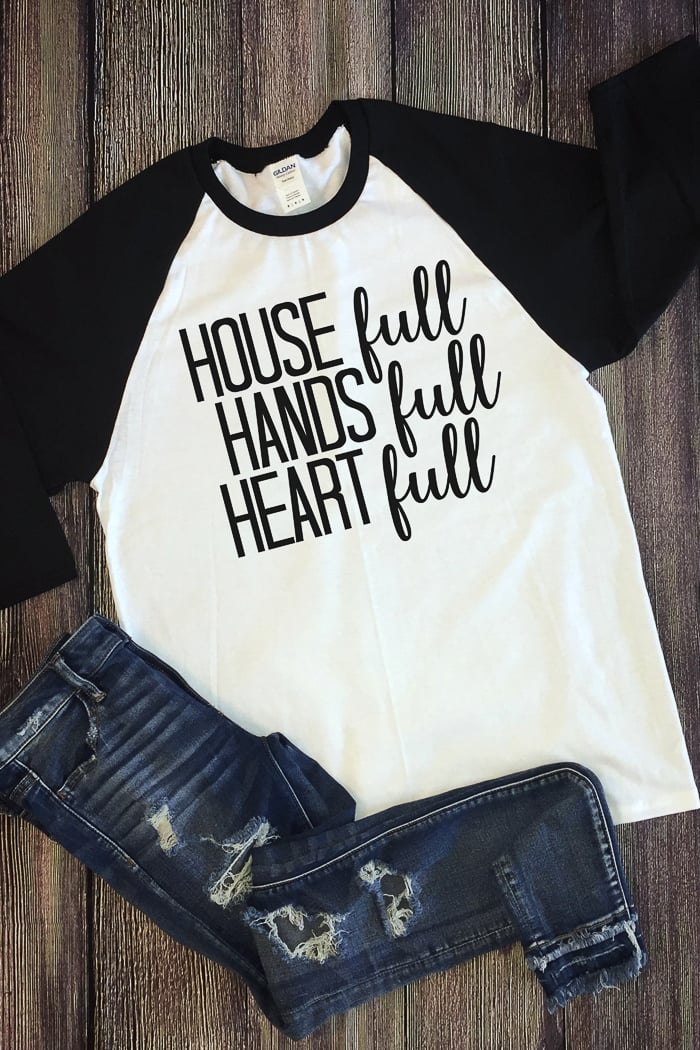
Absolutely! I chose to use a white/black shirt, but you could easily use gray, green, orange, or any other color of your choice!
Cricut Mother’s Day Event Craft Projects
Now that you have learned how to make this Mother’s Day shirt design, perhaps you need some more ideas for Mom for Mother’s Day! Try the links below!
5 More Mother’s Day Crafts
Loving this Mother’s Day shirt design and want more Mother’s Day crafts to make? Then, check out the projects below!
- DIY Photo Gifts to Make for Mother’s Day
- Printable Funny Mother’s Day Cards
- Toddler Gift for Mom: Handprint Tray
- Pampering Mother’s Day Gift
- Mother’s Day Ideas: Make a Handprint Pillow
