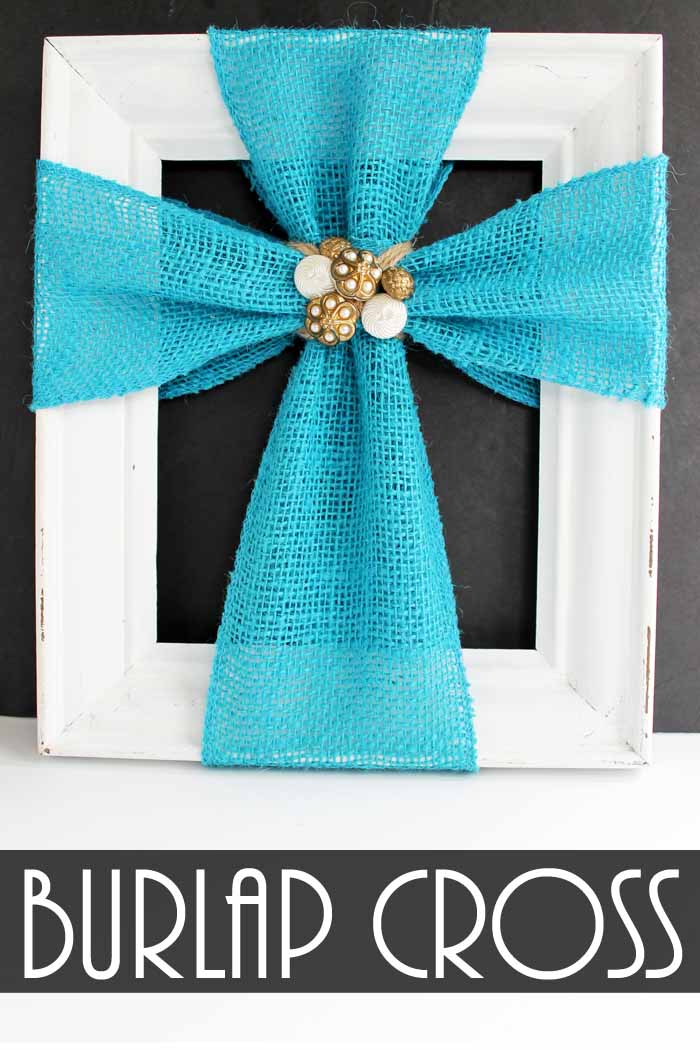
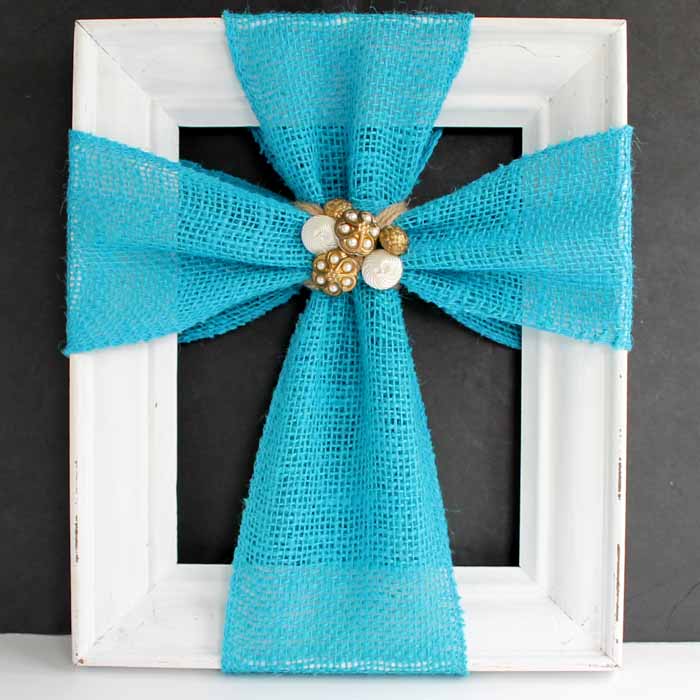
You too can make this cross décor with burlap. If you are like me, you have seen this idea on Pinterest and possibly Facebook. But how do you make one? I have a full video tutorial for you below. The best part? It is super simple to make. Are you ready to get started on your own version?

There are so many great home décor projects you can make with burlap. It definitely gives a farmhouse chic style wherever it’s added!
When I saw these burlap crosses, I knew I had to have one. The great thing about projects like this one is that they are inexpensive, quick to make, and you can add your own flare.
This would be a great way to showcase any old brooches or pendants that are too pretty to keep shoved in a jewelry box. You can even make multiple versions of these in varying sizes and colors. Perfect for gifts or a sweet memento of a keepsake!
Simply create the cross on a picture frame of your choice, and add the brooch!
How to Make a Framed Cross with Burlap
Supplies needed to make burlap cross décor
Some links below may be affiliate links which means you do not pay anymore.
- Empty frame (paint in the color of your choice)
- Burlap ribbon (I used a 4 inch wide ribbon)
- Hot glue and glue gun
- Twine
- Vintage buttons (or something else for the center)
Start with the video below to watch me make this burlap cross.
Steps to make a burlap cross
Can’t watch the video or missed some of the steps? Follow these directions!
First, loop the burlap around the frame lengthwise. Cut the burlap to the necessary length (trimming any excess fabric) and secure with hot glue on the back of the frame. Repeat the same process across the width of the frame.
You should have two rectangles closely resembling a cross on the front of the frame.

Now, bring the center of the cross together: From the back of the frame, run twine through the top right corner down to the bottom left corner. Then, again from the top left corner to the bottom right corner.
Each time you complete a “lap”, wind the twine where the corners are pulled together in the center. This will help the ribbon’s center stay tight and gathered.
Repeat until the cross is complete. Then, tie off the twine in the back.
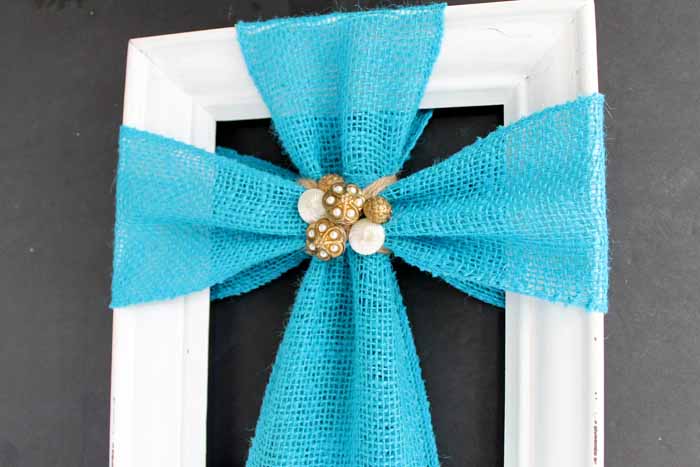
You can even add vintage buttons or an old brooch to the front of the cross for added style. I used vintage buttons secured with more hot glue.
Add this cross decor to any room in your home. You will love the way this one looks in your home. I love that it is so easy to make! What colors will you use on your version? What will you add to the center? The possibilities are endless!

Love this and want more burlap crafts? Try the links below!
- Beach Themed Burlap Wreath
- Handmade Wall Hanging with Burlap
- Burlap Garden Flag
- Flower Wreath from Burlap
- DIY Burlap Wreath

Supplies
- Empty frame paint in the color of your choice
- Burlap ribbon I used a 4 inch wide ribbon
- Hot glue and glue gun
- Twine
- Vintage buttons or something else for the center
Instructions
- Measure two pieces of burlap to wrap around the frame (length and width).
- Use hot glue to secure the two ends of both pieces to the back of the frame in a cross shape.
- From the back of the frame, run twine through the top right corner down to the bottom left corner. Then, again from the top left corner to the bottom right corner.
- Wind your twine where the corners are pulled together in the center and pull to gather ribbon.
- Repeat until the cross is the way you want it to look.
- Tie off twine in the back.
- Add vintage buttons or even an old brooch to the front of your cross décor to complete the look. I used vintage buttons secured with more hot glue.


LOVE LOVE this cross frame!!
What a great gift idea for friends of mine! I might change up the frame just a bit, but yours is beautiful!! 🙂
Very pretty & easy!
Beautiful idea!! I like the color of the burlap you used. Thank you for sharing in Sweet Inspiration Link Party 🙂
What size frame did u use
Mine was an 8×10.
Beautiful great for Easter. Thank you for sharing.
Hi, your cross material is so pretty! Where do you get your dyed burlap pieces from? This looks easy enough for beginners and seems like it can be used with many choices of different frames, accessories and embellishments! Thanks so much for the awesome tutorial! I look forward to making my first one this weekend. First of many.
It is burlap ribbon and should be at most craft stores. Look around the floral department.