Did you know that you can make custom candles in a jar shape? You can make them in any shape really! This tutorial will show you how to create a reusable candle mold in the shape of a mason jar and then how to pour your own candles. This craft is a great way to make handmade gifts or add a little ambiance to your home.
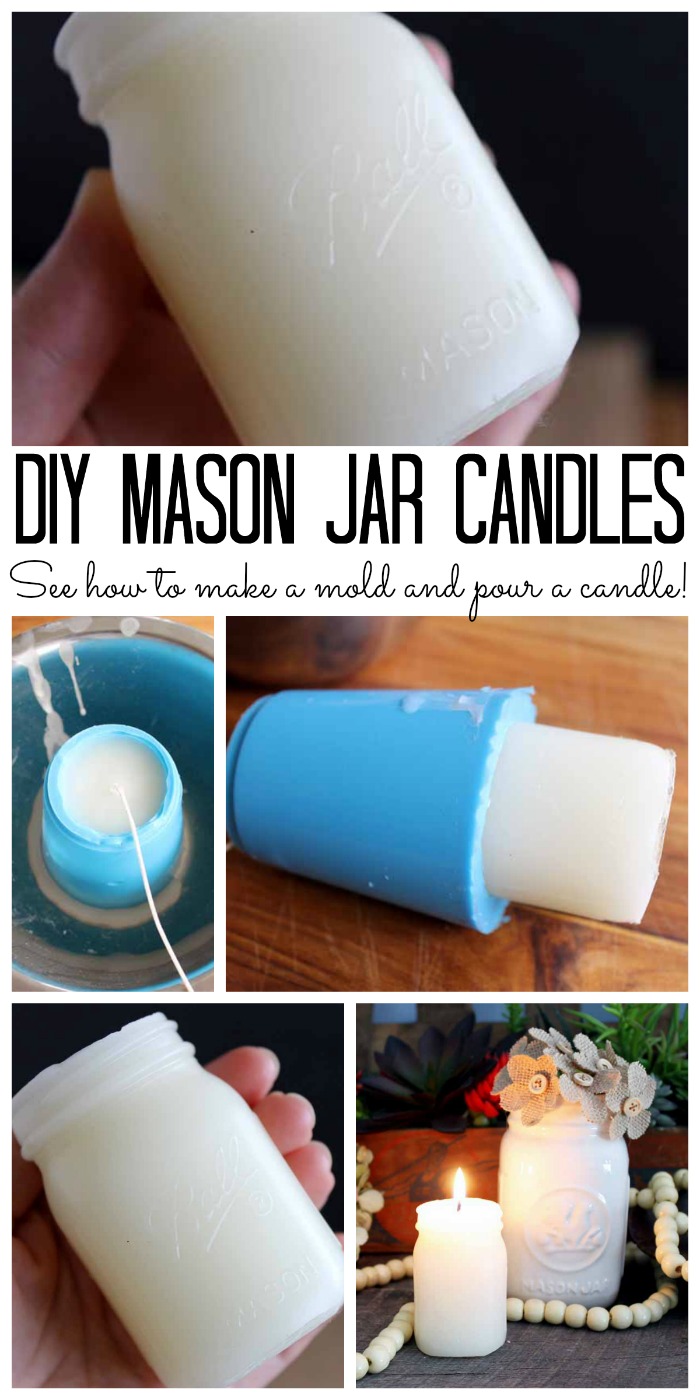
This is a part of mason jar week where we are sharing ideas for summer using jars. If you have missed any of the projects, be sure to catch up with day 1, day 2, day 3, and day 4. You will also want to read all the way to the bottom of this post to see the ideas from the other bloggers for today. Note that this one was originally posted at the Resin Crafts Blog where I am a paid contributor but I thought I would post it here in case y’all missed it!
The mason jar has had so many stylish evolutions! Starting as a way to preserve foods, it has become so popular as one of the most versatile and expensive home décor tools.
For this particular craft, I’m using a four-ounce mini mason jar from Ball, but feel free to use any size or shape glass jar you wish.
Because this is a beeswax candle, it will dry white, but there are plenty of different options for adding a pop of color! Plus, you can even add a little practicality with this handmade gift.
Here are some other ideas to spice up your candle-making:
Even though this is a scent-free candle tutorial, feel free to add in about 10-15 drops of your favorite essential oil combinations. Now, let’s get started!
DIY Mason Jar Candle Molds and Candles
Supplies needed to make a candle mold and custom candles:
Please note that some links below may be affiliate links which means that you do not pay anymore.
For the candle molds:
- Castin’ Craft EasyMold Silicone Rubber
- Mini mason jar (I used the new 4 oz mini storage jars from Ball but you can probably find a variety of brands online)
- Mixing cups
- Measuring cups
- Stir sticks
- Hot glue and glue gun
- Scissors
For the custom candles:
- Castin’ Craft Mold Release and Conditioner
- Metal bowl
- Tin can
- Mason jar ring
- Small cooking pot
- 100% Beeswax block
- Candle waxed wick with wick tab
- Plastic mold sealer
- Wick clips
- Scissors
Instructions for DIY Candle Molds
Let me say before I begin that this tutorial has several steps. It is completely doable however and you may be surprised at just how easy it is and how great it turns out.
First, we are working with two mixing cups to mix together the EasyMold and then using the mason jar to create our mold template…
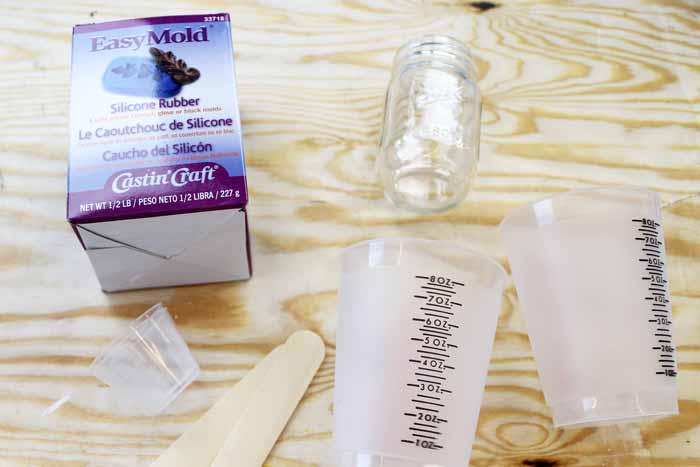
Make sure at least one of the mixing cups has a flat bottom. This is what we will use to create the mold with the mason jar.
If things are getting hazy, continue reading. It will make much more sense once we start working.
As I said, a flat surface is ideal, but if you are using a dome-bottomed mixing cup as I did, add some hot glue to the bottom to make it flat. Then, set the cup aside to cool completely before moving to the next step.
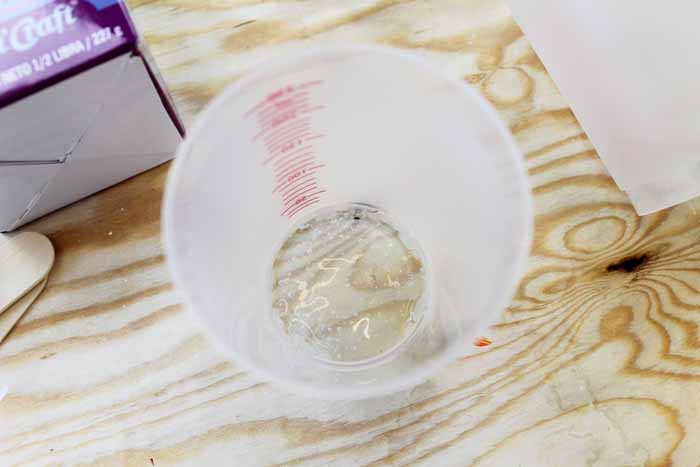
After the glue has dried and created a flat bottom, apply hot glue around the lip of the mason jar and place it upside down in that mixing cup. So, the lips of the mason jar should be gluing to the hot glue in the bottom of the mixing cup.
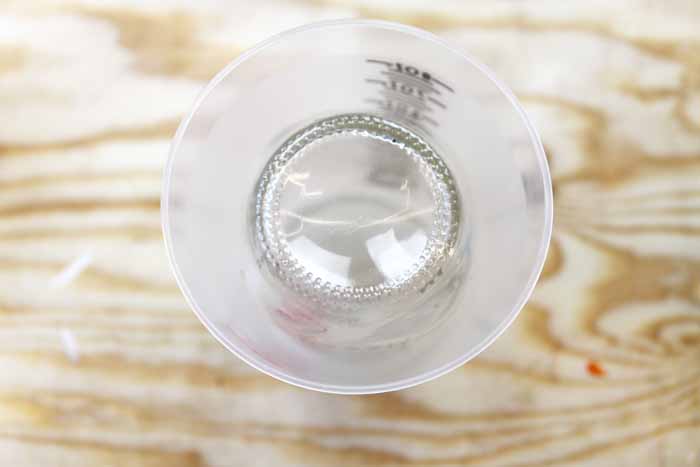
Remember, you want a tight seal here that will not leak. This process preparing for the EasyMold to be poured around the jar to create the cast. Set this aside to dry completely.
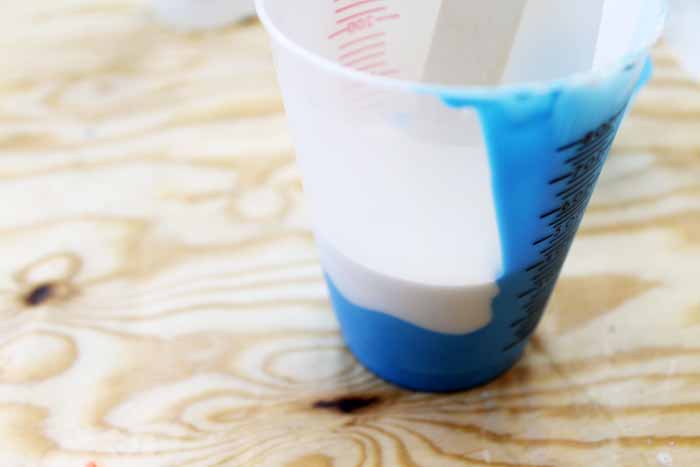
In a separate mixing cup, mix the Castin’ Craft EasyMold Silicone Rubber. Mix equal parts of the two components. Be sure to follow all instructions and measure carefully. Mix really well before continuing making sure all product on the sides and bottom gets mixed.
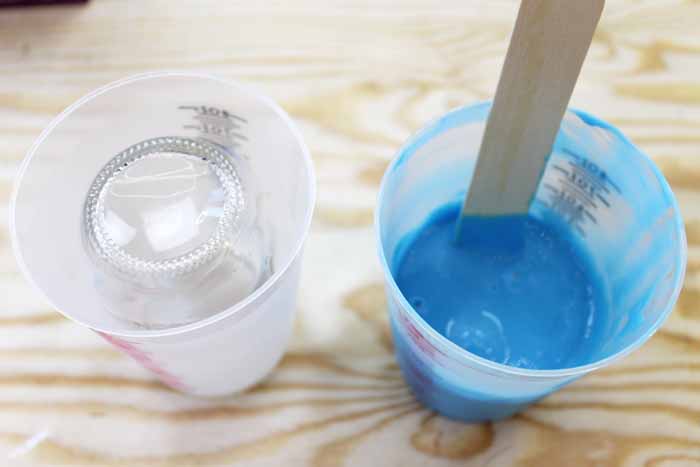
Now that your jar has securely adhered to the bottom of the first mixing cup and your product is mixed well in the second cup, you can pour your EasyMold around the jar.
Do this slowly, and follow all instructions that come with the product to minimize bubbles.
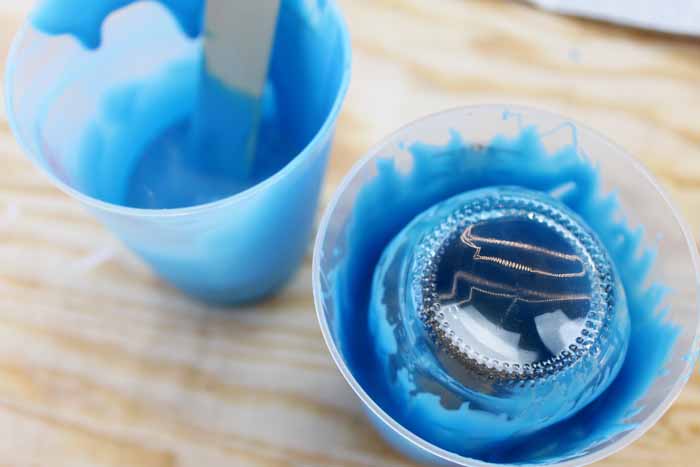
Fill up the mixing cup until almost the bottom of the mason jar as shown below. We want to be able to get this out easily later so we will leave that very bottom portion out of the mold.
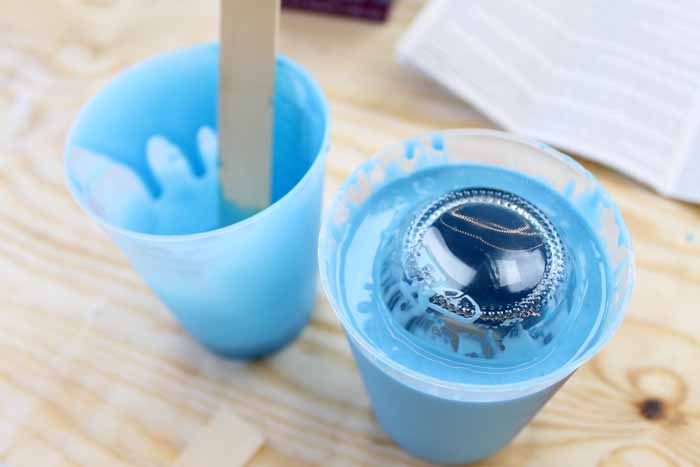
As the product cures, bubbles will rise to the top, so some jiggling and tapping may be required to prevent voids in the finished product. I tapped the entire thing lightly on the table for about 20 minutes to get as many as those out as possible.
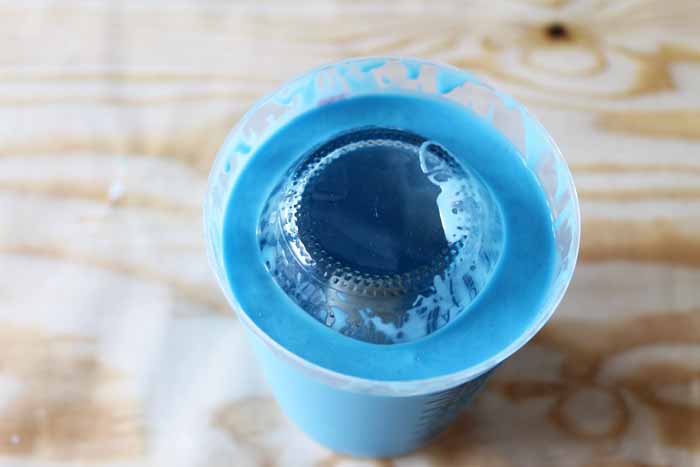
Allow your mold to cure for about 24 hours. After the product has cured, it’s time to remove the mold out of the mixing cup. I found it easiest just to use scissors and cut away the cup.
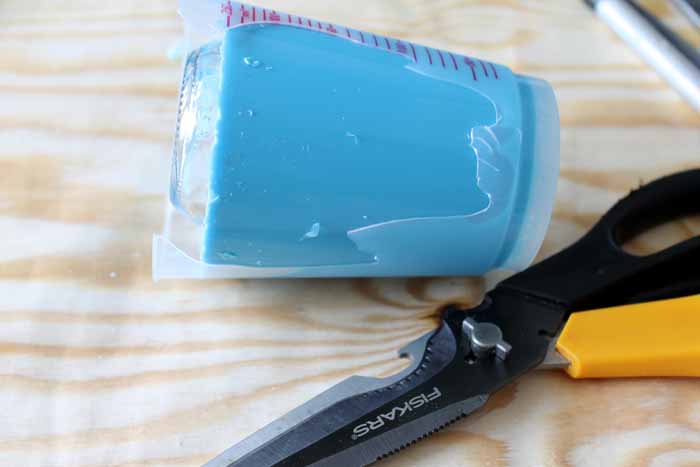
Now that your mold is free from the cup, remove the mason jar from inside of the mold by wiggling and gently pulling until it releases.
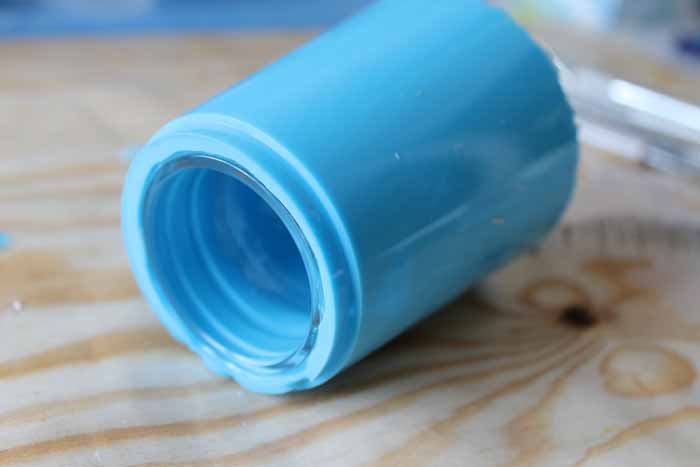
Push the jar out from the “raw” end.
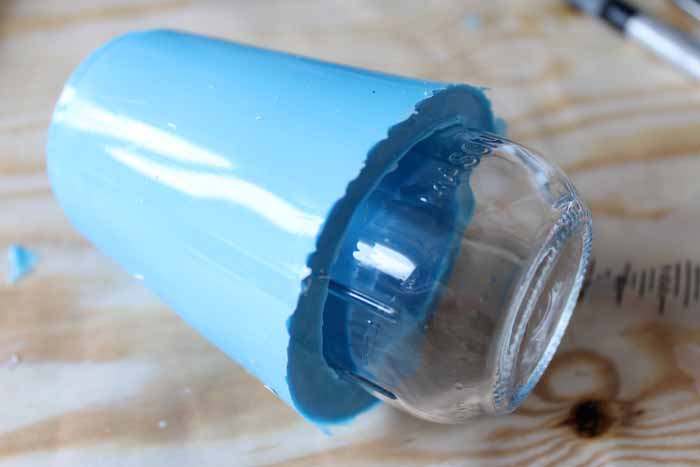
The mold itself should be relatively pliable and flexible, but be patient as to not chip off any pieces of the mold.
Now, your mason jar mold is complete and you are ready to make your candle. You may be thinking that is a lot of work for a little mold, but this can be used over and over for other craft projects, so be sure to keep it after this project is complete.
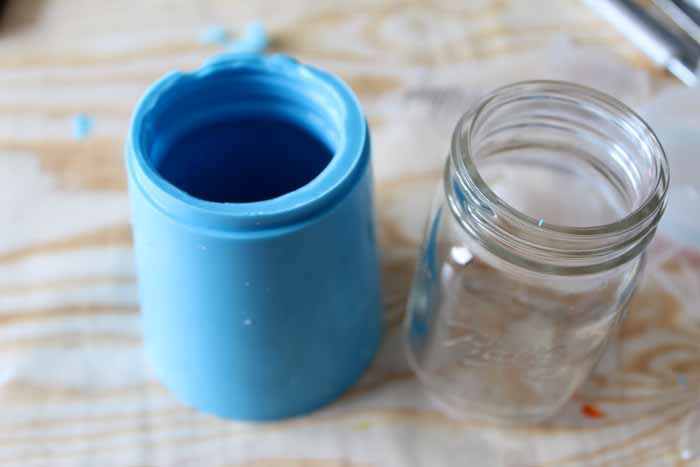
Instructions for custom mason jar candles:
With your newly created mold, you are ready to move on to creating your own custom candles.
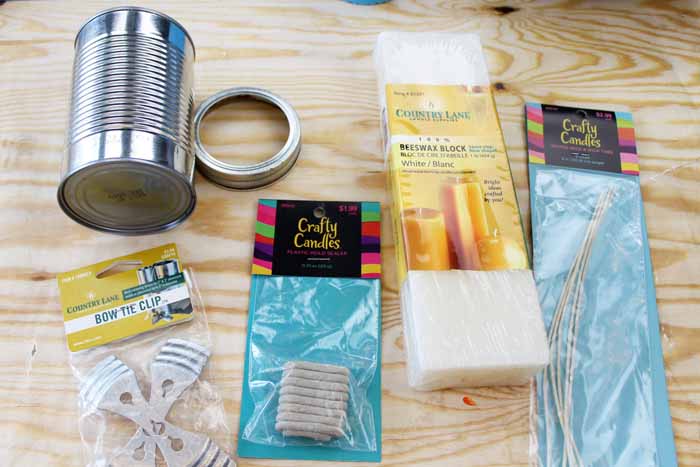
The list of supplies is near the top of this post, but here’s the list of supplies again for quick reference.
- Castin’ Craft Mold Release and Conditioner
- Metal bowl
- Tin can
- Mason jar ring
- Small cooking pot
- 100% Beeswax block
- Candle waxed wick with wick tab
- Plastic mold sealer
- Wick clips
- Scissors
To start, grab your mold and spray the inside and the bottom of a metal bowl with the Castin’ Craft Mold Release and Conditioner. Spray everything liberally twice allowing to dry in between. Everything should be dry before beginning the molding of the candle as well.
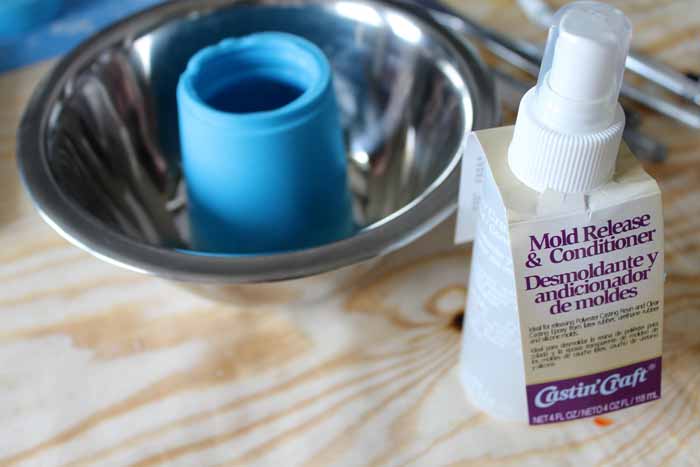
The mold release and conditioner prevents the candle from chipping during the release process, so everything finishes smoothly!
After the conditioner spray has dried completely. Add the mold sealer to the bottom of your mold making sure to cover the entire area.
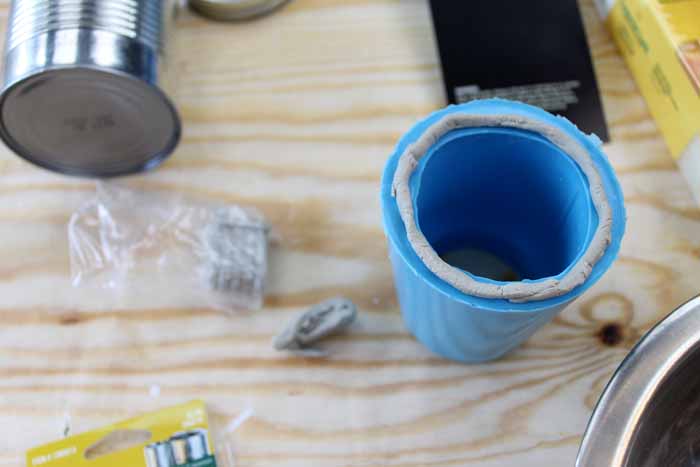
Press the sealer-end of the mold into the bottom of the bowl.
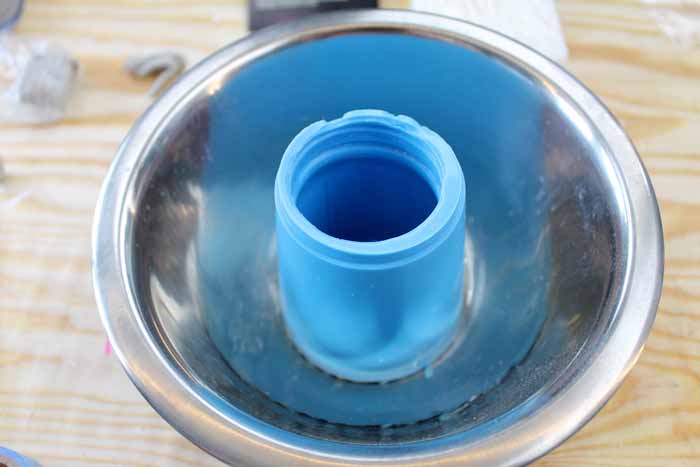
Then, add the mold sealer to the bottom of your wick as well.
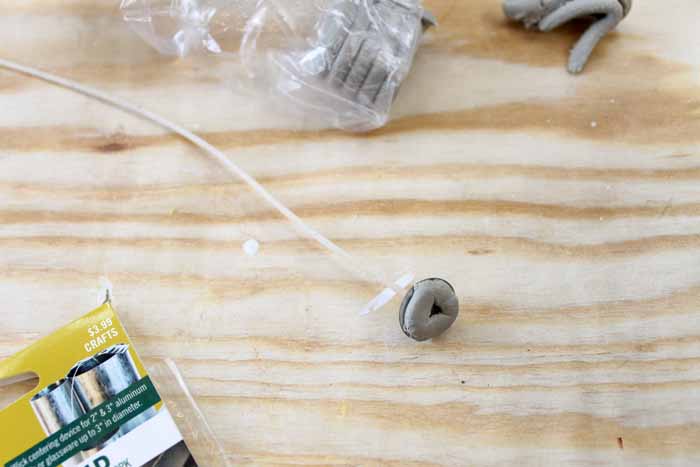
And press that into the bottom of the bowl in the approximate center of your mold.
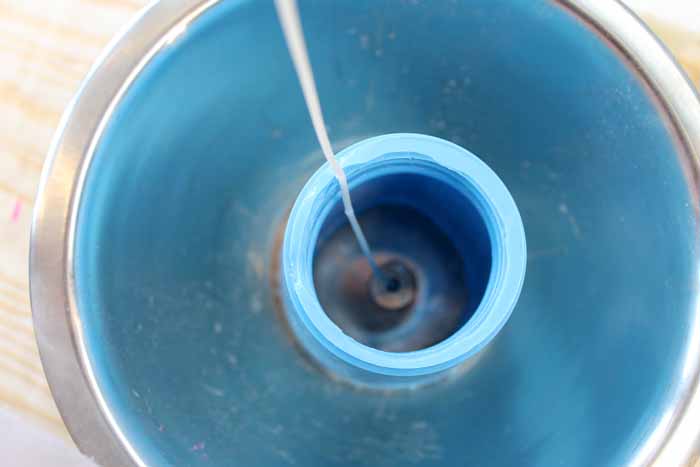
Then, add the wick centering devices to hold the wick.
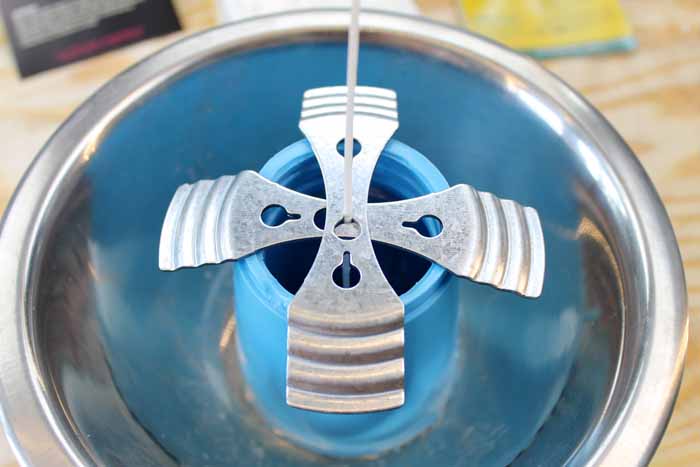
Now that your mold is all set up with your wick centered, it’s time to melt the wax for the candle.
I found it easiest to create a “double boiler” with the ring of a mason jar and the tin can of beeswax. Simply place the tin can on the mason jar ring in a small pot of water and melt the wax slowly and according to the package directions.
Remember that wax is very hot so be cautious! I used about half of the block when making this mini mason jar candle.
Once completely melted, pour into the mason jar mold carefully. The metal bowl will catch any spills. Fill to the top of the jar mold but be sure that the wick tabs are not in your wax.
TIP: Use a hairdryer on high heat to heat the mold before pouring. The will help to prevent any voids in your candle.
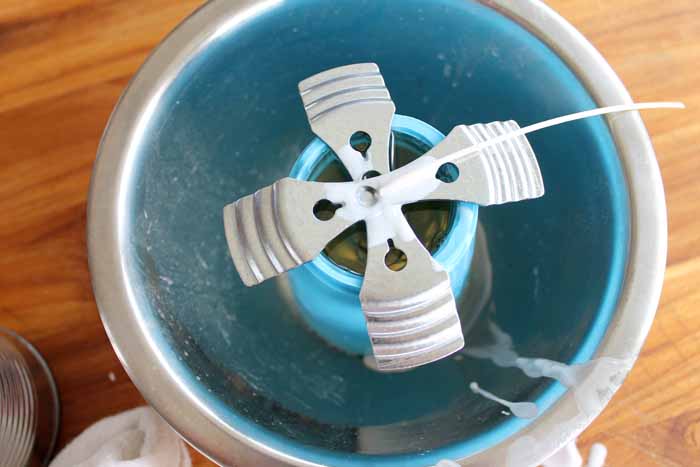
Once the candle starts to set but is not cool, remove the wick centering devices.
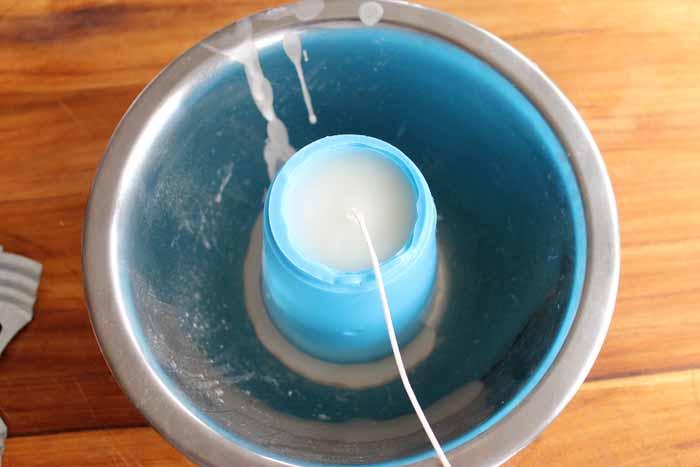
Give the candle a full 24 hours to cool. Then wiggle the mold and it should release from the bowl.
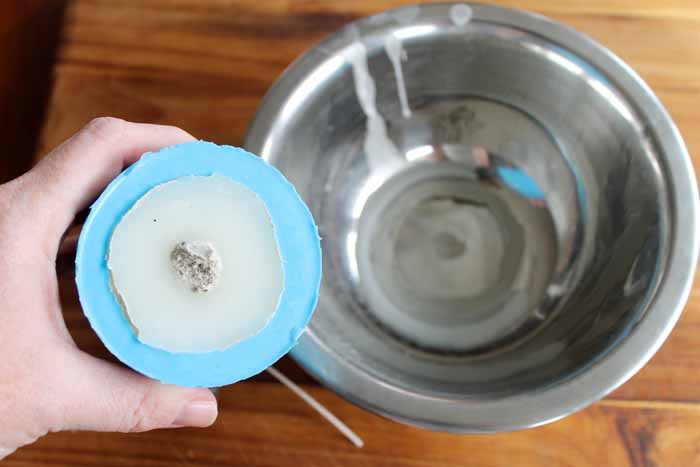
Wiggle the candle itself and push it out from the threads end.
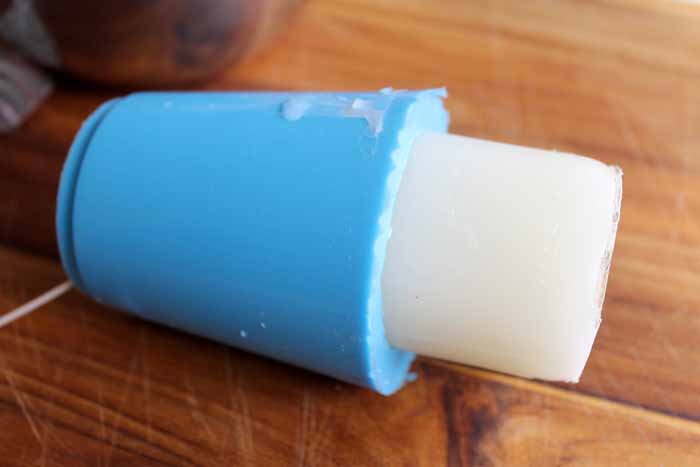
The only edge that was not perfect was around the bottom. You can use a knife to shape and melt by heating an old skillet or holding a lighter around those areas.
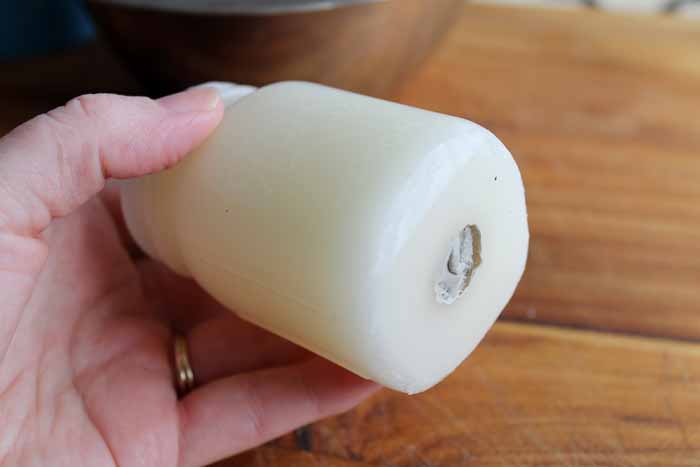
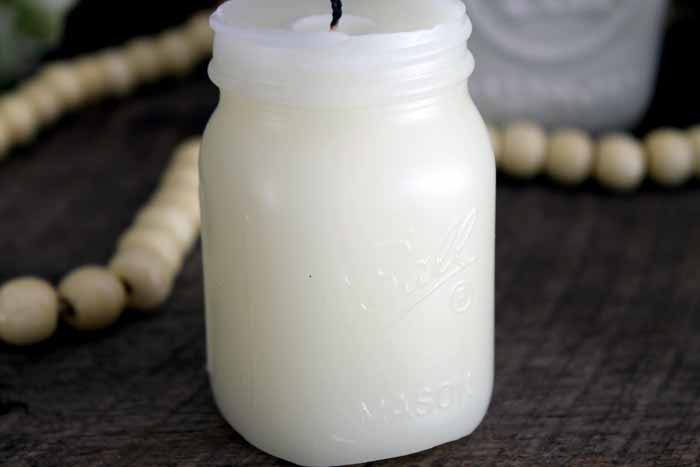
Finally, trim any excess from your wick with scissors and you now have a mason jar-shaped candle!
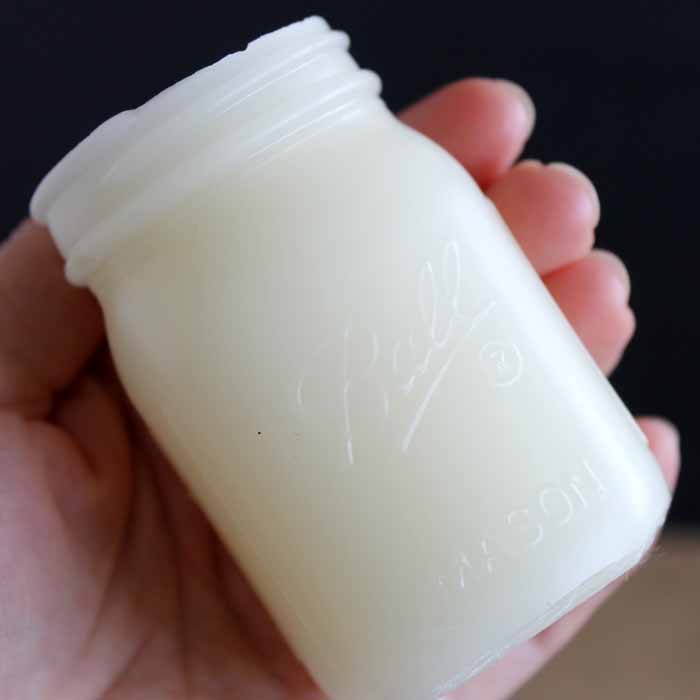
I love all of the details that transferred into the wax. It makes this project perfect!
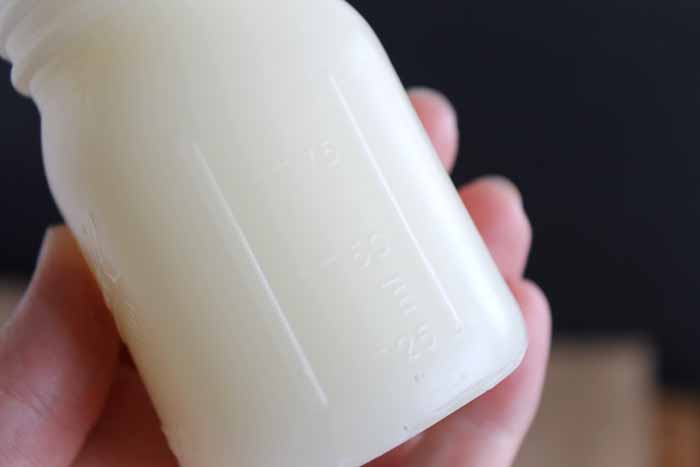
You too can make custom candles in any shape that you desire.
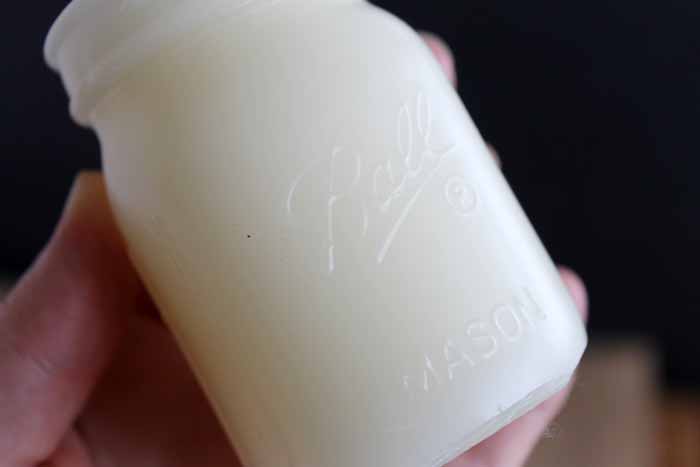
Just make your own mold and get started pouring your wax. You will love the results!
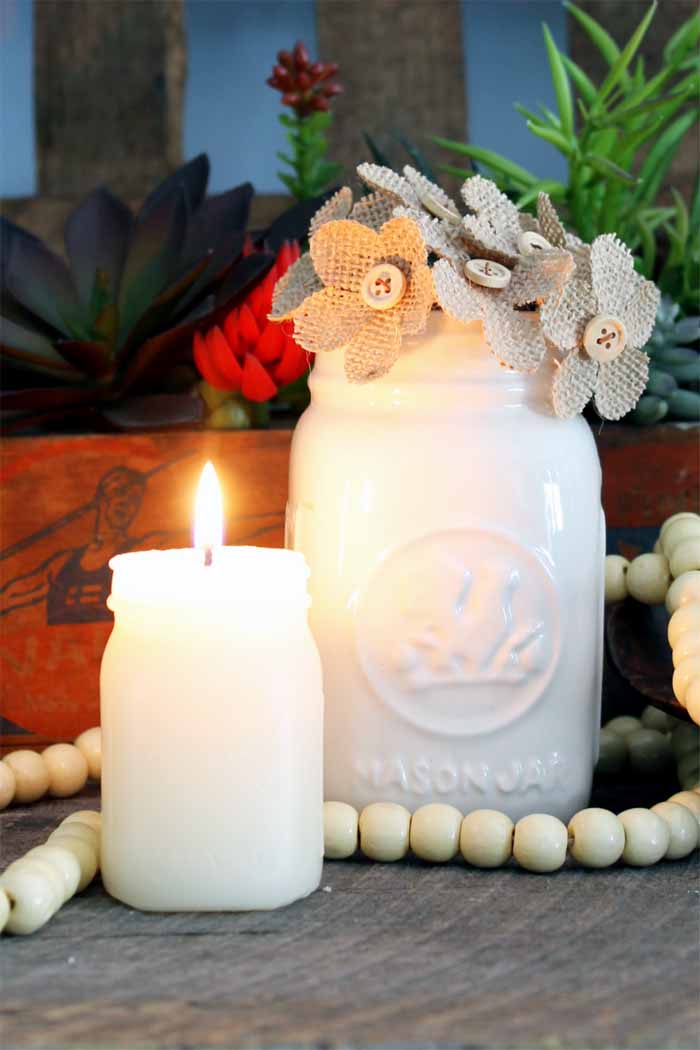
So will you be making custom candles in a mason jar shape?
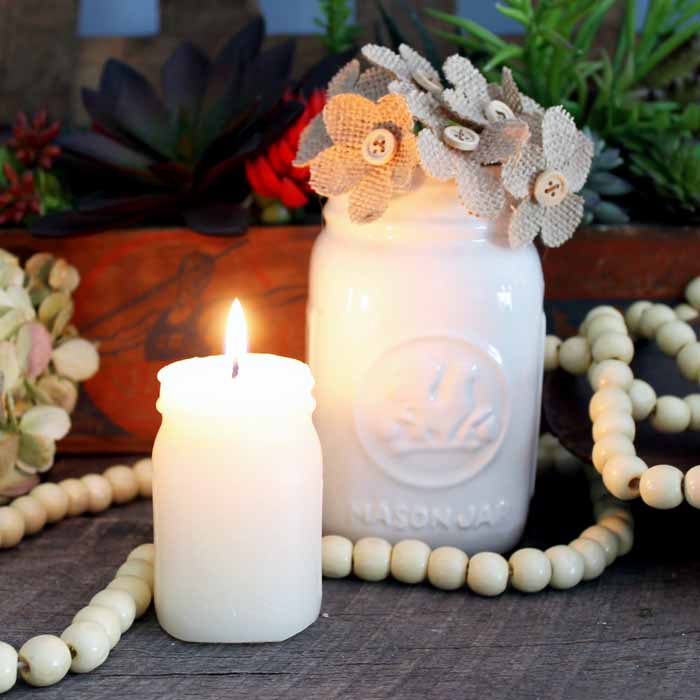
These will look great around your home or you can also make them as a fun gift idea.

I promised you even more fun summer in jars projects for today! Just click the links below to be taken to the craft ideas.
Just in case you are curious, I have also created a quiz so you can find out what type of mason jar you are! This is just for fun but might give you some great ideas for jars to use in your own crafts. Take the quiz below!
Supplies
For the candle molds:
- Castin’ Craft EasyMold Silicone Rubber
- Mini mason jar I used the new 4 oz mini storage jars from Ball but you can probably find a variety of brands online
- Mixing cups
- Measuring cups
- Stir sticks
- Hot glue and glue gun
- Scissors
For the custom candles:
- Castin’ Craft Mold Release and Conditioner
- Metal bowl
- Tin can
- Mason jar ring
- Small cooking pot
- 100% Beeswax block
- Candle waxed wick with wick tab
- Plastic mold sealer
- Wick clips
- Scissors
Instructions
To make the candle mold:
- Apply hot glue around the lip of the mason jar and place it upside down in a flat-bottomed mixing cup to create a seal.*
- In a separate mixing cup, mix the Castin’ Craft EasyMold Silicone Rubber. Mix equal parts of the two components. Be sure to follow all instructions and measure carefully. Mix really well before continuing making sure all product on the sides and bottom gets mixed.
- Slowly pour your EasyMold around the jar.
- Follow all instructions that come with the product to minimize bubbles.
- Fill up the mixing cup until almost the bottom of the mason jar as shown below. We want to be able to get this out easily later so we will leave the very bottom portion out of the mold.
- Allow your mold to cure for about 24 hours.
- Remove the mold by cutting the cup away from the mold. Then, remove the mason jar from the center of the mold.
To make the custom candles:
- Spray the inside of the mold and the bottom of a metal bowl with the Castin’ Craft Mold Release and Conditioner. Spray everything liberally twice allowing to dry in between. Everything should be dry before beginning the molding of the candle as well.
- Add the mold sealer to the bottom of your mold making sure to cover the entire area.
- Press the sealer-end of the mold into the bottom of the bowl.
- Then, add the mold sealer to the bottom of your wick, and press that into the bottom of the bowl in the approximate center of your mold.
- Add the wick centering devices to hold the wick.
To melt the beeswax:
- Create a “double boiler” with the ring of a mason jar and the tin can of beeswax. Simply place the tin can on the mason jar ring in a small pot of water and melt the wax slowly and according to the package directions.
- Once completely melted, pour into the mason jar mold carefully. Fill to the top of the jar mold but be sure that the wick tabs are not in your wax.
- Once the candle starts to set but is not cool, remove the wick centering devices.
- Give the candle a full 24 hours to cool. Then wiggle the mold and it should release from the bowl.
- Wiggle the candle itself and push it out from the threads end.
- Trim any excess from your wick with scissors.
Notes
- If you are using a dome-bottomed mixing cup like I did, add some hot glue to the bottom to make it flat. Then, set the cup aside to cool completely before moving to the next step.
- Use a hair dryer on high heat to heat the mold before pouring. This will help prevent any voids in your candle.
- During the candle pouring, the metal bowl will catch any wax spills.
- Use a knife to shape and melt any raw edges by heating an old skillet or holding a lighter around those areas.
A Year of Jar Crafts

Sign up for our email list to get a FREE book with an entire year of jar crafts! 12 months, 12 crafts, tons of fun!


SO CLEVER!
This is just too cool!!!! Love it!
Love it! I am a complete and total Mason Jar Addict from the first time I watched my NANIE can Jam’s, Jellies and Veggies about 55 years ago, lol. And this is one of the cutest things ive seen. TFS this video and helping pass my love of those little bugger’s to MY little bugger’s, my Grandchildren, lol! I can see Noah age 5 & Alice age 4 having a fun Craft Time with Nanie this summer💓👫💓