Are you ready to learn how to make Christmas pajamas? This project is a great idea if you want pajamas that all coordinate even if they aren’t exactly matching. Sometimes it can be hard to find matching pajamas in all the sizes you need. Using HTV, you can still get the matching look you’re going for.
Wondering which HTV is best? I’ve tested a lot of options to help you find the best HTV for your project and you can read more about them in my Best HTV for Your Crafts blog post.
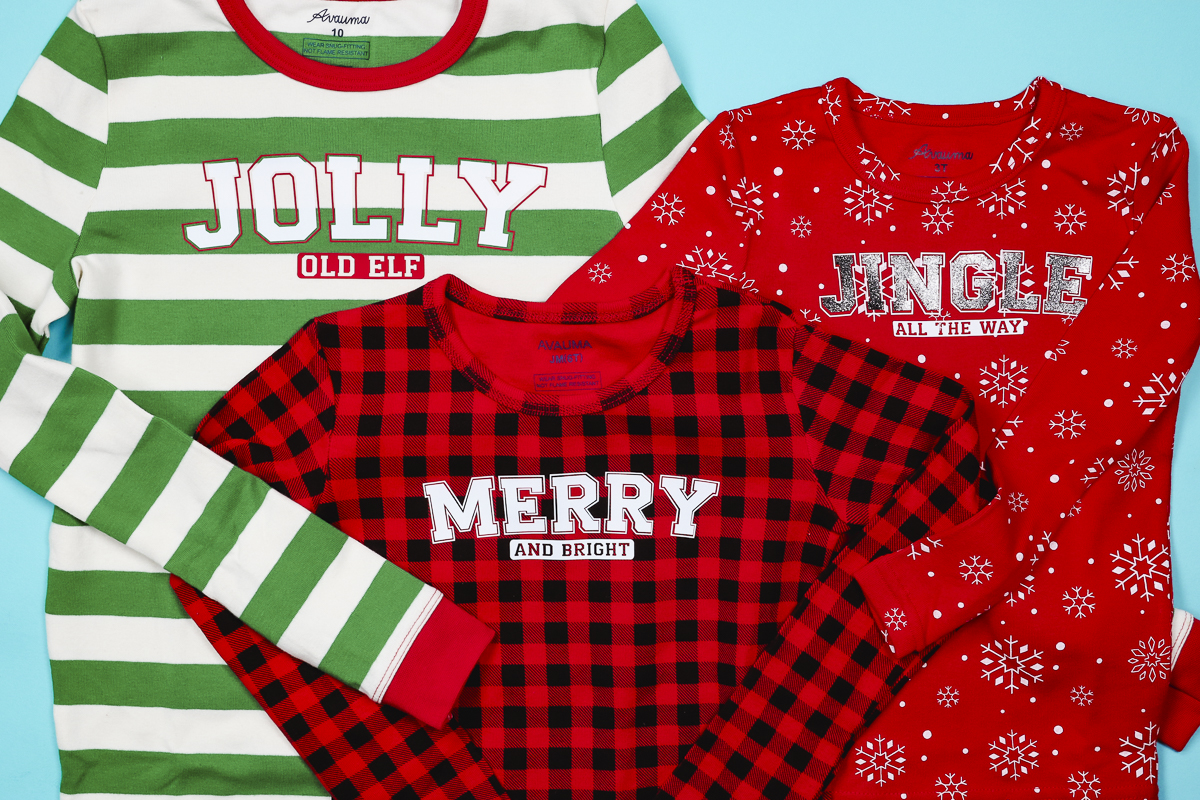
If you’ve found yourself with a variety of different prints/patterns of Christmas pajamas or maybe you have family members who are against matching this is the perfect project for you.
You can watch me make these pajamas from start to finish by pressing play on the video below.
Christmas Pajamas for the Family
These pajamas are really easy to make. I’m going to add designs to the pajama tops if you want you could add designs to the leg as well.
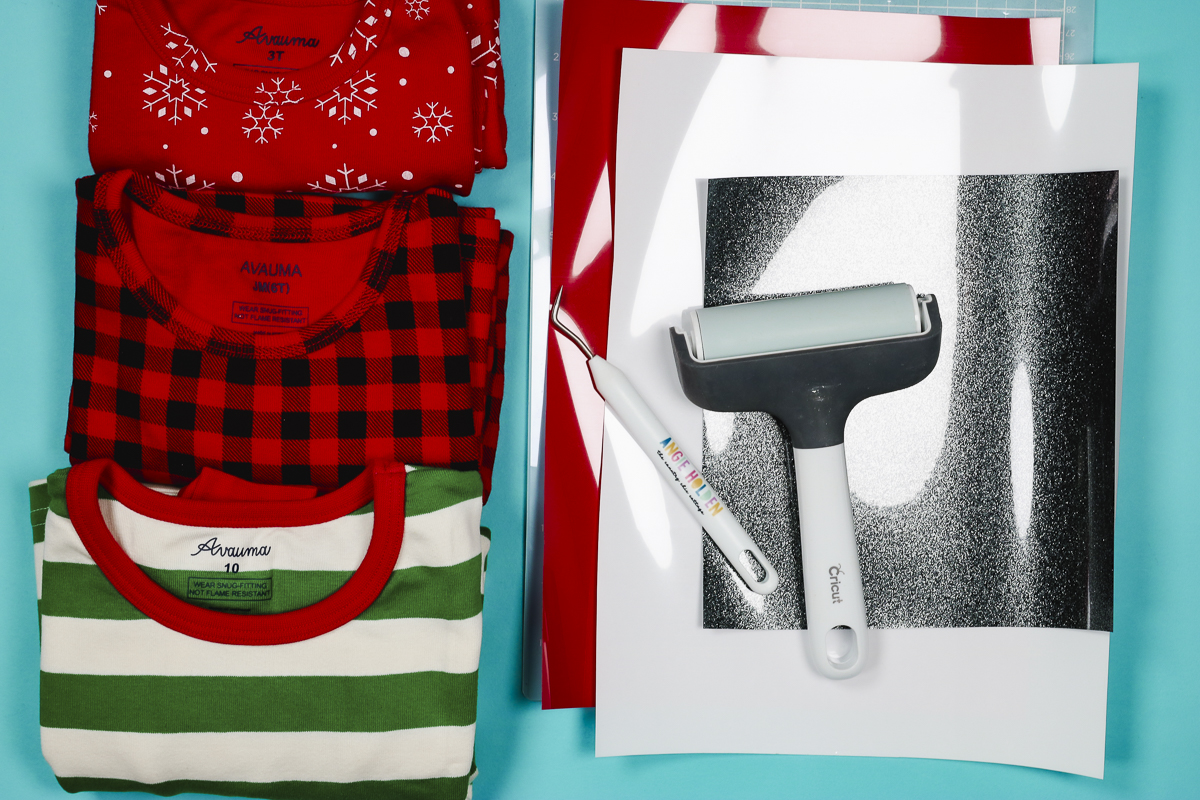
Supplies Used
- Free Christmas Files
- Cricut Machine
- HTV (I’m using B-Flex Gimme5 HTV today. You can use any HTV you like or have on hand. You can also mix up the HTV types. I’m using regular B-Flex and B-Flex glitter in a variety of colors.)
- Weeding Tool
- Teflon Sheet
- Heat Press
- EasyPress Mat
- Brayer
- Pajamas
Step 1. Load Design into Design Space
Download the file and upload it into Design Space.
The images will come into Design Space grouped together. Click Ungroup and then you can adjust each file however you want.
You can change the colors, make the whole design one color, and resize them as needed.
If you’re using one color for your design, make sure you attach the two layers so they’ll cut at once then you won’t have to layer the pieces.
Step 2. Cut Out the Design
I am using a Cricut Joy Xtra for my project. You can use any Cricut machine to make these customized Christmas pajamas.
Click Make in Design Space and make sure to mirror the design on each mat.
Choose your machine and the material setting for your HTV. For the B-Flex Gimme5, I am using the Everyday Iron-on setting. For the B-Flex Glitter, I am using the Glitter Iron-on setting. Both of those work well with my machine.
I’m cutting all of these materials on a mat. I did need to trim my material to fit on the mat for the Joy Xtra. Place the material shiny side down on the mat.
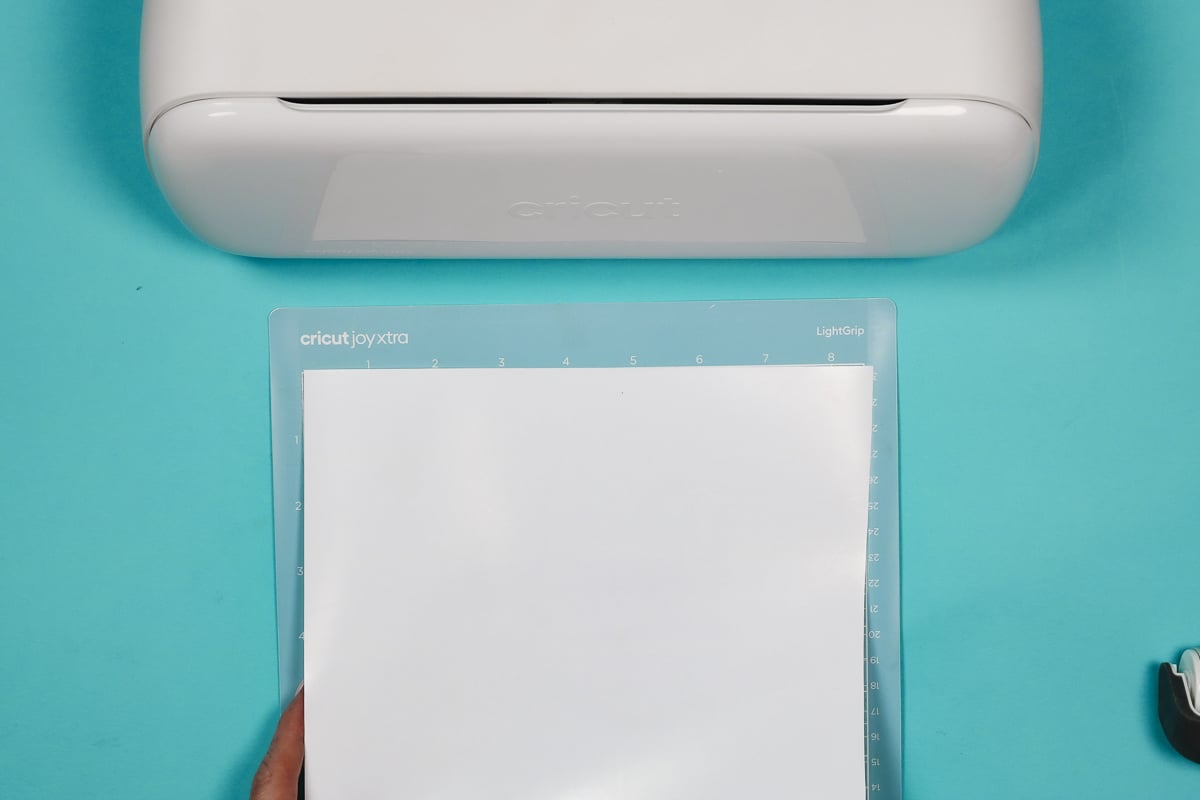
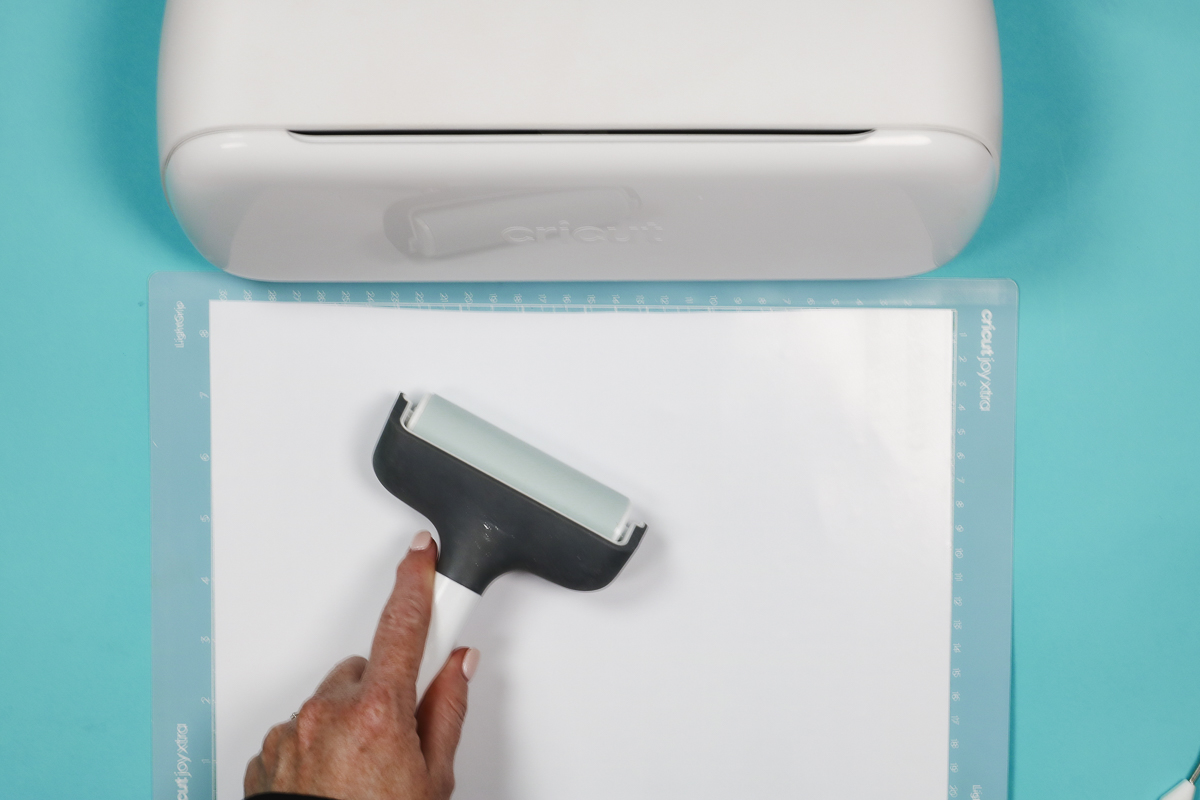
Use a brayer to ensure the material is stuck down really well, then load the mat into the machine.
Next, load the mat into the machine, press Go, and cut out the design.
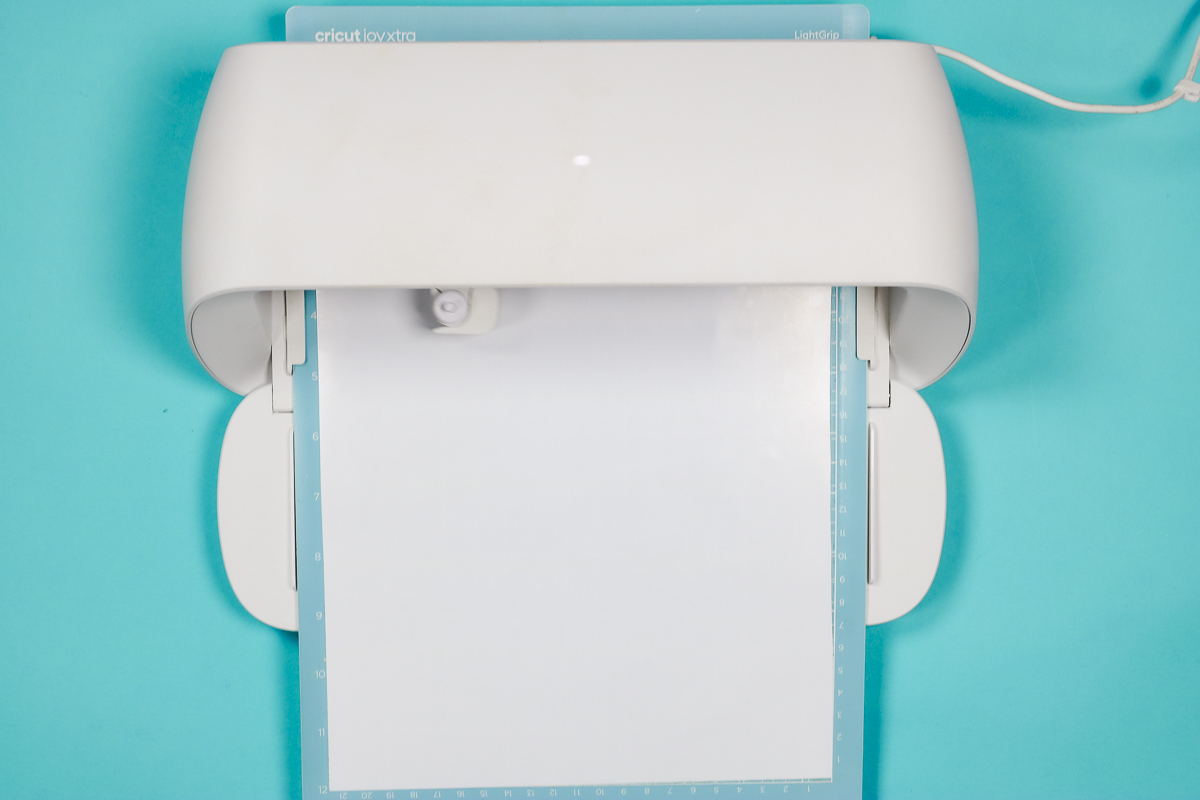
Repeat the process for each different color of HTV.
Step 3. Weed the HTV
Use a weeding tool to weed out all the excess HTV including the insides of all letters.
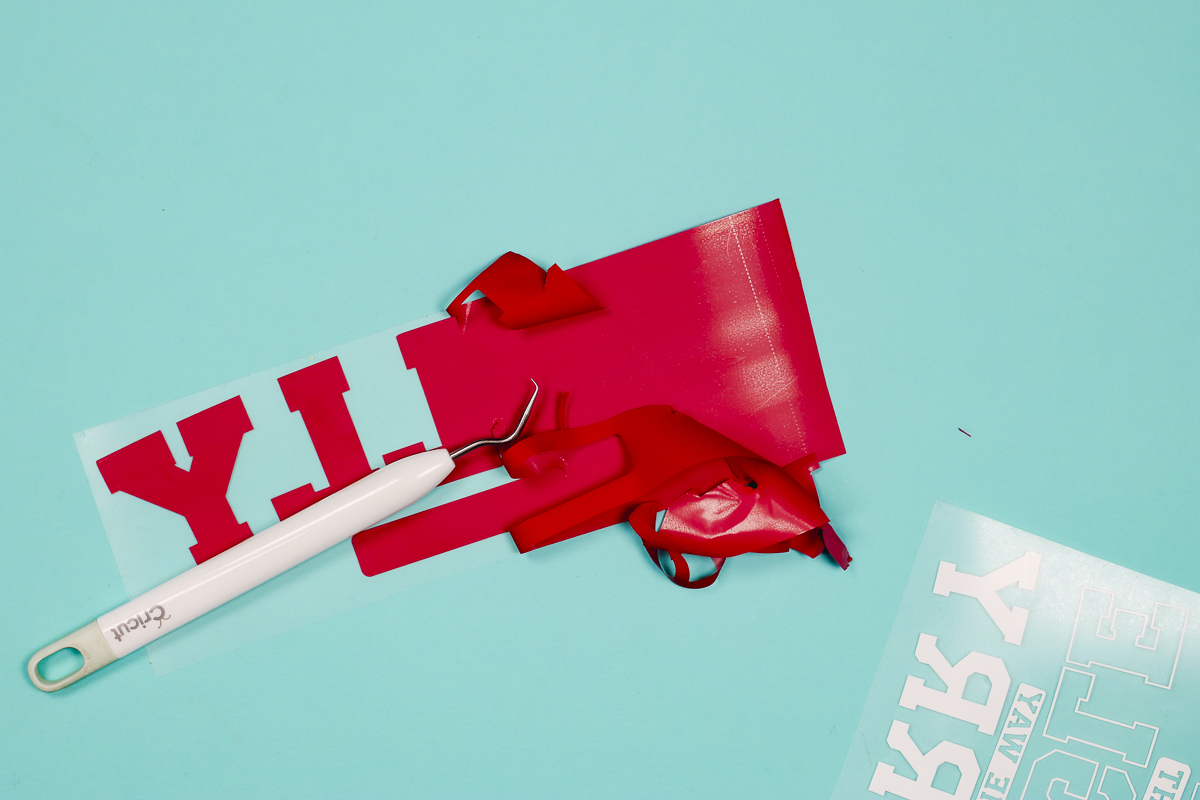
When the HTV is weeded we’re ready to start adding the HTV to the pajama tops.
Step 4. Apply HTV to Christmas Pajamas
I am using an EasyPress and EasyPress Mat but this can be done with any heat press.
First, we need to preheat the fabric. This will remove any wrinkles and moisture. B-Flex Gimme5 has a pressing temperature of 285 degrees for just 4 seconds. I love how quickly this material presses.
Depending on your design you can press the entire thing at once or in layers.
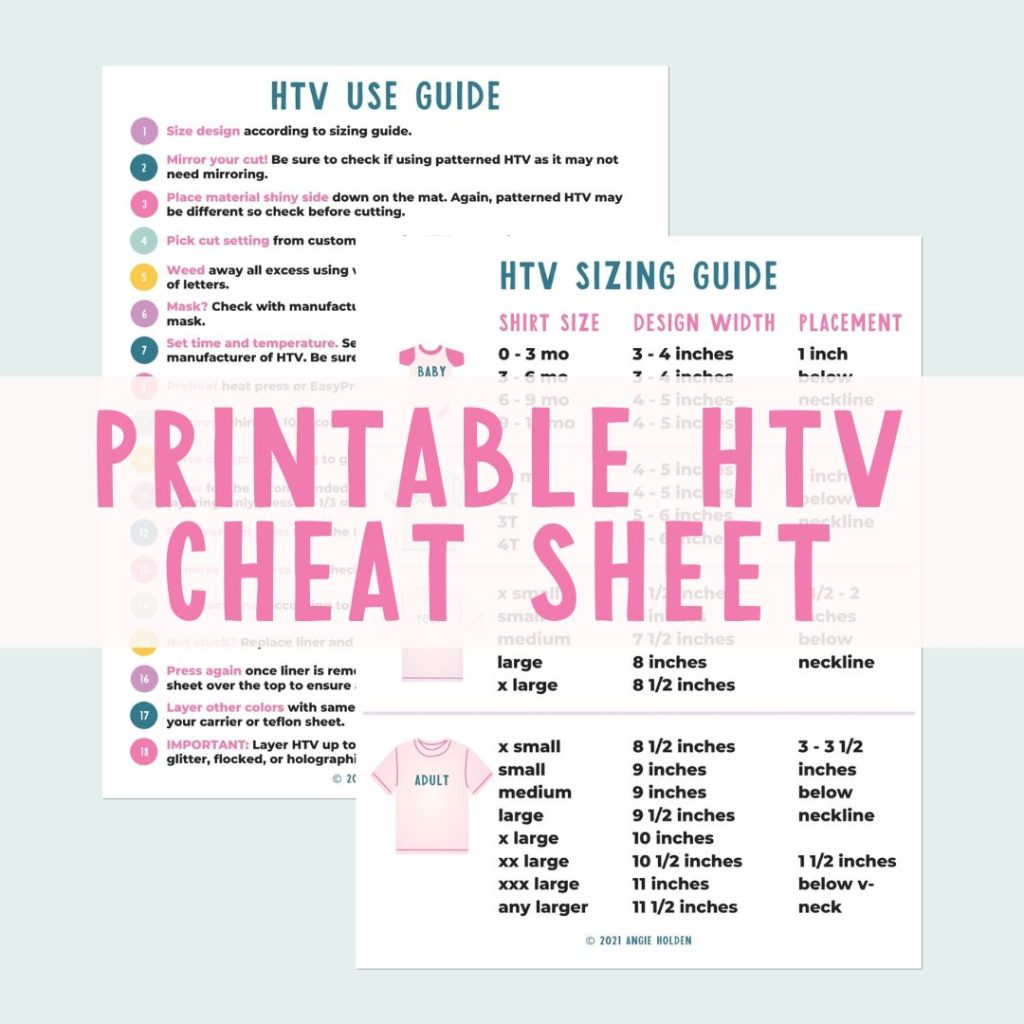
Free HTV Cheat Sheet
Get your FREE Printable HTV Cheat Sheet now! This guide has sizing and position recommendations for infant through adult shirts as well as a handy HTV use guide. Print this double sided guide and put it by any heat press you own!
One Color Designs
This first design is all one color. I forgot to attach these two layers so they cut out separately. I didn’t want to waste the material so I’m pressing them individually.
Because they’re the same material it doesn’t matter which layer I press first.
I like to locate the design with all layers so I can ensure it looks right when it’s finished.
When layering HTV, ensure all the layers are protected from the heat source. You can use the carrier sheet or a Teflon sheet to protect the HTV.
Press each layer for 4 seconds and allow to cool for a few seconds before peeling back the carrier sheet.
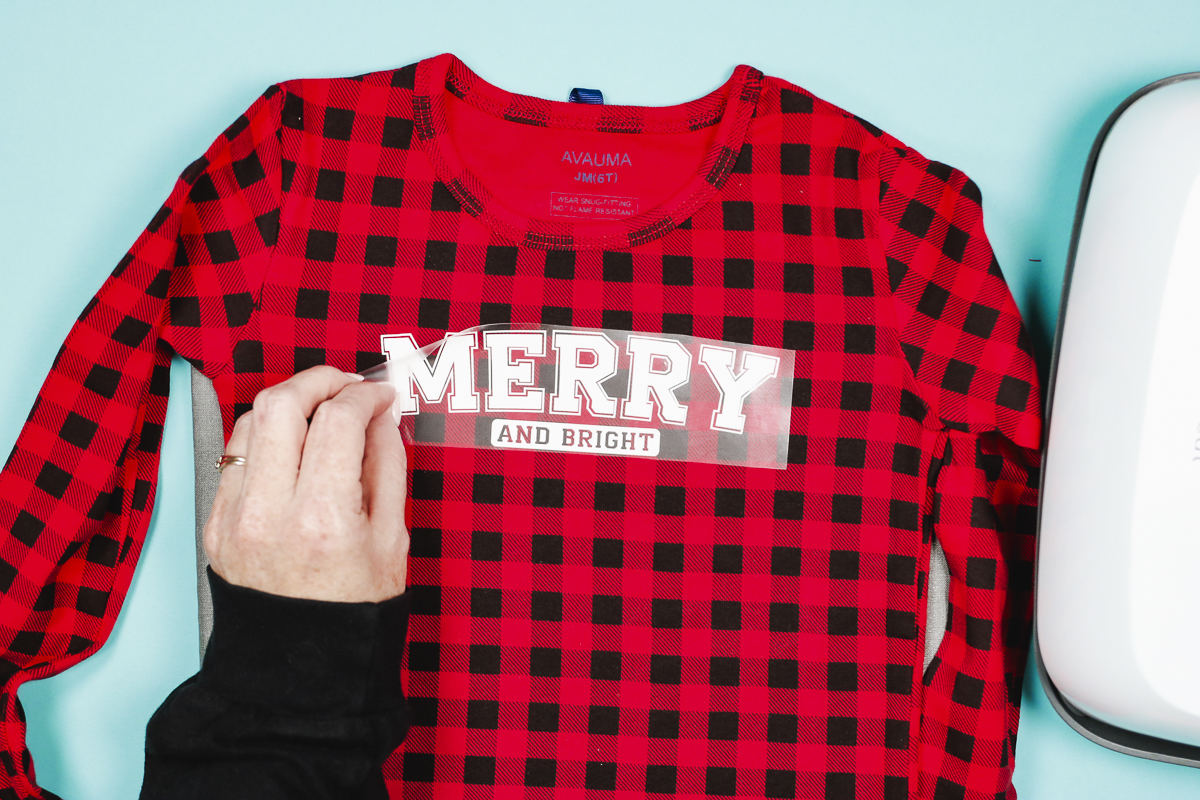
Two Color Designs
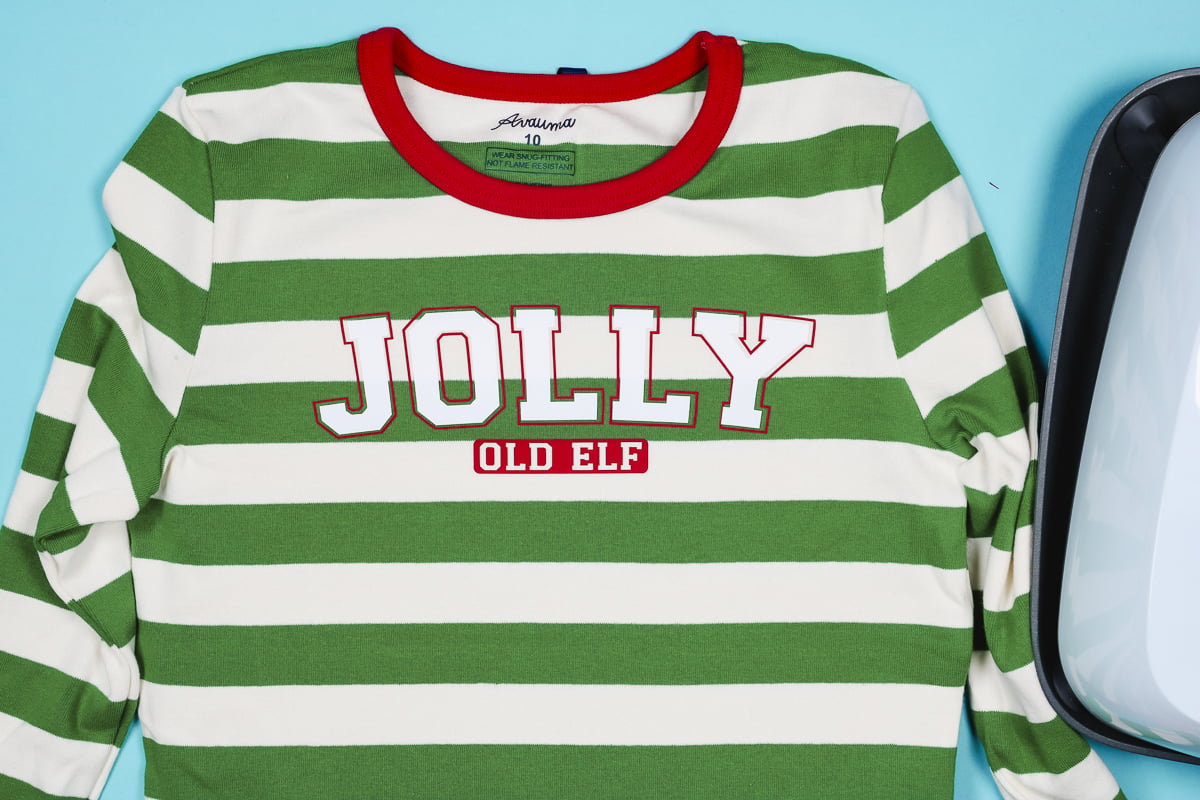
For this Jolly Old Elf design, I want the white of the pajamas to show through the Old Elf section. Once it’s located correctly press for the full 4 seconds and remove the carrier sheet.
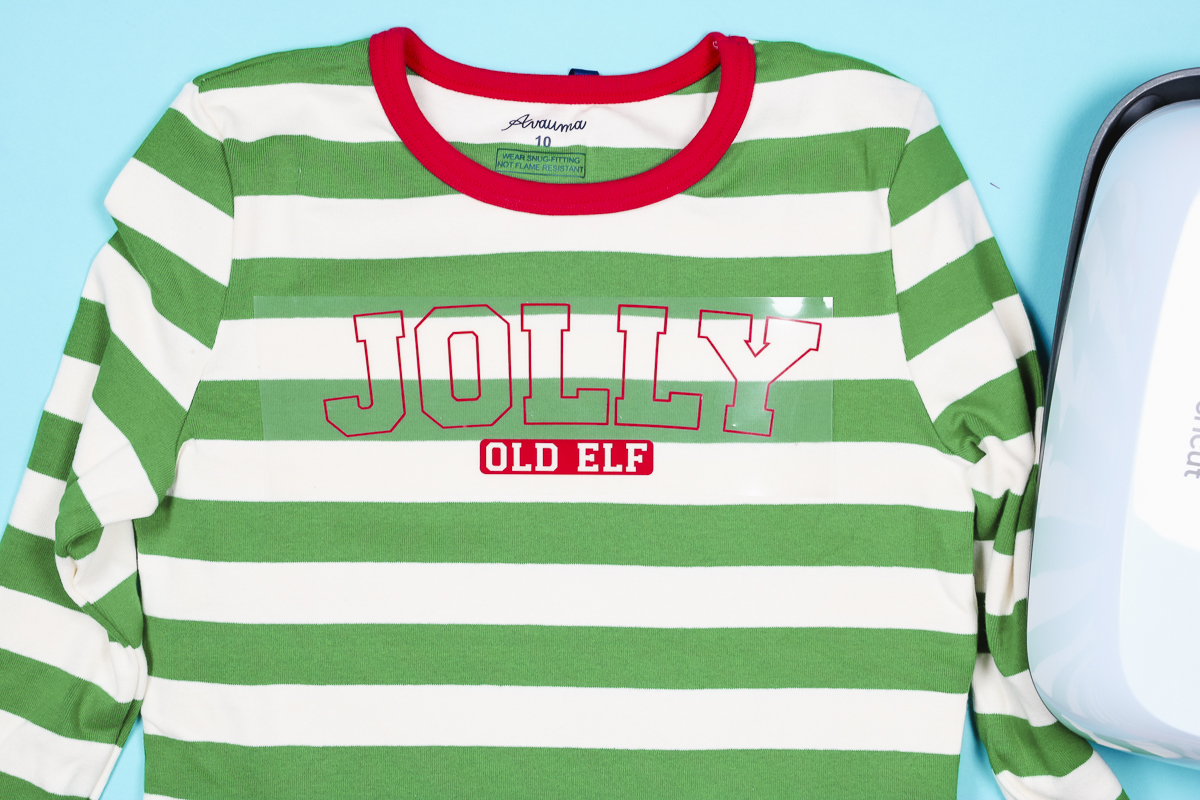
Locate the second layer and press.
Designs with Two Types of HTV
For this next pair of Christmas pajamas, I am using both glitter HTV and Gimme5 HTV. The temperature is the same for both materials but you need top press the glitter for 10 seconds instead of 4.
I am pressing the glitter layer first so I don’t press the Gimme5 for too long.
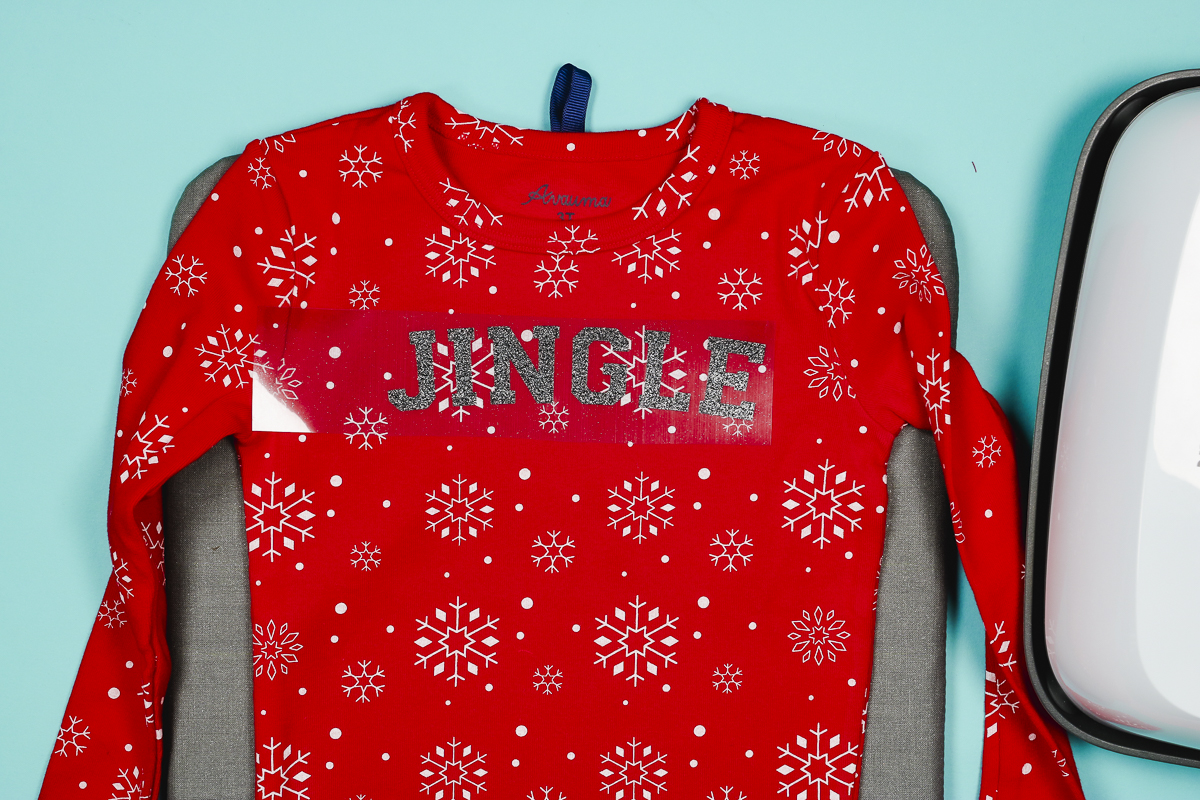
Sometimes HTV can shrink when heat is applied. If you’re having trouble getting the second layer to line up you can cut the design apart to make it easier to locate correctly.
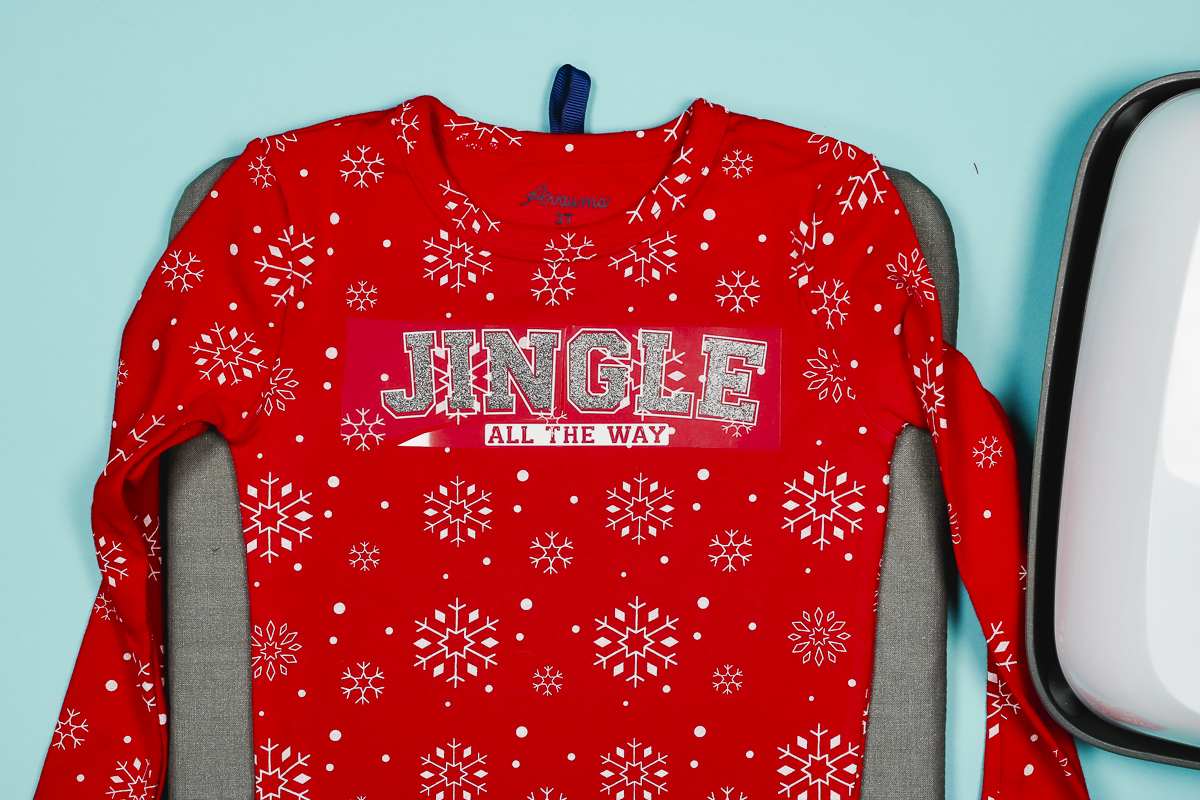
Press the second layer for four seconds, allow it to cool for a few seconds, and remove the carrier sheet.
Once the HTV layers are applied the Christmas pajamas are finished. Don’t wash or wear them for 24 hours so the adhesive has time to really adhere to the fabric.
Make Your Own Custom Christmas Pajamas with HTV
I love how these Christmas pajamas turned out. Even though the pajamas don’t technically match, by adding these designs they all coordinate.
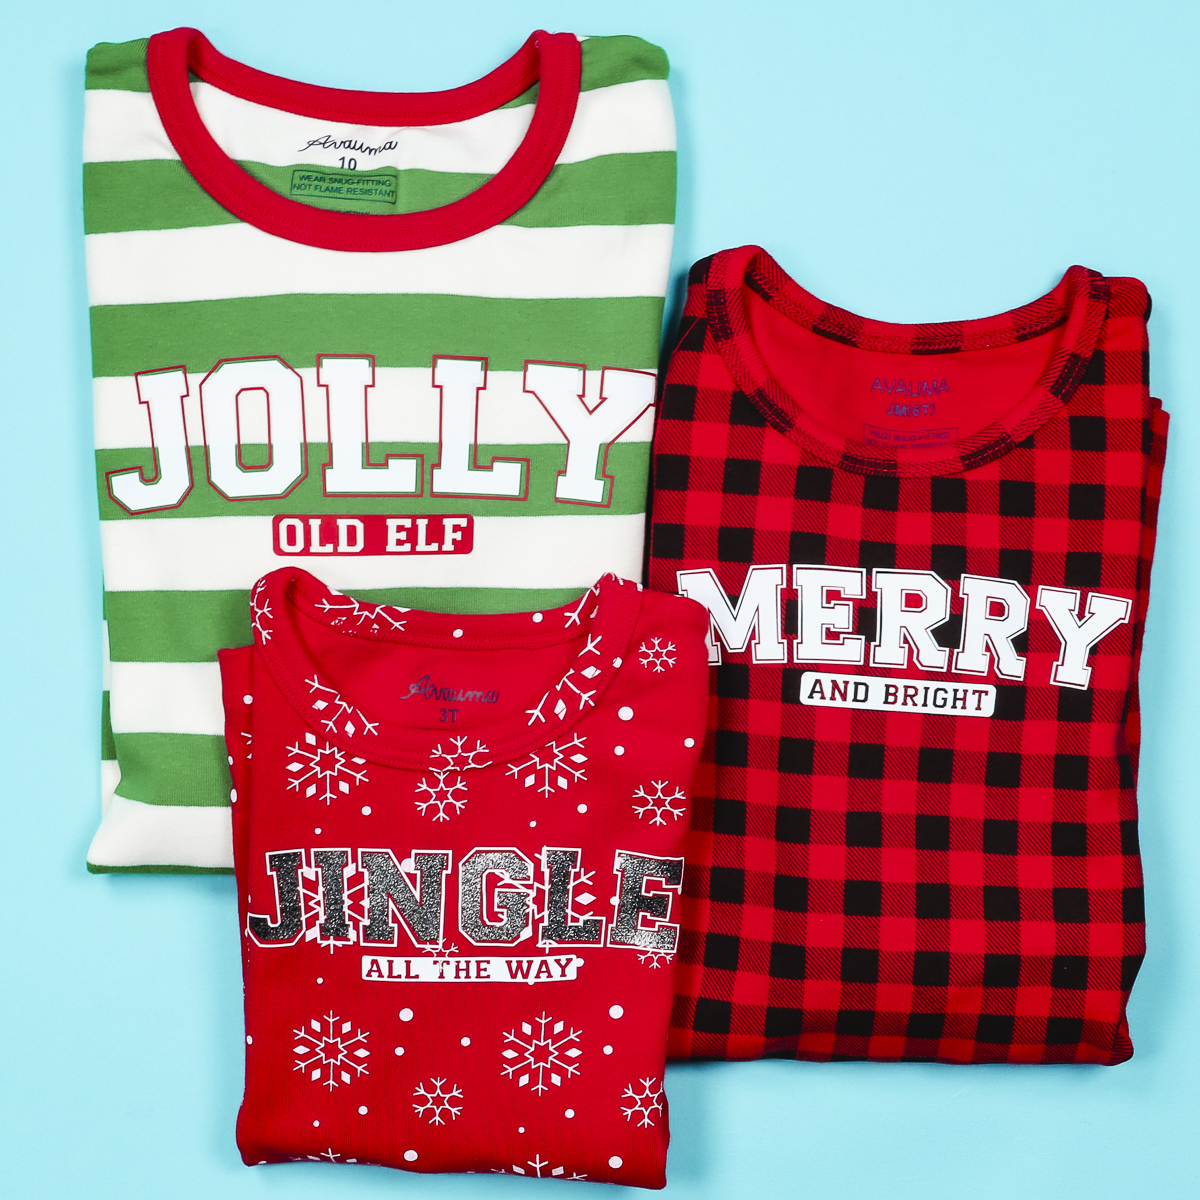
This is such a fun way to get that matching Christmas pajama look without the stress of trying to find multiple pairs of matching pajamas in different sizes.
I used this type of pajamas but this can be done with any pajamas. You could even use regular sweats or a T-shirt and flannel pants.
I hope I’ve answered any questions you have about creating matching Christmas pajamas with HTV. If you have any additional questions leave them in the comments and I’ll be happy to answer them for you.


