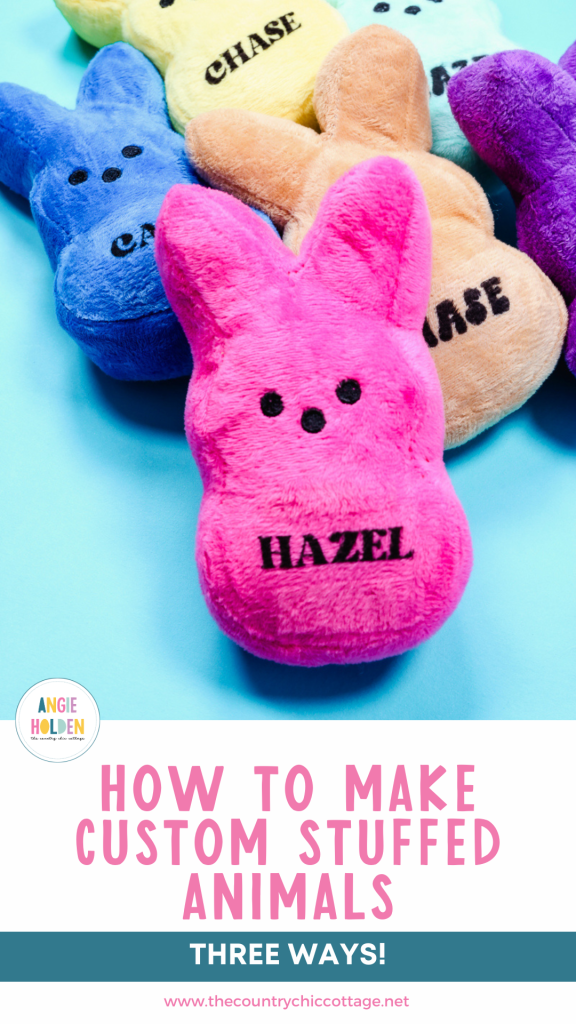
Today, I’m going to show you how to make custom stuffed animals in three different ways. You can do this with any type of stuffed animal, and you can have it say anything you want.
This is such a fun idea for everything from Easter baskets to baby gifts. There’s something special about a personalized stuffed animal.
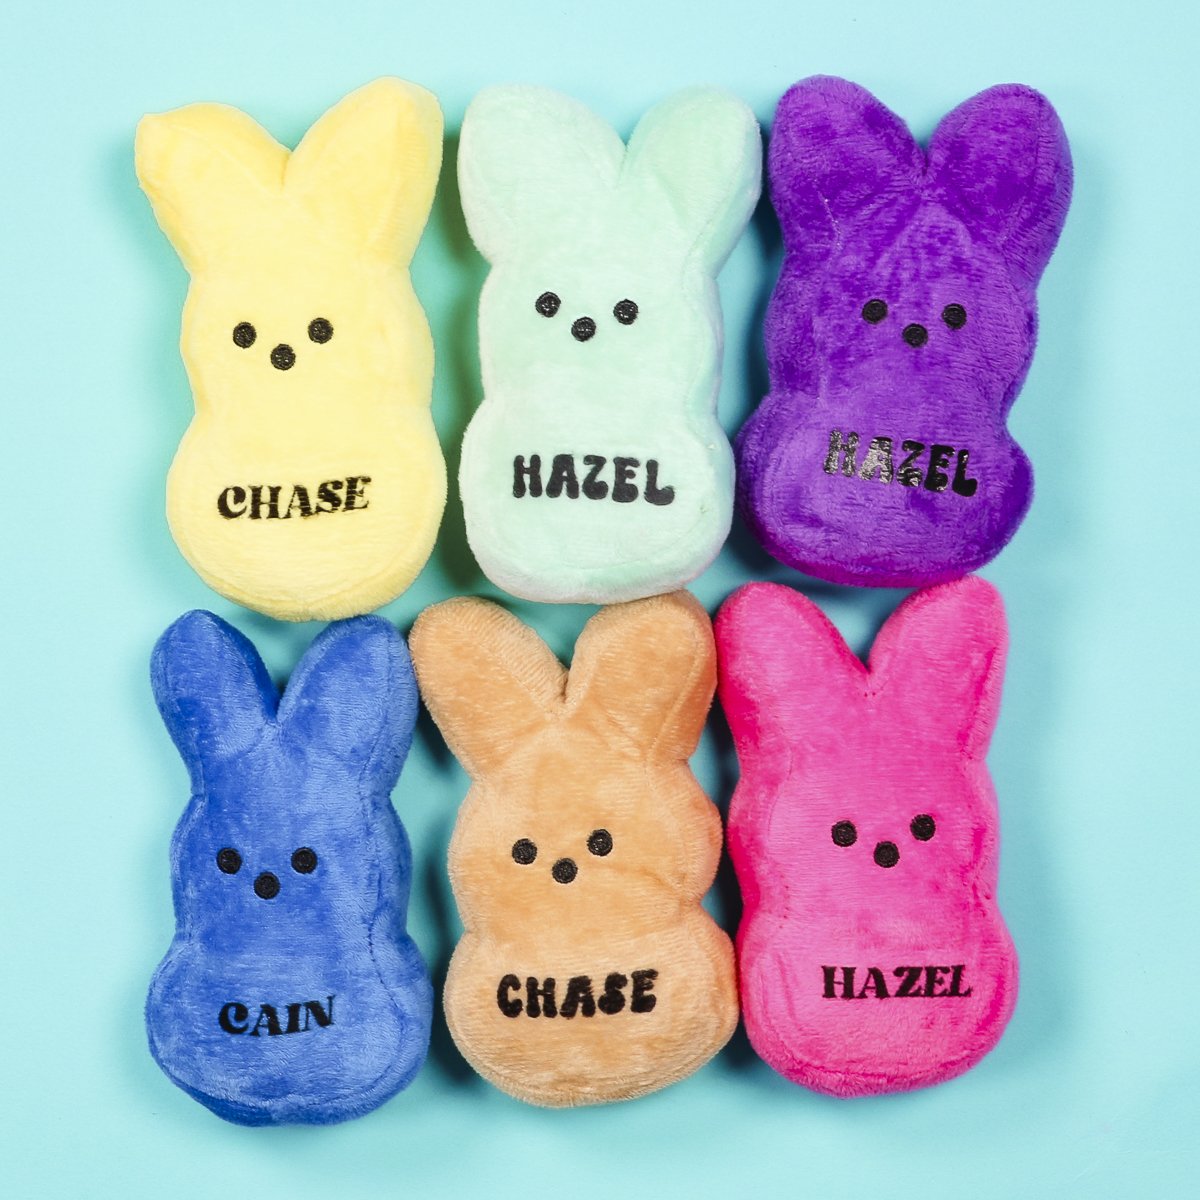
I’m using HTV, Infusible Ink, and sublimation for my examples today. Regardless of what material you’re using, you’ll have a stuffed animal that says anything you want.
You can watch me test each of these materials by pressing play on the video below.
How to Make Custom Stuffed Animals
I am using these cute peep stuffed bunnies for my examples today but you can try this with any stuffed animal.
I am adding names to my stuffed animals but you could add dates, names, places, anything you wanted.
Supplies Used
As I mentioned before, I am making these three different ways. You will not need all of these supplies for each material.
- Retro Friday Font
- Bright Retro Font
- Bunnies
- Cricut Machine
- HTV
- Weeding Tool
- Teflon Sheet
- Heat Press
- Scissors
- Brother Sublimation Printer
- Sublimation Paper
- Lint Roller
- Heat Resistant Tape
- Heat Resistant Gloves
- Heat Resistant Mat
- Tape Dispenser
- Protective Paper
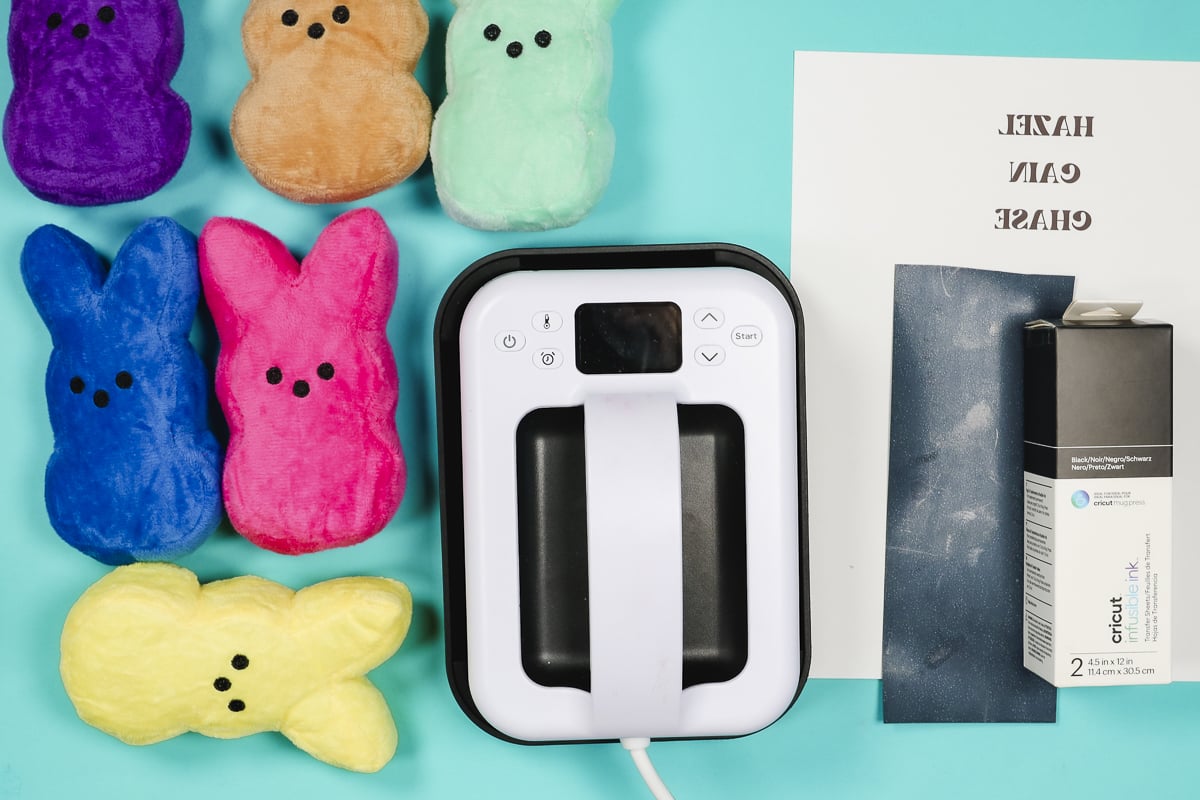
Sublimation and Infusible Ink Requirements
Most stuffed animals have a high polyester content, which makes them a great option for both Infusible Ink and sublimation. If you don’t know the fabric content, test a small, unnoticeable spot to see if the ink transfers.
Along with a blank with a high polyester count, 65% or higher you’ll notice I am using black ink for my designs.
Sublimation and Infusible Ink are transluscent inks. This means they work best on white or light colored blanks. Any color on the blank will show through the ink. Because my stuffed bunnies are colored, I am using black ink so it will show up well.
How to Use HTV and Infusible Ink on a Stuffed Animal
For both the HTV and Infusible Ink projects, we’re going to use Design Space to create the design because we will cut the material out with a Cricut machine.
Step 1: Create Design in Design Space
Open Design Space, click Text, and type in whatever you want your stuffed animal to say. I am using names.
Now, you can change the font to whatever you want. I am using the font Retro Friday because it is bold and will show up well even if the fuzz of the stuffed animal is brushed in different directions.
Step 2: Resize Name
Measure the area where you want the design to be and resize the text to be that same size.
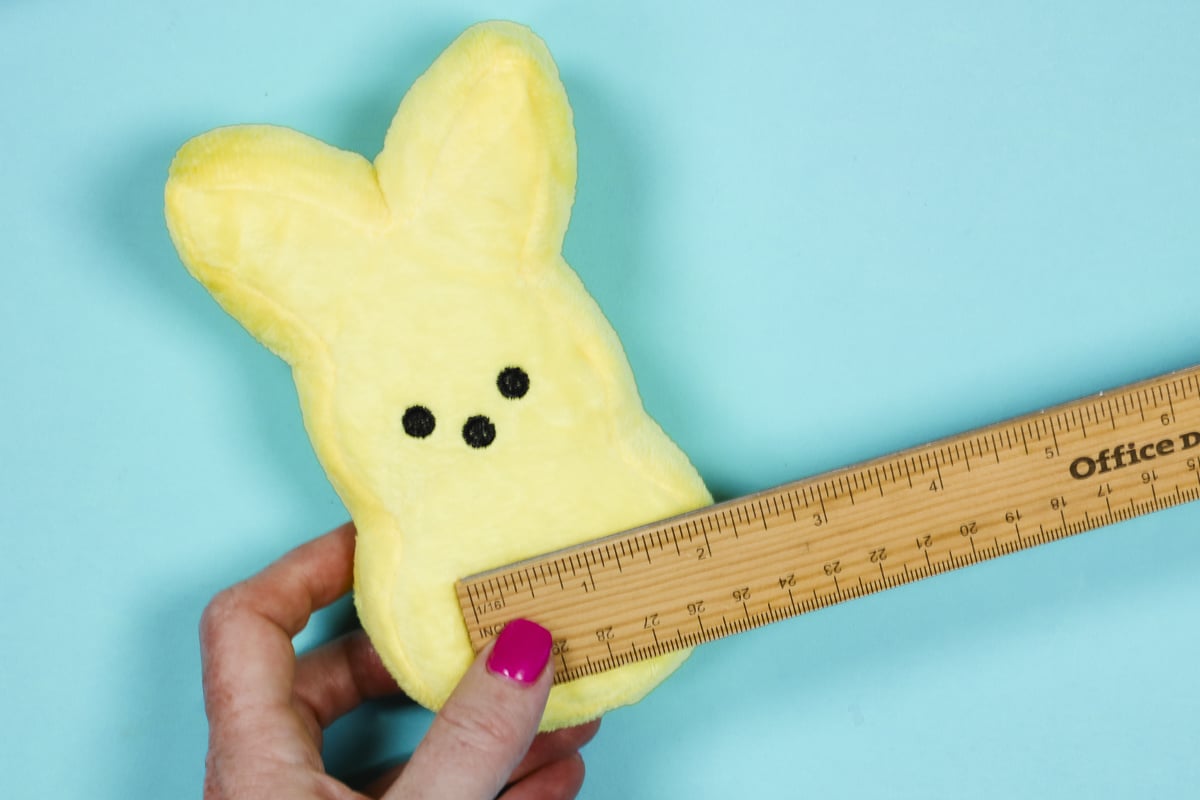
If needed, you can unlock the text and adjust both the height and width separately. This can distort the font but little changes will be okay.
Step 3: Pick Cut Settings for a Cricut Machine
Next, make sure you have the right machine selected and then click Make. You can cut out both of these materials with any Cricut machine.
I am cutting my materials on a mat, so I selected that option.
For both Infusible Ink and HTV, you need to mirror the design before cutting it out.
Click Continue and then choose the material you’re using. For HTV, I used the Everyday Iron-on setting, and for Infusible Ink, I used the Infusible Ink Sheet setting.
Step 4: Place Material on Cricut Mat and Cut
For HTV place the material shiny side down on the mat. For Infusible Ink, place it carrier sheet down.
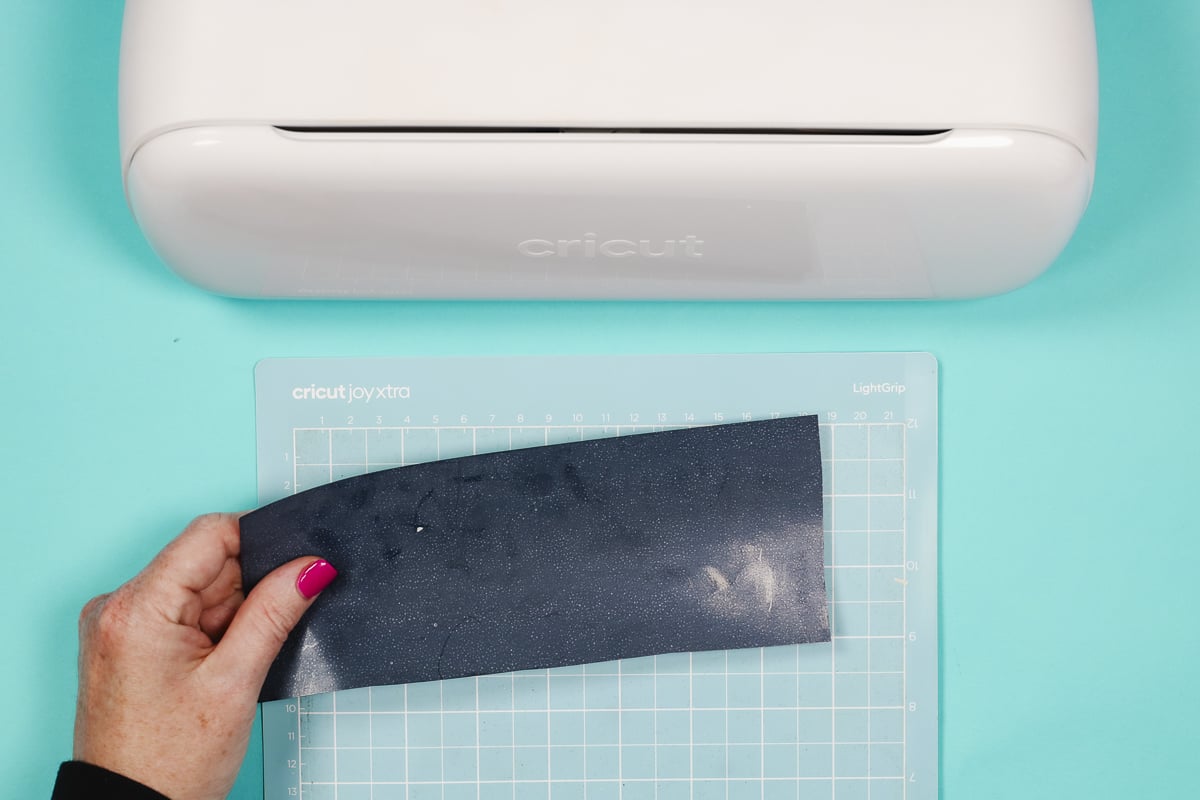
Use a brayer to ensure the material is stuck down on the mat really well.
Cut out the designs with your Cricut machine.
Step 5: Weed the Material
When the machine is done cutting, unload the mat and now we’re going to weed away the excess.
For the HTV, I am using a weeding tool. Make sure you remove everything from the outside as well as inside pieces like the centers of letters.
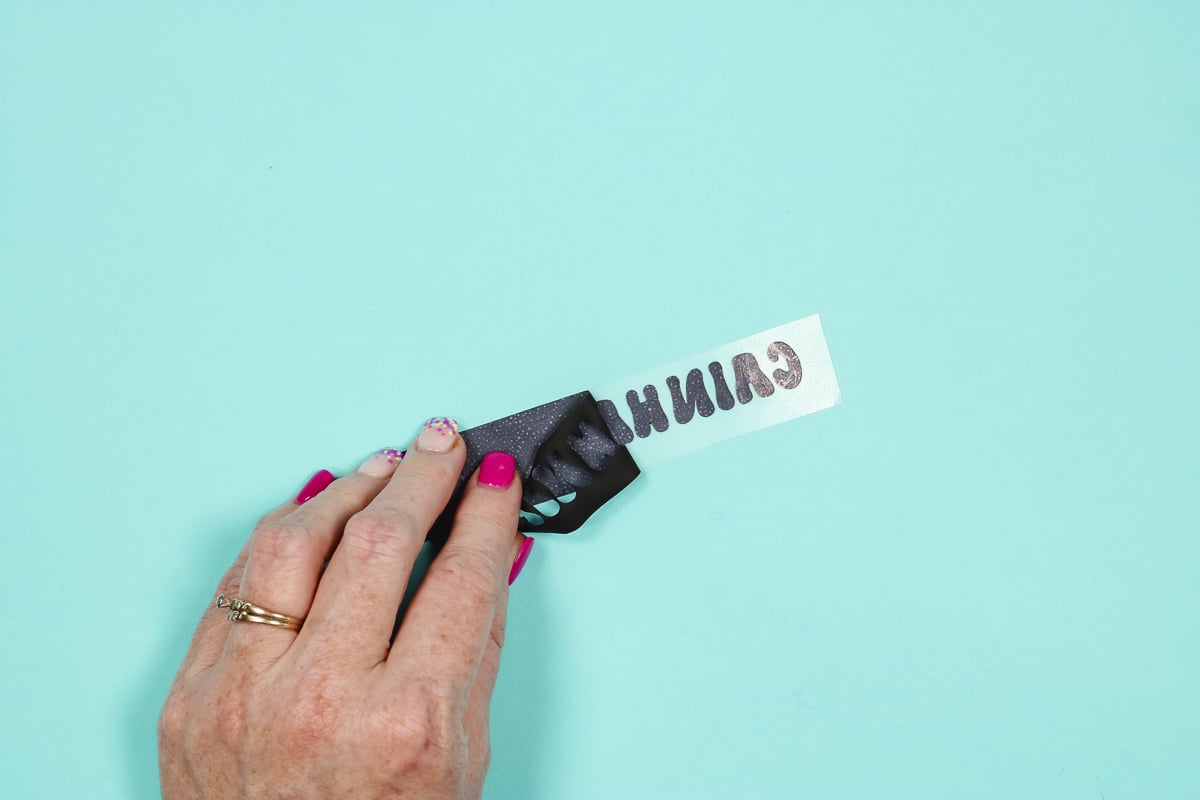
Here is the HTV all weeded. You can see all the names are easy to read, and all the insides of the letters are removed.

For Infusible Ink, remove the material from the mat and, with very dry hands, bend the material and listen for it to crack.
Don’t use a weeding tool with Infusible Ink. A weeding hook can scratch the ink and transfer it to the carrier sheet resulting in ink where you don’t want it.
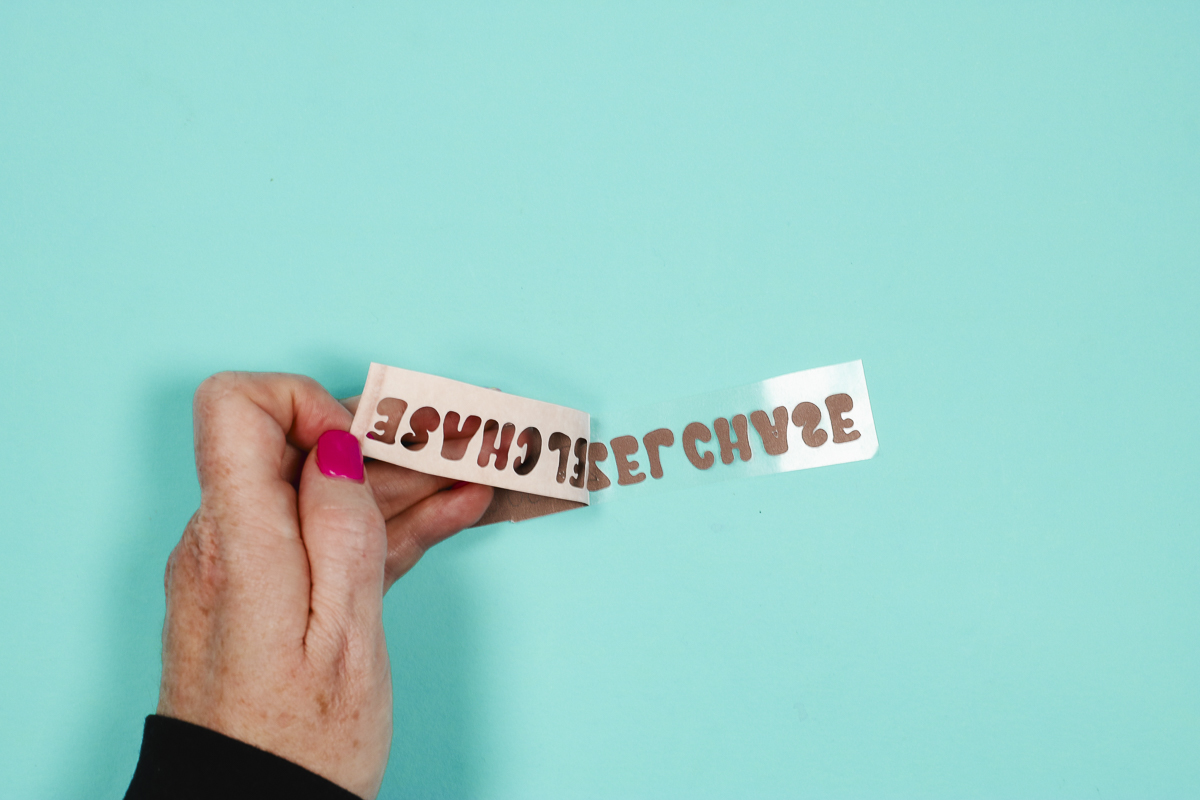
Here is the weeded Infusible Ink. Again, everything is easy to read, and the insides of the letters is removed.
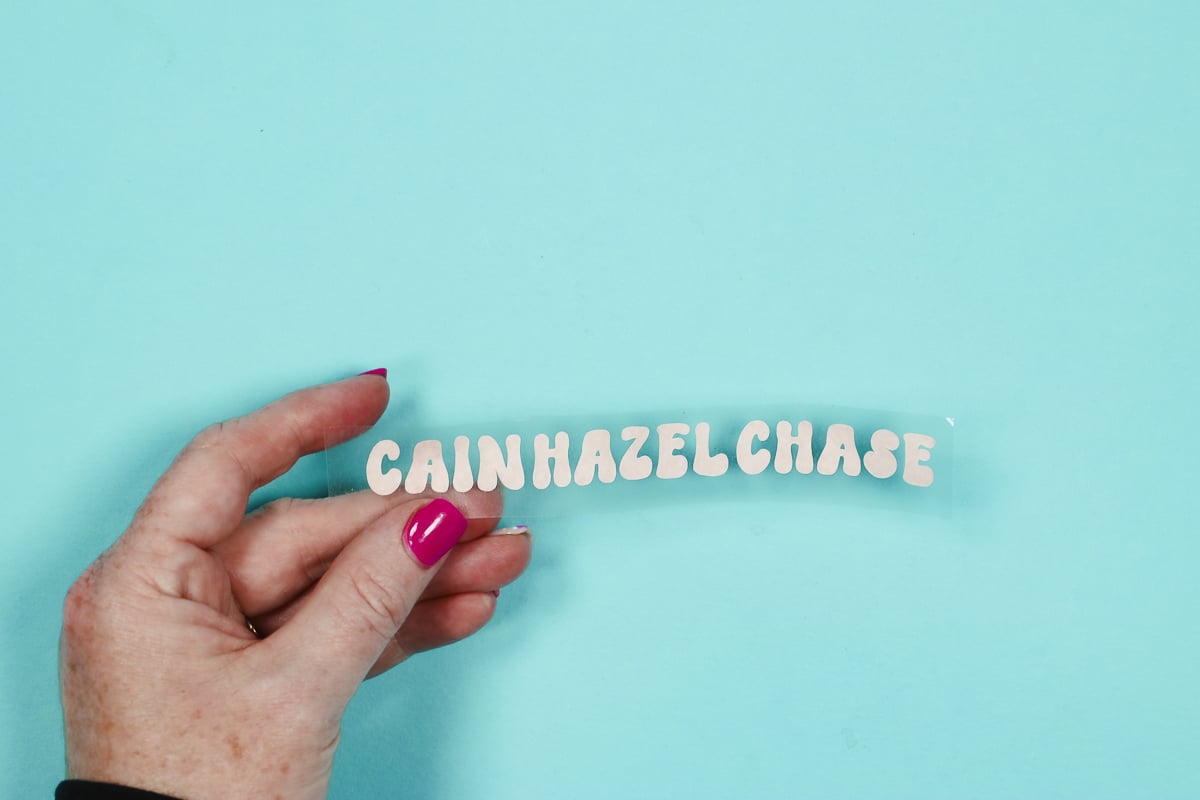
All of these are ready to be applied to the stuffed animals.
Step 6: Prepare the Stuffed Animals
The process for all of these different materials is going to be similar. I’m using a small handheld press from MakerFlo, but you can do this with an EasyPress or other heat press. Just make sure you follow the directions to protect the stuffed animal and the press.
First, we want to prepare the blank. Use a lint roller and go over the surface to remove any hairs, threads, dust, etc.
Next, you want to smooth the fur of the stuffed animal in the same direction. This will ensure the name or other text is easy to read.
Step 7: Locate HTV or Infusible Ink on Stuffed Animal
With the fur smoothed all in one direction, locate the HTV onto the stuffed animal and secure it in place with heat-resistant tape.
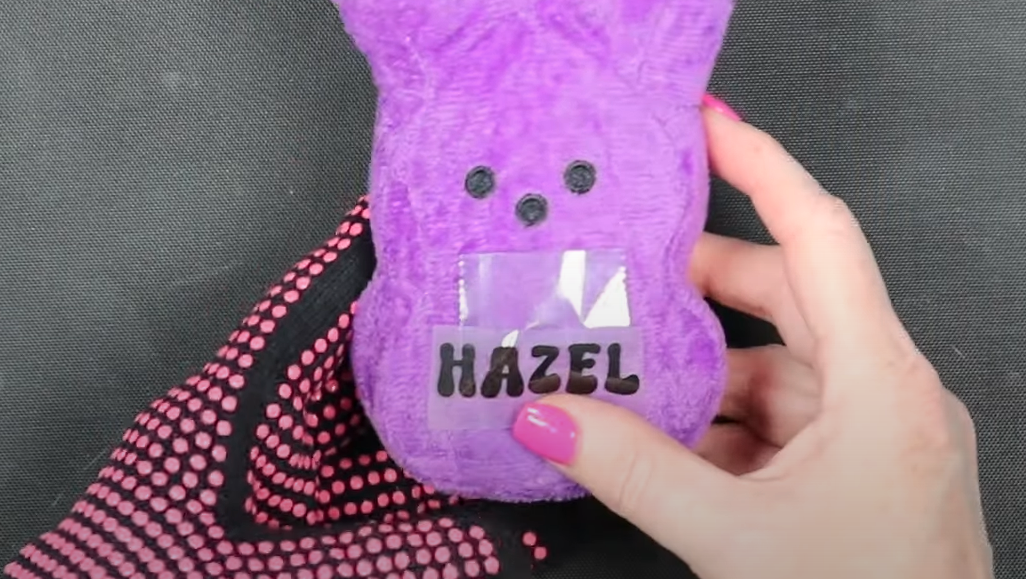
Because stuffed animals are not flat, heat-resistant tape will hold the design in place during the pressing process.
The process for the Infusible Ink is very similar to HTV.
Locate the design and hold it in place with heat-resistant tape.
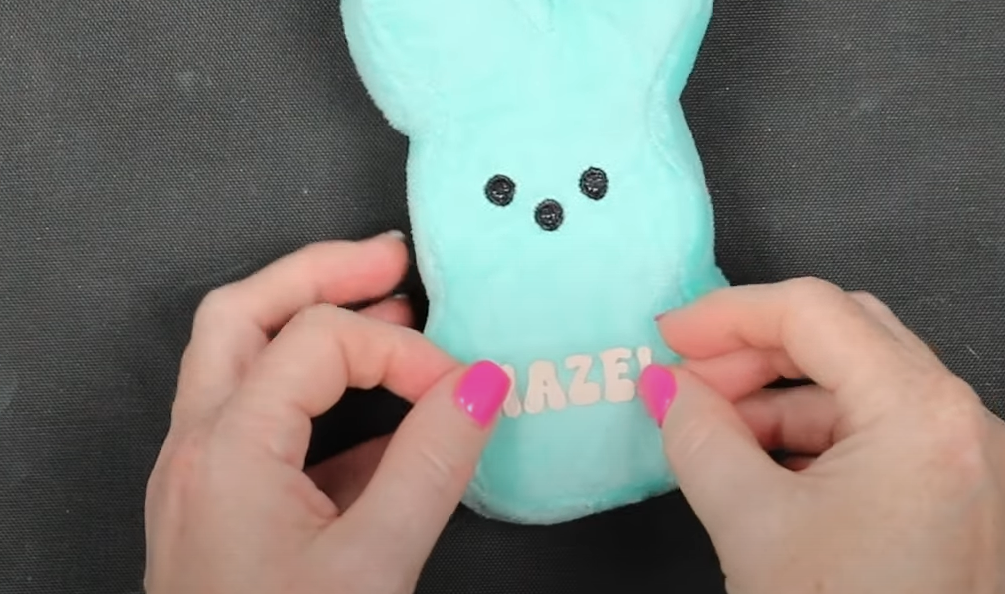
Step 8: Press onto Stuffed Animal
I do not know exactly what these stuffed animals are made out of so I am using the lowest temperature I can to begin with.
For the HTV, My press is set at 305 degrees for 10 seconds. Your time and temperature will be dictated by the HTV you’re using.
To protect the surface, I am covering anything the heat press will touch with a Teflon sheet. You could also use parchment paper, butcher paper, or another heat-protective paper.
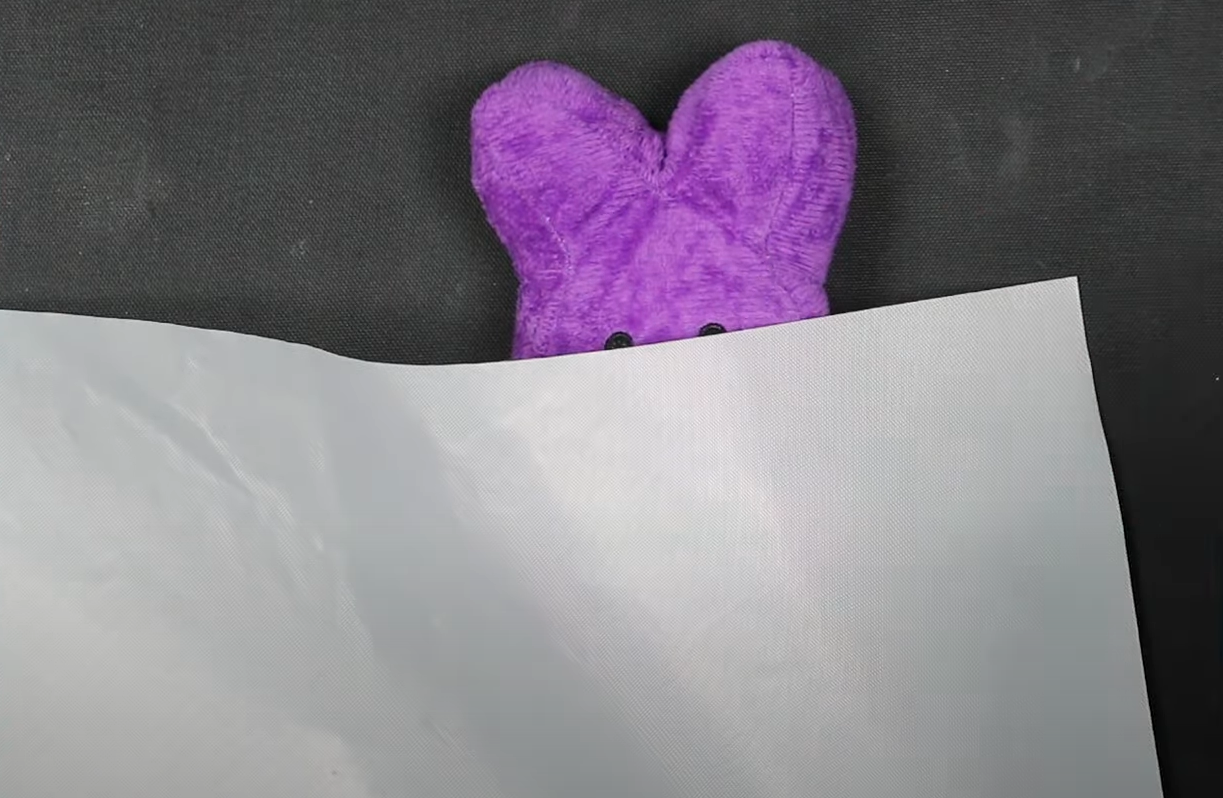
Press the design with firm pressure, making sure not to touch the heat plate to the fabric of the stuffed animal because it could melt.
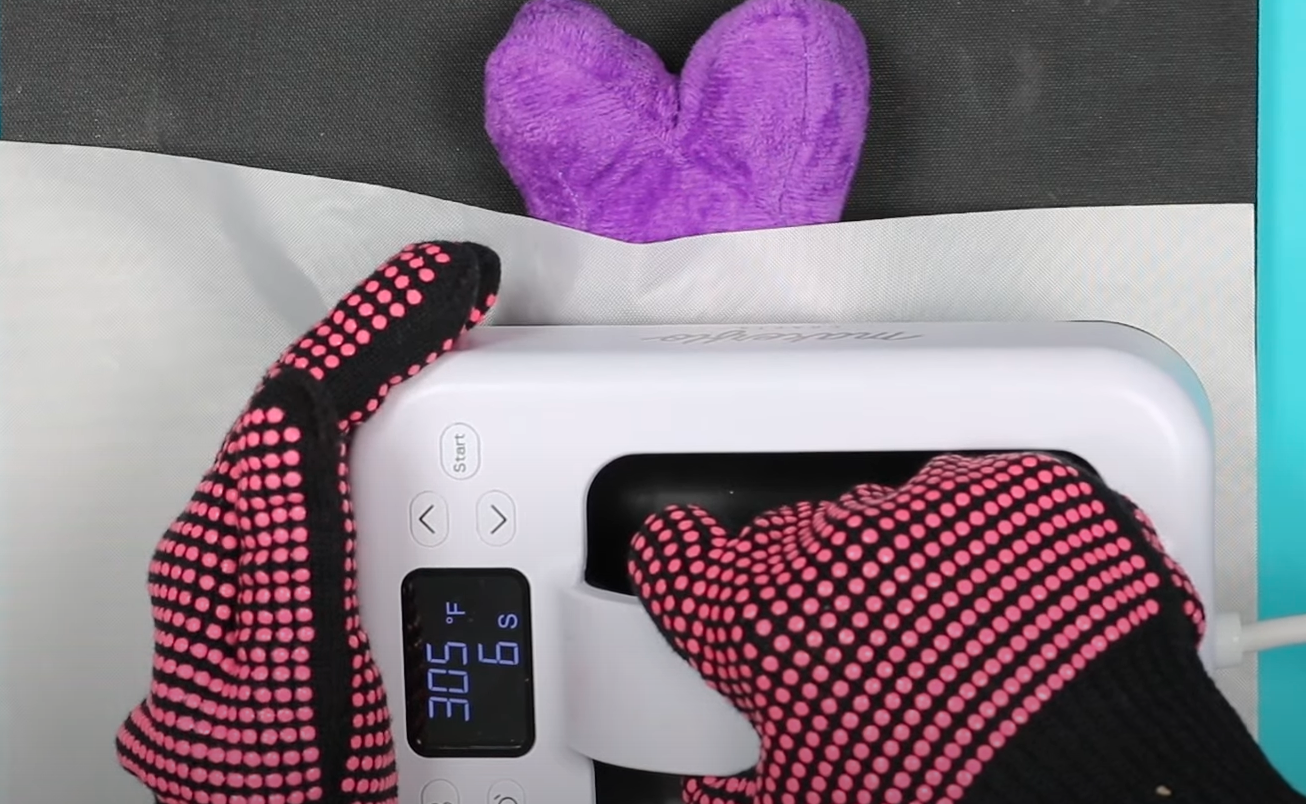
When the time is up, remove the heat source and use a scraper to help push the HTV down onto the stuffed animal.
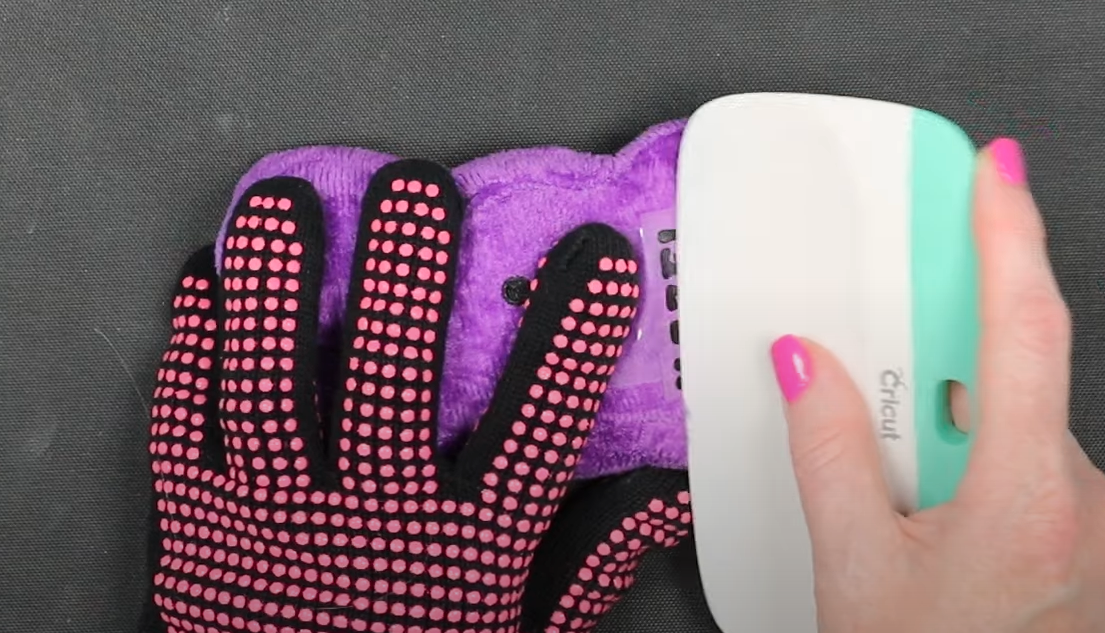
he process is very similar with Infusible Ink.
Cover the design with sublimation protective paper. This will protect the heat press from any ink bleeding through. Tape the protective paper in place over the Infusible Ink.
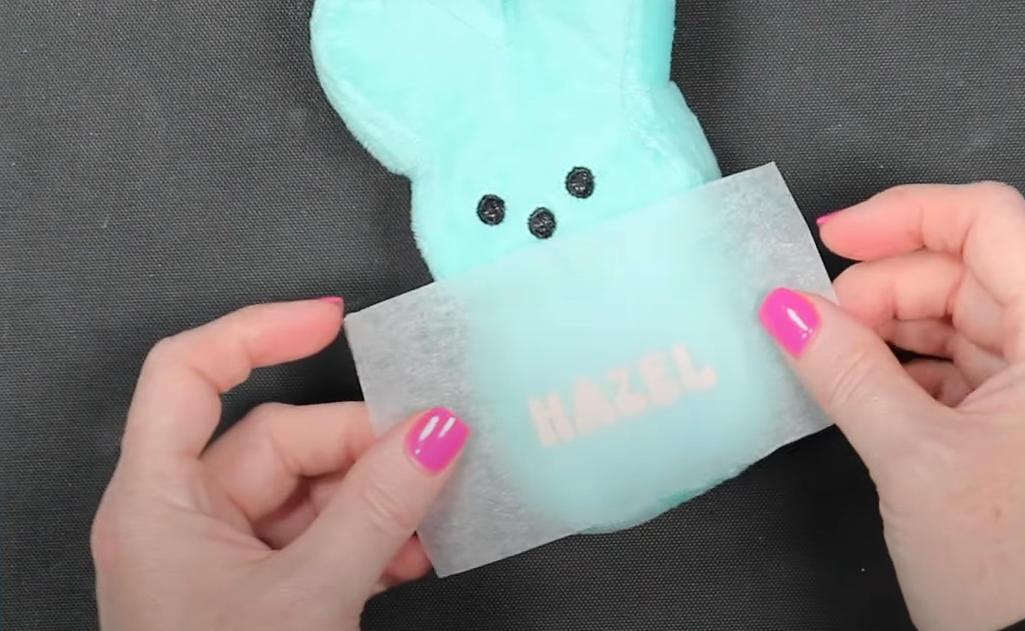
For this stuffed animal, I have the heat press set at 385 degrees for 40 seconds.
Place the press on the design, making sure to keep it on the protective paper, not directly on the stuffed animal.
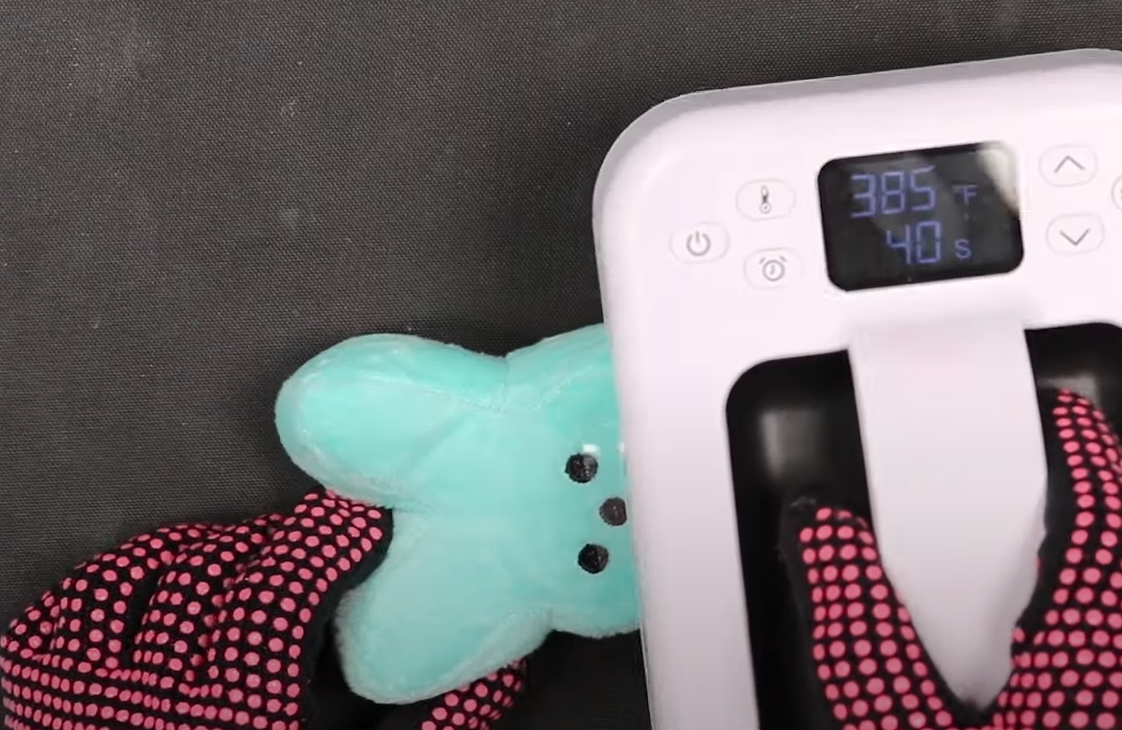
Press for the full time with light even pressure.
If you find your Infusible Ink is not transferring completely, increase the time, not the temperature. I feel adding as little heat as possible is always the best bet for these stuffed animals.
Step 9: Remove Carrier Sheet
Allow the HTV to cool, and slowly peel back the carrier sheet to make sure it’s stuck down. Mine stuck down well. If it didn’t, I would press again for a few more seconds. It’s always best to start with less time and add more as needed.
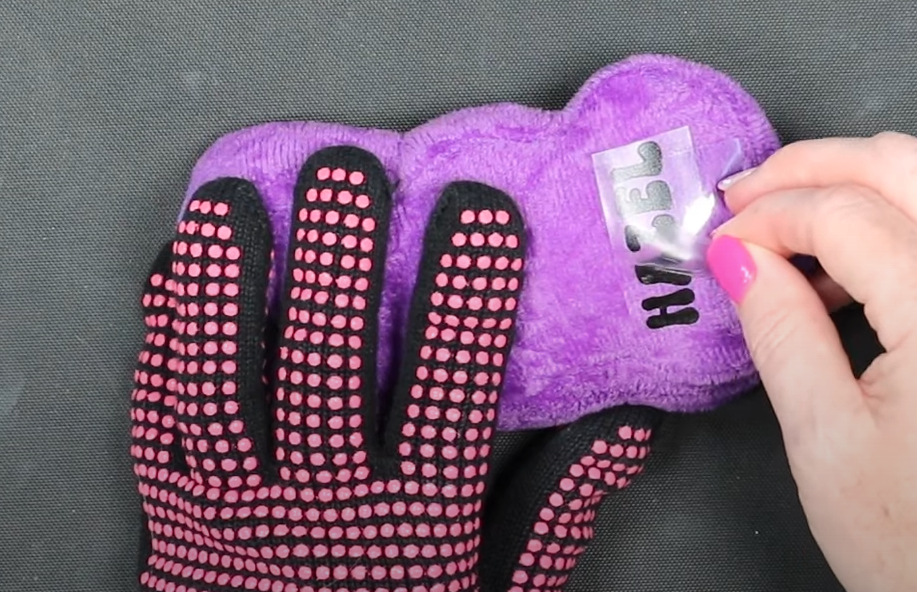
With the carrier sheet removed, replace the teflon sheet and press again for half the time. This will really embed the HTV into the fur.
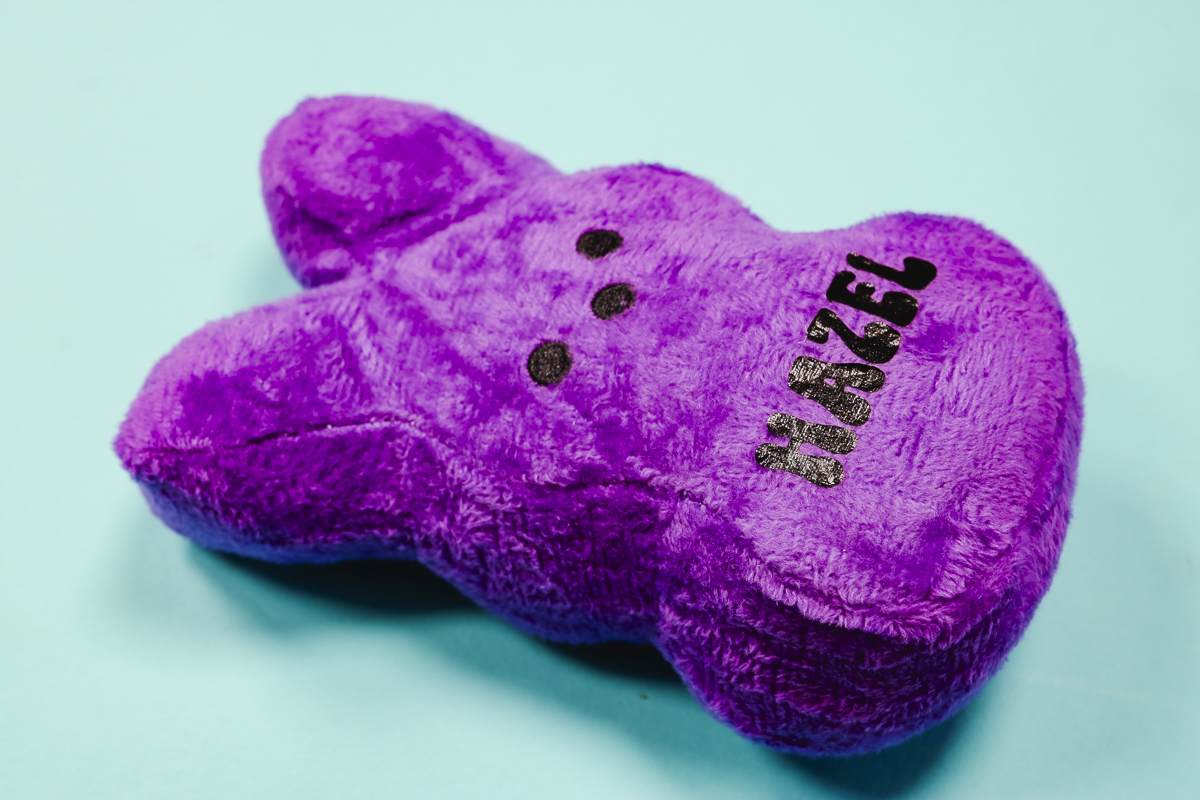
The HTV stuck down really well, and if you don’t have access to Infusible Ink or sublimation this option does work well.
When the time is up for the Infusible Ink, gently lift the corner to see if the ink transferred. Mine looks great, so that time and temperature worked really well.
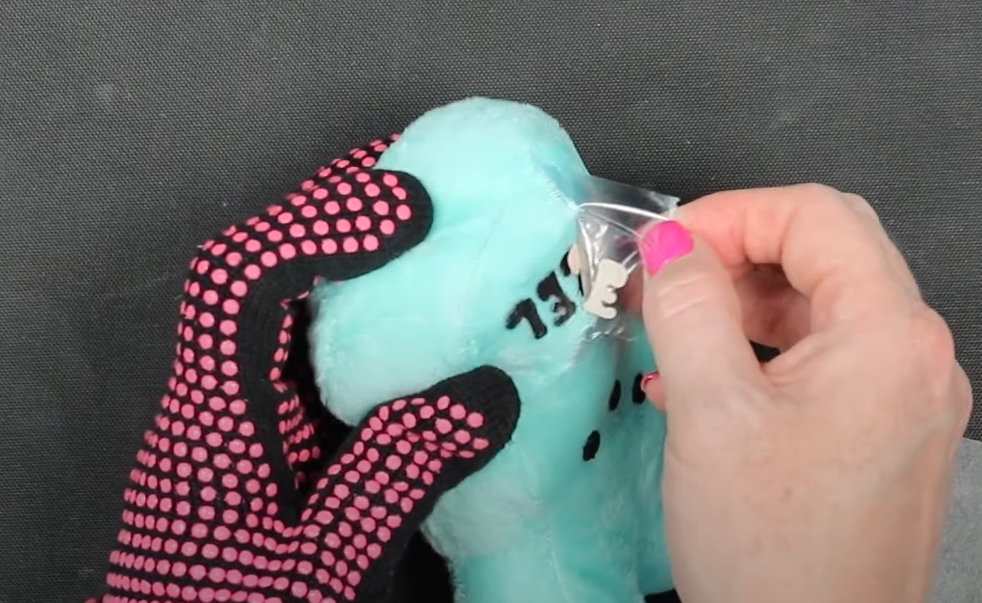
The Infusible Ink transferred to the stuffed bunny perfectly.
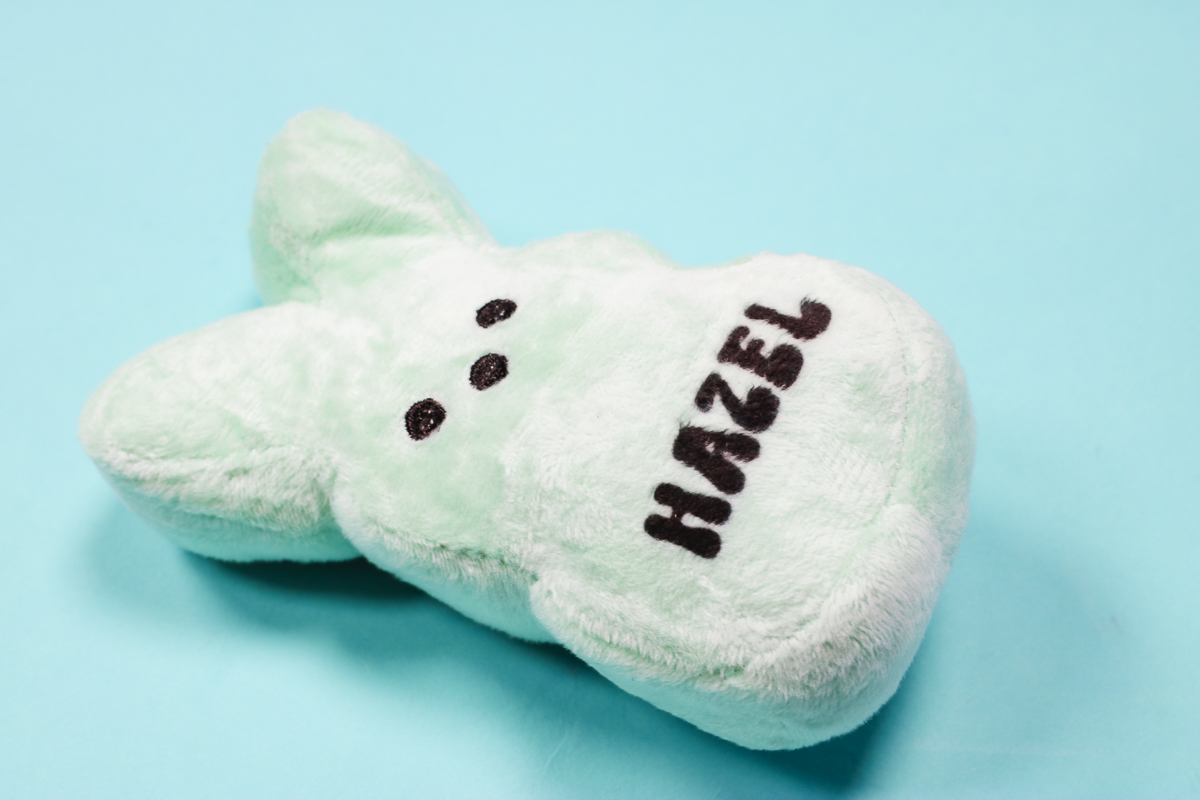
How to Use Sublimation on a Stuffed Animal
Next, we’re going to prepare our sublimation print. Because I don’t need to cut this material with the Cricut machine I am going to use Canva to create my design.
Step 1: Make Sublimation Design
First, I created a custom size blank and set it to the size of my sublimation paper, which is 8.5 by 11.
Click Text, add a Text Box, and type the text. I am using the Bright Retro Font. Resize the text to fit onto your surface. I am using black as my color because my blanks are not white, and black will show up best.
You can fill the entire page with whatever you want so you don’t waste the sublimation paper.
Step 2: Print Sublimation Design
When you’re ready to print, click Share, then Download, and I download my design as a PDF for Print and select CMYK. When you have the design downloaded you’re ready to print.
Open the design and print it to your sublimation printer. Make sure you mirror the design before printing.
For this to be a sublimation print, you need to print sublimation ink onto sublimation paper from a sublimation printer. You cannot use regular ink in a regular printer.
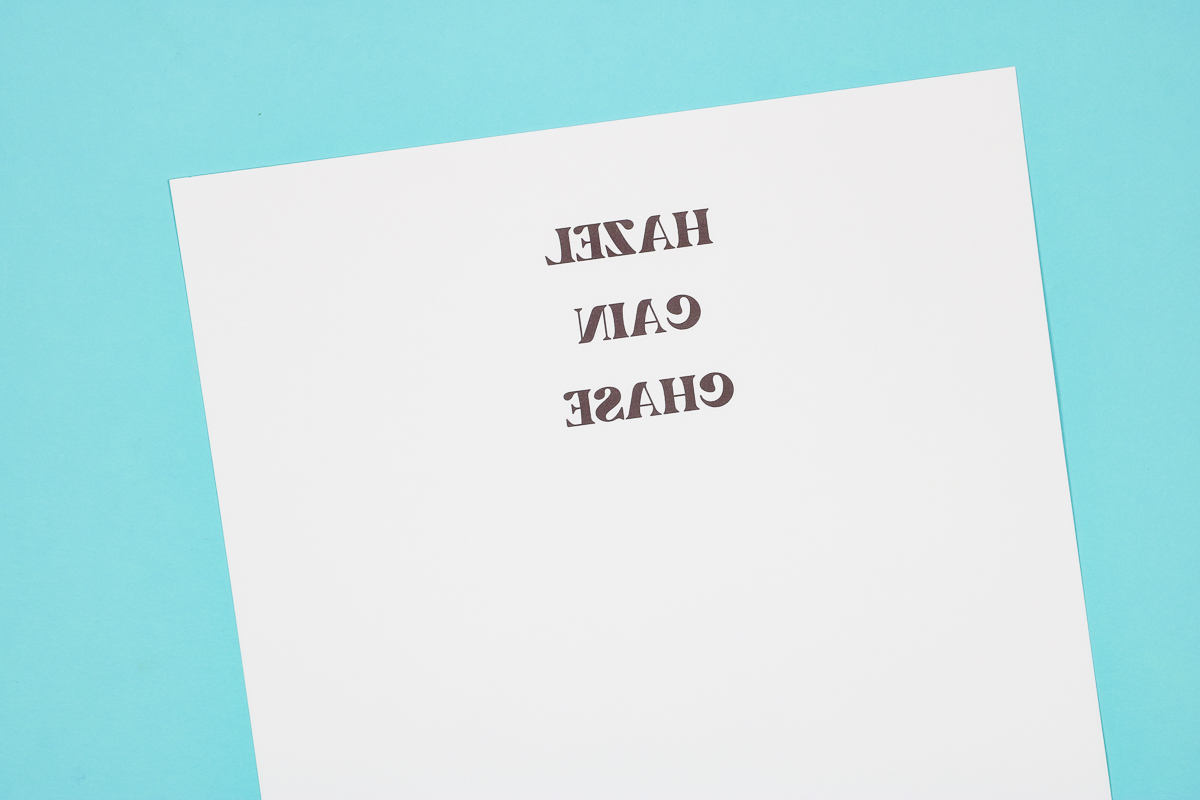
Step 3: Locate Sublimation Print
With a sublimation print, there is nothing to weed. You just need a pair of scissors to cut the names apart.
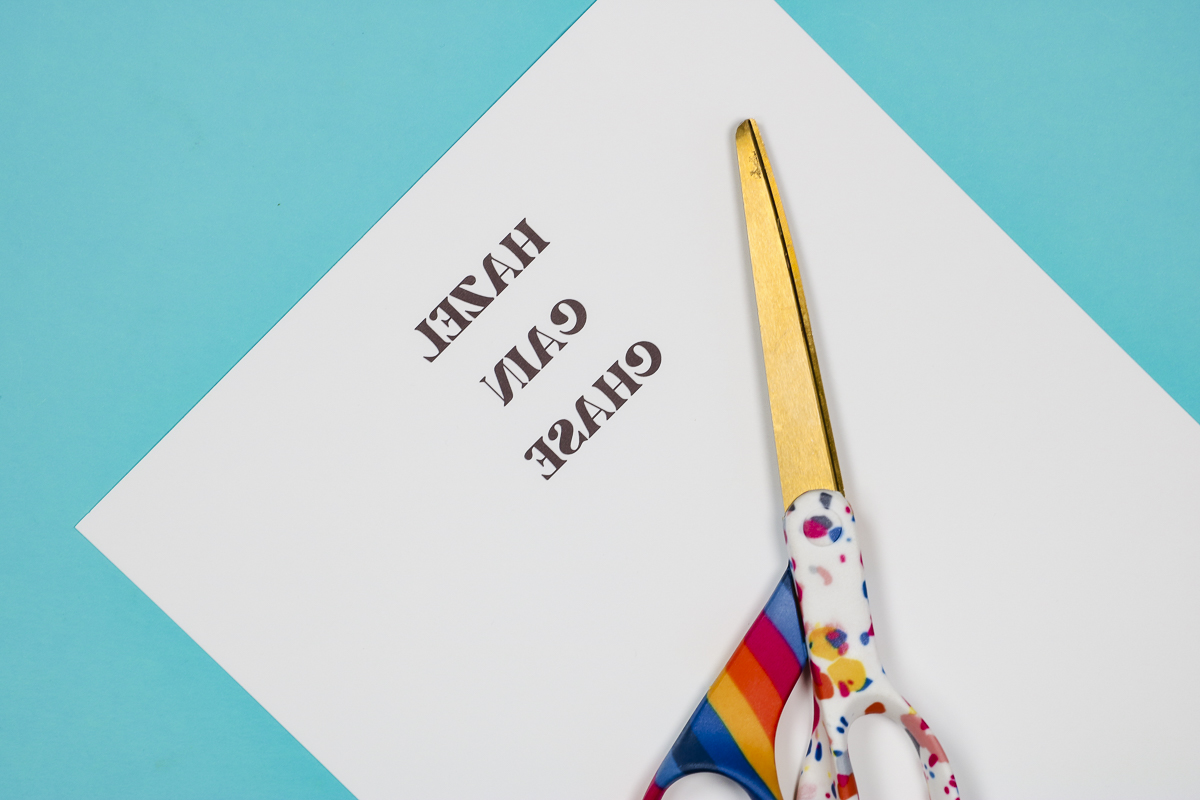
This process is almost exactly the same as the Infusible Ink. Smooth the fur all in one direction and then locate the sublimation print into place.
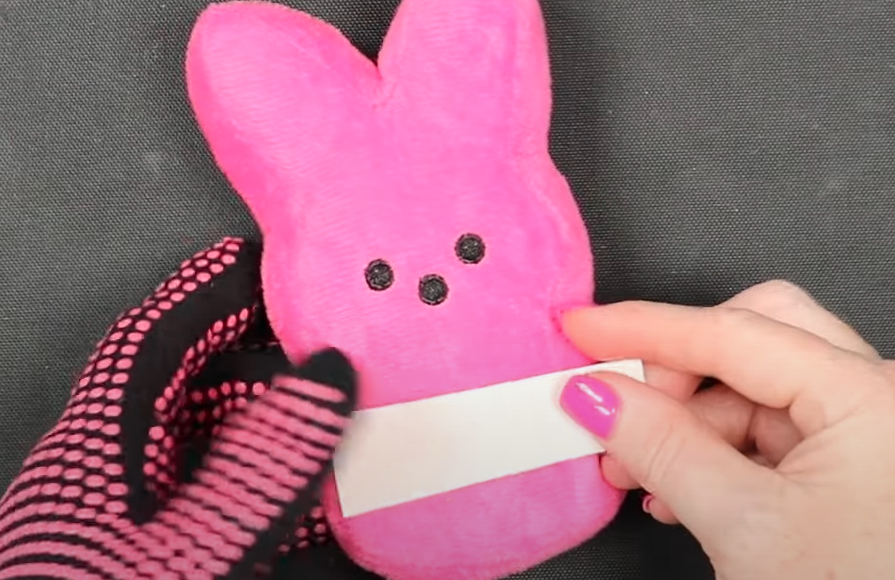
Secure the print with heat-resistant tape and cover with sublimation protective paper. Tape the protective paper into place.
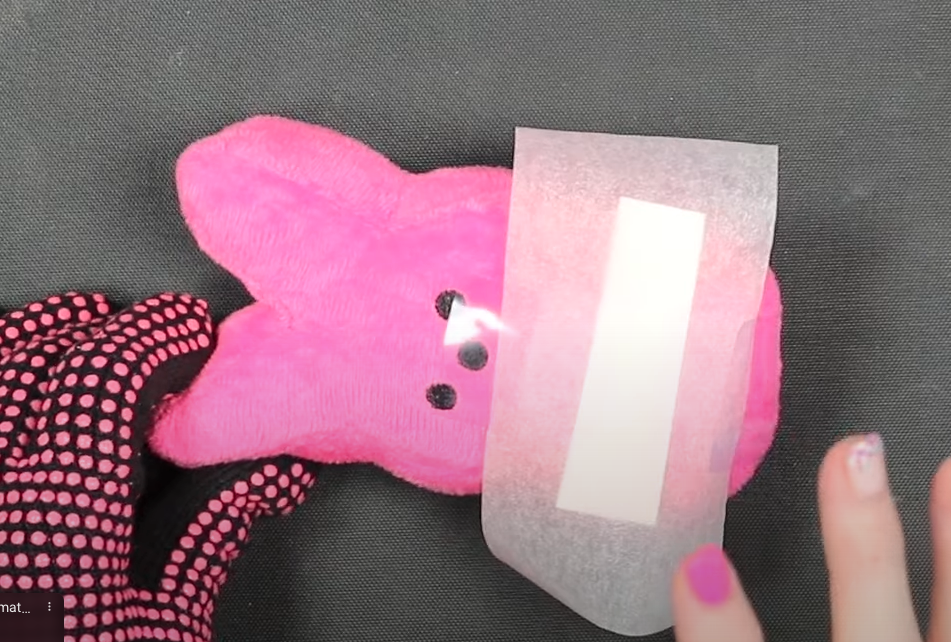
Step 4: Press Sublimation Print
To press this design, I have my heat press set to 385 degrees for 45 seconds. Don’t allow the press to come in direct contact with the stuffed animal.
Press with light, even pressure for the full time.
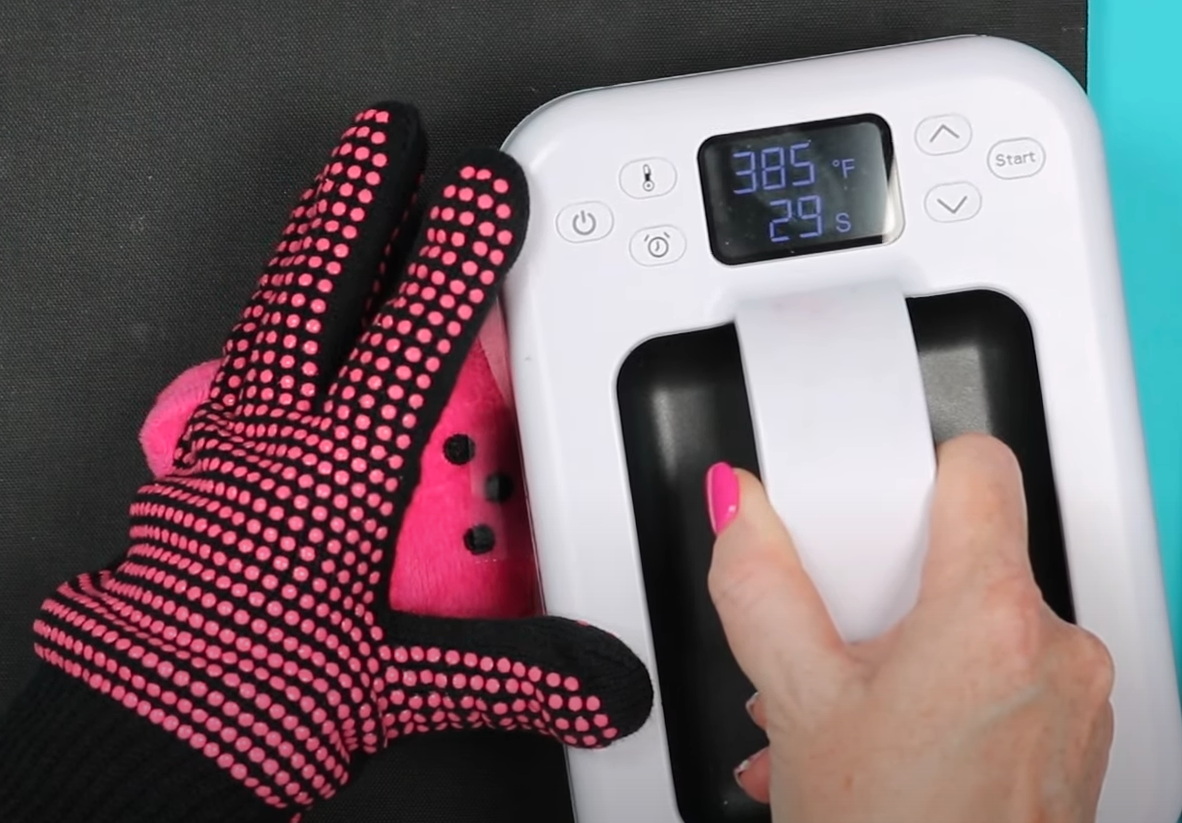
When the time is up, remove the heat press and gently peek under the edge to see if the print has transferred.
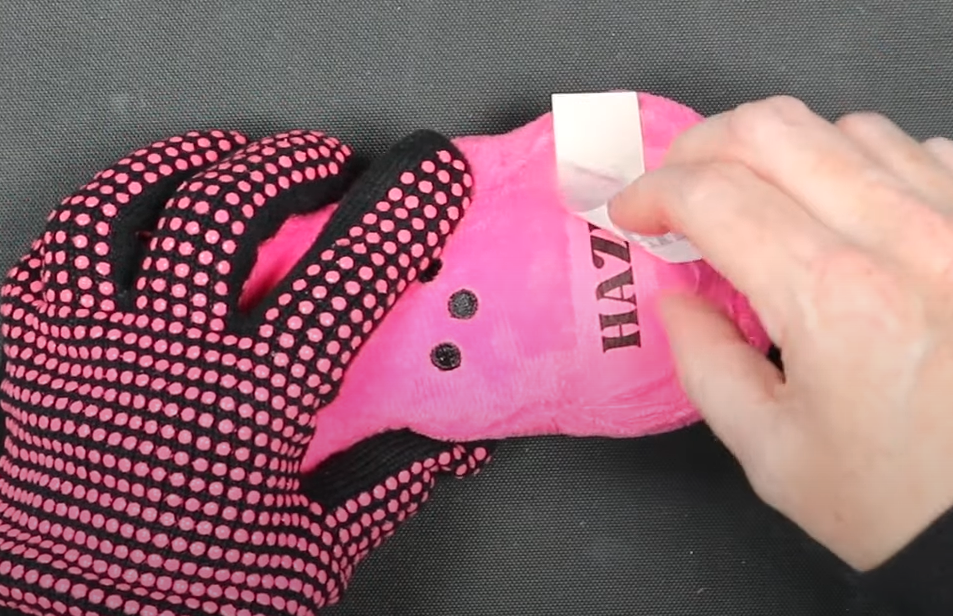
Mine transferred beautifully. If yours doesn’t, replace the protective paper and press again for about half the time.
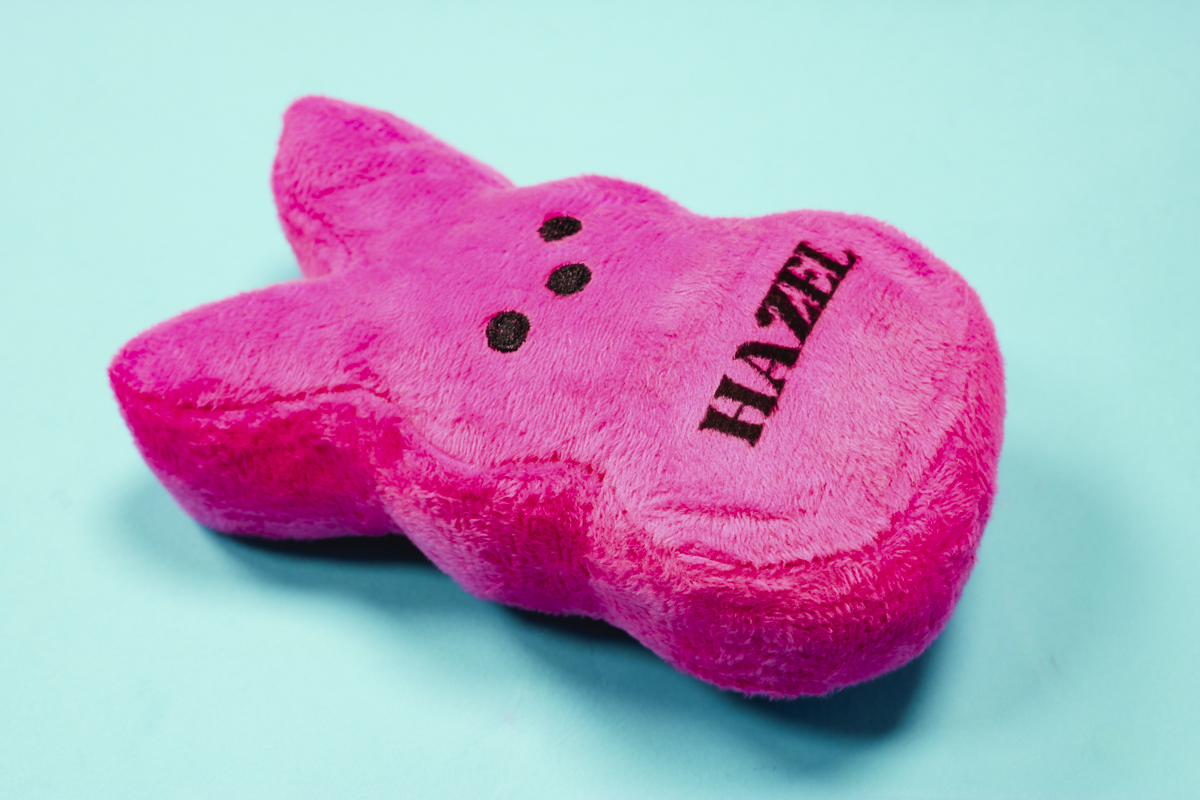
The sublimation looks really good on this stuffed animal. I love how this turned out.
Step 5: Remove Press Marks
After the post-press, the HTV custom stuffed bunny is finished. For sublimation and Infusible Ink, you may have some pressing marks due to the higher temperature.
To remove the pressing marks, all you have to do is fluff up the fur by brushing it back and forth in all different directions.
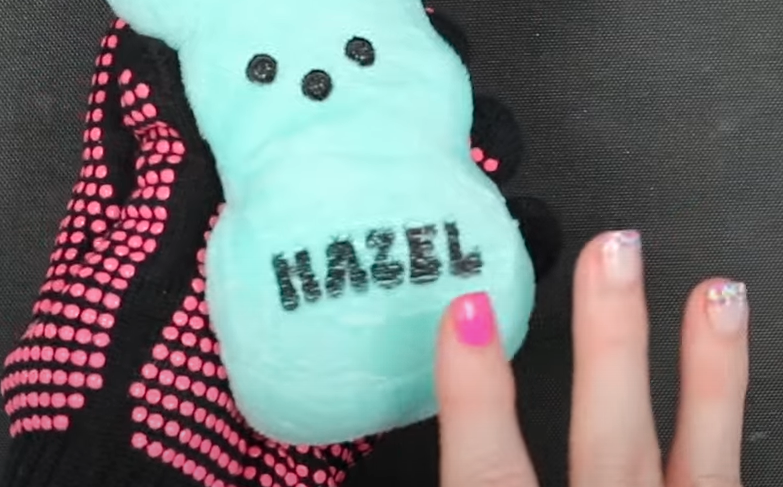
I chose a chunky font because it transfers more ink than a thin font. The text will show best when the fur is all brushed in the same direction.
When it’s brushed multiple ways, it may look a little blurry or fuzzy.
What is the Best Way to Make Custom Stuffed Animals?
Now that we have all our custom stuffed animals finished, let’s look at all three.
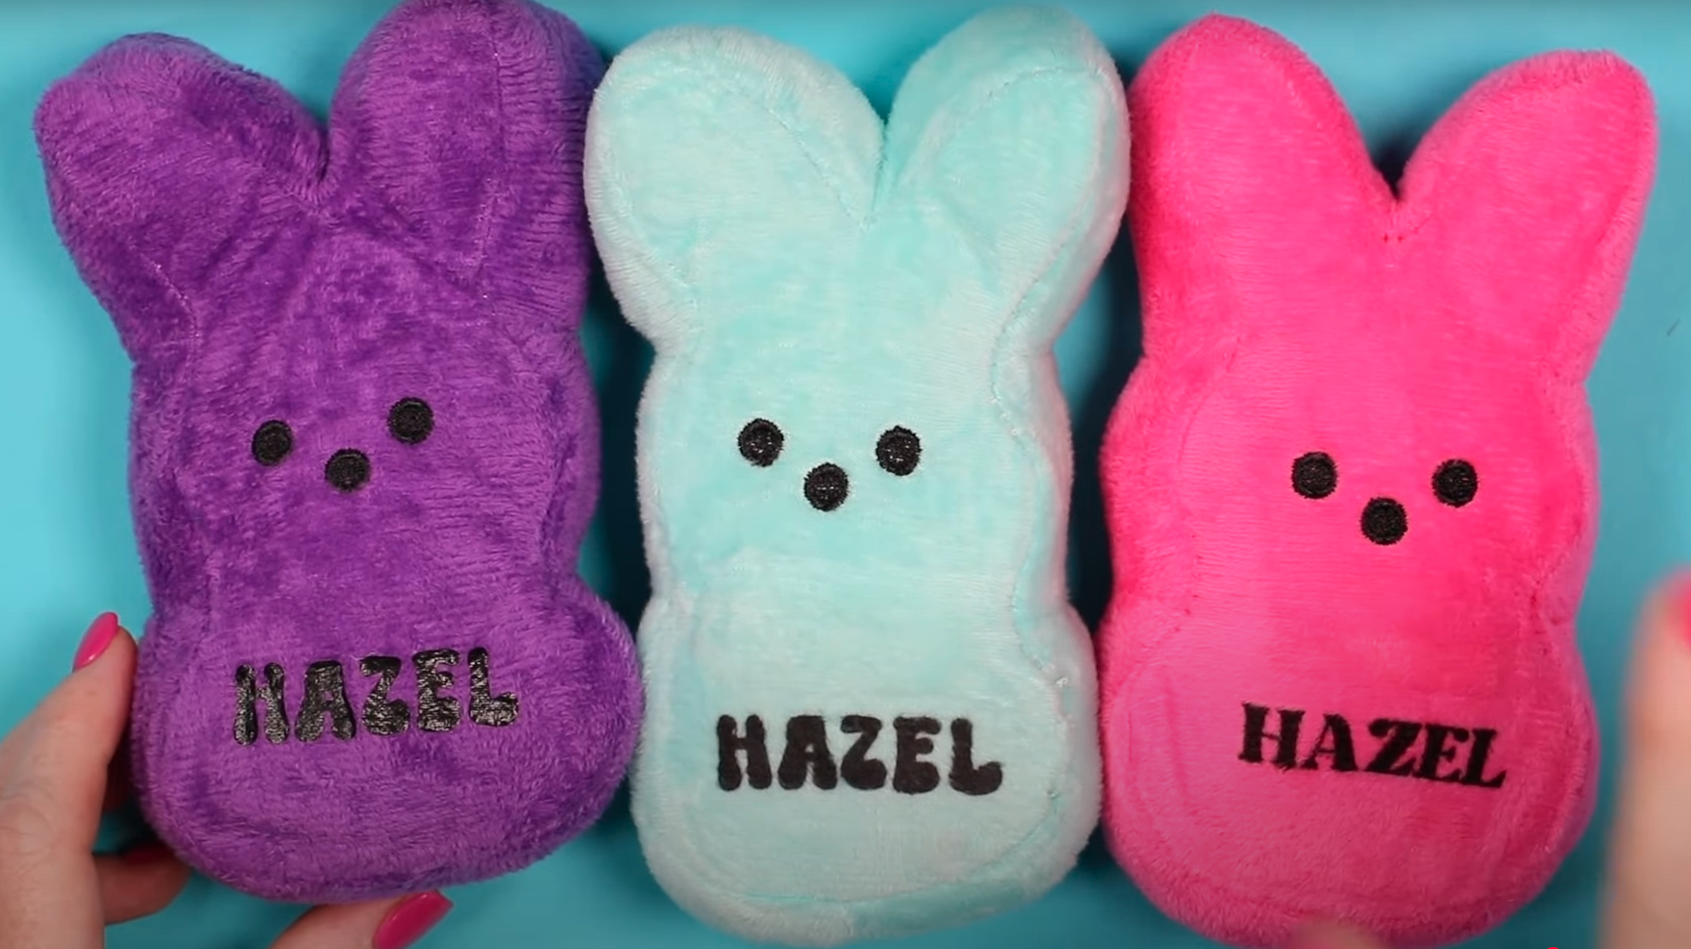
As you can see, you can read the name really well on each stuffed animal.
Sublimation is my favorite of the three options. It’s so quick and easy. If you don’t have a sublimation printer, Infusible Ink is the next best option.
You can cut Infusible Ink with any Cricut machine, and after it’s transferred, it becomes part of the stuffed animal, just like sublimation does.
HTV is my third choice. It works, and it stuck really well, but it’s not my favorite. The HTV sits on top of the fabric, and because the fur has a texture, that texture shows on the HTV and it doesn’t look as good compared to the Infusible Ink and sublimation.
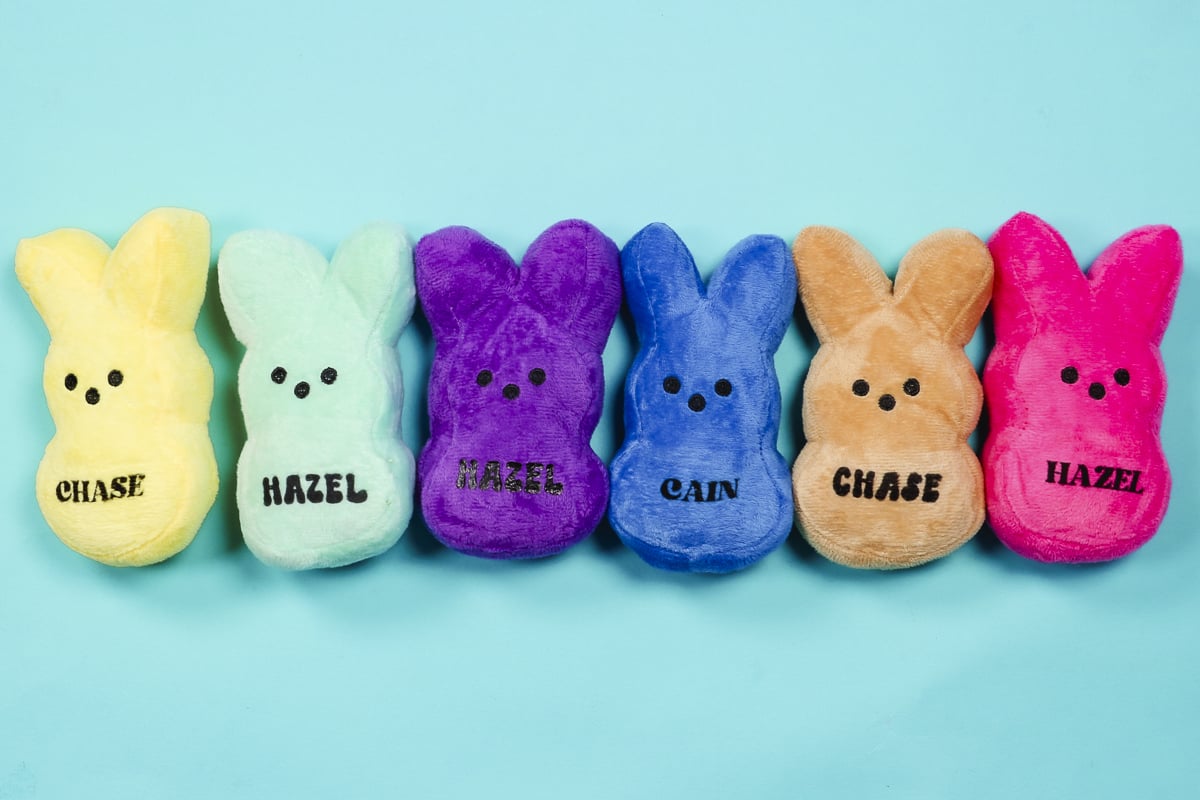
I hope I’ve answered any questions you have about creating your own custom stuffed animals. This is such a fun project, and I love that it can be customized for anything.
If you have any additional questions, leave them in the comments, and I’ll be happy to answer them for you.
