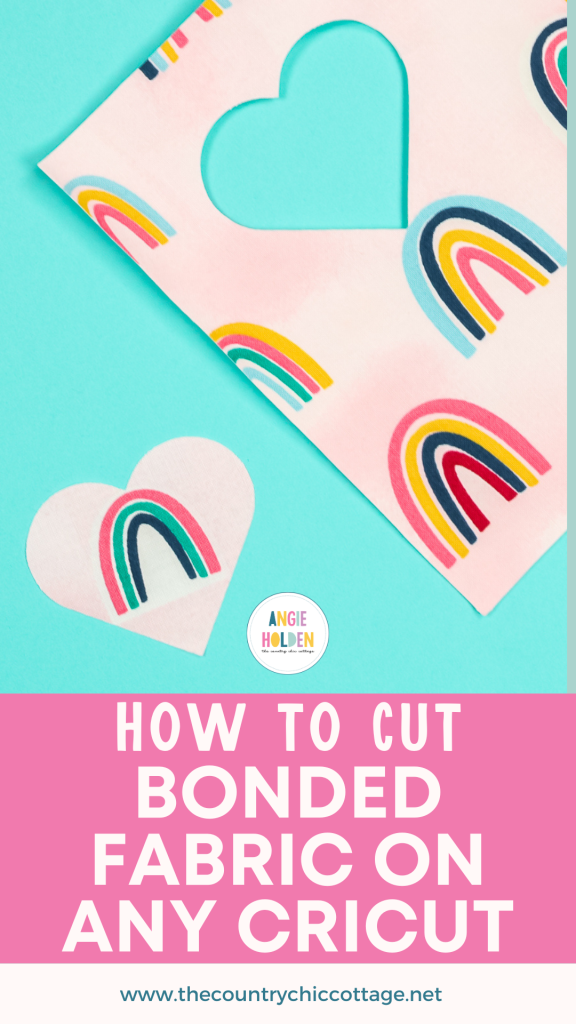
Do you want to cut fabric with your Cricut machine? Today I’m going to teach you how to cut bonded fabric with a Cricut machine. I’m testing a variety of different interfacing materials and techniques to show you how to get the cleanest cuts possible. You can cut bonded fabric on any Cricut machine and then use it on a variety of craft projects.
Are you still trying to decide which Cricut machine is right for you? My Cricut comparison guide is a great place to learn what each machine can do and how they’re different.
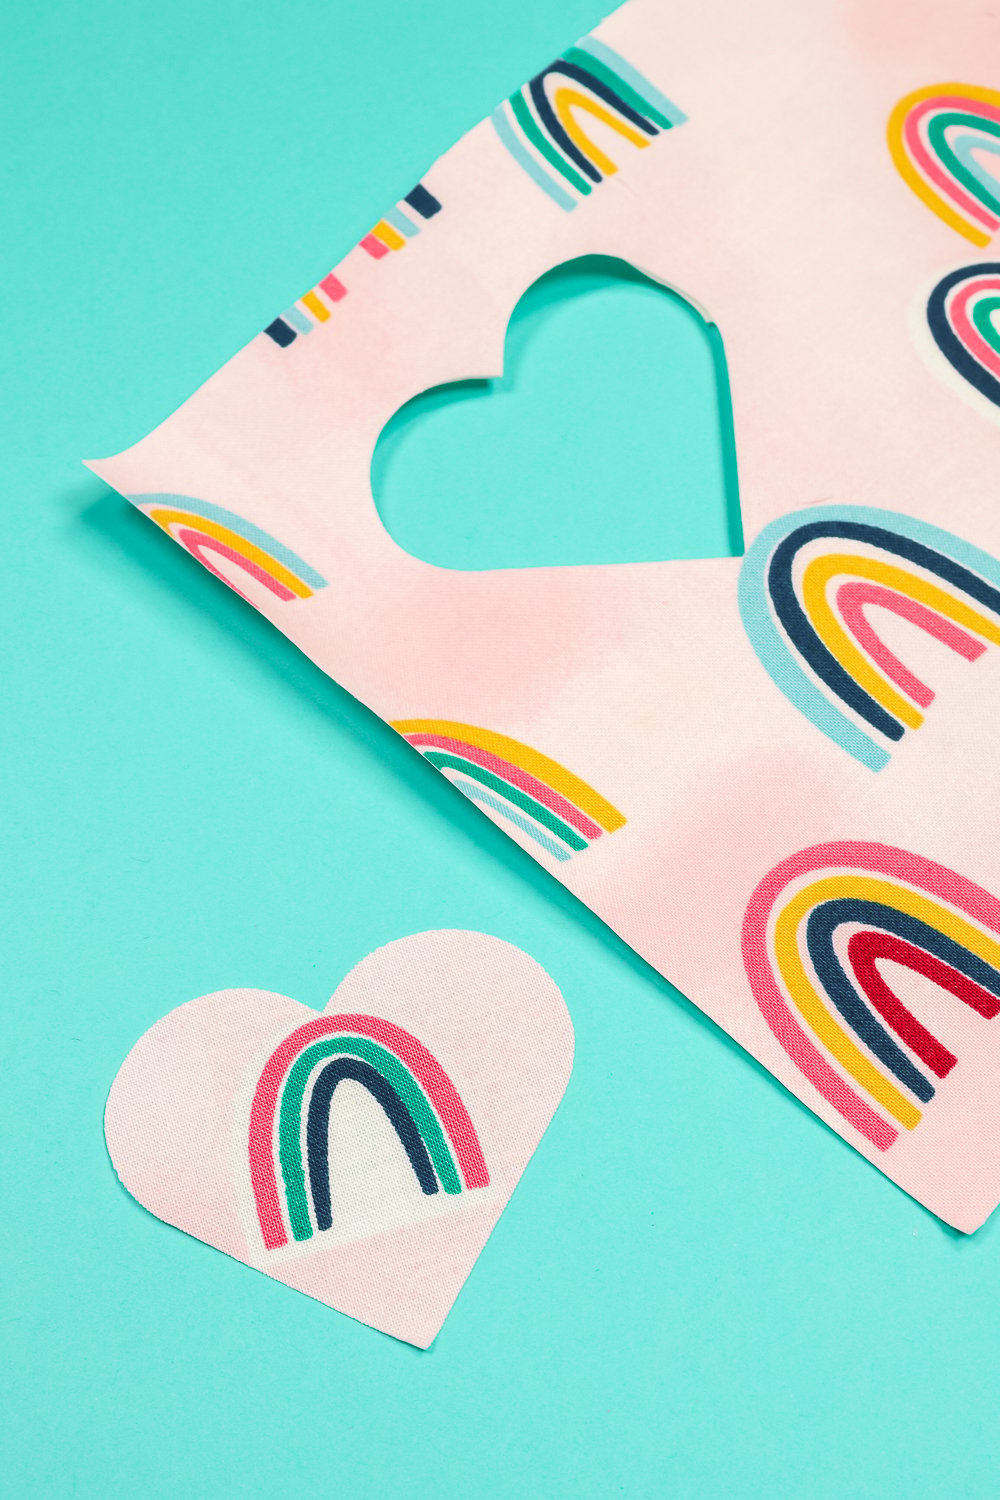
Cutting Bonded Fabric with a Cricut Machine
You can cut bonded fabric with any Cricut machine. From Cricut Joy through Cricut Venture and every machine in between, you can use the fine point blade to cut bonded fabric.
Watch me test out different interfacing options and cutting methods by pressing play on the video below.
What is Bonded Fabric?
Bonded fabric has some sort of stiffener applied to the back to make it easier to cut with the fine point blade. You can use interfacing, heat n bond, or even freezer paper to create a bonded fabric that can be cut with your Cricut.
Why Do I Need Bonded Fabric?
Because Joy, Explore, and Venture Cricut machines don’t have a rotary blade, they need the fabric to have a backing that will allow the fine point blade to cut through it without lifting the fabric off the mat.
Because the fine point blade drags over the material vs. rolling like the rotary blade, it can catch on fabric fibers causing the cuts not to be clean and sometimes not all the way through. Bonding the fabric gives it the stability it needs to be cut with the fine point blade.
Why Are There Different Types of Interfacing?
Non-adhesive interfacing is used to make fabric stiffer. It does not stick to other fabric when heat is applied to it.
If you want to make your fabric stiffer and have the ability to adhere the cut fabric to your blank, you’ll want to choose one with an adhesive. This is the correct type of interfacing to choose if you’re cutting out things to use for applique.
Whether or not you need sewable heat n bond or non-sewable heat n bond would be determined by the project you’re making. Do you want to sew around the edges of the fabric after you apply it? You’ll want to choose sewable heat n bond. If you just want to stick it to your blank, you can choose the non-sewable option.
Can I Cut Bonded Fabric with a Cricut Maker?
Yes! You can cut bonded fabric with a Cricut Maker machine. I recommend using the rotary blade in the Maker machines even when cutting bonded fabric. The process is simpler and you’ll get a cleaner cut. I actually have an entire post on the rotary blade and what materials you can cut with it.
Supplies Used
Here are the supplies used in this post:
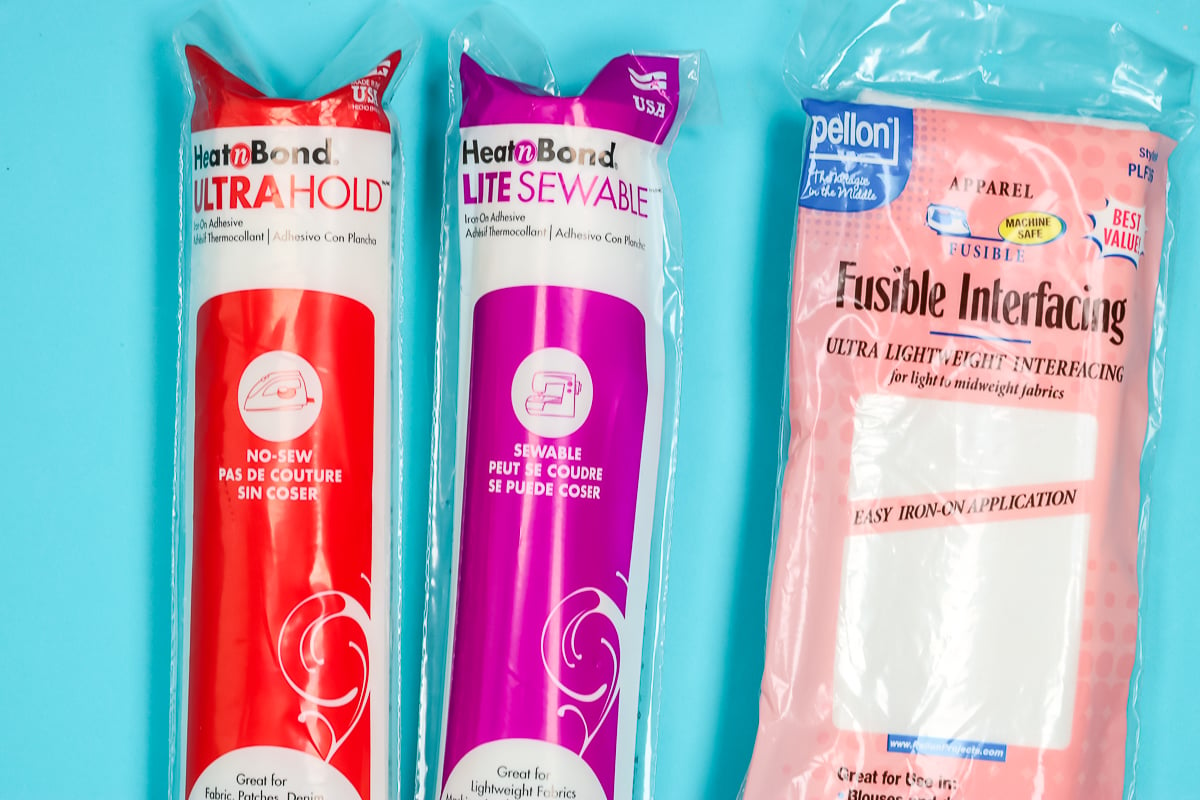
Interfacing types used:
- Pellon Interfacing (no adhesive)
- Heat N Bond Sewable (with an adhesive)
- Heat N Bond No Sew (with an adhesive)
Other supplies:
What is the Bonded Fabric Blade
The bonded fabric blade is a fine point blade specifically made for cutting bonded fabric. Just like you have scissors you only use for fabric now you can have a Cricut blade specifically for cutting fabric.
It is the SAME fine point blade that you use for other projects. You just want one in a pink housing so you keep it separate and only use for fabric cutting.
You do not have to buy a blade to cut bonded fabric with your Cricut machine. However, if you’re cutting a lot of fabric you may find using the same blade for fabric and paper causes the blade to dull more quickly than if you used it only for fabric.
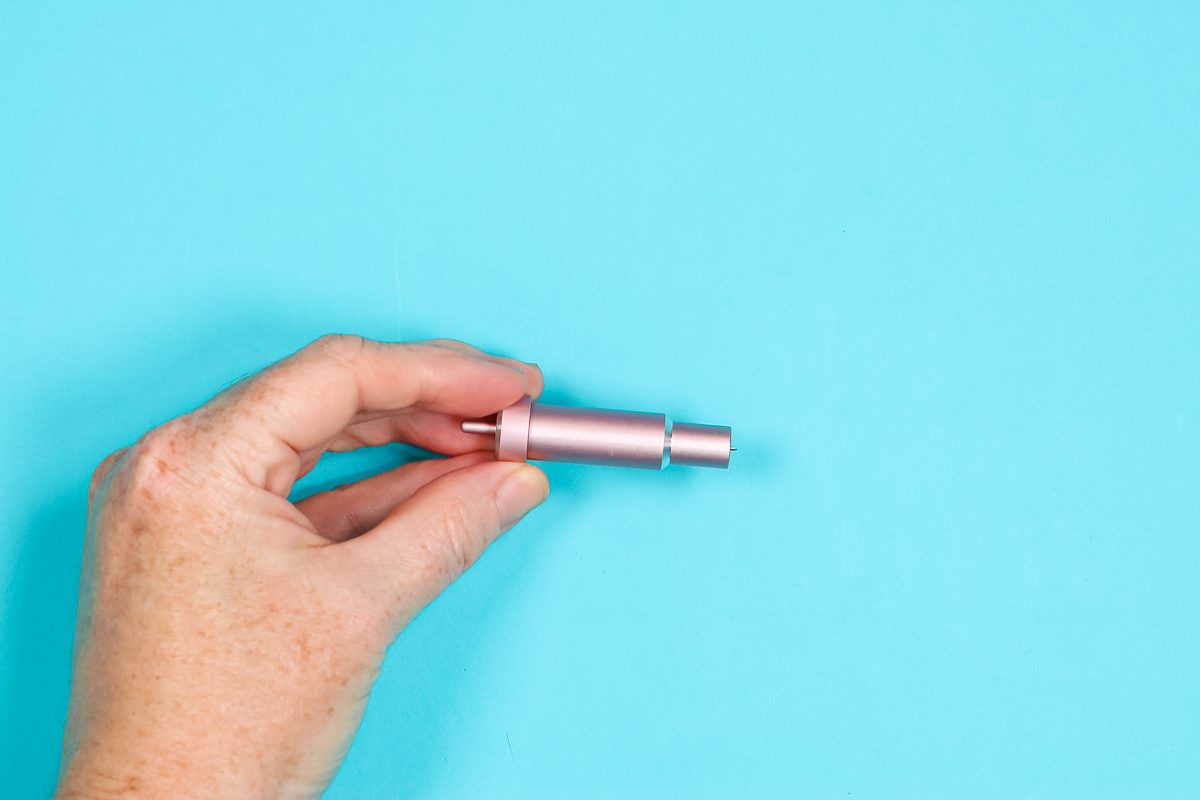
The bonded fabric blade comes with a pink housing to make it easier to keep your fabric blade and your blade for other materials separate.
There is no different housing for a bonded fabric blade for the Cricut Joy. You would use the same housing you always use but you could use a different blade and make a mark on it to differentiate it from your other blades.
How to Apply Interfacing to Fabric
How you apply the interfacing or bonding material will depend on what type you choose. Today I’ll be testing interfacing that does not have an adhesive and both a sewable and non-sewable option that has an adhesive.
With all types of interfacing, you want to follow the directions on the packaging. The process I am using is what my types call for.
First, I like to take my fabric and iron it to ensure there are no wrinkles.
Next, I cut my interfacing so it’s slightly smaller than my fabric. I don’t like to risk the interfacing sticking to my ironing board or EasyPress mat which is why I don’t cut it to the exact same size.
What Side of the Fabric Does Interfacing Go On
I applied the Interfacing to the backside of the fabric. When you look at fabric, you should be able to tell that there is a right side of the fabric and a wrong side.
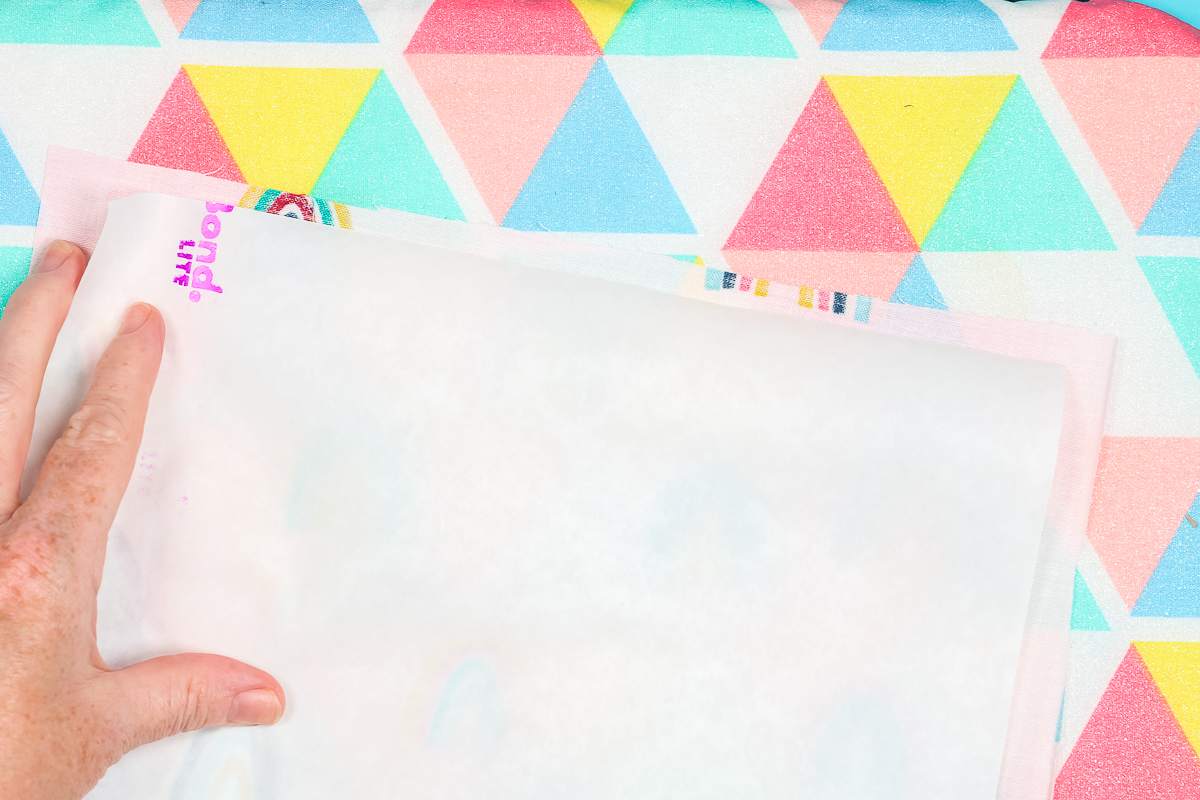
Place the interfacing to the wrong side and then, using a heat source iron it onto the fabric.
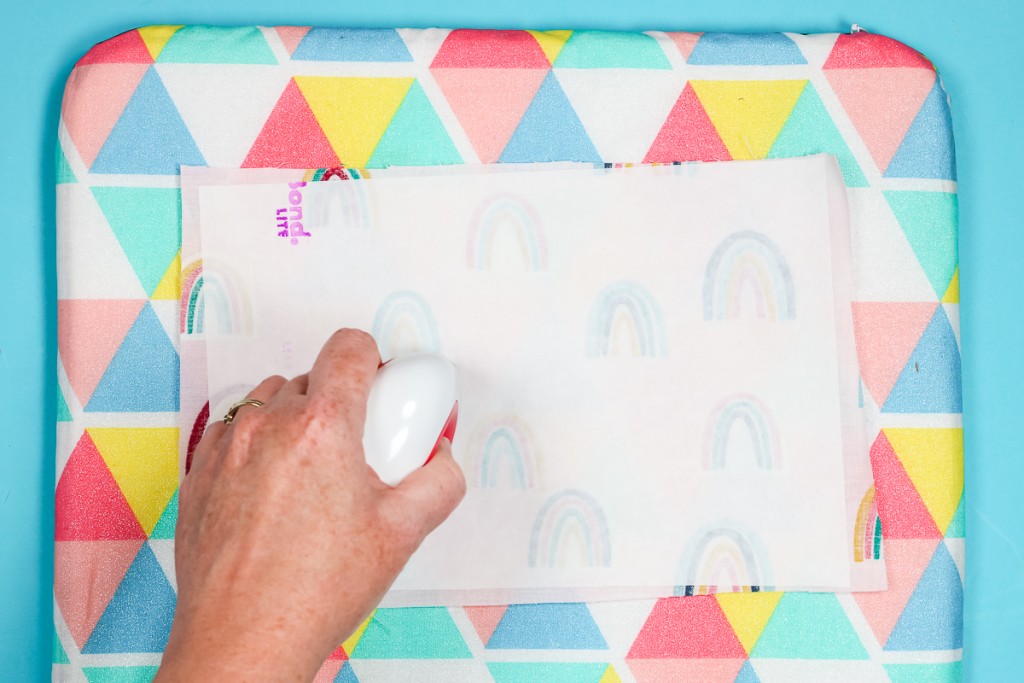
I’ve found for most interfacing it takes just seconds for the interfacing to stick. Follow the directions for your interfacing.
If you have an interfacing that doesn’t have an adhesive back, that is all you have to do. Once the interfacing is applied, trim your fabric and proceed.
How to Apply Adhesive Interfacing
If you’re using an interfacing with an adhesive you’ll follow the steps above and then it has a paper backing that you can leave on or remove when cutting.
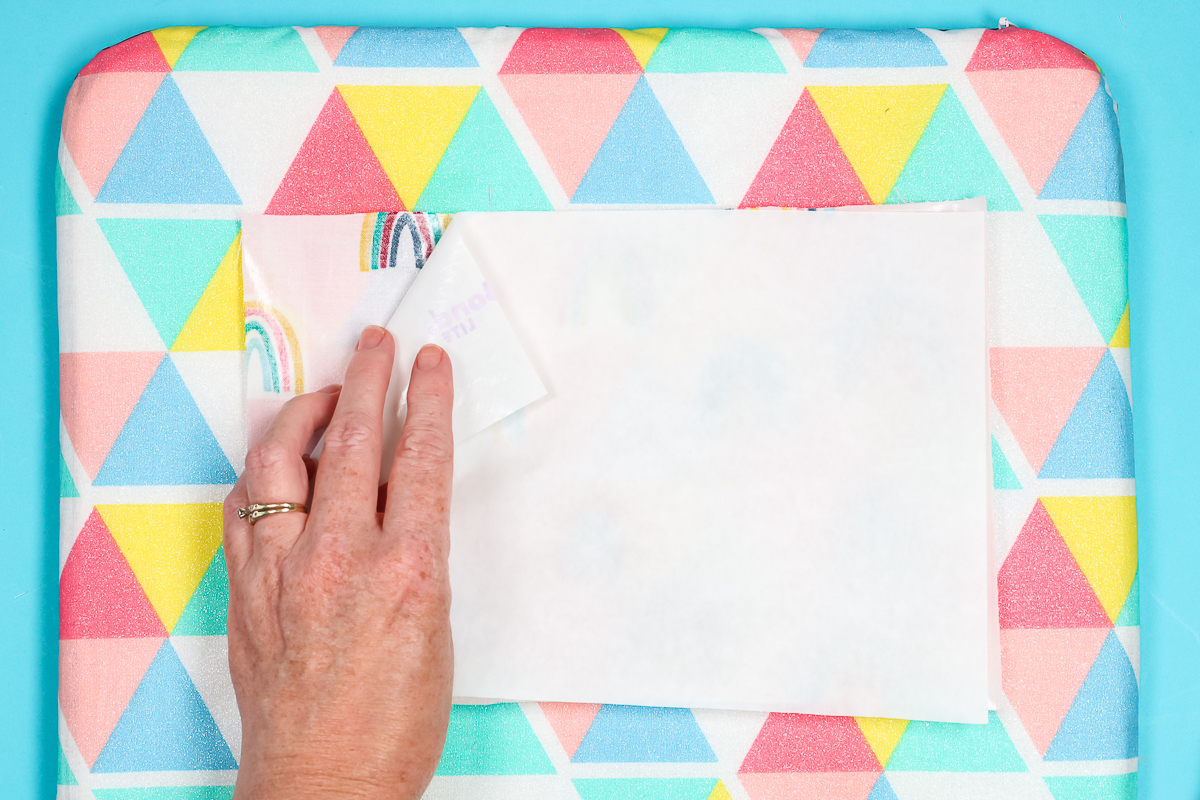
I’m going to test cutting it both ways and see which way perfoms better. Remember, if you leave the paper on your fabric blade will be cutting through fabric and paper which may dull your blade more quickly.
How to Cut Bonded Fabric with a Cricut
For this first example, I am cutting bonded fabric with adhesive interfacing.
Add Fabric to Cutting Mat
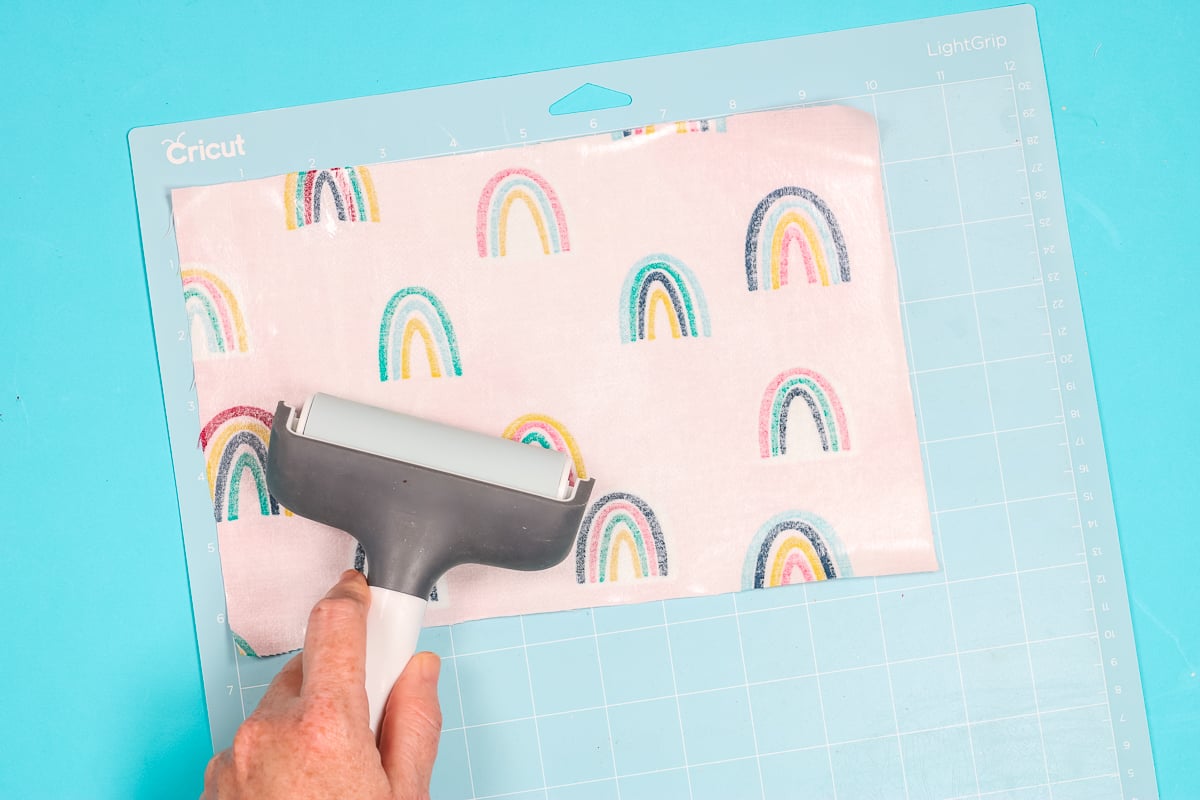
Lay the fabric adhesive side up on your cutting mat and make sure it’s stuck down really well.
You can see in these photos I am using a blue LightGrip mat. I didn’t think this mat worked well so I switched to a green StandardGrip mat.
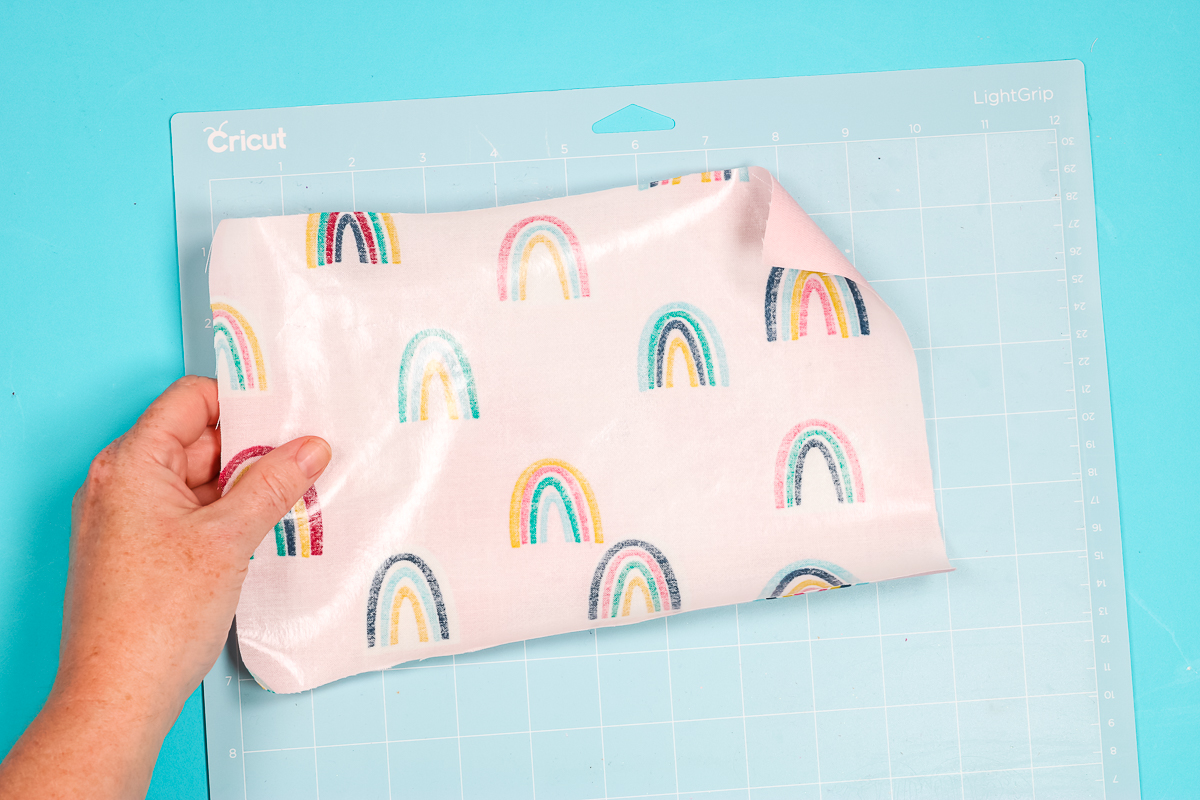
If you have a FabricGrip mat, you can use that as well. I really like to use a brayer to ensure the fabric is stuck to the cutting mat really well. Adhesive interfacing is a heat-activated adhesive. It should not be sticky until you apply heat.
Cut Bonded Fabric with a Cricut Machine
Load the mat into your Cricut machine and proceed to cut the design you have chosen.
I am cutting out a heart shape. I like to use a heart when testing cuts with a Cricut machine because it has curves, straight lines, corners, and points. This shape is a good way to ensure the setting you’re using is going to perform cuts correctly.
I used the bonded fabric setting to cut all of these different examples. Once the cut is complete, do not unload your mat. You can lift the corner of the fabric to check the cut. If it’s cut through, you can unload the mat. If it isn’t, you can press Go again and have it cut another pass.
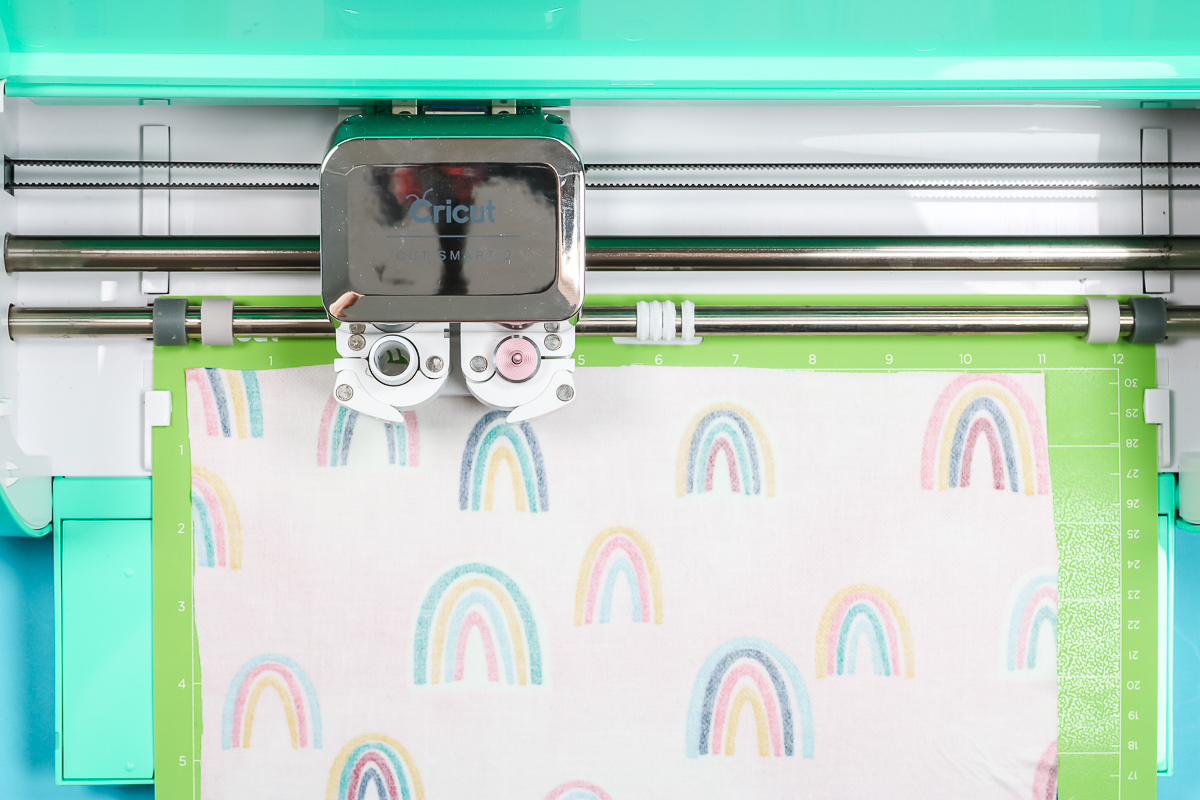
When cutting your fabric right side down make sure you mirror your cut. Anything that is directional would be backward if you forget to mirror your design.
The reason you want your fabric placed adhesive side up on the mat is because if you stick the adhesive on the fabric to the adhesive on the mat it could peel the bonding off when you remove it from the mat.
Comparing Bonded Fabric Cuts
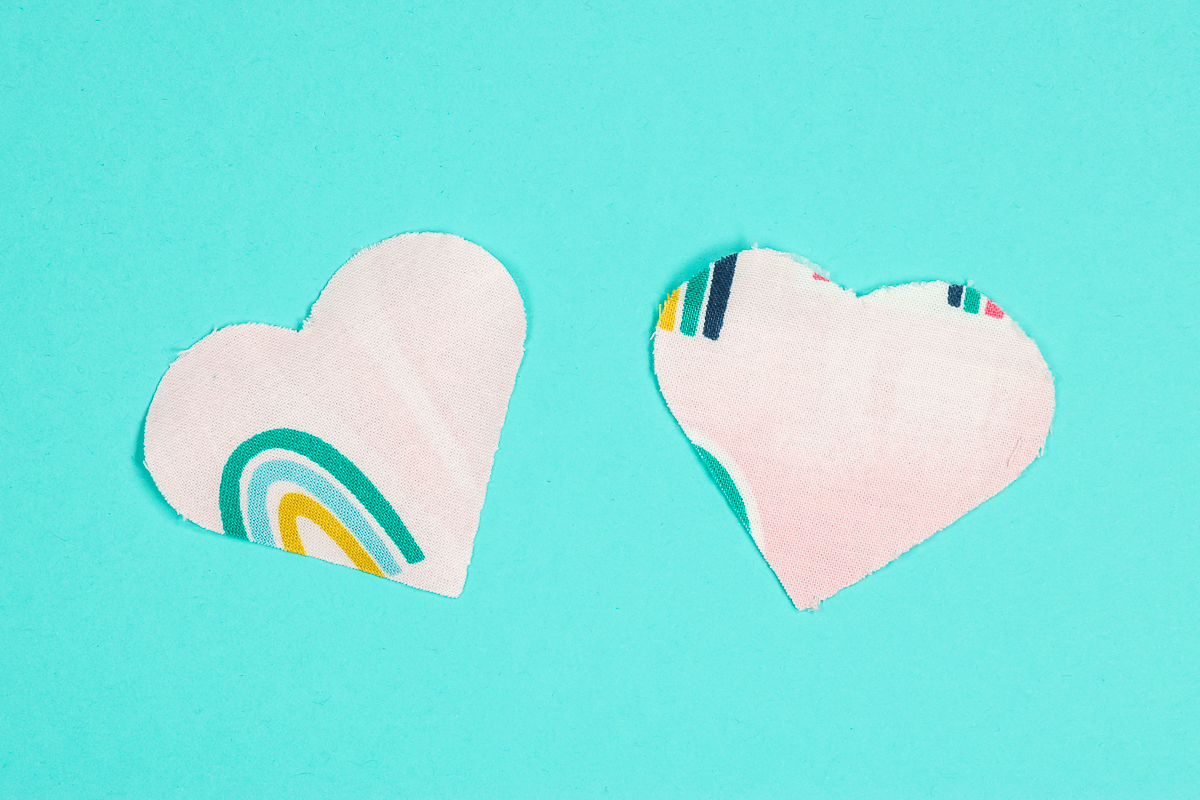
In the photo below, you can see two different hearts cut with a Cricut Explore Air 2 machine.
I cut both of these with the bonded side up. For this example, I took the paper backing off the adhesive side of the heat n bold to see how it would do. On both of them, the edges of the fabric frayed.
If you’re sewing around the edges of the shape, the fraying might not be a big deal but if you’re not sewing around the edges you may want a cleaner edge.
I was determined to get a really clean cut using the fine point blade so I tried a different option with the non-sewable interfacing.
How to Get a Clean Cut on Bonded Fabric with a Cricut
Because I didn’t get a clean cut before I decided to change the process to see if I’d get a better result. This time I kept the paper backing on the adhesive and placed the fabric on the cutting mat adhesive side down.
You do need to be aware that if you follow this process you’ll be cutting through the paper backing which could dull your blade more quickly.
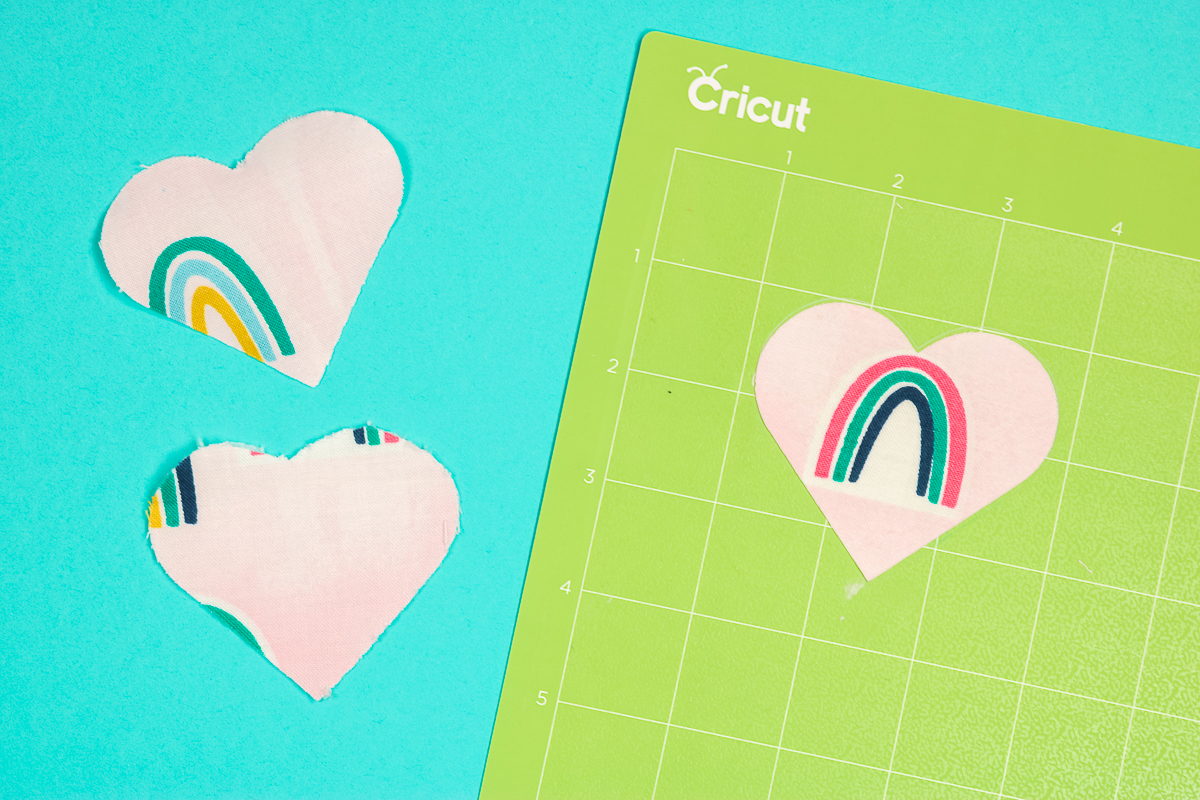
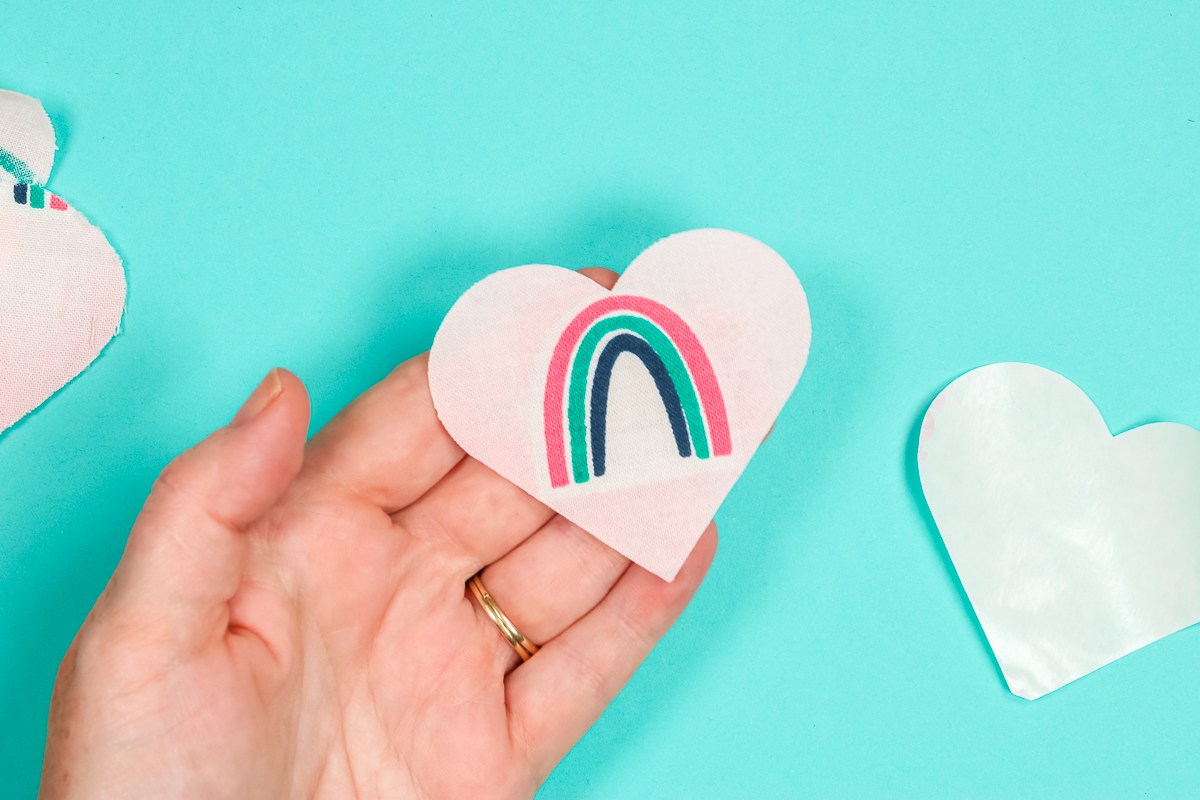
But look at how perfectly the heart cut out this time! I really think keeping the paper backing on the fabric gave it more stability so the blade cut through more cleanly. Because of this, I think it’s worth the possibility of the blade dulling more quickly.
After cutting out the shape, you can peel the paper backing off the adhesive and then use heat to apply the fabric to your blank.
Even with the paper backing removed, all of the edges are clean without fraying.
Final Thoughts on Cutting Bonded Fabric with a Cricut Machine
Now you know the process I recommend for cutting bonded fabric with a Cricut. After testing out all of these different options, there was one clear winner. I prefer to use interfacing with an adhesive back and to leave the paper on.
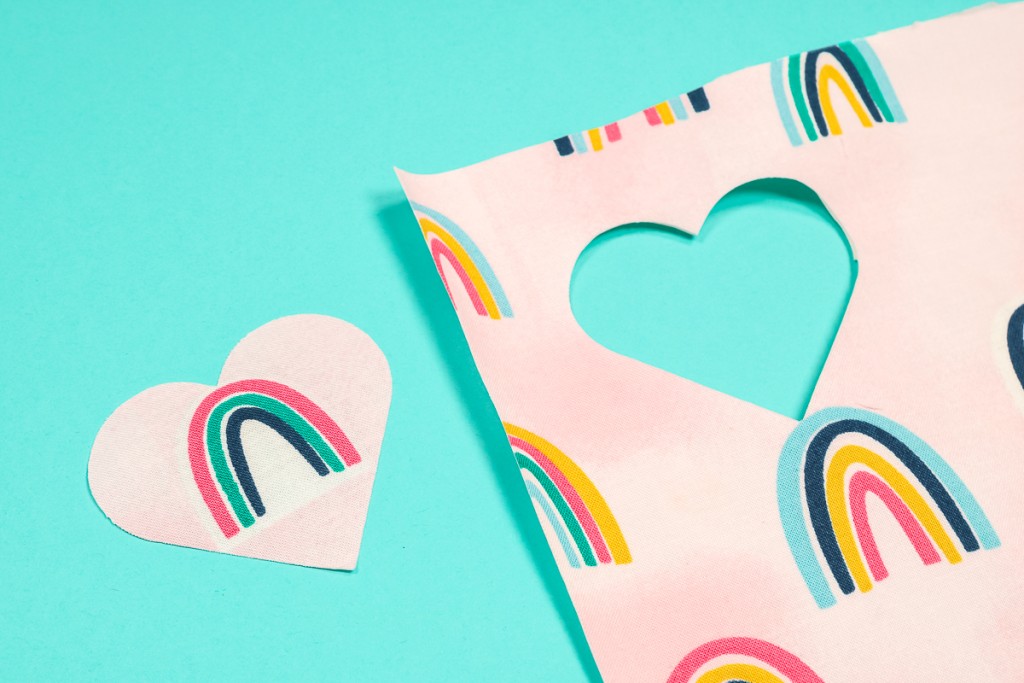
With the paper backing left on, the fabric is stiffer and cuts beautifully with the bonded fabric blade. I don’t cut a lot of bonded fabric so I haven’t noticed the blade getting dull fast.
If you’re cutting a lot of bonded fabric with the paper backing left on, your blade could become dull quickly. To me, it’s worth it to get these perfect cuts on any Cricut machine.
I hope I’ve answered any questions you have about how to cut bonded fabric with a Cricut machine. If you have any additional questions, leave them in the comments below and I’ll answer them for you.
