Are you ready to learn how to cut shrink plastic with a Cricut machine? This project uses the deep point blade which means that you can either use your Maker series or your Explore series for this project. You may have seen the photo ornaments I made with sublimation. Using this tutorial you can make photo ornaments with your inkjet printer instead!
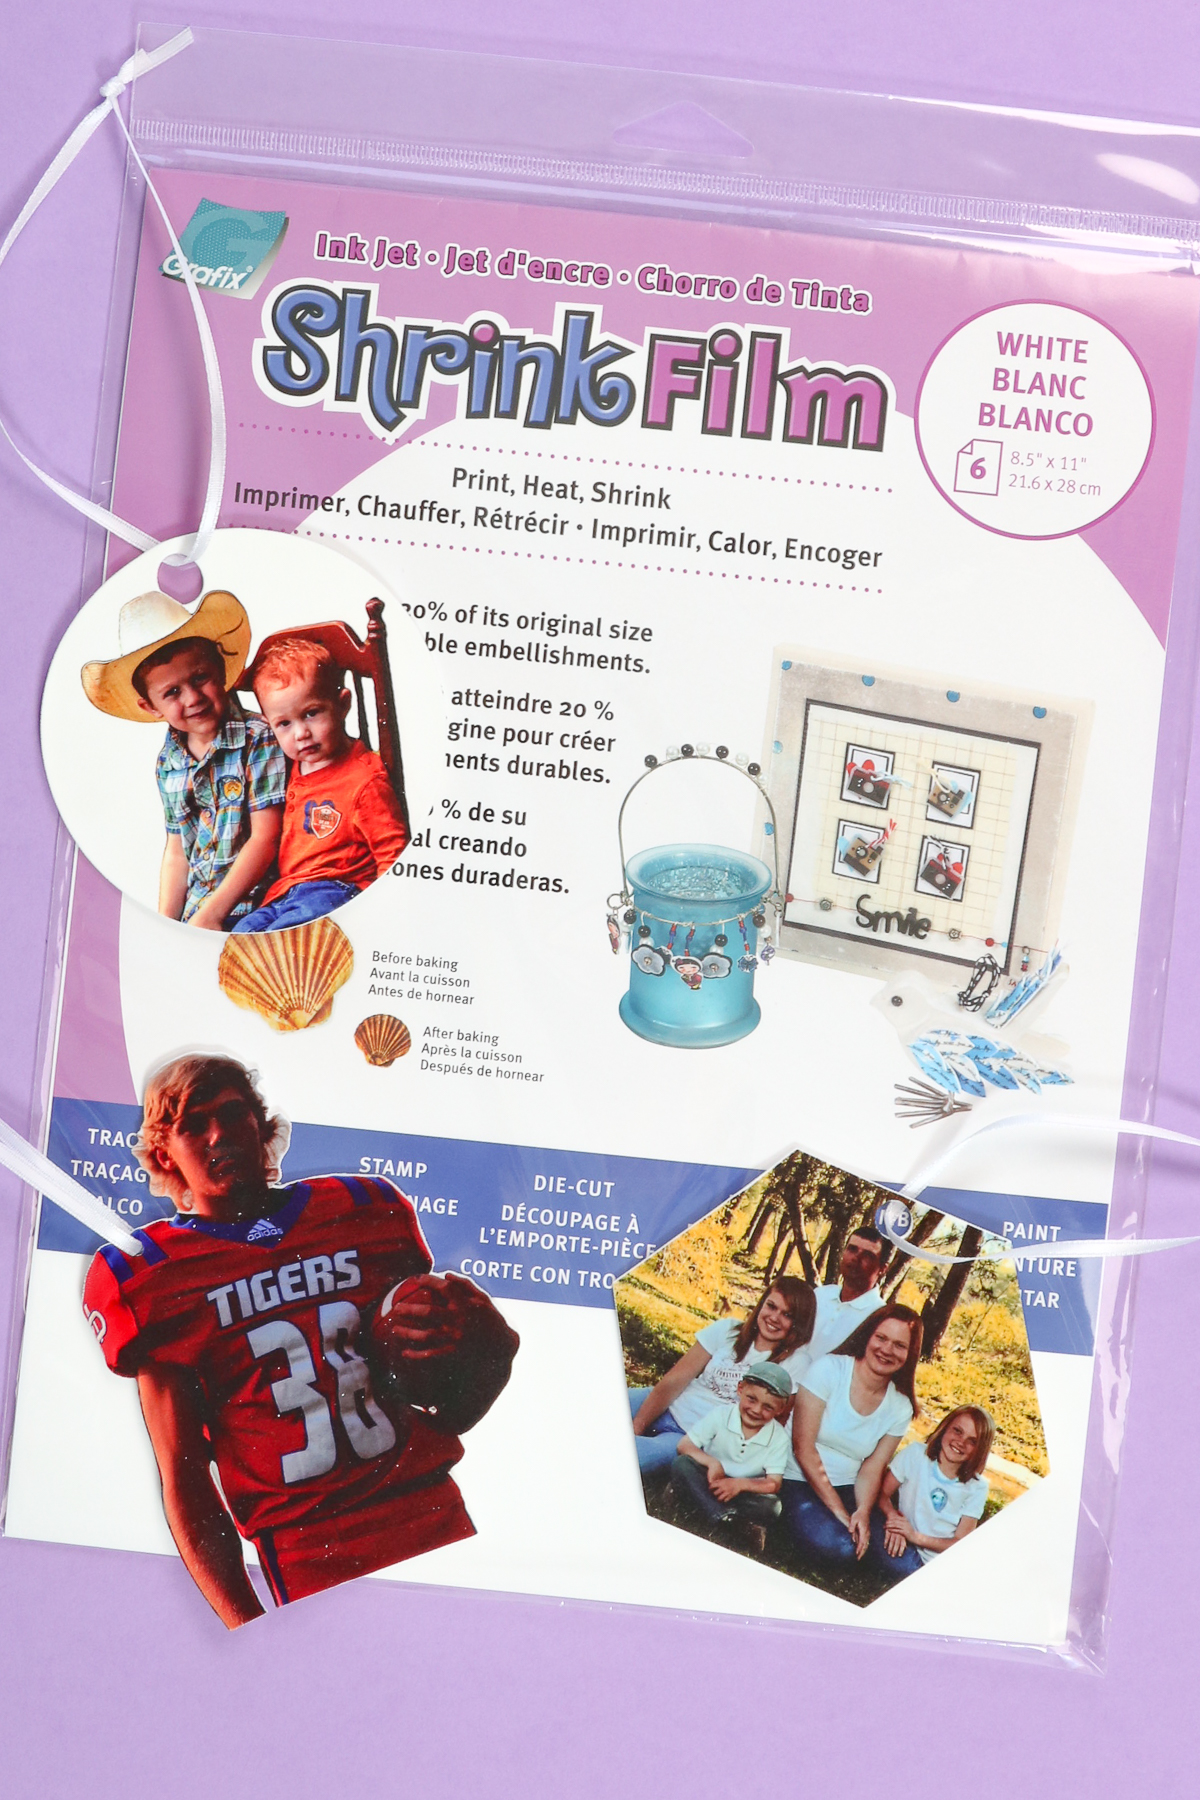
How to Cut Shrink Plastic with a Cricut Machine
Want to learn all about the type of shrink plastic that you can use and the type that maybe you don’t want to use? Click play on the video below and watch as I give my best tips and tricks for cutting shrink film and shrinking it down as well.
Can’t watch the video or miss some of the steps? You can also follow along with the directions below.
Supplies Needed
- Shrink plastic (please read the notes below on which type is best)
- Strong Grip Mat
- Cricut Machine (note that the Cricut Joy cannot cut this material)
- Deep Point Blade
- Brayer
- Printer (just a regular inkjet printer for home use works for this project)
- Convection Oven or Heat Gun (see below for the one that I prefer)
- Ribbon
- Hole punch (see the instructions below as this is optional)
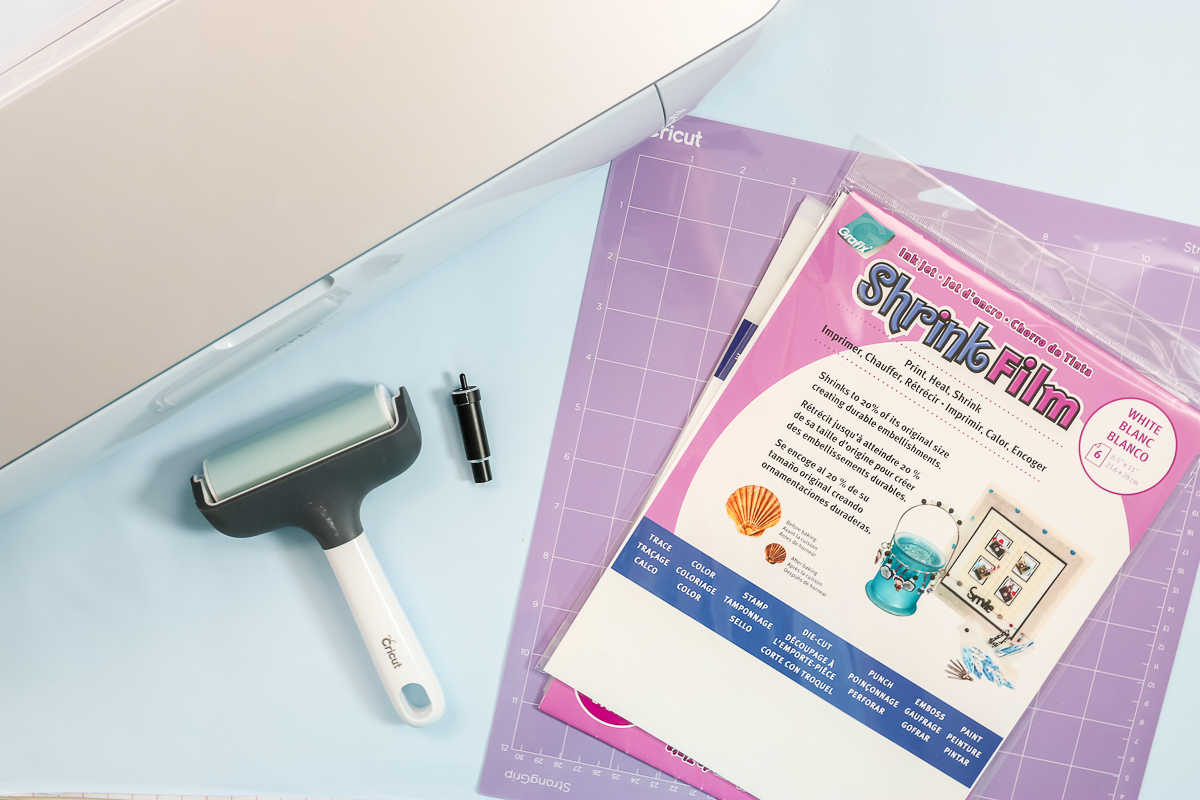
Types of Shrink Film You Can Cut with Your Cricut
First of all, what is shrink plastic or shrink film? This is the stuff you might have used when you were crafting as a kid. Shrinky Dinks might be what you called it. The product is officially called shrink plastic, and they have a printable version that works great for projects like these. It prints in your inkjet printer, then you can cut it with your Cricut. Then, you can shrink it to make a sturdy plastic ornament for your holiday tree or any other project you can imagine.
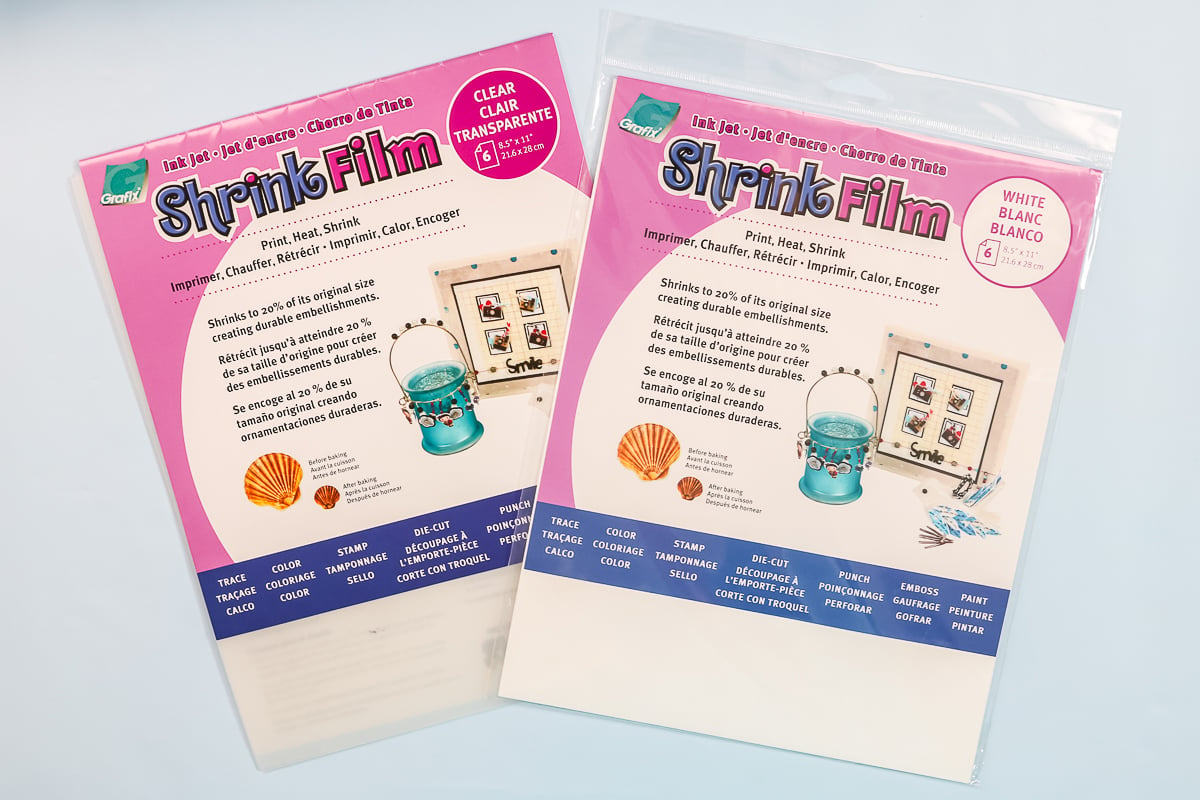
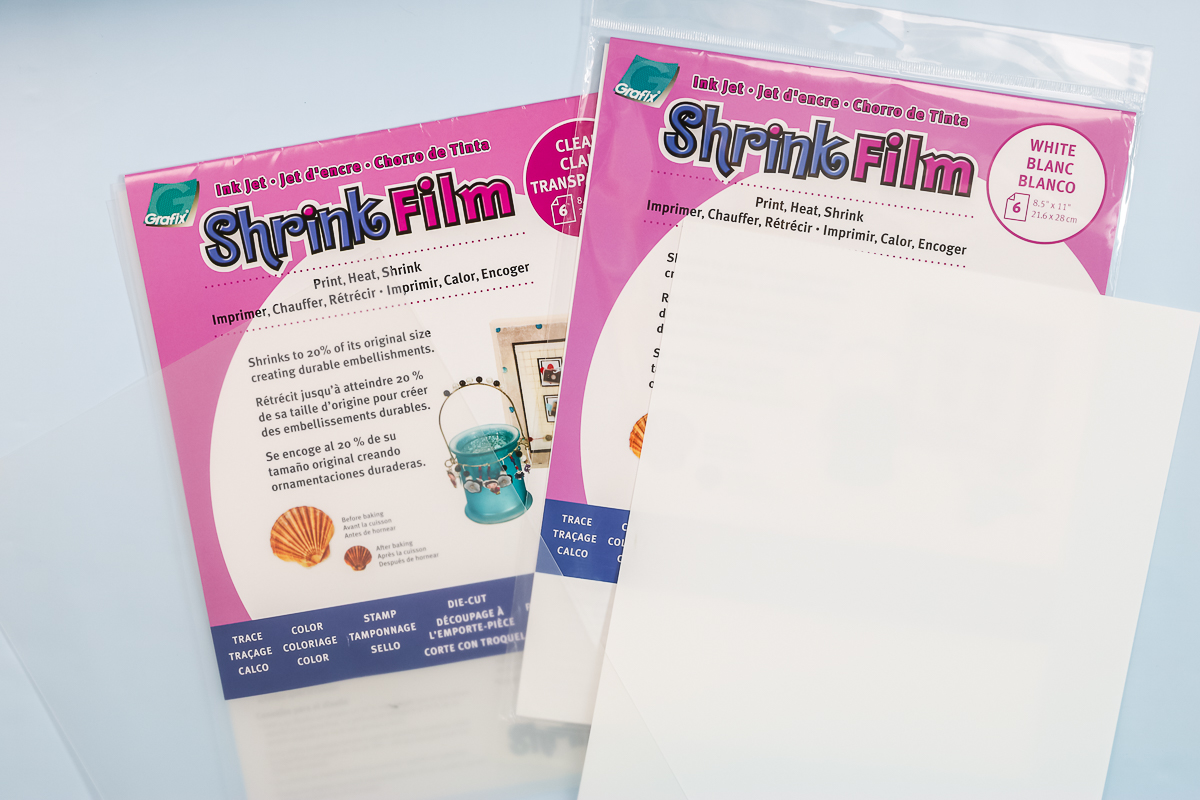
I am using printable shrink film and this is a brand that I’ve used several times and like. This brand comes in clear as well as white. The clear will not cut on your Cricut machine. That is because it’s clear and your Cricut machine will not be able to read the registration marks to cut the film correctly. Instead, I use the white version.
Designing in Design Space
Here are a few tips and tricks for adding your designs to Cricut Design Space.
- Upload the image as is or you can remove the background from your images for a different look.
- Your shrink plastic will shrink significantly. My package says it will shrink to 20% of the size you cut. That means you need to make your ornaments large when printing. I made these as large as I could within the 6.75 x 9.25 inch maximum cutting area.
- Use the shapes within Design Space to slice your images for cute ornaments. Resize your picture and lay the shape over the image. Then pick both and click slice. Remove any unwanted shapes and you have a cute shape with a photo!
- You can add a hole in Design Space or punch with a hole punch after cutting. I find the holes cut in Design Space to be larger and easier to use. I used a 0.8 inch circle sliced out of my ornaments for this.
- To make an ornament with a white background, add a shape and make it white in color then add your photo to it in a similar manner as above. You will need to pick your photo and shape in this case and flatten them in order to make it a print then cut project.
- Alternately, you can cut just the image with no background at all for a different look.
You can watch me design all three of these ornaments in the video above if you want specific instructions.
How to Print on Shrink Plastic
Once your ornaments are designed, click “make it” and the first thing you’ll see is your “print then cut” ornaments on your mat. You do want to check those just to make sure they look okay. There is no need to mirror in this case. We are printing on the top of our shrink plastic. Click “continue” to send these to your printer. I recommend turning off bleed and using the system dialogue box. Be sure to turn on best quality print settings and pick a gloss paper setting if that’s an option on your printer. Then print each of these and you’ll be ready to cut. Be sure to allow your print to dry for 5 – 10 minutes before cutting to ensure the ink is dry.
How to Cut Shrink Film on a Cricut
When you’re ready to cut, I like to click “browse” on materials and type in “plastic”. Search and use plastic packaging as the cut settings. This almost cuts through it, at least most of the time. Sometimes you have to do an extra pass or two, and I will show you how to do that as well.
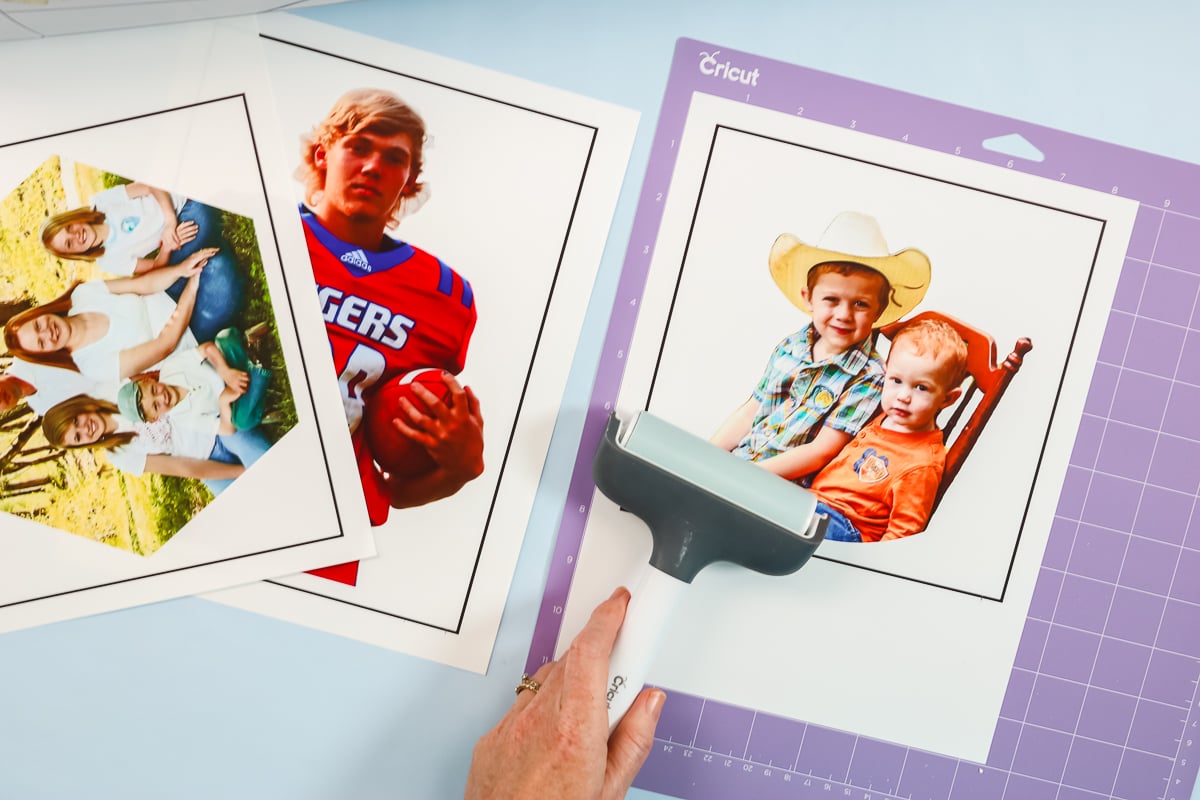
Add the printed shrink plastic to a strong grip mat. Line it up with the grids and press down really well. I recommend running over it with the brayer to make sure it is down.
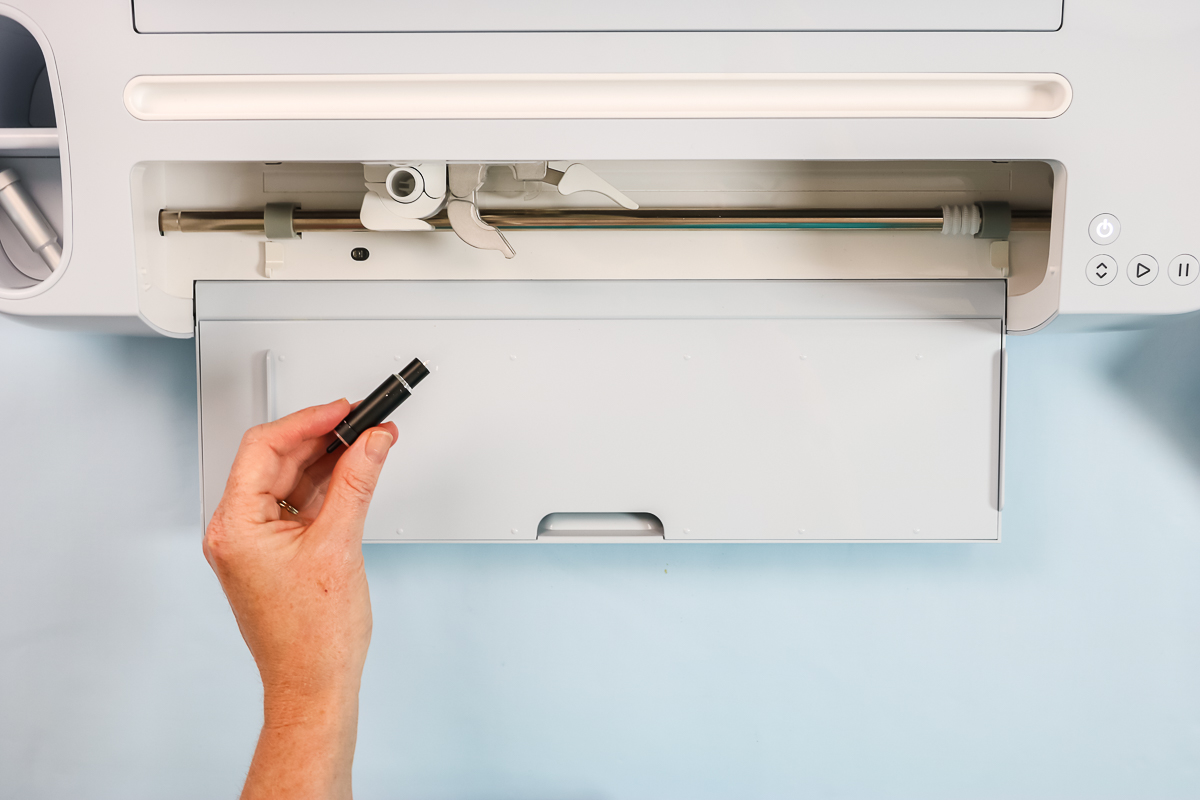
Add the deep point blade to your Cricut machine. I’ve also moved my white star wheels all the way over to the right, just in case the ink is a little wet.
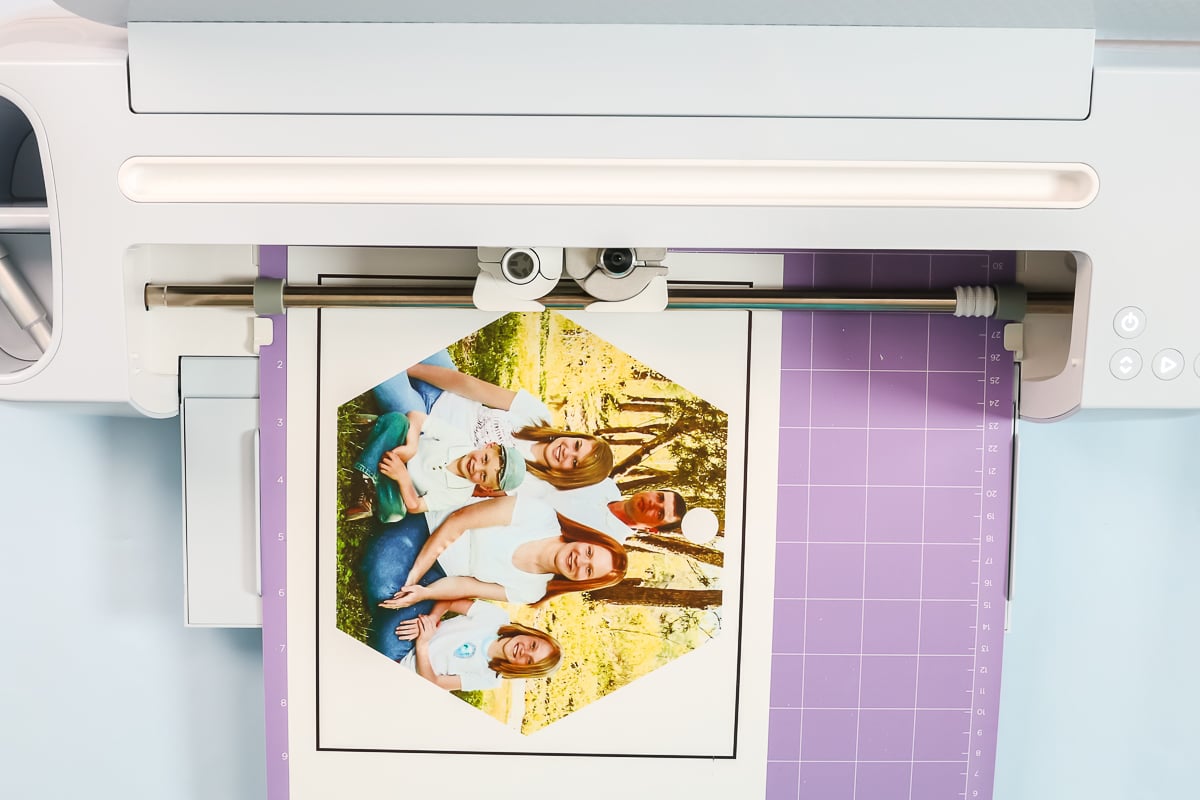
Load the mat by pressing the arrow button. Once your mat is loaded, just press the go button to cut. First, it’ll read your registration marks to find where the cuts need to be. Then it will cut your design.
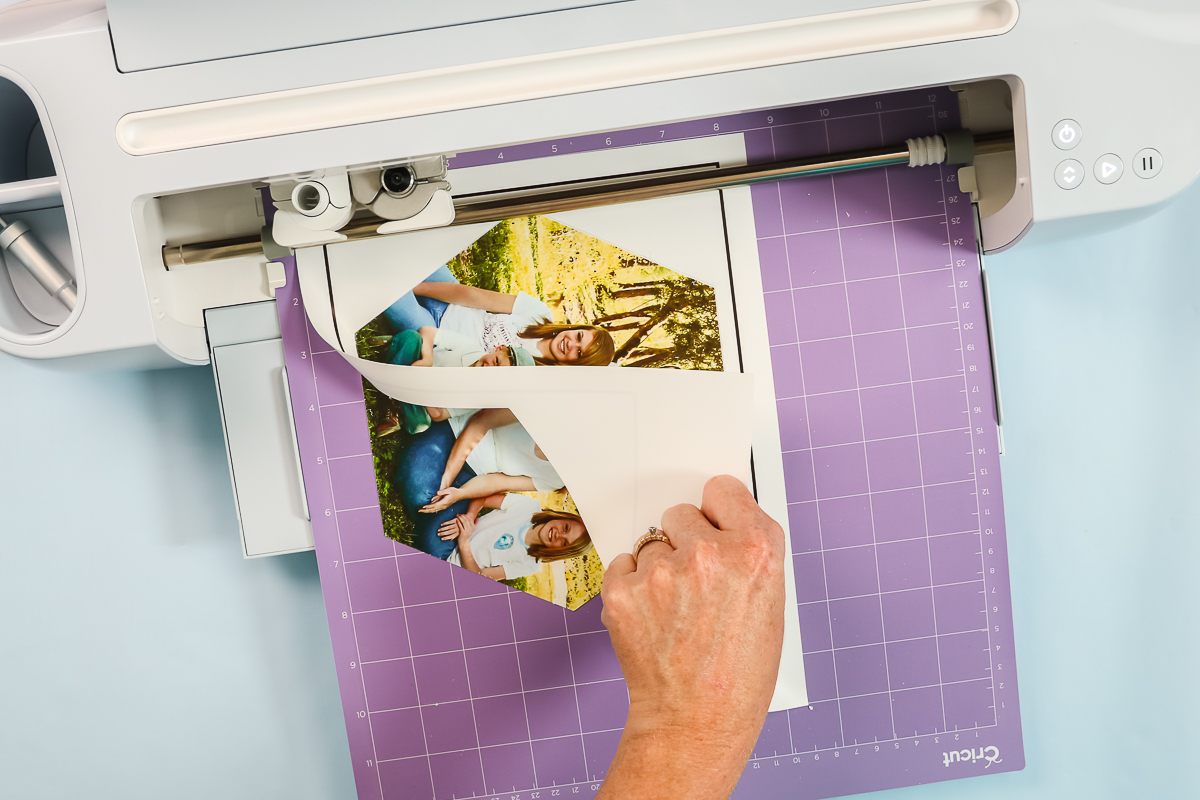
Once the cut is done, you’ll want to check your cut. Do not unload it from the machine. Start lifting up the shrink plastic and see if it is cut through. Generally, I have to do a couple more passes. To do that, click the go button again and let it go about two more passes, pause the cut, and check again. Once it is cut through, click the arrow button to unload.
To remove from the mat, turn it over and then peel the mat back from the material. Now your project is ready for shrinking! You have just learned how to cut shrink plastic with a Cricut!
Adding Holes for Ornaments & Cleaning
There are a few things you need to do to your pieces before shrinking them. If you did NOT add a hole in Design Space, you will want to add one with a hole punch. Also, I recommend cleaning the surface of each ornament well as there will be quite a bit of debris. Just wipe with a cloth.

How to Shrink the Plastic in an Oven
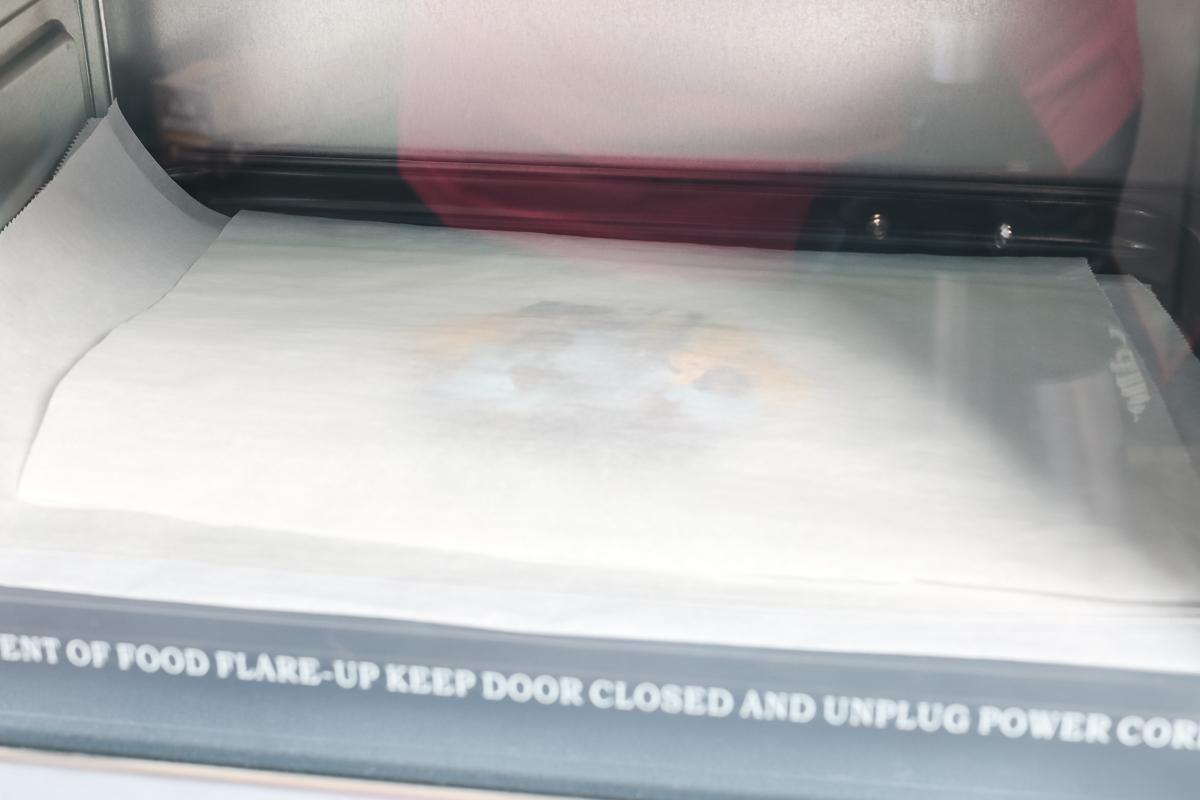
I have a special oven for my craft room and that’s what I’m going to be using. I’m going to do 350 degrees for 2-3 minutes, according to the directions on the package of shrink film that I’m using. If you’re using a different brand, please follow those instructions. This tray comes with my oven. I like to line it with parchment paper then put my shrink plastic on top of that.
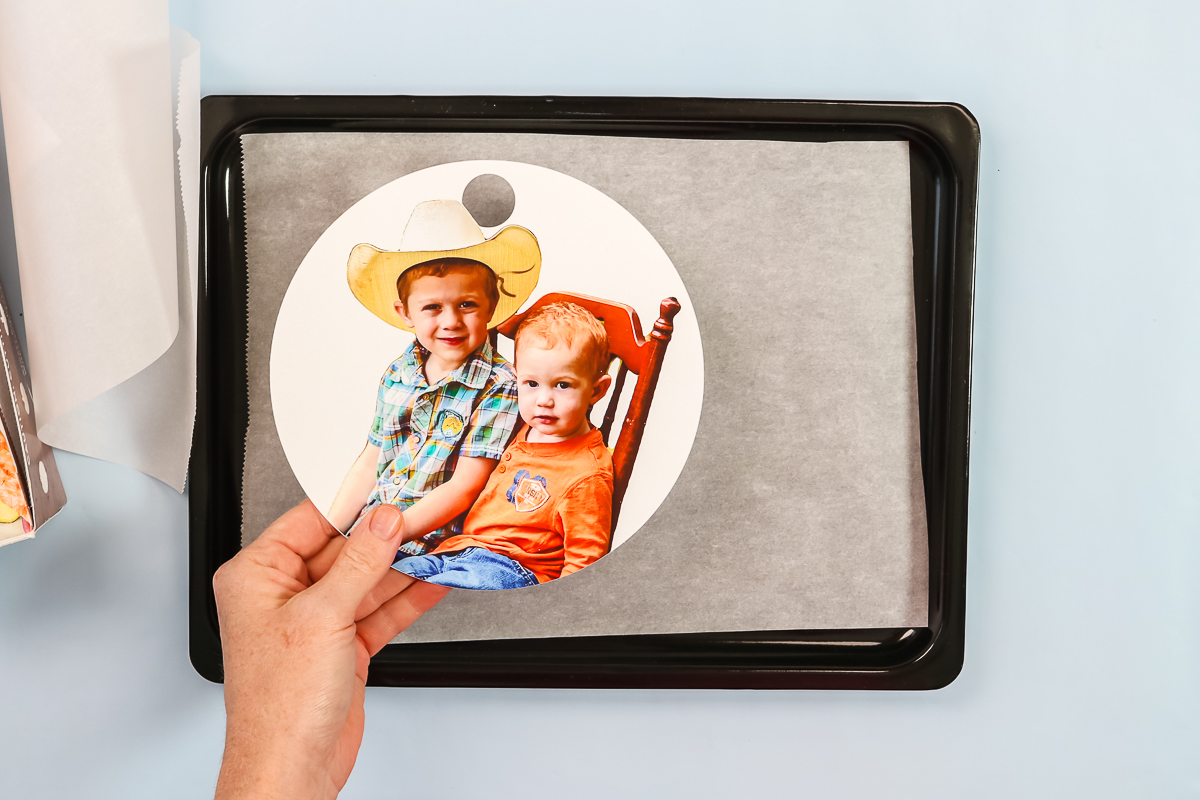
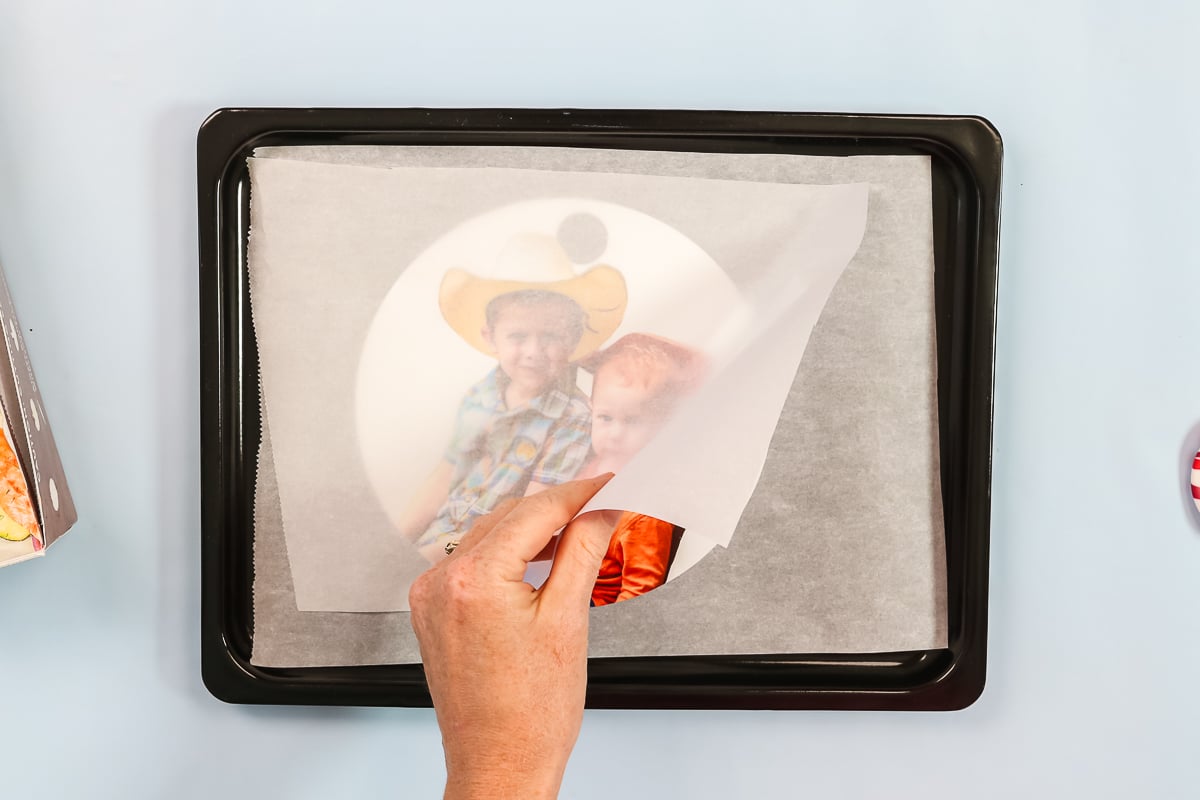
I then cover that with a sheet of parchment paper. This top piece will keep it from curling too much and sticking to itself.
Add the tray to the inside of the oven and set a timer for three minutes. As the shrink plastic heats, it will curl up.
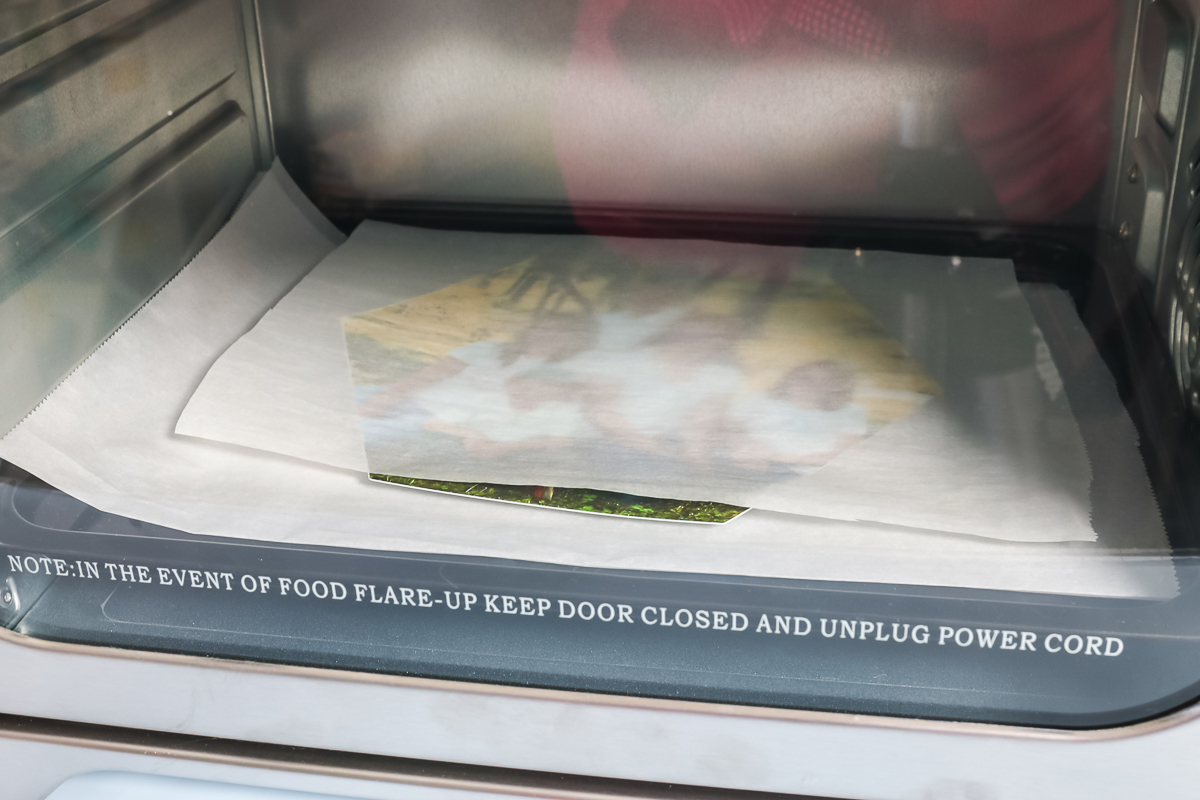
You may notice that it curls up significantly. The parchment paper on top should keep it from curling all the way over on itself and sticking.
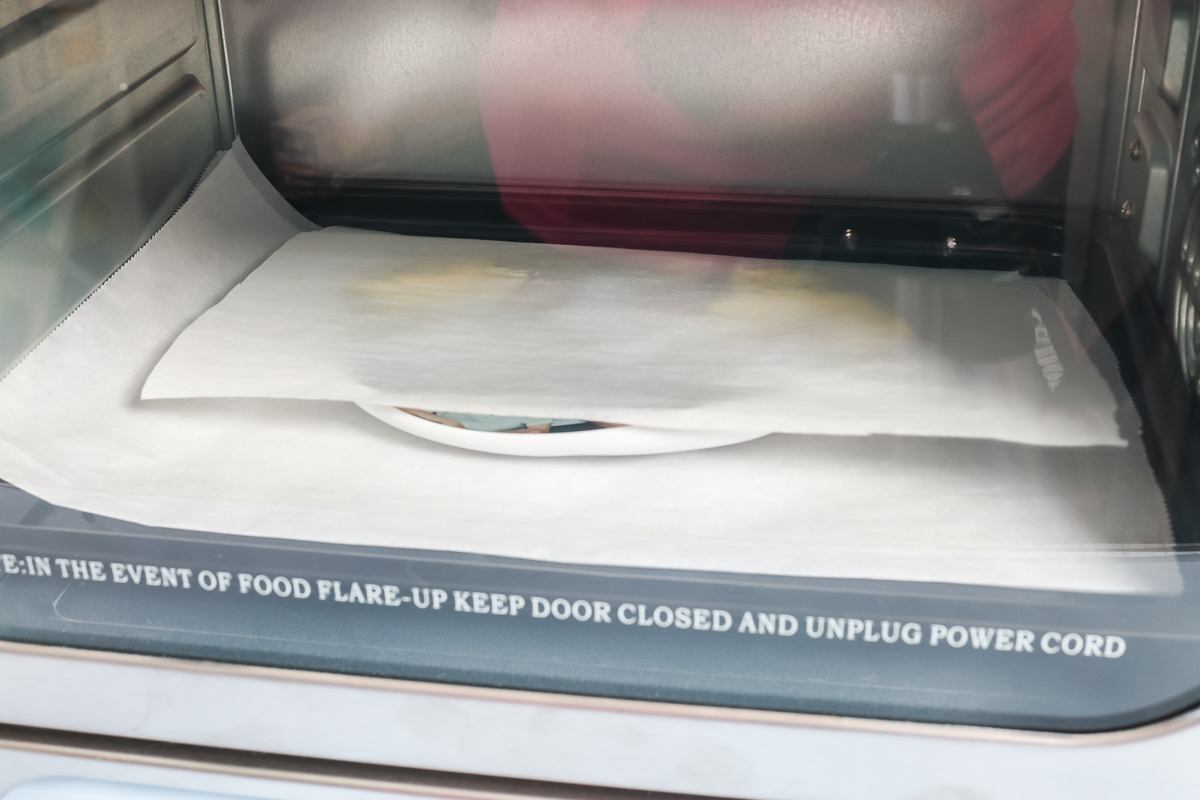
In the end, it flattens back out and you have a cute ornament. I found I could remove mine after about 2 minutes as the shrinking had stopped.
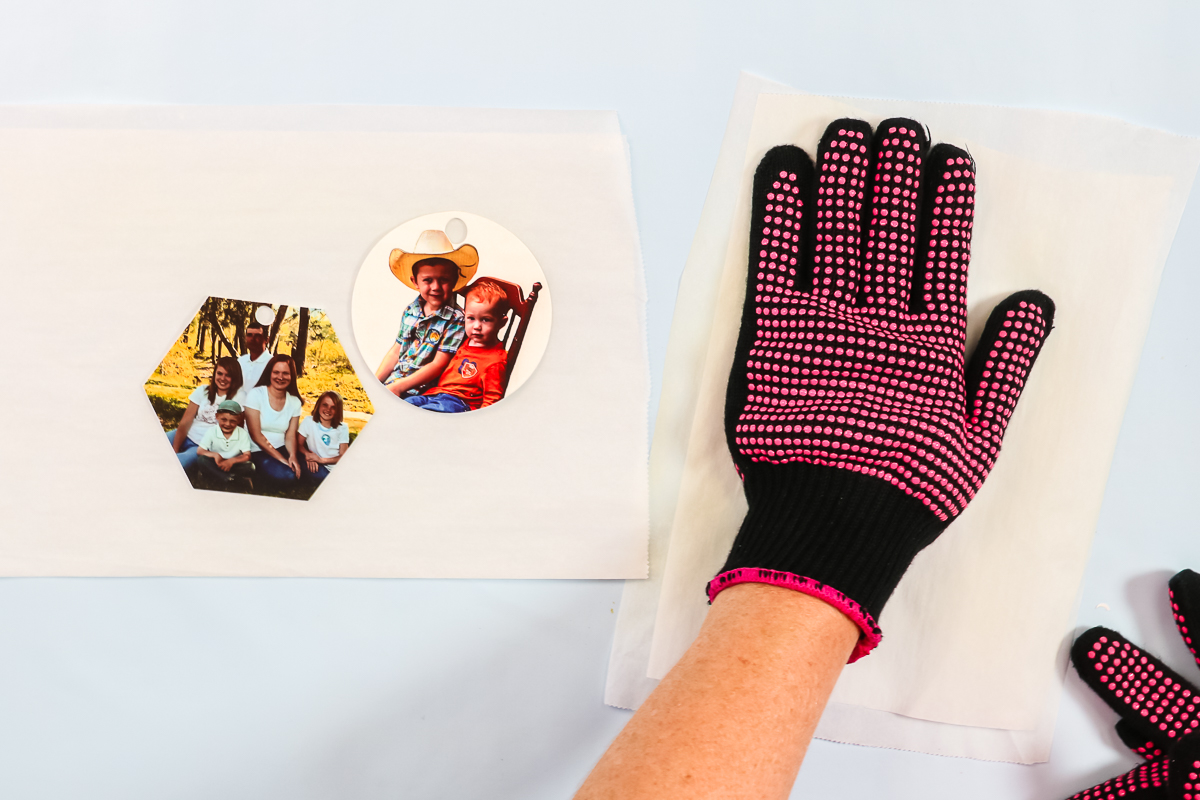
As soon as I take an ornament out of the oven, I put it on a flat surface and use a heat-resistant glove. I press down from the top while the ornament cools. This makes it as flat as possible.
Shrinking With a Heat Gun
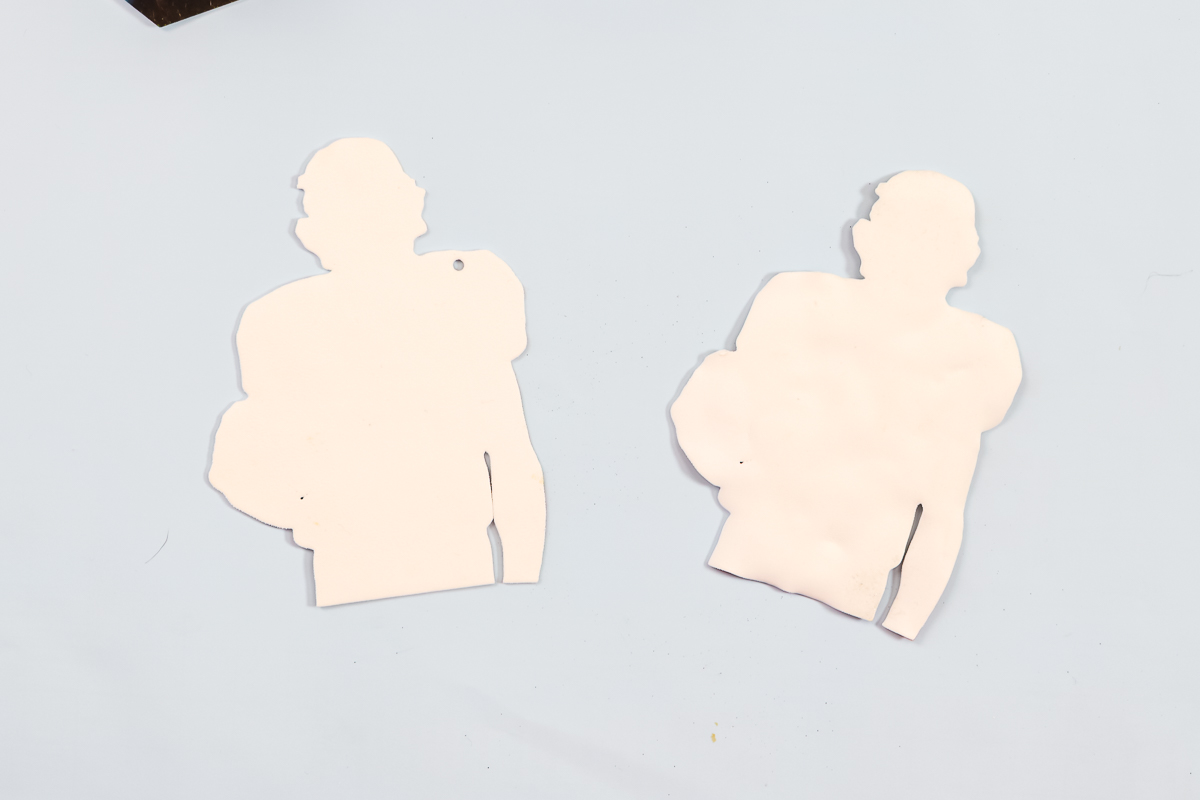
I promised you an alternate method for making these. It’s not the method I prefer, but a lot of people use it. You can use a heat gun and a heat-resistant mat, like the EasyPress mat. Put your shrink plastic on the mat and start heating it up with the heat gun. It will shrink. You will need something like popsicle sticks to hold it flat because it will curl up onto itself and make a jumbled mess.
Let me show you why I don’t like it. The version on the right I made with the heat gun method and the left version was made with an oven. I just can’t get the heat to be consistent so some areas shrink more than others. So, you have all of those bumps and ridges in the final product.
Finishing Your Ornaments
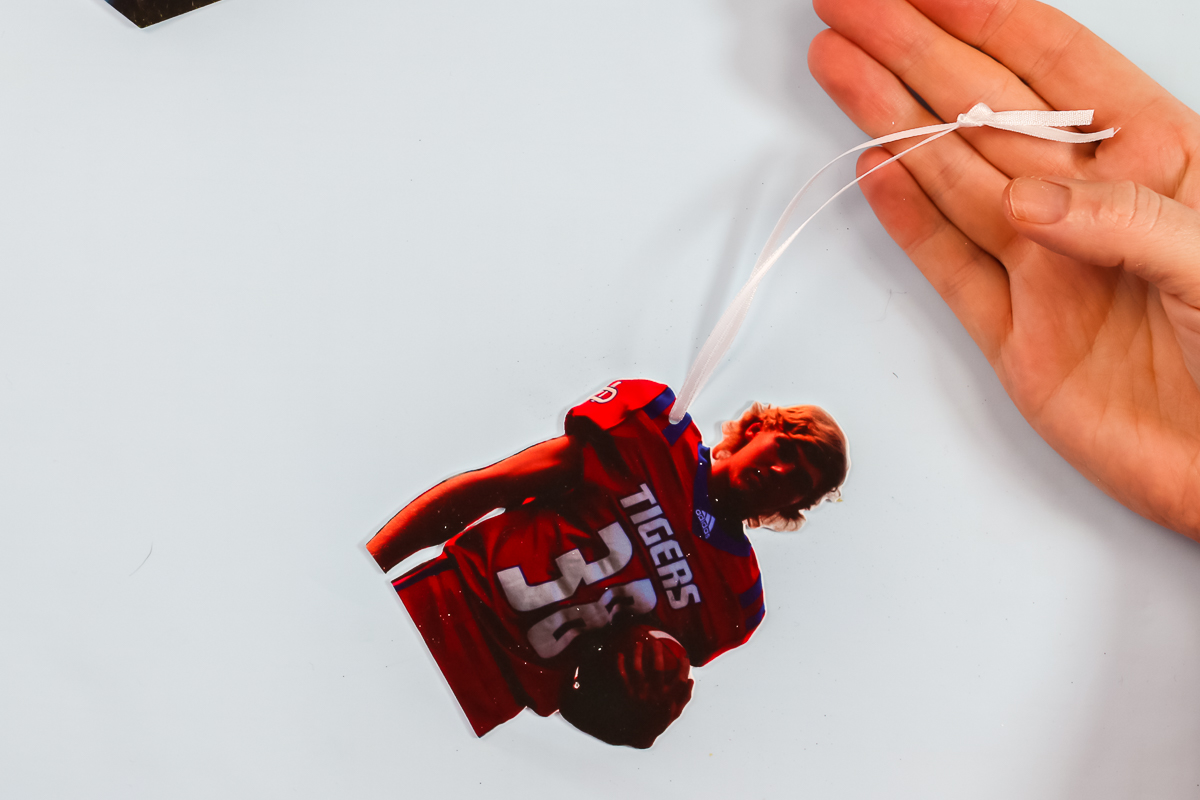
The ones I cut the hole in with my Cricut machine have a nice large hole. The one I cut the hole in with the hole punch is significantly smaller. All that’s left to do is just string some ribbon onto each of these, tie it into a knot, and hang it on the tree.
Tips for Cutting Shrink Plastic on a Cricut
Now that you know how to cut shrink plastic with a Cricut, here are a few tips and tricks for your projects:
- Now that these are done, you can see just how much they shrunk and the colors intensify as they shrink. You will want to keep that in mind when choosing pictures. You can also use a photo editing program to lighten the image before printing.
- During the cutting process, your blade can get really gunked up with all that plastic. You may want to pause the machine occasionally, remove any debris from the blade, and then add it back to the machine.
- You want to make sure that the shrink film that you purchase says that it’s printable and that it’s good on inkjet printers. REMEMBER: You don’t need a sublimation printer for this. You just print right on that shrink plastic with an inkjet printer, cut it, and shrink it down.
- If you want to make nice big ornaments like the ones shown, it will take an entire sheet of shrink plastic per ornament. You do want to keep that in mind when you’re purchasing your shrink plastic because the brand that I’m linking to only comes with six sheets per package.
So, now as an adult, you too can play with shrink plastic! This project is amazing. You will love the way it turns out.

These do get pretty thick when you shrink them down, which I love. They are like a stiff plastic instead of that super flimsy sheet that we ran through our printer, so it’s a pretty cool process. You can use this for other crafts as well. Now that you know how to cut shrink plastic with a Cricut machine, the possibilities are endless.
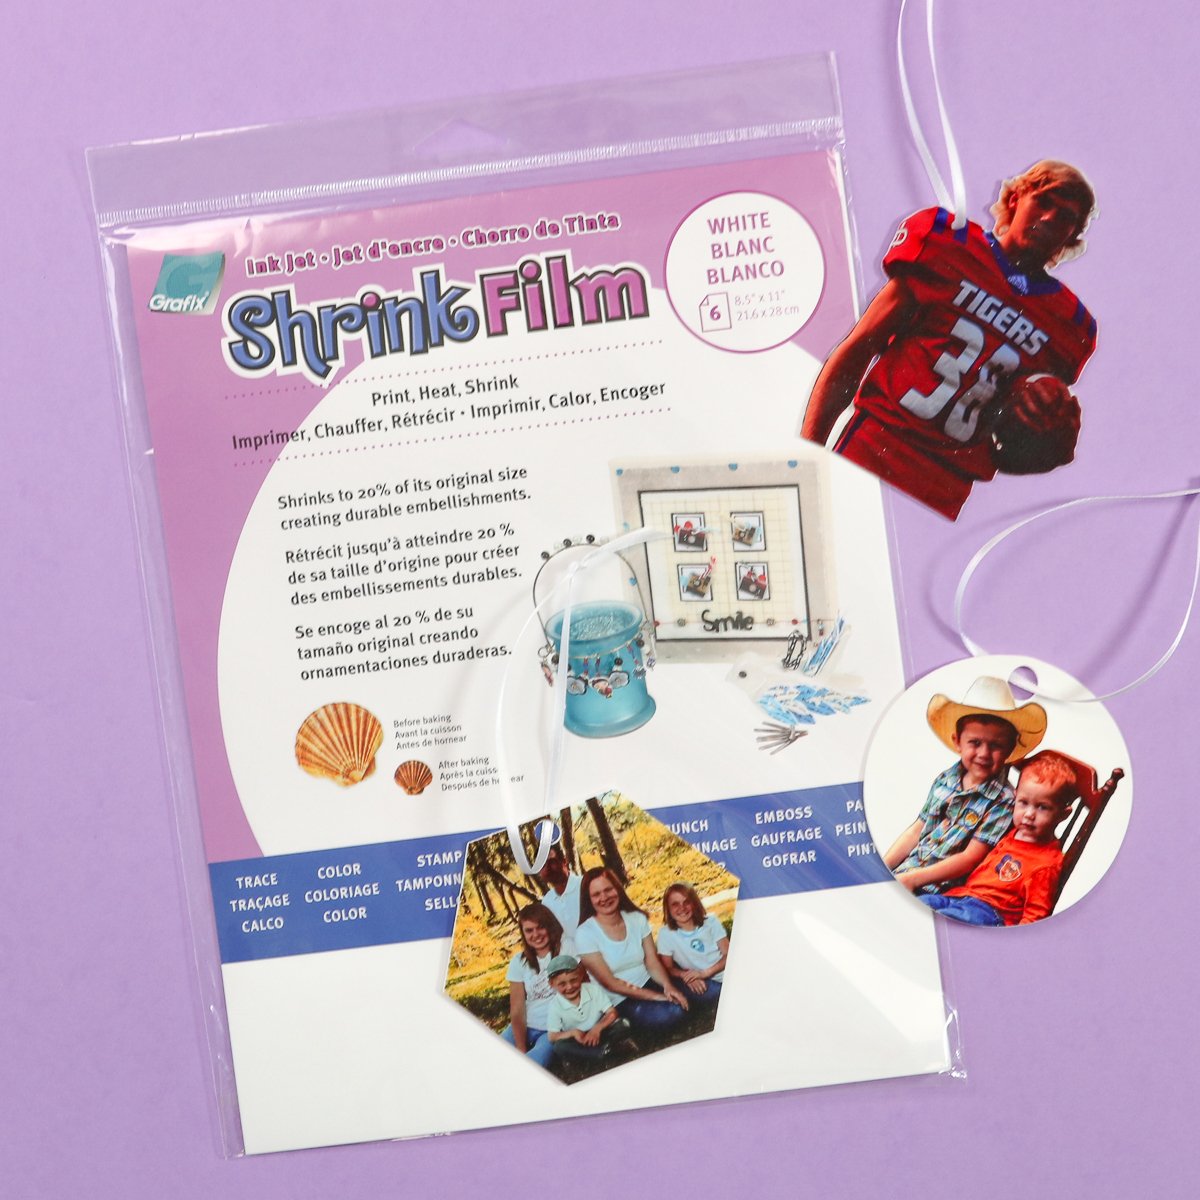
Now that you have seen my completed photo ornament with an inkjet printer and my Cricut machine, will you be picking up some shrink plastic and making your own? I think you’ll love how these turn out.
4 More Cricut Resources
Did you love learning about how to cut shrink plastic with a Cricut and are looking for more Cricut resources? Then check out the blog posts below!
- Cricut Plastic Sheets You Can Cut
- Cricut Metal Sheets: Galvanized Sheets to Cut on Your Cricut
- Can the Cricut Maker Cut Acrylic?
- How to Cut Bonded Fabric with a Cricut


Hi Angie, thanks for the great tutorial. You mentioned that you can’t use the clear film in your Cricut because it won’t read the registration marks. Have you experimented with using matte tape and a black marker to manually draw in the registration marks? I’ve heard this works for some folks when they’re using a Cricut to cut stickers from glossy paper. Maybe it would work here? Just curious.
You could try it but I’m not sure it would work. The Cricut sensor seems to get confused when it sees through the material onto the mat so I haven’t tried using the tape method.