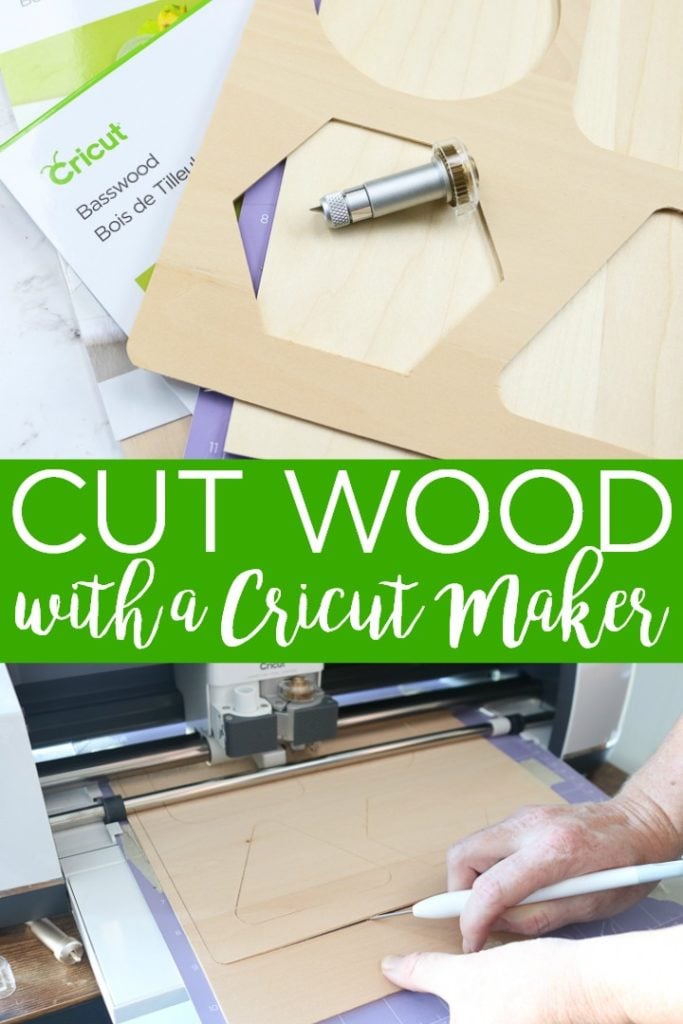
Do you know how to cut wood with the Cricut Maker? Yes, the Cricut Maker can cut wood and it opens up a whole new world of crafting possibilities. There are a few things you need to know when Crciut wood cutting, however. I am covering everything below including blades, mats, and tips and tricks for success. So, use this as your guide to starting cutting wood with Cricut.
Want to know how to cut other materials with your Cricut? We also have guides for acrylic and metal!
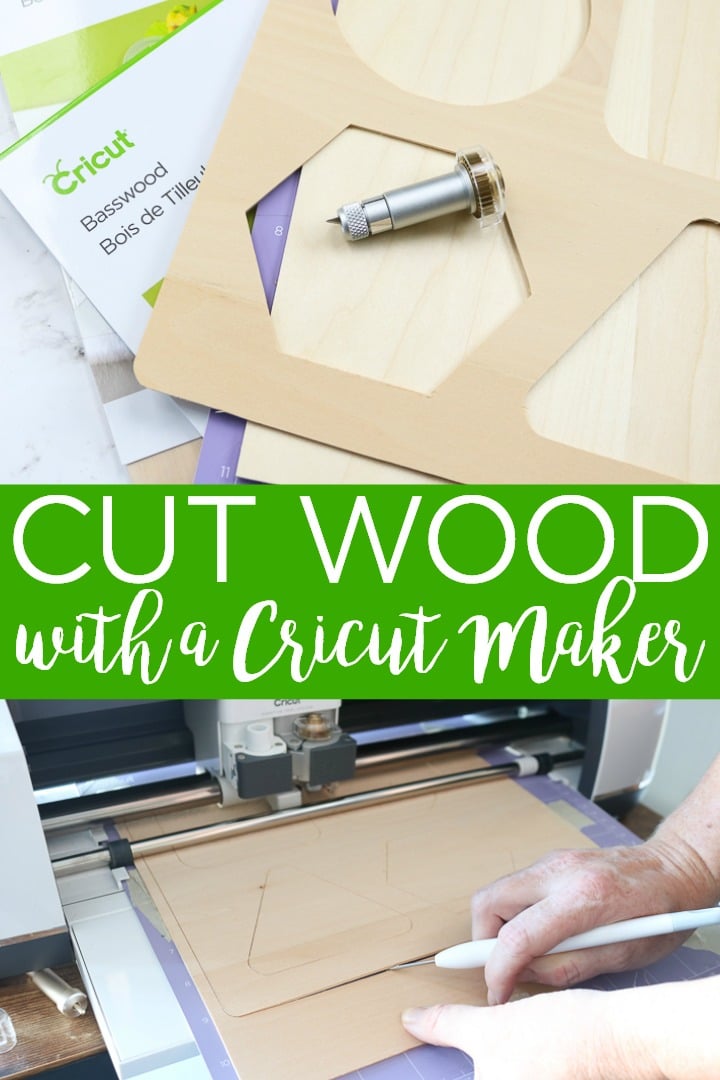
How to Cut Wood with a Cricut Maker
If you want all of the details for cutting wood with a Cricut in an easy to follow video, we have you covered! Just watch below.
Can’t watch the video or need more details? Keep reading as we have step by step instructions below as well.
Types of Wood to Cut with a Cricut
So, what kind of wood can you cut with a Cricut Maker? Here are the types as well as a little detail on each:
- Balsa wood (1/32, 1/16, and 3/32 inch) – this is a very soft wood that breaks easily. It is good for some crafts but be aware that it is brittle. You can find this at your local craft store.
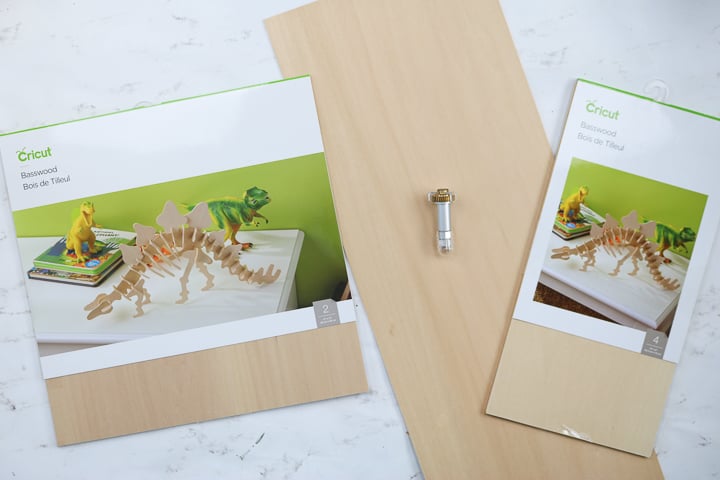
- Basswood (1/32 and 1/16 inch) – I find this wood to be much better for crafting. I pick it up at my local craft store or Cricut has larger sheets here.
- Wood veneer – Cricut has just released a line of wood veneer. You can find a post on cutting wood veneer with your Cricut here.
I will note that the sizes in your craft store will be really odd. The wood sold by Cricut is sized perfectly for their machines. If you purchase from the craft store, you may have to cut down to fit your mat. It will cut with just scissors, however.
Blade for Cutting Wood with a Cricut Maker
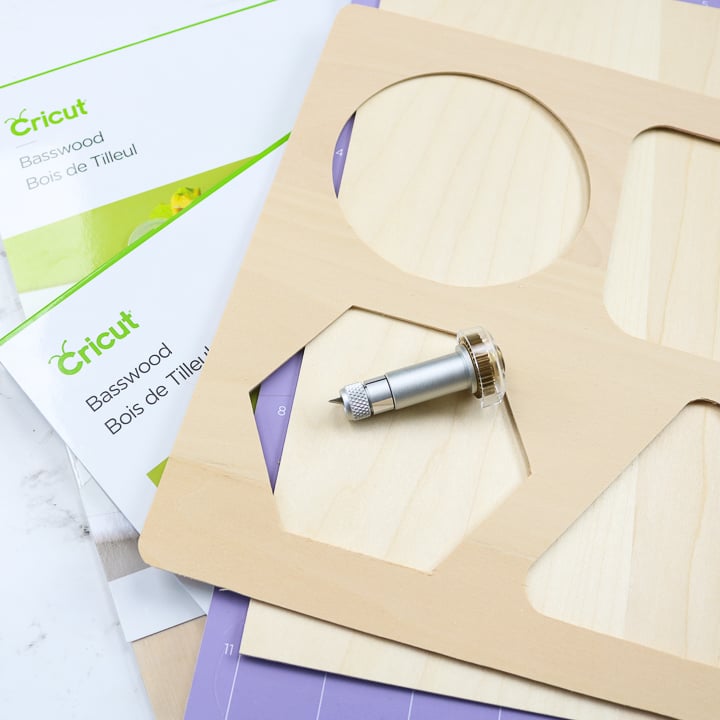
You will need the knife blade to cut wood with your Maker. It is the only blade that can be used when cutting balsa and basswood. Please note that your knife blade will need to be calibrated before the first use. You can see more about how to do that here.
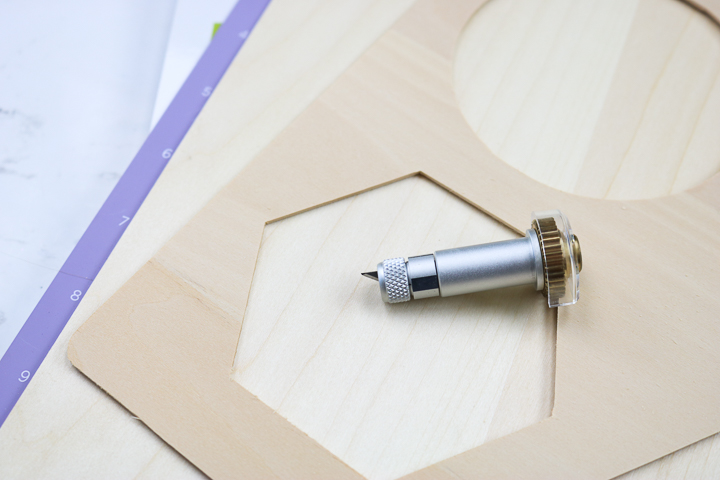
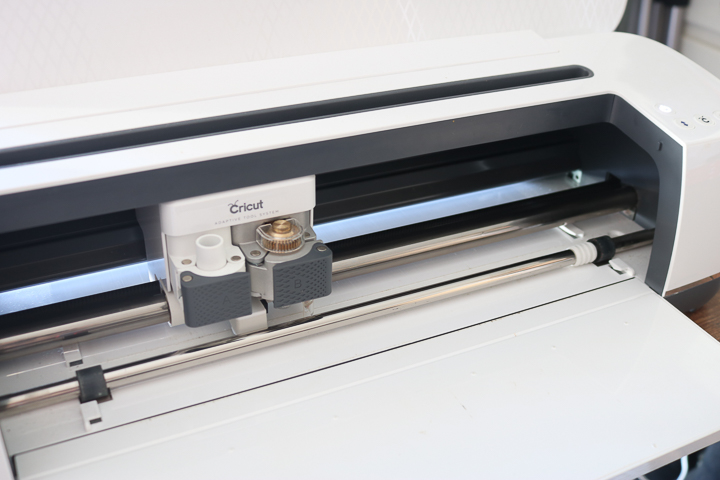
This blade goes on the cutting side of your Cricut Maker. It does come with a protective cap that covers it when not in use. Be sure to remove that before putting in your machine.
Adding Wood to a Cricut Mat
Now, you have your wood and your blade, are you ready to learn how to cut wood with your Cricut Maker? One of the most important things is adding your wood to the mat properly. You will need a strong grip mat. Also, the wood itself can only be 11 inches wide. You will need that extra inch as clearance for the white rollers. We will talk about moving them a little further down in the post.
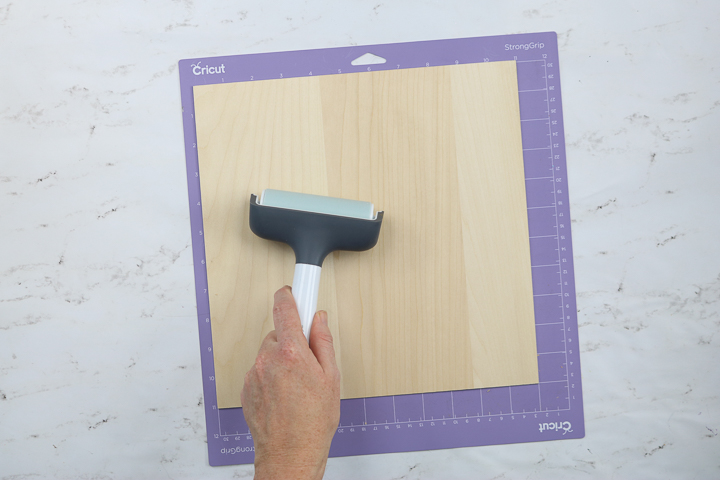
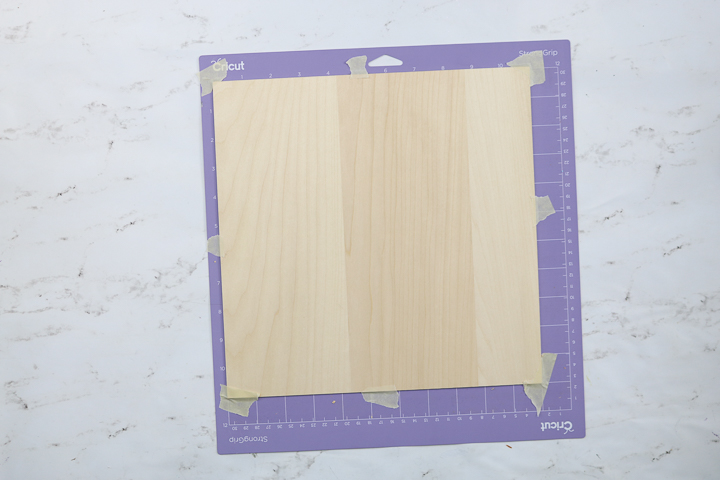
First, press the wood down on the mat really well. I like to use a brayer for this. Then, as extra insurance, you will also want to add some tape to the edges to make sure it doesn’t move. As you can see below, I add it in the corners as well as the center of each side.
Designs That Cut Well
There are certain things that you need to take into consideration when planning your wood crafts on your Cricut.
- The width of cuts should not be smaller than the diameter of a pencil.
- Make sure all cuts are at least ¼” away from the edge of the wood (if blades cross the edge of the wood, there is a high probability the blade will be damaged).
- The knife blade is recommended for details that are 3/4 inches and more. So, fine details may not work with thicker materials like wood.
You may also want to keep reading as we have some project ideas below to get you started.
Design Space and Cutting Wood
First of all, the knife blade only works on your computer. It is not compatible with the Design Space app. This is because of the length of time for the cuts.
Once you have your project designed and ready to cut, you will want to mirror your cut in Cricut Design Space. The cut against the mat will be the cleanest so you want that to be your “front”. You can also take this into account when putting your material on the mat. Be sure to put the best side of the wood face down.
Preparing Your Maker
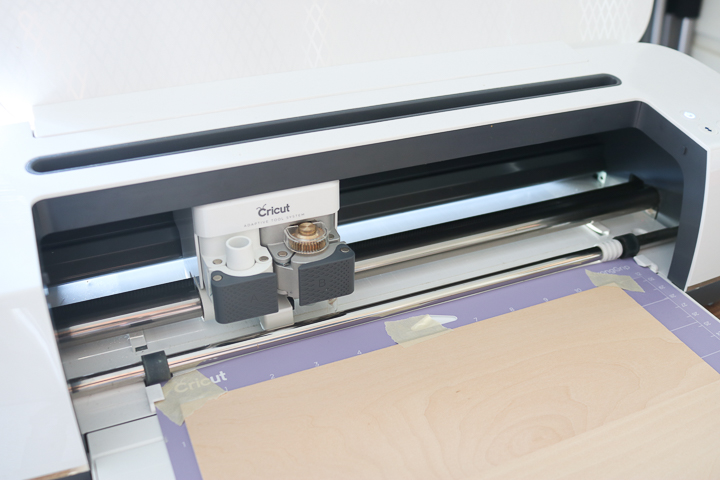
You will want to push the white wheels all the way over to the right. Your material should never go under the white or black wheels when cutting wood. These cuts will take a long time! Once you start the cut in design space, the machine will do one pass then calculate the length of time. Be prepared to have your machine tied up for a while depending on how intricate your design is.
Checking Wood Cuts on the Cricut
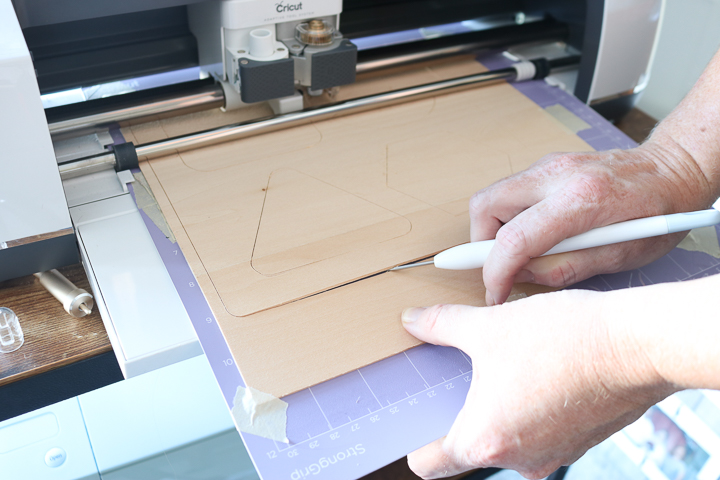
Start checking your cuts at about the halfway mark. Cricut Design Space will count down how many passes you have left. To check the cut, hit the pause button on the machine itself. Then use something like a weeding tool to pick up the edge and see if the material is cut through.
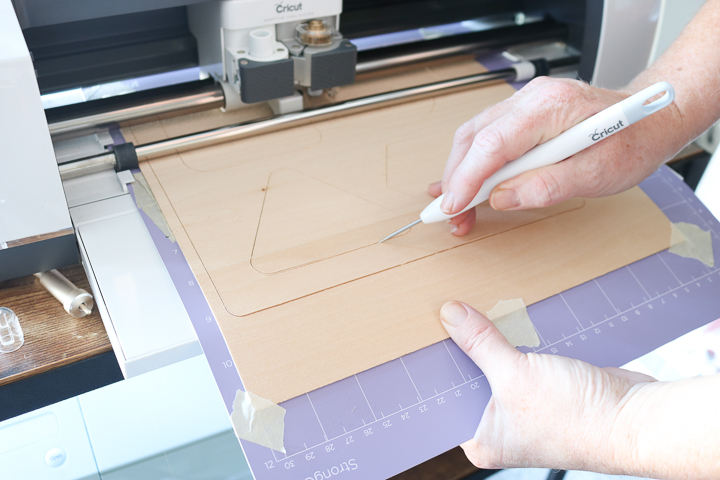
The corners will be the last to be cut through. But keep checking every few passes. You can cut way too deep and cut through your mat! If you check and the material is not cut through, just touch the “C” on your machine to continue the cut. You can also use this “C” to do additional passes once the cut is complete if your material is still not cut through.
Finishing the Cuts
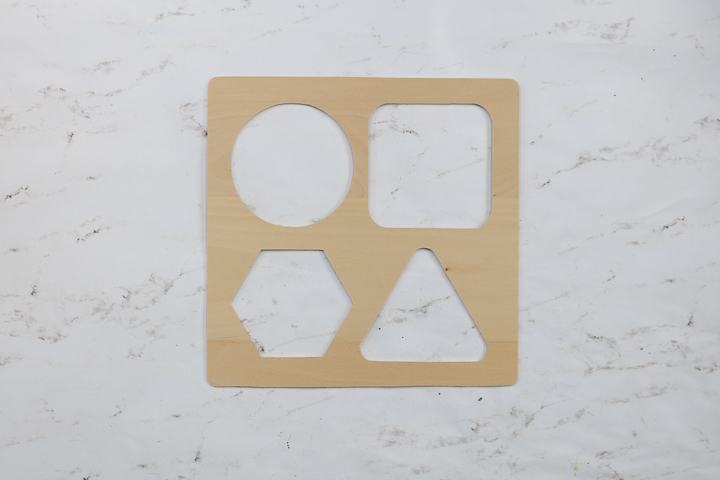
You can cut with the Maker until all cuts are completely cut through. Please be aware that this will shorten the life of your mat as in some areas the blade will really start to dig in. You have the option of removing the mat from the machine and finishing the cuts with a craft knife instead. This is optional but might help to prevent too much damage to your mat.
You also want to be sure to remove the wood carefully from the mat. Remember the side against your mat is the good side! Peel up the mat from the wood slowly and watch for any breakage.
Tips and Tricks for Cricut Wood Crafts
Now that you know how to cut wood with the Cricut Maker, I have a few additional tips and tricks that may help you along the way.
- If the blade gets stuck, the machine will stop and an error will come up on the screen. Blow around the blade to remove any loose debris. Hit the “C” to start the cut again then hit the pause to stop the machine. Use something sharp like a weeding tool to run along with the cut where the blade was stuck. This will often break away any debris that may be down inside the cut line. You may have to repeat this several times in the same area before the cut will continue.
- If small pieces start to come up but you want to continue cutting the design, you can pause the machine and remove those pieces. This happens as certain cuts go all the way through before others.
- The more intricate your design, the longer the machine will take to cut.
- Some passes will be really slow while others will be fast. The passes will also be in various directions. This is all by design so don’t worry! Allow the Maker to do its job.
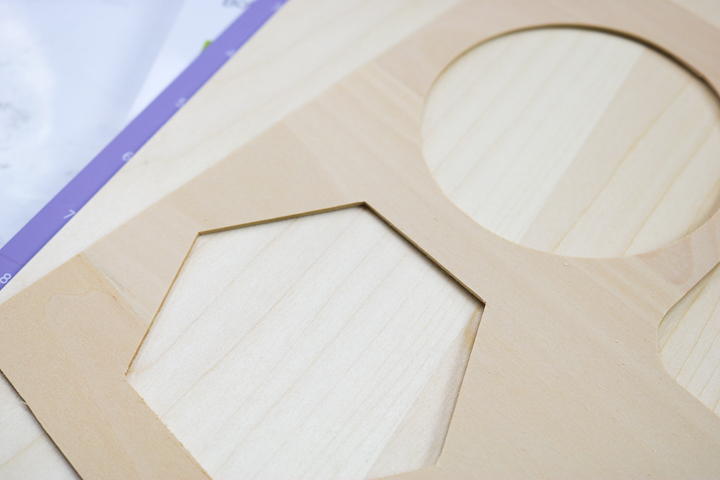
Want to see those steps again?
Just scroll through the web story below to get the steps for cutting wood with a Cricut in one easy place!
Wood Projects to Make with Your Cricut Maker
So, do you feel prepared and ready to jump into some projects? Here are a few to get you started:
- DIY Wood Coasters with the Cricut Maker
- Make Your Own Puzzle with the Cricut Maker
- Wood Ornament
- DIY Scrabble Words
- Patriotic Planter
- Floral Monogram Letters
- Holiday Gift Tags
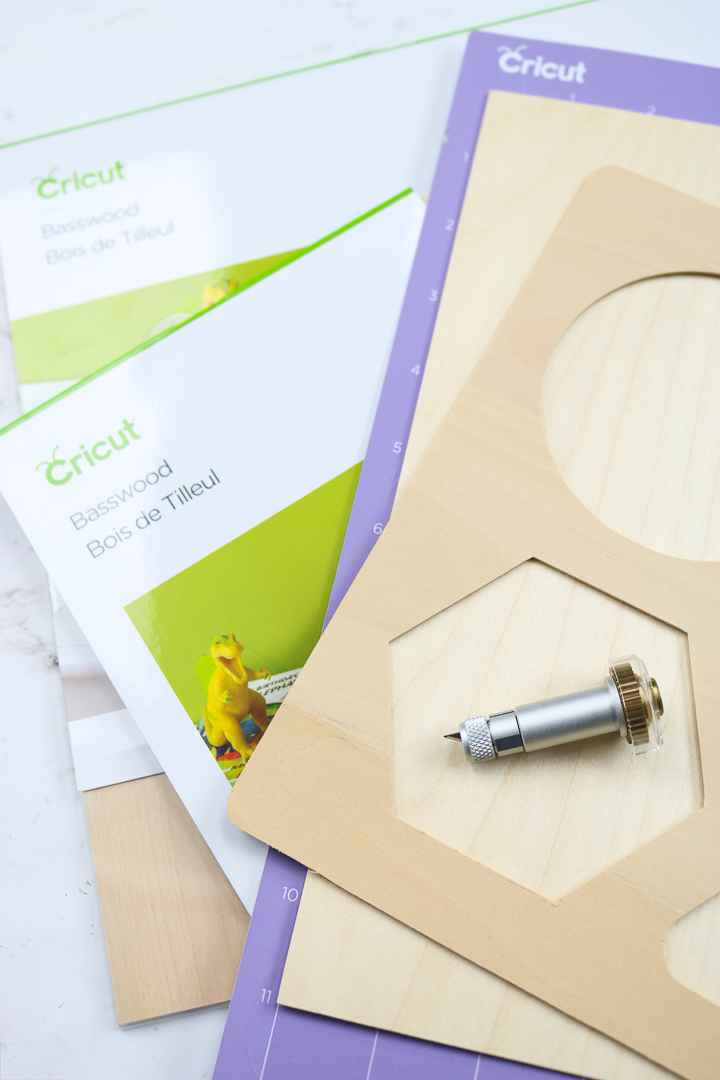
So, now the only question remaining is what will you make when cutting wood with your Cricut?
If you have any questions about how to cut wood with the Cricut Maker, be sure to ask those in the comment section below and I will answer! Happy crafting y’all and be sure to give Cricut wood cutting a try!
New to Cricut?

Sign up for our email list to download the Beginner's Guide to Cricut Design Space for FREE today!
Sign up to get the guide emailed to you!



My daughter collects Schleich and Breyer horses. She loves to collect barns for them. I have found patterns for making the barns out of wood. Could I use the Cricut Maker to cut out the pieces of wood for the barn?
Do you know how thick of wood they recommend for this?
Hello Angie. Is it possible to cut a name out in a more intricate font with the wood blade and recommended wood?
I wouldn’t recommend cutting intricate designs with the Knife Blade. Because of how many passes it has to make to cut through and the force of the machine intricate cuts can break. Cricut recommends interior cuts be no smaller than 3/4 inch and the width of cuts be no smaller than the diameter of a pencil.
Also you say the wood cannot be more than 10″ wide but can it be longer?
You can use a longer material on the 12″ x 24″ mat.
What is the difference between the knife blade vs the deep cut blade? I plan on using basswood and I want to cut the phrase “Happy Birthday”. What do you recommend or advise based on your experience?
You would want to use the Knife Blade to cut basswood. How successful you are will depend on your design. The knife blade does have requirements for how small of an area it can cut. You can learn more about the Knife Blade here on my site, just search knife blade 🙂
Hi! If I want to cut one of the letters at the link below in half so that I end up with two of the same letter, which Cricut and blade do you recommend I use? Thanks for your help!
https://www.michaels.com/product/3-unfinished-chunky-wood-letter-by-make-market-M10492135
That letter is definitely too thick to be cut with a Cricut machine.
I have been trying to upload and edit my own patterns. I am finally able to upload my image and save as a SVG file in Design Space. Everything I have done afterwards does not work. I have watched many videos, bought and read many books and attempted to find someone that can help me. Thought I had someone at Jennifer Maker, but that feel through. Me Cricut is a Maker. Please help.
I’m not sure what you mean. You’re having problems cutting it out or working with it in Design Space?