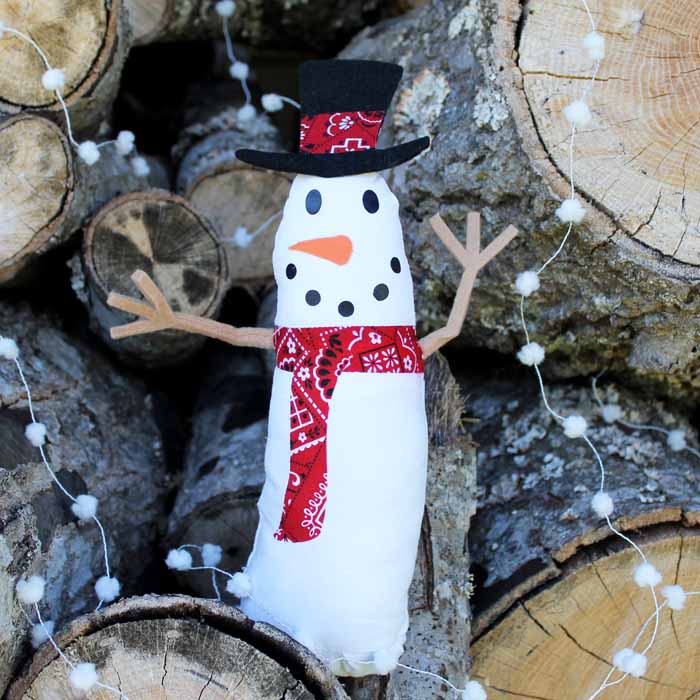
You can make this cute snowman for your Christmas and winter décor in no time at all. What makes this sewing project so simple? The Cricut Maker!
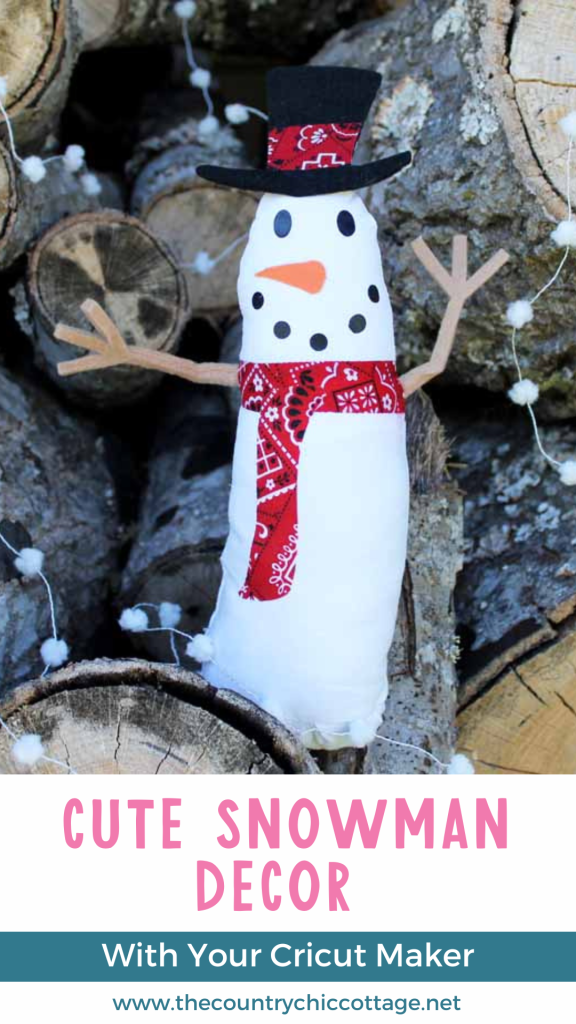
I am joining in with 50 bloggers to bring you projects today that come free when you purchase the Maker. These projects are all as simple as pulling them up in Design Space and clicking “Make It.” Then, you follow the instructions for a perfect project you will proudly display.
How to make a cute Cricut snowman stuffie
Supplies needed
- Cricut Maker (Want to see the difference between the machines? I compared the Cricut Maker and Explore here.) NOTE: My recommendation is to use the Maker for all fabric projects, including this one.
- Cricut® Iron-on in Pumpkin (I actually used some orange felt with heat n’ bond.)
- Cricut® Iron-on in Black (or black embroidery thread)
- Rotary blade for Cricut Maker
- Quilting cotton in snowflake white
- Quilting cotton in scarf print
- Felt in tan (This needs to be good quality felt or the stiff variety.)
- Felt in black
- Cricut® Washable fabric marker
- Heat N’ Bond iron-on adhesive (use the lite version)
- Iron or heat press and press cloth
- Sewing machine
- Needle and thread
- Batting
- Weights (I used some marbles.)
- Cricut Sewing Kit (optional but oh so handy!)
When you purchase and set up your Cricut Maker, you gain access to 50 free projects. You can see all of those by searching “free for Cricut Maker,” as shown below.
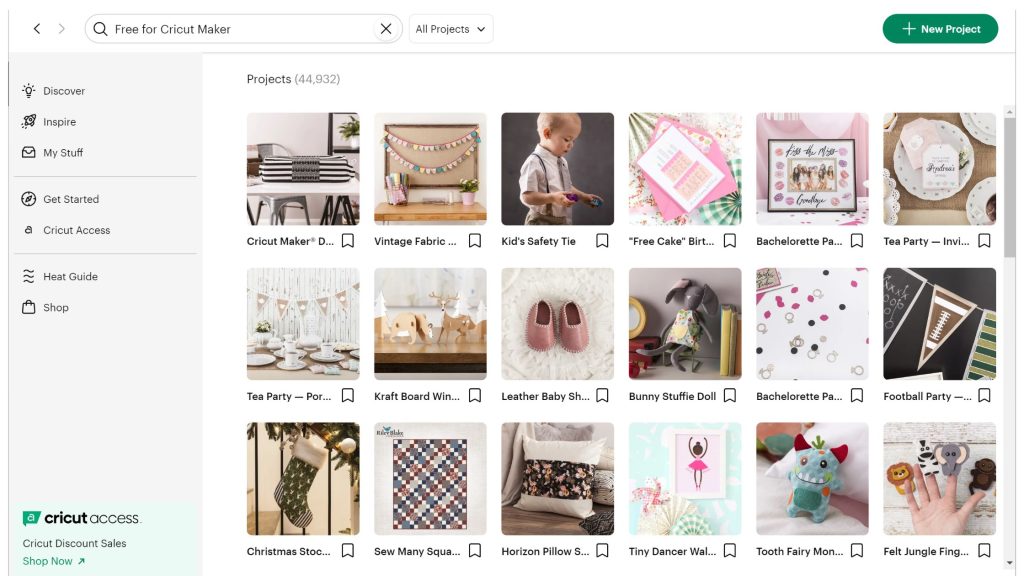
This snowman is a part of that bundle, so the pattern is completely free. Just search “snowman standing stuffie,” and you will find the pattern.
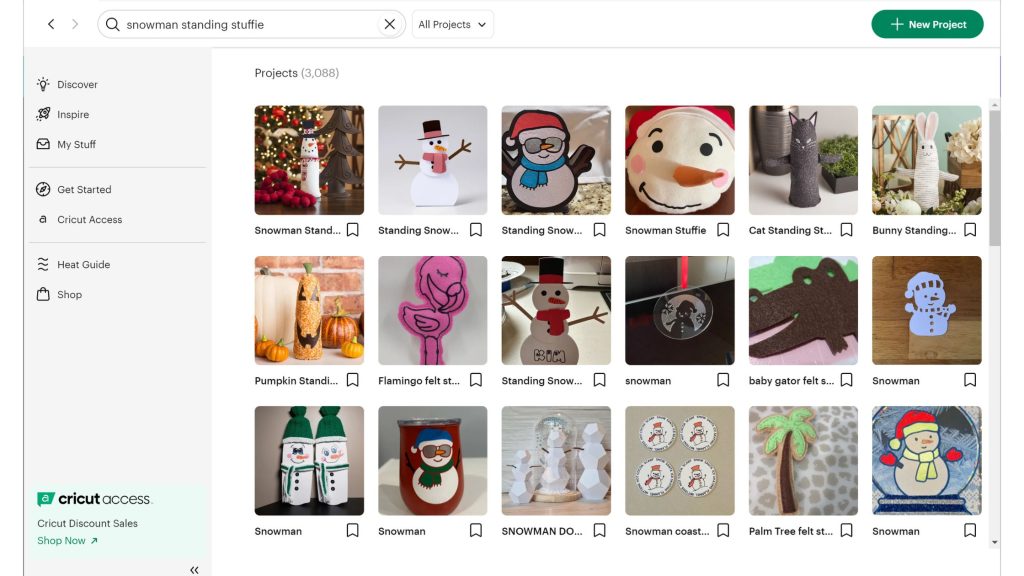
Step 1 – View project supplies and instructions
Click the picture of the snowman and you will be brought to a screen with a list of everything you need to make the project. You will find the materials needed and also instructions.
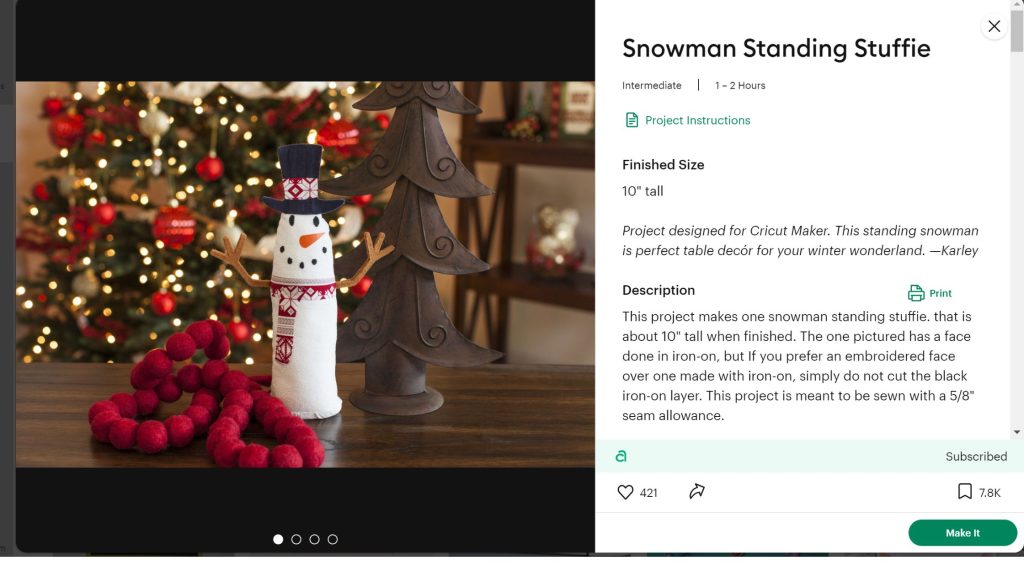
Note: I will give brief instructions below on making this Cricut snowman stuffie; however, you can find detailed instructions with images when you pull up the project in Design Space.
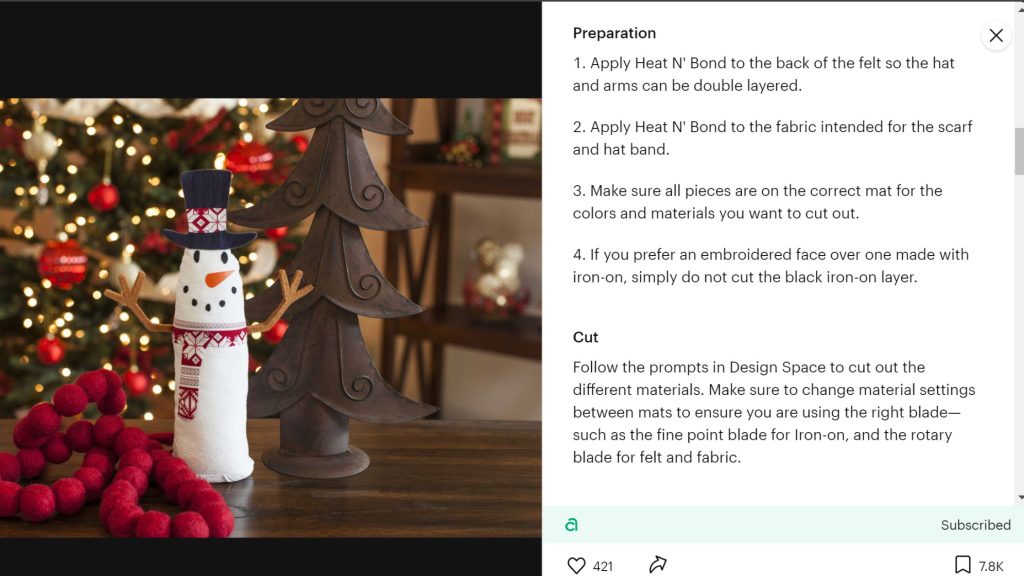
Step 2 – Sort, prep, and cut supplies
Start by clicking “make it” in Design Space and pulling up your mats for cutting. Load each mat, blade, and even the washable pen when prompted to cut all the pieces needed to make this cute snowman.
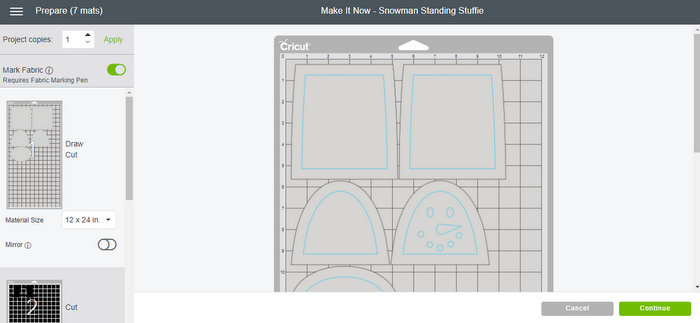
Project Notes
- Design Space will walk you through each mat, leaving you with all of your pieces perfectly cut and ready to make your project.
- Notice that the washable fabric pen makes lines on some of the pieces. It will mark the area so you know where to place your face and your seam lines. I love that I know exactly where to sew! You will have to remove those later; however, it is not hard to do.
- Also, note that I applied heat n’ bond to the back of the long scarf piece of the front, the hat band, the hat pieces, the arms, and the nose. It is not required that you use heat n’ bond for fabric when cutting with the Maker, so the other pieces can be put directly on the Fabric Mat and cut with the Rotary Blade (both of which may come with the Maker, depending on which package you get).
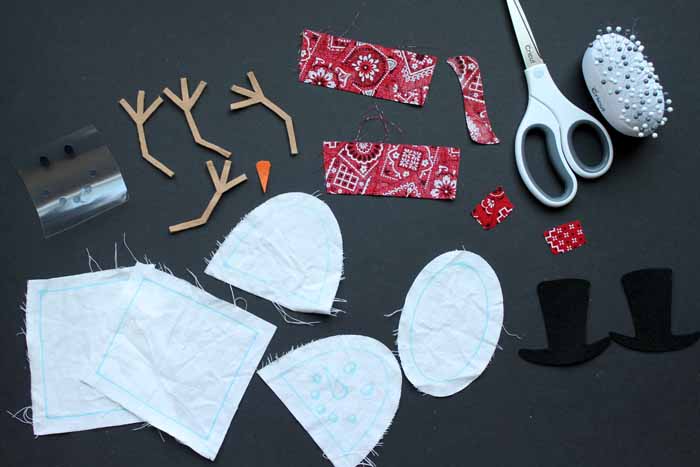
Step 3 – Begin Sewing
Once your pieces are cut, you can begin to sew them together. And yes, that is a pin cushion shaped like a Cricut machine! Adorable, right? I love my Cricut Sewing Kit and it is the perfect accessory when making sewing patterns with your Cricut Machine.
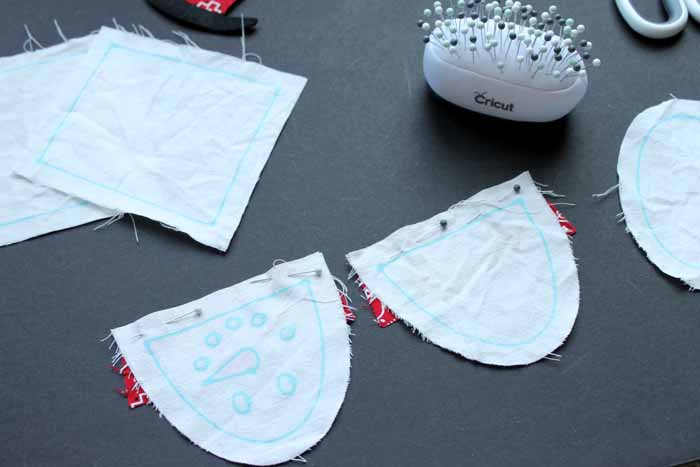
Sew the front and back of the snowman together as per the instructions. Then, add your face and scarf piece to the front of the snowman with an iron or heat press. You can opt to embroider the face, but I love the ease of the iron-on. Add the arms as shown below and pin the right sides of your two pieces together to prepare for sewing. Note that the washable fabric pen bled through my thin white cotton. I had to wash it away after completing my project.
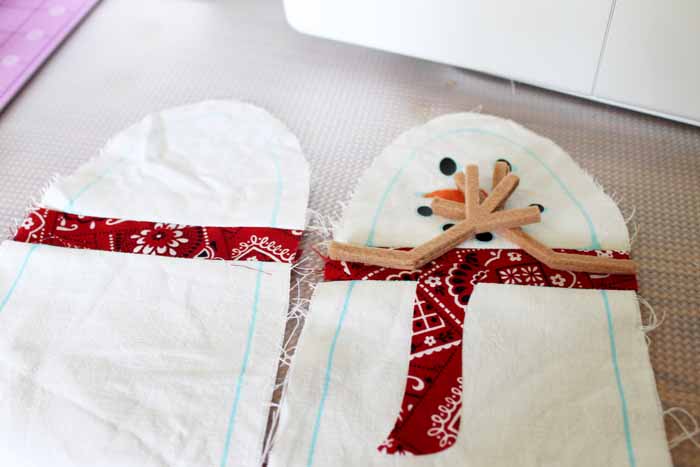
When sewing everything closed, you will need to gather the bottom to fit it into place. Be sure to follow the instructions carefully in Design Space here. I left my opening to turn on the left side of the snowman. Don’t forget to do this or you will not be able to turn him right side out. I then used hot glue to secure my hat to the top. Note that the pattern calls for regular felt for the arms. I found that the cheap felt did not stand up at all. This version uses a higher-quality felt, and it worked okay. I would use a stiff felt if I were to do this project again. Also, note that I removed the washable fabric pen with some water in the image below.
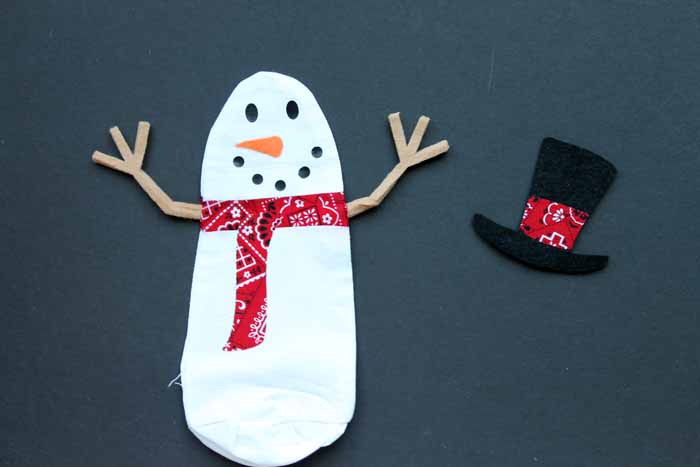
Step 4 – Add Stuffing to your Cricut Snowman
Then stuff your Cricut snowman and hand sew your opening closed to complete your project. I used a few marbles in the bottom of my stuffie to help him stand up.
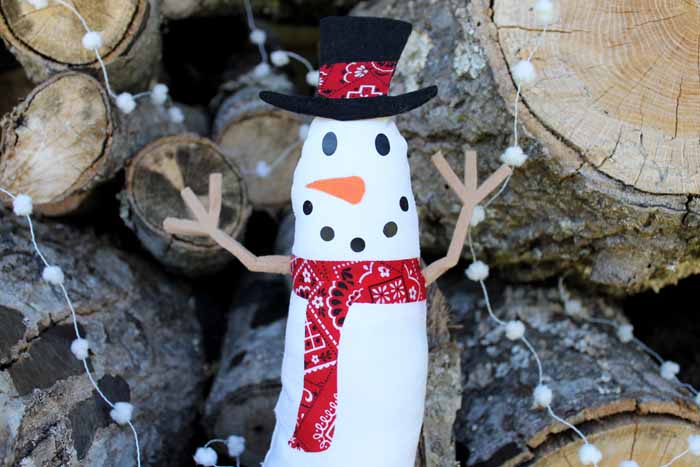
Maybe you don’t have a Cricut Maker, and this adorable snowman stuffie makes you want one. Check out HSN for Cricut supplies!
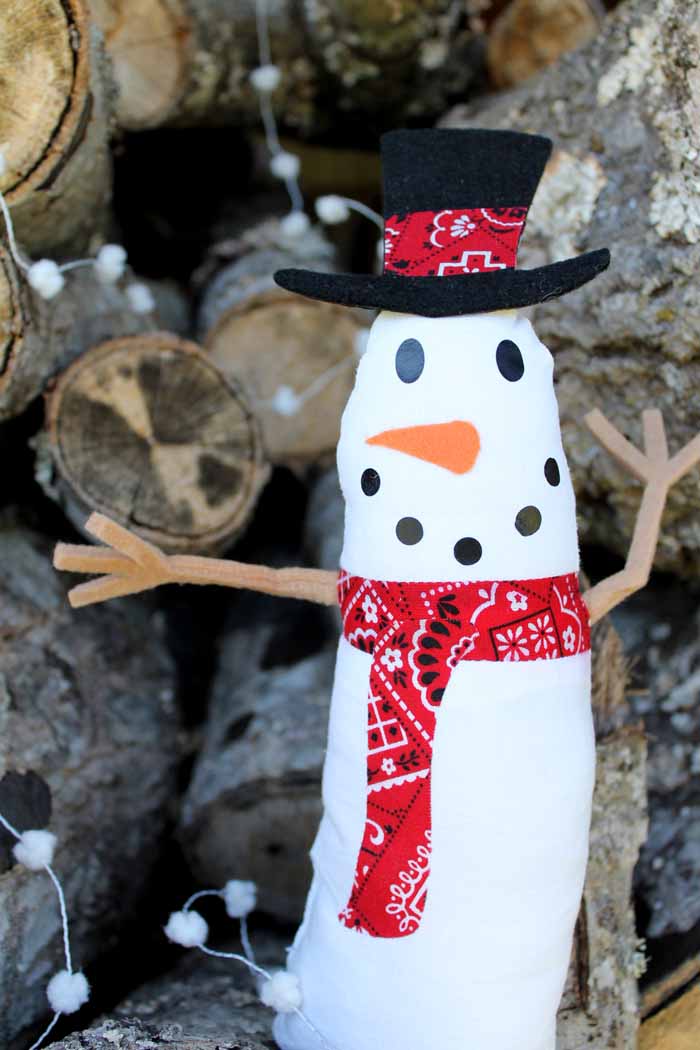
I love my Cricut Maker, and I use it all the time! If you are on the fence about purchasing your own, be sure to check out my ultimate guide to the Cricut Maker here. It is sure to provide all of the information you need.
More free projects in Cricut Design Space
If you love this cute snowman, you will love the other free projects that come with your Maker. Note: to access the free projects, you must be logged into your Cricut Design Space account.
Use your Cricut Maker to make your own cute snowman! Show off your creations on our Facebook page; I’d love to see it!
New to Cricut?

Sign up for our email list to download the Beginner's Guide to Cricut Design Space for FREE today!
Sign up to get the guide emailed to you!


So cute!
I would love for you to share this with my Facebook Group for recipes, crafts, tips, and tricks: https://www.facebook.com/groups/pluckyrecipescraftstips/
Thanks for joining Cooking and Crafting with J & J!
Hi,
I entered my name and email, is that all I need to do to have a chance to win the Cricut maker?
I followed some of the instagram accounts, but when I clicked enter it said it didn’t get my entry.
Thanks!
As long as you did some of the tasks you are entered!
Thanks Angie!
Has the winner been notified yet? I’ve been checking my email. 😀
Looks like I missed out on the giveaway. Bummer! Your snowman is so adorable!
I love all the things you can make with a cricut maker – I really one to get one!