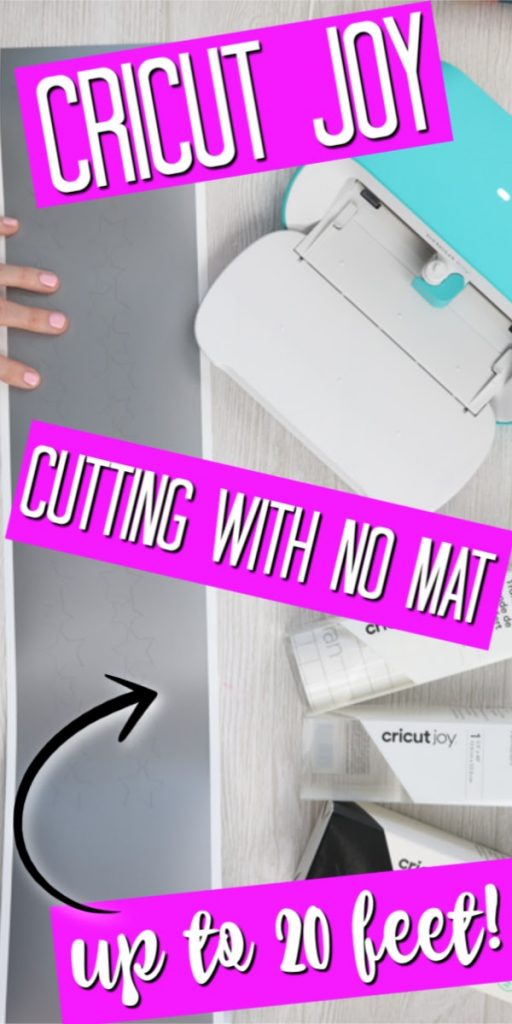
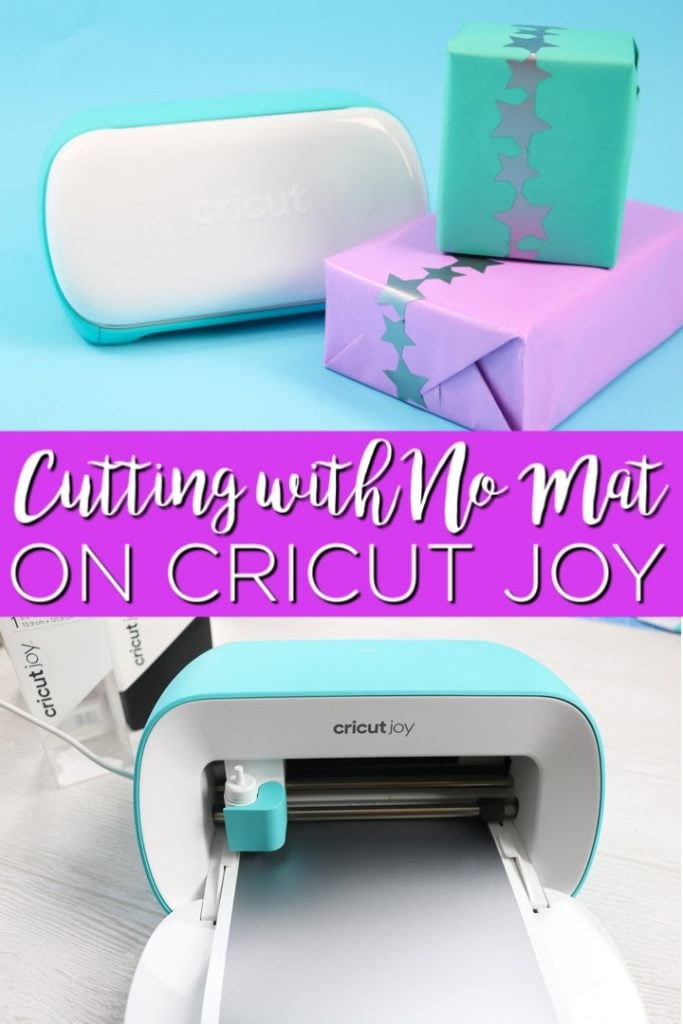
Save time and money with a new Cricut cutting feature called matless cutting. This tutorial walks you through the process as I create a project to show you how it works!
Did you know that cutting with no mat using Cricut Joy is possible? Yes, it is! Not only is it possible, but this small machine can cut up to twenty feet of images without using a mat!
Traditional Cricut cutting involves crafters loading their materials onto a sticky cutting mat and feeding it into the machine. This limits the project sizes that you can make.
On the other hand, matless cutting allows crafters to skip using the mat and cut directly from a roll or sheet of material that has a smart material liner (more about that in a minute).
Although this tutorial demonstrates how to make one project with matless cutting, you can use the process to make a wide variety of projects with your Cricut Joy. Before you dive into this tutorial, check out another project that I made using matless cutting.
Think of the possibilities this provides! Now you can use your Cricut machine for more than cards, shirts, or other small personalized gifts. Use matless Cricut cutting for gift decorating, banner making, home decor signs, and more!
Note: If you are new to using a Cricut machine, check out our posts on What is Cricut Design Space, Cricut Starter Kit: 10 Cricut Tools You Need, and Which Cricut Machine is Right For You.
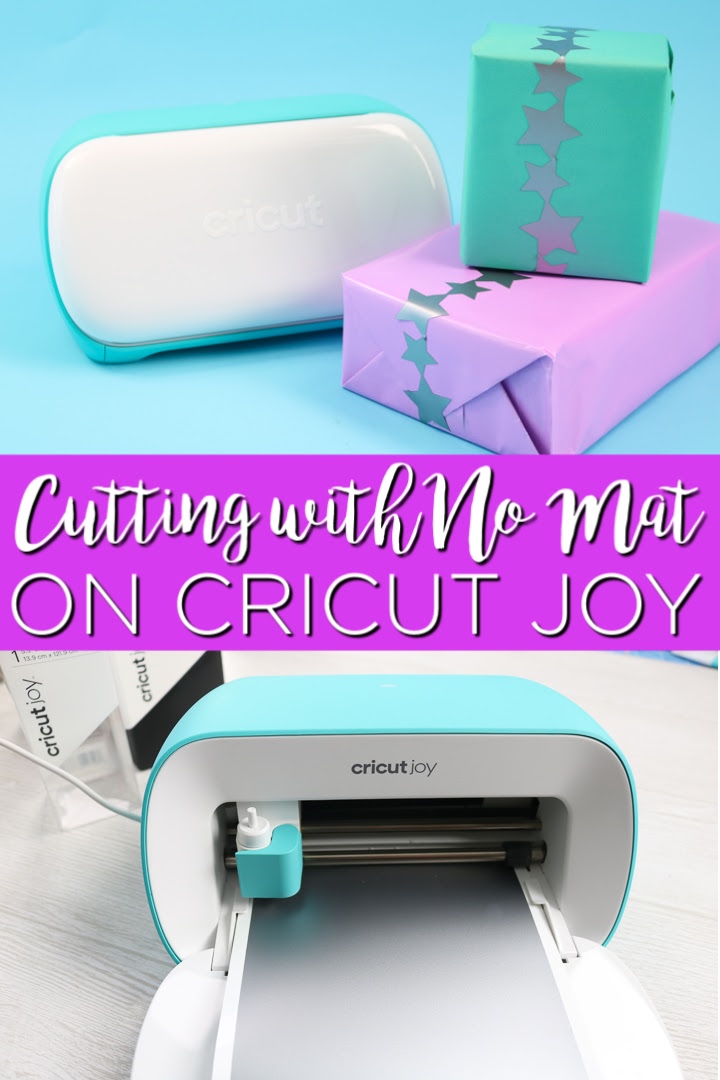
Note: I originally published this post in 2020 but am updating it with new information because there have been some exciting updates on Cricut cutting machines!
Benefits Of Matless Cutting With Cricut
If you’re a long-time Cricut user, you may wonder if cutting without a mat provides any advantages over traditional cutting. It does! Matless Cricut cutting offers several benefits, including:
- More variety in cutting projects for crafters
- Reducing the need to continually reload a mat
- Allowing for larger cuts and projects
- Eliminating the need for users to purchase and maintain multiple cutting mats
Types Of Vinyl You Can Use For Cricut Cutting Without A Mat
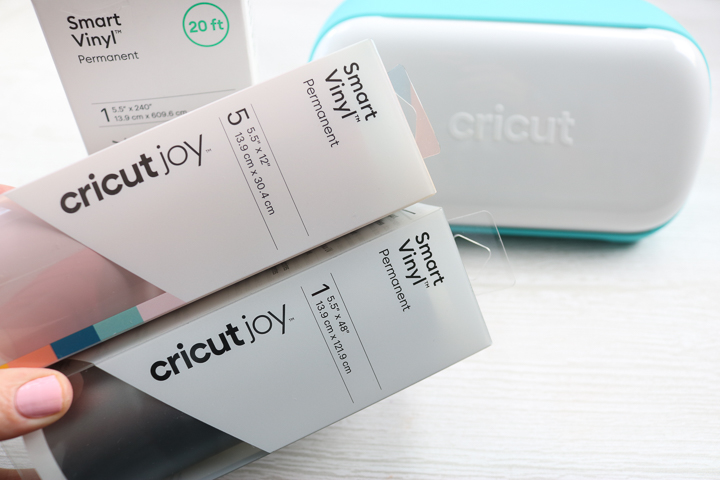
You will need to use a special type of vinyl, which is specially engineered for matless cutting on your small Cricut machine. It actually has a thicker paper backing to allow it to be used with matless cutting.
If you’ve never heard of it, this type of vinyl is called “smart vinyl.” Cricut smart materials are specially designed materials with a liner that allows the Cricut machine to grip and cut the material without the need for a mat. They come in a variety of materials, such as vinyl, iron-on, and adhesive paper.
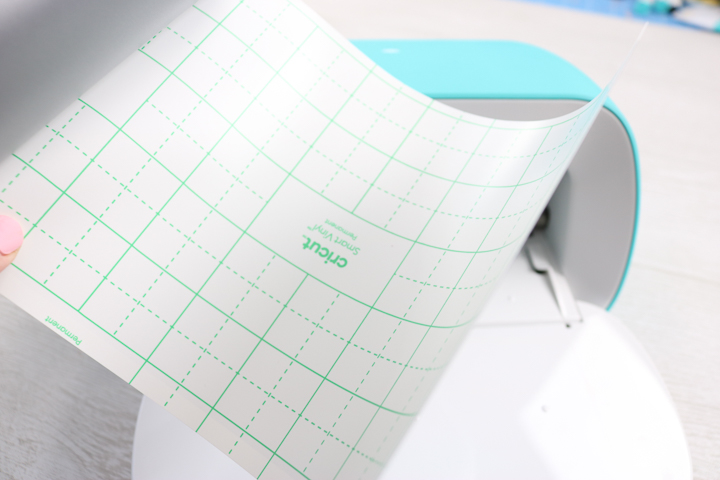
This vinyl also is inset from the side slightly so that the Cricut Joy can actually self-correct the alignment as it moves through the machine.
This means that even if you get your vinyl slightly crooked when putting it into your Cricut Joy, the machine will actually straighten the Smart Vinyl back out and cut straight. Woohoo!
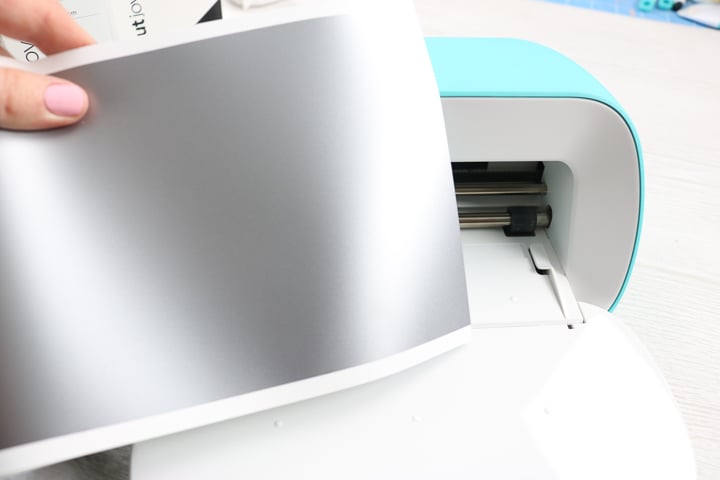
Also, it is specially sized to be a perfect fit for Joy – pick up the Smart Vinyl and see for yourself. Want more options? There is also a smart iron-on as well as a smart label material. All of these smart materials can be cut with no mat required!
For this project, I used the Cricut brand smart vinyl, but you can check out other brands that work for Cricut Joy matless cutting.
Note: If you have a Cricut Maker 3 and are wondering about matless cutting, check out our blog post titled What Brands Work With No Mat in Cricut 3 Machines!
How To Use Your Cricut Without A Mat
I thought that the easiest way to show you how to do mat-free cutting with your Cricut Joy would be to actually make a project. For this tutorial, we’re making a customized gift-wrapped package with the Cricut Joy and some Smart Vinyl.
Supplies Needed
Here’s what you’ll need to gather for this project.
- Cricut Machine – Joy, Maker 3, or Explore 3
- Smart Vinyl
- Smart Vinyl Transfer Tape (if needed for your project)
- Cut file
- Wrapped packages
Video Tutorial
Want to watch my entire process for cutting Smart Vinyl on my Cricut Joy? You can just watch the video below.
Cricut Matless Cutting Instructions
If you’d rather follow along with written instructions, I’ve got you covered!
Step 1
Start by choosing a cut file in Cricut Design Space or designing your own project.
Step 2
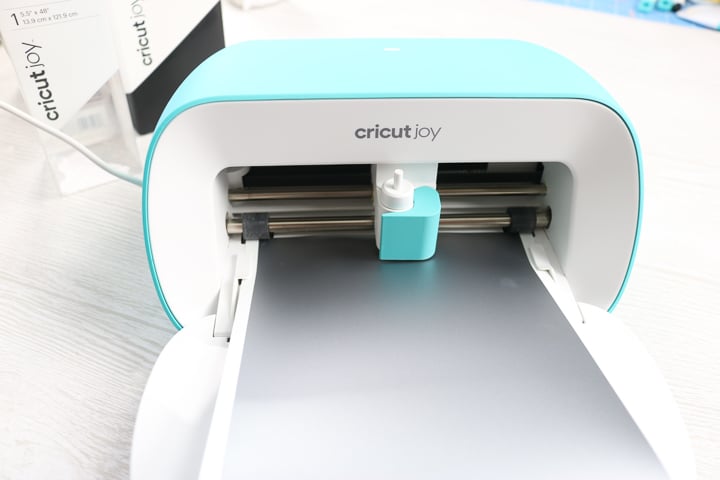
Load the Smart Vinyl material into your Cricut Joy by pulling up the design in Cricut Design Space and clicking “make it.”
You will need to pick “matless” from the options that come up for Cricut Joy. Then pick your machine and material type.
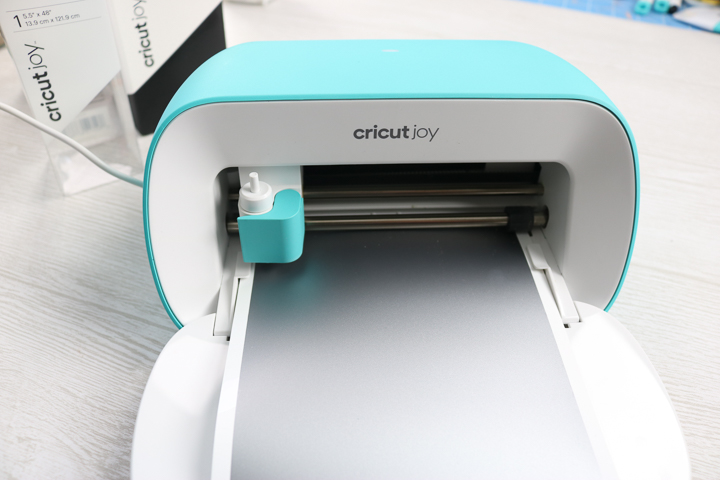
Finally, when the machine is ready, you just need to feed in the Smart Vinyl material into your Cricut Joy. The machine will sense when it is close and pull it in.
Step 3
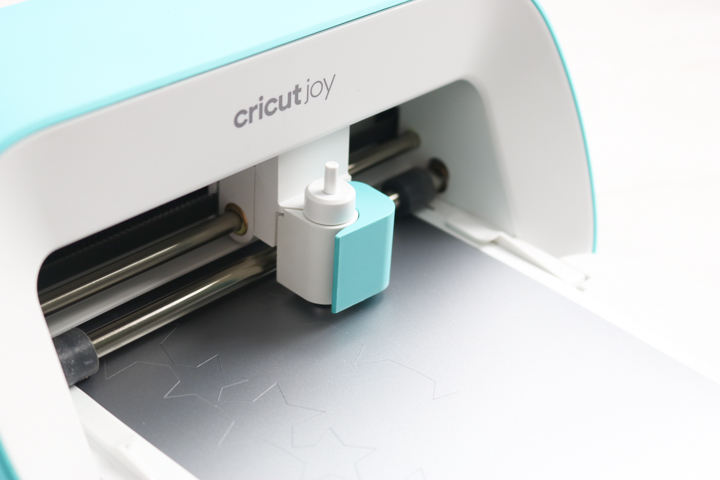
The Cricut machine will measure the Smart Vinyl material to make sure you have enough to complete your project.
Once it’s measured, you will need to press “go” in Cricut Design Space to start cutting. The Cricut Joy will then work all on its own to cut your design!
Isn’t it great that you can cut long designs without unloading and loading multiple mats?
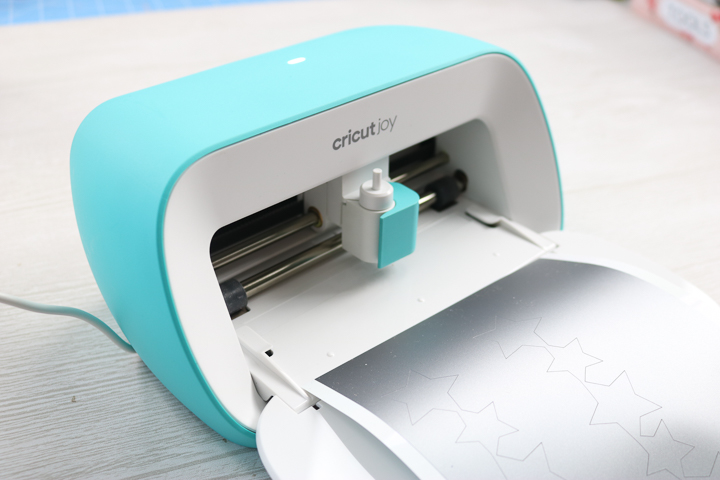
Step 4
Once the Joy is done, press “unload” in Design Space to remove the material from the machine.
Step 5
Weed away all the excess pieces, if you have any.
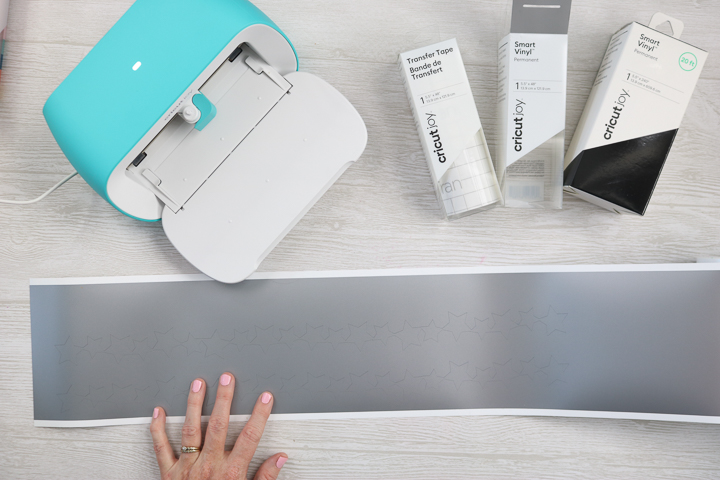
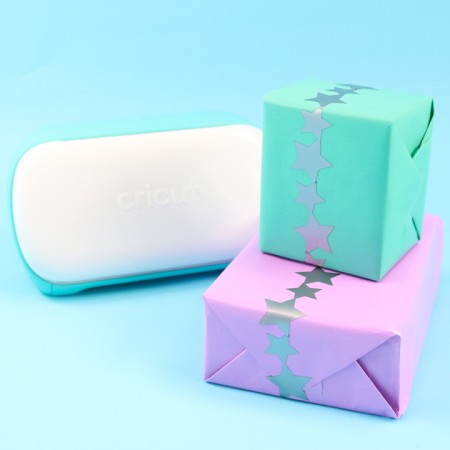
You want to be left with strips of stars to decorate your packages.
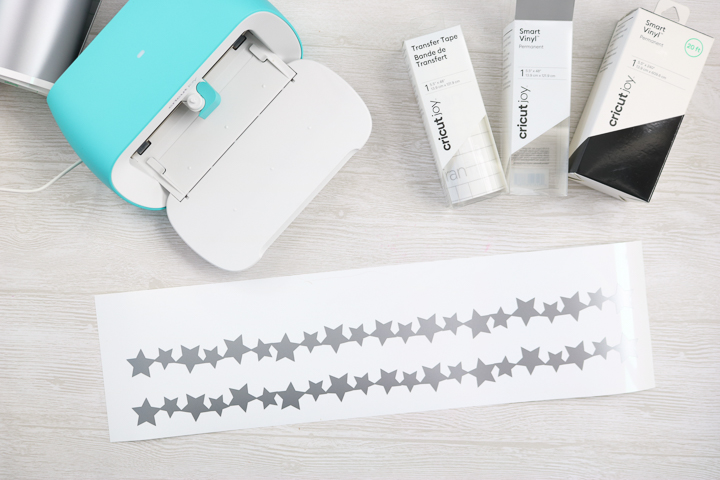
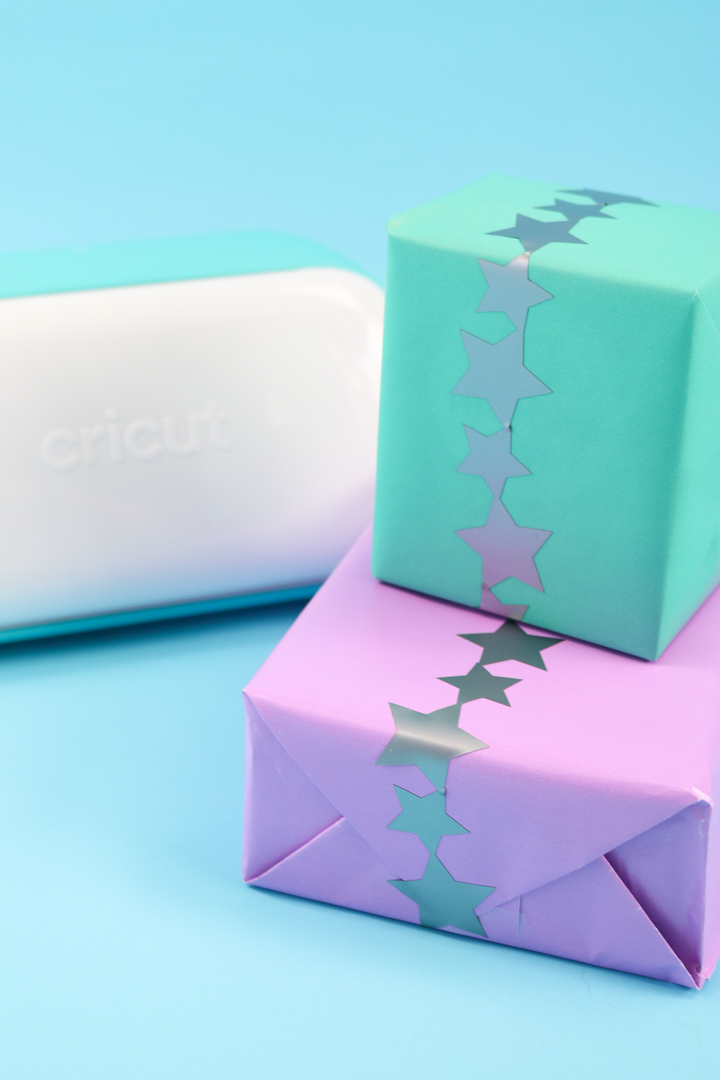
To add a special touch to any wrapped package, just peel away the strip of stars from the backing paper and wrap it around the wrapping paper!
Note: You could do this same process with any shape.
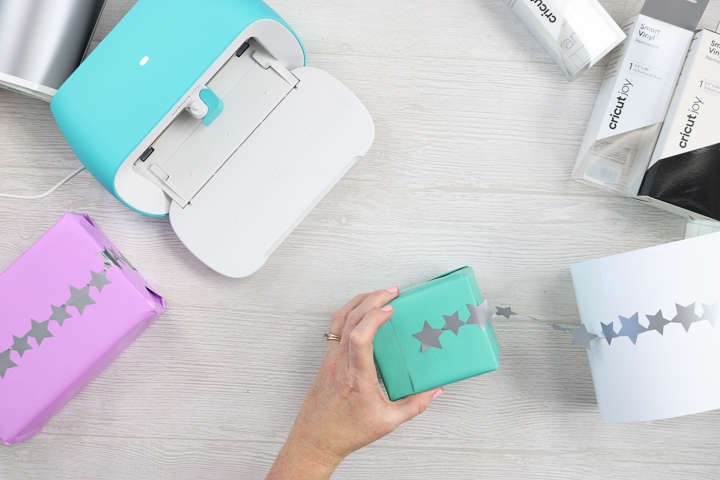
Add a special touch to a birthday package or any other occasion. Decorating a package can be so easy and completed in minutes, thanks to mat-free Cricut cutting with the Cricut Joy!
FAQs
Do you have questions about matless Cricut cutting? You’re not alone! Here are a few questions I’ve seen several readers ask.
Can you use Smart Materials with the Cricut Explore or Cricut Maker?
Earlier models of the Explore and Maker weren’t compatible with matless Cricut cutting. However, both the Explore 3 and the Maker 3 have new, updated features that allow you to do mat-free cutting!
Why is this ability only available on the Cricut Joy?
When I originally published this post, that was the case, but it’s not now. The Joy has been engineered with several additional features, including sensors that make matless cutting possible.
These innovations were not available in the original Explore and Maker models, but they ARE available in the Explore 3 and Maker 3 models.
Can you cut regular vinyl without a mat?
I have not been successful yet. The addition of the thicker backing makes the Smart Vinyl a great choice here. Plus, you would need to cut your regular vinyl to the right width and get it perfectly straight.
Can I use regular vinyl with the Cricut Joy?
Yes! You will just need a Cricut Joy mat to do so, like the other machines.
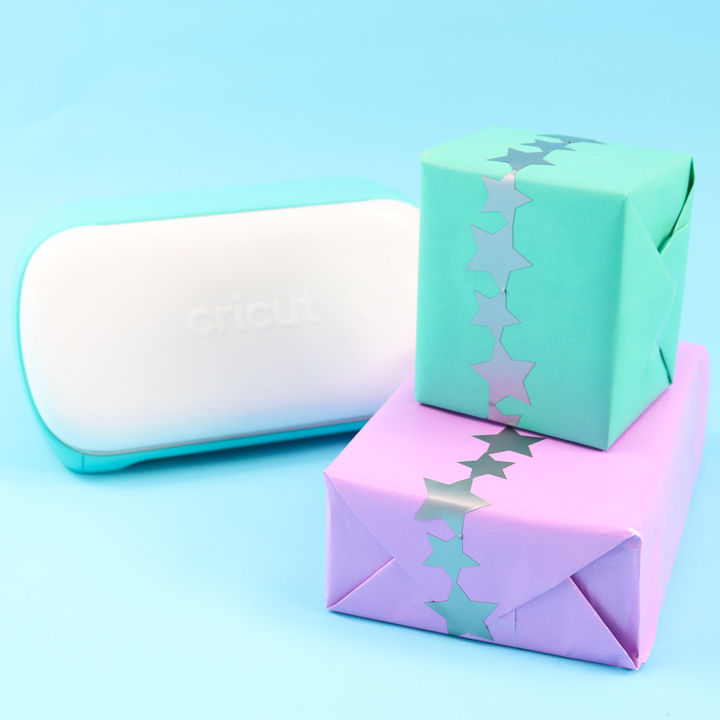
That’s it! Isn’t it easy? Trust me. Once you start cutting matless with Cricut, you will never want to go back.
Now that you know cutting with no mat using Cricut Joy is possible, your crafting potential just expanded!
More Cricut Cutting Crafting Inspiration
Do you love this matless cutting project and want more ideas? Check out the links below!


Supplies
- Cricut machine Joy, Maker 3, or Explore 3
- Smart Vinyl
- Smart Vinyl Transfer Tape
- Cut file
- Wrapped packages
Instructions
- Choose which cut file you want to use and load it into Cricut Design Space.
- Once you've chosen your design, click "make it" in Cricut Design Space to load the Smart Vinyl material into your Cricut machine.Pick the “matless” option, then select your machine and material type.Finally, feed the Smart Vinyl material into your Cricut.
- The Cricut machine will first measure the material to make sure you have enough to complete your project. Then press "go" in Cricut Design Space to start cutting. Sit back and watch!
- Once the machine is done, press “unload” in Design Space to remove the material from the machine.
- Weed away any excess pieces to finish your project.
New to Cricut?

Sign up for our email list to download the Beginner's Guide to Cricut Design Space for FREE today!
Sign up to get the guide emailed to you!

