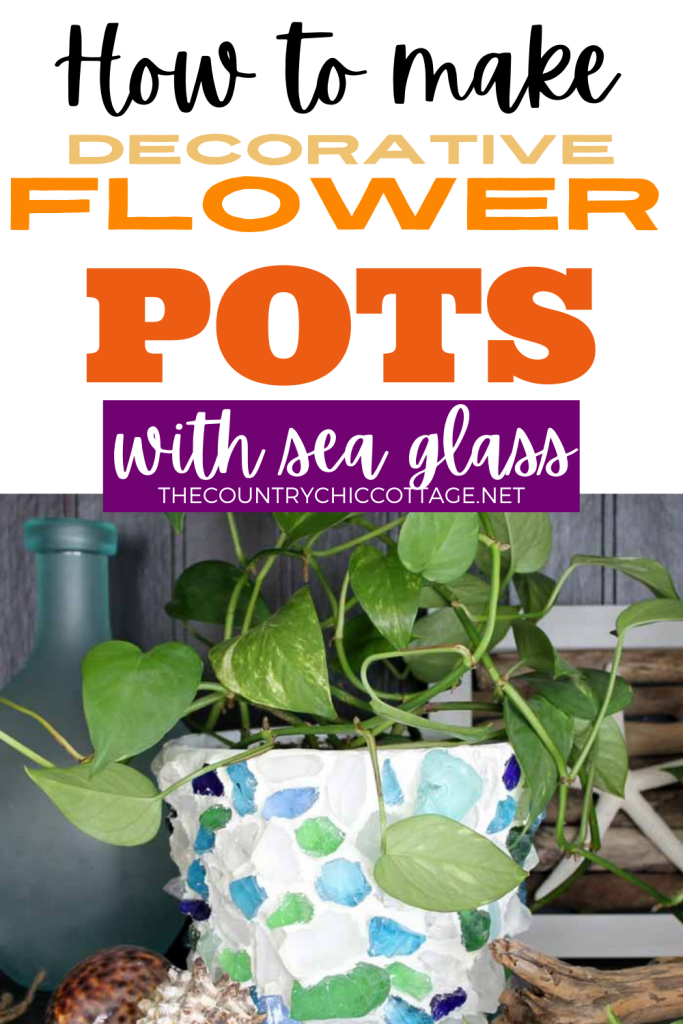
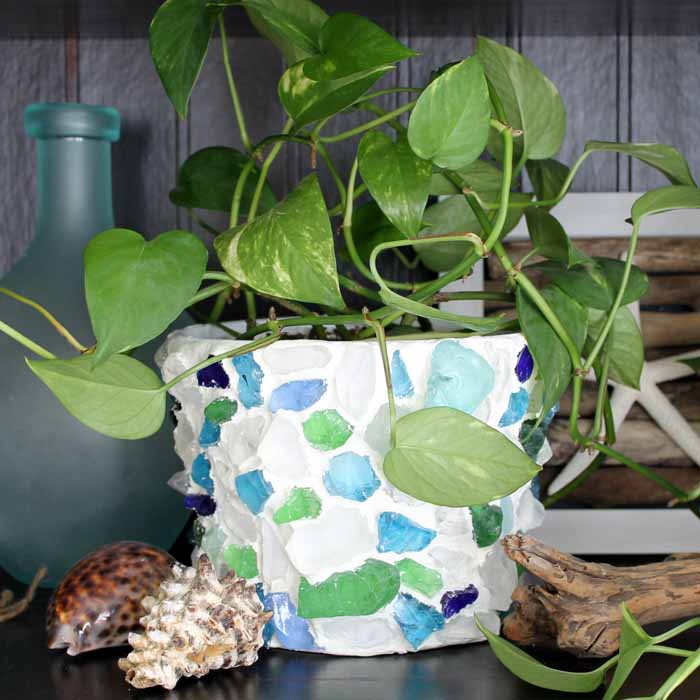
These flower pots decorated with sea glass will look great around your home any time of the year. I am in love with how this project turned out and I think you will love it as well. Whether you collected sea glass this summer at the beach, or you picked some up from the craft store, be sure to use your collection to create this one-of-a-kind planter pot!
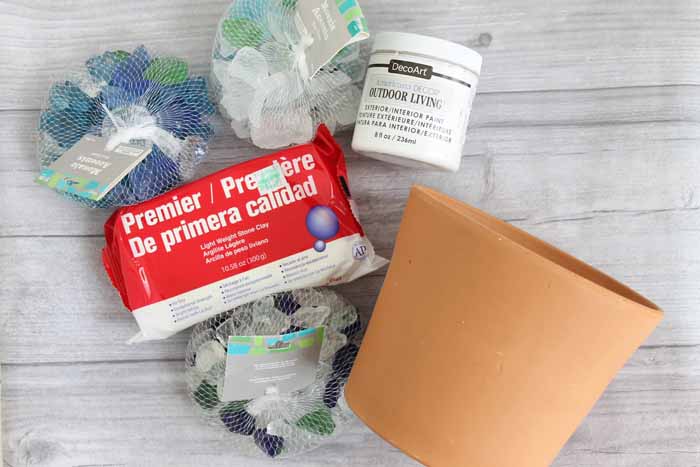
Supplies for your decorative flower pots:
To get started, you’ll need to collect the necessary supplies. There’s plenty of room to make your own creative stamp on this project, but I’ve listed my product recommendations below.
Some links below may be affiliate links.
- Terracotta pot (I used one without a lip and smooth sides as shown below)
- White outdoor paint (my favorite is this Outdoor Living paint)
- Sea glass (from the beach or purchase here)
- Air dry clay in white
- Glue that bonds glass to clay and dries clear (we recommend this version)
- Paint brush
- Clay tools (optional)
How to create your sea glass planter:
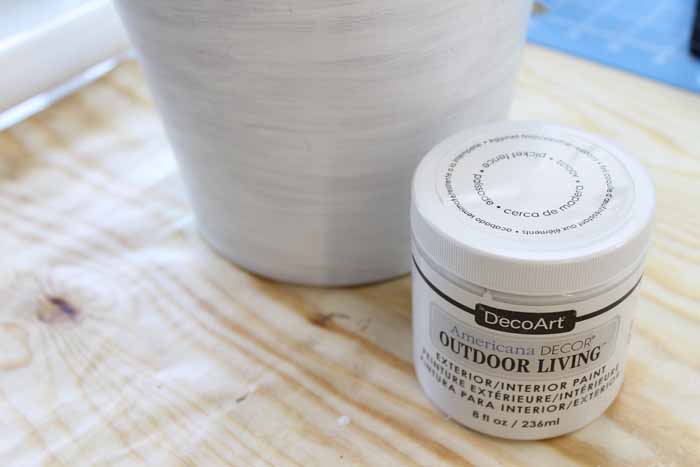
Step 1: Start by painting the pot with a good quality outdoor paint. This will require several coats. Be sure to paint both the inside and outside of the pot to seal it completely. This will prevent moisture from ruining your sea glass finish.
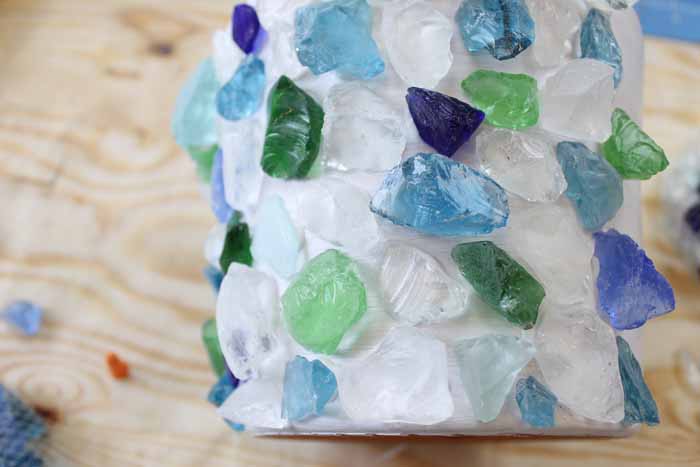
Step 2: Once your paint has dried completely, start gluing the sea glass to the outside of your pot in whatever design you want. I added my pieces with the pot lying on the craft table. I would then turn it once the glue had dried.
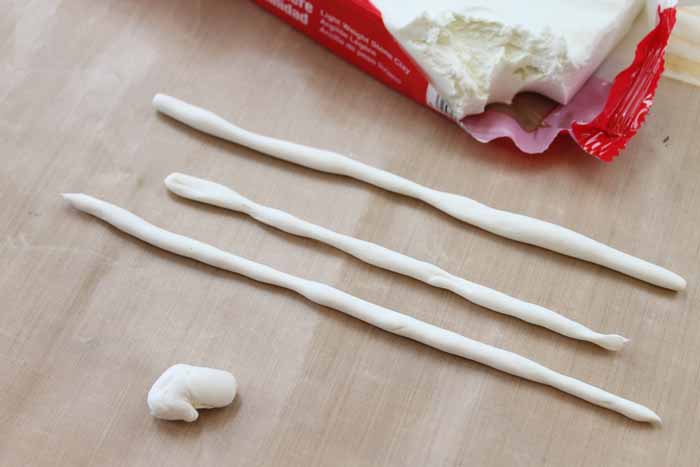
Step 3: Once your pot has sea glass all over the outside and the glue has dried, you can add your air-dry clay. Start by working it into long snakes as shown below.
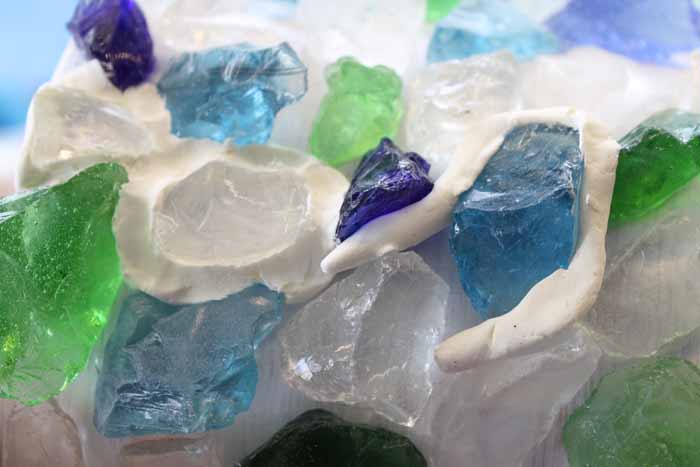
Step 4: Then work those snakes around each piece of sea glass. Make sure it weaves through all the cracks and crevices.
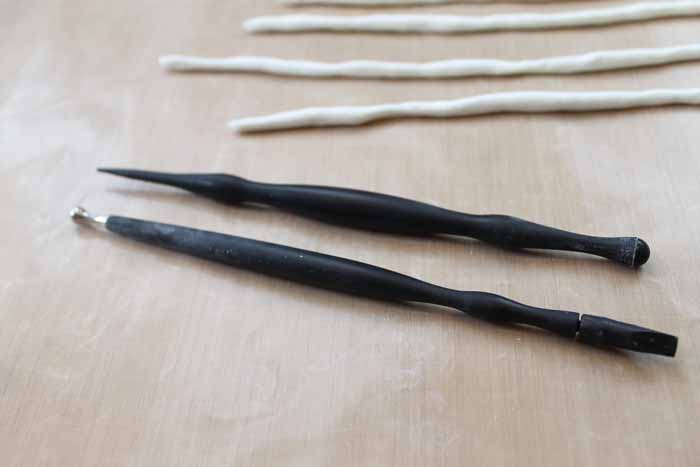
Note: I found the clay tools pictured below useful for this task. They helped me to work the clay into the gaps and also smooth it down. These are optional but very useful.
Step 5: Once every gap has been filled, allow your clay to air dry.
Then your decorative flower pots are ready for planting and display around your home. Don’t you love the way this one looks?
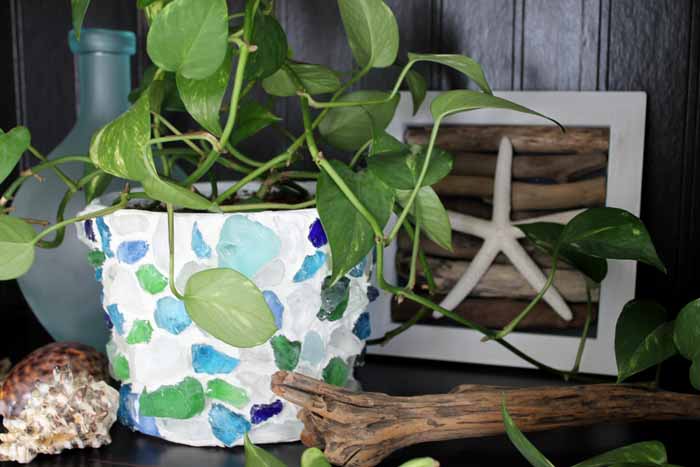
Go ahead and gather up your sea glass to get started on making a planter today! I think you will love the results as much as I do. If you want to keep going with this project, you can always put your own twist on it by making your decorative flower pot tiered, or by using your leftover sea glass to put a coastal spin on a different type of planter.
When you’ve completed your project be sure to share the results with us! Comment below, or tag us on Instagram at countrychiccottage.
Did you enjoy creating your flower pot?
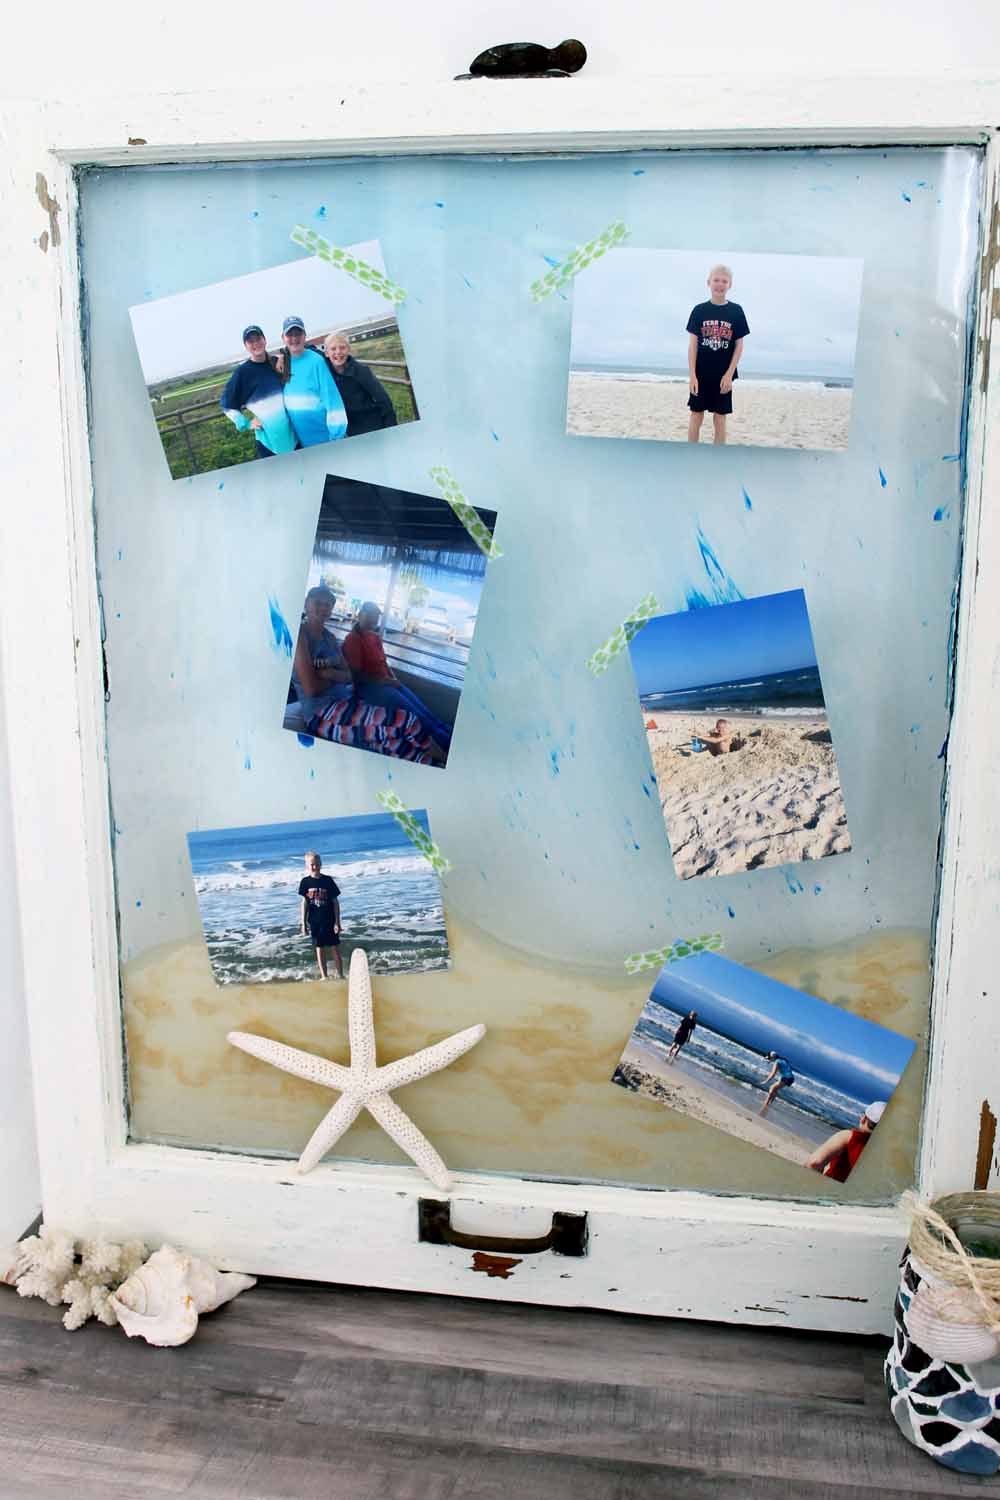
If you love this project, you might also like this beach picture display window. You can head to Resin Obsession to see the instructions here.
And don’t worry, there are plenty more sea glass crafts where this came from!
Try the links below:
- DIY Sea Glass Mason Jar
- Easy DIY Monogram with Sea Glass
- Wind Chimes Made of Sea Glass
- Glass Mosaic Picture Frame
- Plus 50 more sea glass crafts
You might also love this driftwood fish project!
Equipment
- Clay tools (optional)
- Glue (should be able to bond to clay and dry clear)
Supplies
- 1 Terracotta Pot I used one without a lip and smooth sides as shown below
- 1 jar White Outdoor Paint My favorite is Outdoor Living
- Sea Glass
- Air Dry Clay (White)
Instructions
- Start by painting the pot with a good quality outdoor paint. This will require several coats. Be sure to paint both the inside and outside of the pot to seal it completely. This will prevent moisture from ruining your sea glass finish.

- Once your paint has dried completely, start gluing the sea glass to the outside of your pot in whatever design you want. I added my pieces with the pot lying on the craft table. I would then turn it once the glue had dried.

- Once your pot has sea glass all over the outside and the glue has dried, you can add your air dry clay. Start by working it into long snakes.
- Then work those snakes around each piece of sea glass. Make sure it weaves through all the cracks and crevices.

- I found the clay tools pictured here useful for this task. They helped me to work the clay into the gaps and also smooth it down. These are optional but very useful.

- Once every gap has been filled, allow your clay to air dry.Then, your decorative flower pots are ready for planting and display around your home.


This looks really pretty and doable for klutzy hands like mine. Forgot to look for clay pot today in town, whoops, well next time. Usually by the time we finish in Walmart am pooped out for many other stores before we head home. Got a later start today, have to get home to feed chickens.
Wanted to look for paint and air dry clay you used but forgot about it. Forgot my list at home, bummer.
Really love how this planter looks, kinda rustic. Great project and very decorative and useable.
Enjoy rest of week Angie
Hello Angie,
I learned a lot about cricut of you thank you very much. Now I am looking for a clear vinyl (or sticker) to print by leaser printer then cut it for mug and jar. If is it washable?
Thanks in advance
Nina
Cricut makes a clear sticker printer that you can use print then cut with. To make it completely washable, set the ink with a bit of aerosol hair spray and coat with a few coats of outdoor Mod Podge over the top.
Do you need to glue the clay? Can you just glue the sea glass to the flower pot? John Heideman
Johnh@ncplibrary.org
Just glue the sea glass. The clay will stay in place.