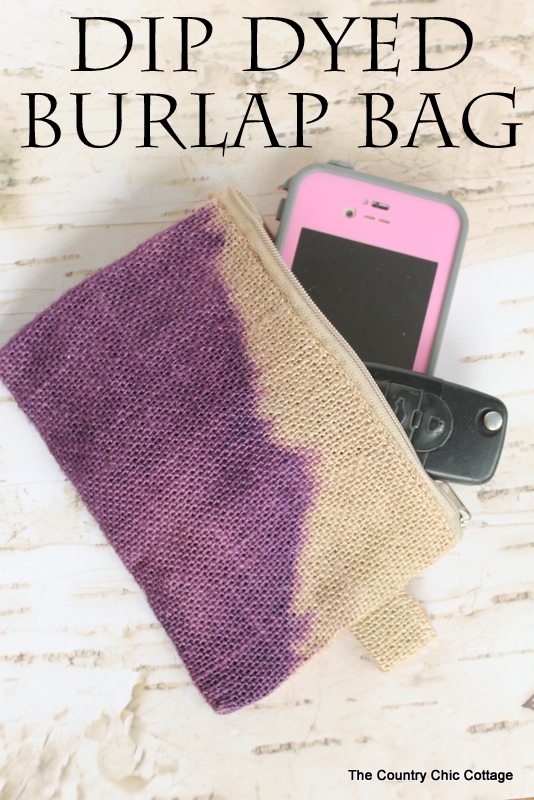
It is time once again for a fun camp crafts tutorial. This time I am sharing my dip dyed burlap bag. This is a fun project where you can see the difference between the area that has been in the dye and the area that has been out of it. Sort of a science experiment for kids (or adults!). You can see more quick and easy camp crafts by checking out the round ups from day 1, day 2, day 3, day 4, and day 5. Also be sure to link any quick camp crafts that you have up to our Craft Lightning linky party. For now get ready to dip dye!
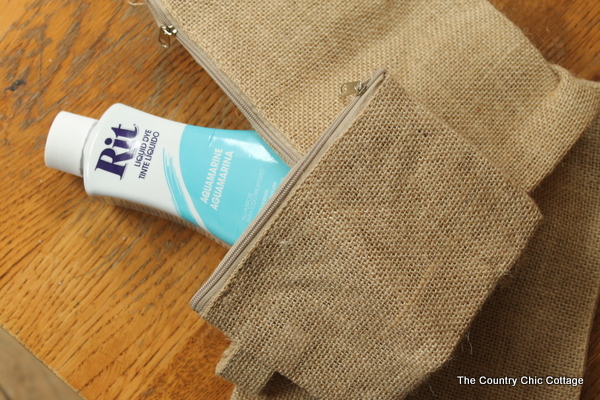
Supplies needed for the dip dyed burlap bag:
I am a member of the RIT dye design team however all projects and opinions below are my own.
- Burlap zipper bags
- RIT Dye in various colors
- Salt (used with cotton fabrics)
- Rubber gloves
- Old clothes, rags, etc
- Glass bowl
- Dowel rods
- Clothespins
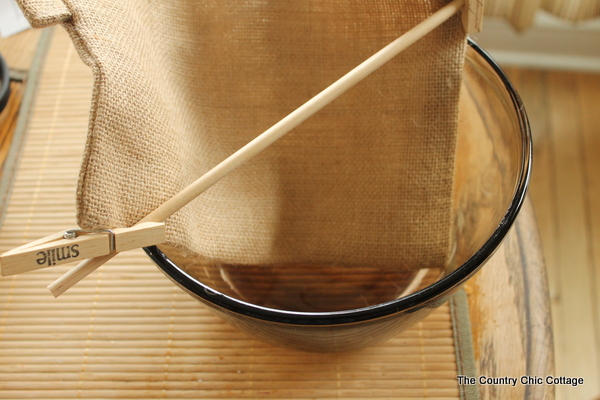
Set up your bag as shown below. You can determine how much of your bag you would like dyed by moving the bag up or down and clipping with clothespins.
Mix dye according to package directions and add to bowl to desired level. Watch as your creation changes color before your eyes. You can have crafty campers move their project occasionally to keep everything agitated. Or try letting them make felt flower embellishments for their bags while the dying is in process. Once the dying is complete, rinse the bag under cold water and hang to dry. You can add any embellishments the next day after your project is completely dry.
This is a fun project that only takes a few minutes of hands on time. The rest can be spent watching the bag change color or doing other craft projects. You are left with a one of a kind bag to take home! If doing this project with children, be sure they wear old clothes and protective gloves when handling dye. Y’all enjoy!

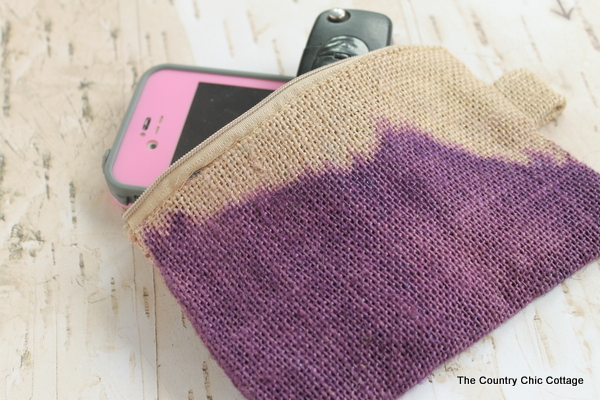
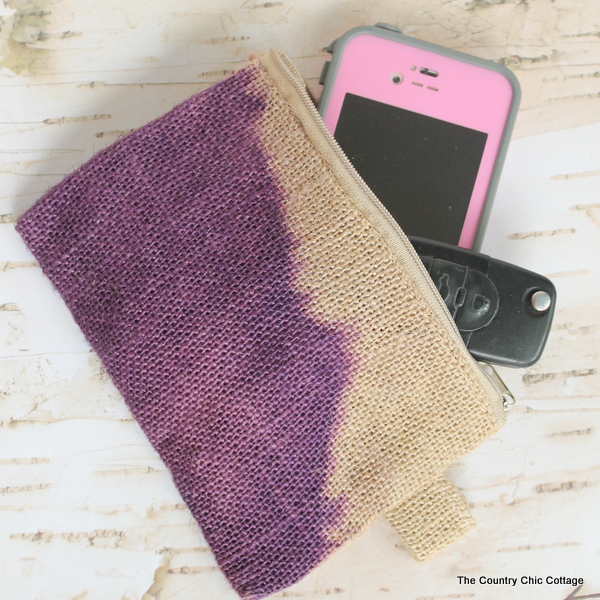


I love this… but you already know that I love playing with dye!
If you had more than 15 minutes, it might be fun to do a couple different colors! 😀