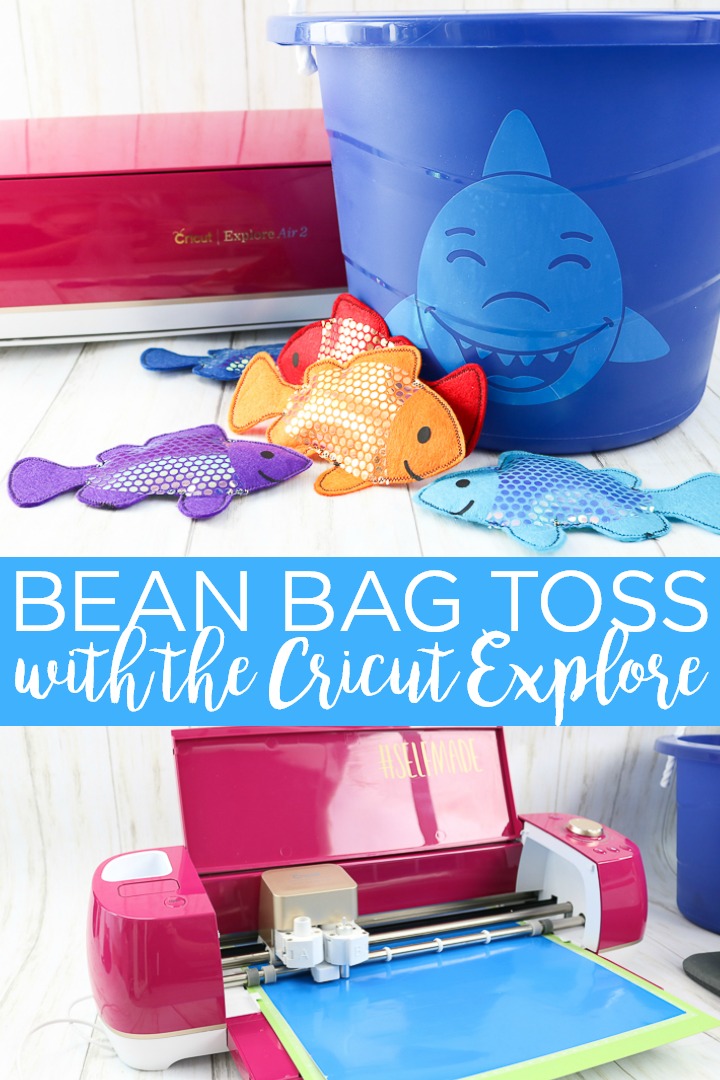
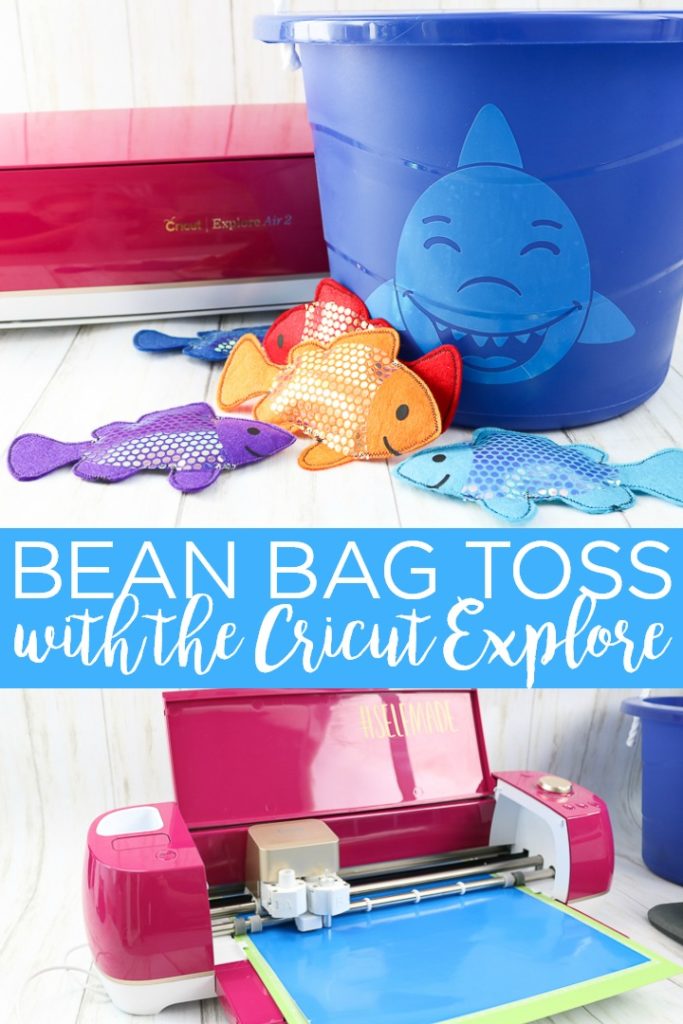
A DIY bean bag toss is a great handmade gift idea for toddlers and preschoolers. Plus it is so easy to make with your Cricut Explore Air 2. I am constantly amazed at everything I can make with this machine. Don’t get me wrong. I love my Cricut Maker. But the Explore series is still great and perfect for projects like this one. Read on for instructions on how to make this project as well as a few reasons why I love my Cricut Explore Air 2 machine.
This is a sponsored conversation written by me on behalf of Cricut. The opinions and text are all mine.
5 Reasons I Love My Cricut Explore Air 2
First, let’s talk about why I still love my Cricut Explore Air 2. Yes, I have the Maker but I still pull out my Explore Air 2 all the time. Why? A few reasons!
So many materials! This project, for example, uses three different materials but that is just the tip of the iceberg. Yes, you can cut more with the Cricut Maker but the Explore still has more options than you can count.
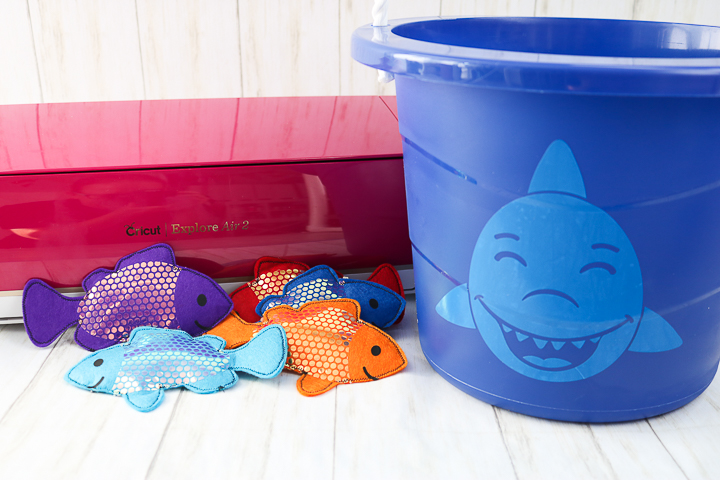
The dial makes choosing material a bit quicker. I do use the custom setting a lot but being able to switch the dial to vinyl to cut a quick project seems so much faster.
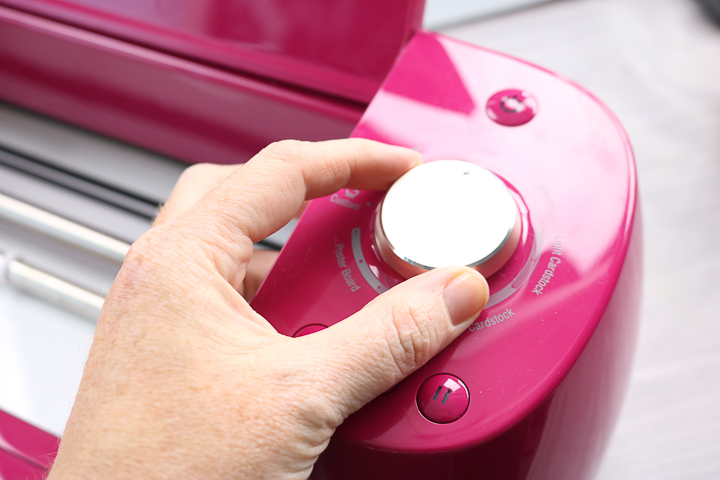
The color options seem to be endless. I can’t even count how many colors of this machine I have seen. You can pick one to match your craft room and maybe one to match your living room decor as well. After all, everyone needs two. Am I right?
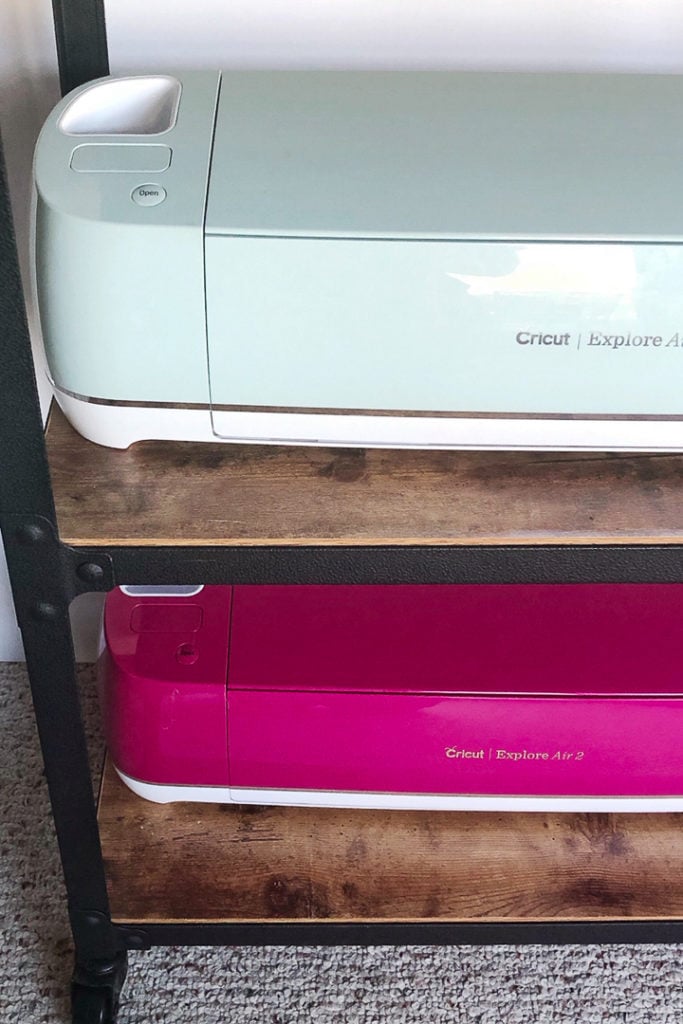
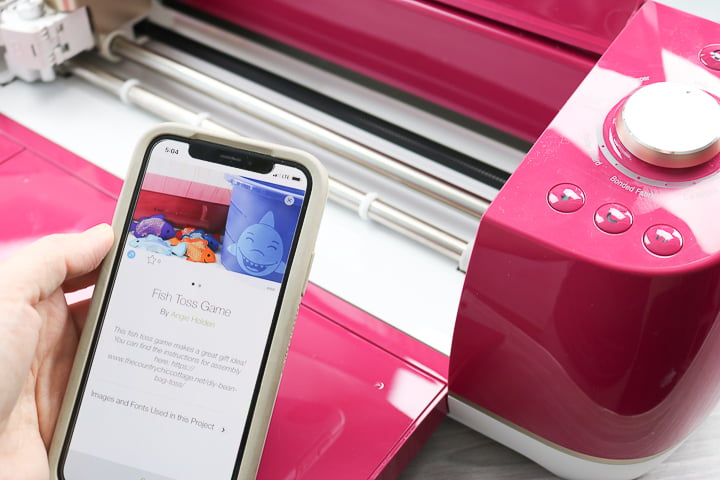
Wireless technology that allows me to design and cut from mobile devices. We are all busy but have our phones with us at all times. I can pull up any of my designs in seconds on my phone and send it right to my machine.
Fast Mode for up to 2X faster cutting and writing. Did I mention we are all busy? Faster cutting is the BEST and makes your projects even quicker to create which puts a smile on my face.
So, now that you see a little behind the scenes of my machine, are you ready to make a DIY bean bag toss game? I thought so!
How to Make a Handmade Bean Bag Toss Game:
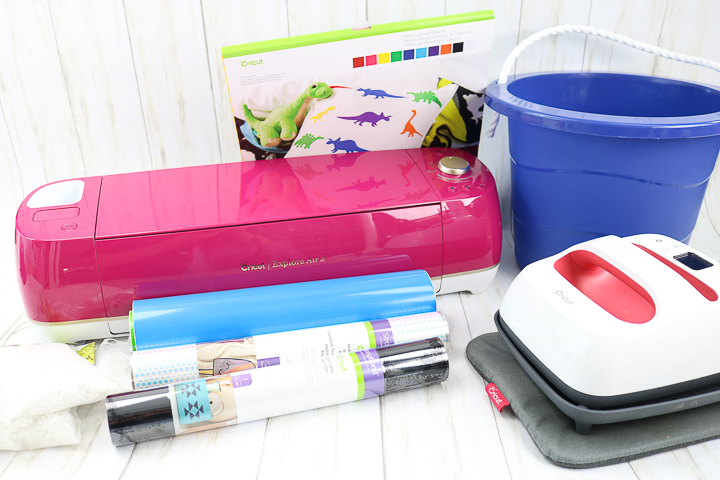
Supplies needed to make a DIY bean bag toss:
- Cricut Explore Air 2
- Cricut EasyPress
- Bucket
- Cricut Felt
- Cricut Vinyl (in light blue)
- EasyPress Mat
- Cricut Mosaic Iron-on
- Cricut Everyday Iron-on (in black)
- Transfer paper
- Weeding tools
- Scraper
- Rocks, rice, or beans
- Funnel
- Sewing machine
- Thread
- Needle
- Cricut cut file (info below)
Make Your Own DIY Bean Bag Toss Video
Do you want to just watch me make this DIY bean bag toss? I made a video with all of the instructions below.
Can’t watch the video or missed some of the steps? Just follow along below as we explain each step.
First, you will need to cut the pieces with your Cricut Explore Air 2. You can find the cut file by going to my Cricut Design Space file and scrolling to the “Fish Toss Game” project.
Cutting Felt with the Cricut Explore Air 2
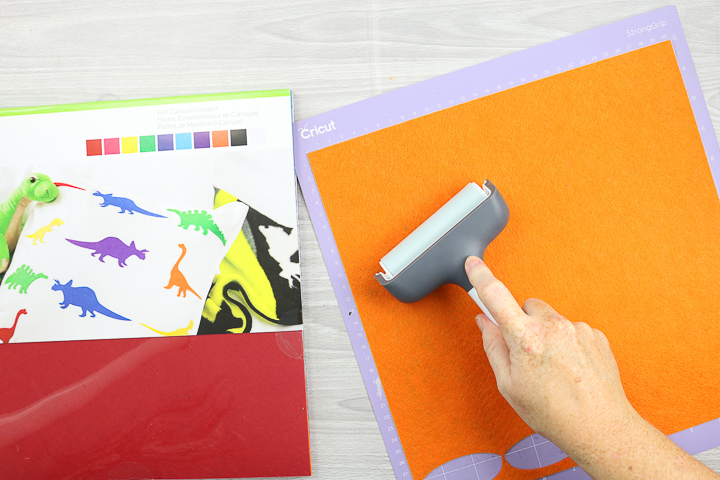
We have talked about cutting felt with a Cricut before. The Explore Air 2 makes it easy. Add your felt to the mat and turn the dial to custom.
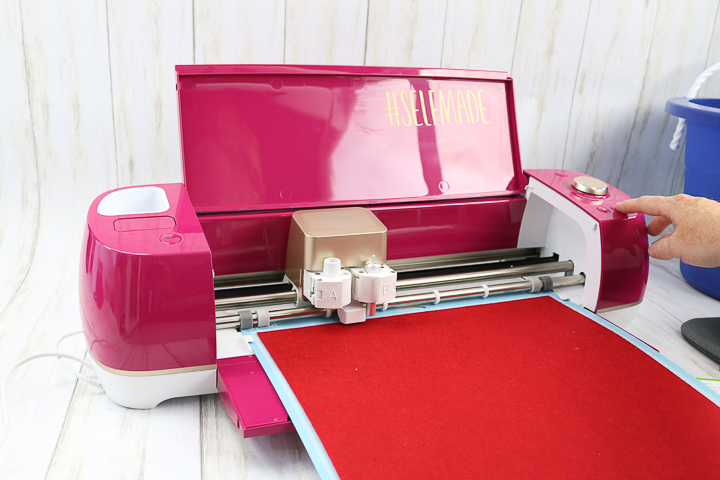
Pick the felt setting and cut your pieces with the fine point blade. I varied the color of my fish but you can choose whatever color of felt you like.
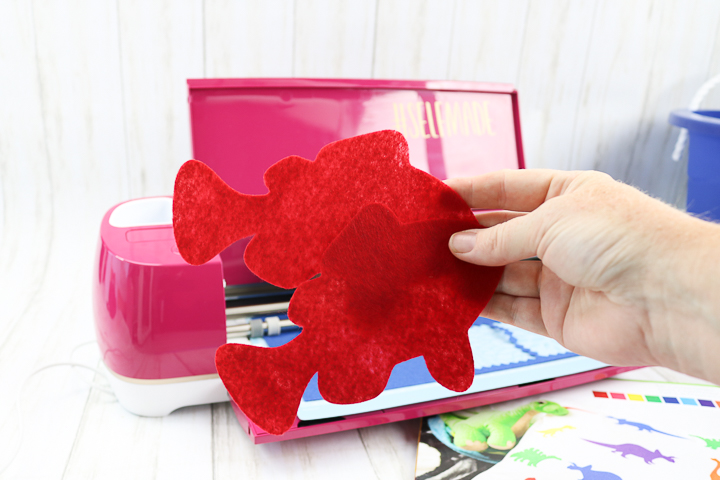
If you have issues cutting, try using a brayer to press the felt down on the mat for better adhesion. You can also change to a different strength mat if the material is moving.
Cutting Vinyl with the Cricut Explore Air 2
Continue by cutting your vinyl piece for the bucket. For this, you can use the dial and just set to vinyl or use custom and pick from the list.
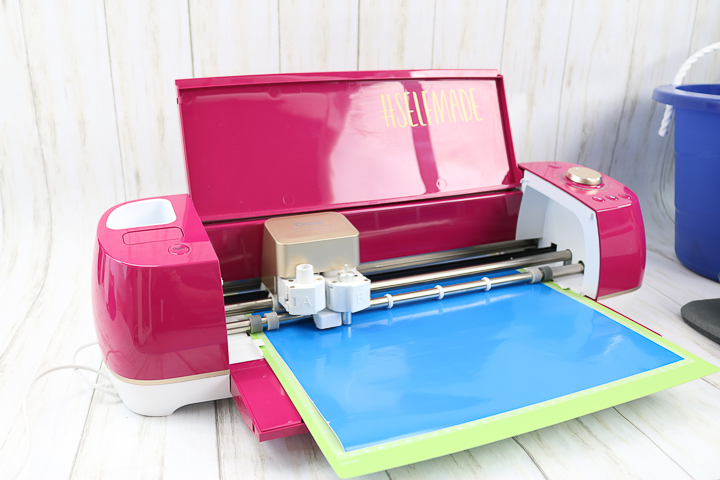
Once cut, you will need to weed away all excess from around your shark. I am using weeding tools but these are optional. TIP: I like to pick my vinyl up in the corner with the weeding tool to make peeling the outer vinyl away a bit easier.
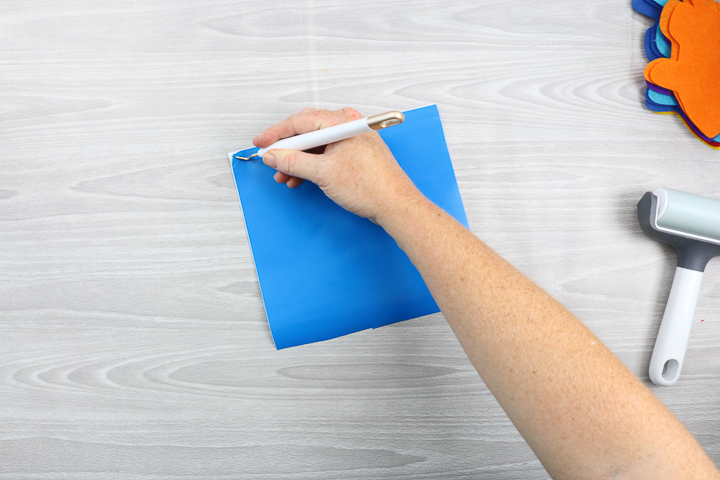
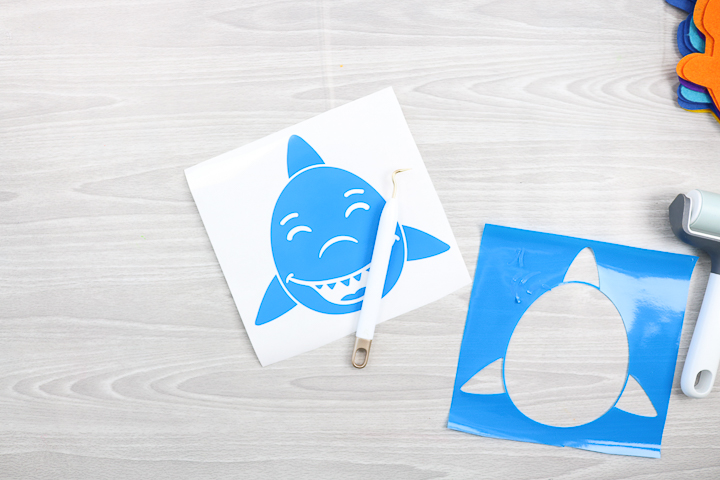
Then just remove all excess from your design.
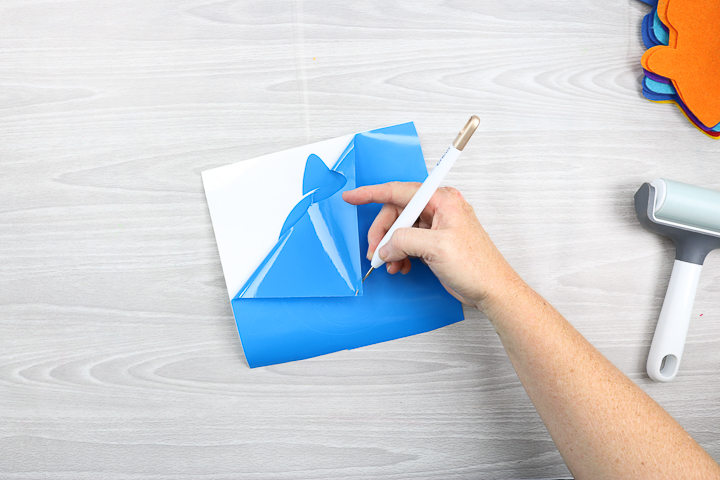
You will also need to weed away the center of the design. You should be left with only what you want to add to your bucket.
Cutting Mosiac Iron-on with the Cricut Explore Air 2
There is a new type of iron-on from Cricut and it is perfect for the fish scales on this project. Look for mosaic iron-on in circles. You can get a wide variety of colors but I am using the holographic for all of my fish.
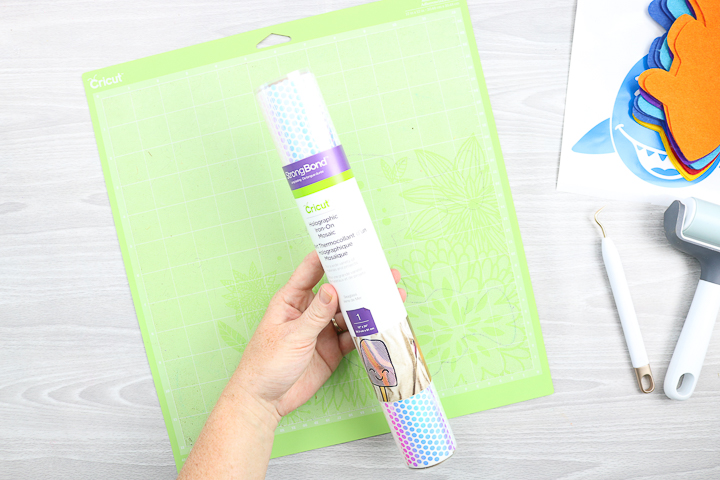
Unroll from the packaging and discard the white paper that is in the roll.
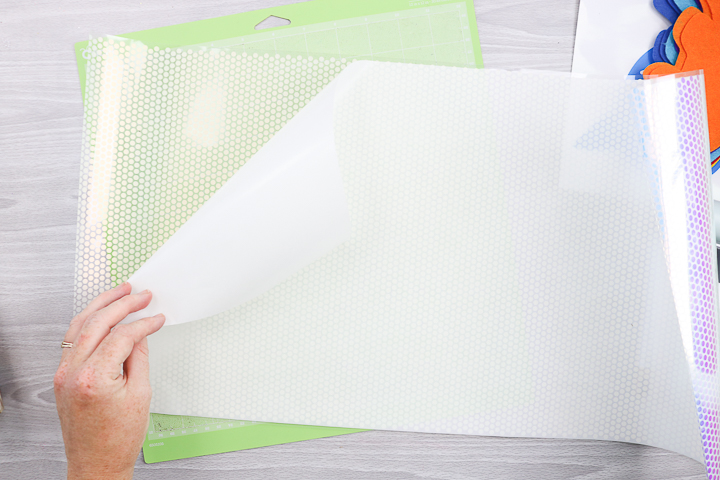
Then you will need to put it good side down on the mat. The good side is the shiny side. The “back” will also be noticeable because you can feel the circles of iron-on. This side should be face up on the mat.
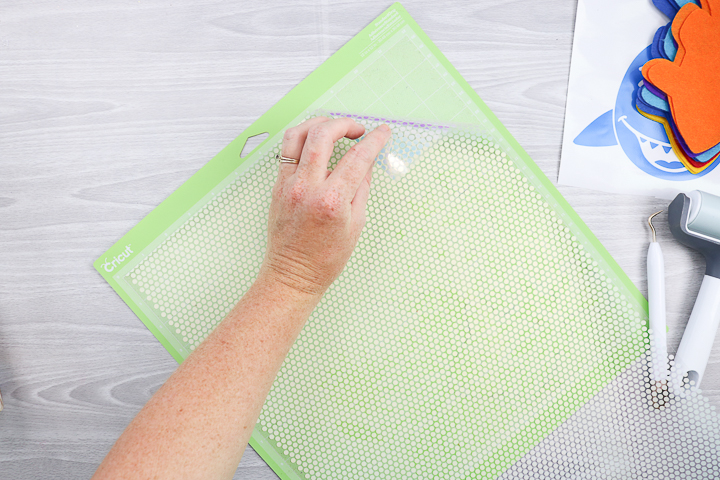
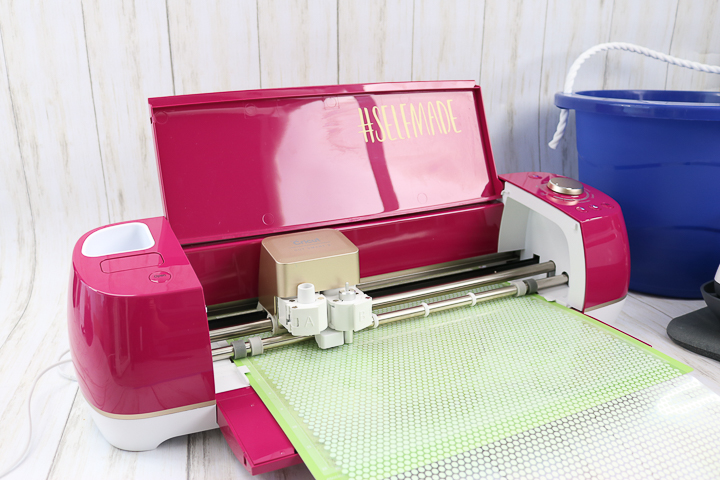
Then you will need to mirror your mat in Cricut Design Space before cutting. You can see more on how to do that here. Be sure to turn the dial to custom and pick mosaic iron-on from the menu. This is important because this iron-on is not like any other as it has a double liner.
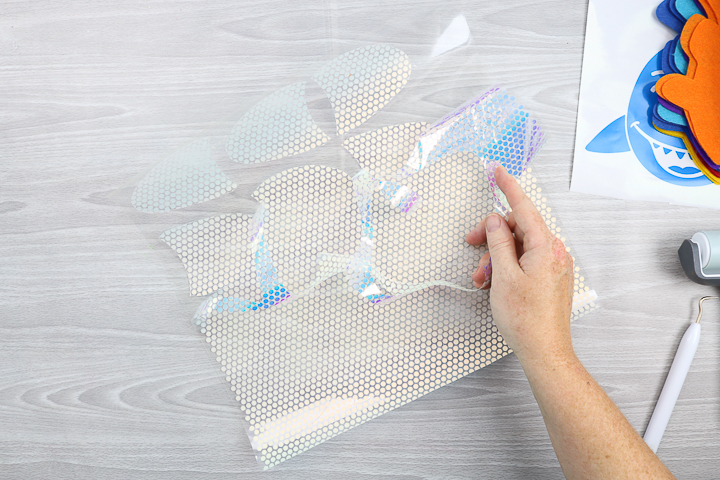
That double liner is for weeding purposes. Once cut, pick at one corner and separate one liner from the other. This allows you to weed away all of your excess without having to pick up each individual dot. Remove all excess with this second liner piece.
Cutting Iron-on with the Cricut Explore Air 2
Finally, you will need to cut the everyday iron-on that will be used for the eyes and mouths. Be sure to place shiny side down on your mat and mirror before cutting. You can see the basics of using iron-on here.
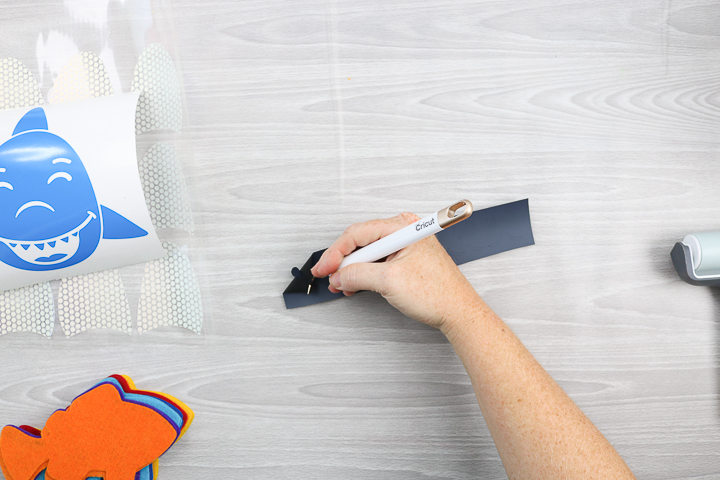
Weed away all of the excess and you will be left with just the pieces for your project.
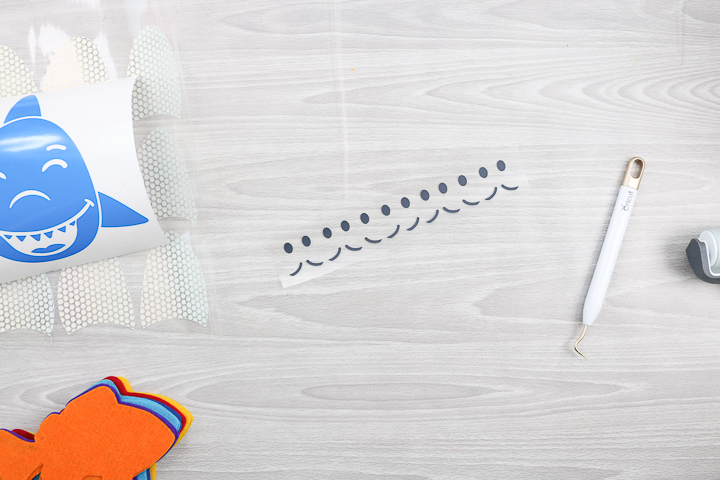
Adding Iron-on to Fish Pieces
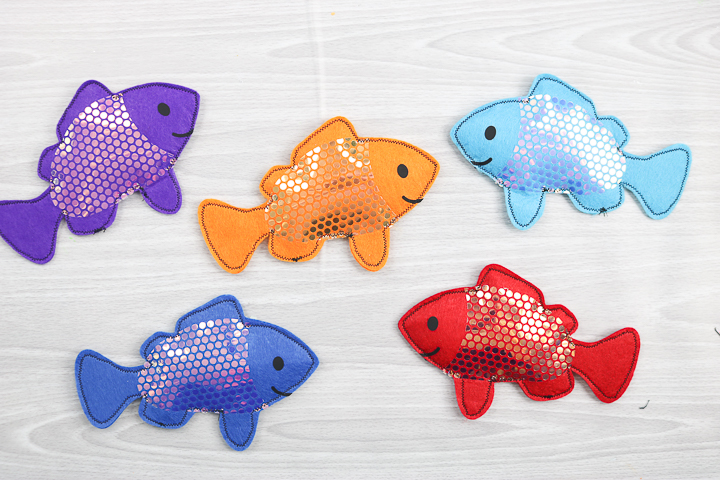
The fish need to be mirror images of each other. Lay out each fish with the scales, eyes, and mouths.
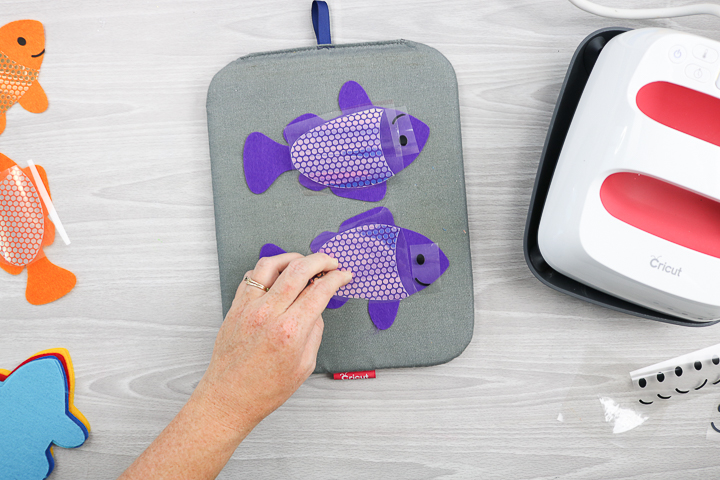
I used my EasyPress and EasyPress mat to press one fish at a time. Be sure to follow all time and temperature recommendations for felt using the Cricut heat guide. You will also want to preheat your felt before pressing to remove any moisture.
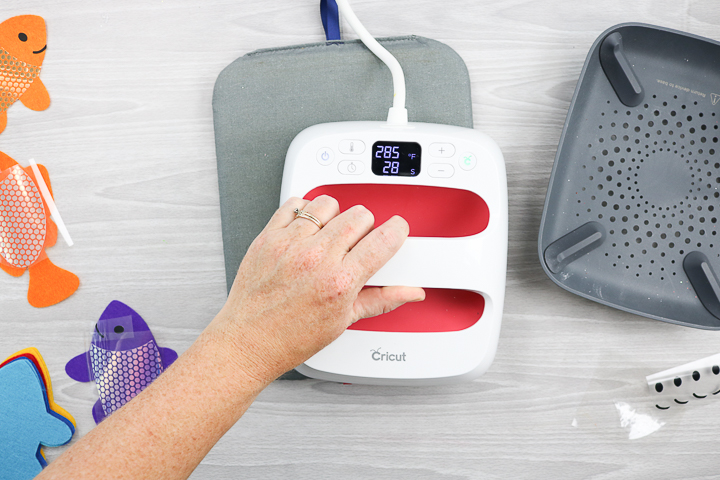
Once pressed, you can peel back the liner while still warm. Remove the liner for the Everyday Iron-on first.
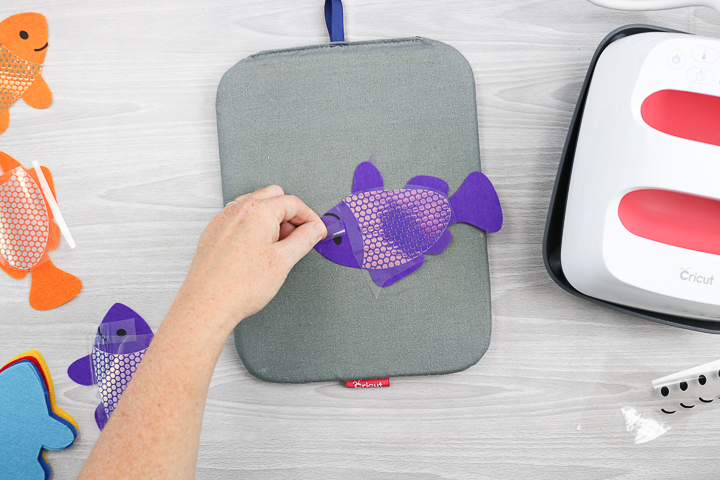
Then peel back the liner on the mosaic. Remember it has a double liner. Most likely, these will peel separately. So peel back the first liner.
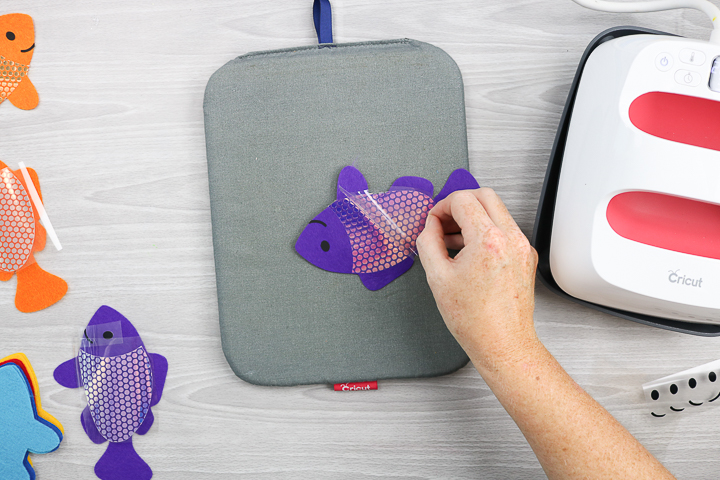
Then peel back the second. Be sure you remove both liners. If the liners peel back at the same time, that is okay too.
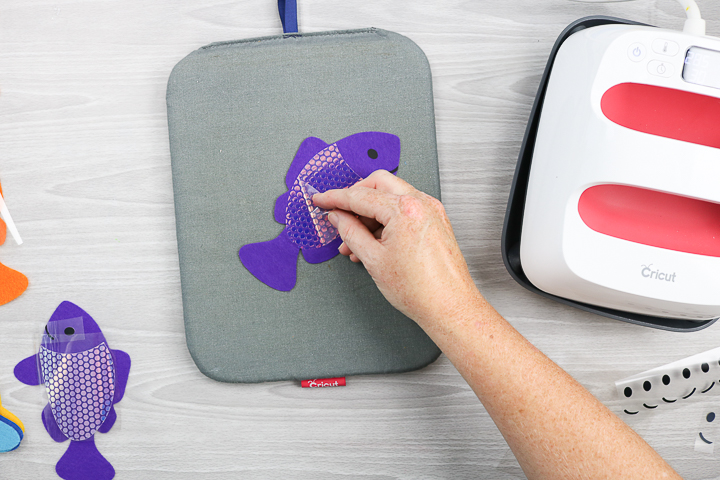
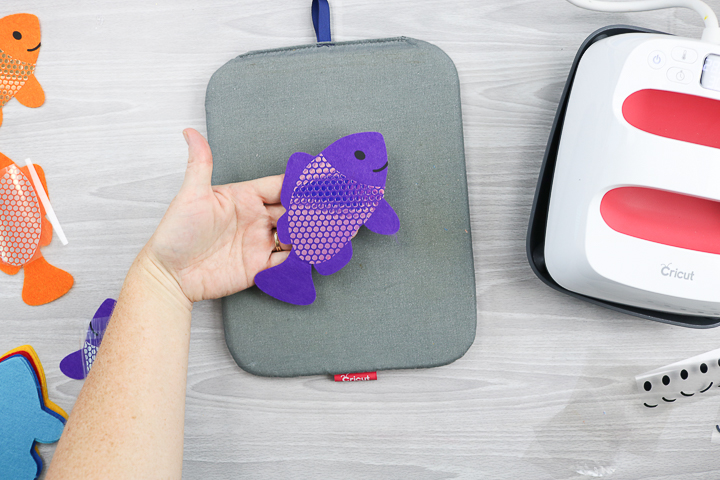
Then you will just need to repeat for each of your fish (front and back.)
Assembling the Fish Bean Bags
Put two of the fish pieces together and use a sewing machine to sew around the outer edge.
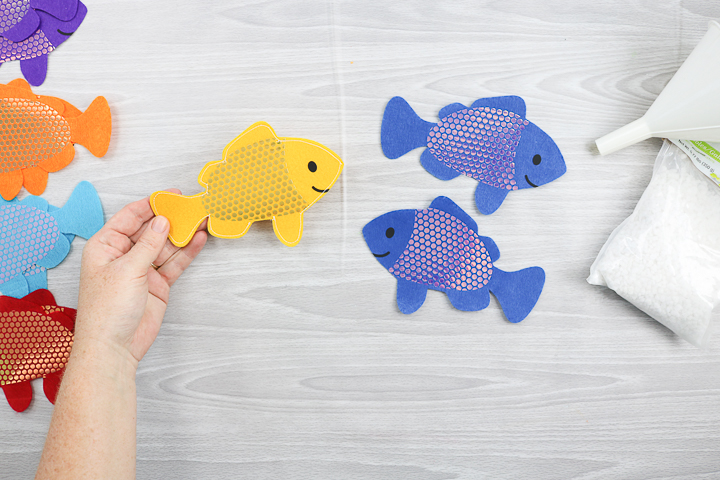
Leave a small gap. Put a funnel in this gap.
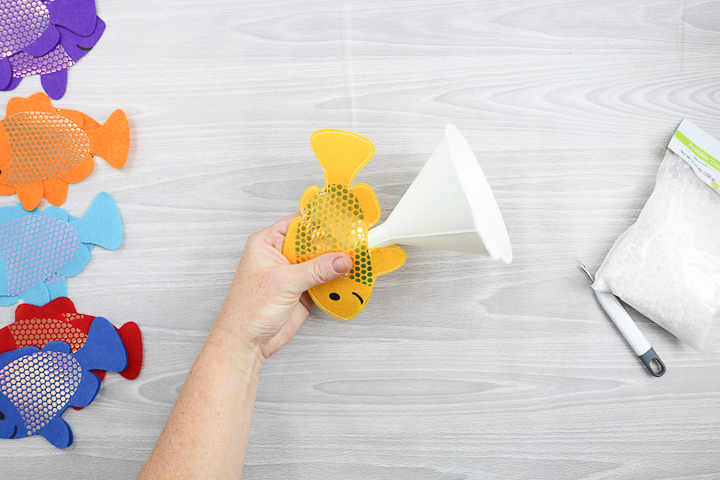
Then add some rocks, rice, or even beans to the inside. Sew closed with either the sewing machine or a needle and thread.
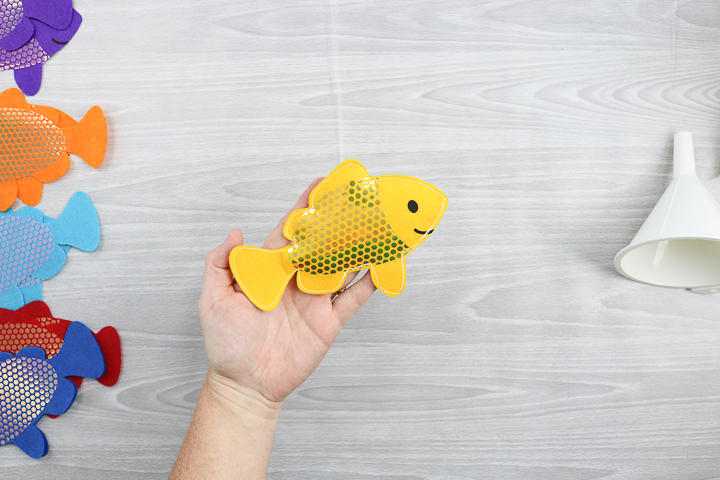
Repeat for each of your fish.
Making the Shark Bucket
Finally, you will need to make the shark bucket to complete your DIY bean bag toss. Apply transfer paper to the front of the vinyl that we weeded earlier. Be sure to use your squeegee over the top and press it down well.
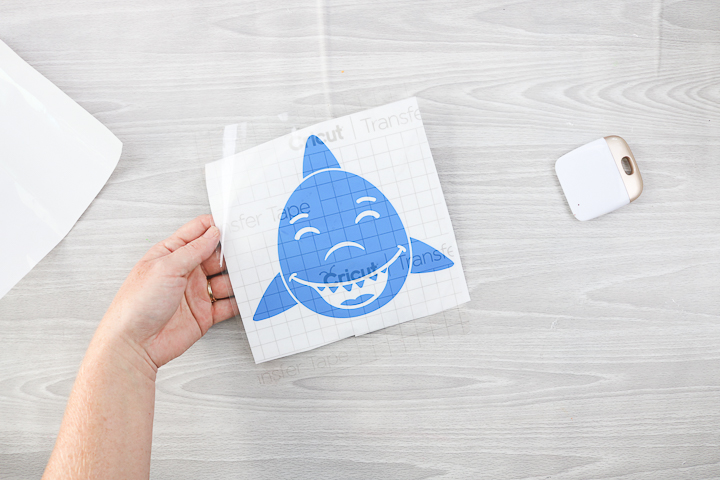
Then I like to flip it over and peel the backing paper from the vinyl.
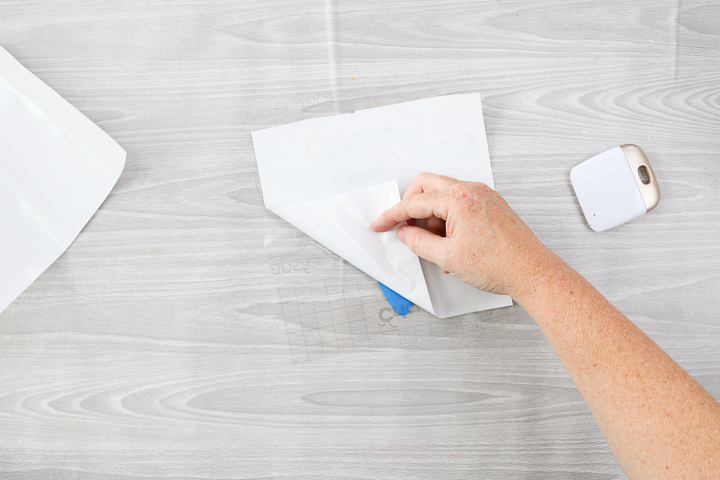
You are left with the shark vinyl on the transfer paper.
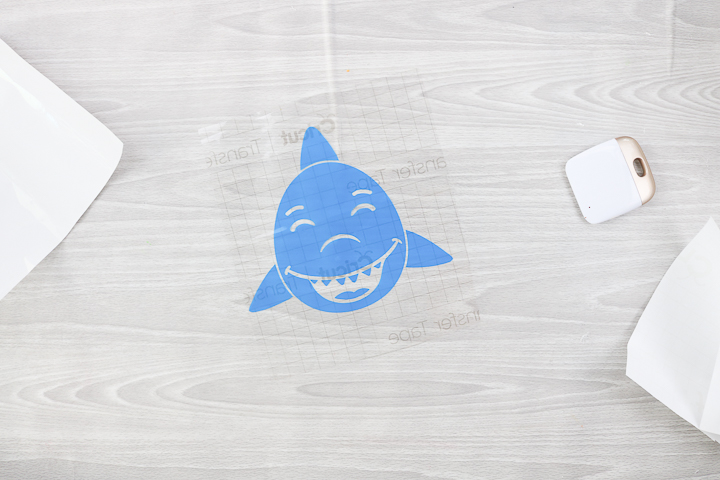
Use the transfer paper to apply to the bucket. Press the vinyl down well with the squeegee then peel back the transfer paper.
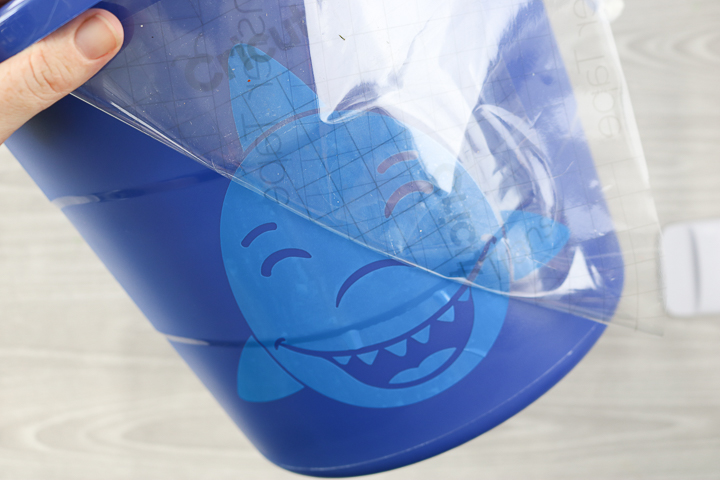
Burnish over the vinyl with your squeegee to make sure it is adhered well to the surface.
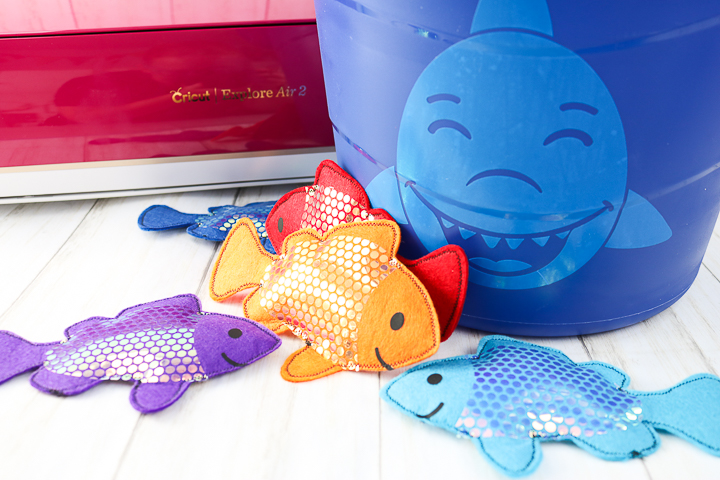
Then all that is left is to wrap up your handmade gift for someone special on your gift-giving list.
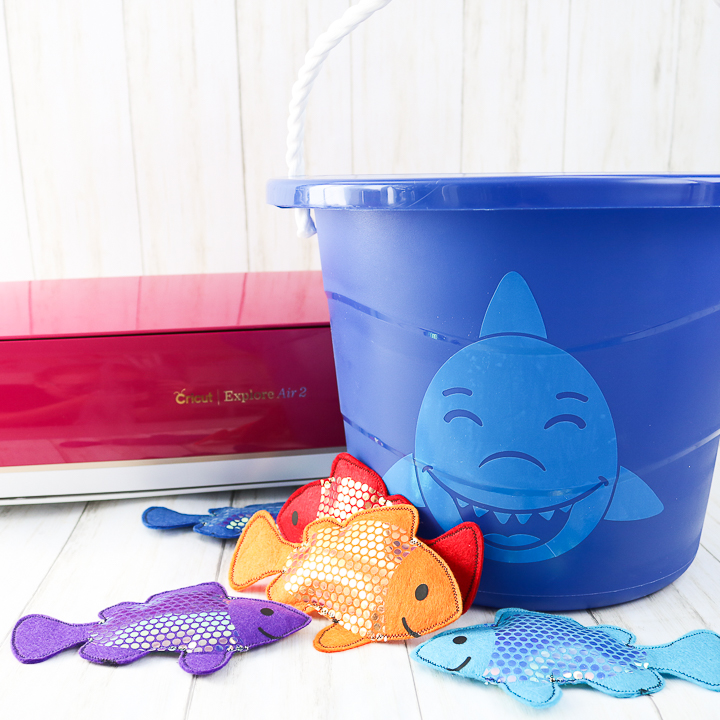
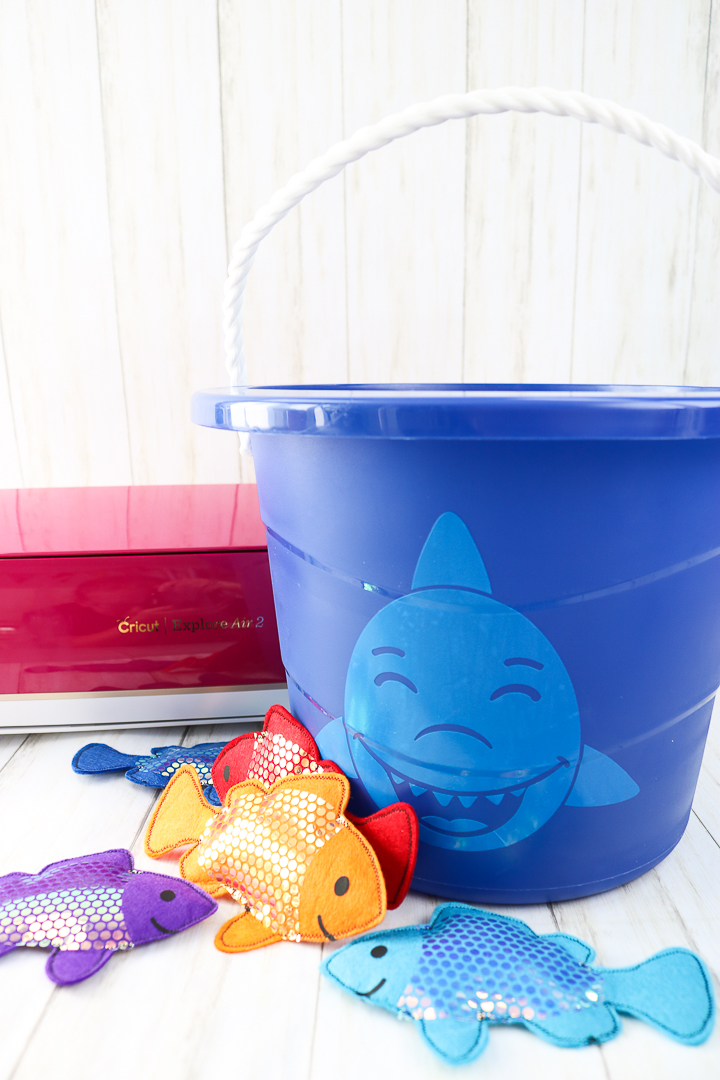
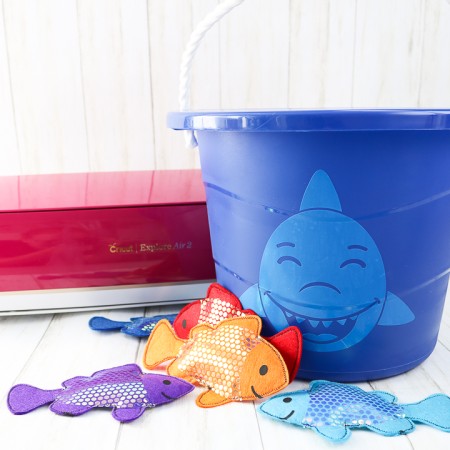
Every toddler will love getting this DIY bean bag toss for any special occasion. And now you can get started before the Christmas rush sets in!
Supplies
- Cricut Explore Air 2
- Cricut EasyPress
- Bucket
- Cricut Felt
- Cricut Vinyl in light blue
- EasyPress Mat
- Cricut Mosaic Iron-on
- Cricut Everyday Iron-on in black
- Transfer paper
- Weeding tools
- Scraper
- Rocks rice, or beans
- Funnel
- Sewing machine
- Thread
- Needle
- Cricut cut file
Instructions
Make the Fish Shapes
- First, you will need to cut the pieces with your Cricut Explore Air 2. You can find the cut file linked above for making the exact project that I made.
- Add your felt to the mat and turn the dial to custom. Pick the felt setting and cut your pieces with the fine point blade. I varied the color of my fish but you can choose whatever color of felt you like.
Make the Fish Scales
- Unroll the Mosaic iron-on from the packaging and discard the white paper that is in the roll. Then you will need to put it good side down on the mat. The good side is the shiny side. The “back” will also be noticeable because you can feel the circles of iron-on. This side should be face up on the mat.
- Then you will need to mirror your mat in Cricut Design Space before cutting. Be sure to turn the dial to custom and pick mosaic iron-on from the menu. This is important because this iron-on is not like any other as it has a double liner.
- That double liner is for weeding purposes. Once cut, pick at one corner and separate one liner from the other. This allows you to weed away all of your excess without having to pick up each individual dot. Remove all excess with this second liner piece.
Make the Fish Eyes and Mouth
- Finally, you will need to cut the everyday iron-on that will be used for the eyes and mouths. Be sure to place shiny side down on your mat and mirror before cutting. Weed away all of the excess and you will be left with just the pieces for your project.
Adding Iron-on to Fish Pieces
- The fish need to be mirror images of each other. Lay out each fish shape and place the scales, eyes, and mouths on top.
- I used my EasyPress and EasyPress mat to press one fish at a time. Be sure to follow all time and temperature recommendations for felt using the Cricut heat guide. You will also want to preheat your felt before pressing to remove any moisture.
- Once pressed, you can peel back the liner while still warm. Remove the liner for the Everyday Iron-on first.
- Then peel back the liner on the mosaic. Remember it has a double liner. Most likely, these will peel separately. So peel back the first liner.
- Then peel back the second. Be sure you remove both liners. If the liners peel back at the same time, that is okay too.
- Then you will just need to repeat for each of your fish (front and back.)
Assembling the Fish Bean Bags
- Put two of the fish pieces together and use a sewing machine to sew around the outer edge, leaving a small gap open.
- Then, add some rocks, rice, or even beans to the inside with a funnel.
- Sew closed with either the sewing machine or a needle and thread. Repeat for each of your fish.
Making the Shark Bucket
- Cut the vinyl piece for the shark bucket. For this, you can use the dial and just set to vinyl or use custom and pick from the list.
- Once cut, you will need to weed away all excess from around your shark. I am using weeding tools but these are optional. Then just remove all excess from your design. You will also need to weed away the center of the design. You should be left with only what you want to add to your bucket.
- Apply transfer paper to the front of the vinyl. Be sure to use your squeegee over the top and press it down well.
- Then I like to flip it over and peel the backing paper from the vinyl.
- You are left with the shark vinyl on the transfer paper.
- Use the transfer paper to apply to the bucket. Press the vinyl down well with the squeegee then peel back the transfer paper.
- Burnish over the vinyl with your squeegee to make sure it is adhered well to the surface.
- Then all that is left is to wrap up your handmade gift for someone special on your gift-giving list.
New to Cricut?

Sign up for our email list to download the Beginner's Guide to Cricut Design Space for FREE today!
Sign up to get the guide emailed to you!



When I try to access the Cricut file it say that the file was save as private. Please advise. Thank you!
I’m unable to open the Cricut file to be able to get the cut images..
Can you try it now? I think I fixed the link.