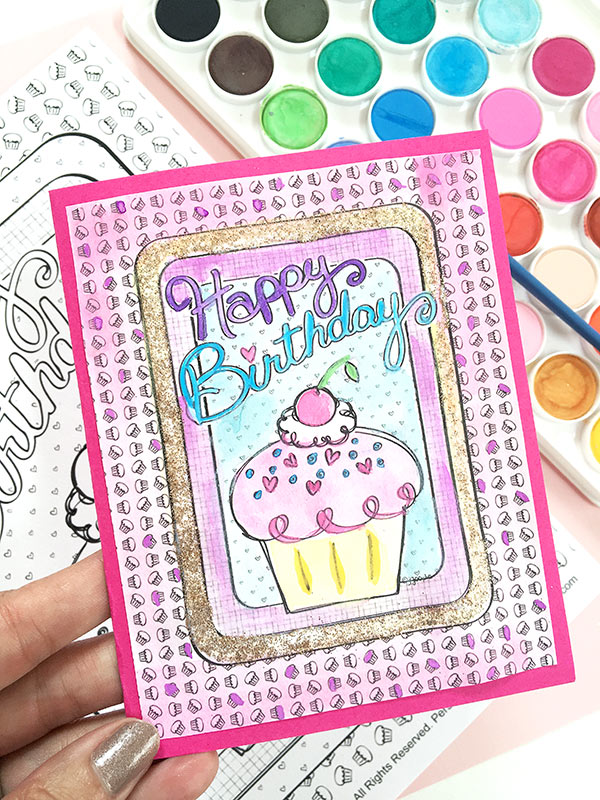
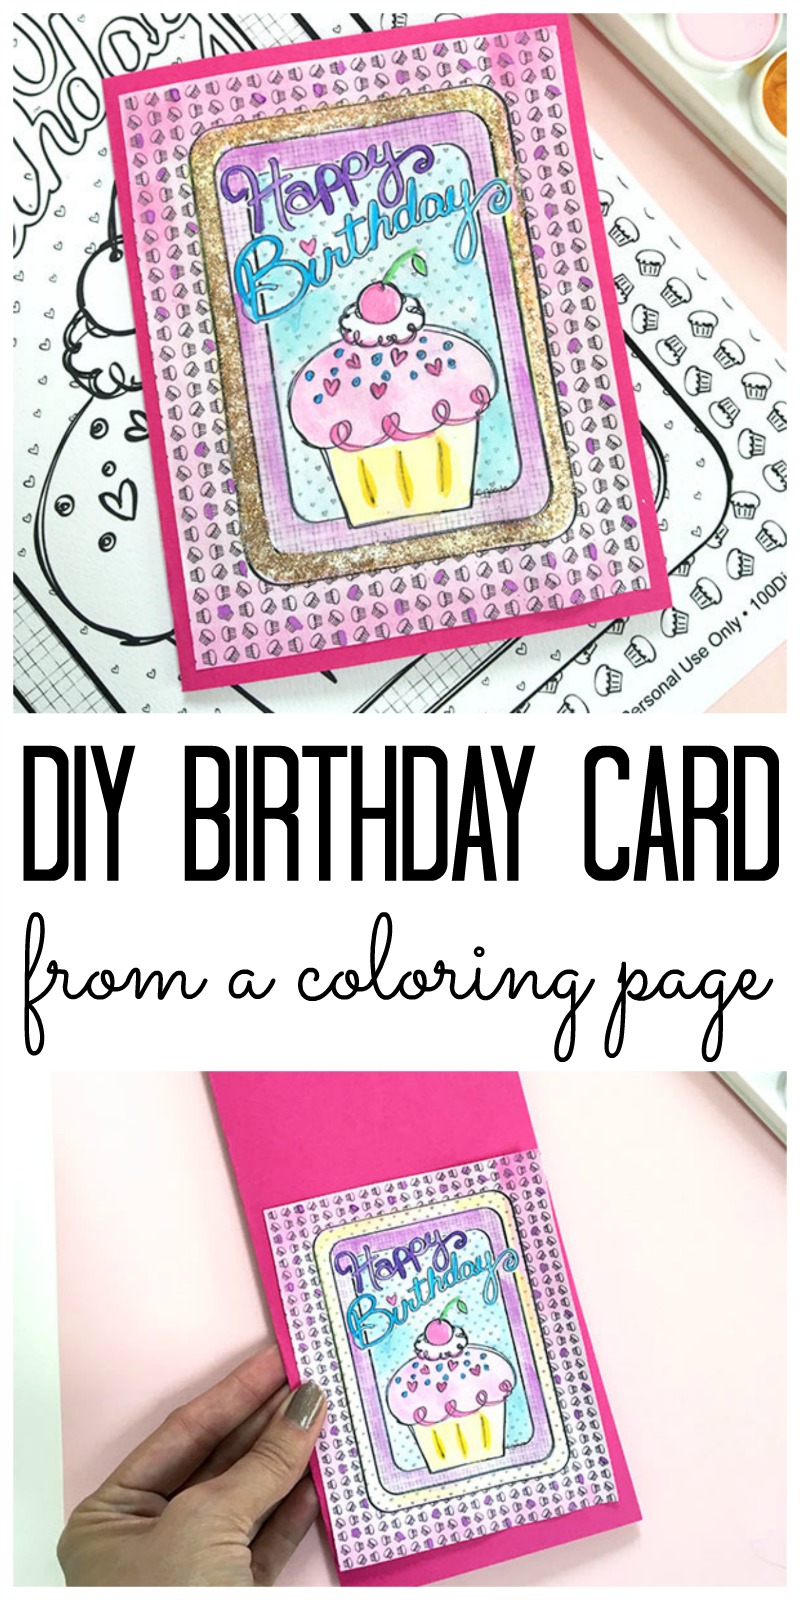
Homemade birthday cards are just as beautiful as purchased cards, but they’re much more meaningful. Turn coloring pages into DIY birthday cards with this quick and easy method.
Have you purchased a birthday card recently? They’re expensive! And they often get thrown away right after the recipient reads them anyway, which makes them feel like a waste of money.
If you have a hard time spending that kind of money on birthday cards at the store, I have great news.
You can easily make your own festive DIY birthday cards, and it only takes a few minutes! Plus, you can customize them so that you’re always giving something that the recipient will love.
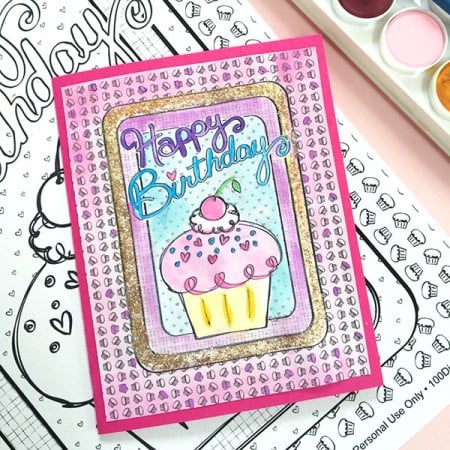
Jen from 100 Directions is here to show us how to make a DIY card, and I love this idea! She’s doing a fun coloring page craft that transforms cupcake coloring pages into DIY birthday cards
So, stand up and sing “Happy Birthday” because we’re talking birthdays, cupcakes, and coloring today! Ok, you don’t have to really sing, but how much more fun could we have if you did?
These DIY happy birthday cupcake cards are the perfect way to celebrate anyone’s birthday, and I’m excited to show you how to do it.
Note: If you love homemade cards and want more inspiration for different crafting methods, check out How To Make Cricut Foil Insert Cards, Making Cards with the Cricut Joy Card Mat, and Cricut Cutaway Cards.
How To Make DIY Birthday Cards
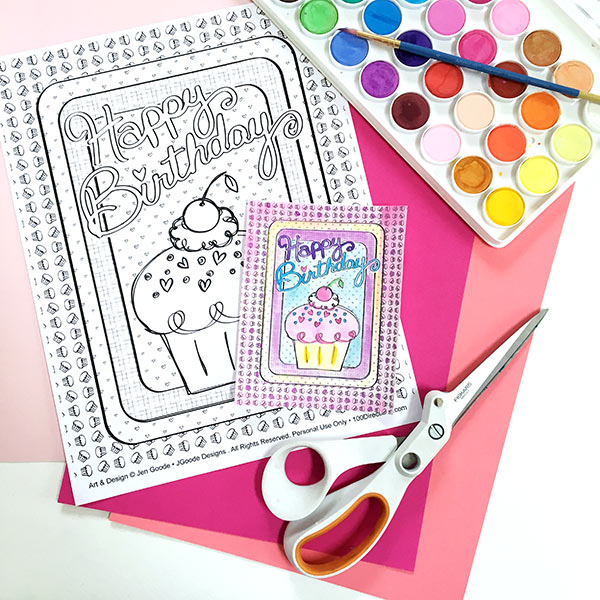
You can grab this printable happy birthday cupcake coloring page using the link below. Or use another favorite coloring page to make your own unique card!
Supplies Needed
Here’s what you’ll need to complete this project. The supplies are basic ones you probably already have (except for the coloring page).
- Free printable happy birthday cupcake coloring page designed by Jen Goode
- White card stock and a printer
- Pink cardstock
- Scissors
- Something to color with (I used watercolor paints)
- Glue
- Glitter and a paintbrush (optional)
DIY Birthday Cards Instructions
You can color the image any way that you like to make a personalized and special card. Or gift the un-colored card to your birthday friend along with some colored pencils for a fun birthday gift all by itself!
Step 1
Print the free coloring page on white cards stock at 25% of the original size.
Step 2
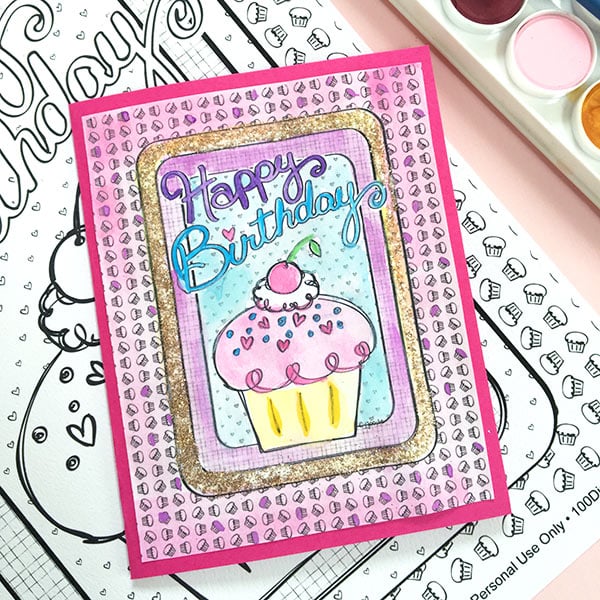
Color it how you’d like. I used watercolors, but you can use colored pencils, crayons, markers, etc.
Step 3
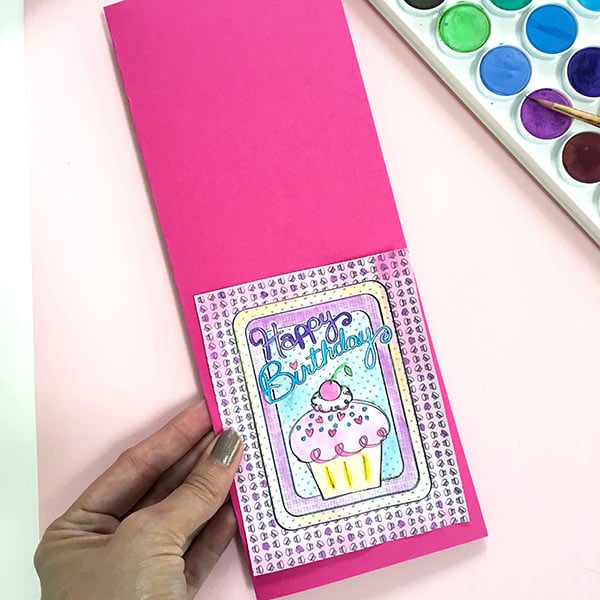
Fold the pink card stock down the middle along the long side.
Step 4
Trim the art so that it fits on the front of your folded pink card.
Step 5
Glue the colored art onto the front of the pink card stock to put your DIY birthday card together.
Step 6
Trim the pink card to size if needed.
Step 7
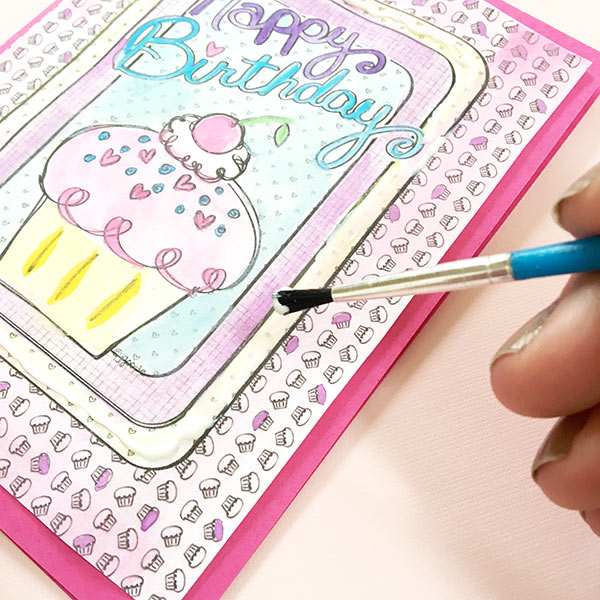
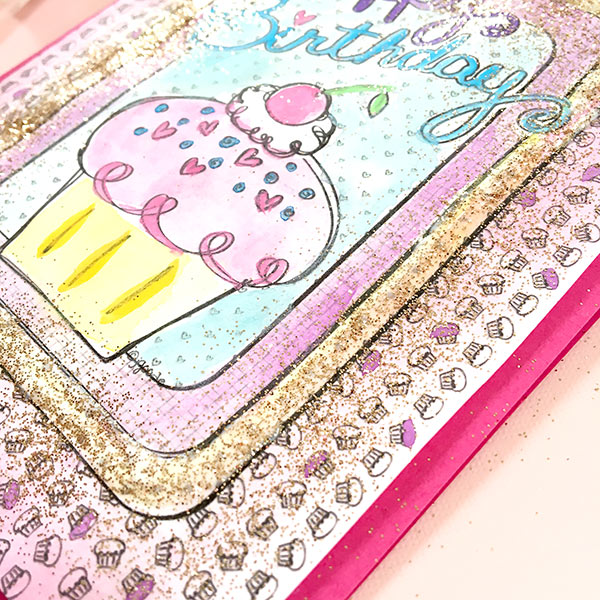
Using the glue and paintbrush, add glue to the colored art and then sprinkle on some glitter.
Let dry.
Step 8
Tap the excess glitter off the card.
Tip: I usually tap the glitter onto another piece of paper and then pour the glitter back into the glitter bottle to avoid wasting glitter.
Ta-dah! That’s all it takes to make DIY birthday cards.
FAQs
I know people have a lot of questions about making homemade cards. Here are a few that I see over and over.
Can I use printer paper instead of cardstock for DIY birthday cards?
You could use printer paper if you don’t have any cardstock. However, I don’t recommend it because it’s not thick or sturdy enough to support the glued coloring page. Also, thinner printer paper is more likely to ripple from the moisture of the glue.
If you must use printer paper, I recommend using a glue stick to attach the coloring page because it’s less likely to make the paper ripple.
What type of glue is best for this project?
You can use almost any type of glue for this project, and it doesn’t need to be special crafting glue. Ordinary Elmer’s will work well. You could also use a glue stick, paper glue, or even Mod Podge.
Why don’t the instructions say to fold the cardstock into a typical card shape?
This card design is smaller than typical birthday cards you would buy from the store, but it’s large enough to hold a gift card or even cash.
However, if you want your card to be larger, you can simply print the coloring page image at 50% or 75%, depending on how big you want it to be. Then follow the rest of the instructions (make sure to fold the cardstock the other way) as you would for the smaller size.
More Birthday Inspiration
Do you love these DIY birthday cards and want more handmade ideas? Try the links below!


Supplies
- Free printable happy birthday cupcake coloring page
- White cardstock
- Printer and ink
- Pink cardstock
- Scissors
- Coloring supplies crayons, colored pencils, markers, water colors, etc.
- Glue
- Glitter
- Paintbrush
Instructions
- Resize the free coloring page image to 25% of the original size and print it out on white cardstock.
- Color it with your favorite coloring supplies.
- Fold the pink card stock down the middle along the long side.
- Trim the art as needed so that it fits on the front of your folded pink card.
- Glue the colored art onto the front of the pink cardstock.
- Trim the pink cardstock more, if needed.
- Use the paintbrush to add glue to the colored page. Then sprinkle some glitter onto the wet glue.
- Tap the excess glitter off of the card.


I love that this is an upcycle project as well as a fun DIY paper craft, so I just had to include it in my Earth Day round up http://www.purfylle.com/2016/04/36-earth-day-ideas.html
Hi Angie,
Thanks for sharing this fun project with us at Inspire Me Monday at Create With Joy!
Congrats – I’m delighted to include you among my Featured Guests at this week’s party – #226.
Happy May to you! 🙂