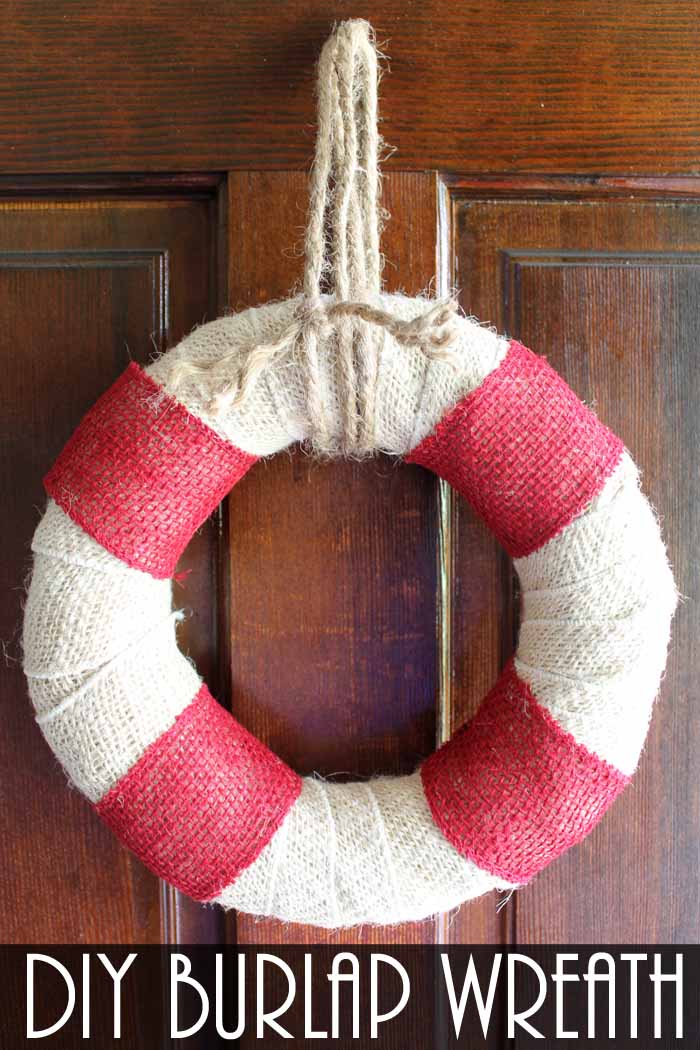
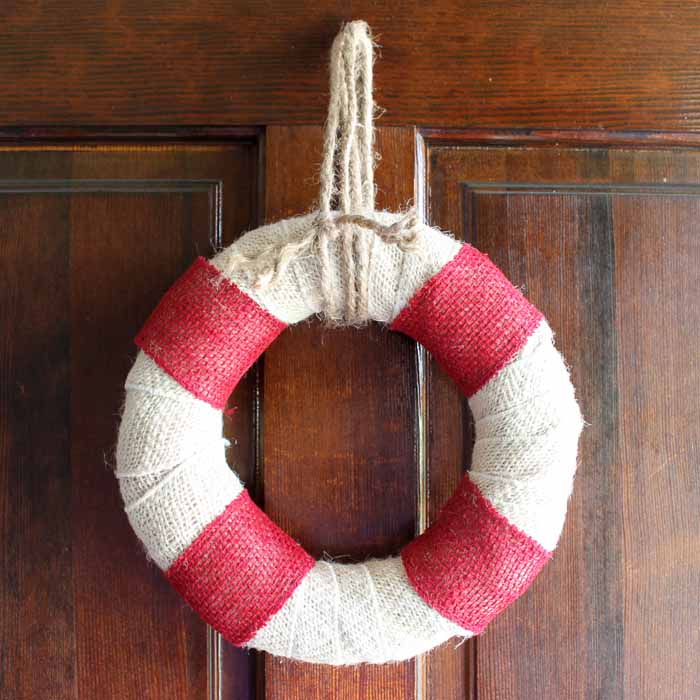
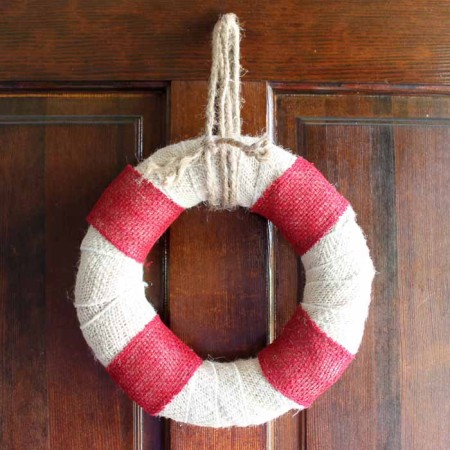
Whether you’re dreaming of the pool or the beach, this lifesaver-inspired beach wreath is the perfect addition to your front door. Follow along with this tutorial to make your own beach-inspired burlap wreath in just minutes.
The days are getting longer, the temperatures are climbing, and I’ve noticed that I’ve got just one thing on my mind: sunshine and summertime!
I’ve been feeling inspired to make beach-themed items recently, such as my Beach House-Themed DIY Bird Feeder and Chevron Beach-Themed Candle Holders.
I even made a DIY Starburst Mirror with Distressed Beach Paint that is making me feel happy. And the kids are currently loving these Beach Mason Jar Terrariums.
Today I have a new project to add to the list. It’s a beach-inspired DIY burlap wreath that’s so easy to make! If you’re ready to welcome summer to your home, it’s the perfect addition to your front door.
Are you lucky enough to have a beach house? Even better! Make this simple beach wreath that looks like a life preserver to decorate.
Note: If you want even more beach-inspired crafting ideas, check out my DIY Beach Decor Using Rope, Starfish Craft, and Sea Glass Wind Chimes projects!
How To Make A Burlap Wreath With A Beach Theme
The process is nice a simple, so you’ll have your wreath complete in just a few minutes! Here’s everything you need to know about this project.
Supplies Needed
Here’s what you’ll need to gather in order to make this project. I’ve included a few handy links to make finding certain items easier.
- Wreath form
- White burlap ribbon
- Red burlap ribbon
- Rope or twine
- Hot glue and glue gun
- Scissors
- Hot glue finger protectors – optional but very nice!
Video Tutorial
You can see just how to make this DIY burlap wreath in the video below. It is super short and will explain the process much better than pictures ever could.
DIY Beach Wreath Instructions
If you can’t watch the video or missed a step, follow along with the instructions below.
Step 1
Wrap the entire wreath form with the white burlap ribbon.
Cut the excess with scissors.
Step 2
Use hot glue to secure the end of the ribbon on the back of the wreath.
Pro Tip: Use hot glue protectors on your fingers, as the hot glue will go right through the burlap and burn your fingers!
Step 3
Wrap the red burlap ribbon around the wreath once and trim it to size with scissors.
Secure ends with hot glue on the back of the wreath.
Step 4
Repeat the process with the red burlap ribbon in four areas that are equally spaced.
Step 5
Tie on a rope and hang your wreath.
Isn’t it fun? Add this simple DIY burlap wreath to your must-make list this summer. You will love how simple it is and the summertime vibe it gives your home.
FAQs
If you have questions about making this beach wreath project, I have answers for you! Please leave your question for me in the comments if you don’t see it already answered below.
Can I use a different type of wreath frame for this beach wreath?
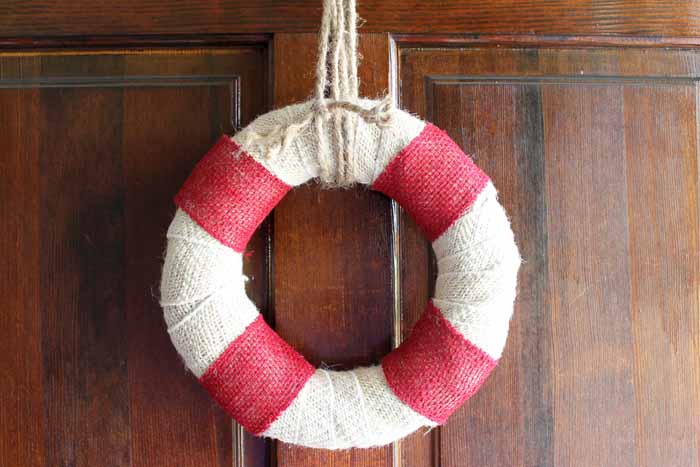
For this burlap wreath, I used a foam wreath frame because the shape is PERFECT for the life-preserver look. I think any other type of wreath frame would require more work (and materials) and look less authentic. It’s worth buying the foam frame if you don’t already have one on hand.
Can I use other types of adhesive?
I used hot glue for this project, and I think it’s the best choice. I know that it can tend to burn fingers as you work with it on burlap. However, it’s also the fastest drying adhesive and one of the bulkiest, which makes it ideal when working with mesh-like materials such as burlap.
How do I attach something to hang this beach wreath?
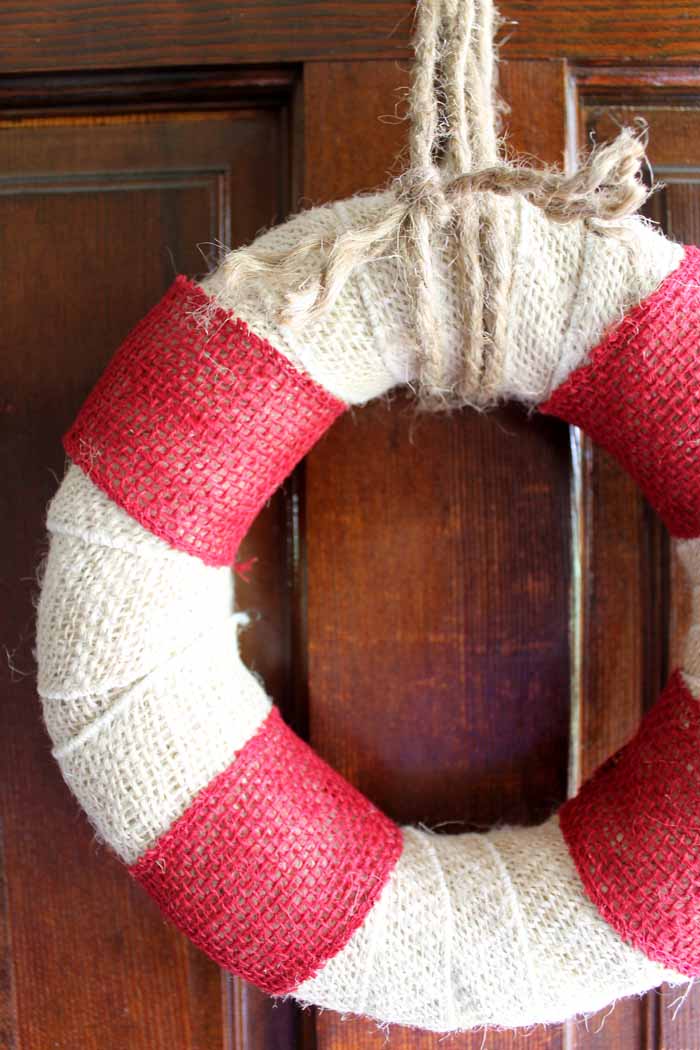
You don’t need to attach anything to the back of the wreath as you would for many DIY wreath designs. Here you can do something even easier! Simply take some twine and LOOSELY loop it around the top of the wreath a couple of times. Then tie it off.
This gives your burlap wreath that final rustic touch and also ties into the line that you find on actual life preservers!
More Summer-Inspired Craft Ideas
If you love this project and want more summertime burlap crafts, we have those for you! Just follow the links below.
Supplies
- Wreath form
- White burlap ribbon
- Red burlap ribbon
- Rope or twine
- Hot glue and glue gun
- Scissors
- Hot glue finger protectors
Instructions
- Wrap the entire wreath form with the white burlap ribbon, overlapping as you go around the frame.Cut off the excess with scissors.
- Use hot glue to secure the end of the ribbon on the back of the wreath.
- Wrap the red burlap ribbon around the wreath just one time and trim it to size with scissors.Secure ends with hot glue on the back of the wreath.
- Repeat the process with the red burlap ribbon three more times, spacing them around the frame equally.
- Tie on a rope (or twine) and hang your wreath.


So simple but so cute. This is one of those projects that you think, why didn’t I think of that?
So cute!
I would love for you to share this with my Facebook Group for recipes, crafts, tips, and tricks: https://www.facebook.com/groups/pluckyrecipescraftstips/
Thanks for joining Cooking and Crafting with J & J!
This looks like a lot of fun to make and is awesome! I love the way it came out!
This is so cute! Stopping by from the Pretty Pintastic Party!
This would be a great hostess gift!
This is such a smart idea! I can’t believe you made this with burlap. I never would have thought of that. Thanks for sharing your awesome summer wreath with us at Merry Monday this week!
I loved it! Simple and so summery! Thank you for sharing with us in Sweet Inspiration Link Party!