Jen Goode with 100 Directions is back this month with a DIY Christmas banner free printable. Grab this one for free below and add to your holiday decor!
Learn how to make a fun and easy DIY Christmas Banner. I’ve got a couple free printables you can use too! All you need are a couple of supplies and about 30 minutes. Decorate your mantel, add a holiday message to your front door, and even add your own photos to the banner! What I love most about this banner is how easy it is to customize. Just pick your favorite holiday colors and add accents to the letters you print. I’ll show you how!
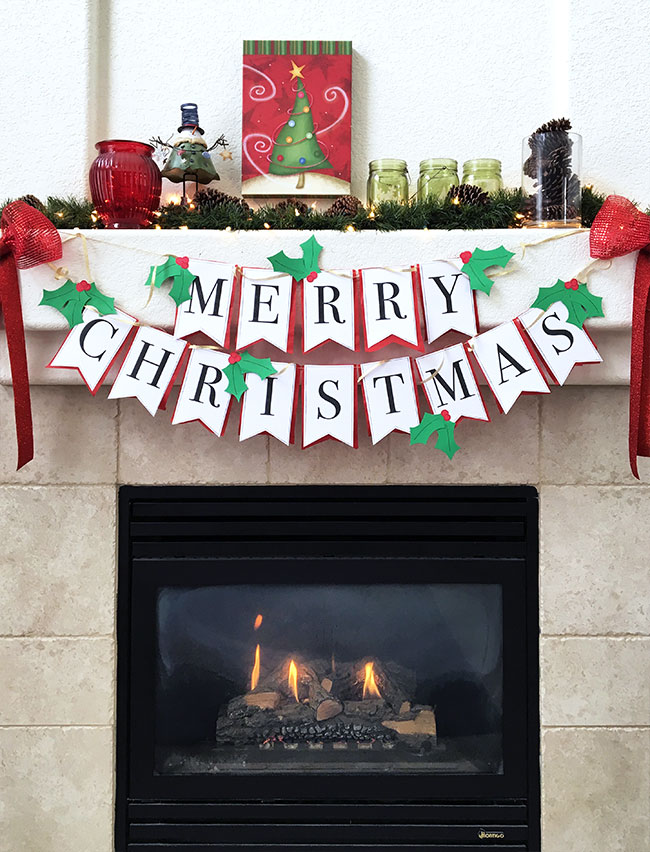
Customize this Christmas banner, change up the message or add your own sparkly touch. You can do so many fun things with the printable letters! Maybe even shrink them way down and make a cute banner for your Elf on a Shelf!
If you are looking for other DIY Christmas decorations, try this snowman wreath and plaid Christmas ornaments.
DIY Christmas Banner
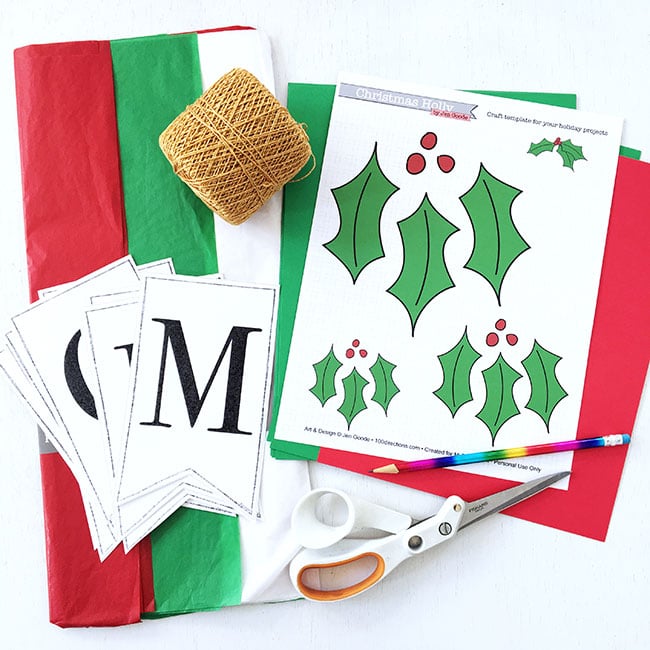
Supplies needed for a DIY Christmas Banner
- Printable Alphabet
- Printable Holly template
- Red tissue paper
- Green and Red Cardstock
- Twine (I used a gold sparkle twine)
- Glue
- Scissors
- Pencil
Instructions
Print out the letters you want to use. I like to print one letter, then flip the paper over and print another letter on the same sheet. If you’d like a smaller banner, just adjust the print size.
Fold a couple pieces of red tissue paper to about the size of a single letter pennant.
Trace the pennant shape on to the tissue paper. Cut out the pennant shape leaving excess around the edges so the red will show beyond the letter piece.
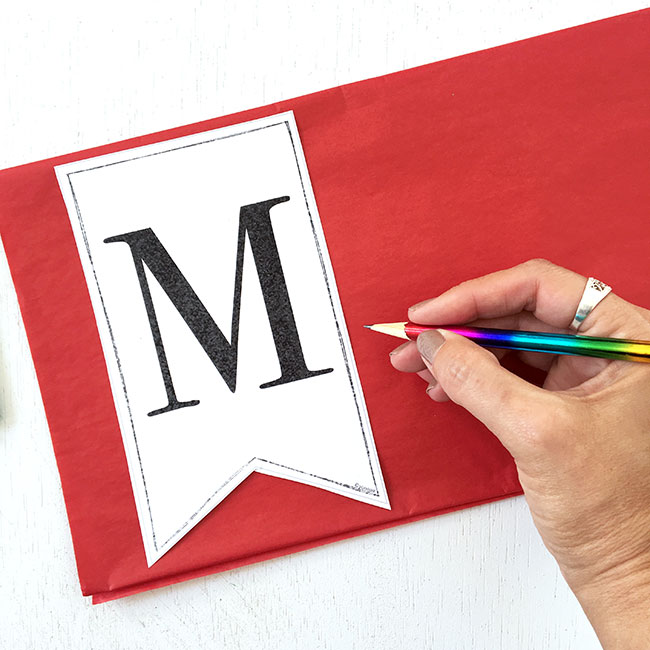
You can cut through multiple sheets of tissue at the same time to make multiple tissue cut outs. You can also use cardstock for this step if you’d like. Make sure to put something under the tissue paper so the glue doesn’t leak through to your work surface. I just used a sandwich bag.
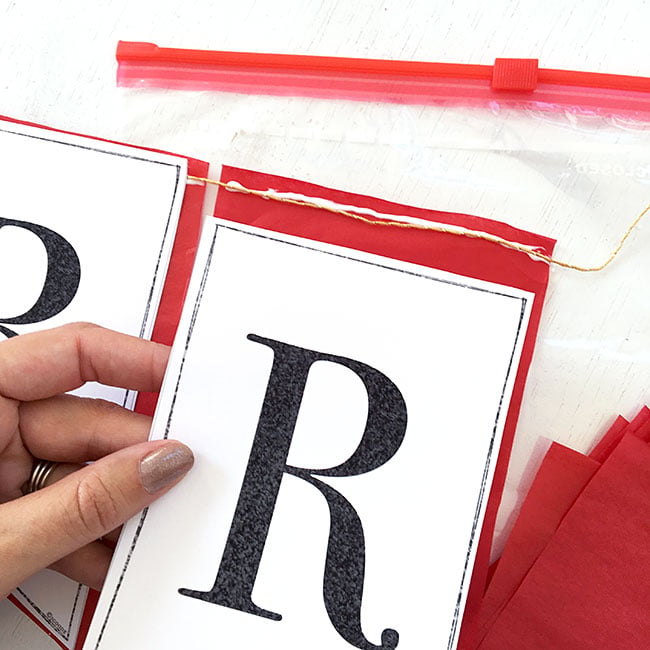
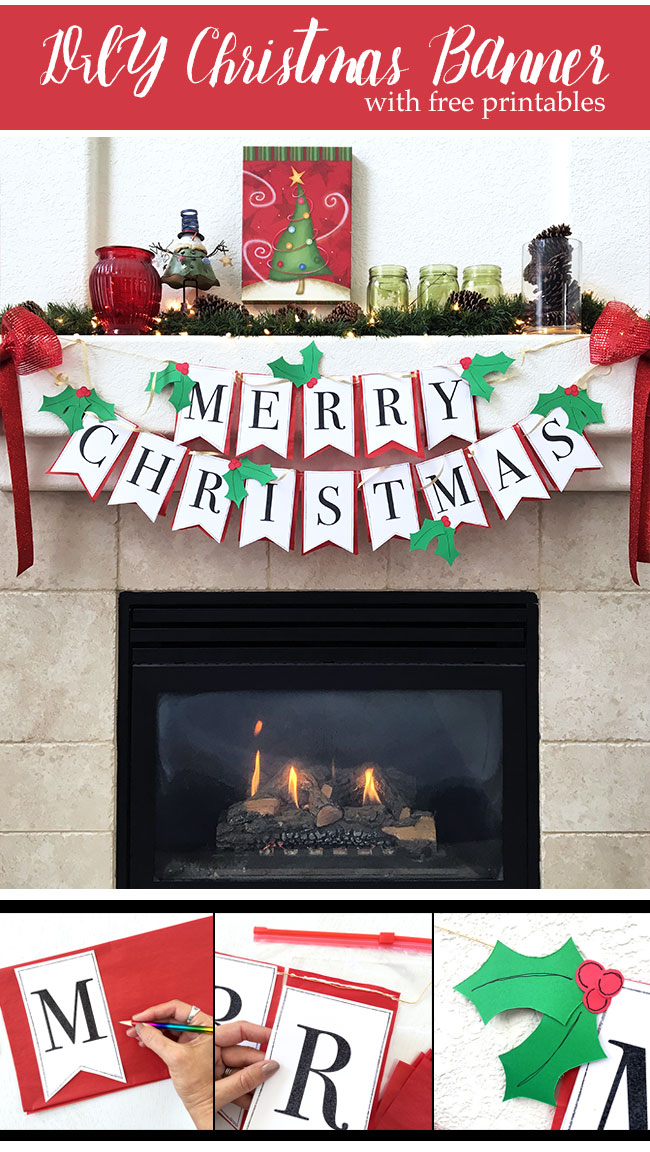
Apply a line of glue at the top of the tissue paper. Place twine on the glue line. Then place the letter pennant on top of the twine and glue. Press to adhere all the layers together. Continue adding layers for each letter until you’ve created your entire banner.
Make some holly decorations and add those to your banner however you’d like. I have a quick tutorial to make the holly here. It’s part of a table place setting project I made that you might also love.
Hang up your banner and enjoy!
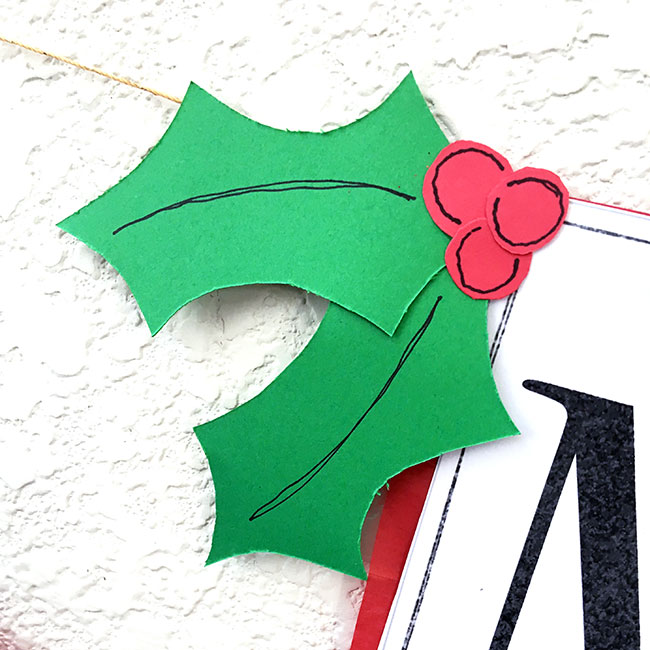
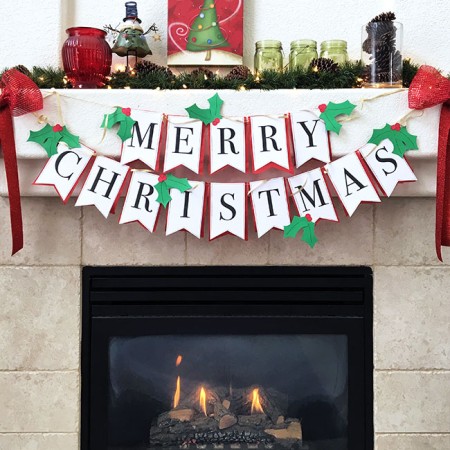
If you love glitter, grab your glitter glue and add some sparkle to each letter and the holly add ons. Then watch your handmade decor sparkle next to the twinkle lights! (OH how I love twinkle lights!) I hope you have fun crafting your own Christmas banner, and Merry Christmas to you!
Equipment
- Glue
- Pencil
- Twine I used a gold sparkle twine
Supplies
- Printable Alphabet
- Printable Holly template
- Red tissue paper
- Green and Red Cardstock
Instructions
- Print out the letters you want to use. I like to print one letter, then flip the paper over and print another letter on the same sheet. If you’d like a smaller banner, just adjust the print size.
- Fold a couple pieces of red tissue paper to about the size of a single letter pennant.
- Trace the pennant shape on to the tissue paper. Cut out the pennant shape leaving excess around the edges so the red will show beyond the letter piece.
- Print and trace letter pennant on to tissue paper. You can cut through multiple sheets of tissue at the same time to make multiple tissue cut outs. You can also use cardstock for this step if you’d like.
- Make sure to put something under the tissue paper so the glue doesn’t leak through to your work surface. I just used a sandwich bag.
- Apply a line of glue at the top of the tissue paper. Place twine on the glue line. Then place the letter pennant on top of the twine and glue. Press to adhere all the layers together. Continue adding layers for each letter until you’ve created your entire banner.


The love how festive these are but great on the wallet. Adding the red behind is such a great touch!
What a lovely Christmas banner! it’s too late for us to make this year, but definitely hope to make it next year! (I have pinned it on my pinterest page so I don’t forget) 🙂