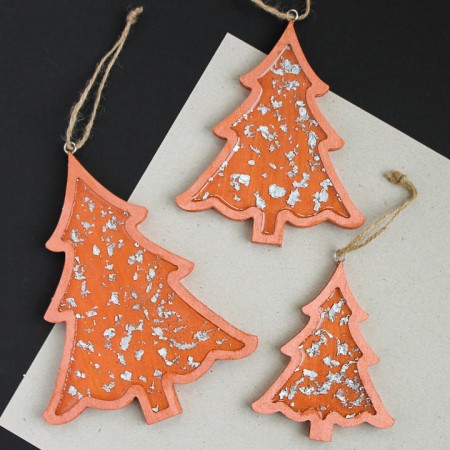
Learn how to make these DIY Christmas tree decorations with some metallic copper paint and silver leafing. You will love how they look on your holiday tree!

Are you ready to learn how to make some cute DIY Christmas tree decorations? I am using silver leaf as my “glitter” element today. It is glittery and less messy than traditional glitter. For me, that is a win-win and it is simply stunning. So keep reading to see how to make these copper Christmas tree ornaments for your tree.
Have you missed any of the Craft Lightning fun this week? Be sure to catch up with the posts from day 1, day 2, and day 3. You will also want to scroll to the bottom of this post to see what our blog partners for today have in store for you.
Christmas tree ornaments are a cherished part of the holiday season. For many people, they are a way to remember special people, places, and events. They can be handmade, store-bought, or passed down from generation to generation.
What better way to get into the Christmas spirit than with a tree-shaped ornament? Even though I'm using wood ornaments, you can use any material, like vinyl, felt, or stained glass. Decorate these with glitter, color, and other festive embellishments. Hang these on the Christmas tree, or use them as part of a holiday table centerpiece.
How to make DIY Christmas tree decorations
Supplies to make DIY Christmas tree decorations:
- Wood ornaments (the ones I used have been discontinued but I will give you options below for making similar ornaments)
- EnviroTex Lite Pour-On High Gloss Finish
- Copper paint
- Silver leaf flakes
- Stir sticks
- Measuring cups
- Mixing cups
- Protective gloves
- Paintbrush
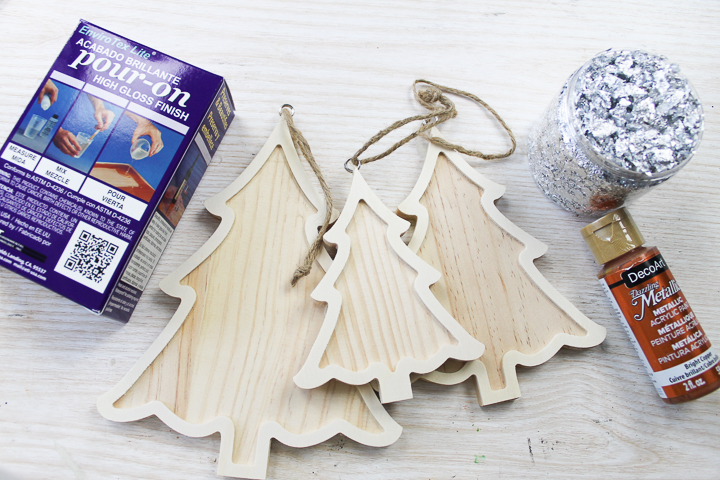
Instructions:
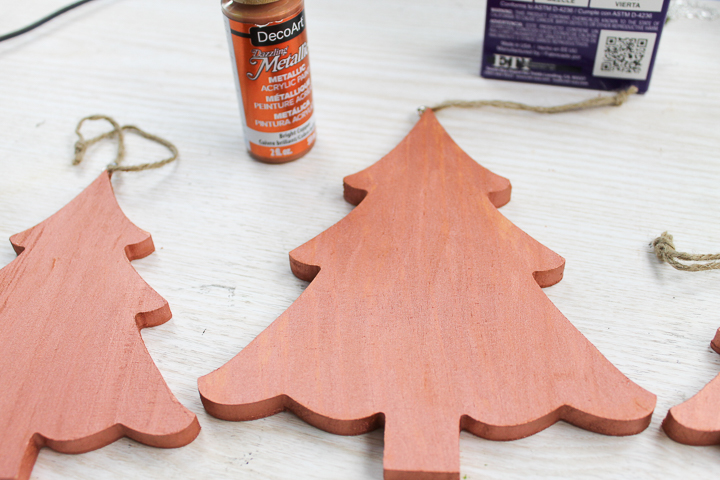
Start by painting all sides of your wood Christmas trees and allow the paint to dry completely. This may take 2 coats of paint.
Then measure and mix your EnviroTex Lite Pour-On High Gloss Finish according to the package directions. Be sure to wear protective gloves and follow all mixing procedures that are included in the package.
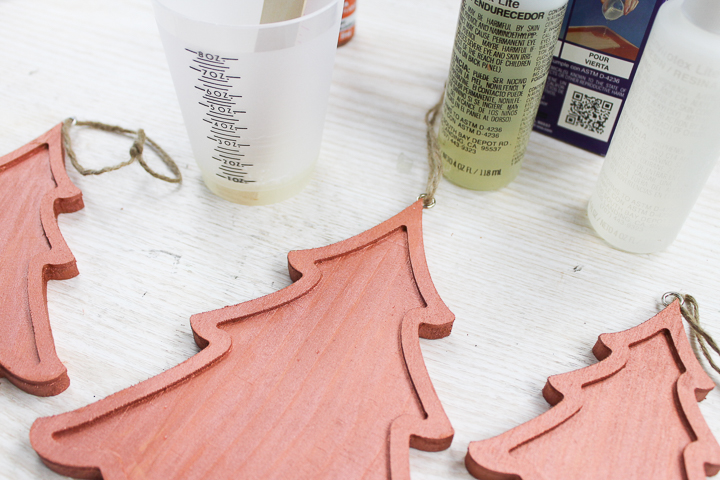
Pour the resin onto the ornament as shown below. I have not been able to find these exact trees for sale anywhere currently. So, you can also make these with a wood Christmas tree that is flat. For this step, pour just enough resin so that it reaches the edges. You can clean up any spills over the side as it cures.
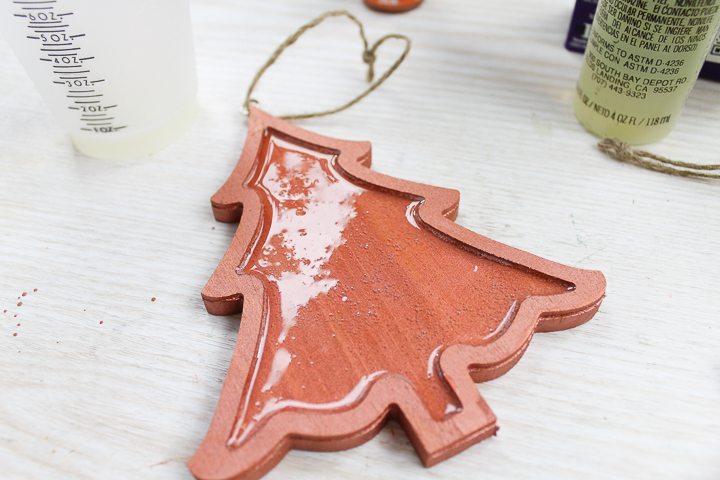
Immediately add in your silver flakes. You can add as much or as little as you want. Use a stir stick to embed into the resin coating. You can add more resin to the project if needed.
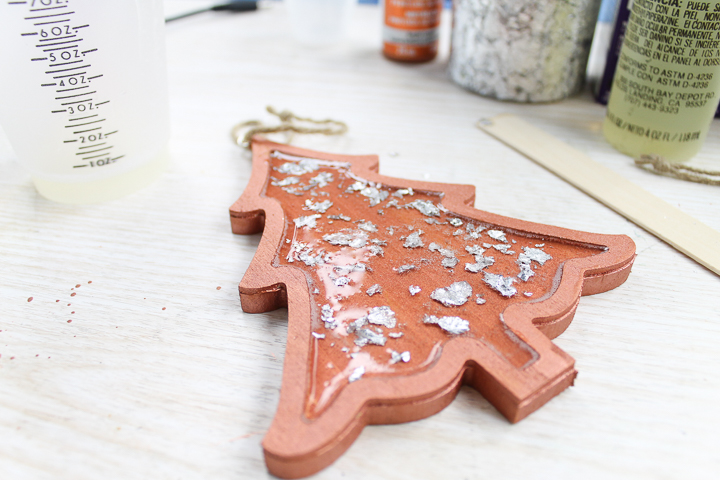
Then just allow the resin coating to cure. This will take overnight and you will need to make sure the ornaments are level during this time. You will also want to pop any bubbles that rise to the surface of the resin before setting them aside.
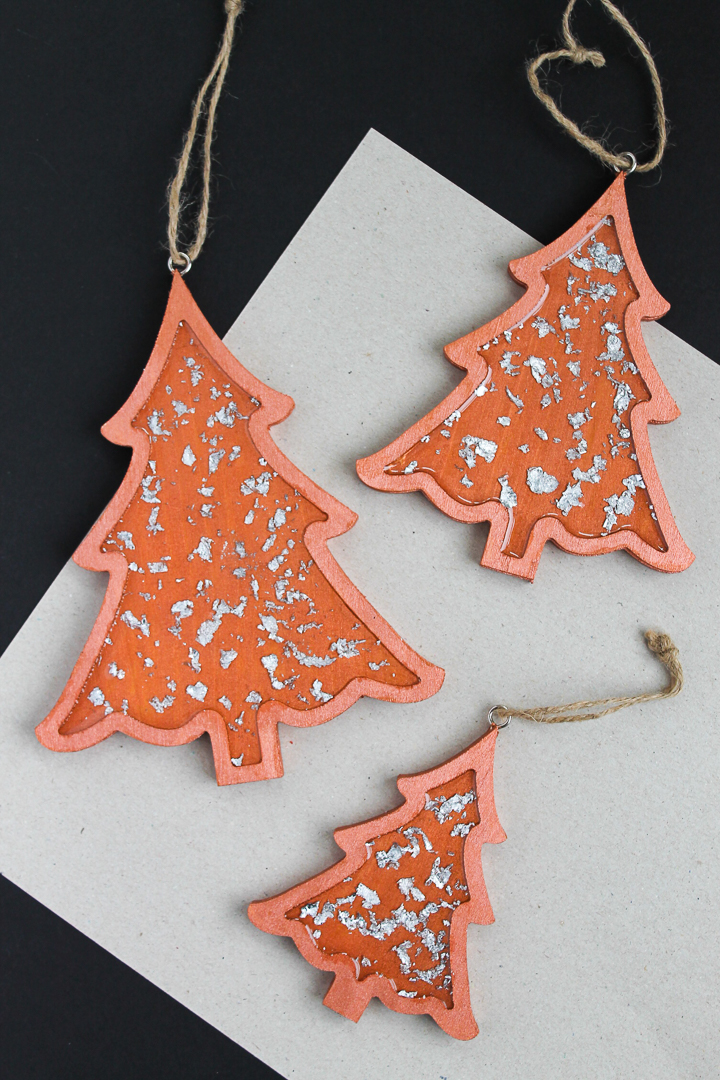
Once cured, you have a glittery look on any ornament with no actual glitter required. I find that silver leaf is way easier to clean up but it gives me that sparkly look that is perfect for the holidays.
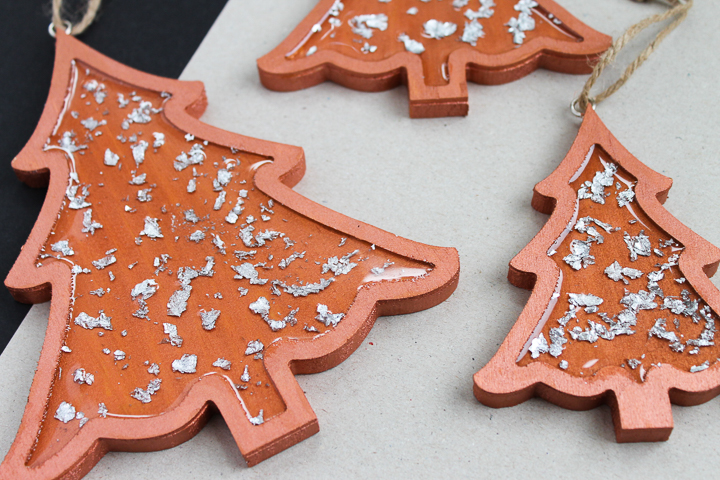
All that is left is to hang these DIY Christmas tree decorations.

You can also mix up the colors of this one to match your theme this year. Pick paint colors that work with your tree and leafing comes in a wide variety of colors as well. You will be making decorations for your Christmas tree in no time at all!
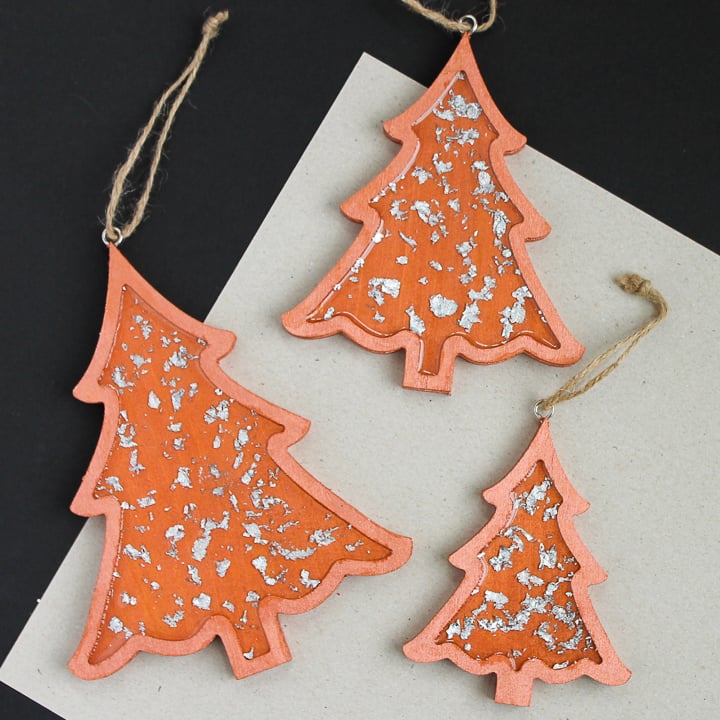
Love these DIY Christmas tree decorations and need more ideas? Try the links below from our bloggers joining in this week.
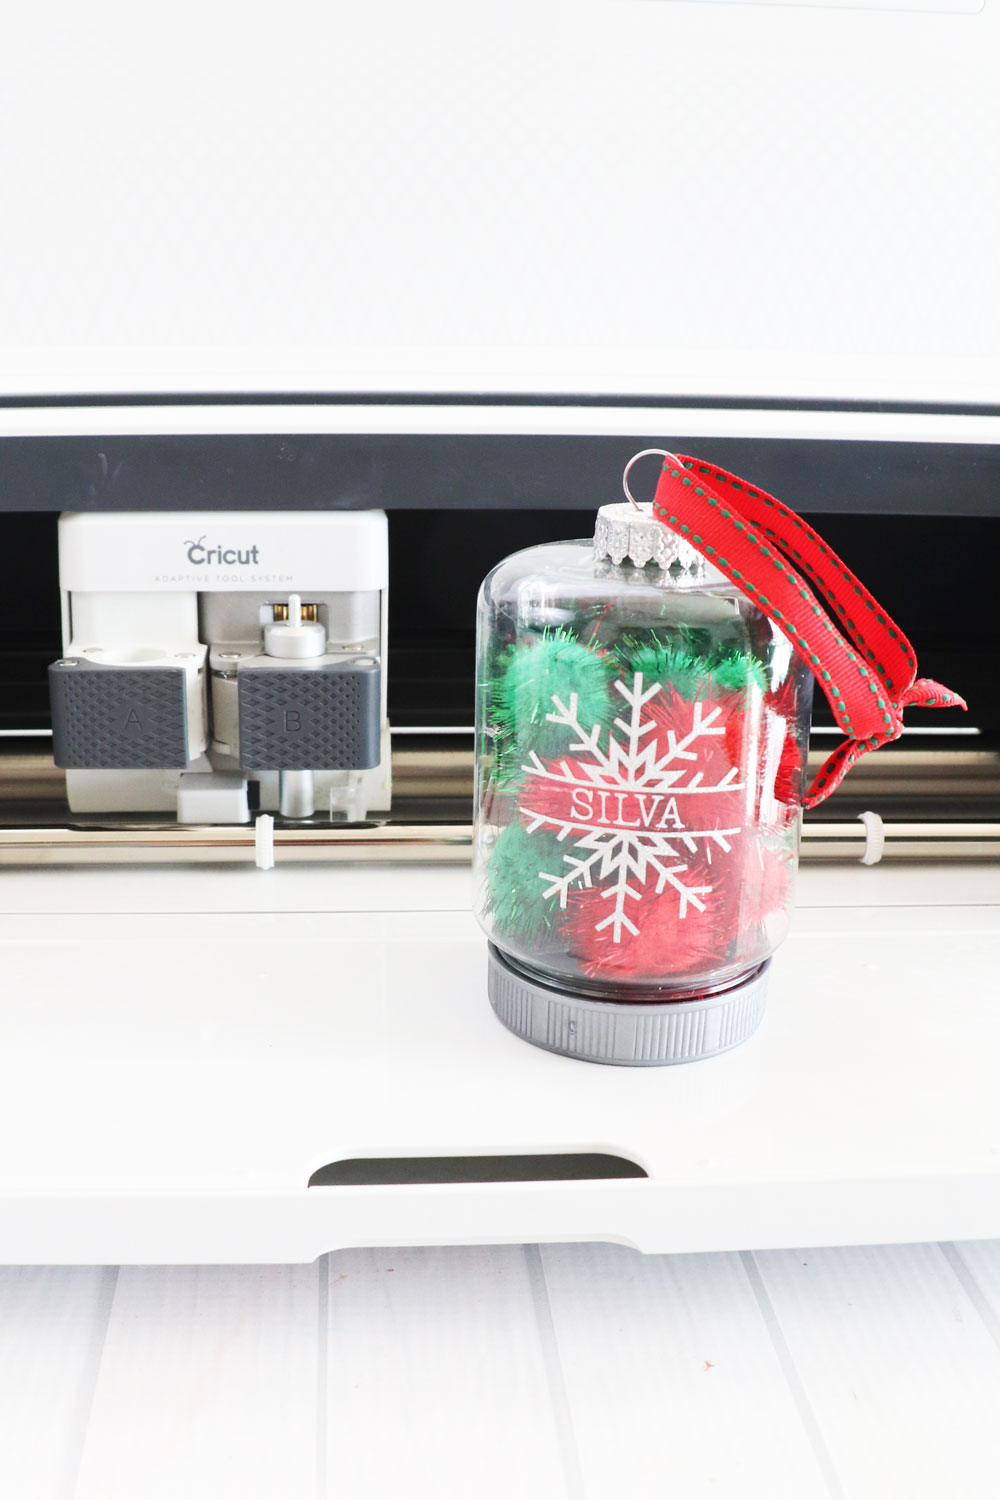
If you love mason jars, you will want to make a personalized mason jar ornament like this one from Laura's Crafty Life.
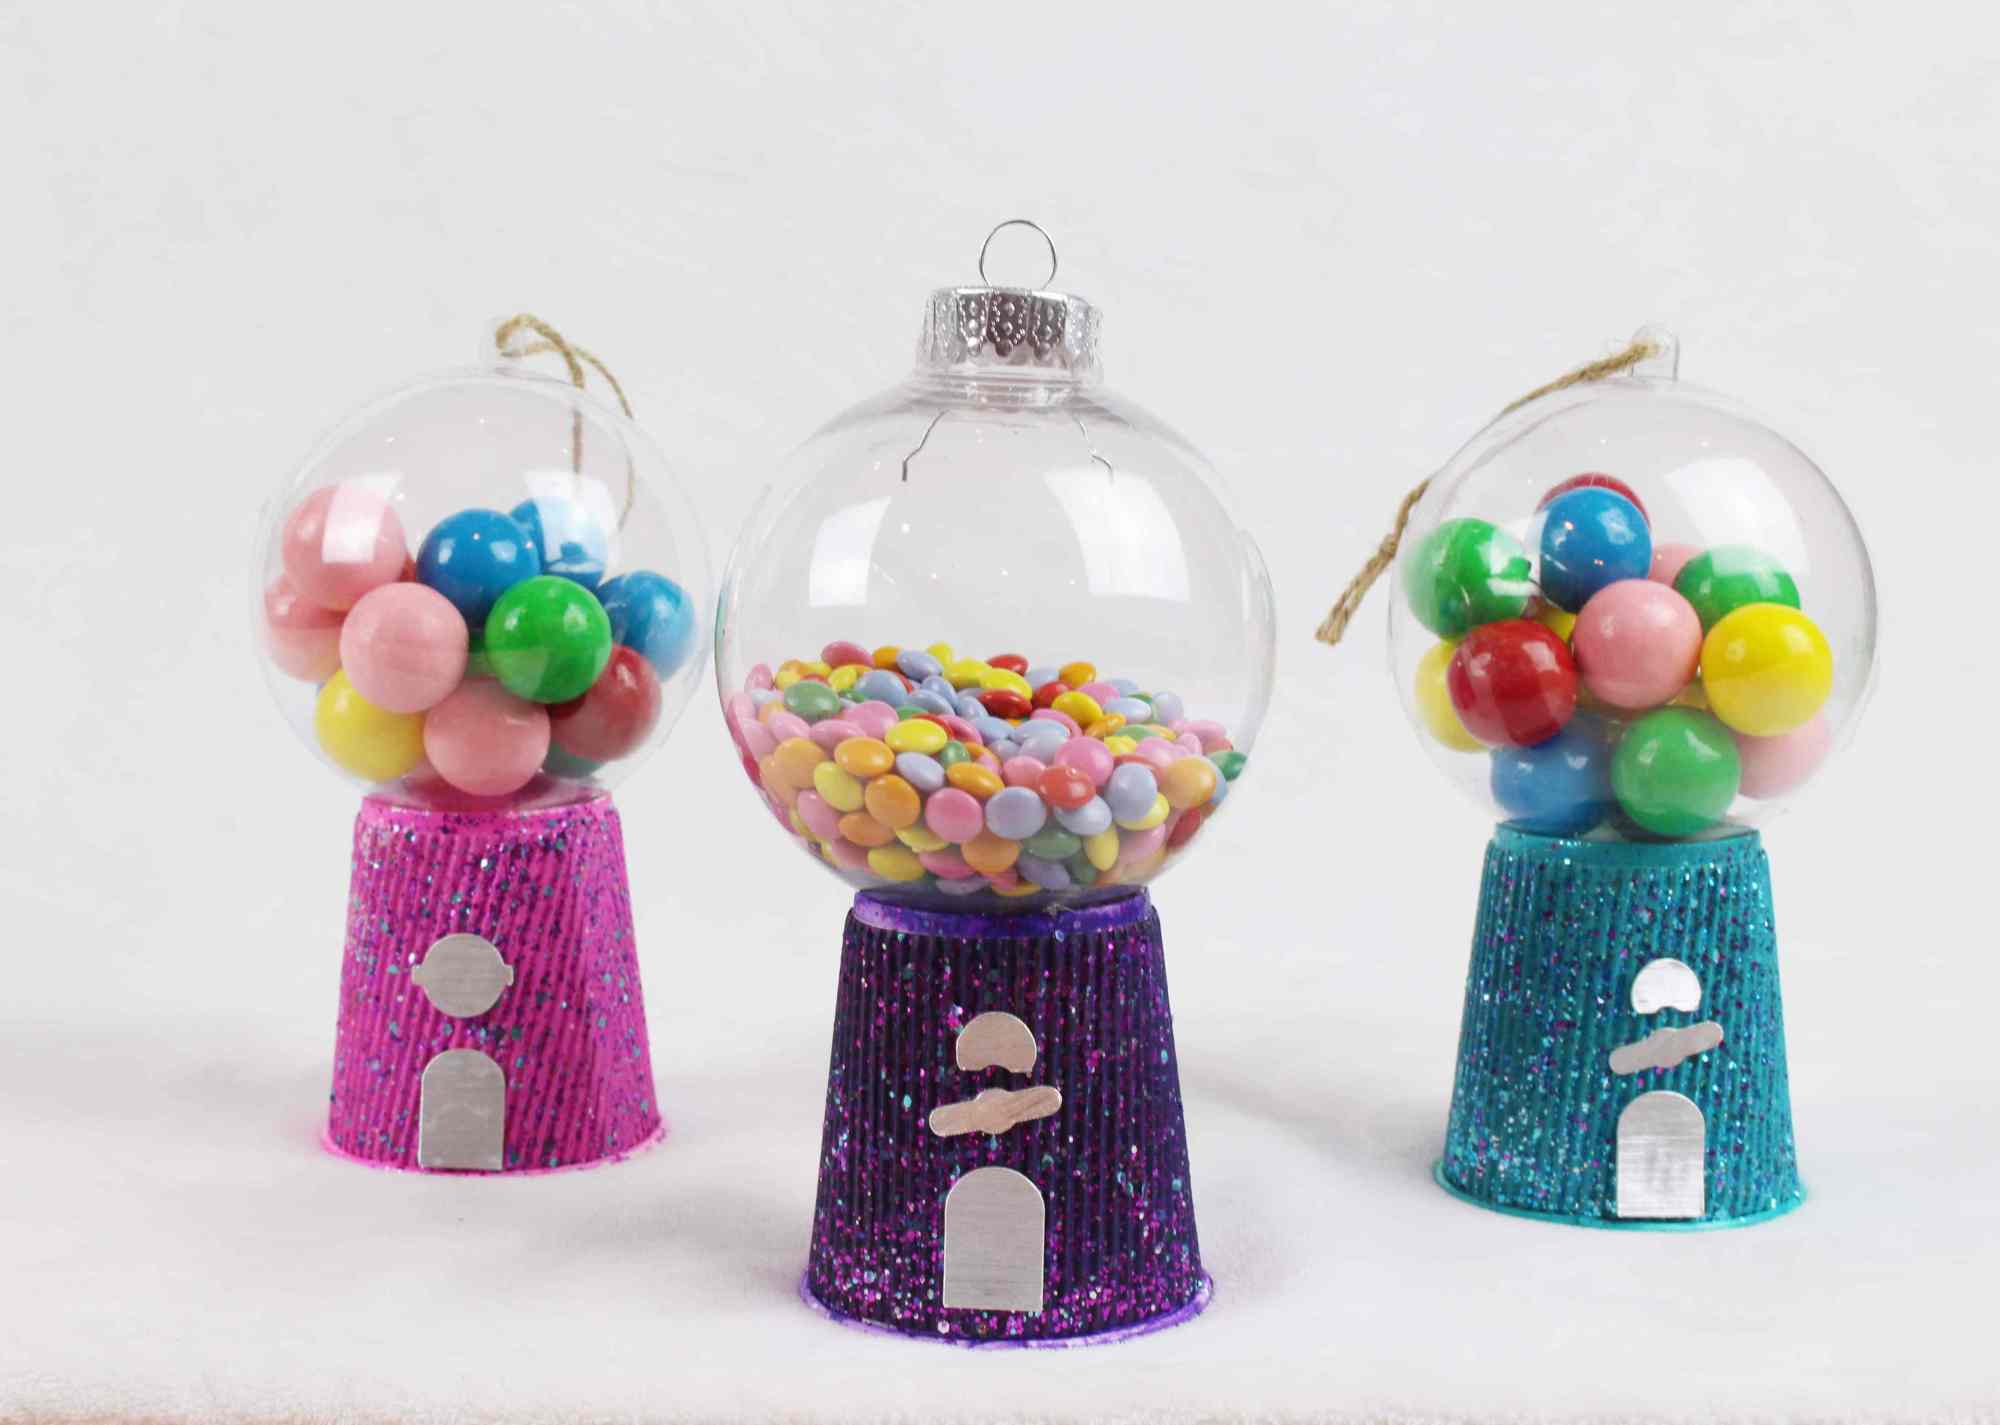
The kids will love making these gumball machine Christmas ornaments from Brooklyn Berry Designs.
You may know that you can make a glitter ball ornament but did you know that you can make an ombre ornament with glitter? Southern Georgia Style is showing us how.

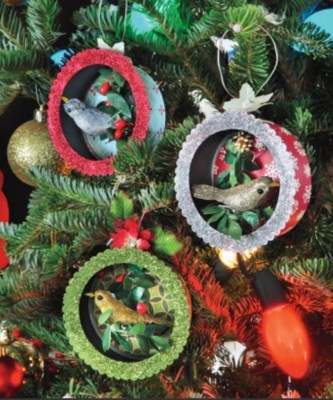
You can also make these cute bird ornaments from 365 Day of Crafts for your tree this year.
This snowflake maternity shirt from Doodle Craft is a great addition to your pregnancy wardrobe this holiday season.

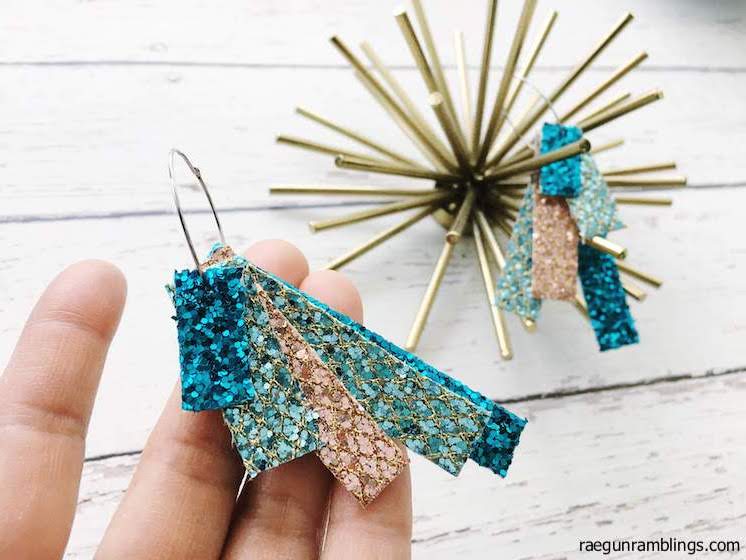
Rock these 5-minute glitter earrings from Rae Gun Ramblings.
Our co-hostess this time is Pineapple Paper Company and she is sharing these pretty DIY glitter letter ornaments.

So, make these DIY Christmas tree decorations or any of these other glitter projects this holiday season!
Struggling with resin and need help?
I know that a ton of you are intimidated by resin. Don't be! You just need to know the basics and gain some experience with the medium. I have a course that will help you master epoxy resin and give you the confidence you need to tackle this project and so much more.
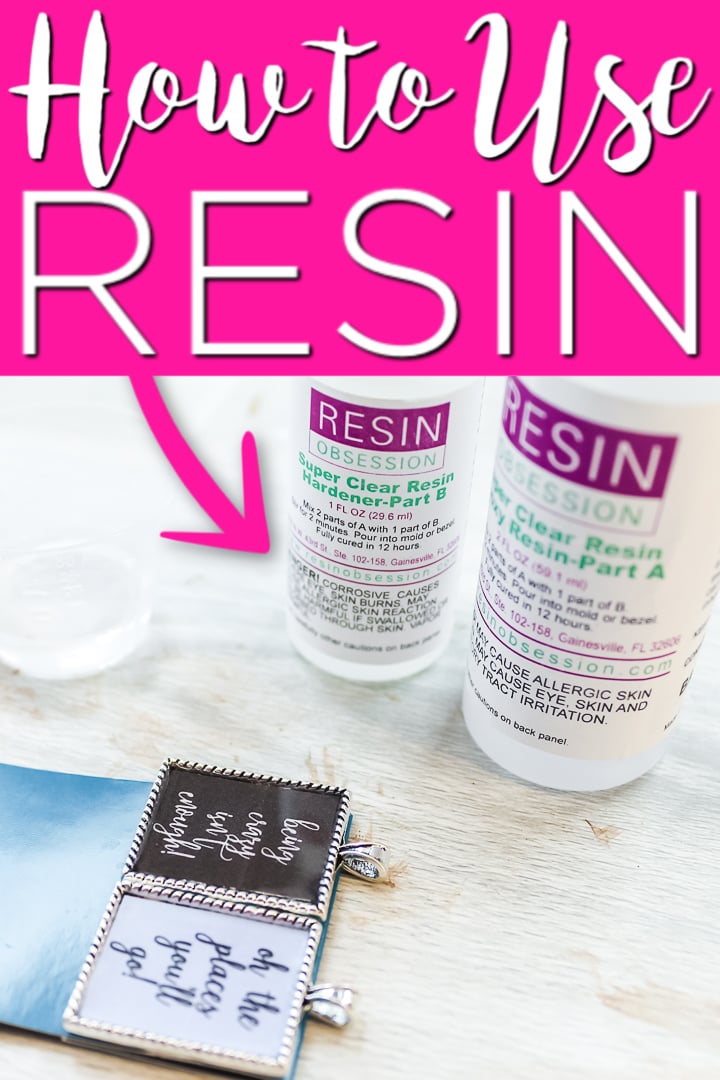
With unique insights drawn from more than a decade of creating and selling resin jewelry worldwide, this course is from an Amazon best-selling author on the topic. This class goes beyond making a few projects. You get thirty video lessons to give you clear directions on how to make resin jewelry you can confidently share and sell. Want to see more?
Equipment
- Stir Sticks
- Protective gloves
Supplies
- Wood ornaments
- EnviroTex Lite Pour-On High Gloss Finish
- Copper paint
- Silver leaf flakes
Instructions
- Start by painting all sides of your wood Christmas trees and allow the paint to dry completely. This may take 2 coats of paint.
- Then measure and mix your EnviroTex Lite Pour-On High Gloss Finish according to the package directions. Be sure to wear protective gloves and follow all mixing procedures that are included in the package.
- Pour the resin onto the ornament. Pour just enough resin so that it reaches the edges. You can clean up any spills over the side as it cures.
- Immediately add in your silver flakes. You can add as much or as little as you want. Use a stir stick to embed into the resin coating. You can add more resin to the project if needed.
- Then just allow the resin coating to cure. This will take overnight and you will need to make sure the ornaments are level during this time. You will also want to pop any bubbles that rise to the surface of the resin before setting them aside.
- Once cured, you have a glittery look on any ornament with no actual glitter required. Now, it's time to hang on your tree!


