Custom dinnerware adds a really amazing touch to any holiday gathering. If you enjoy painting, try making DIY-painted plates. Use this tutorial for making DIY deer plates!
People spend tons of money buying dinnerware, and people end up owning the same sets of plates. However, if you want a unique set of plates, try painting your own. It’s not as hard as it may sound!
And you don’t need to be a professional artist to create amazing-looking DIY painted platters.
Plus, hand-painted plates add a very special touch to your holiday tablescape.
Today, I’m showing you how to make hand-painted deer plates. These plates are super easy to make and will really impress your guests during the holiday season (or anytime!).
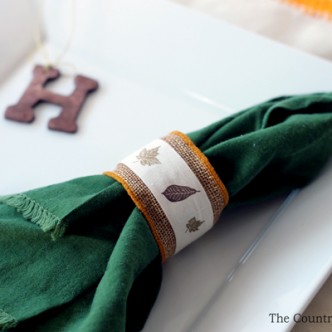
Note: if you want more holiday table inspiration, check out our How To Make Custom Napkins, DIY place cards, and DIY napkin rings tutorials.
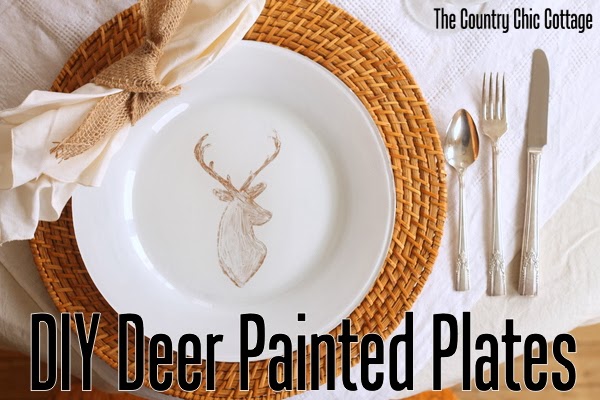
How To Make Hand-Painted Deer Plates
Carolina from 30 Minute Crafts joins me in the video below as we show you how to paint with DecoArt Multi-Surface paint.
You can see how to make my plates as well as an adorable reindeer from Carolina. Her reindeer is perfect for a napkin ring, y’all, so be sure to watch the video.
Project Supplies
You don’t need much for this project. Here’s everything you’ll need, and I’ve included some handy links to make finding certain items a little easier and faster.
- Plain white ceramic plates
- Rubbing alcohol
- Printer paper
- Gold sharpie marker
- DecoArt Multi-Surface paint
- Americana Decoupage Outdoor formula
Deer Plate Painting DIY Video Tutorial
You can literally make a plate in less than 10 minutes. Don’t believe me? Check out the video below for the proof.
Project Instructions
For any of you that don’t like watching videos, here are the brief step-by-step instructions.
Step 1
Wash plate well with rubbing alcohol.
Step 2
Print the image you want to use on plain printer paper and tape it to the front of your clear plate.
Step 3
Trace the image on the back of your deer plate with a gold sharpie marker. Fill in the image with a marker as well.
Step 4
Paint DecoArt multi-surface paint on your plate right over the top of your sharpie marker. You will need at least two coats of paint on your plate.
Step 5
I recommend adding the Americana Decoupage Outdoor formula to your plate to help protect your design. Two coats will help protect your design better than one coat will.
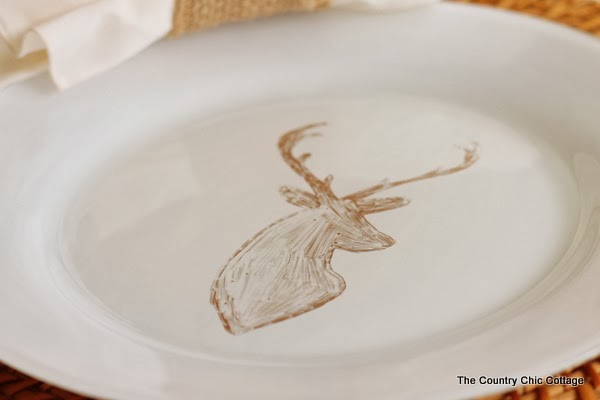
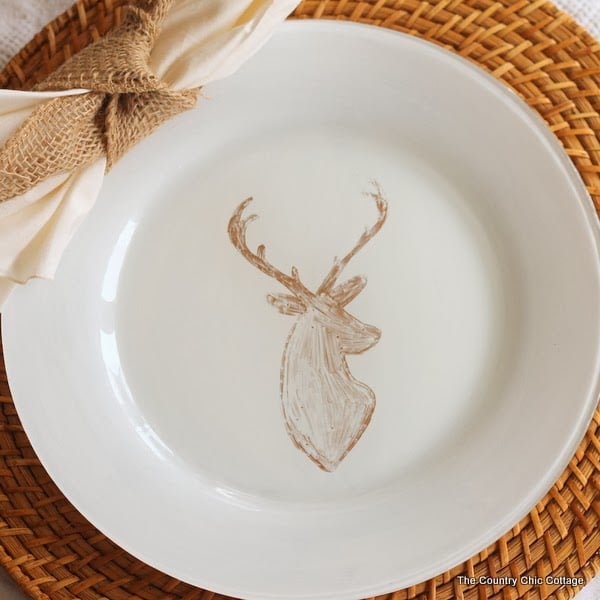
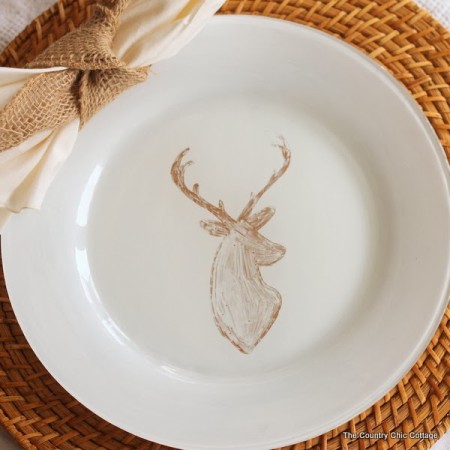
The final result is a really awesome rustic design that almost looks worn. And all you did was draw with a sharpie and paint right over the top. This method is super simple yet gorgeous and perfect for any holiday party you are throwing this holiday season.
FAQs
Here are a couple of questions that I see readers ask about making these deer plates. If you have a question, please check to see if I’ve already answered it below. Don’t see your question? Leave it for me in the comments!
Can I wash my deer plates in the dishwasher?
No, the dishwasher will wear off your painting and ruin your design. I recommend handwashing your DIY-painted plates.
Can I use this same plate painting method with different designs and colors?
Yes! Use any colors of Sharpie markers that you want and just follow the same process.
I think this would be so fun to try with the kids as well. Let them doodle on a plate, then paint over it to see what type of effects you can create. There are so many possibilities for creativity here!
I hope y’all enjoyed these fun DIY deer plates. If you thought that a painting plates DIY project would be out of your wheelhouse, I hope that this tutorial inspires you to try it yourself!
More DIY Crafting Inspiration
If you love this DIY deer plates project, check out these other popular craft ideas too!

Supplies
- Plain white ceramic plates
- Rubbing alcohol
- Printer paper
- Gold Sharpie marker
- DecoArt Multi-Surface paint
- Americana Decoupage Outdoor Formula
Instructions
- Use rubbing alcohol to clean your plate and remove any unseen residue.
- Print the image you want to use on plain printer paper and tape it to the front of your clear plate.
- Trace the image onto your plate with a gold sharpie marker. Use the marker to also fill in your image.
- Paint DecoArt mutli-surface paint right over the top of your sharpie marker drawing. Paint at least two coats onto your plate, allowing each coat to dry completely.
- Add a couple of layers of Americana Decoupage Outdoor formula to help protect your design. Allow each layer to dry completely. This is optional, but I recommend doing it.



Love the deer plates. They could be used all winter, great project/post. Always enjoy your posts even if I can’t use them. Look forward to seeing what you have for us every day. Happy Thanksgiving
how long do you have to wait between coats of paint and coats of decoupage?
Love the idea! What is the dry time between coats of paint and coats of decoupage? does (hand) washing hurt the finish?
Be sure to allow each coat to fully dry for at least a couple of hours before continuing with next coat. And hand washing should be fine!
Angie, the plate looks amazing! Love it.
Beautiful! Would these plates be dishwasher safe with the paint on them? Or would they need to be hand washed?
Hand wash only please! You can buy paint that can be baked to be dishwasher safe but I would still be extra cautious and hand wash. 🙂