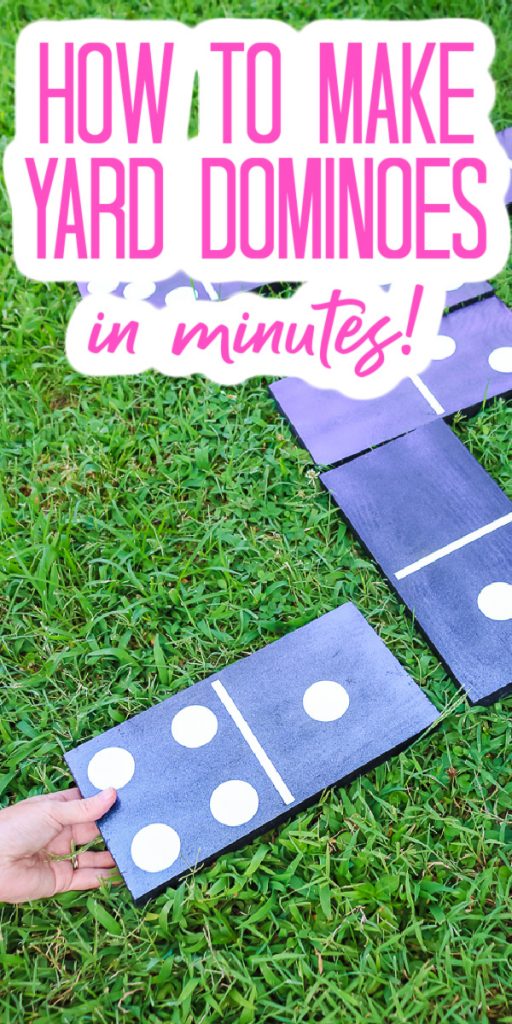
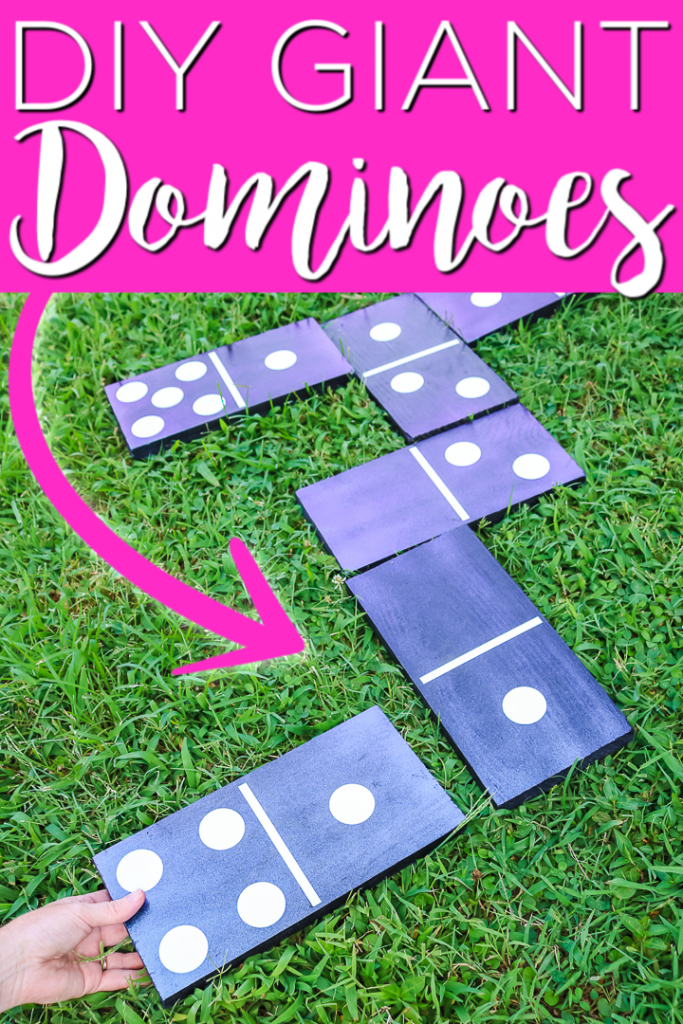
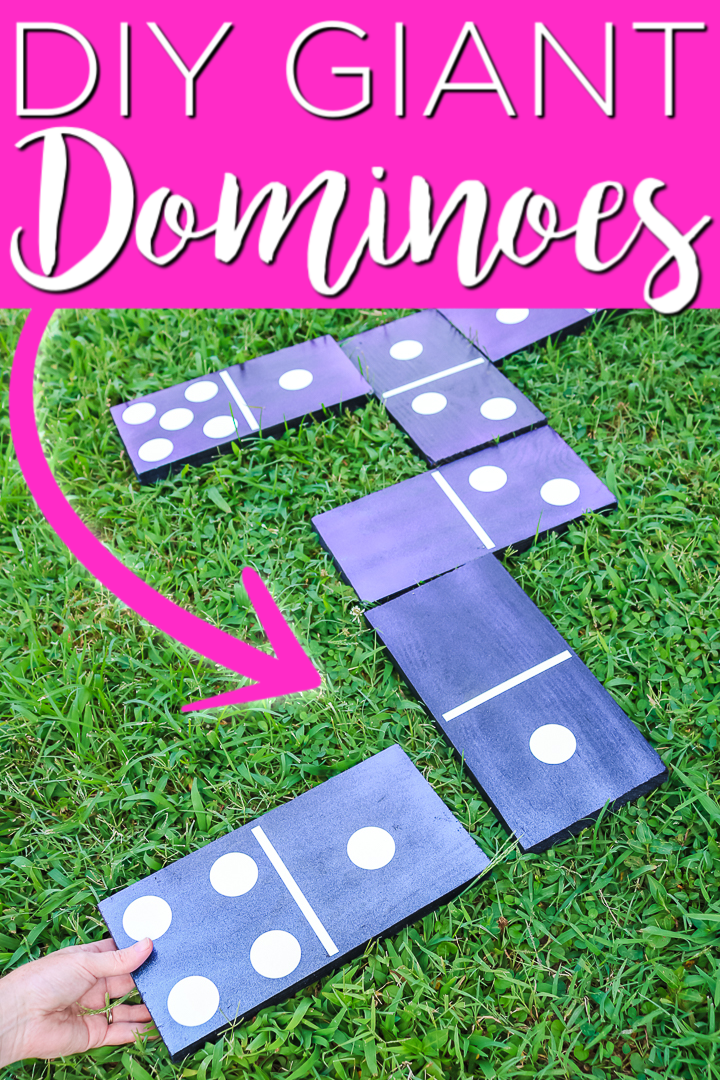
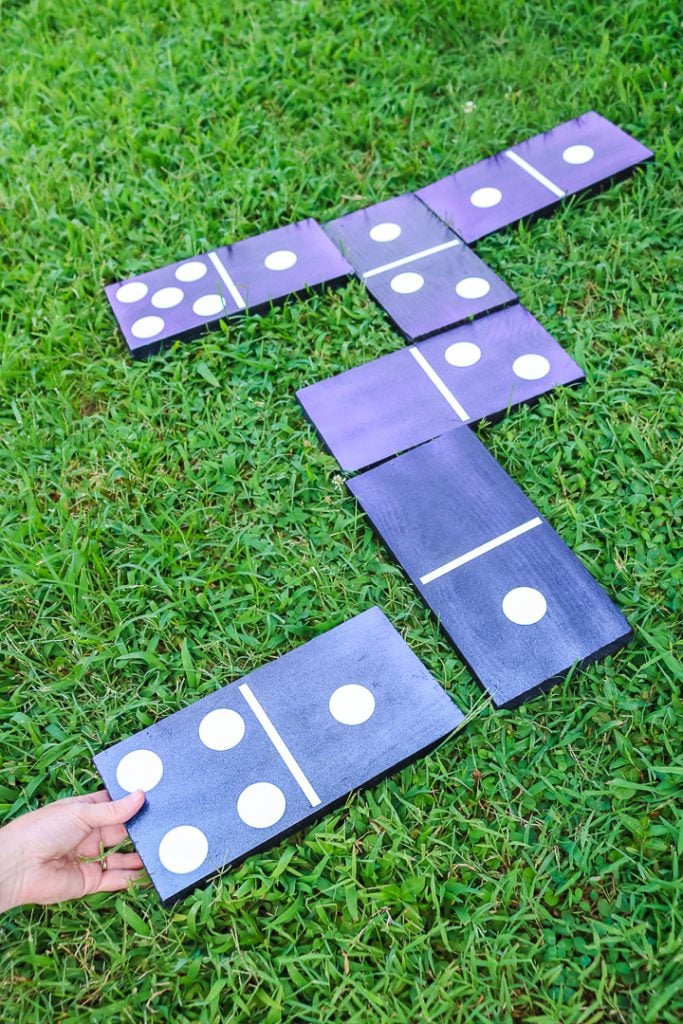
DIY dominoes are actually really easy to make and this huge version is great for the backyard. Pick up the supplies and make an entire game that will keep the kids busy for a while. These are also great for backyard parties or just a friendly family tournament. I actually used a color shift paint on these to make them extra special so you will definitely want to keep reading to see more about that. You might also want to make our giant four in a row game to go with this one.
This post is sponsored by Rustoleum, however, all projects and opinions are my own.
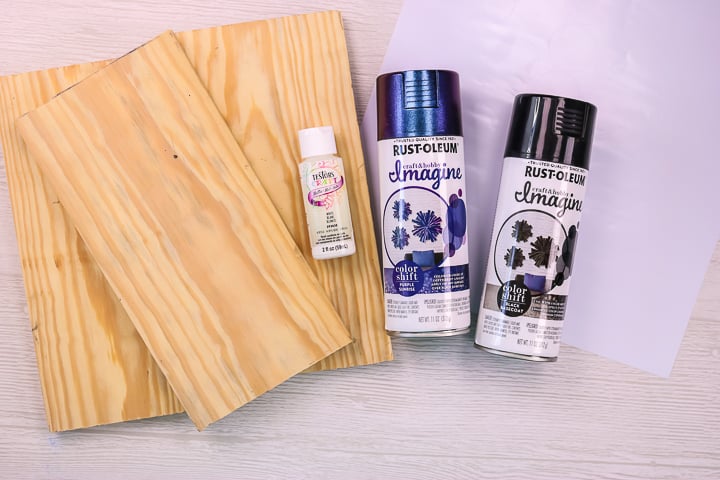
Supplies needed:
- 1 x 6 boards (or any size board)
- Saw
- Sandpaper
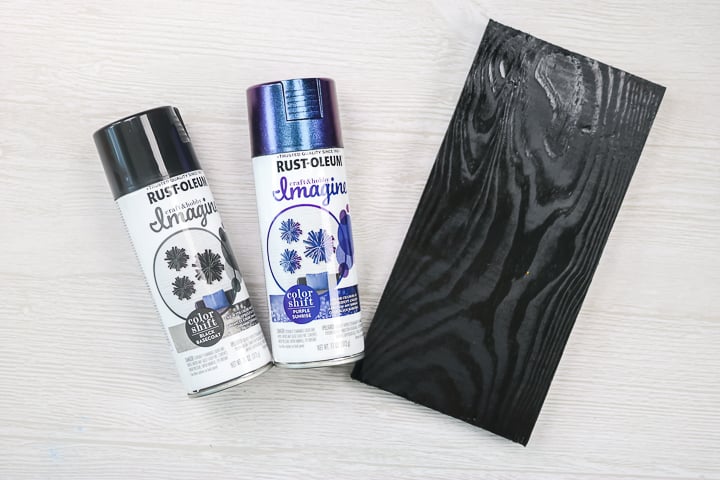
- Rustoleum Color Shift Basecoat
- Rustoleum Color Shift in any color (I am using purple sunrise)
- White paint or vinyl for lines and circles (I have a few different options for adding these below.)
How to Make DIY Dominoes
You can actually watch how to make these giant dominoes in the video below. This is perfect if you are more of a visual learner.
Can’t watch the video or missed some of the steps? You can also see the full set of instructions below.
Supplies
- 1 x 6 boards or any size board
- Saw
- Sandpaper
- Rustoleum Color Shift Basecoat
- Rustoleum Color Shift in any color I am using purple sunrise
- White paint or vinyl for lines and circles I have a few different options for adding these below.
Instructions
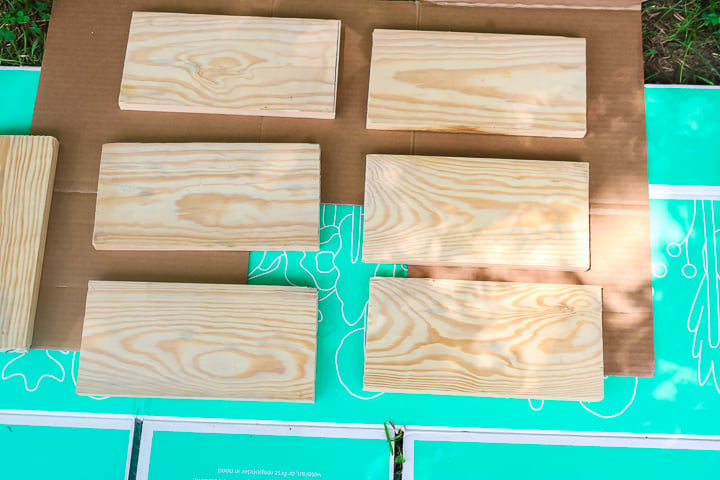
- Cut your boards twice as long as they are wide. Be sure to measure the board to get your measurement as a 1×6 board is not 6 inches wide.
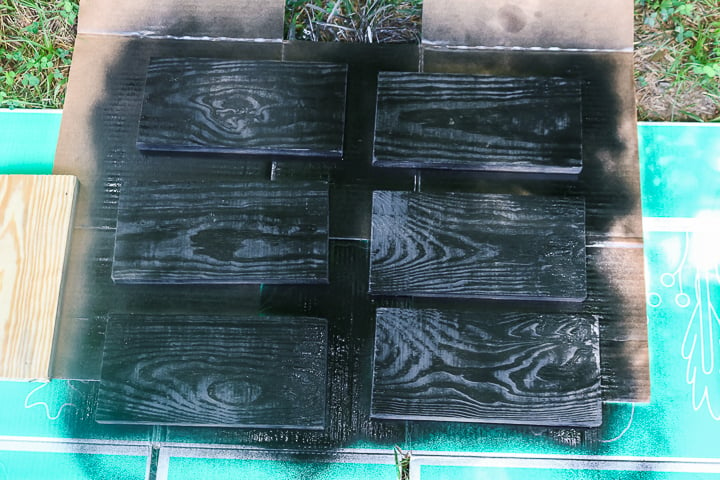
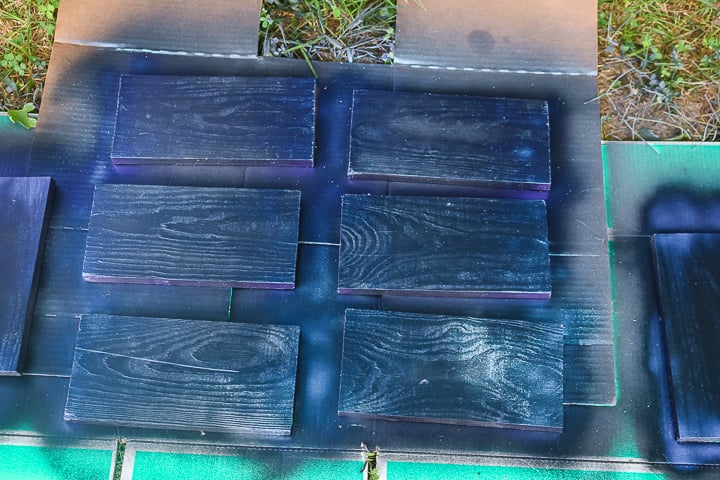
- Paint all of your boards with the black base coat. You will want to spray one side, allow it to dry, then flip your pieces over to paint the opposite side. Allow to dry for 24 hours before painting the color shift top coat.
- Once your boards are all black, you can use the color shift top coat in the color of your choice.
- Once again, paint one side, allow to dry, then flip over your pieces to paint the opposite side. Allow to cure for 24 hours.
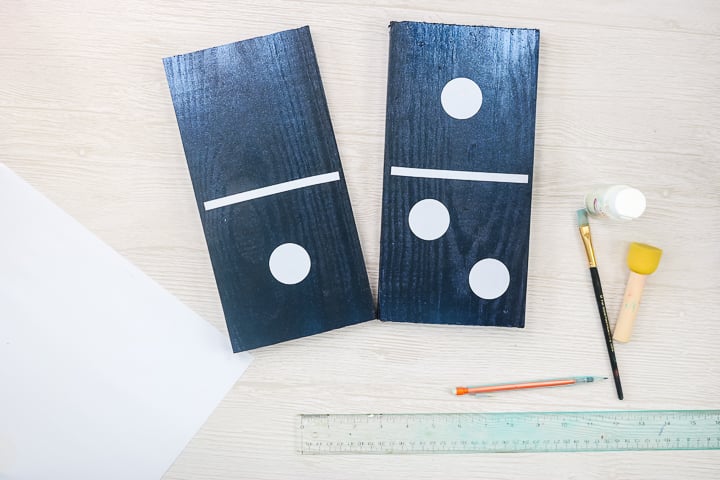
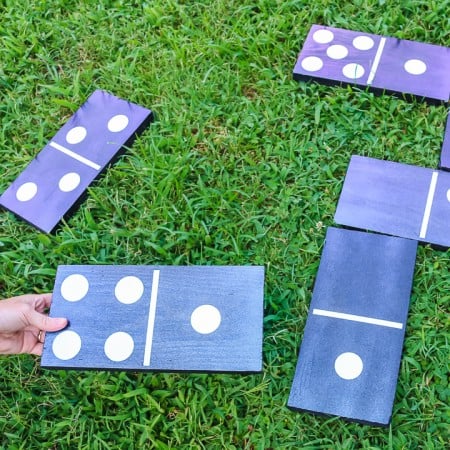
- Then you can add your middle lines as well as your circles to each domino one of three ways. First, you can use a round sponge brush and dip in the paint for the circles then freehand the lines with a paintbrush. Don't love the idea of freehand? Try cutting a stencil from vinyl on your Cricut and using the paint to fill that in. You can also just use the vinyl pieces on your dominoes if you have an outdoor vinyl. You can find a cut files for dominoes by searching for them in Cricut Design Space.
- Continue until you have added lines and circles to all of your domino pieces.
You will need enough supplies to make 28 dominoes if you are doing double sizes. If you want to do double nines, be sure to account for that on both material and sizing. Your wood pieces would need to be larger or your circles would need to be smaller.
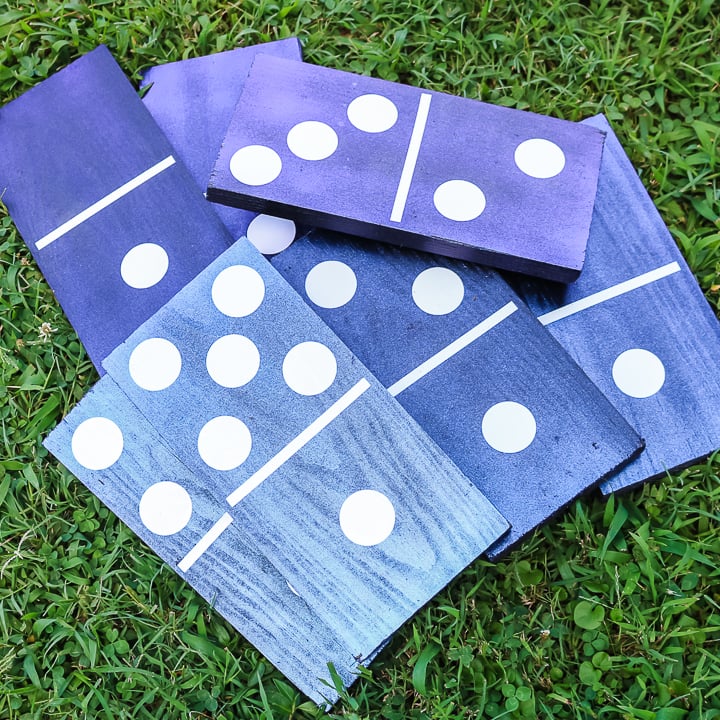
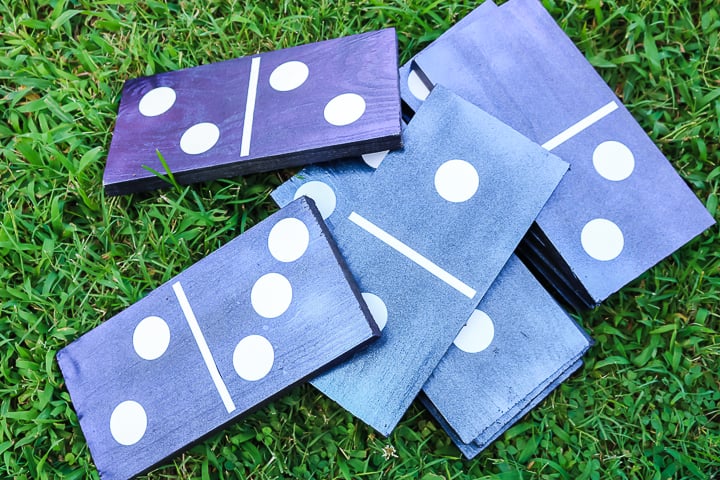
Once you have added the lines and circles, your DIY dominoes are ready to play! This fun game will be the hit of any party or weeknight backyard fun.
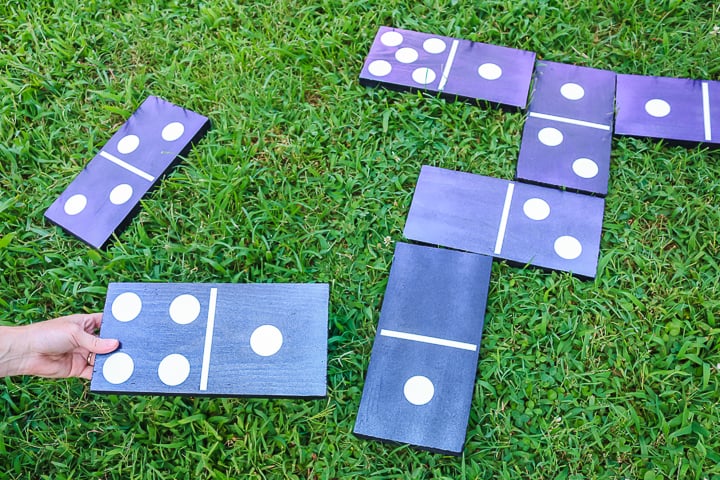
I love a project that is inexpensive and easy to make. Plus, one that will keep the kids occupied is a huge bonus.
Love this post and looking for more fun ideas with the kids? Try the links below as well!
