If you have a Cricut, you can make a DIY doormat easily. Yep, a custom doormat all your own which is pretty much the perfect way to celebrate the spring weather. So, grab one of the 11 free SVG files below and fire up your machine. You will be thrilled with the outcome and might just make a few for every season.
Note: This project works best with one of the Cricut Explore, Maker, or Venture machines. If you have one of the Cricut Joy Machines, you may have to get creative to make a larger stencil and tape them together.
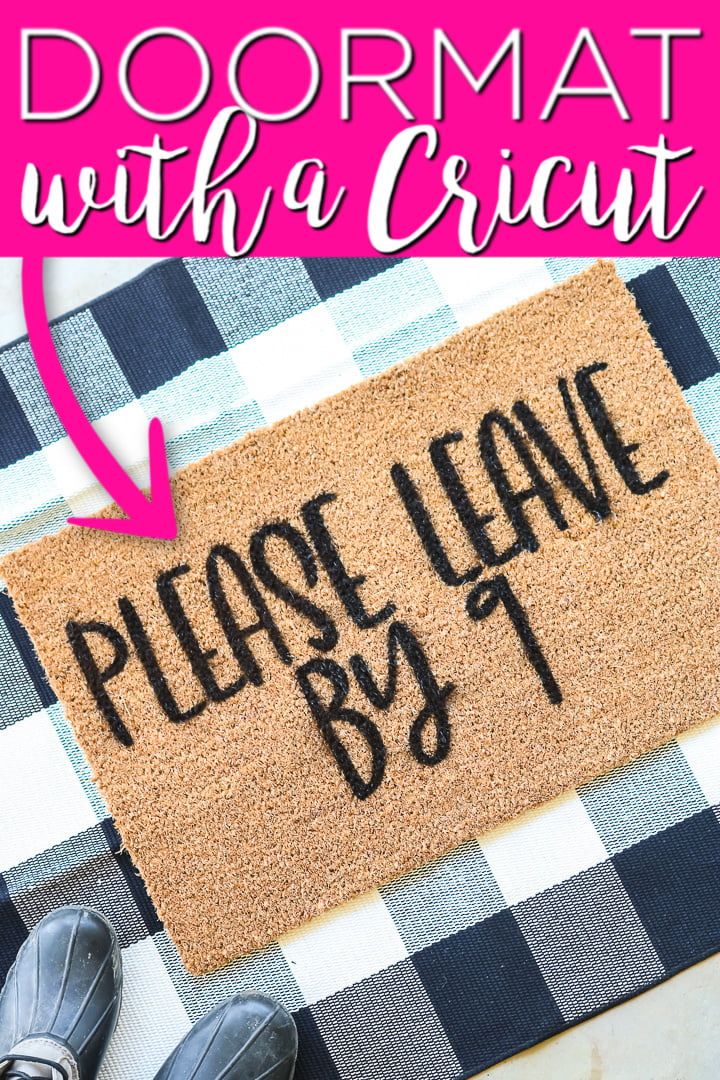
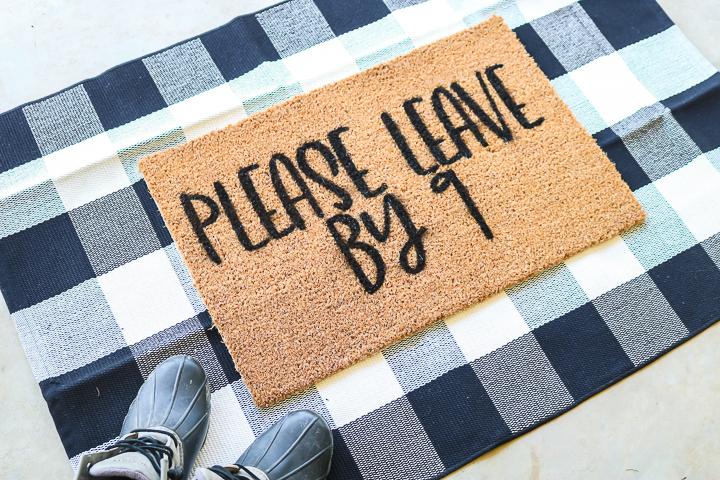
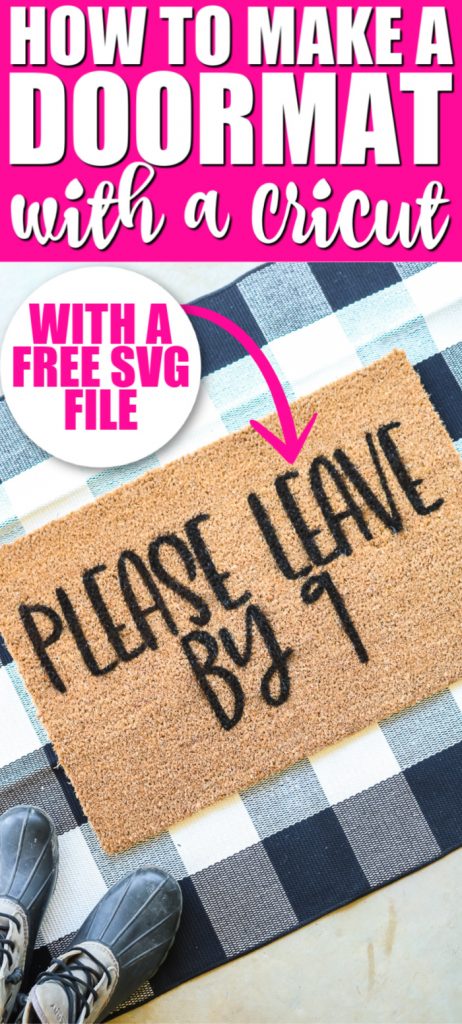
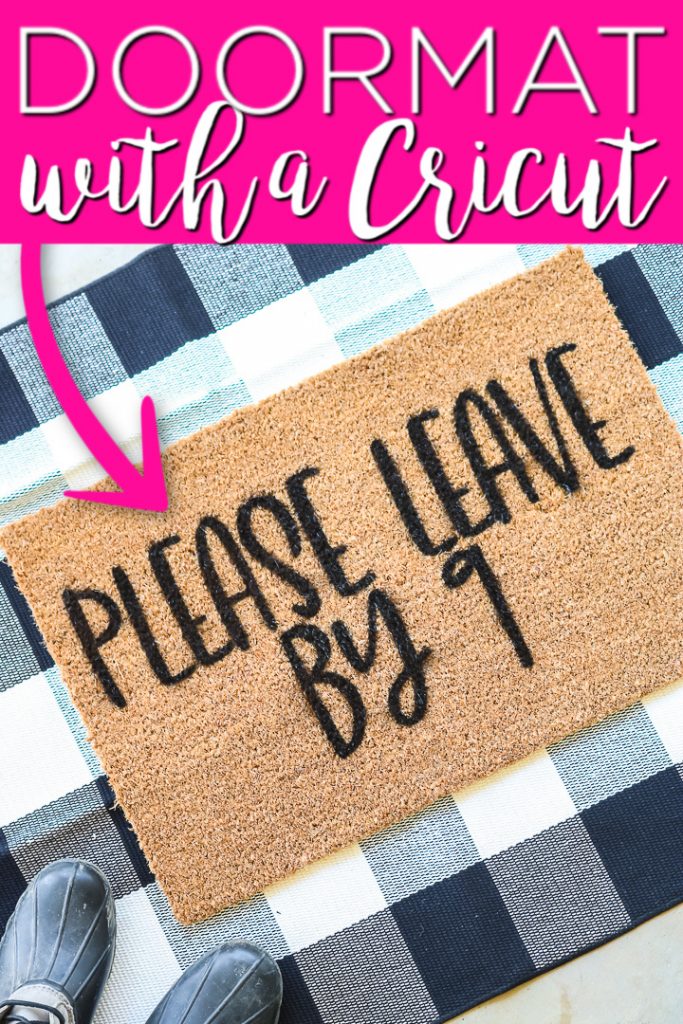
I love this farmhouse-style doormat! Most options available to buy are super expensive, but I made this for a fraction of the cost.
This look goes so well with my spring front porch decor. Plus, it adds a little bit of sass and humor to all those who knock!
You could do this project with any SVG file, so grab one and get started!
How to Make a Custom Doormat
Supplies to make a DIY doormat:
- Coir doormat (I found mine at IKEA)
- Freezer paper (you can usually get in the wrap section of your grocery store on Amazon)
- Spray paint
- Iron or EasyPress Mini
- Cricut machine
- SVG file (find 11 total free files below)
- 12×24 Cricut mat (blue preferred)
- Painter’s tape
- Black and white checked mat (optional)
Please Leave by 9 SVG File
You will need a design to add to your doormat. You can get my “Please leave by 9” file by signing up in the form below. Once you sign up, the file will be sent to your email. It will begin to download as soon as you click the button that is sent via email. It will download as a zip file that you will need to unzip before uploading to your Cricut. Need help uploading the SVG file? I have a post all about using SVG files with a Cricut.
Please note that this file is for personal use only. You can email me if you have any issues with your download or have any questions. Want the rest of the free files? You can find those towards the bottom of this post.
Now that you have all of your supplies as well as your free SVG file, you can fire up your Cricut and make your own doormat. See the video below to see just how to do that.
If you can’t watch the video or want more instructions, you can follow along with our how-to below as well.
Step by step instructions
Step 1: Prep your freezer paper
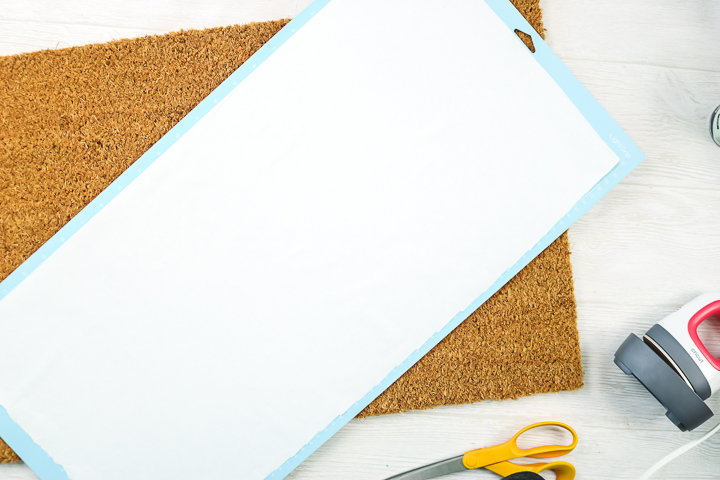
To start, add your freezer paper to your Cricut mat with the shiny side down on the mat. Remember that for large doormats you will need the 12×24 mat for cutting. I like the blue mat but the green should work as well.
Step 2: Cut your design
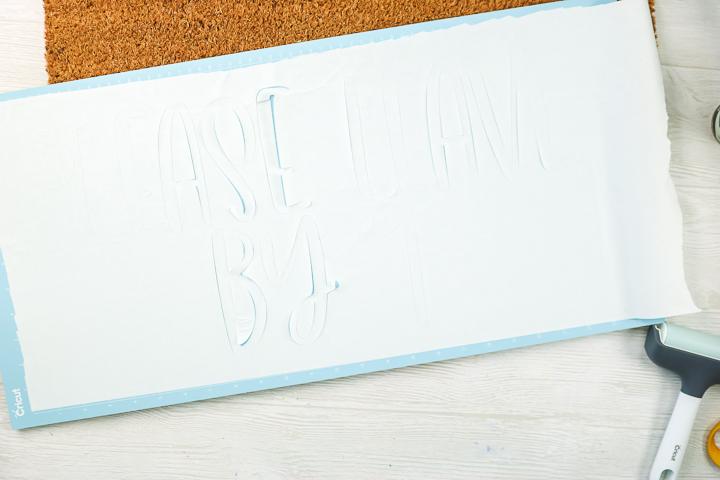
Cut the design from the freezer paper using a light cardstock setting on your Cricut. Be sure to resize the design to fit your doormat. I also like to center the design on my mat so I will have as much as possible around the outside edge to prevent paint overspray.
Step 3: Weed the design
Next, start removing all of the letters from the design. You will need to keep things like the centers of letters.
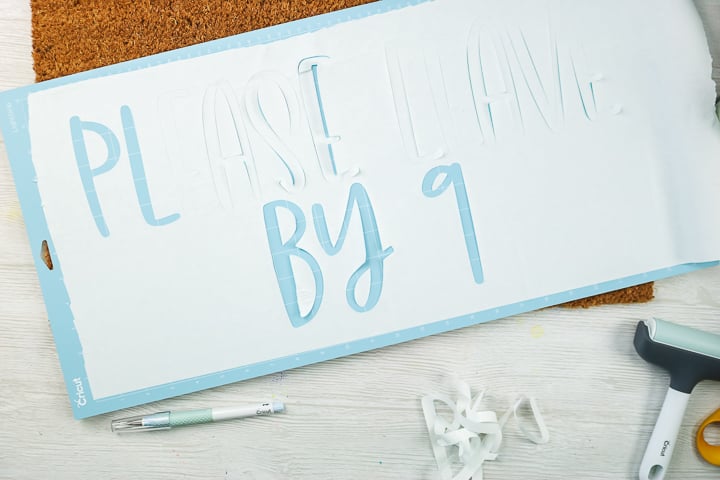
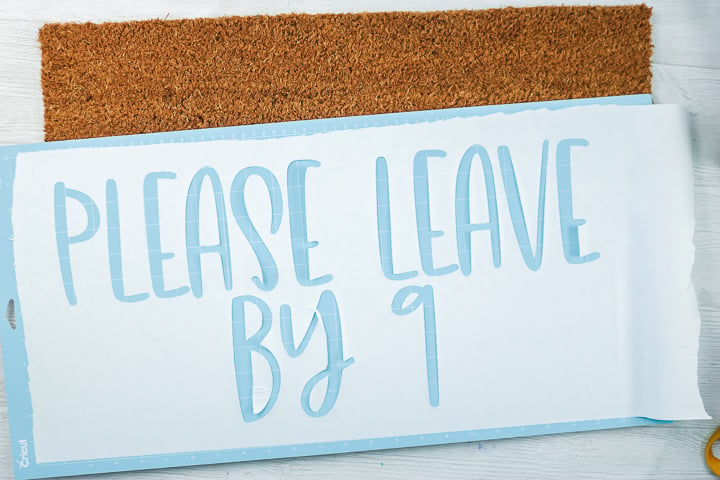
Once your design is fully weeded, you will be left with something like the image below.
Step 4: Remove the design from the mat
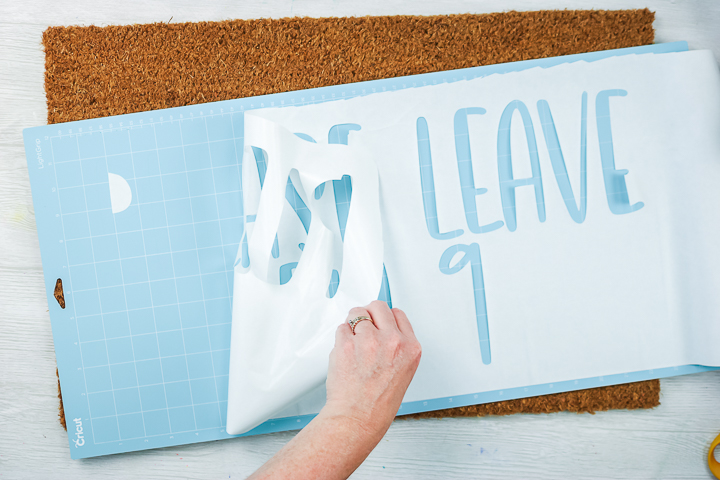
Then, carefully remove the outer piece from the mat. Go slowly so you will not tear your design.
Step 5: Leave the center pieces
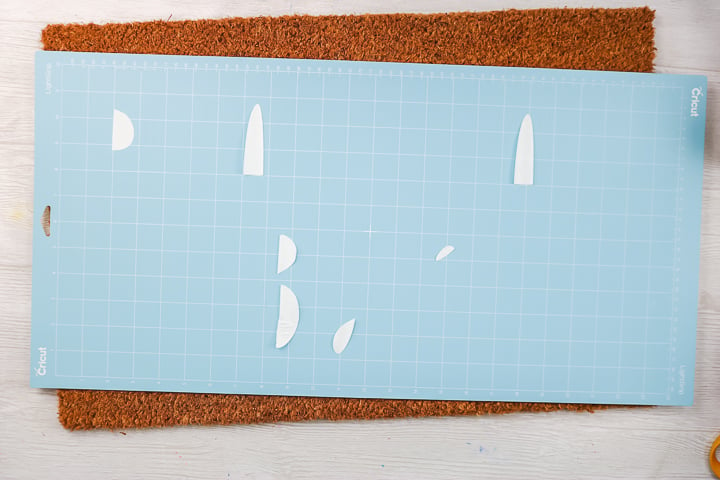
Leave the centers of the letters on the mat for now so you will not lose them and set aside.
Step 6: Apply the freezer paper stencil
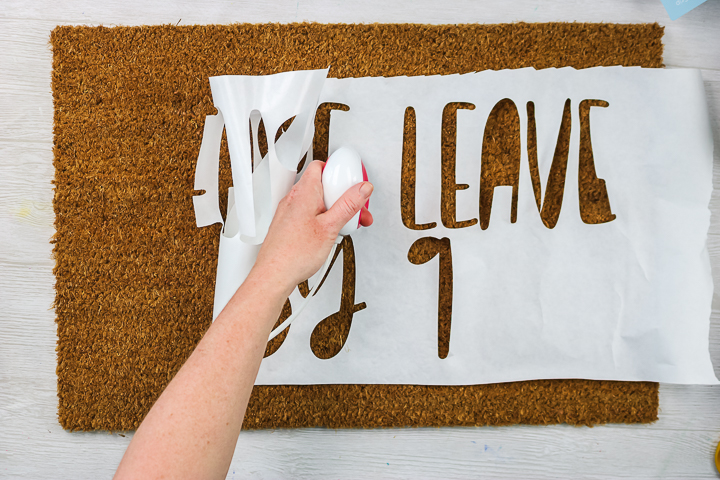
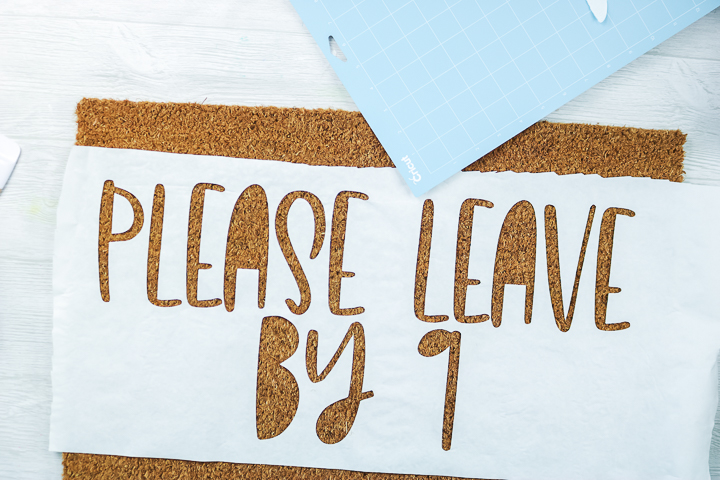
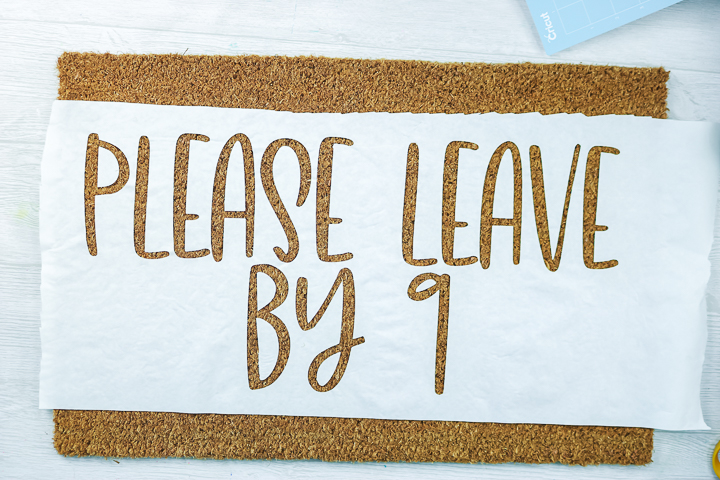
Apply the freezer paper to the doormat with an iron or EasyPress Mini. You will need to press for a while as there is not much area to adhere to on the doormat.
Work your way all the way around the design. If you have issues with some areas lifting, use something to hold them down while they are hot and lift when cool. This usually helps them to stick.
Step 7: Add the center pieces
Once your outside design is in place, start adding the centers of the letters in the same manner. Keep adding with the iron until your entire design is in place on your mat.
Step 8: Tape the exposed areas
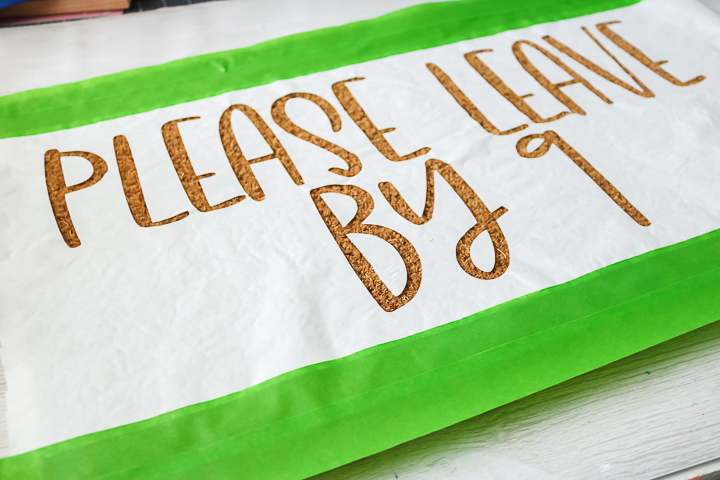
I also like to cover any exposed area on the mat with painter’s tape to prevent overspray from getting where it shouldn’t.
Step 9: Take your project outside to paint
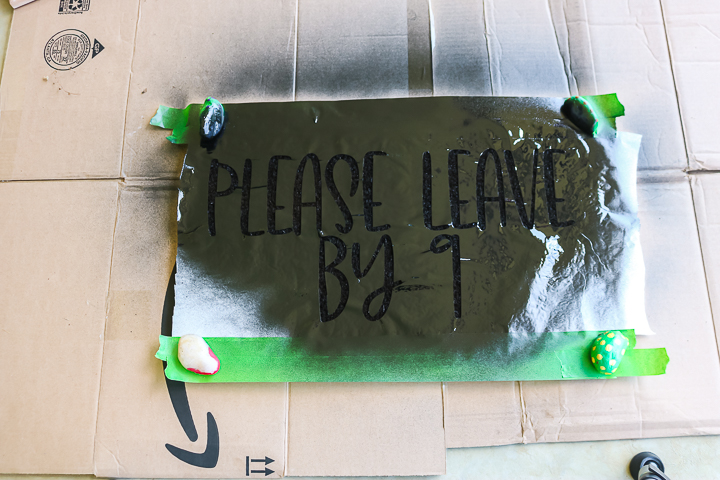
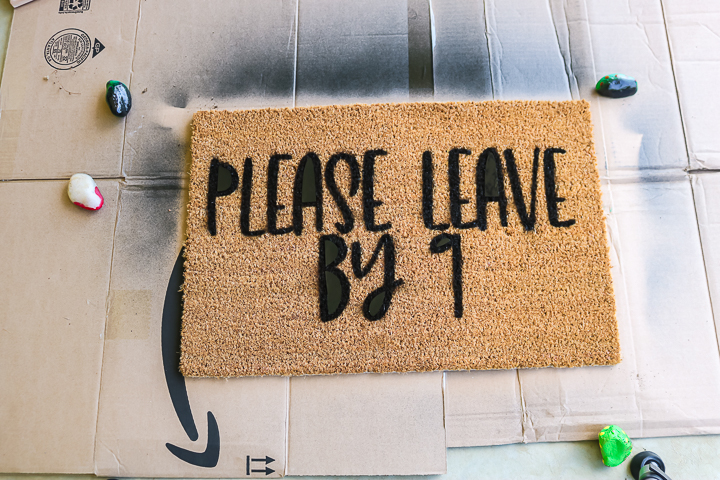
Carefully lift your mat and transfer outside for painting. I like to use spray paint and paint from the top down in several light coats. Be sure to cover all of the stencil completely.
NOTE: it was a windy day so I put rocks in the corners to help hold everything down. The tape does not stick really well to the doormat so it was not enough to hold it by itself.
Step 10: Remove the freezer paper
While the paint is still wet, peel back the freezer paper to reveal your design. It will easily lift off your mat. Then remove the centers of all of your letters in the same manner and allow your doormat to dry completely.
Step 11: Place your new doormat and enjoy!
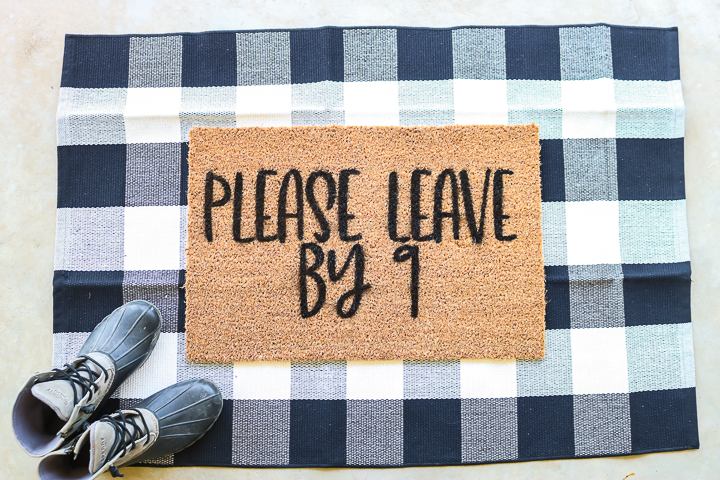
You can then place your doormat on your front porch to let everyone know to leave by nine when they come to your home.
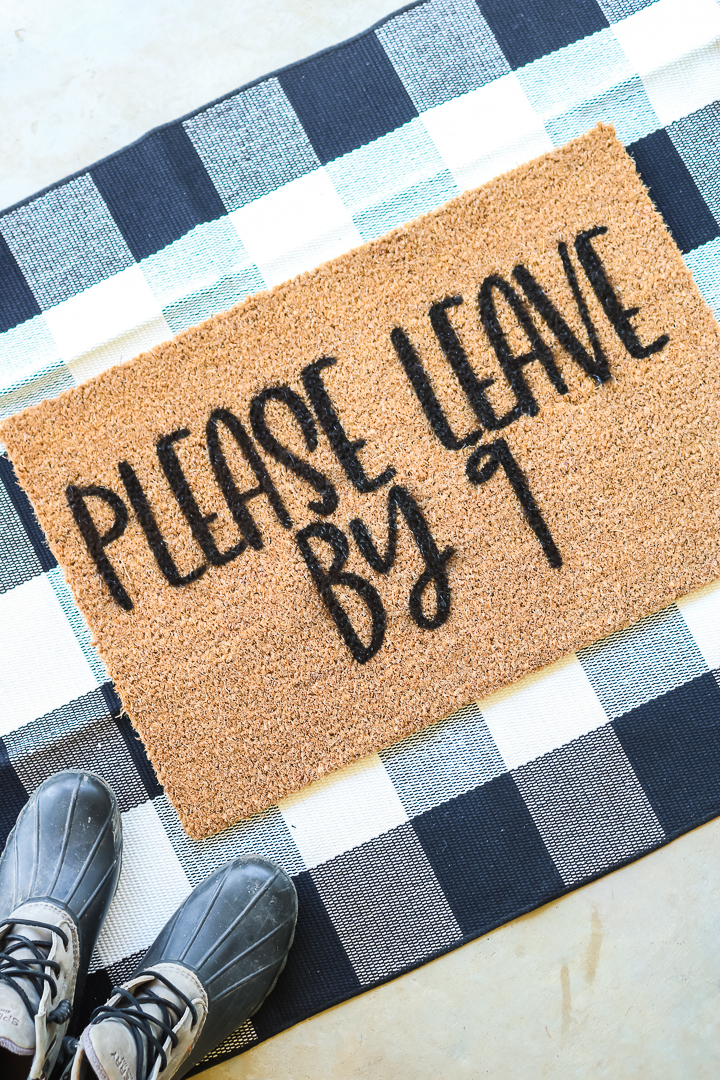
I added my DIY doormat to the top of a checked doormat on the front porch. I love how it looks!
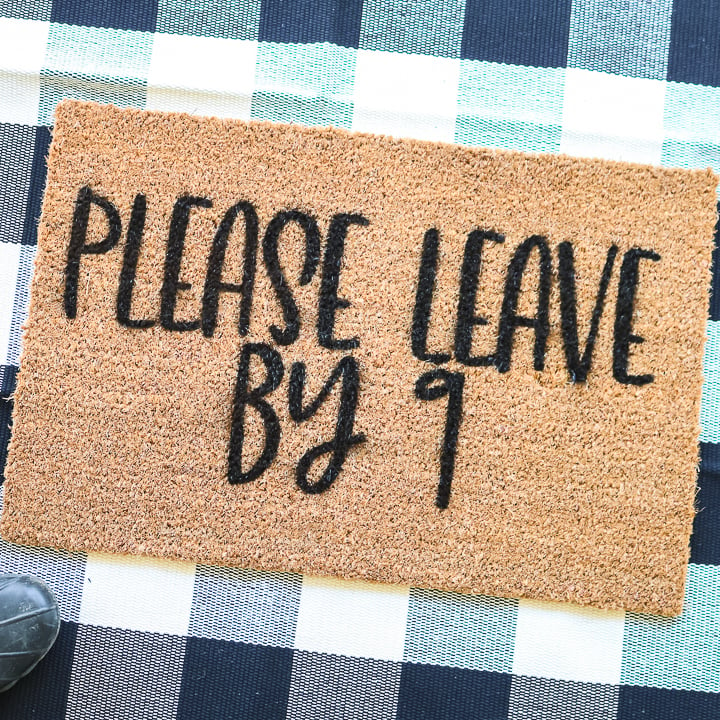
Yep, I think I need to make one of these doormats from just about every occasion. What about you? Have you ever made a doormat with your Cricut?
More Free Doormat SVG Files
I love a funny doormat. It is like my favorite thing on Earth. So, I also teamed up with my Totally Free SVG crew to bring you some other designs you might like. That said, if you don’t want to ask your guests to please leave before 9, you might like one of these other designs.
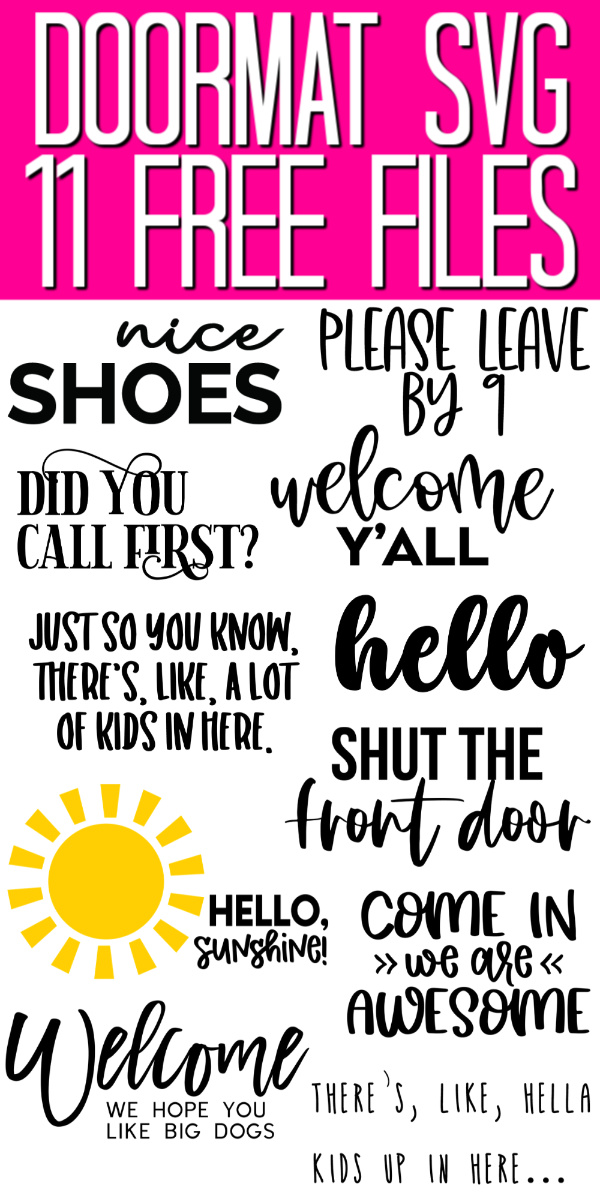
Click on each of the links below then follow the instructions on the page to get your free SVGs.
- There’s, Like, a Lot of Kids in Here by Brooklyn Berry Designs
- Welcome, Y’all by Pineapple Paper Co.
- Hello by Hello Creative Family
- Hello, Sunshine by Happiness is Homemade
- There’s, Like, Hella Kids in Here by Everyday Party Magazine
- Come In, We Are Awesome by Happy Go Lucky
- Shut the Front Door by Artsy-Fartsy Mama
- Welcome, We Hope You Like Big Dogs by Pattern Revolution
- Nice Shoes by Crafting in the Rain
- Did You Call First by Mad in Crafts
So, now the only question is which of these doormats will you make? I hope you enjoy them and making a doormat for your home.
New to Cricut?

Sign up for our email list to download the Beginner's Guide to Cricut Design Space for FREE today!
Sign up to get the guide emailed to you!



Hi Angie, I’m new to Cricut and Design Space, but I’d like to make a door mat that says “Thank You” for all the delivery folks. Any suggestions.? I have the largest Cricut on order and should be here in a few days.
Thanks
Sure! I would do it the same way I did it. Just pull up Cricut Design Space and pick a font you like and type thank you!
What do you need the iron for?
It makes the parchment paper stick to the mat temporarily to make a paint mask.
Does it matter what kind of spray paint you use?
It shouldn’t!
what if you get over spray how do you get it off the mat
You probably won’t be able to!